

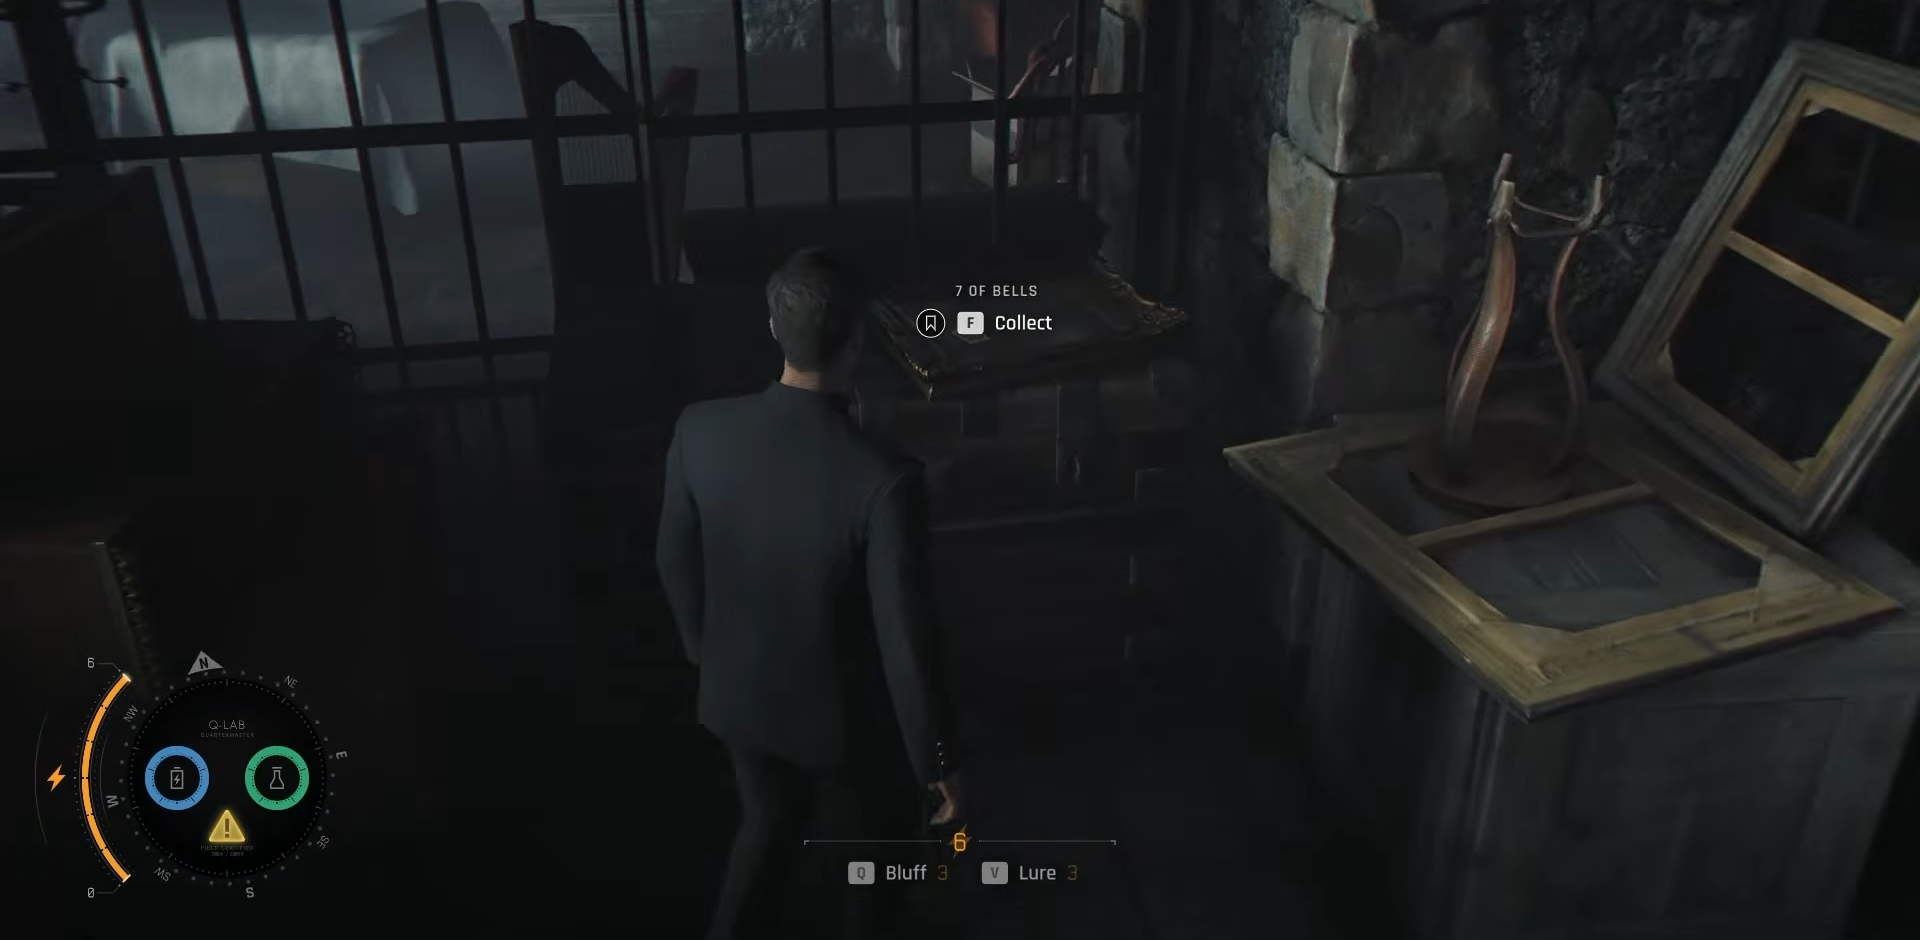
The “Reach the Perch” section during the Knightfall mission in 007 First Light can initially feel confusing because the game appears to punish you for triggering the laser alarm. However, the mission is actually scripted around activating the sensors. If you avoid the alarm completely, progression stops and the next interaction never becomes available.
This guide explains exactly how to bypass the sensor system, unlock the pathway, and reach the perch while also covering the optional collectible hidden inside the vent route.
| Objective | What You Need to Do |
|---|---|
| Access the vent | Move the small box with Greenway |
| Optional collectible | Explore the left side inside the vent |
| Trigger progression | Walk through the laser wire intentionally |
| Unlock the path | Use Bond’s watch on the locked door |
| Reach the perch | Re-enter the vent and bypass the sensors |
How the Knightfall sensor puzzle works
Unlike traditional stealth sections where avoiding alarms is the goal, this mission flips the expectation. The laser system acts as a scripted trigger that unlocks the next stage of the area.
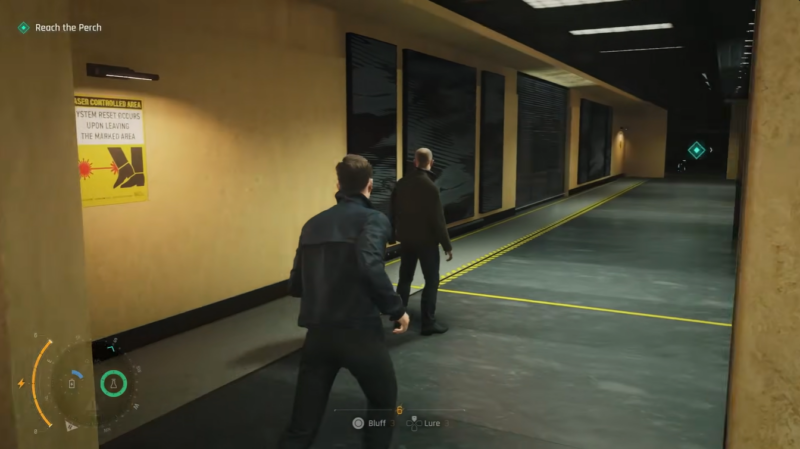
You and Greenway begin in a hallway blocked by security systems and sealed access points. At first glance, it seems like you should sneak through undetected, but there is actually no legitimate way to continue until the alarm has been activated.
How to access the air vent with Greenway in 007 First Light
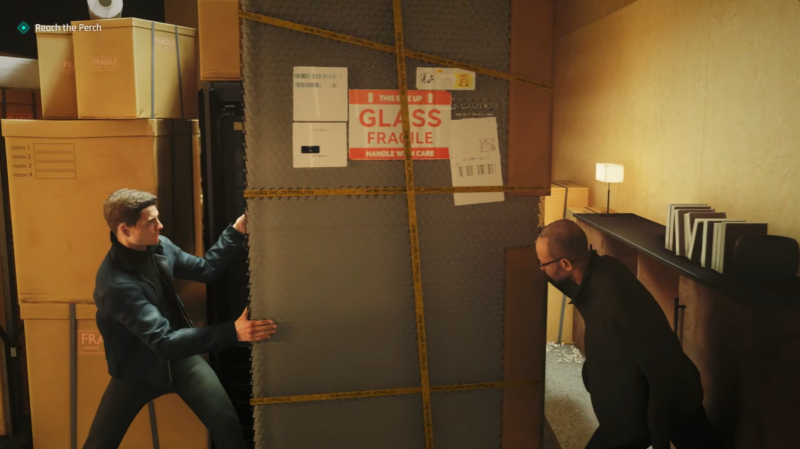
At the beginning of the sequence, look for the small movable box positioned near the wall. Bond and Greenway can push this box together to expose an air vent entrance hidden behind it.
Location involved in the mission
This entire section takes place inside the Knightfall facility corridors, primarily around the laser-protected hallway and ventilation shaft network leading toward the perch access point. The environment combines stealth-focused pathways with scripted security triggers, forcing you to alternate between hidden movement and deliberate alarm activation.
Step 1
Approach the small crate near the wall and interact with it alongside Greenway.
Step 2
Push the box away from the vent opening until the ventilation shaft becomes fully accessible.
Step 3
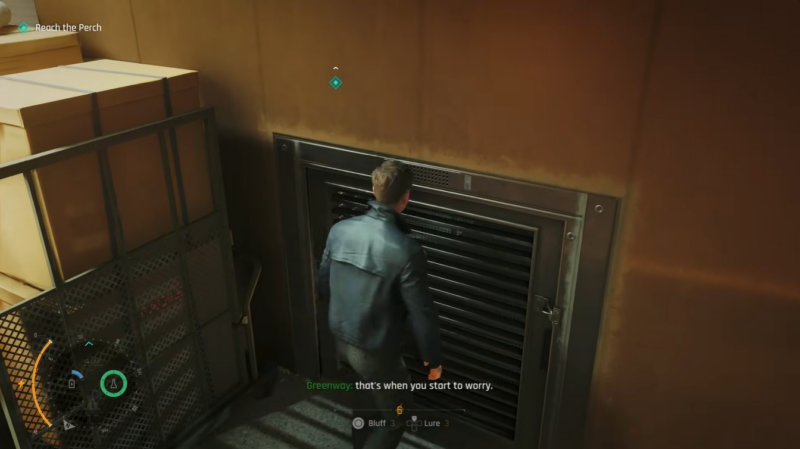
Enter the vent and crawl forward to continue deeper into the maintenance passage.
Hidden collectible and ID card inside the vent
Before continuing through the main objective route, you can explore a small detour on the left side of the vent system.
Step 1
While crawling through the vent, look for a left-side opening before the main exit.
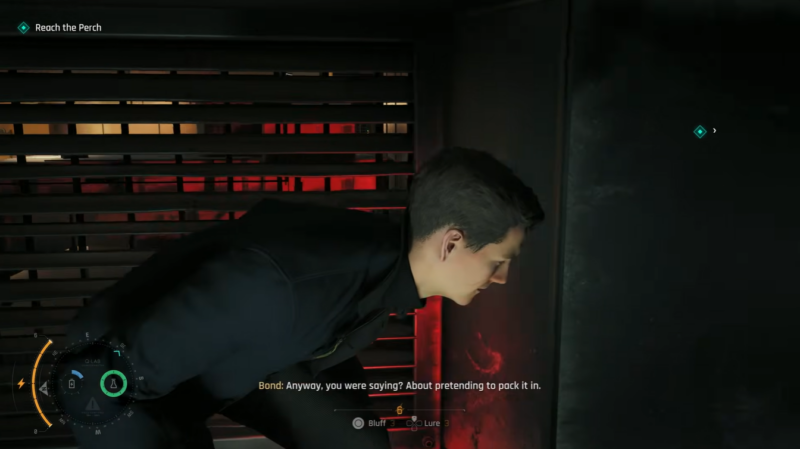
Step 2
Follow the side passage to discover a hidden collectible item.
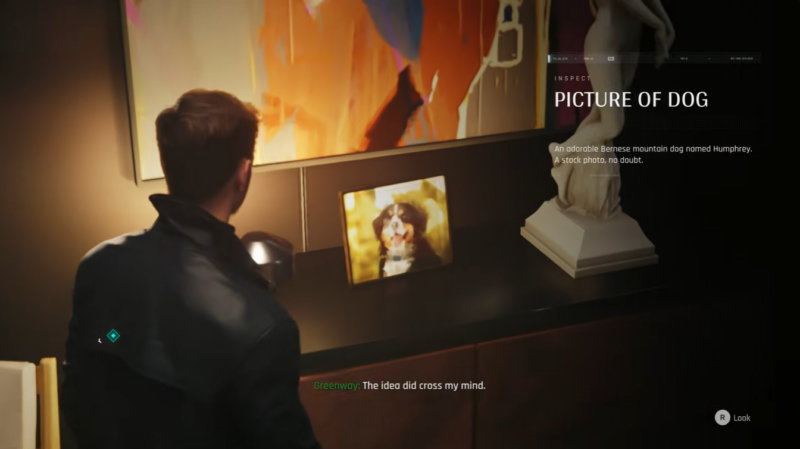
Step 3
Inspect the nearby ID card for additional lore and environmental storytelling connected to the facility personnel.
Although optional, this detour is worth taking if you are aiming for full exploration or collectible completion during the mission.
Why you must intentionally trigger the laser alarm
Many players become stuck here because they continue trying to avoid the laser wire. However, the mission scripting requires the alarm to activate before the next interaction becomes available.
The laser tripwire directly controls the security lock progression for the nearby sealed door.
Step 1
Exit the vent and return to the hallway containing the visible laser sensor.
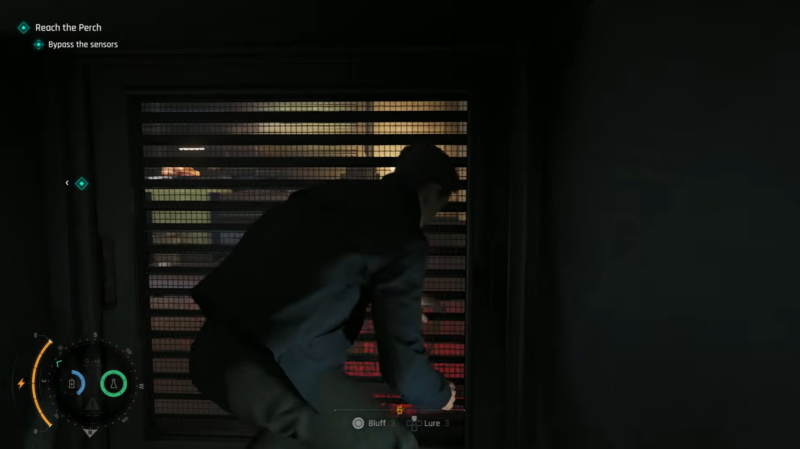
Step 2
Walk directly through the laser beam to intentionally trigger the alarm system.
Step 3
Wait for the security response sequence to begin.
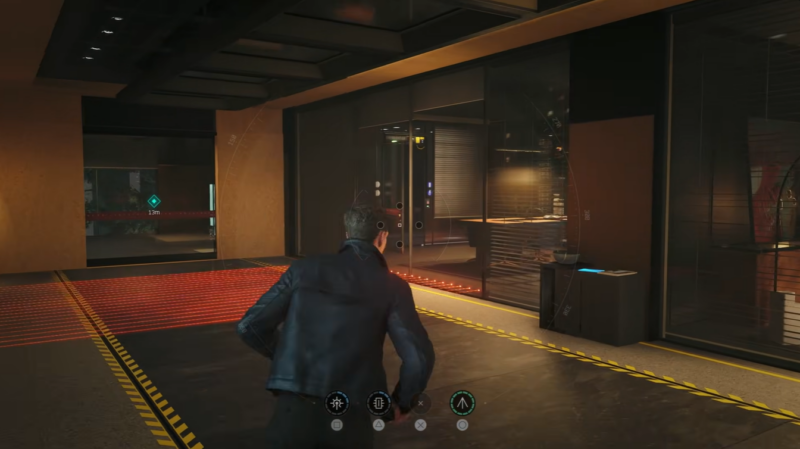
Once the alarm activates, Bond gains access to the next interaction point required for progression.
How to unlock the secured door with Bond’s watch
After the alarm begins, the nearby locked door can finally be accessed using Bond’s gadget watch. Approach the secured electronic door panel.
Activate Bond’s watch gadget when prompted. Complete the unlock interaction to open the pathway.
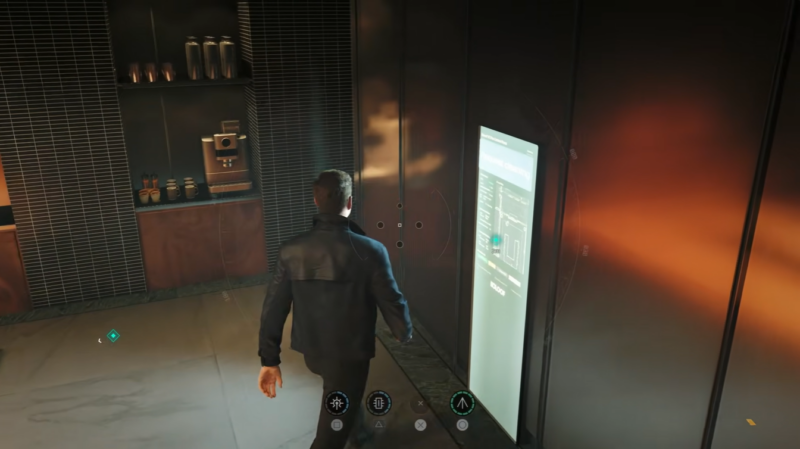
This temporarily changes the facility state and allows access to the other side of the sensor-controlled corridor.
How to bypass the sensors and reach the perch
Once the locked route is opened, you can safely continue toward the perch objective.
Return to the vent entrance after unlocking the door. Travel through the ventilation route again.
Exit on the opposite side of the secured hallway. Disable the system controls from the accessible terminal area.
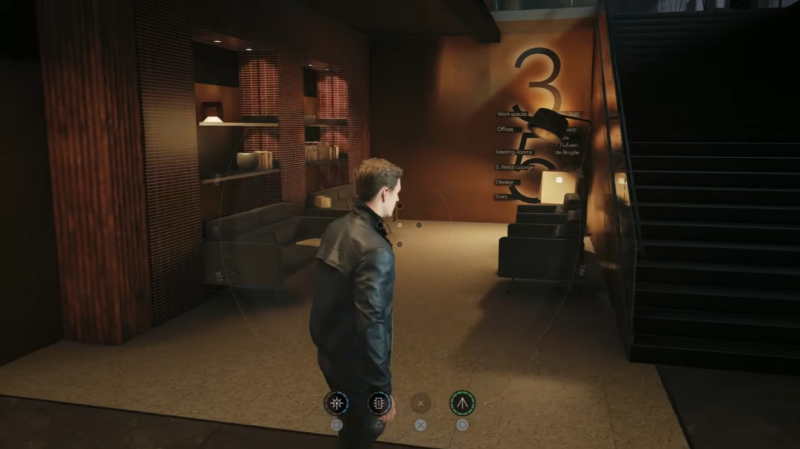
Allow Greenway to safely follow through the newly opened route. After this sequence is completed, the “Reach the Perch” objective updates and the Knightfall mission proceeds normally.
Rewards and discoveries in this section
| Reward Type | Details |
|---|---|
| Story Progression | Unlocks the perch access route |
| Collectible | Hidden item inside the vent |
| Lore Item | Inspectable ID card |
| Gameplay Unlock | Sensor bypass pathway for Greenway |
Why players commonly get stuck here
The mission design intentionally misleads players into thinking stealth is mandatory. Since most stealth games punish alarm triggers, many players spend excessive time attempting to avoid the laser system entirely.
However, this sequence is built around a scripted alarm event. Once you understand that the laser must be triggered, the puzzle becomes straightforward and progression continues immediately.
Reaching the perch successfully in Knightfall
The Knightfall sensor sequence in 007 First Light is less about stealth perfection and more about understanding the scripted progression system. By moving the box with Greenway, exploring the vent for collectibles, intentionally triggering the laser alarm, and unlocking the secured door with Bond’s watch, you can successfully bypass the sensors and reach the perch without getting stuck.




Leave a Reply