

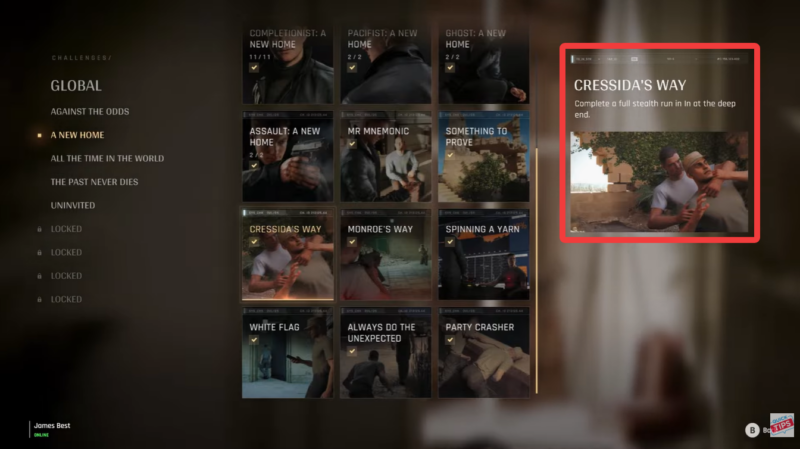
The Cressida’s Way challenge in 007 First Light rewards patience more than speed. The mission route is designed around guard distractions, blind spots, and synchronized sabotage opportunities. While the level initially feels restrictive, the guard patterns become predictable once you understand when to move and when to stay hidden.
Players attempting this challenge often fail because they rush early patrols or trigger unnecessary suspicion during the sabotage phase. A clean run depends on maintaining stealth throughout the infiltration and using environmental timing correctly.
| Quick Overview | Details |
|---|---|
| Challenge Type | Stealth / Infiltration |
| Main Objective | Complete the route undetected |
| Recommended Approach | Full Ghost Stealth |
| Key Mechanic | Patrol timing |
| Difficult Section | Multi-object sabotage |
| Best Strategy | Wait for openings instead of forcing movement |
| Completion Reward | Challenge unlock progression |
The infiltration route is safer than it first appears
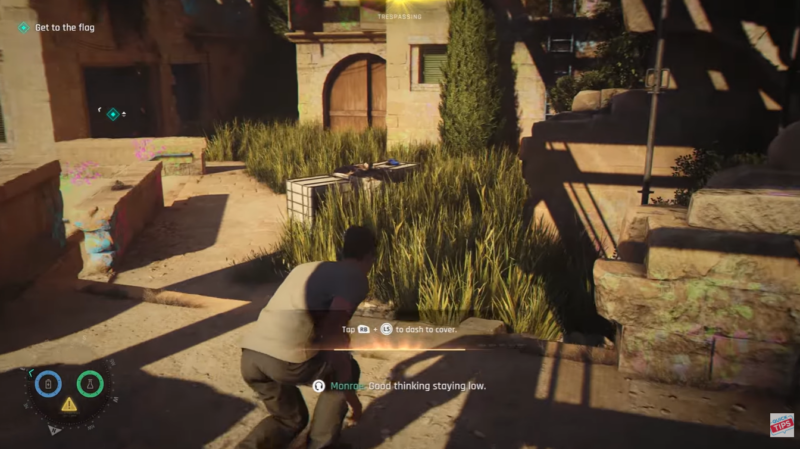
The opening section looks crowded with guards, but most enemies never directly face your path if you stay patient. After entering the area, climb upward immediately and move along the elevated route instead of taking the ground-level path.
Several guards appear threatening at first, but their patrols intentionally leave safe gaps. One of the earliest enemies spends time looking away from the route entirely, making this section easier than expected once you recognize the pattern.
You should avoid sprinting through the opening because the challenge depends on remaining unnoticed. Slow movement and short pauses are safer than attempting aggressive stealth takedowns.
Waiting for patrol cycles becomes the core mechanic
Much of the middle section revolves around observing guards instead of interacting with them. Certain enemies stop to use their phones or stand idle for several seconds, creating safe movement windows.
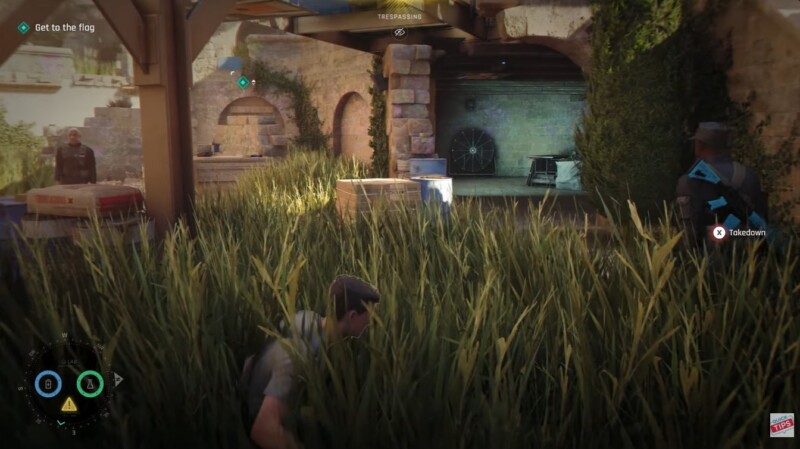
This part of the challenge teaches you that movement timing matters more than speed. If a patrol seems impossible to bypass, the solution is usually to wait longer instead of searching for another route.
Some guards rotate slowly while others walk predictable loops. You can use cover edges and corners to safely monitor their movement before advancing.
Patrol behavior you should watch carefully
| Guard Behavior | What You Should Do |
|---|---|
| Guard checking phone | Move past immediately |
| Stationary lookout | Stay behind cover |
| Walking patrol loop | Follow after rotation |
| Paired guards | Wait until separation |
| Slow turning guard | Use blind-side movement |
How to handle the sabotage section correctly
The sabotage phase is the most important part of the challenge because it creates distractions that open the final route. Instead of treating sabotage points as separate objectives, think of them as tools that manipulate enemy attention.
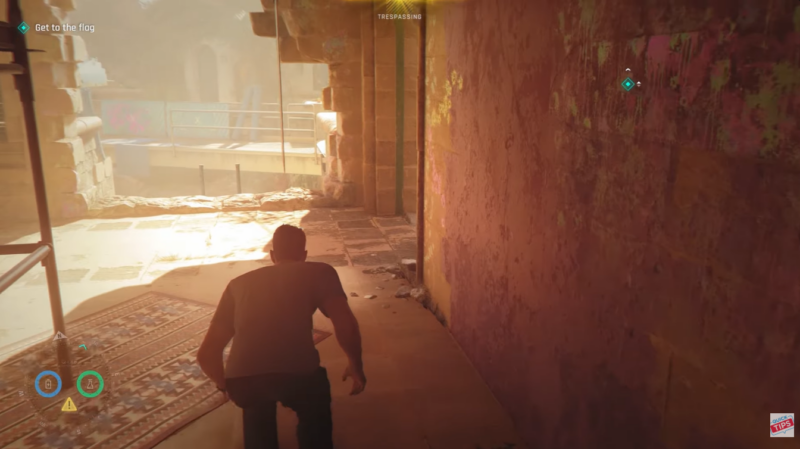
You must move through the area carefully while activating the required sabotage targets in sequence. Once triggered, guards become distracted and reposition themselves, allowing you to bypass previously blocked pathways.
The timing here matters significantly. If you hesitate too long after triggering sabotage events, patrols begin stabilizing again and certain openings disappear.
How to complete the sabotage sequence efficiently
Step 1
Reach the sabotage area without alerting nearby patrols. Stay crouched and avoid moving directly through open sightlines.
Step 2
Activate the first sabotage point and immediately reposition into nearby cover. Guards will begin investigating the disturbance.
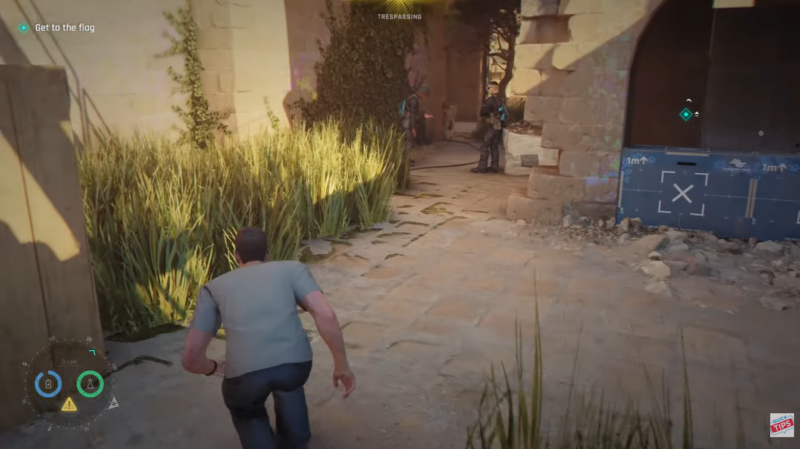
Step 3
Use the distraction window to move toward the second sabotage target while enemies are facing away from your route.
Step 4
Trigger the remaining sabotage objectives quickly so the compound enters a distracted state simultaneously.
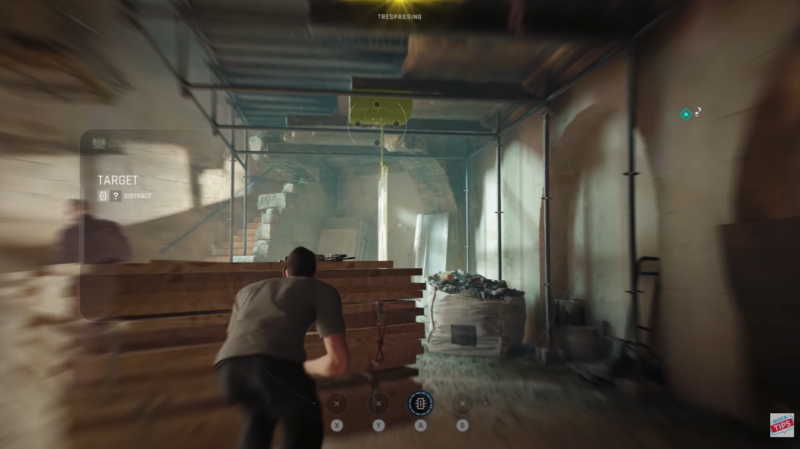
Step 5
Once the guards begin shifting positions, move through the newly opened route instead of waiting for them to settle again.
The final escape is a short but dangerous sprint
The final section becomes significantly easier if you completed the sabotage phase correctly. Most remaining guards become stationary or distracted, leaving only a narrow path to the exit ladder.
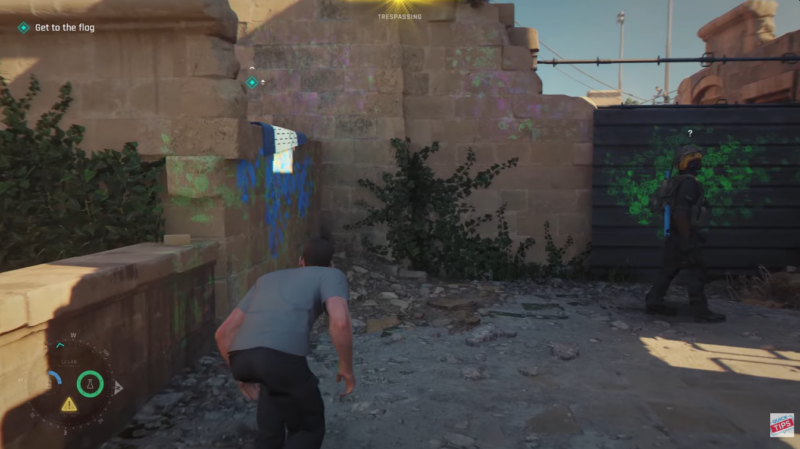
At this point, hesitation is more dangerous than movement. Once the opening appears, move quickly around the final guards and head directly for the ladder.
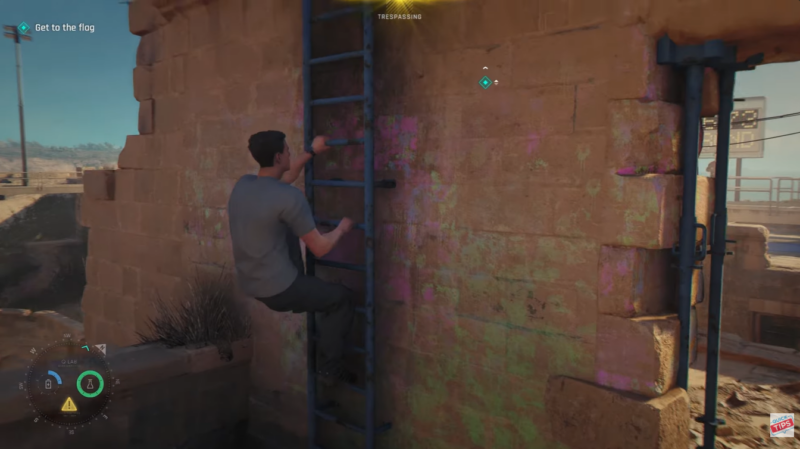
You do not need to engage enemies during the escape. The challenge is designed around evasive movement rather than confrontation.
Final escape route overview
| Area | Recommended Action |
|---|---|
| Last guard cluster | Stay along outer edge |
| Narrow corridor | Move immediately after patrol shift |
| Final platform | Ignore distracted enemies |
| Escape ladder | Sprint directly upward |
Why patience matters more than aggression
Many stealth challenges in 007 First Light allow improvisation, but Cressida’s Way strongly rewards discipline. Nearly every difficult section has a built-in safe opening if you observe patrol behavior carefully.
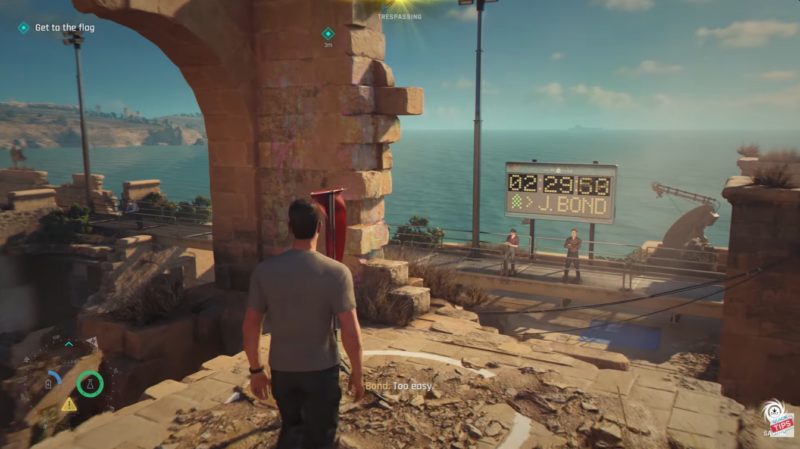
The challenge becomes dramatically easier once you stop treating enemies as obstacles to eliminate and instead view them as moving environmental hazards. The route is intentionally designed to allow full ghost completion without unnecessary risks.
Once you understand the patrol timing and sabotage flow, Cressida’s Way becomes one of the more repeatable stealth challenges in the game. The infiltration section teaches patience, the sabotage sequence tests timing, and the final escape rewards decisive movement.
If you remain calm during the middle sabotage section and avoid rushing early patrols, you can complete the challenge consistently while also maintaining Ghost-style stealth objectives.




Leave a Reply