The full Wizard Alchemy owl route covers 18 Owl Statues — 7 on Departure ISL and 11 in Sea of Oblivion/Ashen Ruins — with a Broom needed for several high or hidden spots.
Wizard Alchemy scatters its Owl Statues across the first two regions of the map, and once you know the landmarks they line up into a single clean loop. The 7 owls on Departure ISL (World 1) are easy to sweep in one lap, while the 11 owls in Sea of Oblivion — also called Ashen Ruins (World 2) — are spread over a much bigger island that’s far easier to miss. A newer update added a separate batch of owls on Pirate ISL on top of these, but those extra spots aren’t fully mapped yet, so this covers the original 18 in full.
Before you start the owl hunt
| Requirement | Details |
|---|---|
| Total owls | 18 — 7 on Departure ISL, 11 in Sea of Oblivion/Ashen Ruins |
| Islands covered | Departure ISL (World 1) and Sea of Oblivion/Ashen Ruins (World 2) |
| Broom | Needed for rooftops, ledges, the lighthouse, and the helmet cave |
| Sea of Oblivion access | Ascend twice and reach Junior Apprentice rank |
| Pirate ISL owls | A newer, separate set — full locations not covered here |
Grab a Broom before you set out. Several owls sit on rooftops, ledges, the lighthouse balcony, and inside a cliff-side helmet, and there’s no reaching them on foot. You’ll also need enough progress to open the second island — that means ascending twice and reaching Junior Apprentice rank before the Sea of Oblivion portal is available, so don’t go looking for World 2 owls until you’ve hit that milestone.
KEY!The count itself has caused some confusion. The route below totals a clean 18, and while the newer Pirate ISL owls would push the broader total higher, those aren’t part of this loop.
Every owl location at a glance
| Area | Location |
|---|---|
| Departure ISL | Treehouse roof near the leaderboards |
| Departure ISL | Corner by the Mutant Hammer Dwarf mini-boss |
| Departure ISL | Behind the giant egg on the snowy mountain |
| Departure ISL | Top of the big tree by the wand-and-volcano landmark |
| Departure ISL | Lighthouse railings |
| Departure ISL | Behind the small pillar past the waterfall |
| Departure ISL | Inside the giant helmet above the Dwarf King cave |
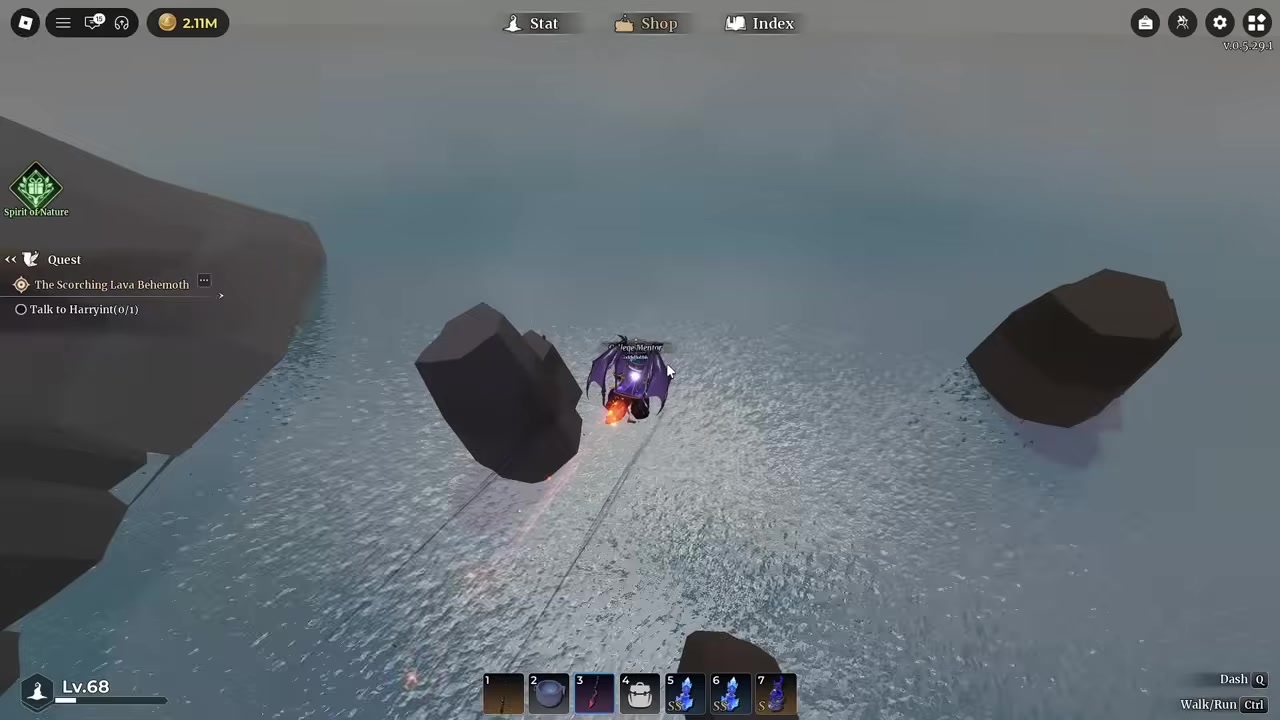
| Sea of Oblivion | On top of the tree by the broken shack near spawn |
| Sea of Oblivion | Big pillar past the lava waterfall |
| Sea of Oblivion | Out on the three offshore pillars |
| Sea of Oblivion | On the lava waterfall itself |
| Sea of Oblivion | Statue built into the mountainside |
| Sea of Oblivion | Very top of the volcano |
| Sea of Oblivion | Back of the volcano, left of the green ant spawn |
| Sea of Oblivion | By the burning tree near spawn |
| Ashen Ruins | Left side of the far island |
| Ashen Ruins | First rock as you enter the far island |
| Ashen Ruins | Small island connected to the far island |
This checklist is here for a quick scan when you’re only chasing the owls you’ve already missed. If you’re starting fresh, follow the full route below instead — it puts these same 18 spots in an order that keeps backtracking to a minimum.
Bring a Broom before you start — the lighthouse, the helmet cave, and several volcano ledges are impossible to reach without it, and nothing kills a run faster than finding an owl you can’t fly up to.
How to collect every Owl Statue in Wizard Alchemy
This route clears all seven owls on Departure ISL first, then loops once through Sea of Oblivion so you rarely have to double back.
STEP 1/18
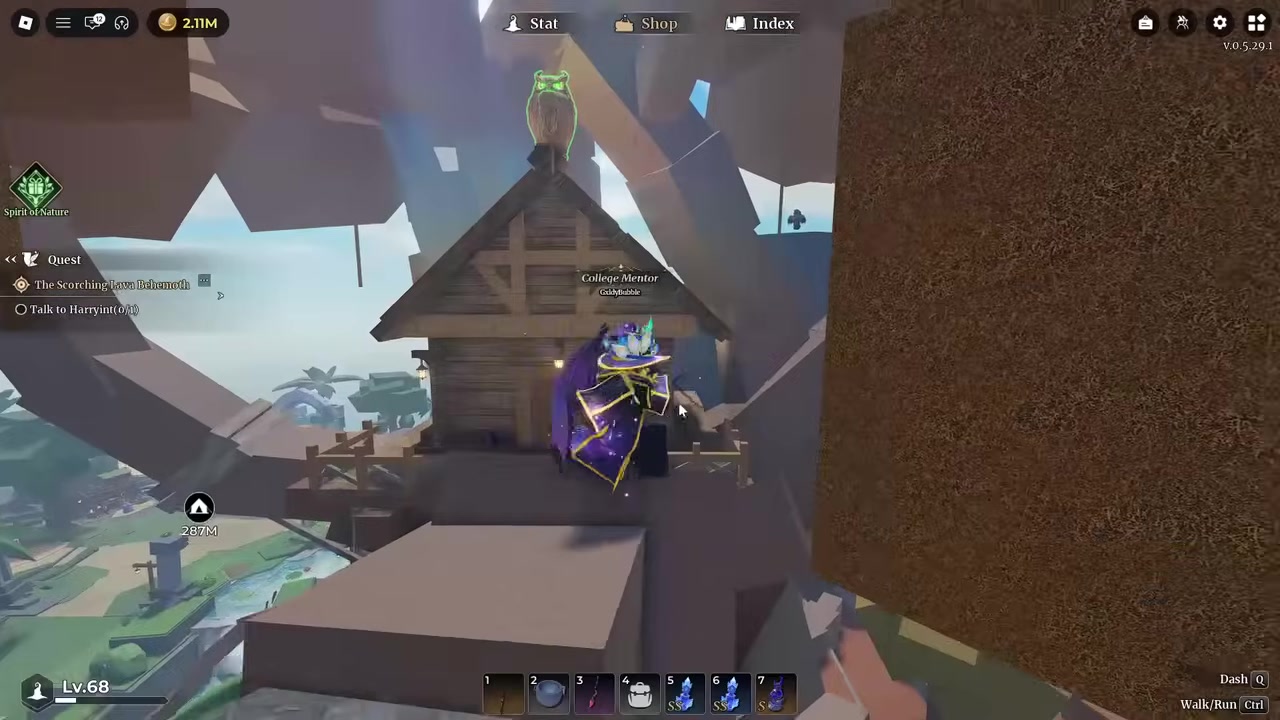
Grab the treehouse owl near the leaderboards
From the middle of Departure ISL, take the right past the leaderboards and look up to spot the first owl on the treehouse roof.
STEP 2/18
Check the Mutant Hammer Dwarf corner

Head around the back to where the Mutant Hammer Dwarf mini-boss spawns, then look in the little corner to the left for a hidden owl.
STEP 3/18
Look behind the giant egg
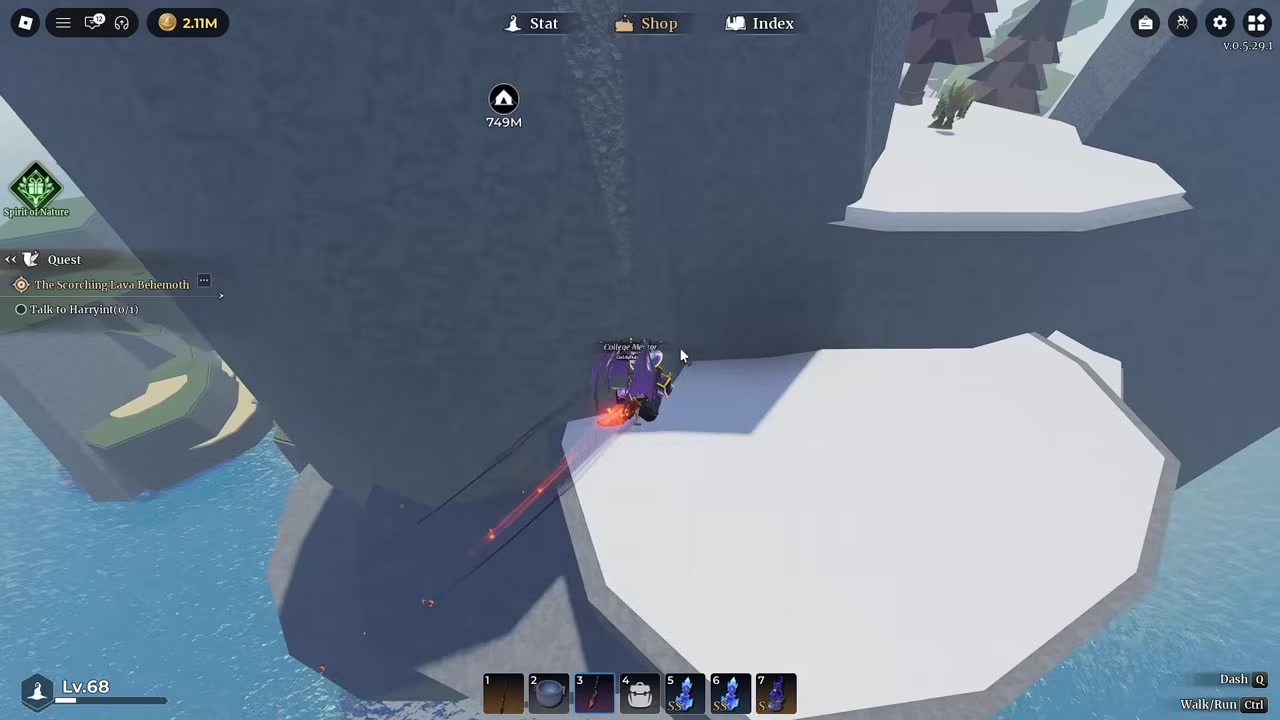
Keep circling the back and go behind the huge egg, where an owl sits tucked into the corner below the Golden Egg mountain.
STEP 4/18
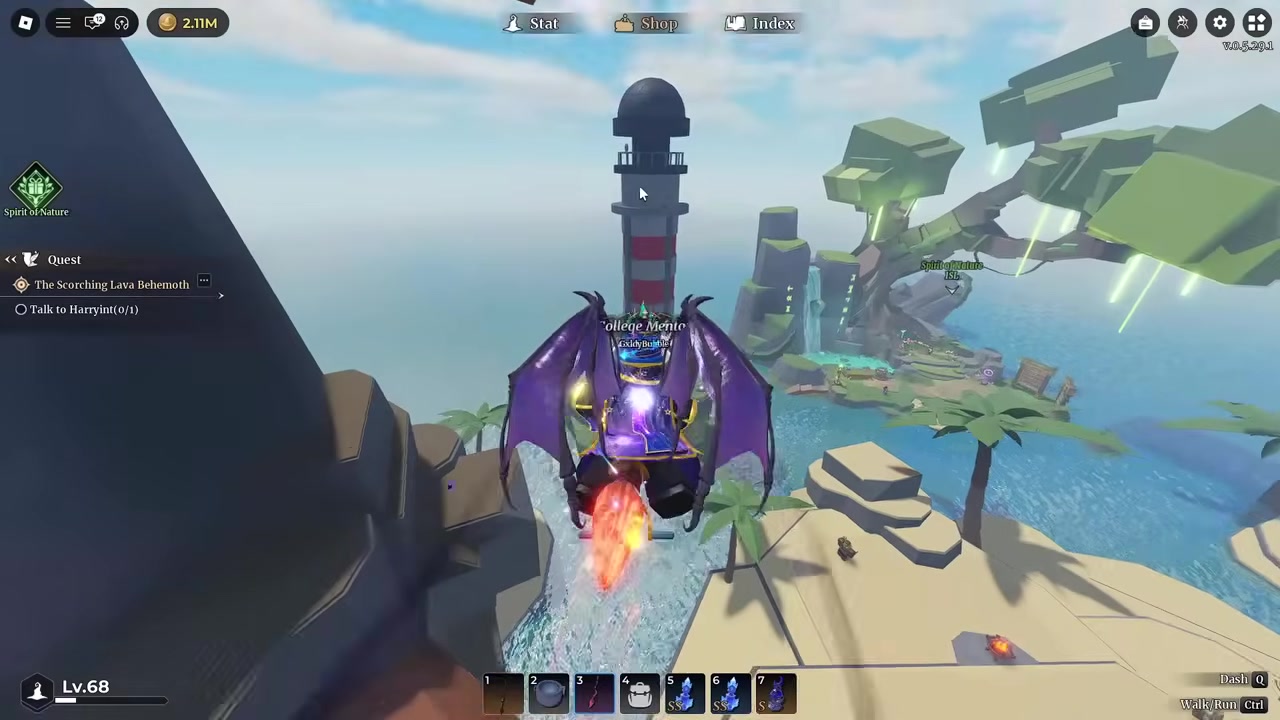
Climb the big tree by the volcano landmark
Move over to the big tree marked by the wand-and-volcano, and the owl is sitting up top where you genuinely can’t miss it.
STEP 5/18
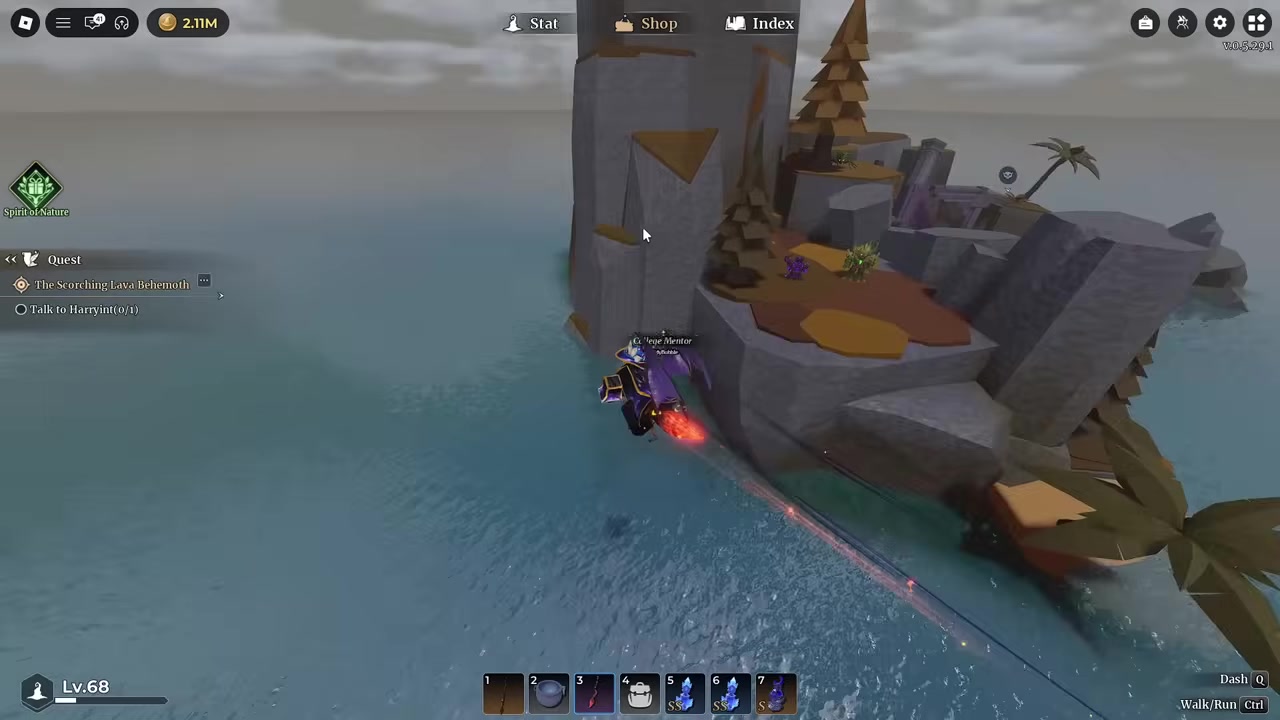
Fly up to the lighthouse
The fifth Departure owl rests on the lighthouse railings, so use the Broom to land on the balcony.
STEP 6/18
Search behind the waterfall pillar

Just past the waterfall there’s a small pillar with an owl hiding right behind it.
STEP 7/18
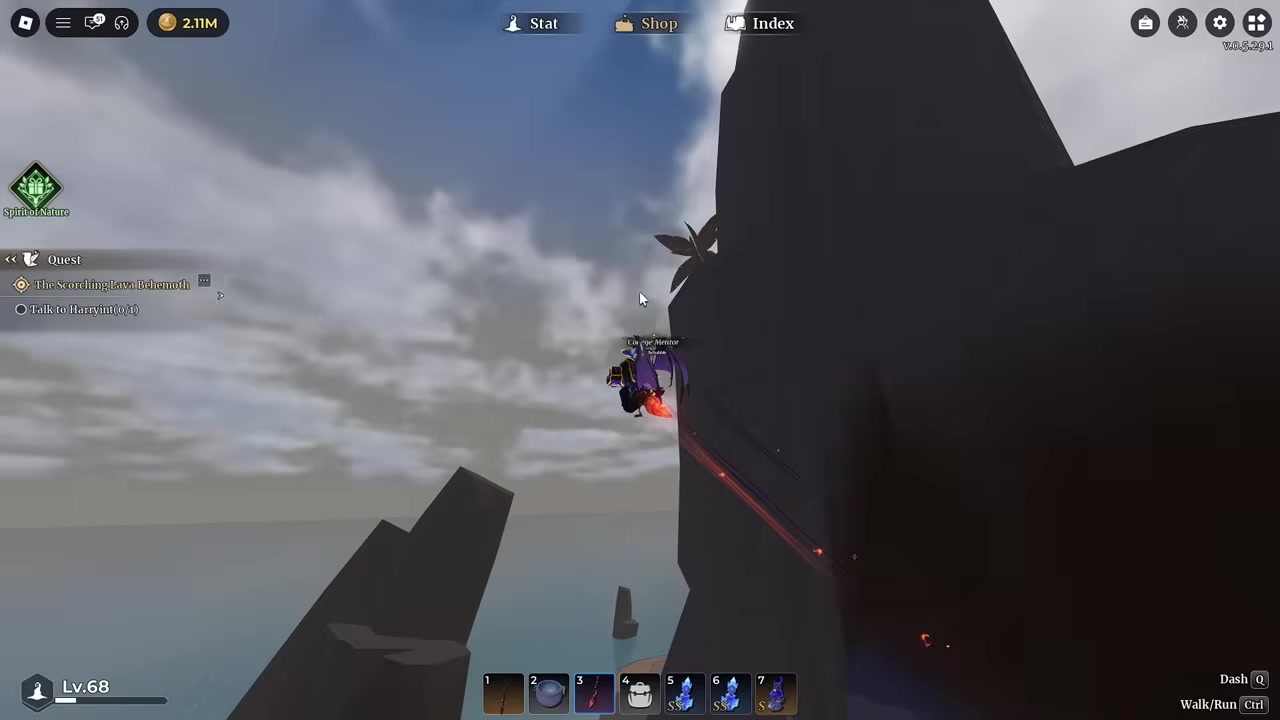
Enter the boss helmet
Fly under the giant helmet above the Dwarf King cave, cross through the eye, and pick up the owl hidden inside.
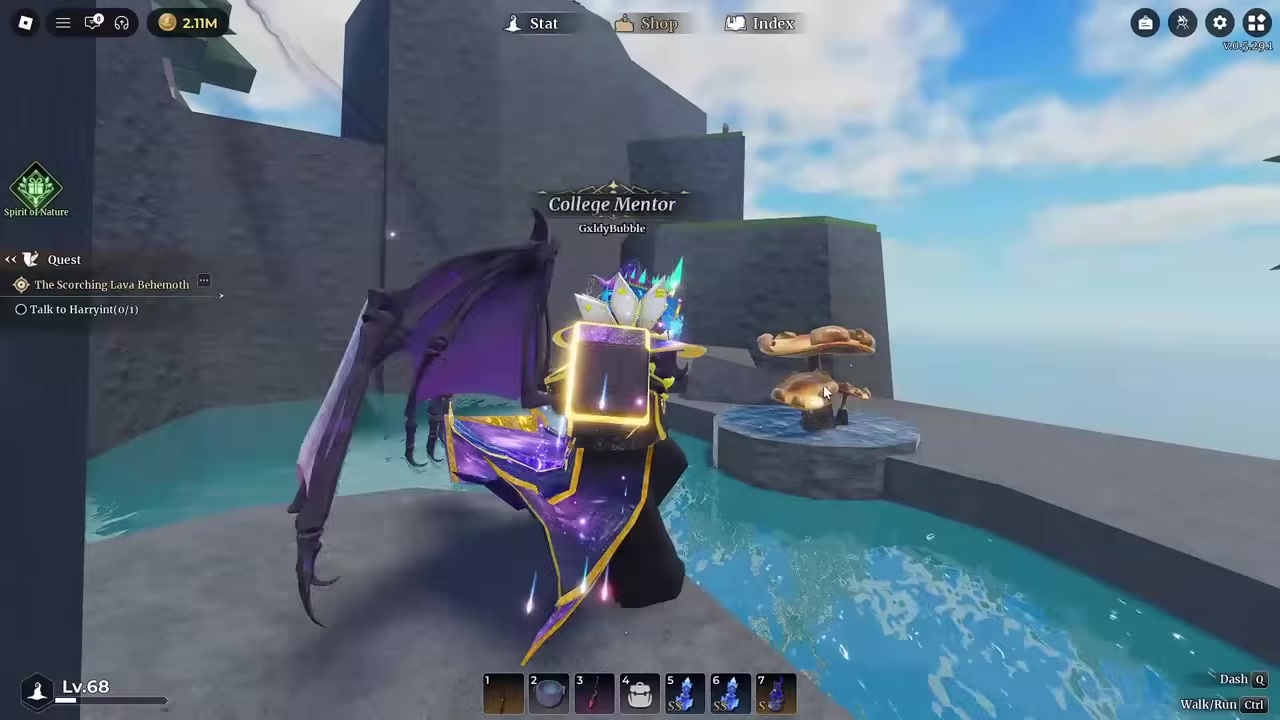
STEP 8/18
Take the right past spawn to the broken shack
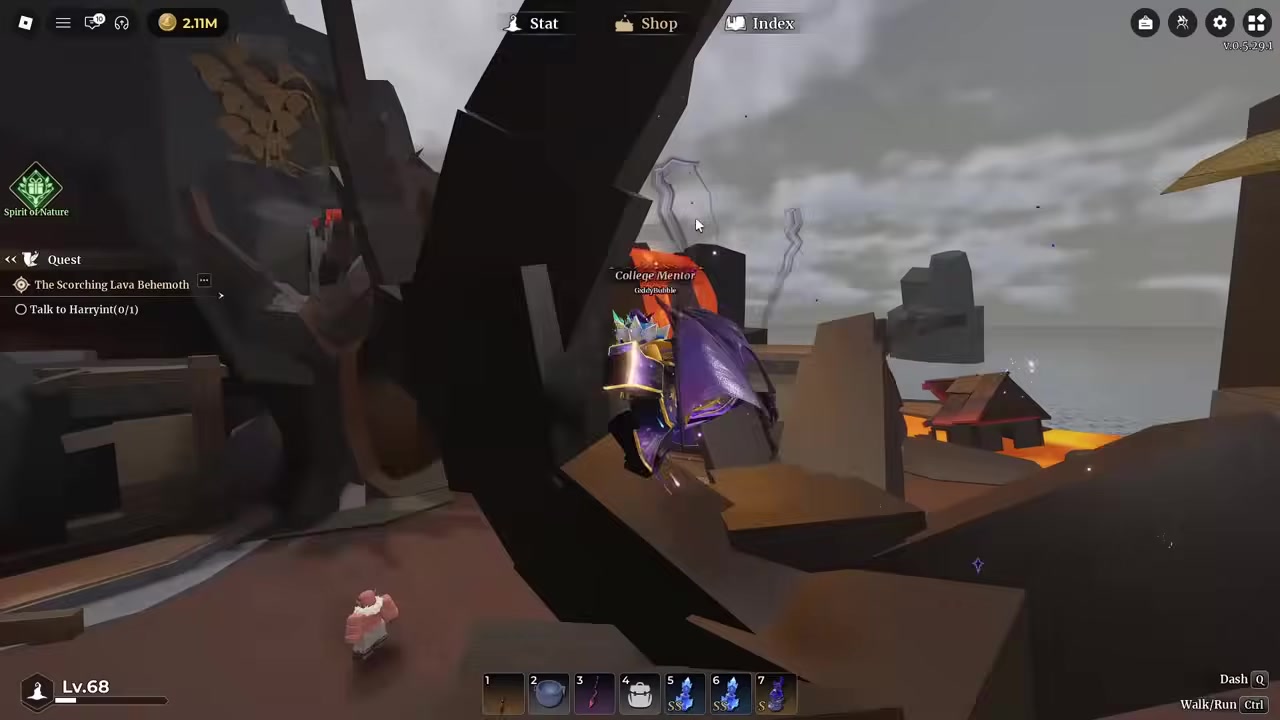
In Sea of Oblivion, take the right just past the spawn NPC to the tree with the broken shack and grab the owl on top.
STEP 9/18
Grab the lava waterfall pillar owl
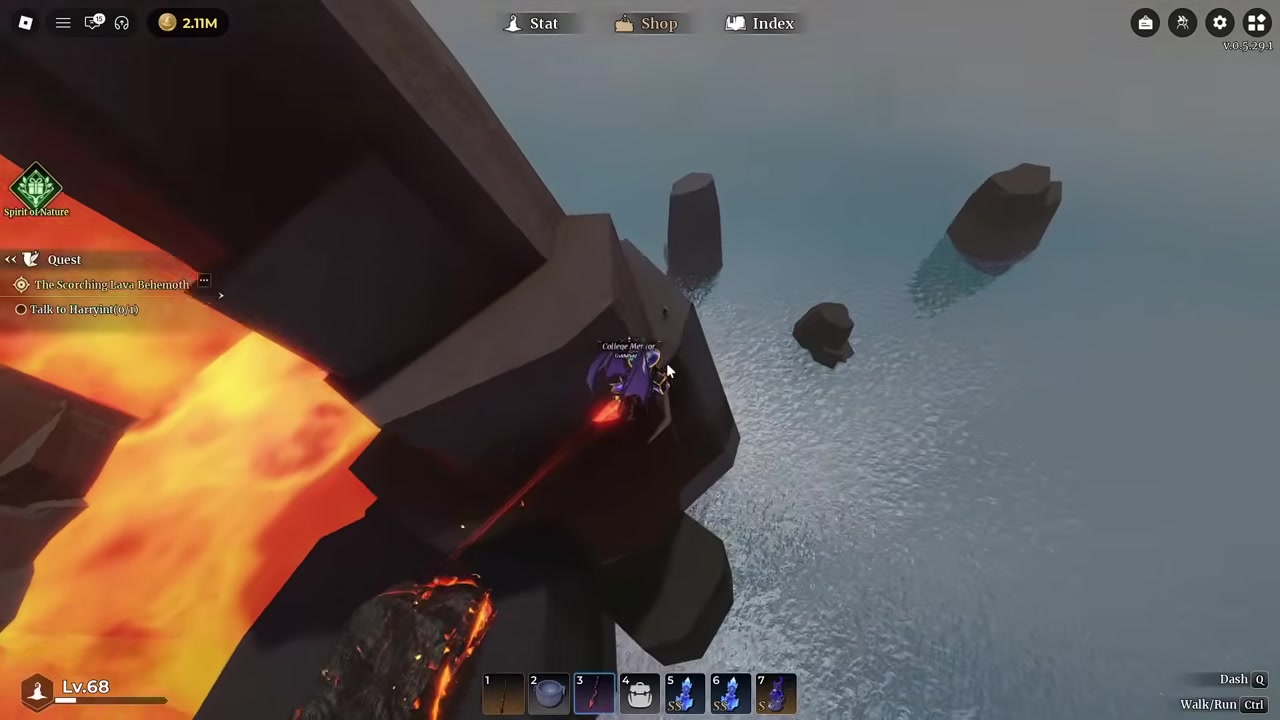
Wrap around the island past the little lava waterfall to the big pillar and collect the owl hiding there.
STEP 10/18
Head out to the offshore pillars
Go out to the three small pillars off the shore for the third owl.
STEP 11/18
Pick up the lava waterfall owl
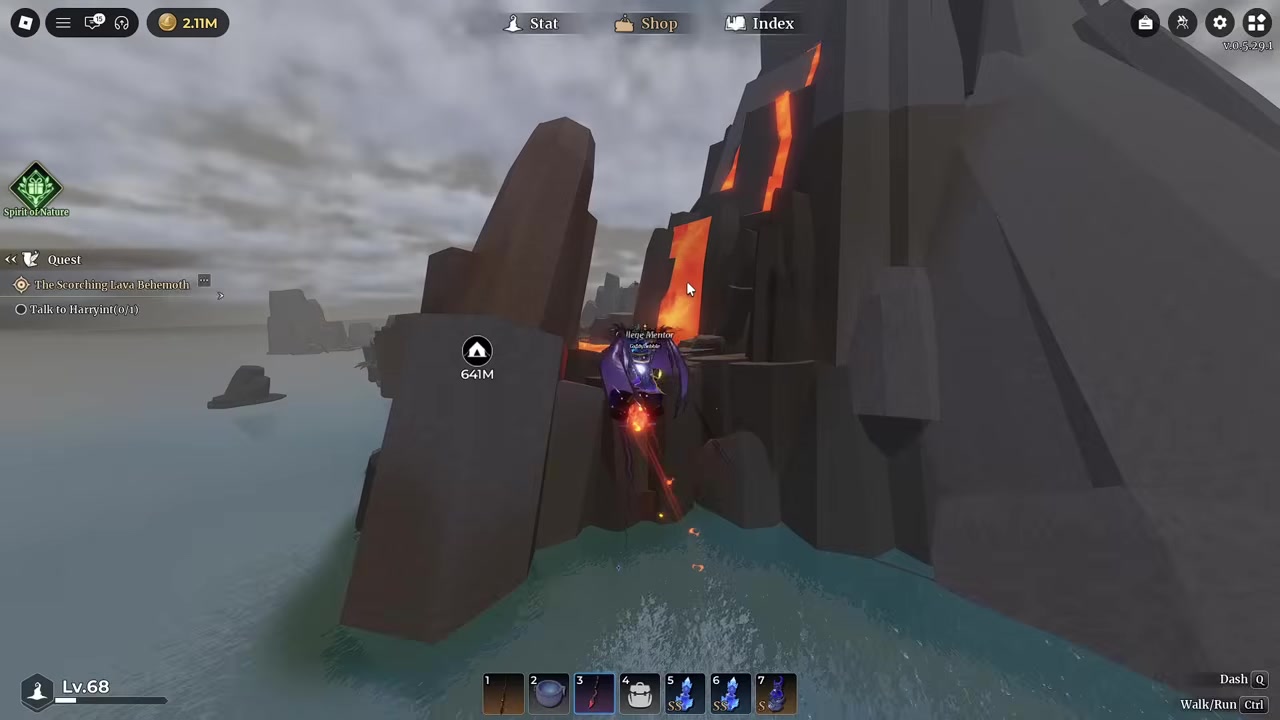
Back on the lava waterfall itself, the fourth owl is sitting right on the flow.
STEP 12/18
Reach the statue on the mountainside
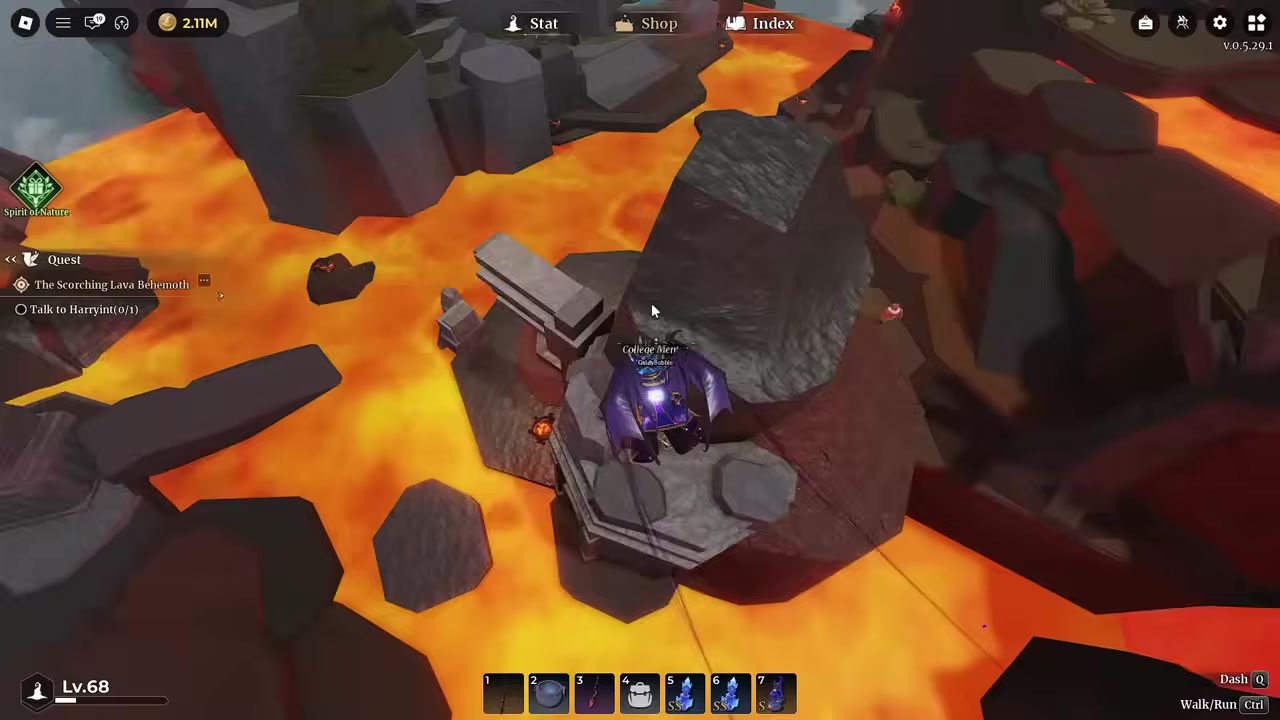
Drop down to the small statue built into the mountain, where the fifth owl sits on top.
STEP 13/18
Climb to the top of the volcano
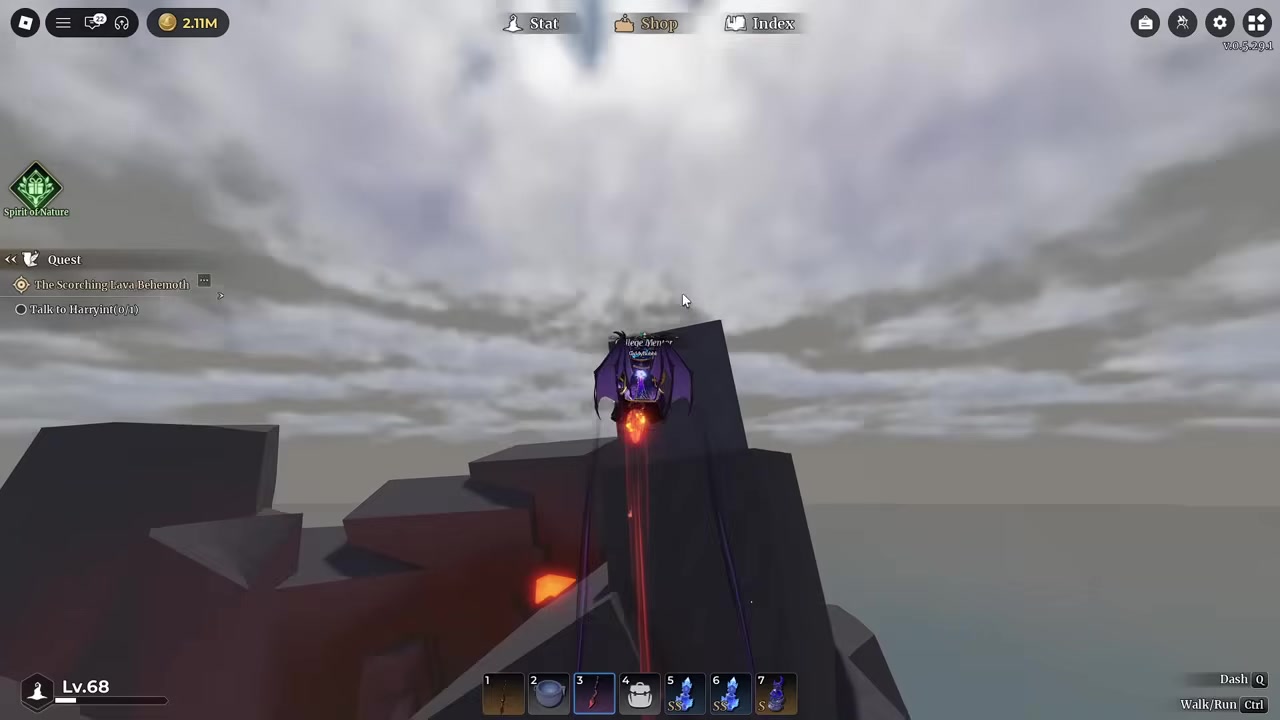
Take the long climb all the way up the volcano for the owl waiting at the very peak.
STEP 14/18
Check the back of the volcano by the green ant
Head to the very back of the volcano near where the green ant spawns and look just to the left of it.
STEP 15/18
Return to spawn and the burning tree
Travel back toward the spawn point, keep taking rights, and find the owl by the burning tree.
STEP 16/18
Cross to the far island’s left side
Make the trip to the other island and hug the left side to reach the ninth owl.
STEP 17/18
Grab the first rock as you land
On the far island, the tenth owl is on the very first rock at the bottom as you enter.
STEP 18/18
Finish on the connected small island
Climb up and around to the smaller island connected to the big one for the final owl.
Video help
Working through the Sea of Oblivion owls
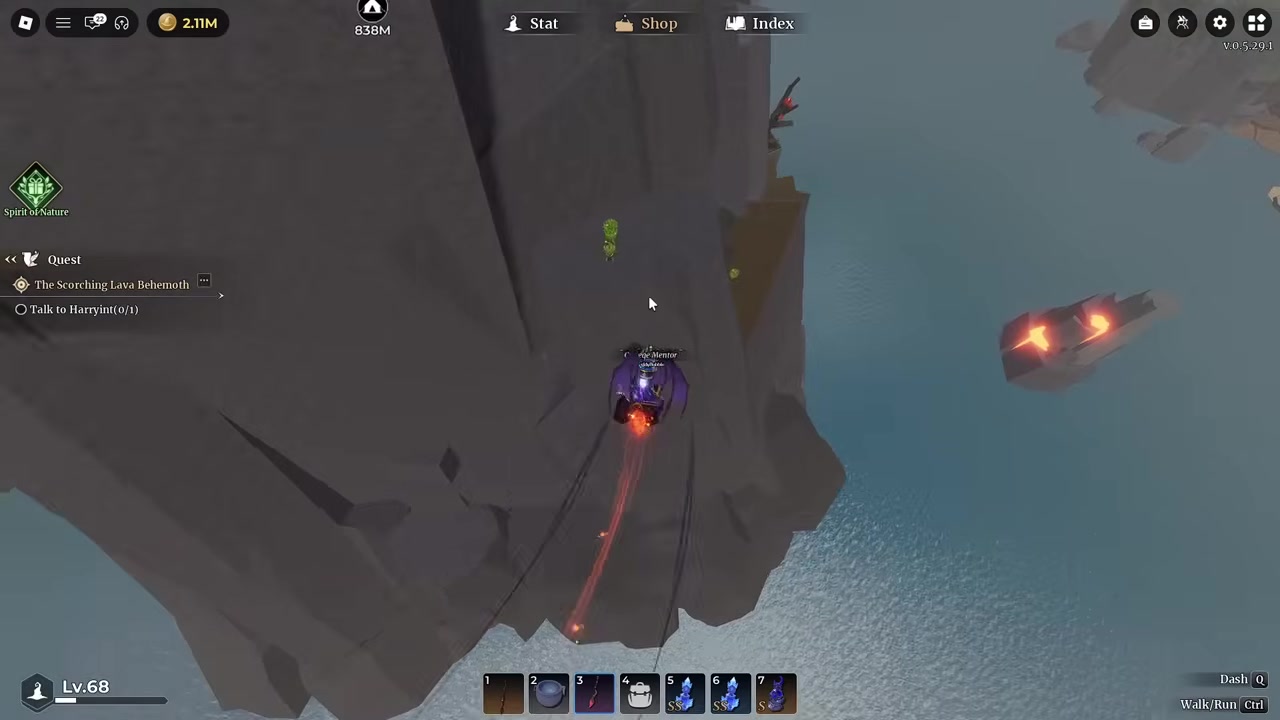
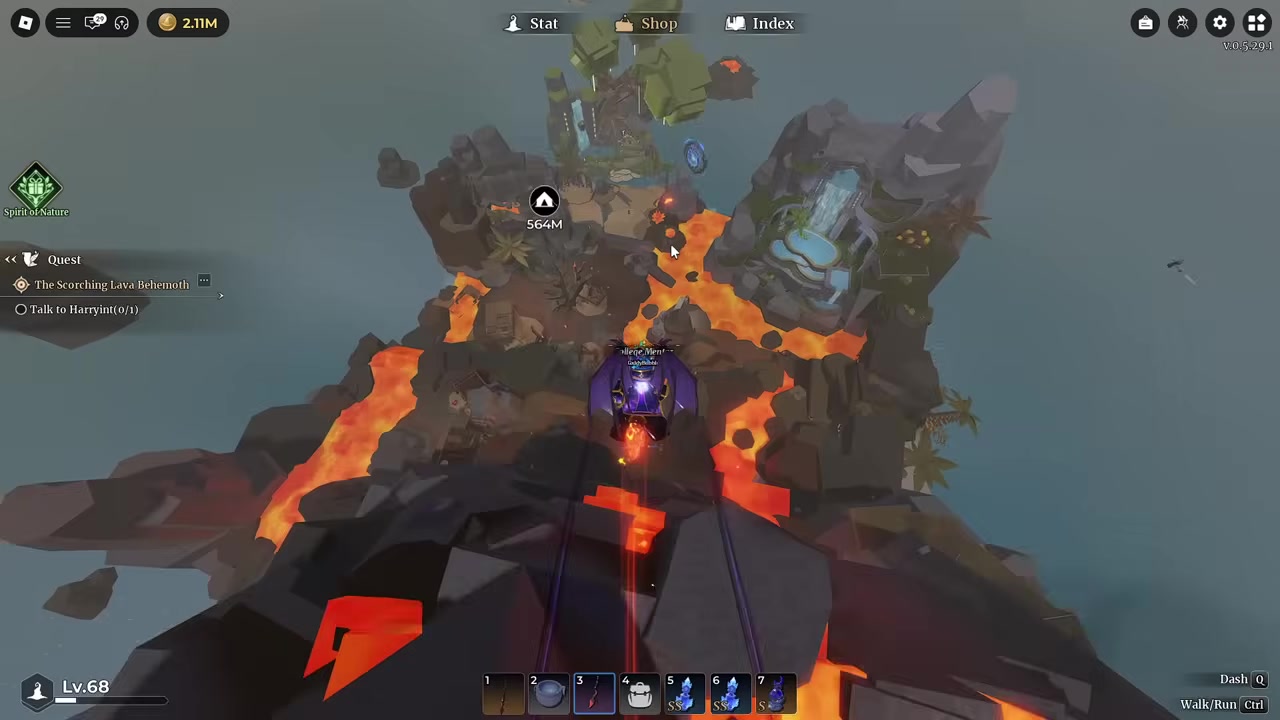
Sea of Oblivion is where most players lose the thread, simply because it’s so much larger than Departure ISL and the owls hug the edges of the map. The volcano is your anchor: one owl sits on the right side overlooking the tent and campsite, another on a mid-height ledge around the backside, and a third right at the very top. Sweeping the volcano from bottom to peak in one climb saves you a lot of wandering.
The trickier finds are the ones out over water and around the ruins. Two owls sit near the lava waterfall — one on a pillar just past it and one on the flow itself — and a third is out on the cluster of three offshore pillars that’s easy to skip if you never step off the shoreline. Closer to the buildings, watch the tree, broken shack, and orc-spawn area near spawn, plus the burning tree you pass on the way back.
The final stretch is the far island, sometimes labelled Ashen Ruins. Cross west from base camp, take the owl on the left side and the one on the first rock as you land, then climb up and around to the small connected island for the last statue. Because the region is big and the owls are so spread out, it’s worth doing this island in one deliberate lap rather than crossing back and forth.
Owl spots players miss most often
A handful of owls trip up almost everyone. The helmet eye owl needs the Broom to fly through the opening, so people who walk up to the cave give up and move on. The lighthouse railings and the owl below the Golden Egg on the snowy mountain both require vertical navigation that’s easy to skip. In Sea of Oblivion, the volcano ledges and the offshore pillars hide owls right at the edges of where you’d normally explore.
The biggest mistake, though, is trying to hunt Sea of Oblivion owls too early — the portal doesn’t open until you’ve ascended twice and hit Junior Apprentice, so make sure you’ve unlocked the region before you start looking for those 11.
What collecting the owls unlocks

Collecting all the owls appears to feed into completion tracking — think of it as filling out an owl index rather than a one-off pickup reward. Exact reward details aren’t pinned down, so it’s best to treat the hunt as a collection goal for now rather than expecting a specific guaranteed prize at the end.
Frequently Asked Questions
How many Owl Statues are there in Wizard Alchemy?
The original owl hunt has 18: 7 on Departure ISL and 11 in Sea of Oblivion/Ashen Ruins. A newer update added a separate batch on Pirate ISL on top of that.
Do you need a Broom to get every owl?
Not for every single one, but you do need it for several — the lighthouse railings, the helmet cave, and some of the higher volcano ledges are out of reach on foot. It’s easiest to just carry the Broom for the whole run.
How do you unlock Sea of Oblivion or Ashen Ruins?
You need to ascend twice and reach Junior Apprentice rank before the portal to the second island opens. Until then, the 11 owls there are inaccessible.
Why do some sources mention 16, 18, or 26 owls?
The route shown here lands on 18 — 7 plus 11. Some on-screen tallies of 16 undercount the World 2 island by a couple, and the newer set of 8 Pirate ISL owls would push a broader total toward 26. For the original two-region hunt, 18 is the number to aim for.
Are the Pirate ISL owls included?
No. Pirate ISL added a separate group of roughly 8 owls in a later update, but the full set of locations for that island isn’t mapped here — this route covers the original 18.
More questions⤵
What do Owl Statues do after you collect them?
They seem tied to completion or an owl index rather than an instant reward. The exact payoff for finishing the set isn’t fully documented, so treat it as a collection goal for now.

Leave a Reply