-
Upload any image to generate a pixel grid matching the game’s 256×256 canvas and 84-color palette.
-
Adjust brush sizes, stroke modes, and paint-by-numbers for precise recreation in Palette House.
-
No direct import—use the tool’s preview as a guide to manually draw custom clothing, pets, or treasures.
-
Free browser tool with privacy focus; no accounts or uploads needed.
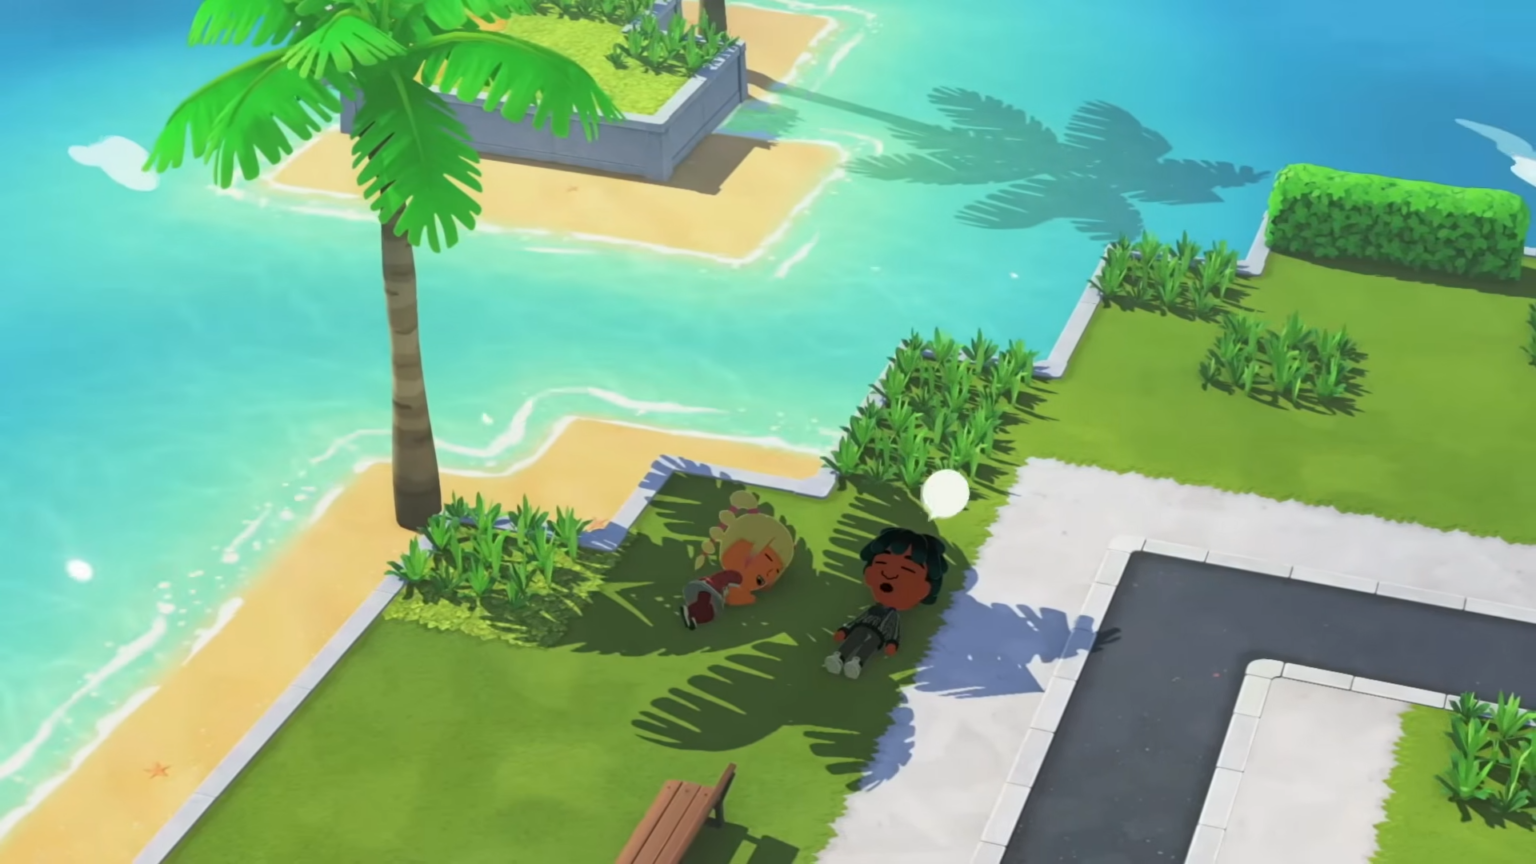
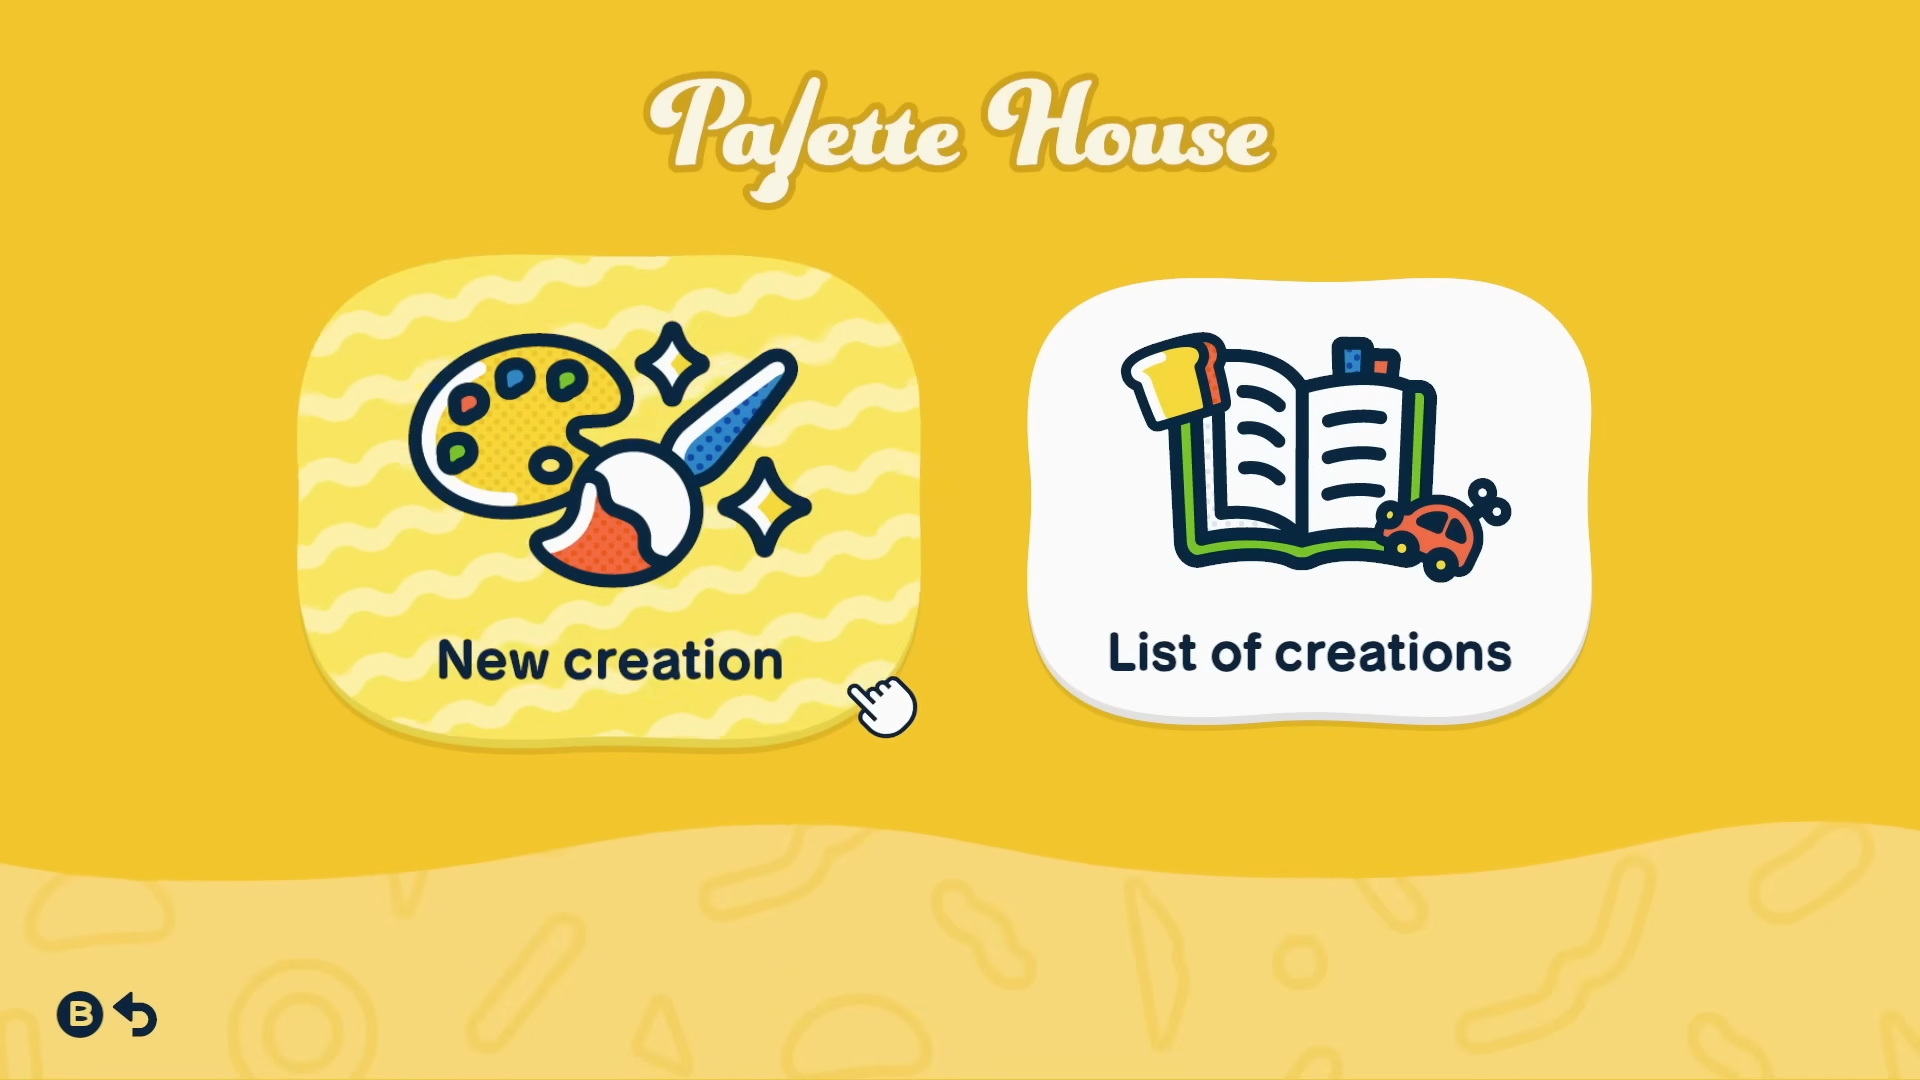
Tomodachi Life: Living the Dream lets players create custom designs at the Palette House workshop, unlocked after a Mii’s yellow pondering request. Turning personal images into these pixel-perfect designs boosts creativity for Miis’ outfits, foods, and items. An external tool – Living the Grid – makes this process even more straightforward by mapping images to the game’s exact constraints.
Key features of Living the Grid
The tool processes images client-side in your browser, ensuring privacy with no data leaving your device. It defaults to the game’s palette for accurate color matching or uses auto-detection from the image. Hovering over colors highlights their positions in the preview, speeding up planning.
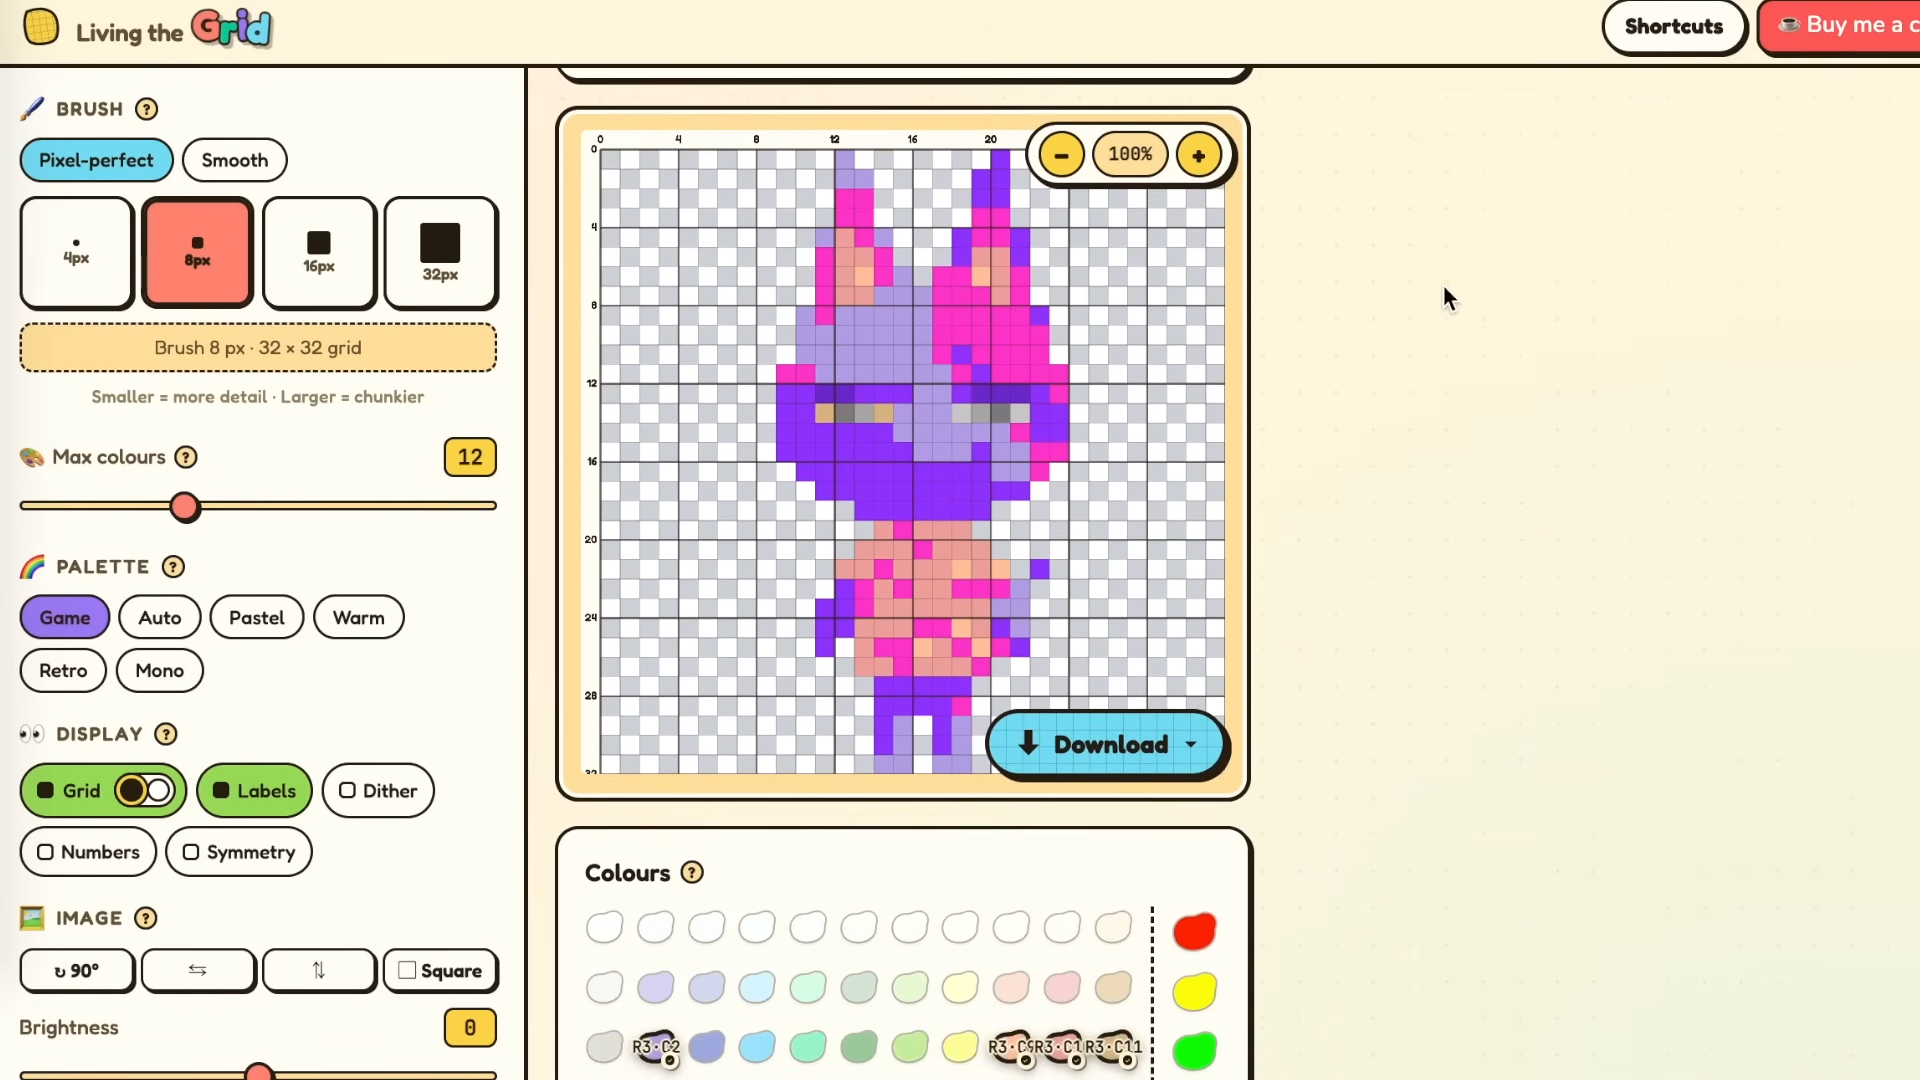
Paint-by-numbers mode labels sections numerically, ideal for complex designs. Recipe cards specify exact brush settings, shapes, and modes before painting. Updates include pixel-perfect brushes, better transparency, and downloadable guides.
How to start using Living the Grid
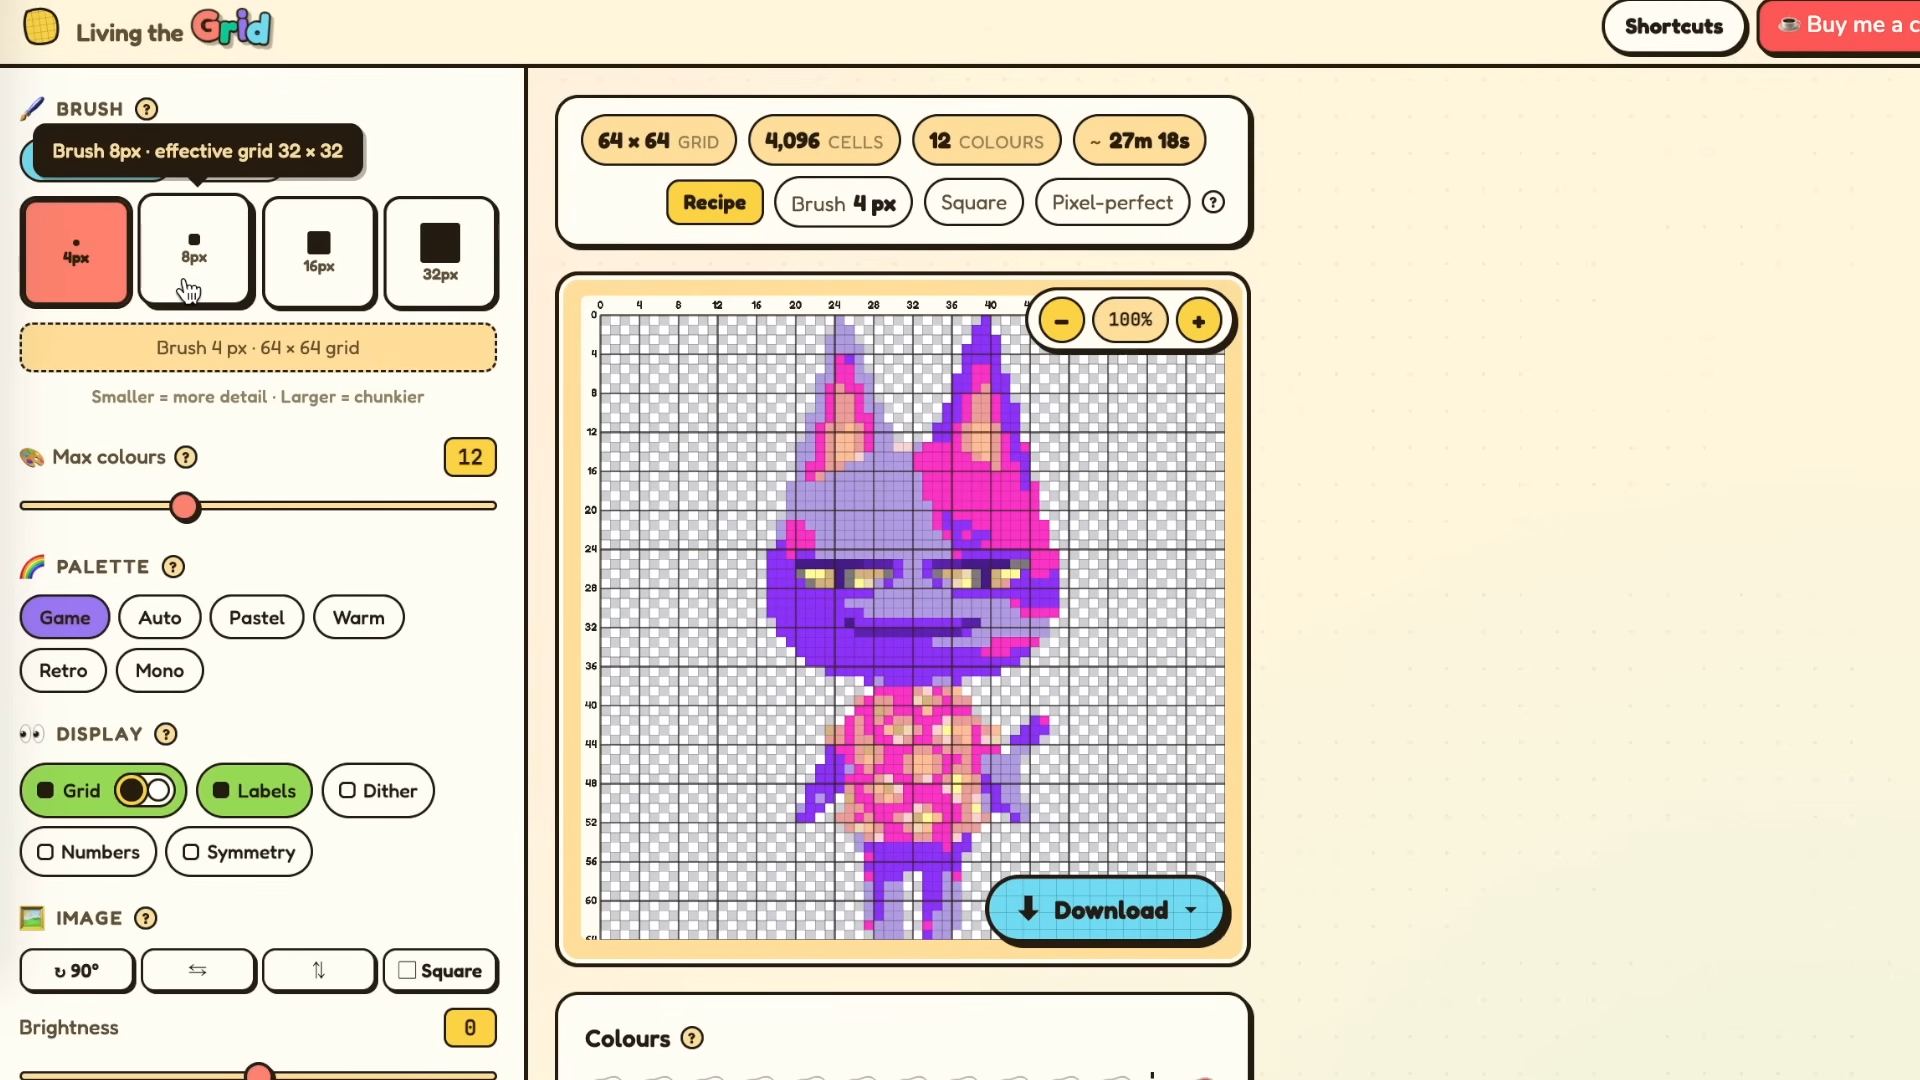
Open the Living the Grid website in any browser on PC, phone, or tablet. Drag or upload a square PNG image for best results—it auto-generates the pixel grid instantly. Tweak settings on the left panel: select grid size for detail (smaller for simple icons, larger for intricate art), limit colors to fit the palette, and choose stroke mode.
Preview shows in-game approximation with row/column labels for easy navigation. Toggle options like transparency background or numeric labels. Download recipe or paint-by-numbers sheet if needed for reference.
Step-by-step guide to prepare your design
Step 1: Choose and prepare image
Select a clear, high-contrast image under 256×256 pixels; crop to square if needed. Avoid overly colorful photos—fewer hues yield better matches.
Step 2: Upload and generate grid
Drop the image into the tool; it converts to pixel art using nearest palette colors. Note the estimated paint time (e.g., 30-60 minutes for medium grids).
Step 3: Customize settings
Set palette to “Game” for exact swatches. Pick brush size (e.g., 1px for fine details). Enable paint-by-numbers; hover colors to verify placement.
Step 4: Test variations
Switch stroke modes—pixel-perfect snaps to grid; smooth for blends. Adjust max colors (under 20 ideal). Regenerate preview until satisfied.
Step 5: Note recipe details
Copy brush type, shape (square), and mode. Label colors by row/column (e.g., A1 for top-left).
Unlocking Palette House in Tomodachi Life
Visit your island’s Palette House after unlocking via a Mii’s request.
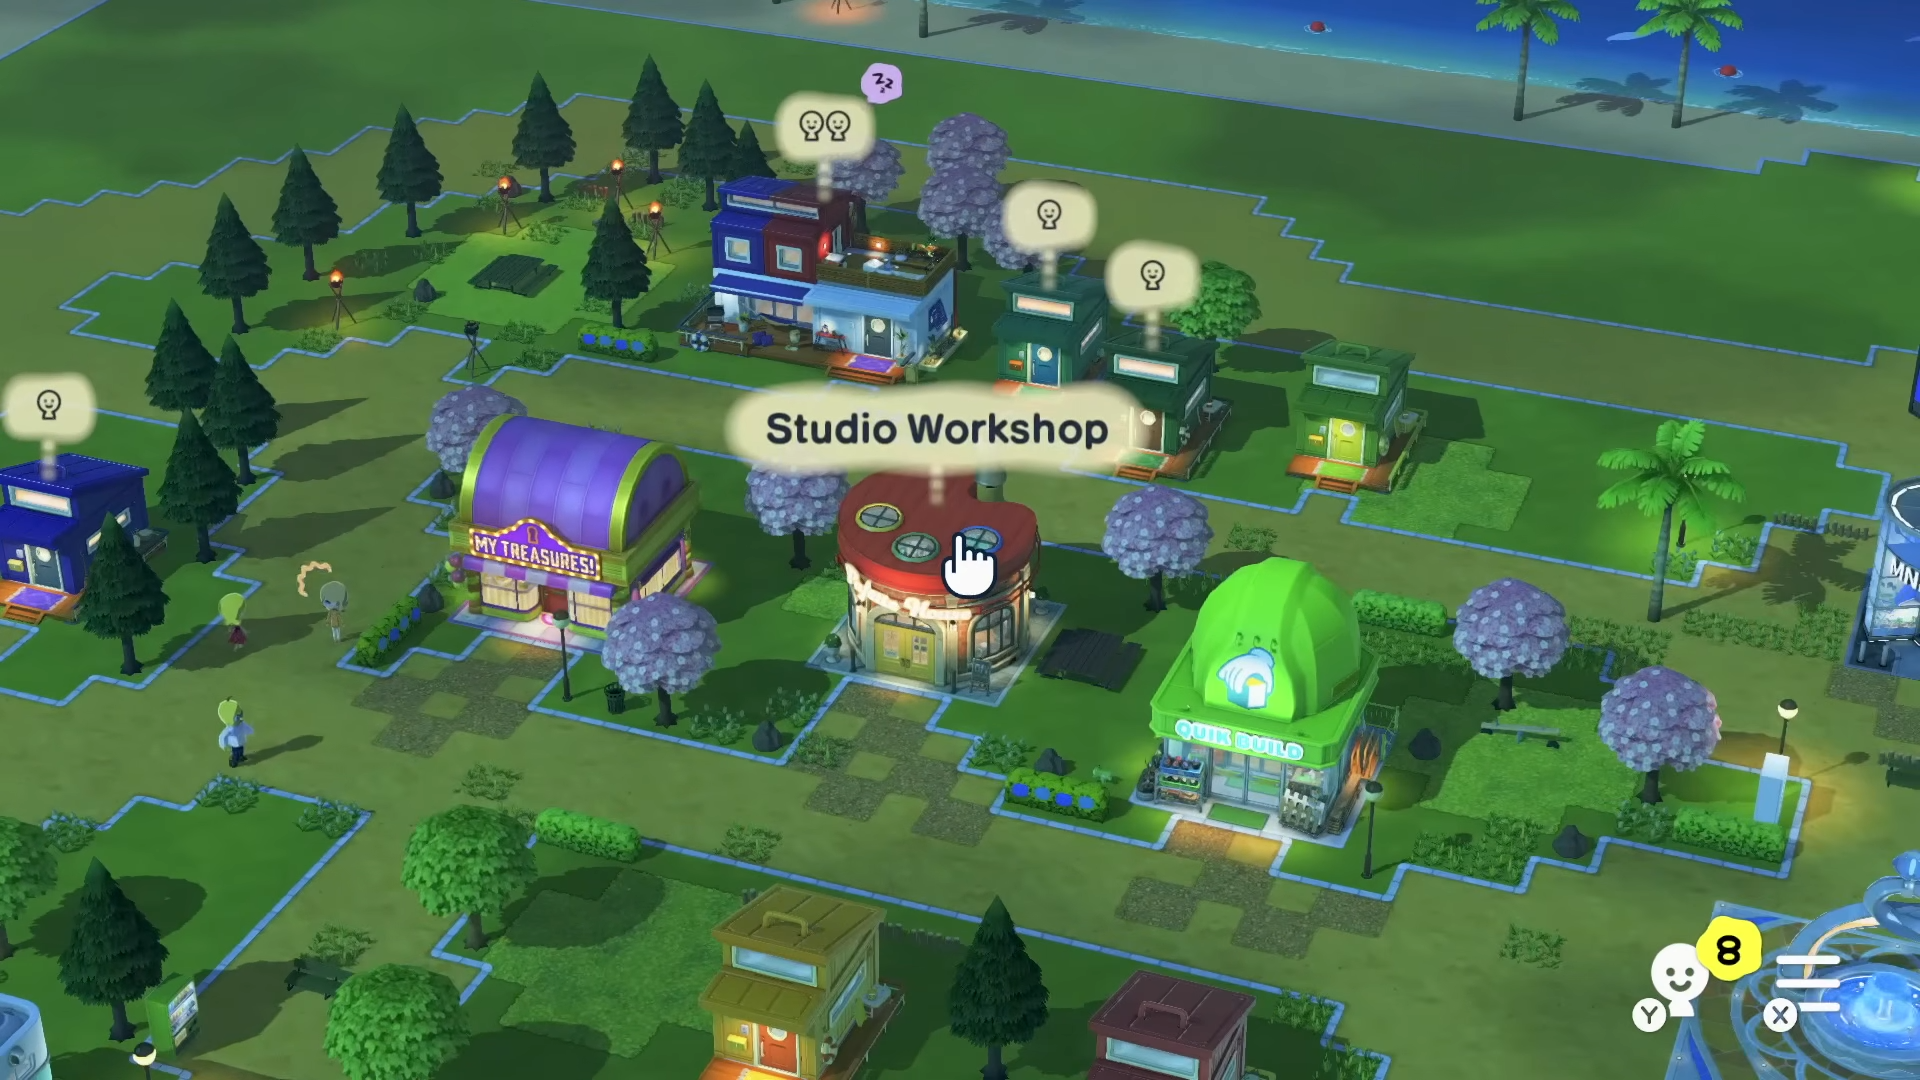
Enter pro-artist mode: tap the gear icon top-right for full tools and palette. Set canvas to 256×256; select square brush in pixel mode for grid-like behavior.
Detailed in-game recreation process
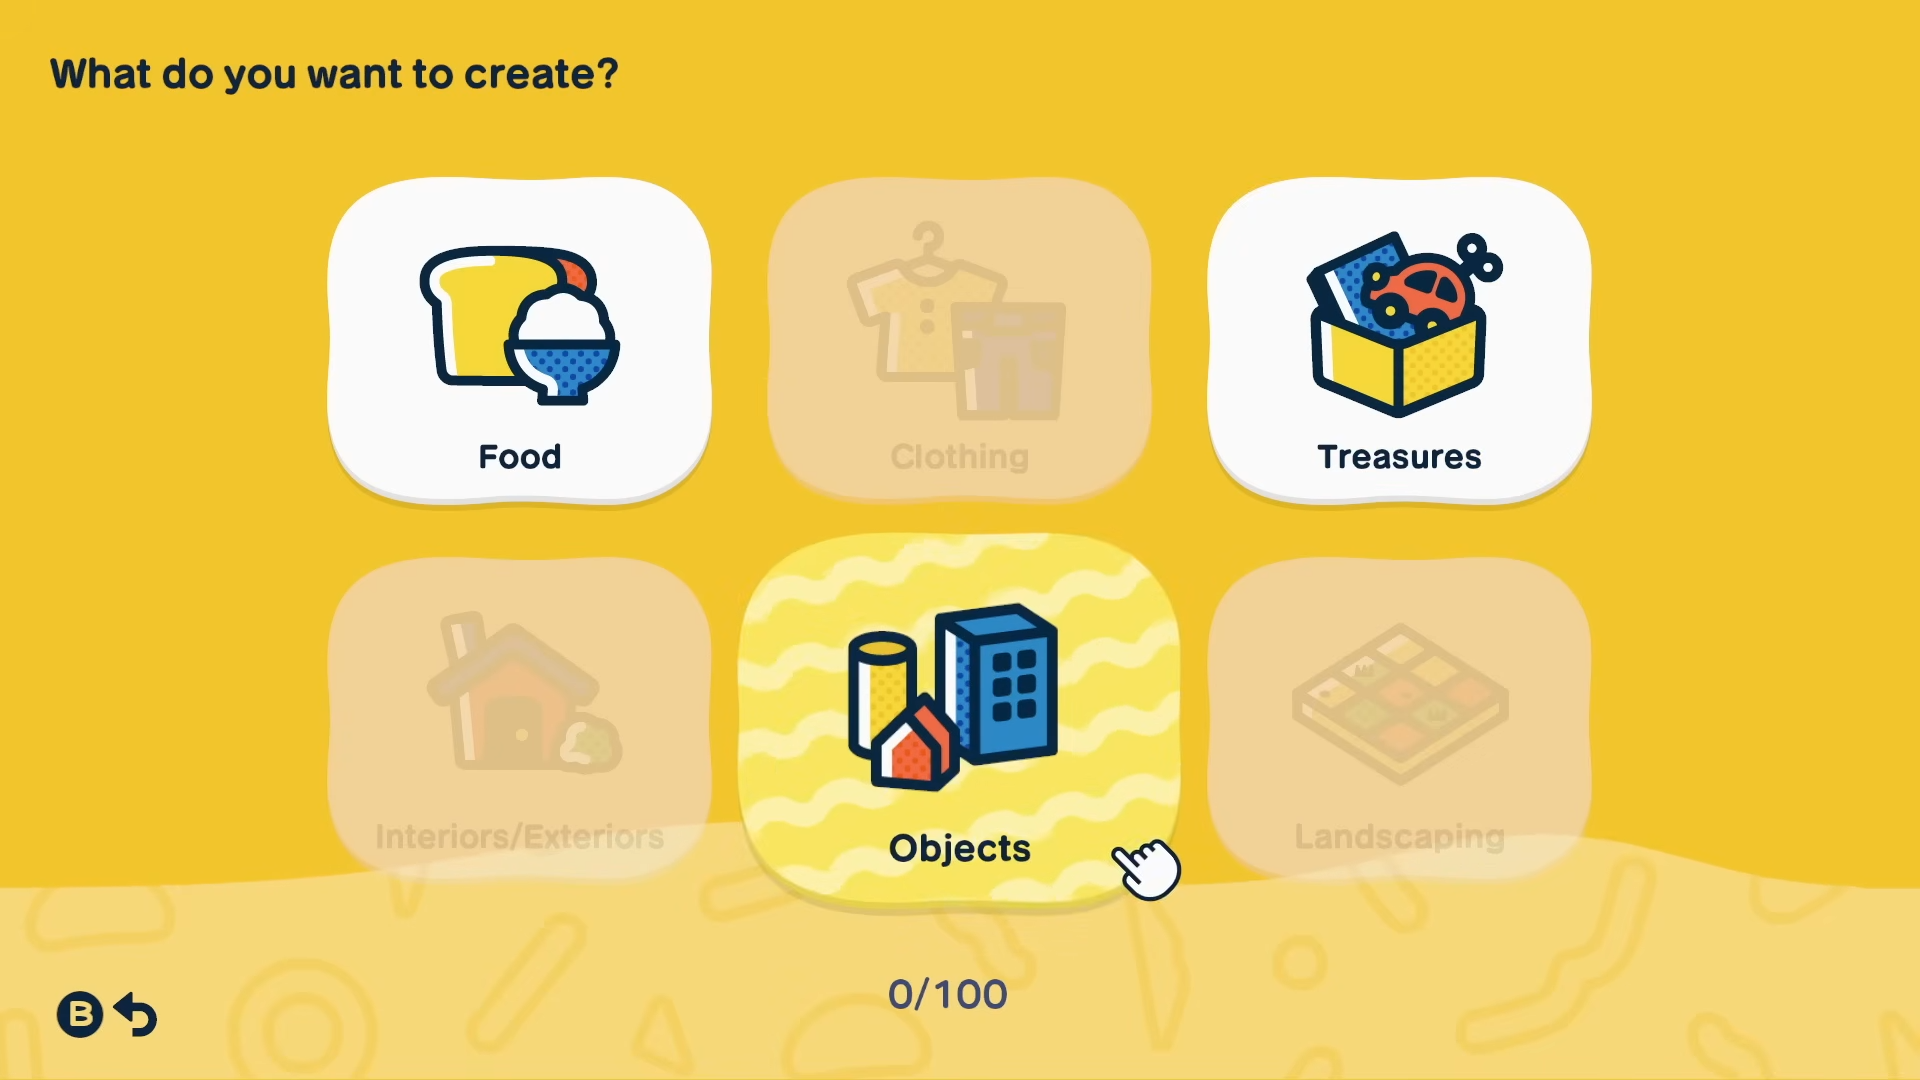
Step 1: Open design editor
From Palette House, start new custom design (clothing, treasure, etc.). Enable pro-artist mode for 84 colors.
Step 2: Match tool settings
Set brush to square shape, pixel stroke. Pick size from recipe (e.g., 1px perfect).
Step 3: Paint by sections
Use row/column labels or numbers. Fill one color at a time—hover in tool first to memorize positions. Start from edges for alignment.
Step 4: Layer efficiently
Paint background first, then details. Zoom in for precision; undo as needed.
Step 5: Review and save
Compare to tool preview; tweak shades. Save as custom item for Miis.
Tips for best results across design types
Simpler images convert cleaner—logos or cartoons over photos. Test small grids first to practice. For pets or treasures, focus central details. Clothing benefits from repeatable patterns. If colors mismatch, manually swap in tool preview.
Pro-artist mode unlocks full palette; easy mode limits options. Use external monitor for side-by-side tool/game view.
Common challenges and fixes
Busy images overload colors—reduce via settings or edit source. Large grids take time; scale down initially. Transparency shows better in tool; replicate with lightest shade in-game. Mobile browser works but desktop easier for hovering.
Mastering image-to-design workflow unlocks endless personalization in Tomodachi Life: Living the Dream. Experiment freely—your Miis thrive on unique touches.


Leave a Reply