
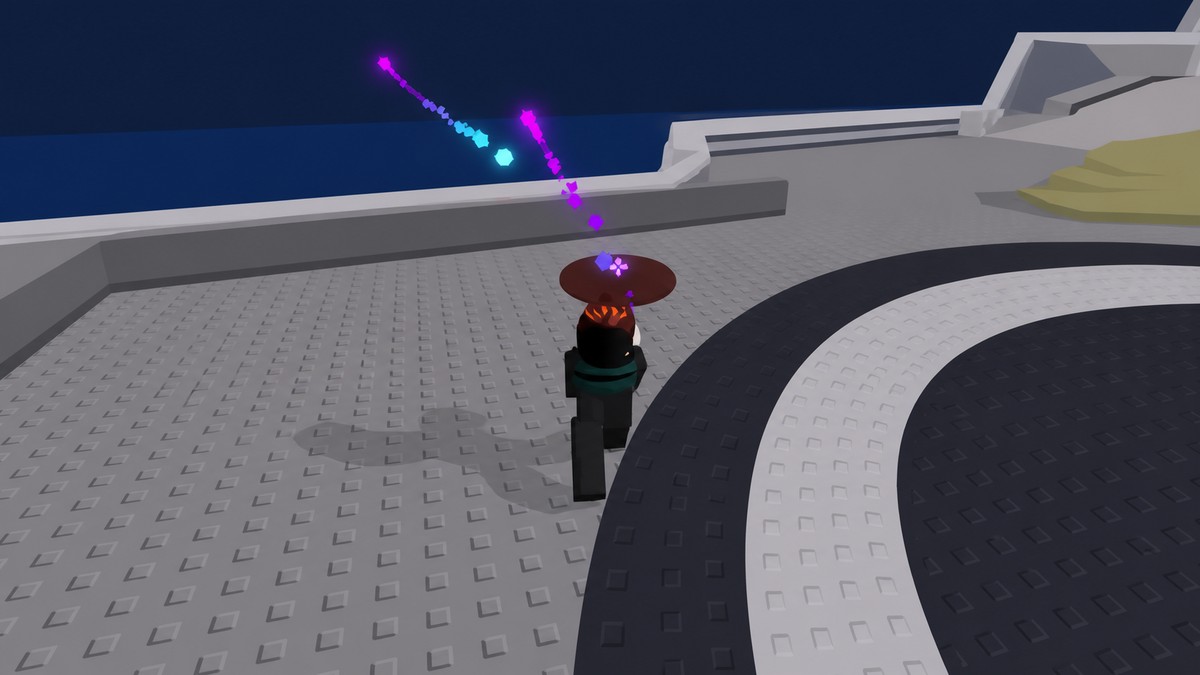
The fastest Blood Shards farm is to run Rooftop Siege on Nightmare with Horde Rush enabled, play a high-kill class like Bastion, upgrade your main weapon early, and stretch the run so more Bloodmoon Zombies can spawn.
Blood Shards are the limited-time currency of the Bloodmoon event that landed in the July 19, 2026 update, and they only fall from a rare zombie type. Because that drop source appears at a low chance, farming them well is really about one thing: killing as many zombies as possible on the highest difficulty your build can survive, for as long as you can stay alive. Everything below is built around squeezing more Bloodmoon Zombie spawns out of every match.
What Blood Shards are and where they drop
| Item | Detail |
|---|---|
| Drop source | Bloodmoon Zombies only |
| Spawn chance | Around 1% per zombie |
| Currency use | Bloodmoon Crate spins during the event |
| Crate cost | 50 Blood Shards per spin |
Blood Shards come from Bloodmoon Zombies and nothing else. These enemies have roughly a 1% chance to appear, so treat that number as a rough baseline rather than a fixed rate — the point is that they are uncommon, and the only way to force more of them is to put more total zombies through the grinder. Tougher enemies also hand over more shards per kill, and matches naturally get harder the longer they run, so a long, high-kill session is worth far more than a short one.
That is the whole logic of the farm: survival buys you deeper waves, deeper waves mean stronger zombies, and more kills mean more rolls at a Bloodmoon Zombie showing up. You spend what you collect back in the lobby at the Bloodmoon Crate.
Best farming setup at a glance
| Setting | Best choice |
|---|---|
| Map | Rooftop Siege |
| Difficulty | Nightmare |
| Mode | Horde Rush |
| Class | Bastion |
| Upgrade priority | Main weapon, early |
| Goal | Kill fast, survive long |
This is the loadout the detailed route below assumes. If any single piece is missing — say you do not own Bastion yet, or your gear cannot survive Nightmare — the farm still works, it just runs slower.
Pick Nightmare if your build can handle it

Nightmare pushes much higher difficulty but pays out better Bloodmoon rates, so take it only once your gear survives deep waves — otherwise stay a tier lower until you are ready.
Enable Horde Rush

Horde Rush dramatically raises how many zombies spawn per wave, and since Bloodmoon Zombies roll off that pool, more bodies means more chances at them.
Queue a survival-friendly map

Rooftop Siege is the go-to because its layout lets you hold out through long, constant waves; pairing it with Nightmare and Horde Rush gives you one of the densest enemy counts in the game.
Run Bastion if you have it

Bastion’s drones keep killing zombies around you on their own, cutting the pressure during hard waves so you clear faster and live longer.
Upgrade your main weapon early

Spend minerals on your primary weapon in the first waves instead of hoarding them, because stronger hits clear each wave faster.
Clear each wave quickly

Fast clears push you into higher waves sooner, where stronger enemies drop more shards and Bloodmoon Zombies appear more often.
Extend the run as long as possible

Every extra wave is another batch of spawns, so the real win condition is staying alive, not rushing a finish.
Getting more shards out of every run
The efficiency of the farm lives almost entirely in kill speed, not in playing it safe. Sitting back and surviving passively wastes the run — you want to be actively deleting zombies, because faster kills roll waves faster, and faster waves stack up more Bloodmoon Zombie chances over the same amount of time.
Bastion is the strongest class for this exact reason: its drones constantly pick off nearby zombies without any input from you, so you keep clearing even while you reposition or reload.

Upgrading your main weapon early feeds the same cycle. It is tempting to bank minerals for a big purchase, but a stronger primary right now clears waves faster, which reaches the tougher, shard-rich enemies sooner — a steady loop where quicker kills lead to bigger spawns and more chances at the drop.
Dump your first few waves of minerals into your main weapon instead of saving up — the earlier your damage spikes, the more waves you clear, and more waves is the whole point of the farm.
Other maps and safer fallbacks
| Map or method | When to use it |
|---|---|
| Rooftop Siege ledge | Safe, near-passive farming by the ventilation fan |
| Rooftop Siege staircase choke | If you want a barricade-and-turret hold instead of the ledge |
| Prison Yard | Long runs anchored by shelter placement and Horde Rush |
| Abandoned Farm | Another map suited to extended farming sessions |
Rooftop Siege is the headline pick, but it has more than one way to play it, and a couple of other maps hold up for long sessions too. On Rooftop Siege there is a farming spot where you camp the narrow ledge beside the large ventilation fan and let zombies stack above and below you — shards only auto-fly to you when kills happen close by, so keeping enemies tightly grouped there is what makes it work. If you would rather not mess with ledge positioning, hold the rooftop staircase choke point instead and wall it off with barricades and turrets; it is slower but far more straightforward.
Prison Yard is a strong second choice — open with Horde Rush, buy your shelter as soon as you can afford it, and keep upgrading, since good shelter placement lets you ride out big waves. Abandoned Farm rounds things out as another map built for long farming runs.

Where to spend your Blood Shards
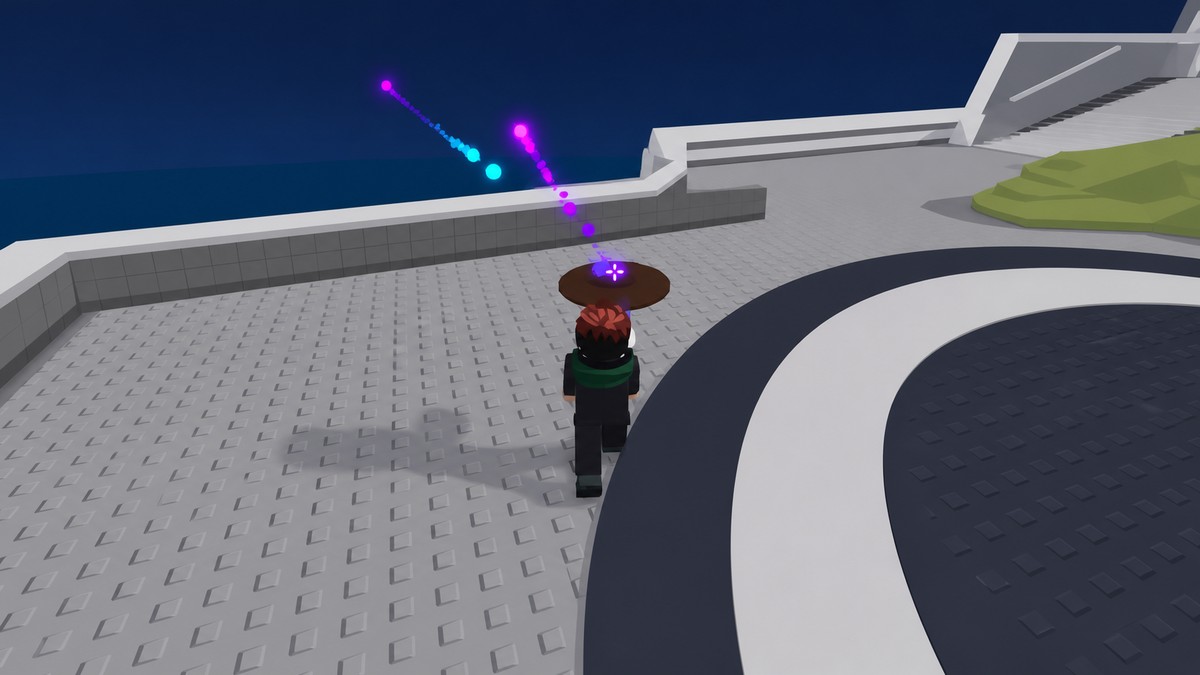
Everything you farm goes into Bloodmoon Crate spins back in the lobby, at 50 Blood Shards a spin. The crate holds the blood-themed weapon line — the Blood Pistol, Blood SMG, Blood AR, Blood Staff, and Bloodmaster — with a gun guaranteed every 50 spins. The long-shot prize is the Bloodmaster Legendary class, which the current event lets you roll from the crate; note that an older writeup claimed Bloodmaster could not be bought with shards at all, so it is worth knowing the Bloodmoon version is what put it in the pool.
Blood Shard farming mistakes to avoid
The biggest one is farming on low difficulty — you will simply see far fewer Bloodmoon Zombies per minute, which defeats the entire purpose. The second is standing too far from your kills, since shards only auto-collect when the zombie dies near you. Do not confuse the outdated Void Shards and Galactic Crate content with the current Bloodmoon loop; they are a different, retired event. And resist the urge to chase raw kill count by running all over the map — controlled, high-density waves in one spot beat scattered movement every time.
Related Survive Zombie Arena guides
Frequently Asked Questions
Can beginners farm Blood Shards before they can handle Nightmare?
Yes. Lower difficulties still drop shards, just at a slower trickle, so you can build up your gear on a tier you can clear without dying early. The real signal that you are ready for Nightmare is surviving deep into the wave count without getting overwhelmed — until then, the safer difficulty out-earns a Nightmare run you die in on wave five.
Do Blood Shards drop from every zombie or only Bloodmoon Zombies?
Only from Bloodmoon Zombies. They stand out as the purple enemies in the wave, so focus fire on them the moment they appear — regular zombies never carry shards, and higher-tier Bloodmoon Zombies hand over more per kill.
Are Void Shards the same as Blood Shards?
No. Void Shards belong to the earlier Galactic Event and its Galactic Crate, which the Bloodmoon update replaced — they only matter again if that older event cycles back. Blood Shards and the Bloodmoon Crate are the current event’s currency and reward track.
Video help




Leave a Reply