What to know
-
The Sandspear spawns consistently in a specific deep-sea spot northeast-east of your starting area
- The creature remains in the same area every time you return, making it reliable for repeat scans
-
You must use the Bioscanner (not the standard Scanner) to complete the bio scan for biomod unlocks
Bio scanning the Sandspear is a key step in unlocking advanced biomods in Subnautica 2. This deep-sea creature does not appear near the starting zone, so knowing its exact location saves significant exploration time. Once you reach the spot, the Sandspear is easy to spot and remains stationary enough to scan successfully.
Bioscanning Sandspear details
Location details
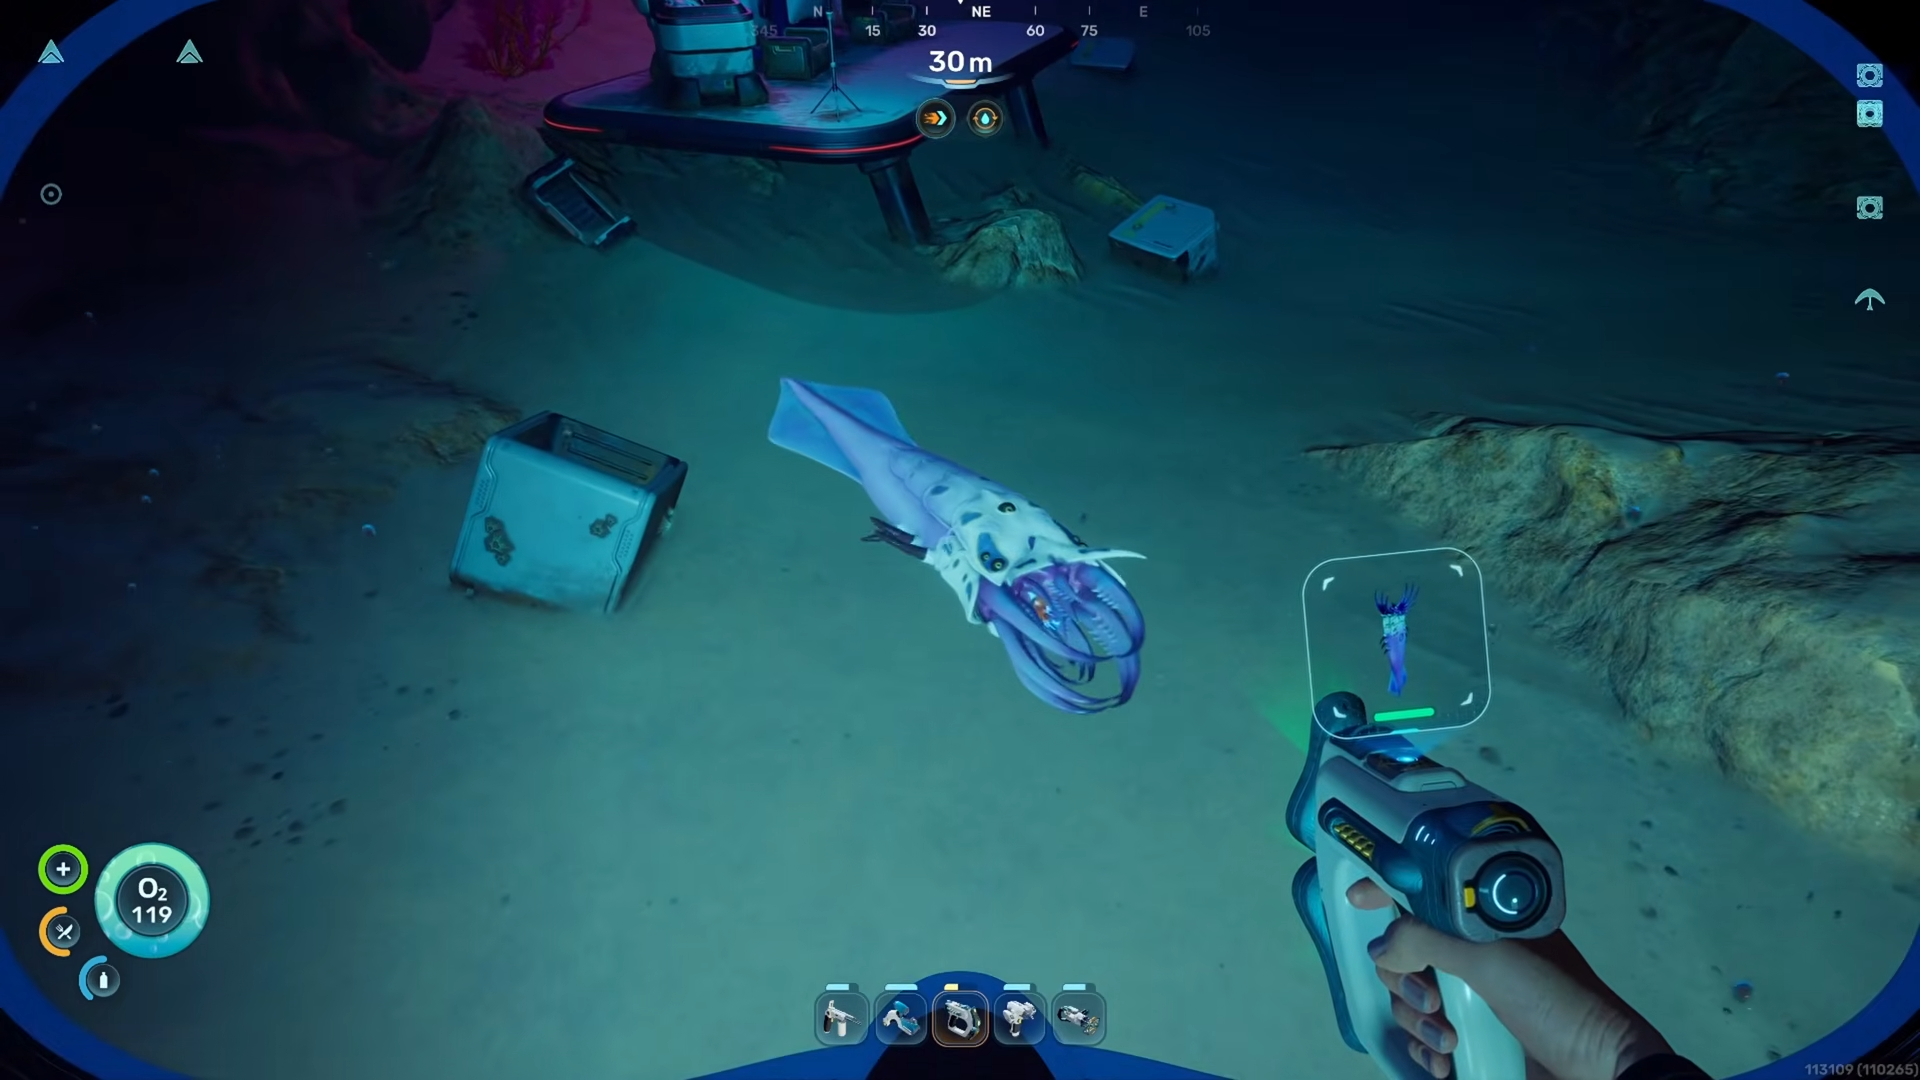
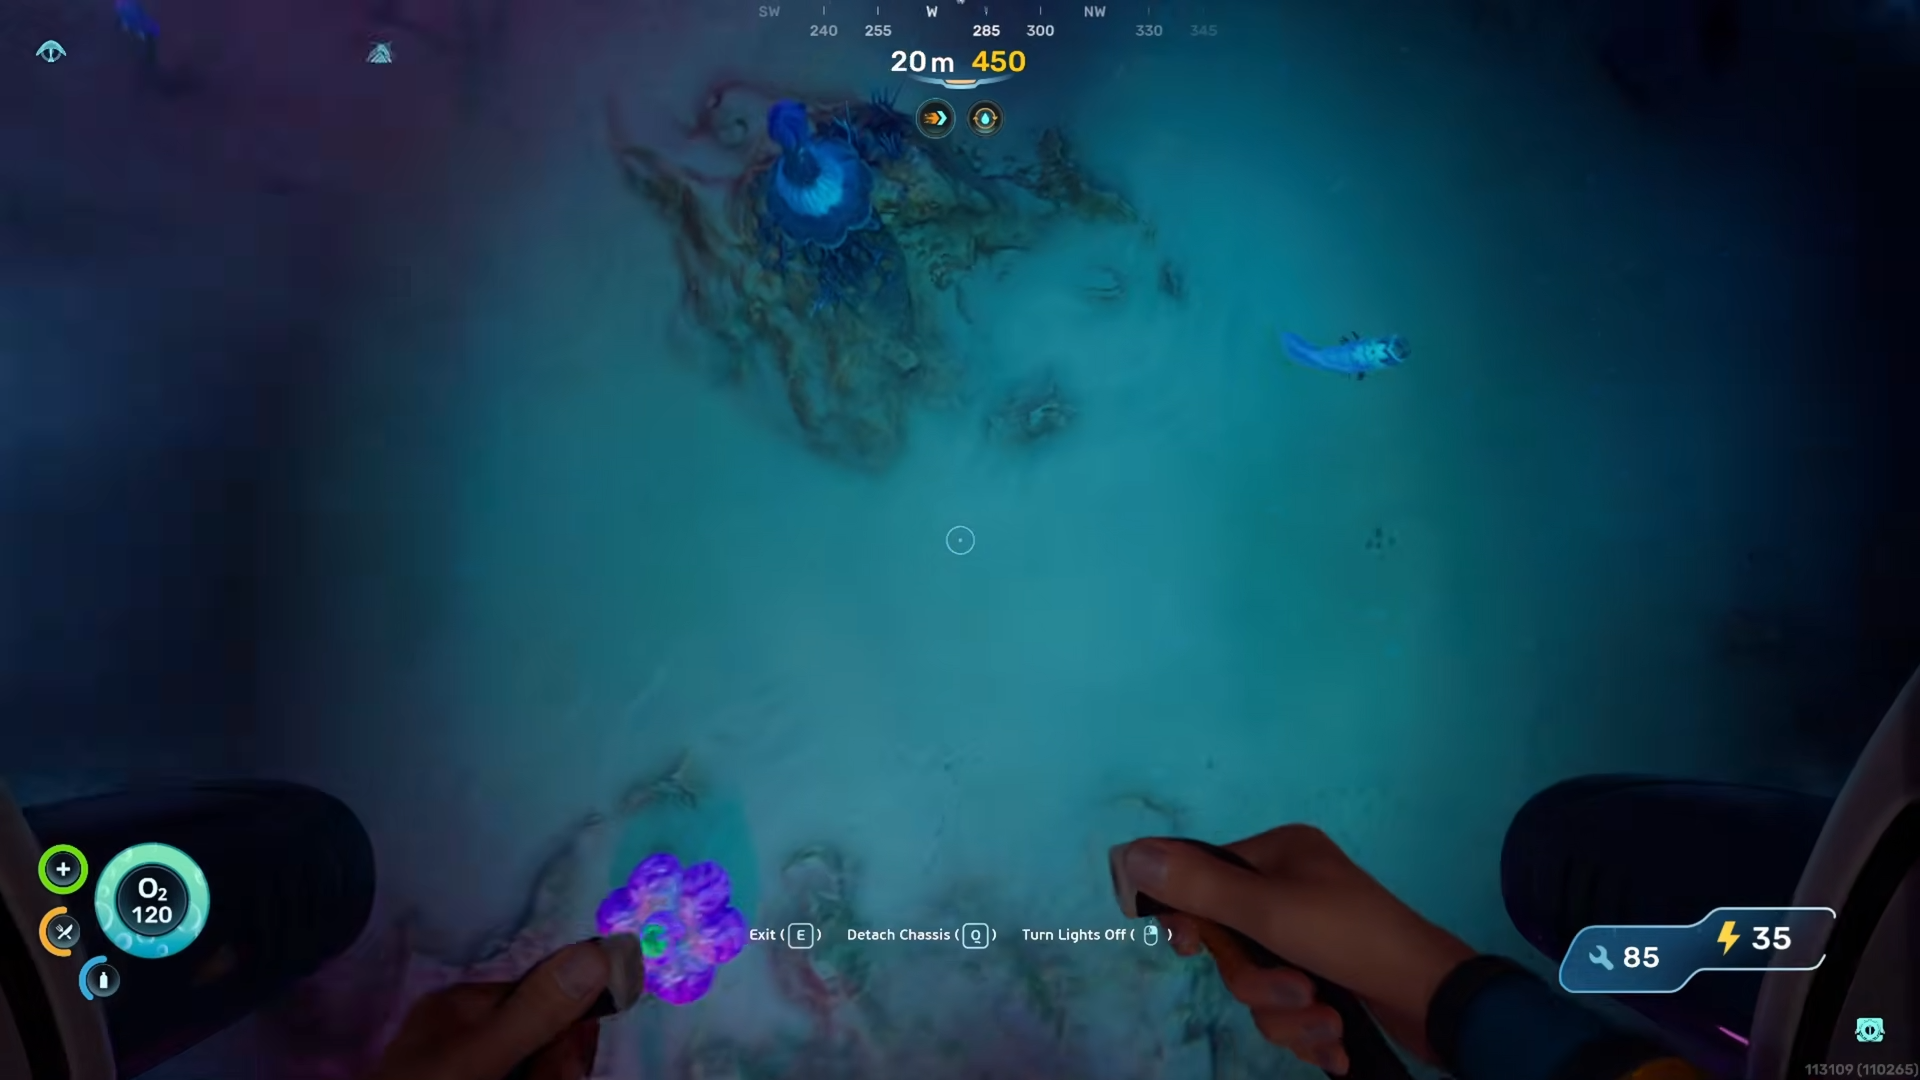
The Sandspear lives in a deep underwater zone reached by heading northeast-east from your Lifepod.
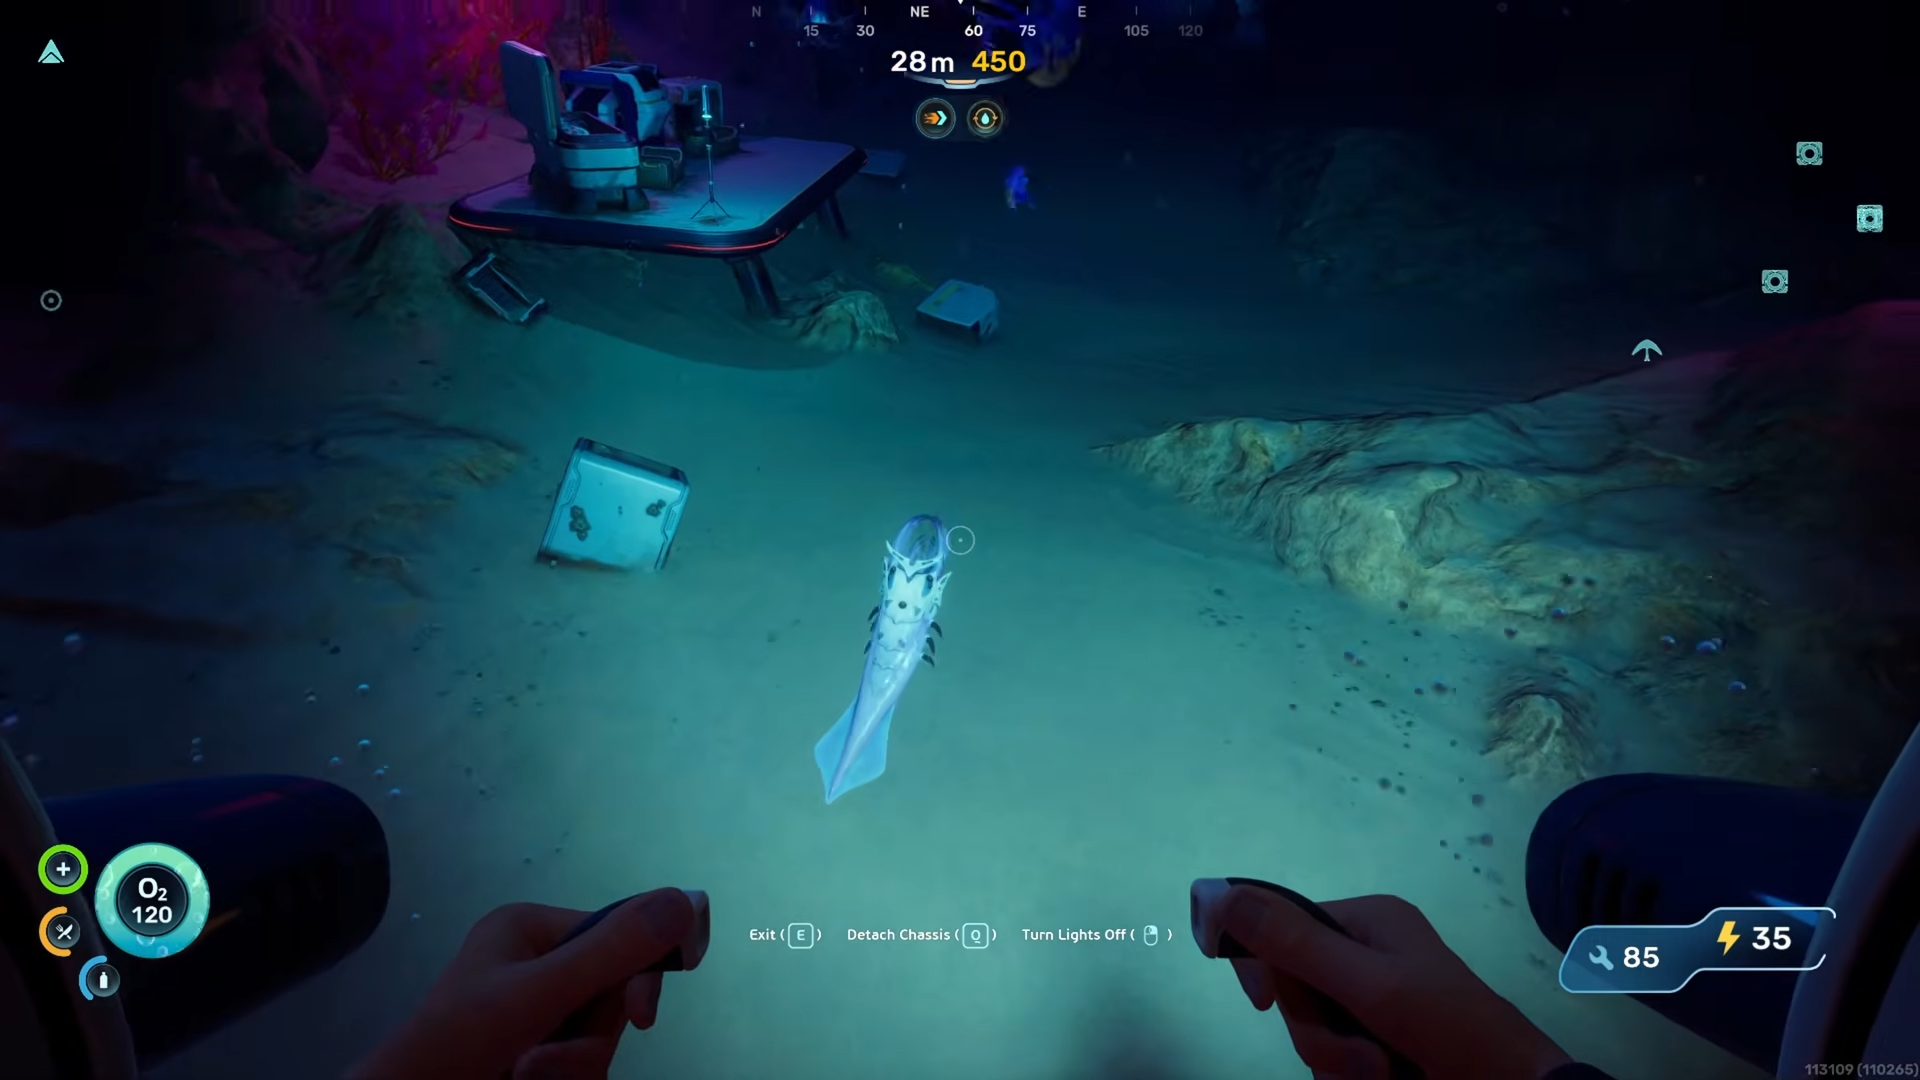
There is a specific clear area where the creature always appears.
This location is in the second major area of the game where water becomes darker and greener, indicating you have moved beyond the shallow starting biomes.
Every time you return to this spot, the Sandspear will be present, making it a trustworthy hunting ground for completing the bio scan requirement.
How to bio scan the Sandspear
Step 1
Travel northeast-east from your Lifepod until you reach the deep-sea area.
Step 2
Locate the Sandspear swimming in the open area near the seabed. It remains in this spot consistently.
Step 4
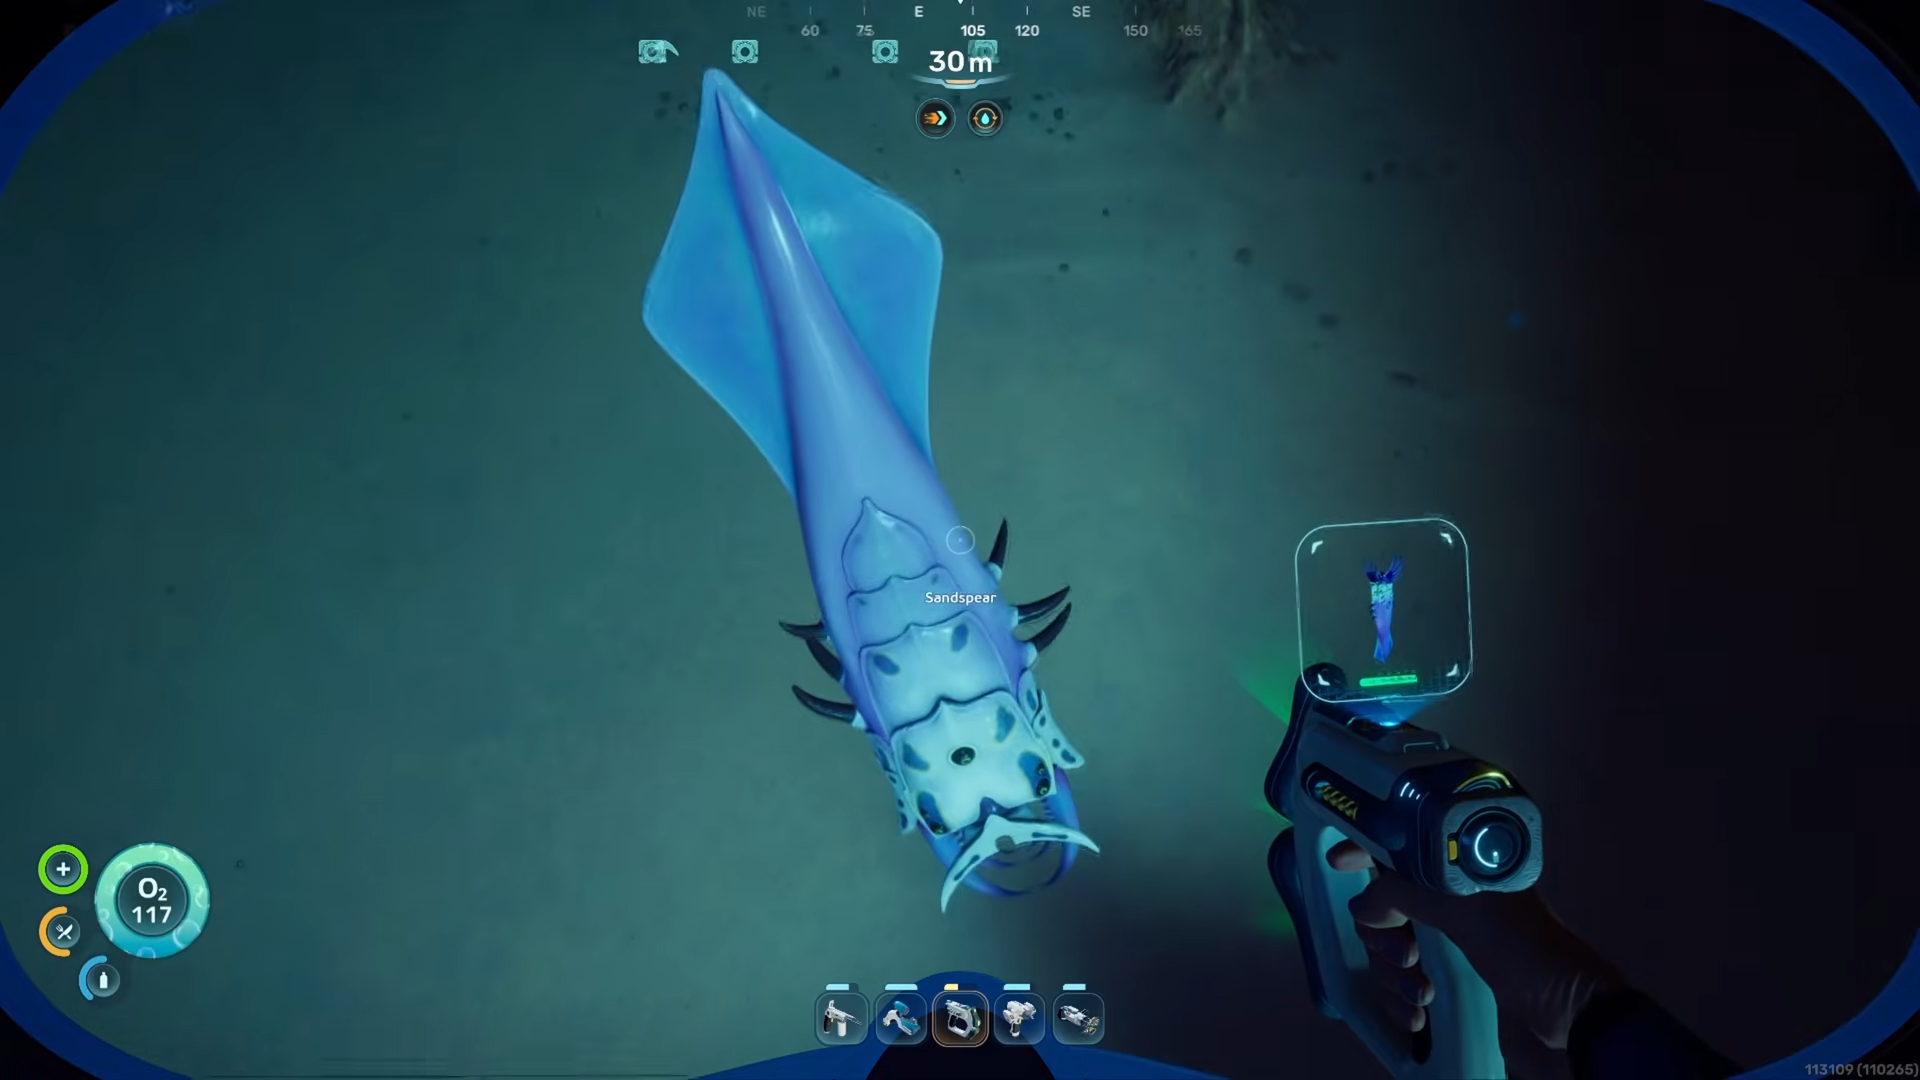
Equip your Bioscanner (not the standard Scanner) from your inventory.
Step 5
Approach the Sandspear carefully and activate the Bioscanner to begin the scanning process.
Step 6
Wait for the scan to complete without moving too far away or disturbing the creature.
Step 7
Verify the scan registered successfully by checking the Biolab interface for the Sandspear biomod progress.
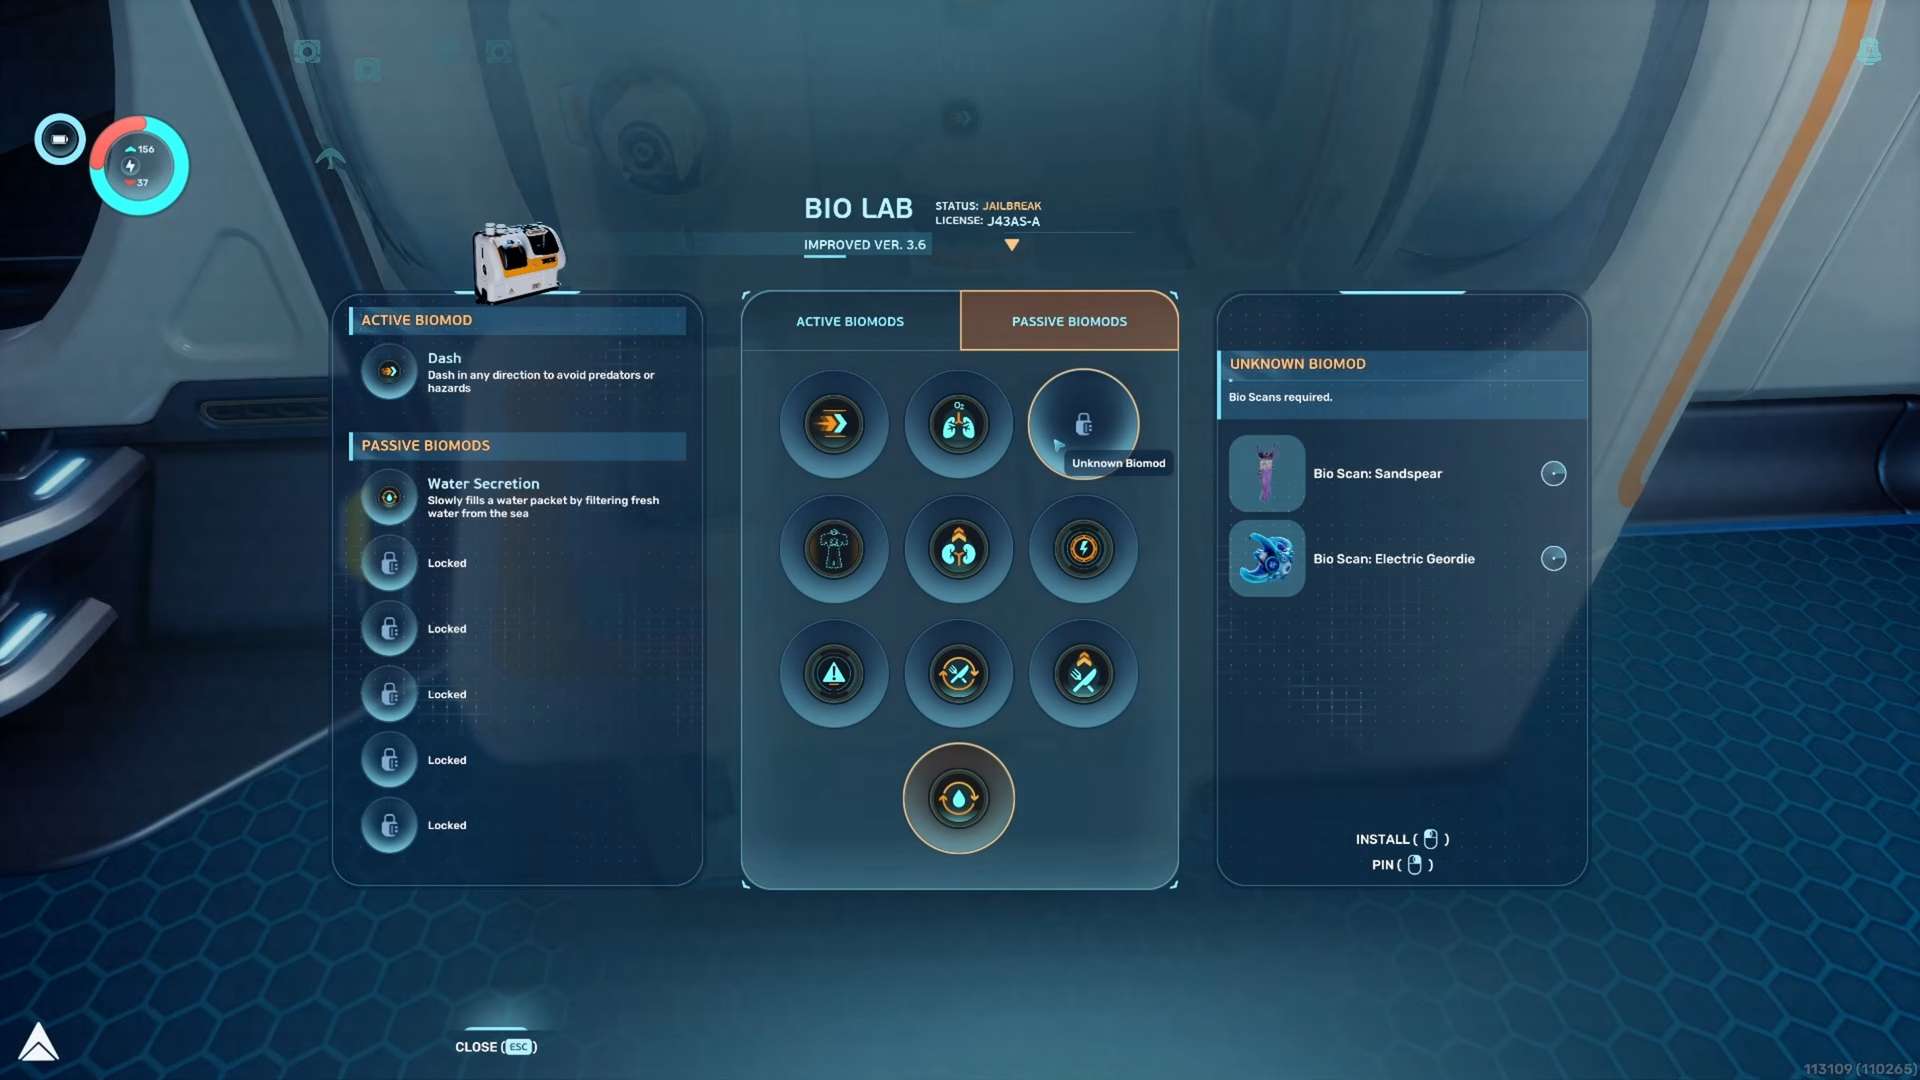
The exact effect of the Sandspear biomod depends on whether it is classified as active or passive in the Biolab terminal. Either way, scanning this creature is essential for progressing through the full biomod roster.


Leave a Reply