
What to know
- Copper is mainly found inside underground cave tunnels near the starting area.
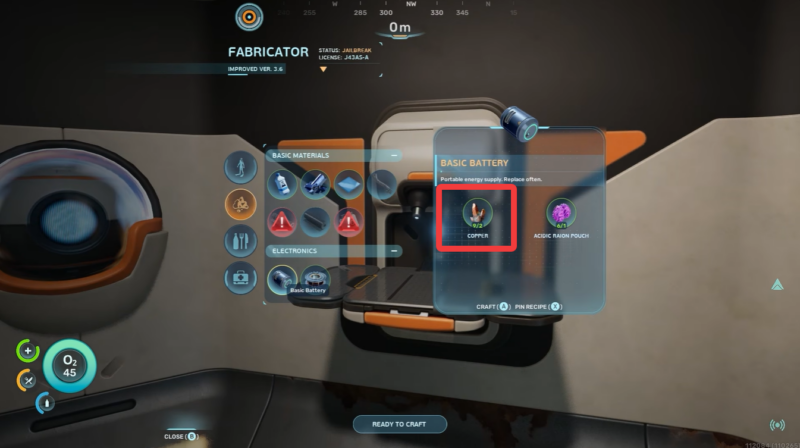
- You need Copper for early-game crafting recipes like Batteries, Scanners, and electronics.
- Small chunks appear on cave walls, while larger deposits are deeper underground.
- Exploring carefully with enough oxygen is important because early caves can become confusing quickly.
Starting out in Subnautica 2 means gathering basic resources as quickly as possible, and Copper is one of the most important early-game materials you will need. Nearly every major progression path depends on it, especially when crafting survival tools, power-related equipment, and scanners. Fortunately, Copper is not extremely rare once you understand where the game expects you to search.
Quick overview of Copper in Subnautica 2
| Resource | Main Use | Early Location | Difficulty to Find | Best Method |
|---|---|---|---|---|
| Copper | Batteries, electronics, tools | Cave systems below starting zone | Easy | Explore underground wall deposits |
| Large Copper Deposits | Bulk crafting later | Deeper cave sections | Moderate | Extended cave exploration |
Where Copper is located early in the game
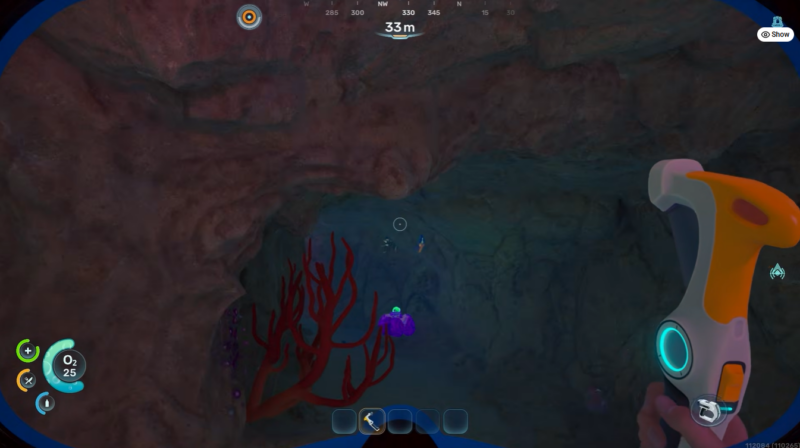
The easiest place to find Copper in Subnautica 2 is directly underneath the starting region. Shortly after beginning the game, you can locate several openings in the seafloor that lead into underground cave systems. These tunnels contain multiple resource nodes attached to the rocky walls.

Unlike some surface resources that are scattered loosely across open water, Copper tends to appear embedded into cave walls and rocky interiors. This makes underground exploration the most reliable farming method during the early game.
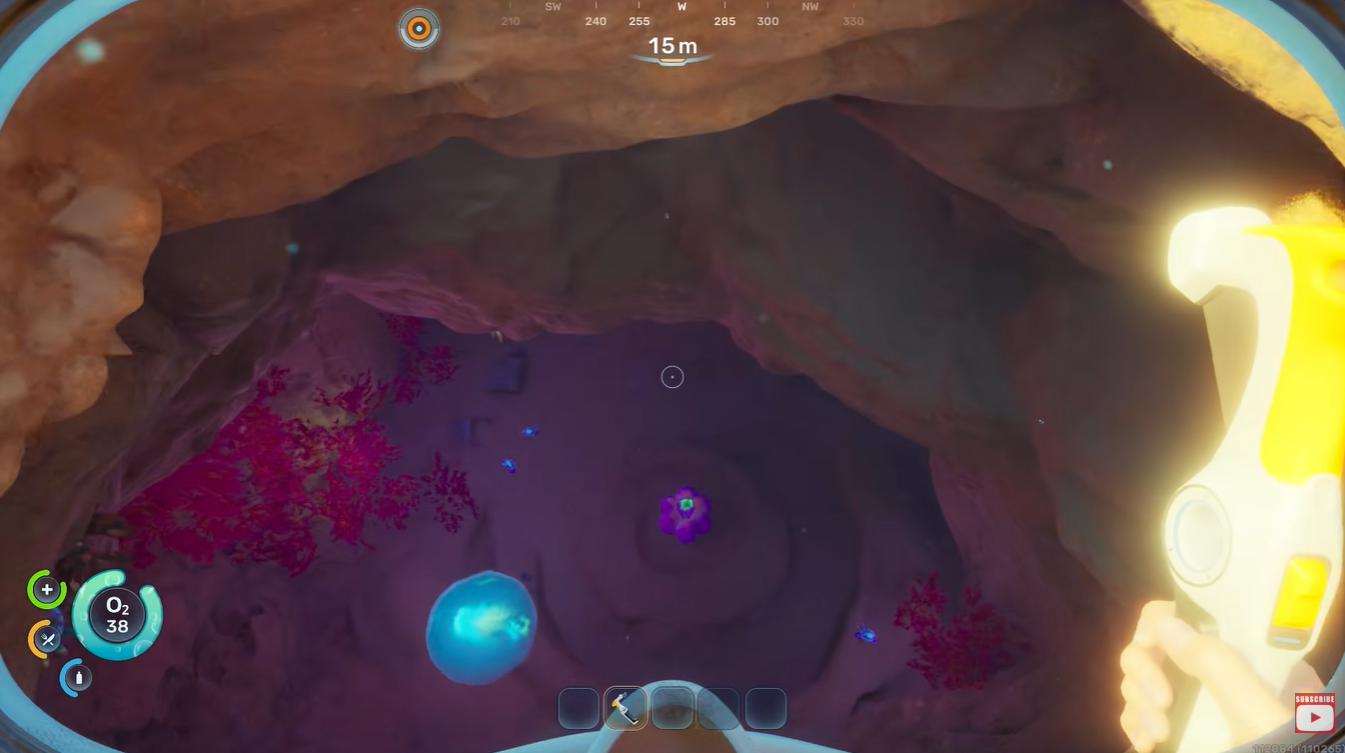
As you descend, you may initially notice only a few smaller pieces. However, the deeper sections of these cave networks usually contain far more resource clusters, including larger Copper deposits that can support longer crafting sessions.
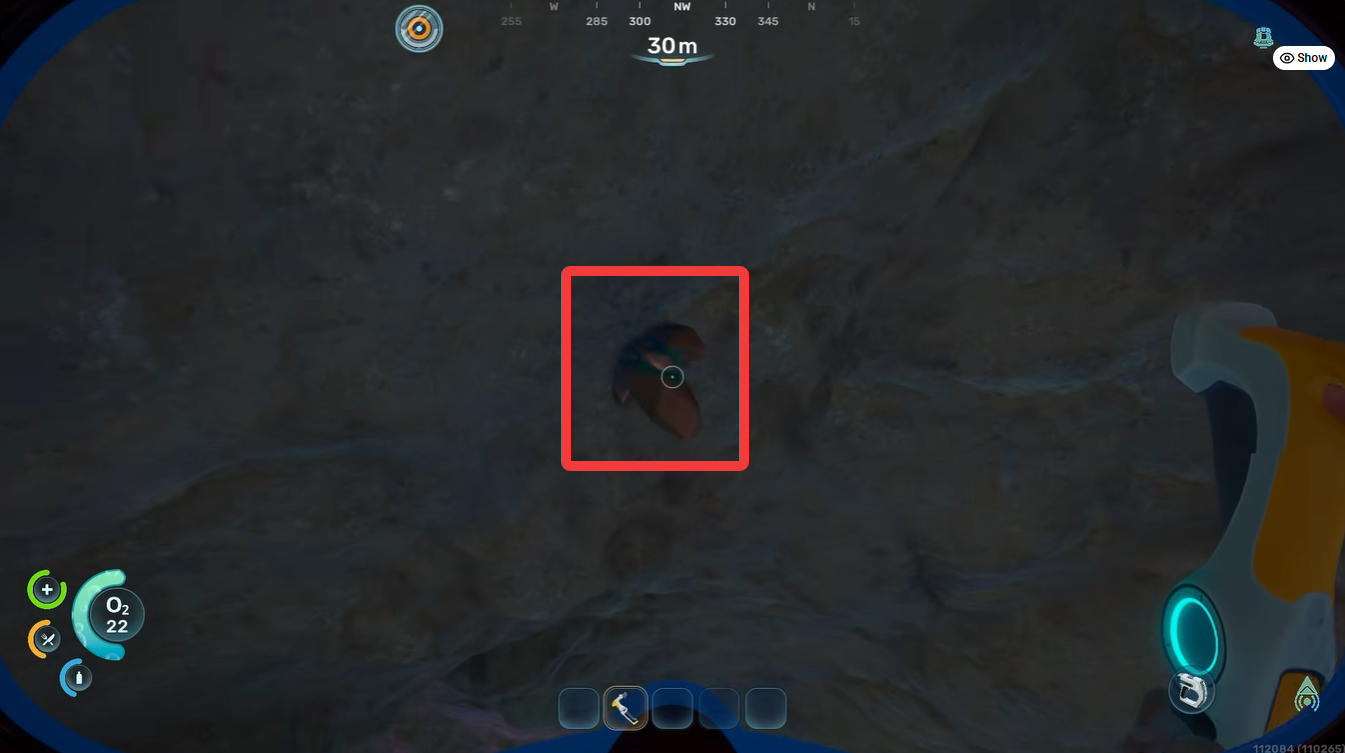
How to recognize Copper nodes
Copper deposits are fairly easy to identify once you know what to look for. The resource typically appears as brownish-orange mineral chunks embedded into stone surfaces. Inside darker caves, they can blend into the environment slightly, so using lighting tools or carefully scanning walls helps significantly.
You should focus on:
- Rocky cave walls
- Narrow underground corridors
- Mineral-rich tunnel sections
- Areas with multiple exposed stone formations
The resource does not usually float freely in open water, meaning cave exploration is the intended early-game method.
How to get Copper in Subnautica 2
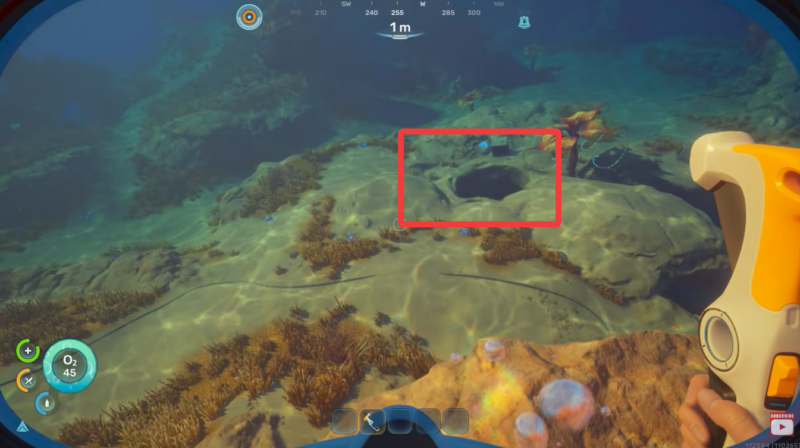
Step 1
Start from your initial spawn or life pod area and look downward toward the ocean floor. You should notice several natural openings leading underground.
Step 2
Swim carefully into these openings and descend slowly while monitoring your oxygen supply. Early caves can become maze-like if you travel too quickly.
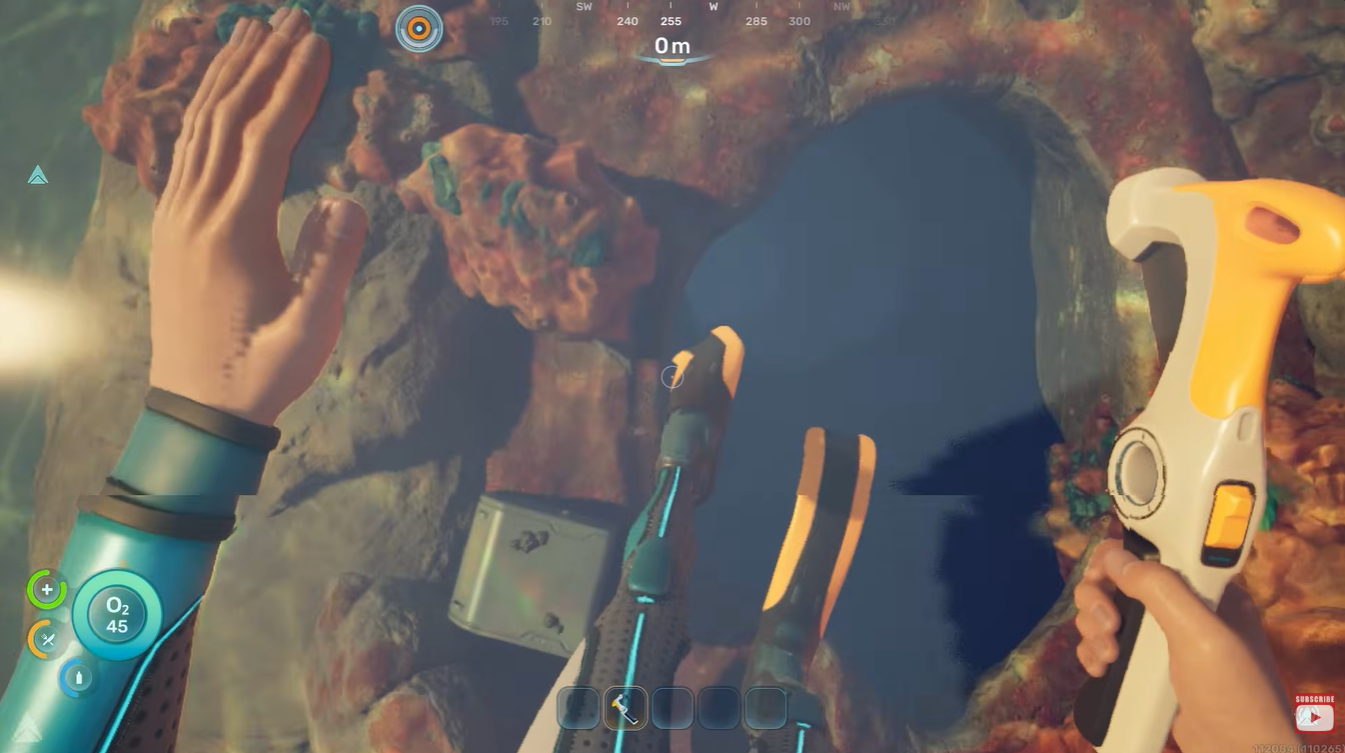
Step 3
Once inside, begin checking the walls closely. Copper appears attached directly to rocky surfaces rather than sitting on the ground.
Step 4
Harvest any visible Copper chunks you find. Early sections may only contain small amounts, so continue deeper if resources seem limited.

Step 5
Search larger cave chambers thoroughly. These areas often contain denser resource generation and larger Copper formations.
Why Copper matters so much early on
Copper is one of the most valuable early progression resources because many essential crafting recipes depend on it. Without enough Copper, your advancement slows dramatically.
Here are some of the major early-game uses:
| Crafted Item | Why It Matters |
|---|---|
| Batteries | Powers important equipment |
| Scanner | Unlocks blueprint scanning |
| Electronics | Required for advanced crafting |
| Base Components | Supports expansion later |
| Navigation Tools | Helps deeper exploration |
Because of this, it is worth collecting extra Copper whenever you find it rather than farming only what you immediately need.
Tips for farming Copper efficiently
One of the best strategies is staying near cave entrances during your first few trips. This reduces the risk of getting lost while still giving access to several resource nodes.
As your oxygen capacity improves, you can safely explore deeper tunnel systems where larger Copper concentrations appear more frequently. Bringing navigation tools later also makes repeated farming runs much easier.
You should also pay attention to environmental landmarks inside caves. Some tunnels loop back into larger chambers, while others dead-end quickly. Learning cave layouts can save a lot of time during resource gathering.
Another important tip is inventory management. Since caves often contain multiple valuable materials besides Copper, leaving free inventory space before entering helps maximize each run.
Early survival preparation before Copper runs
Before committing to deeper cave exploration, make sure you prepare basic survival necessities:
| Preparation | Importance |
|---|---|
| Full oxygen | Prevents accidental drowning |
| Empty inventory slots | Maximizes gathering efficiency |
| Light source | Improves cave visibility |
| Medkits | Useful for environmental damage |
| Navigation awareness | Prevents getting lost |
Even though early Copper caves are relatively safe compared to later biomes, careless exploration can still become dangerous.
The fastest way to build a healthy Copper reserve is by repeatedly farming the cave networks directly beneath the starting biome. Since resources eventually respawn in many survival games, revisiting known tunnels later can remain effective.
A good approach is collecting far more Copper than you currently need whenever you encounter rich deposits. This prevents repeated interruptions when crafting new equipment later in progression.


Leave a Reply