
What to know
- Biobeds permanently expand your inventory capacity in Subnautica 2.
- Seven currently known Biobed upgrades are scattered across the map.
- Several locations are hidden inside caves, wrecks, and dangerous biomes.
- Scanner outposts make locating these upgrades significantly easier.
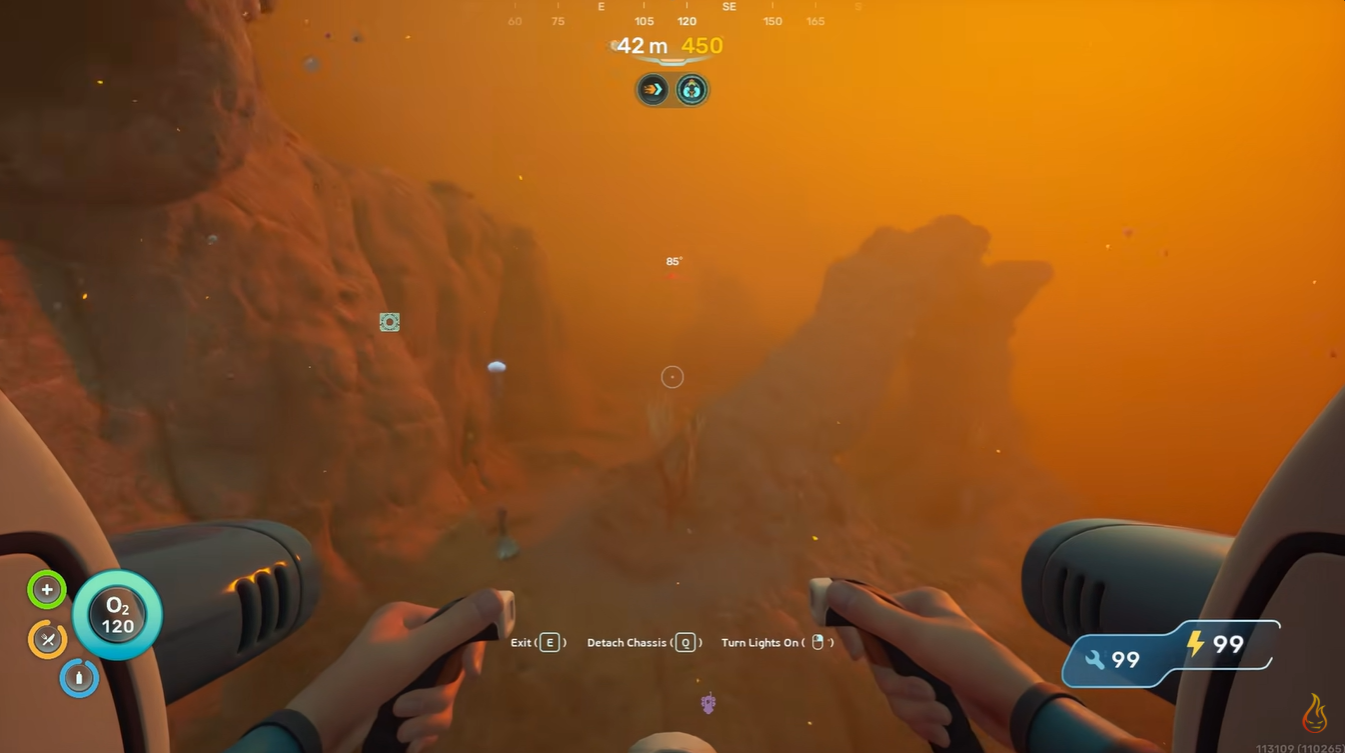
Inventory space becomes one of the biggest limitations in Subnautica 2, especially once you begin gathering advanced resources, building larger bases, and exploring deeper regions. Constantly returning to storage containers can slow progression dramatically, which is why Biobeds are considered one of the most valuable upgrades available in the current Early Access build.
Each Biobed permanently increases your carrying capacity, allowing you to stay underwater longer while collecting more materials in a single trip. Since many of them are hidden in caves or difficult-to-notice areas, players often miss them during normal exploration.
All Biobed locations in Subnautica 2
| Biobed # | Approximate Distance | Direction/Biome | Main Landmark | Difficulty |
|---|---|---|---|---|
| 1 | 252m | Southwest | Open area | Easy |
| 2 | 208m | North | Cave structure with wire | Medium |
| 3 | 177m | East | Dome structure with current | Medium |
| 4 | 220m | Southeast | Giant rock formation | Medium |
| 5 | 394m | North | Mushroom tentacle cave | Hard |
| 6 | 357m | Hot Zone | Lava cave entrance | Hard |
| 7 | 474m | East | Ship interior | Hard |
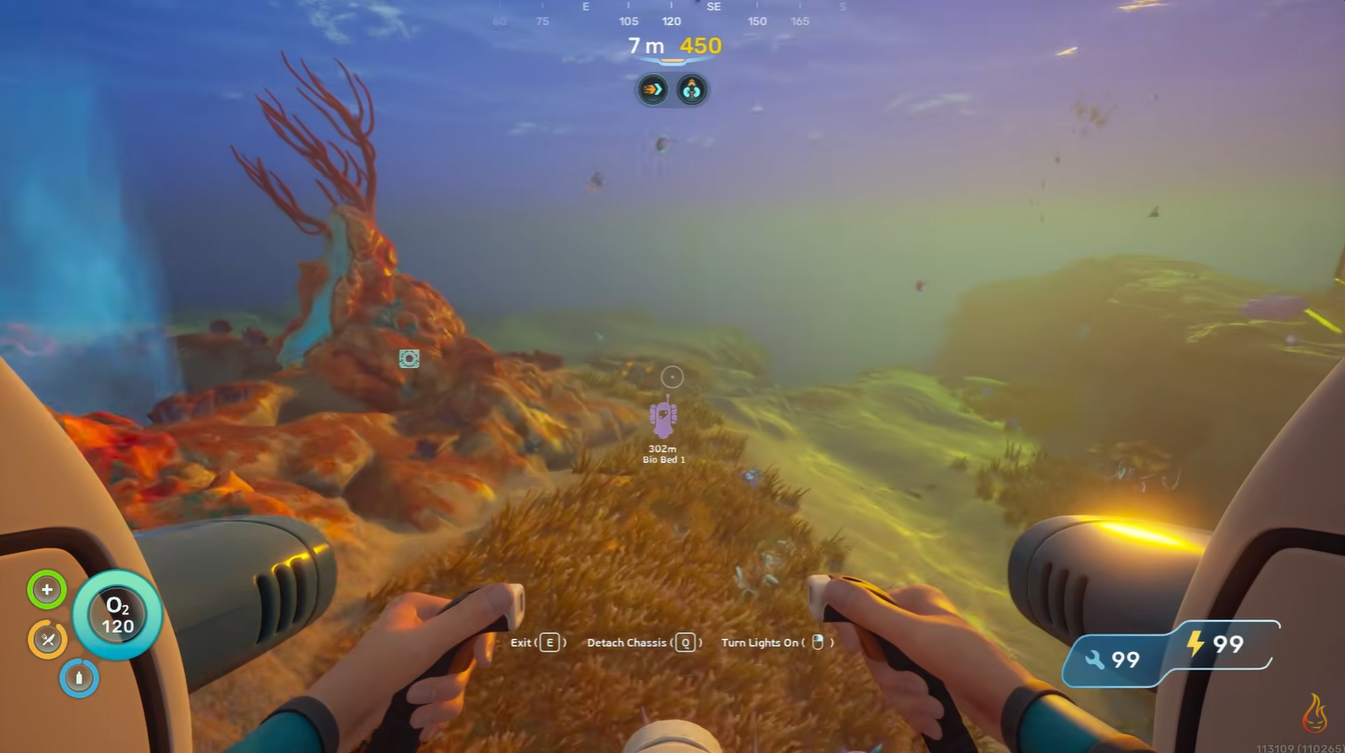
1 – Southwest open-water Biobed location
The first Biobed sits approximately 252 meters southwest of the LifePod and is one of the easiest upgrades to obtain. Unlike many later Biobeds, this one is located mostly out in the open without requiring complicated cave navigation.
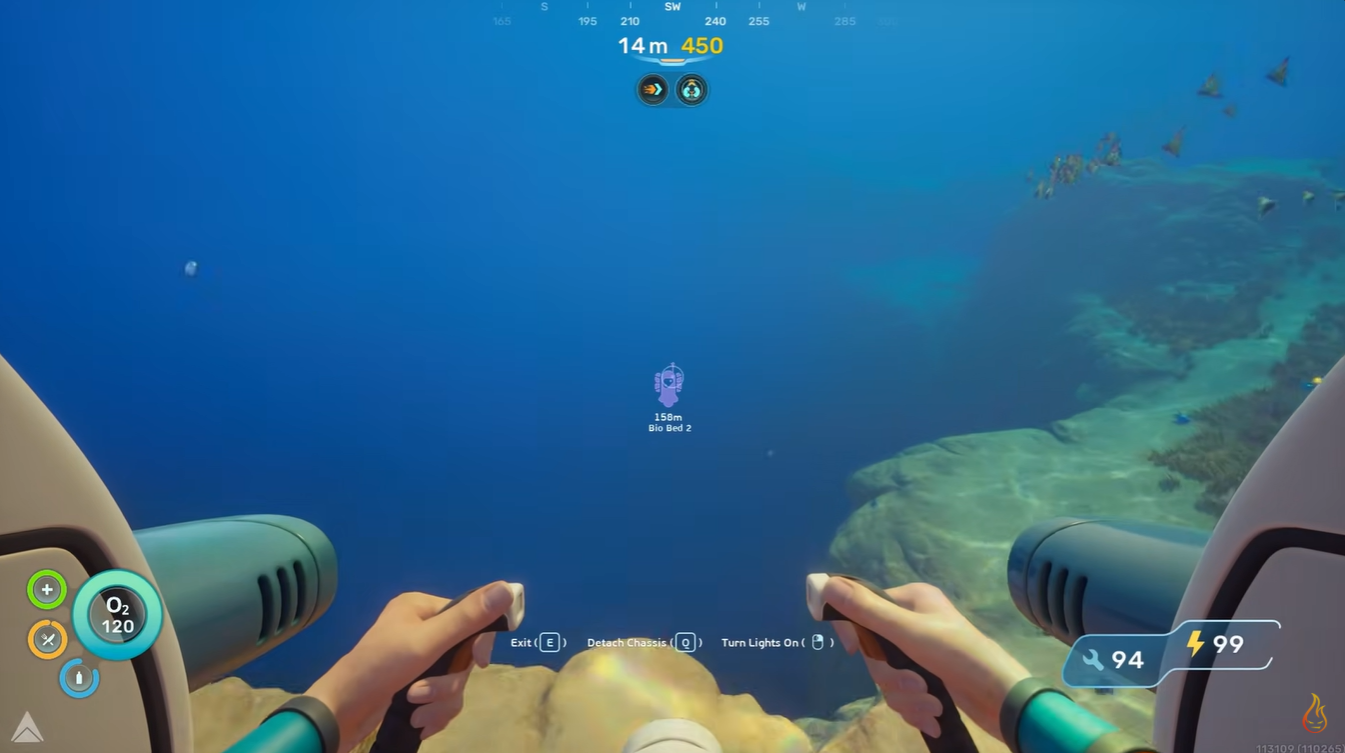
Visibility can still vary depending on lighting conditions, so daytime exploration makes spotting it much easier.
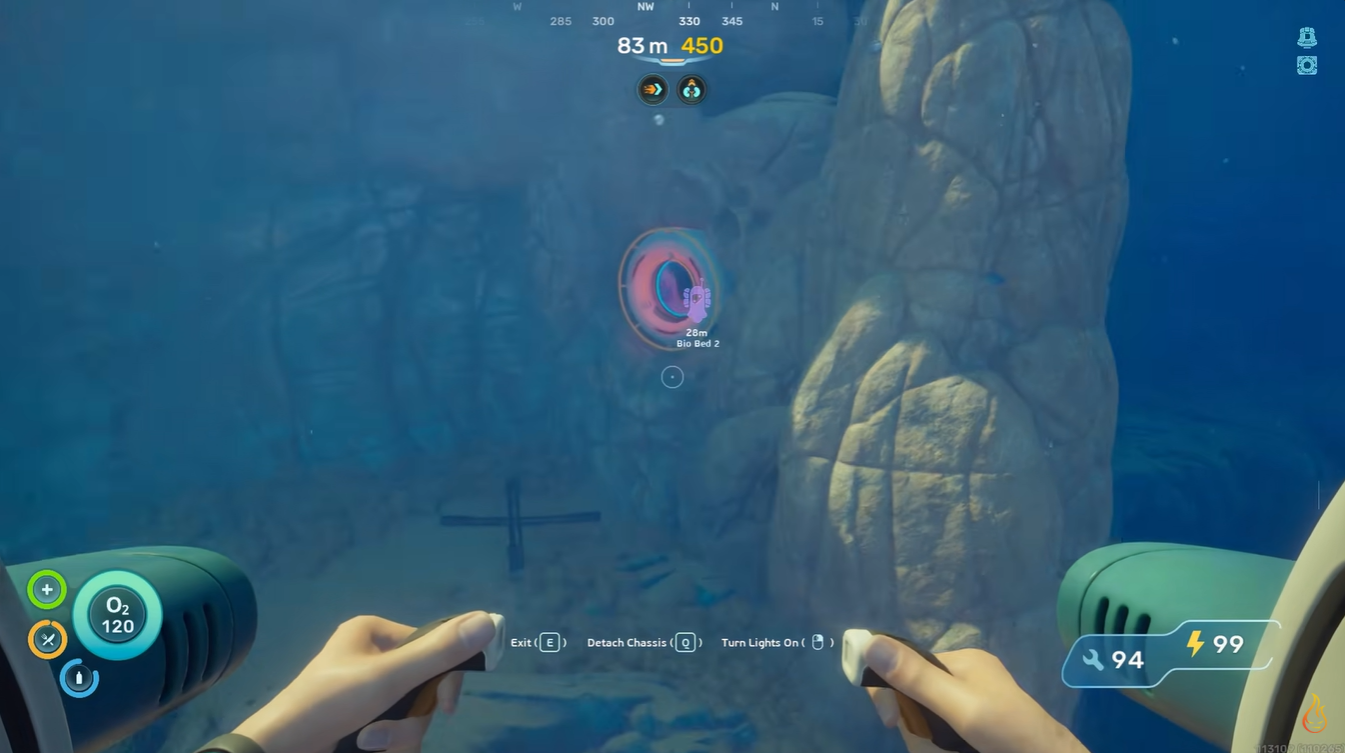
2 – Northern cave structure Biobed location
Around 208 meters north of the LifePod, you can find a cave structure connected to a visible wire descending underground. Following this path downward while hugging the right-side wall leads directly to the hidden Biobed.
The narrow cave layout makes this one slightly easier to miss if you move too quickly through the area.
3 – Eastern dome structure Biobed location
The third Biobed lies roughly 177 meters east near a large dome-like formation surrounded by water currents. The entrance is hidden behind the structure, where a hole on the right side leads deeper underground.

Staying close to the right wall inside the cave helps guide you directly toward the upgrade location.
4 – Southeast rock formation Biobed location
At approximately 220 meters southeast, you will encounter a giant rock structure protruding upward from the seabed. A nearby hole leads into a cave system where the Biobed is hidden after taking a right turn underground.

This area is darker than earlier locations, making a light source or scanner support helpful.
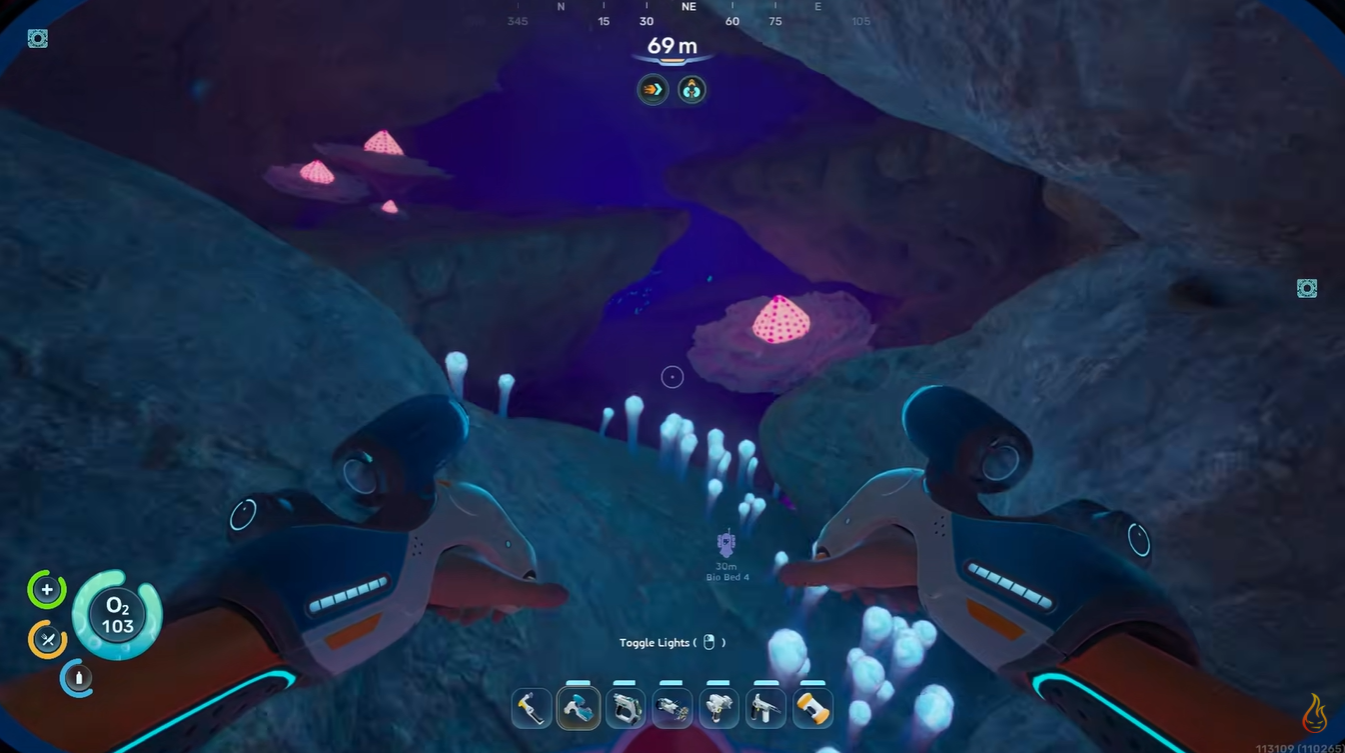
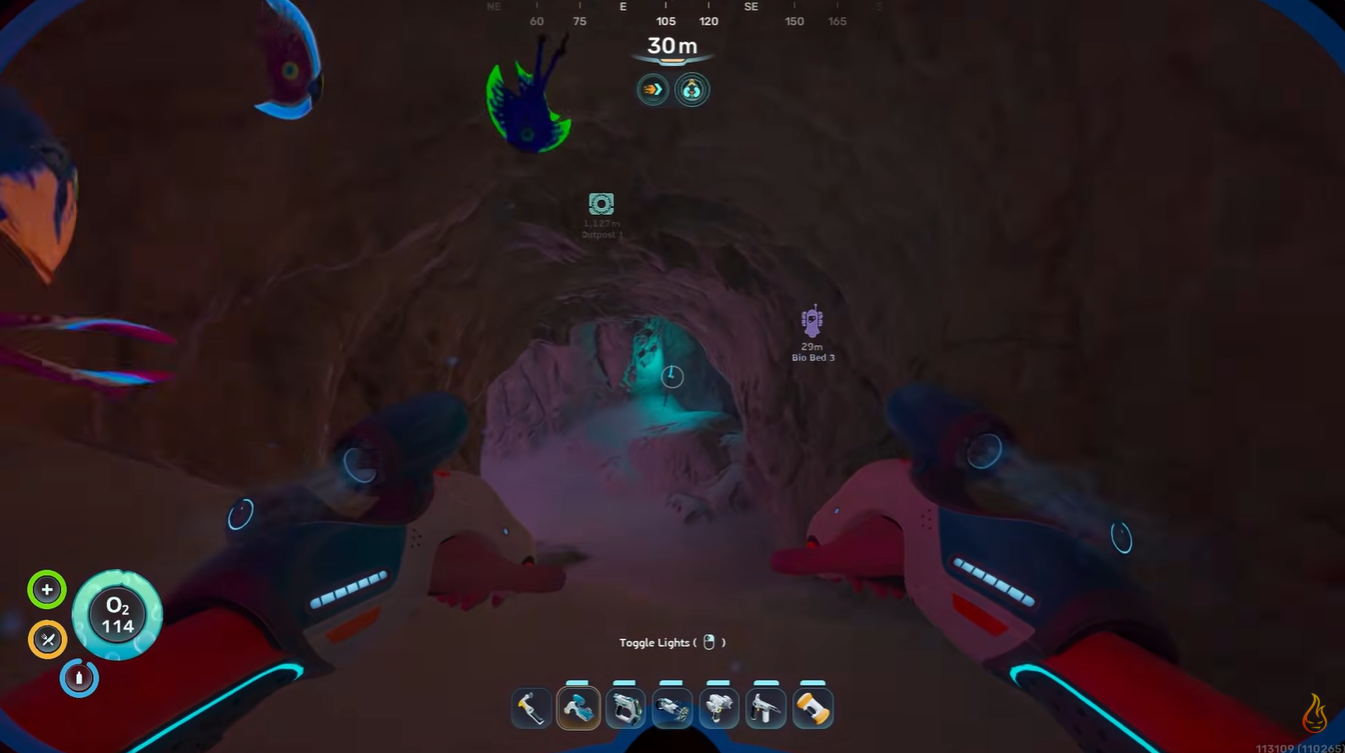
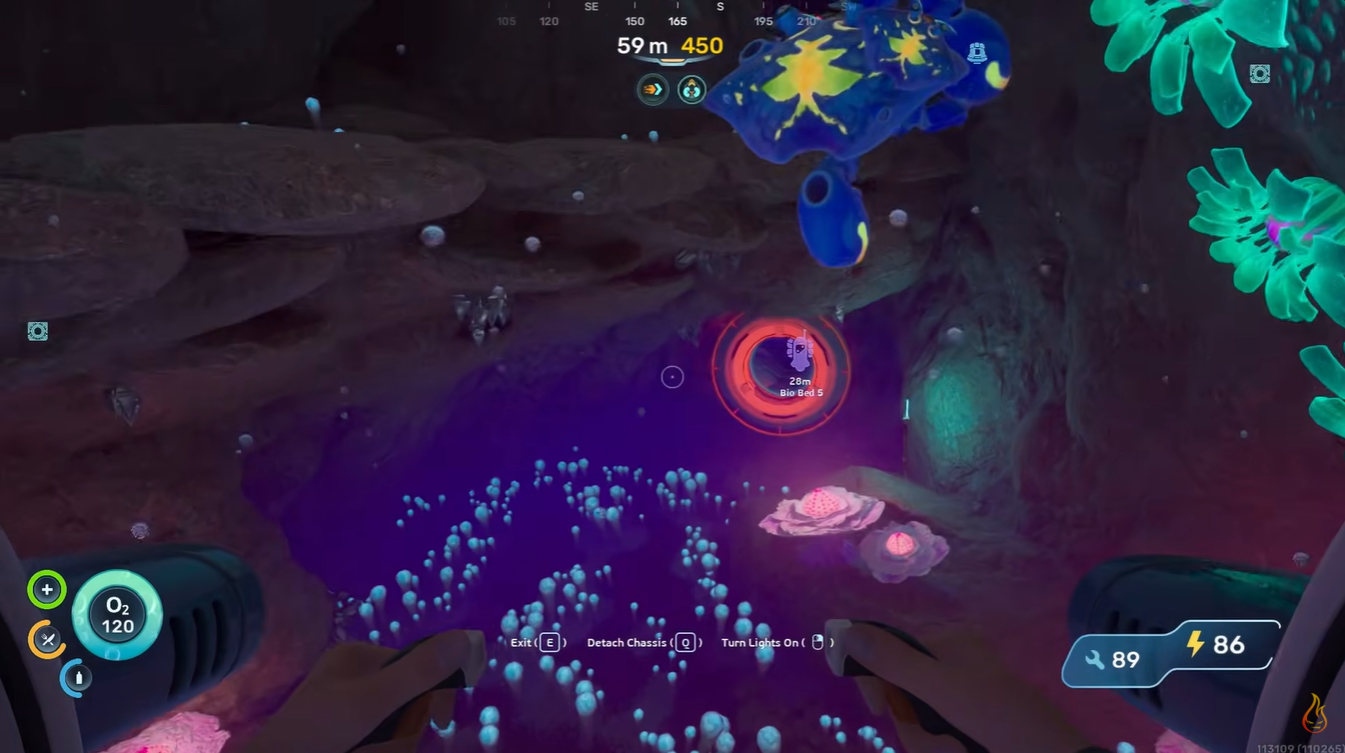
5 – Northern mushroom cave Biobed location
One of the more difficult upgrades is positioned around 394 meters north near a strange mushroom-like tentacle structure. The entrance leads into a deeper cave system marked by a visible work light.
The Biobed itself is tucked behind the player’s path and can easily be overlooked during exploration.
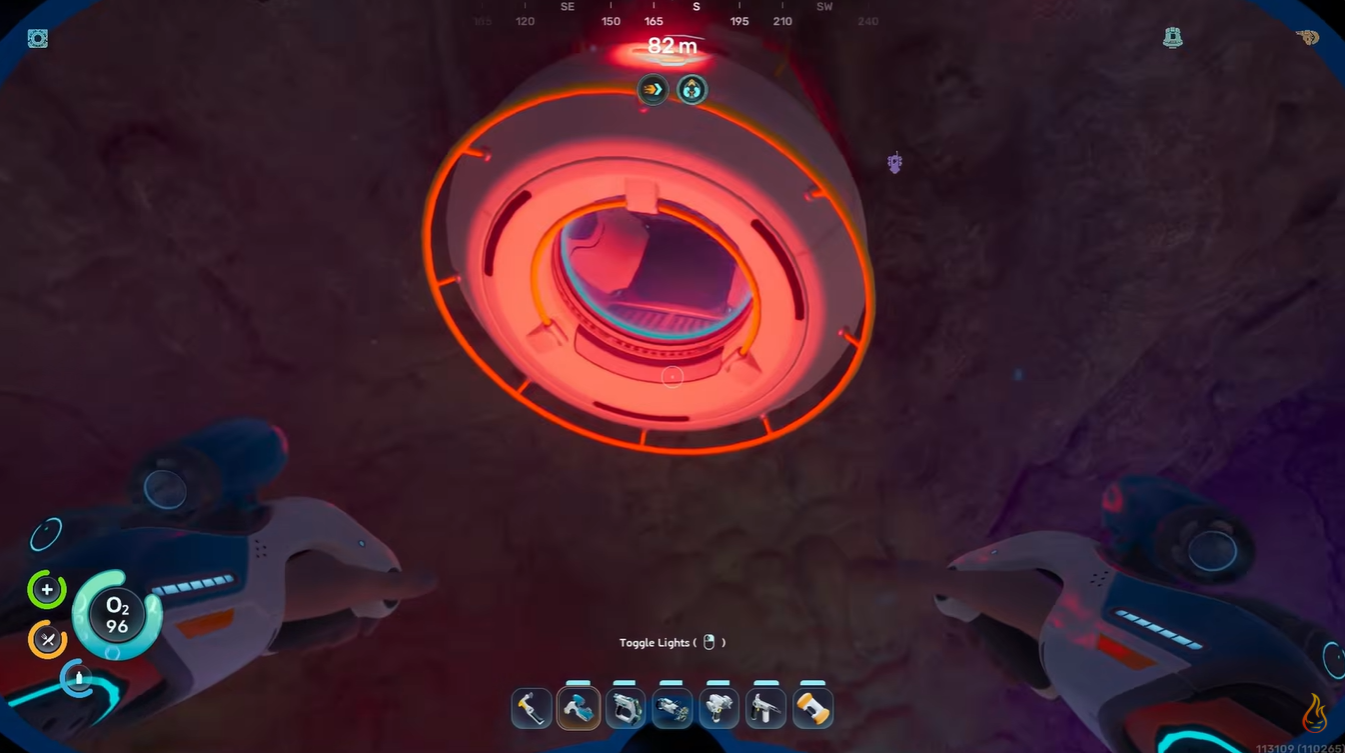
6 – Hot Zone cave Biobed location
The Hot Zone Biobed is hidden approximately 357 meters away inside the volcanic biome. After entering the Hot Zone, you must descend through a cave opening leading deeper underground. The upgrade is positioned in the next cave section behind the main path.
Because of the environmental hazards here, stronger oxygen upgrades and heat-resistant equipment are highly recommended before attempting this trip.

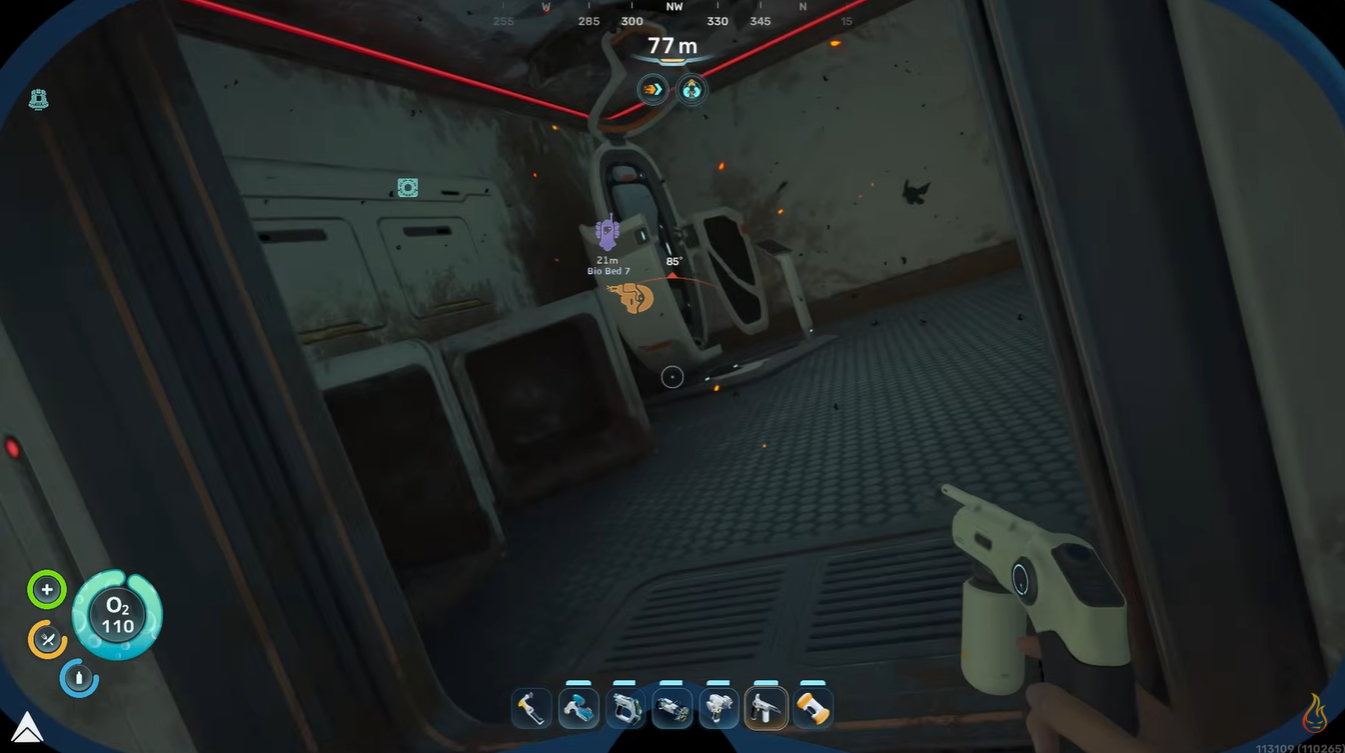
7 – Eastern shipwreck Biobed location
The final currently known Biobed is located around 474 meters east inside a wrecked ship structure. After entering the wreck, turning left and heading toward the rear section eventually leads to a left-side doorway containing the upgrade.
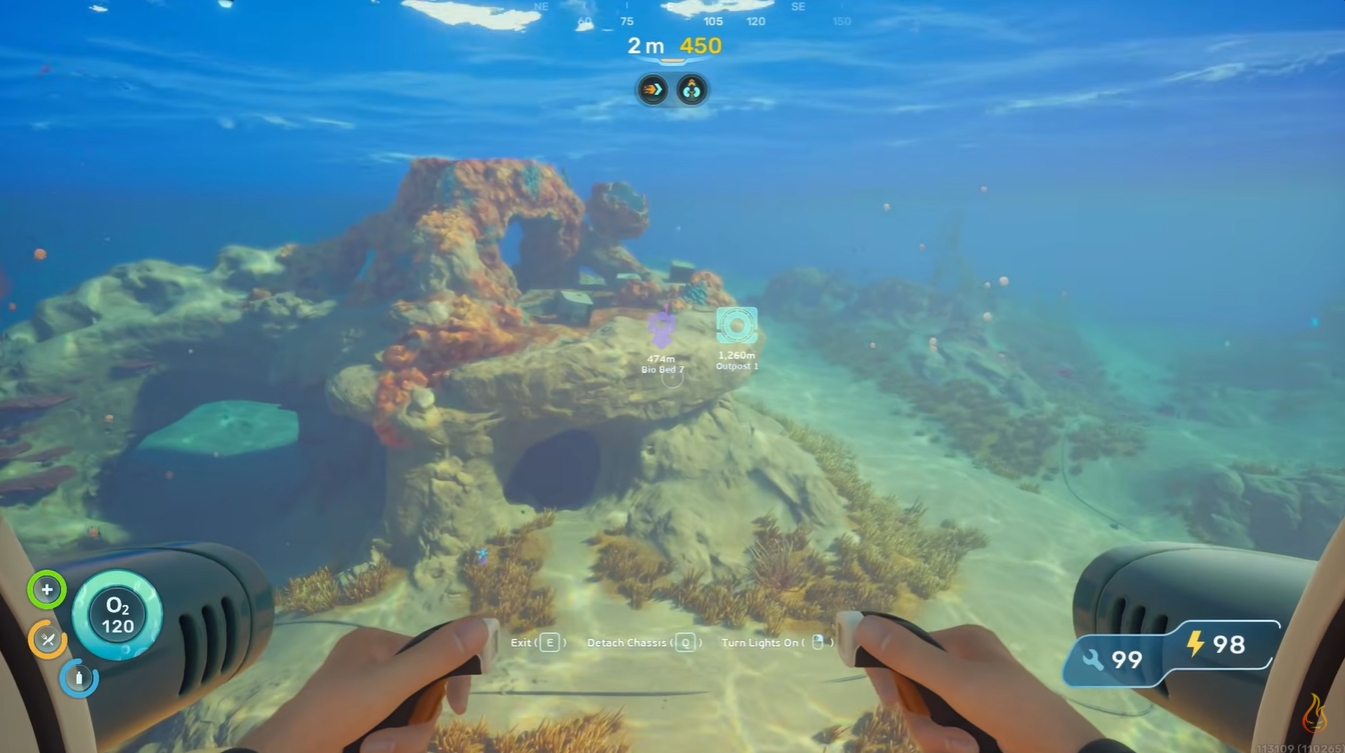
This location is more enclosed than previous areas and can be confusing to navigate without careful exploration.
Why Biobeds are extremely valuable early on
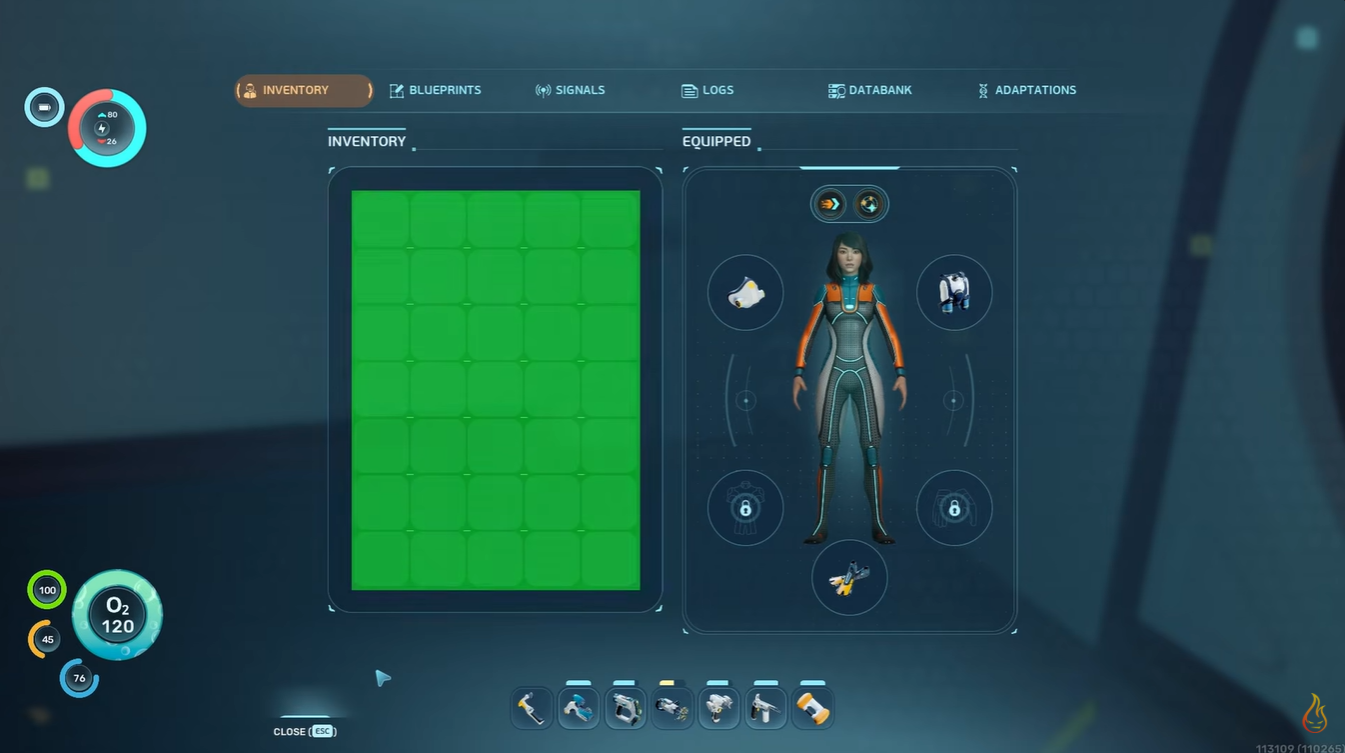
Your starting inventory fills quickly once you begin collecting crafting materials like Lithium, Mangalloy, biological samples, and advanced upgrade components. Biobeds function as permanent inventory expansions, making them one of the strongest quality-of-life upgrades currently available.
The additional carrying capacity becomes even more important during long-distance expeditions where returning to base repeatedly wastes time and oxygen resources. Players focusing on base construction, deep biome exploration, or vehicle upgrades benefit tremendously from unlocking these inventory increases as early as possible.
Best equipment for collecting every Biobed
| Recommended Tool | Why It Helps |
|---|---|
| Scanner Outposts | Helps identify hidden cave entrances |
| Seaglide | Faster travel between distant locations |
| High Capacity Air Tank | Safer deep cave exploration |
| Beacons | Marks difficult-to-find entrances |
| Heat Resistance Adaptation | Useful for the Hot Zone biome |
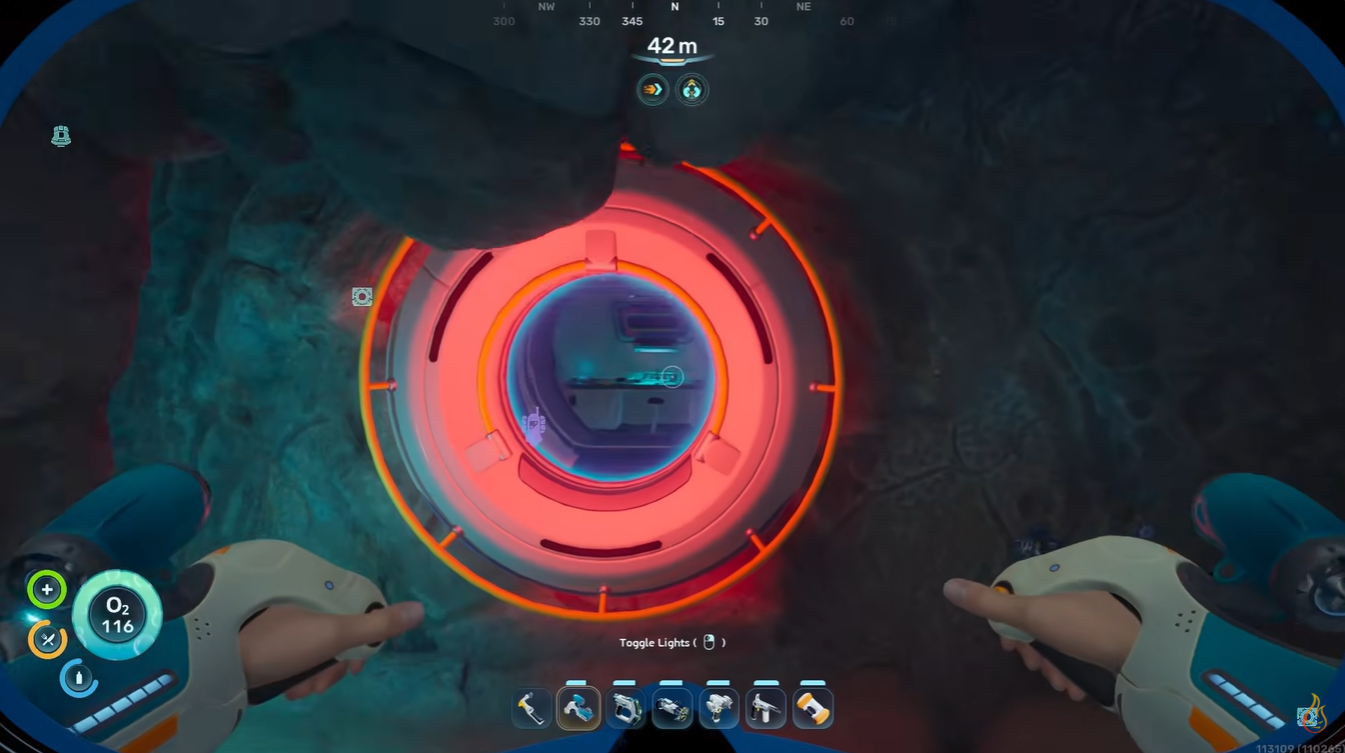
Scanner outposts are especially effective because many cave entrances blend naturally into the terrain. Placing temporary scanning bases across the map can save a significant amount of time when searching for upgrades later in the game.
Total inventory benefits from all Biobeds
Although inventory balancing may continue changing throughout Early Access updates, collecting all seven Biobeds currently provides a substantial boost to total carrying capacity. This dramatically improves resource gathering efficiency and allows much longer exploration sessions without constant storage management.
For activities like wreck scavenging, deep mining, adaptation farming, and extended biome exploration, the increased storage space becomes one of the most impactful permanent upgrades in the game.


Leave a Reply