
Discord has become a great way for gaming communities to catch up with each other and stream new content. It is used by many popular streamers to offer additional perks to their audience while hosting intimate streams only available to their Discord server members. OBS is a popular free solution to help you stream content directly from your PC.
But OBS is far from intuitive, and rightly so, if you need to create great streams, you need a lot of customizable options. So if you’re looking to jump on the bandwagon, and would like to start your own Discord server where you stream content, then you might be wondering how you can do so? Well, we have the perfect guide for you. Here’s how you can use OBS to stream to Discord.
How to stream to Discord using OBS
You can choose to simply stream your screen, your screen with your camera feed, and even include Discord overlays alongside your stream. This gives you the additional perks of keeping up with your community while displaying vital stats like conversations, new members, and more right on your screen. Use the steps below to set up and use OBS to stream to your Discord server.
Step 1: Set up OBS for your stream
You can set up OBS using this post from us. OBS offers tons of customizable options as well as various scenes that you can use to easily transition between customized stream setups. OBS also allows you to capture and display almost any source in your stream, including open windows, full-screen apps, browser sources, media files, and much more. Once you have your OBS set up and ready for streaming based on your preferences, you can use the steps below to stream to your preferred Discord server.
Step 2: Add the Streamkit Overlay for Discord to OBS
Now that you have created scenes and capture sources for your stream, you can now add the Streamkit Overlay offered by Discord. This will allow you to view your voice or text chat activity as an overlay in your Discord stream. It will also allow you to view other Discord stats like the number of users online and more. Follow the steps below to help you add the Streamkit Overlay for Discord to your OBS setup.
Note: Ensure that you’ve installed Discord and logged into it on your PC before proceeding with the guide below.
Open the Discord app.
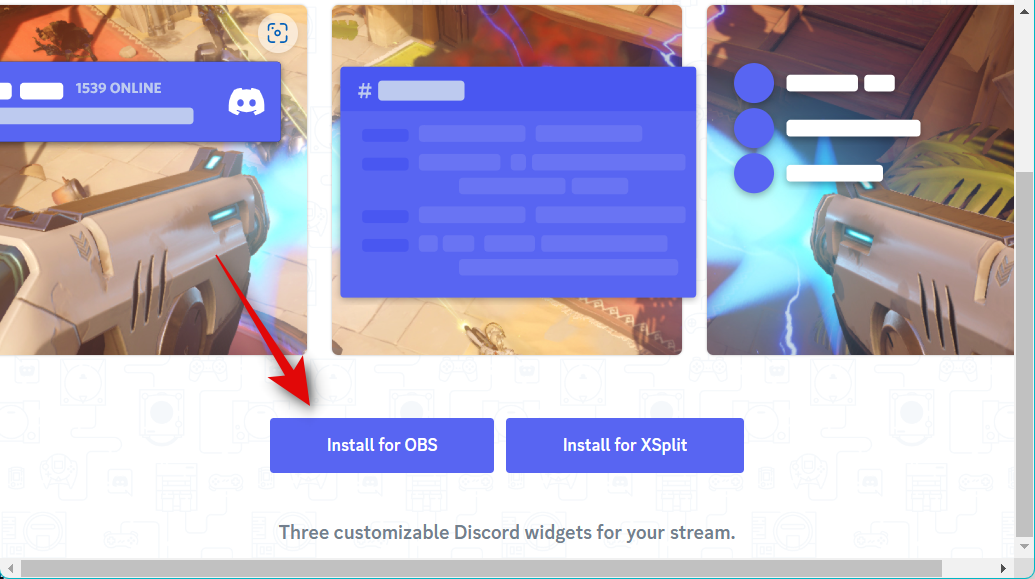
Then, open a browser app like Chrome or Edge and visit the Discord Streamkit Overlay page at streamkit.discord.com/overlay. Next, click Install for OBS.
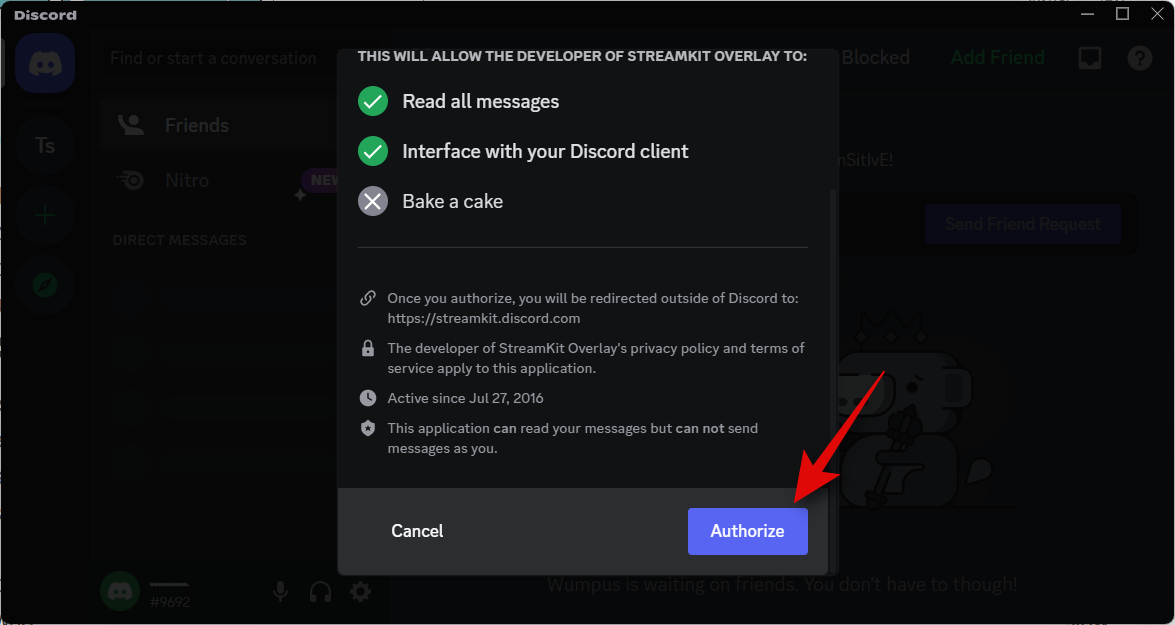
You will be automatically redirected to the Discord app with the Streamkit asking for your permission to authorize it. Click Authorize.
Now switch back to the browser window, and you can now customize and add widgets to your OBS setup. Follow one of the sections below depending on the widget you wish to add to your stream. You can choose to add multiple widgets as well.
For the Status widget
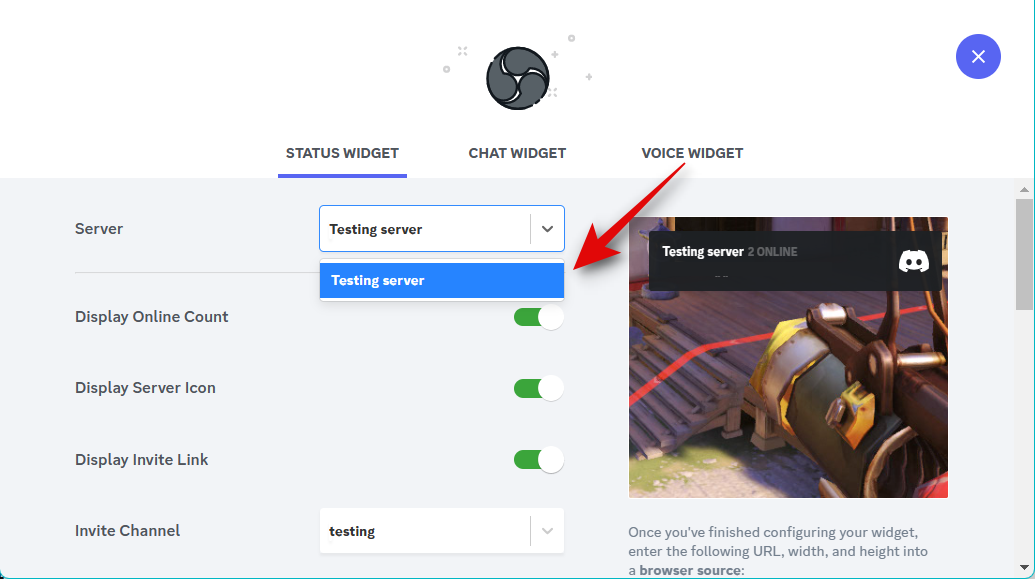
Ensure STATUS WIDGET is selected at the top and click the drop-down menu for Server. Select the server for which you wish to display stats.
You will now be shown a widget preview on your right. You can use this preview to customize the looks and information displayed in your widget. Turn on the toggle for Display Online Count if you wish to display the number of users currently online.
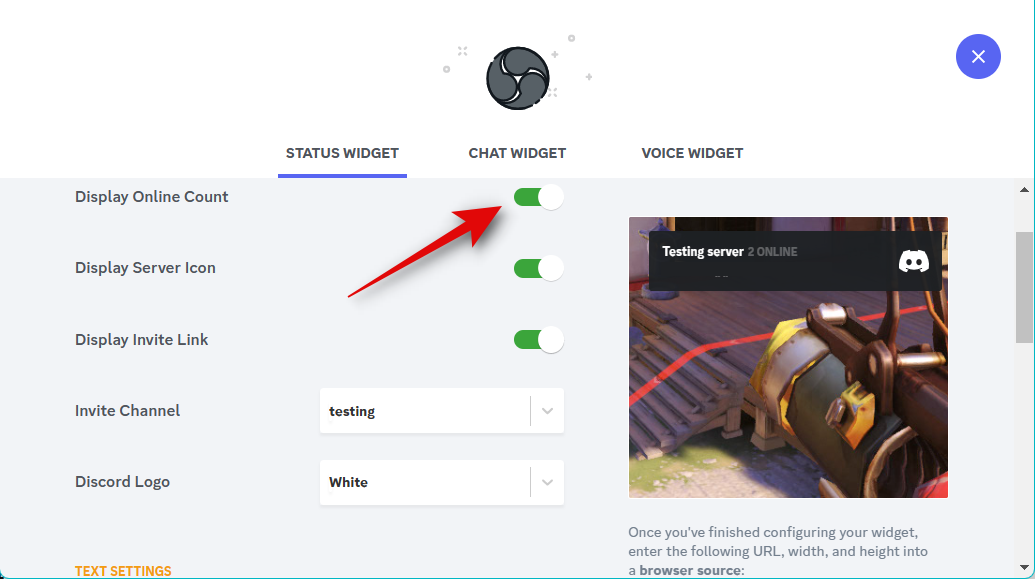
Turn on the toggle for Display Server Icon to view your server’s custom icon in your widget.
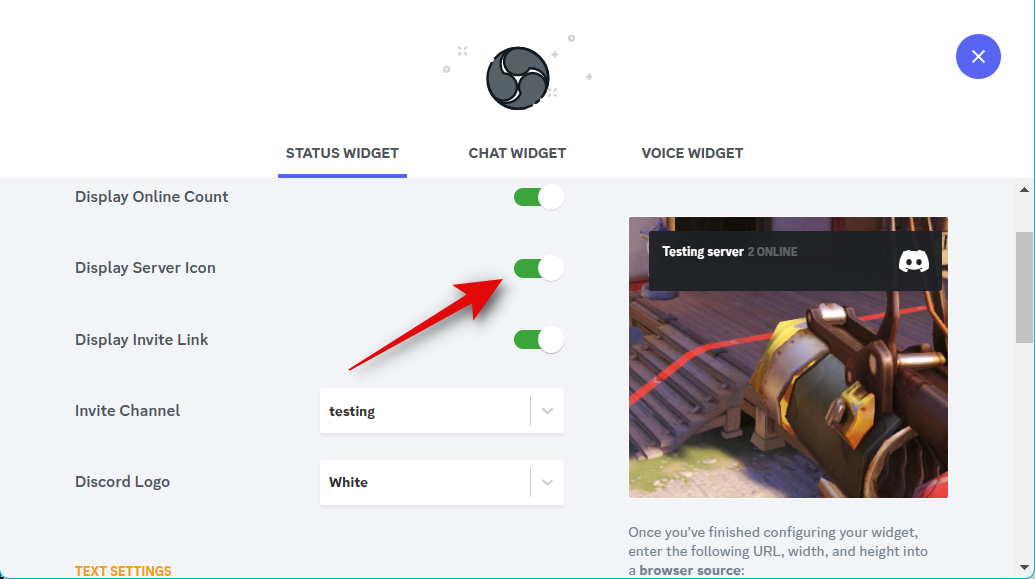
Use Display Invite Link, so other users can invite someone to your server and stream.

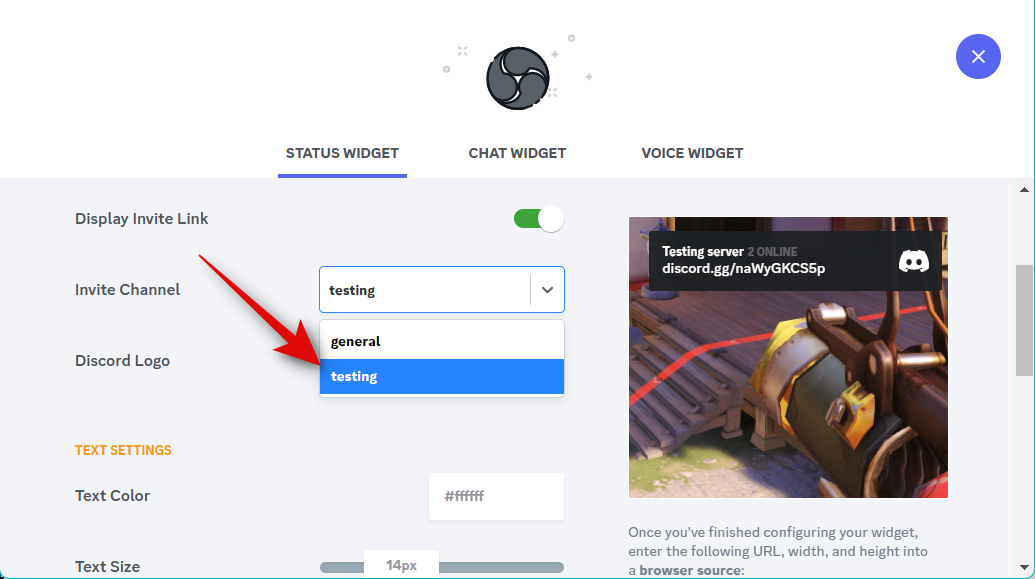
Click the drop-down menu for Invite Channel and select the channel for which you wish to display the invite link.
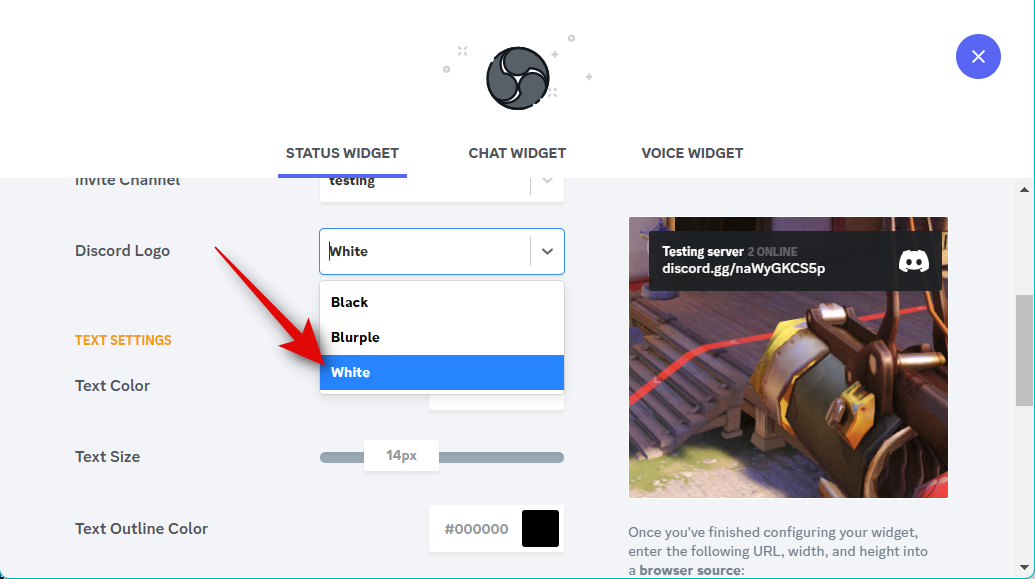
Click the drop-down menu for Discord Logo and choose the preferred color for your logo.
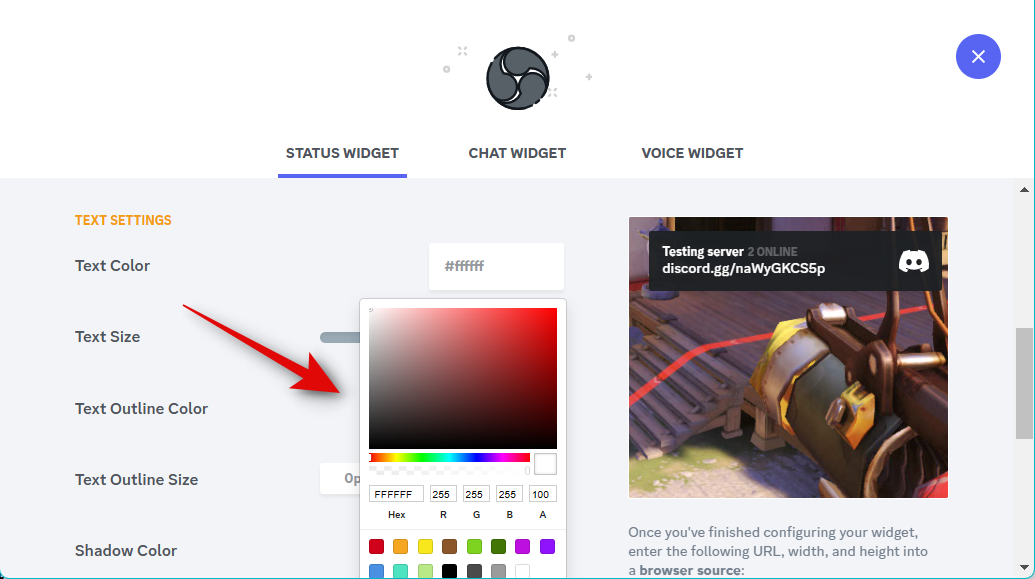
Under text settings, you can change the look of the text displayed in the widget. Click the text box for Text Color and select a preferred text color.
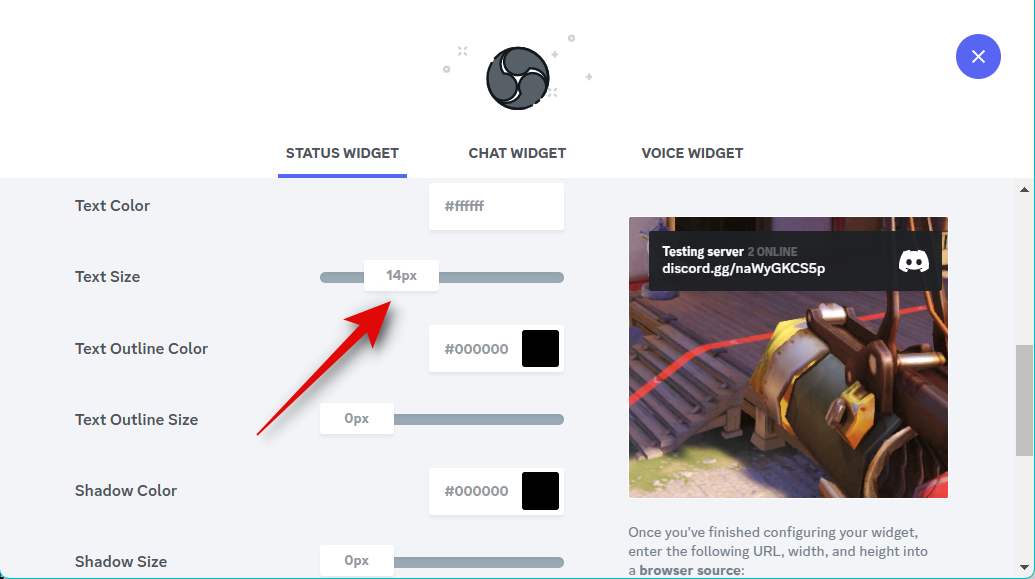
Use the slider for Text Size to adjust the size of the text in your widget. This will, however, only control the size of your server name and the users, online count.
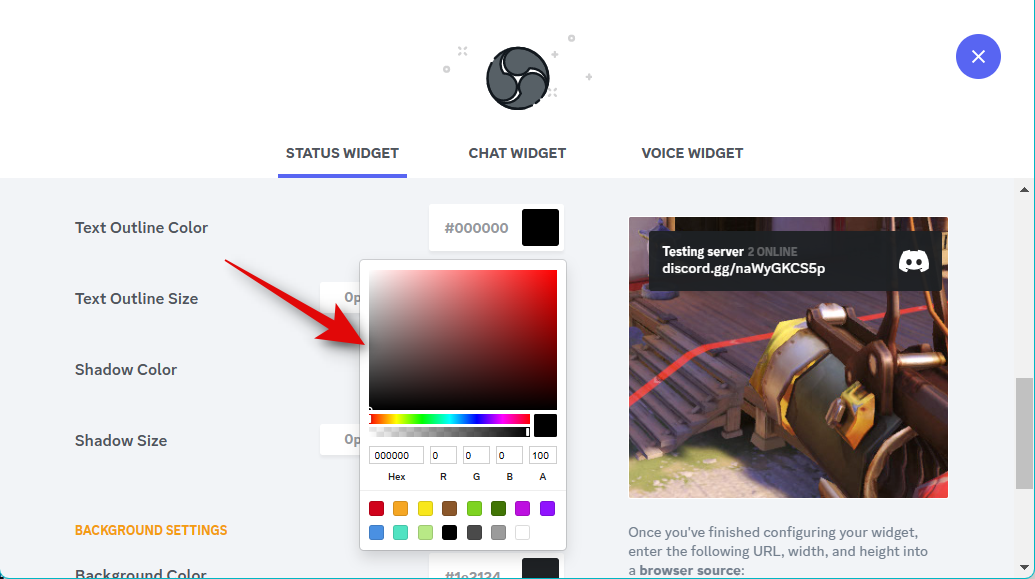
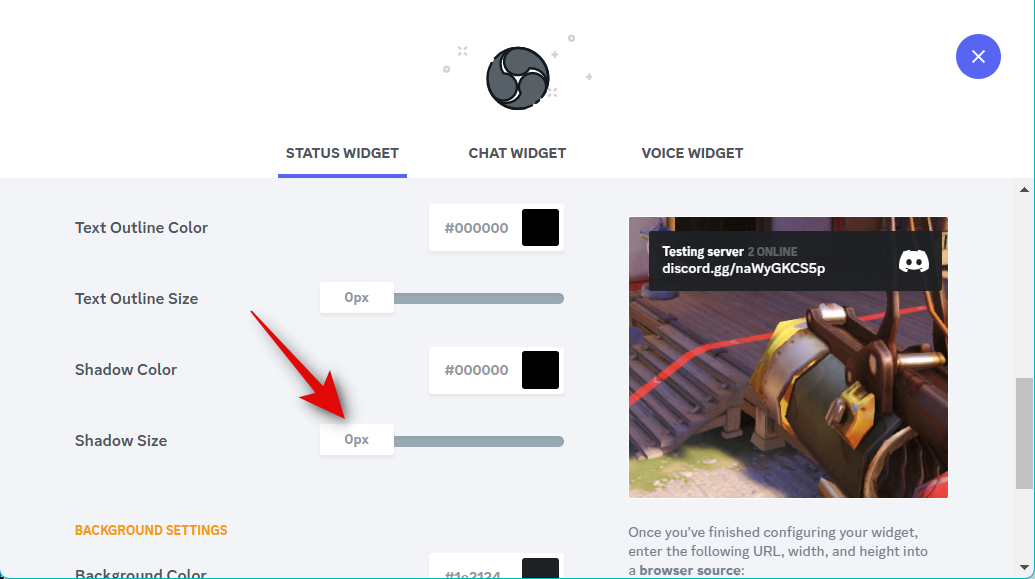
Click the text box for Text Outline Color and choose a border color for your text if you wish to add one.
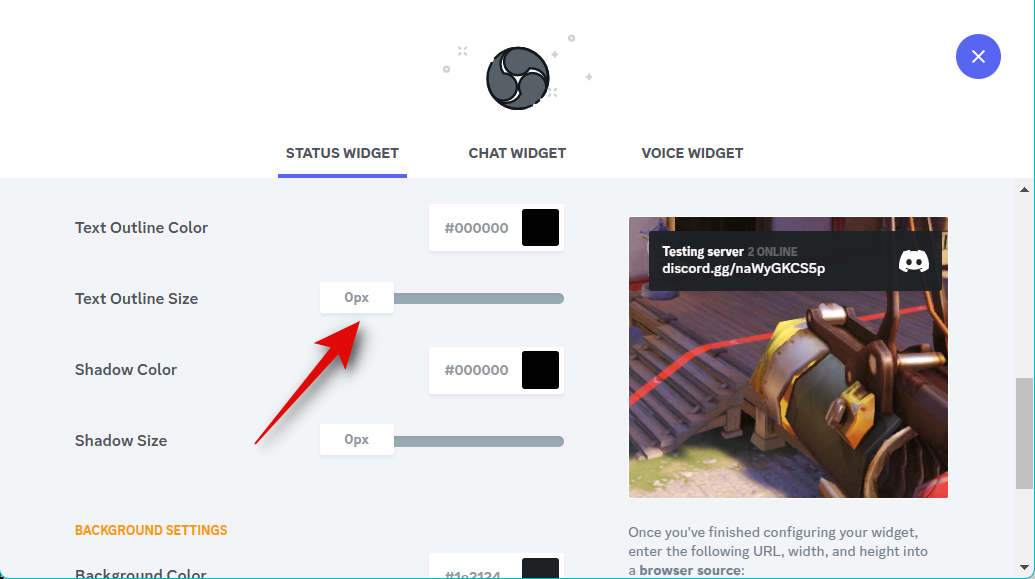
Now use the Text Outline Size slider to add and choose the size of your text outline.
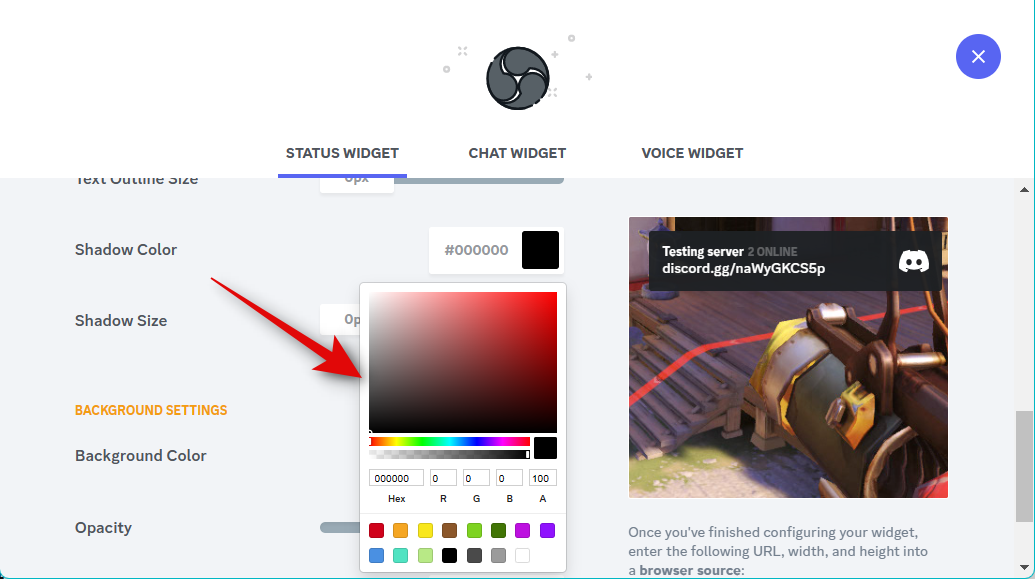
Similarly, Shadow Color will help you add a custom shadow to your text. Click the text box and choose your preferred color, as we did earlier.
Now use the Shadow Size slider to control and adjust the size of the shadow applied to your text.
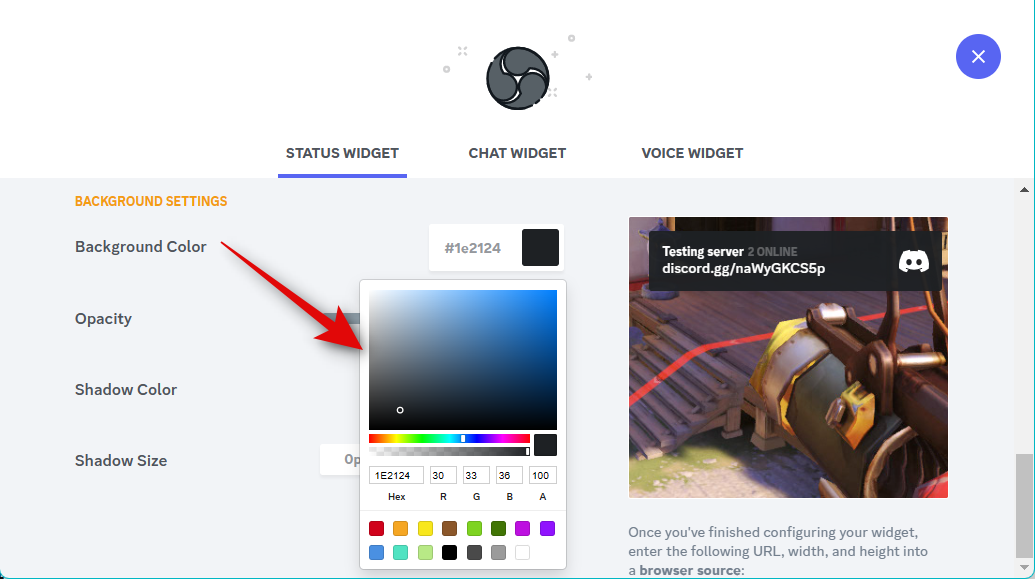
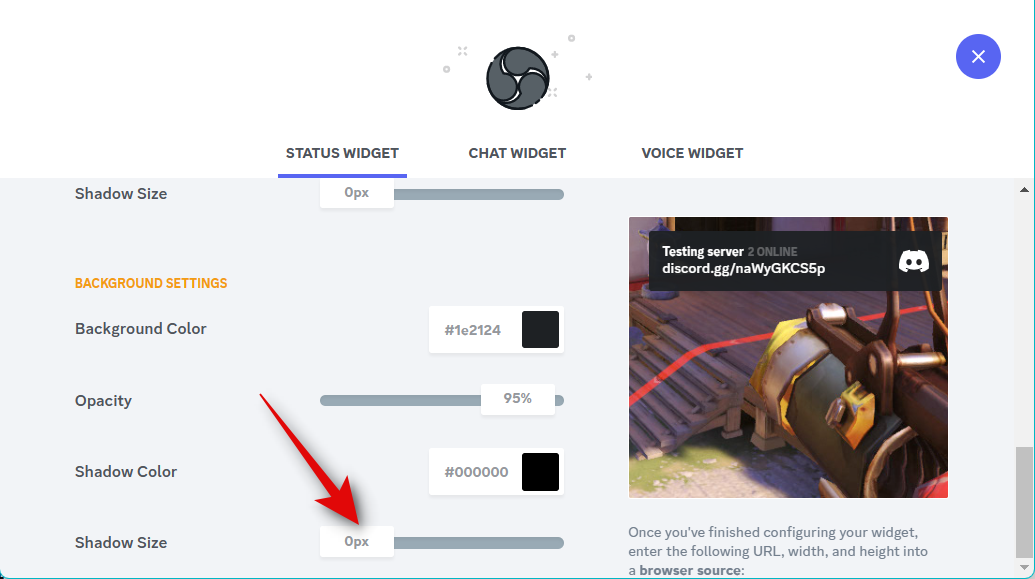
Click the text box for Background Color and choose your preferred widget background color.
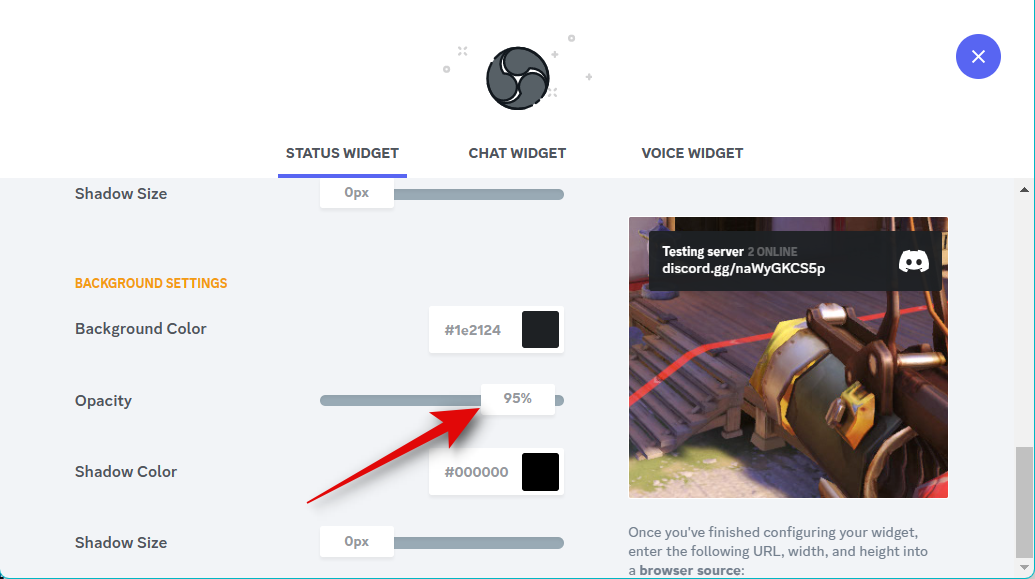
Now use the slider for Opacity to adjust the widget’s transparency. This can come in handy if you wish to display the widget over your source content, like a game feed or a video.
Use the Shadow Color text box to choose your preferred shadow color for your widget.
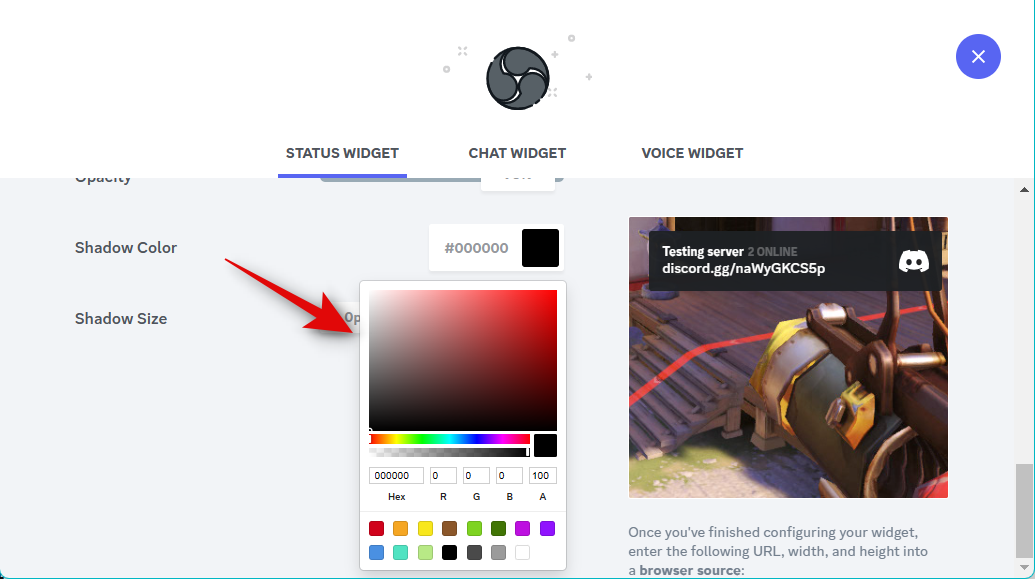
Now use the Shadow Size slider to adjust the size of your widget shadow.
Once you are happy with the look of your widget, copy the link under your widget preview.
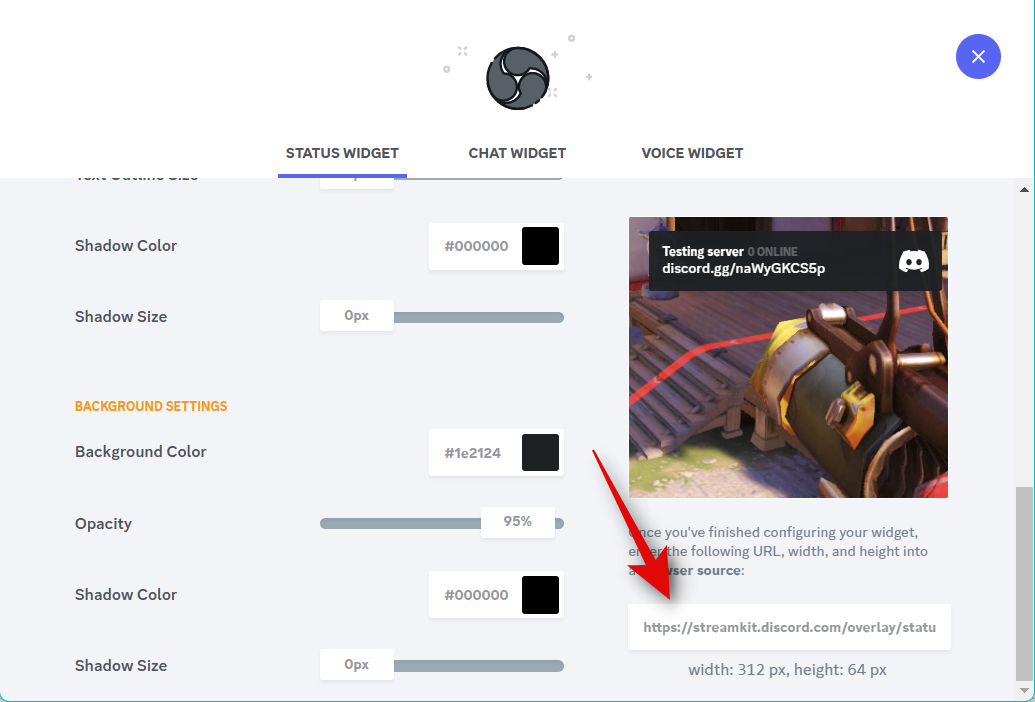
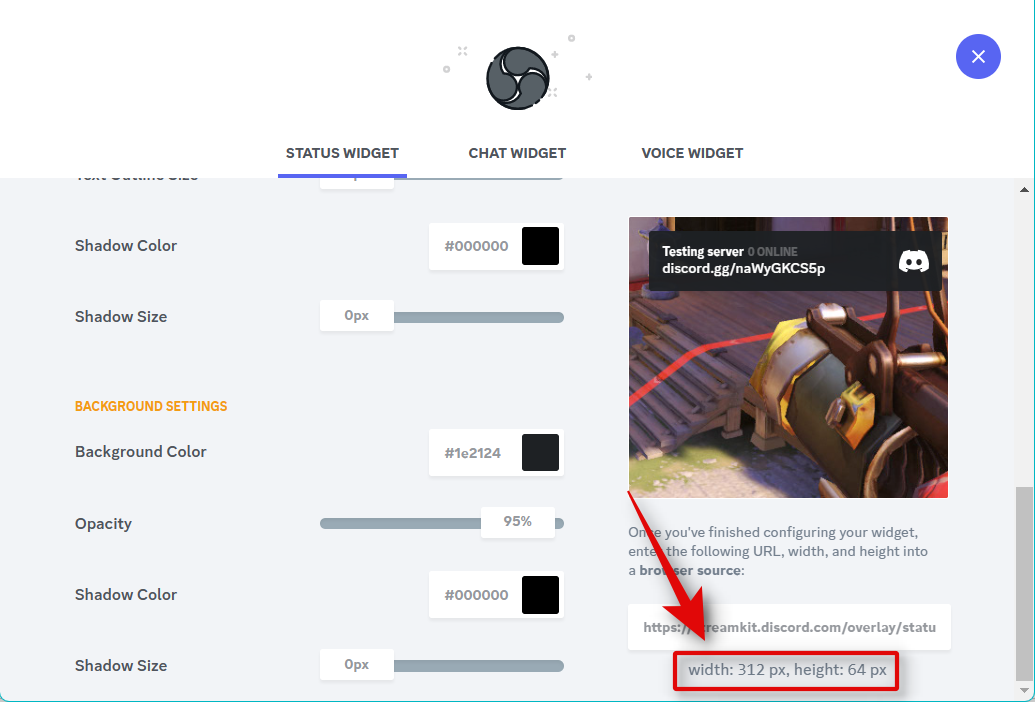
Additionally, note down the sizes displayed under your widget.
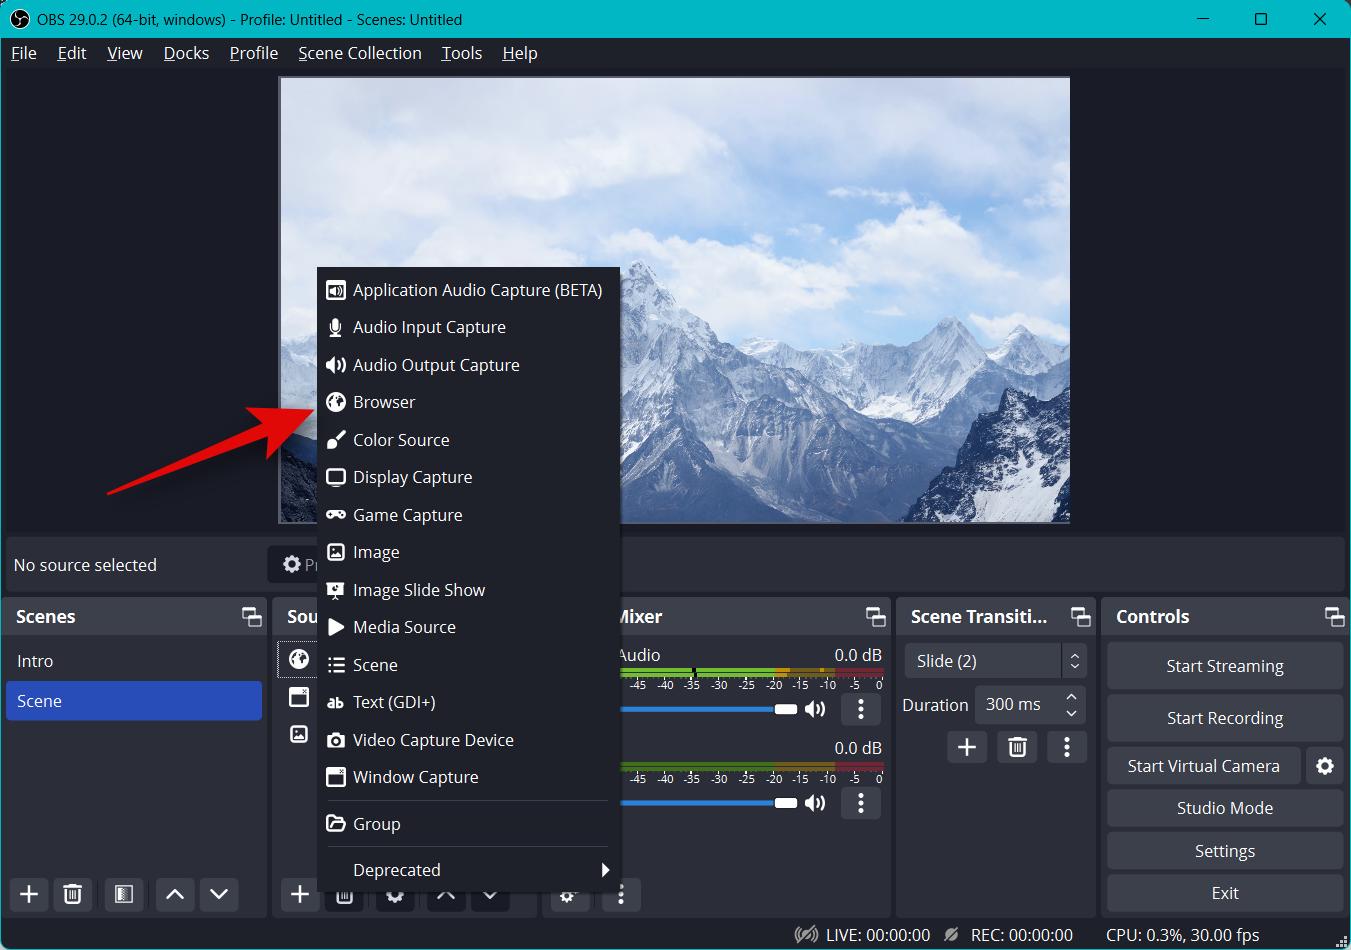
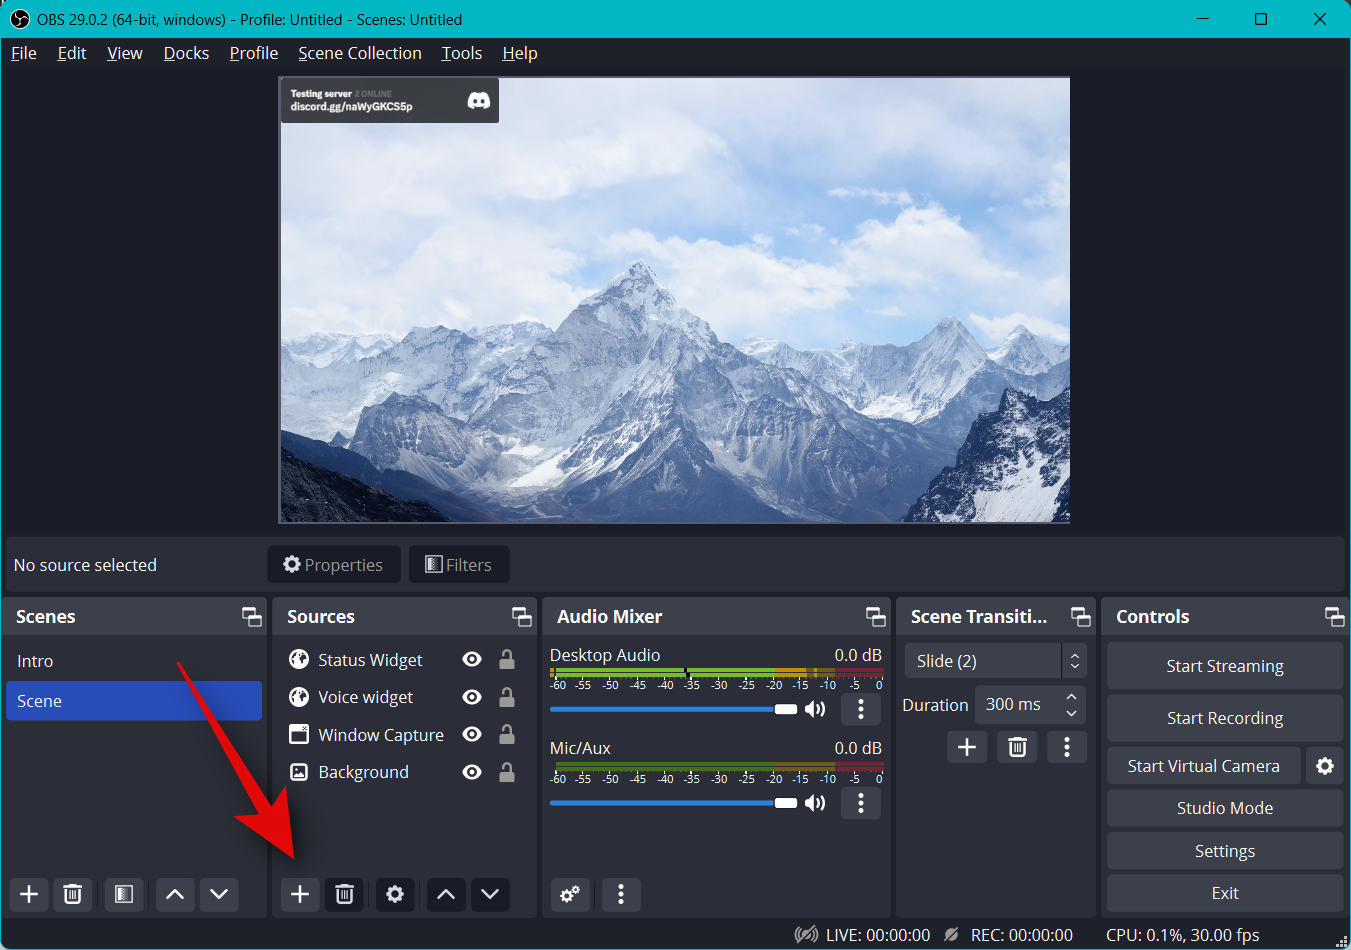
With the link copied, switch to OBS and click the + icon under sources. You might need to select the scene where you wish to add the widget if you have multiple scenes set up.

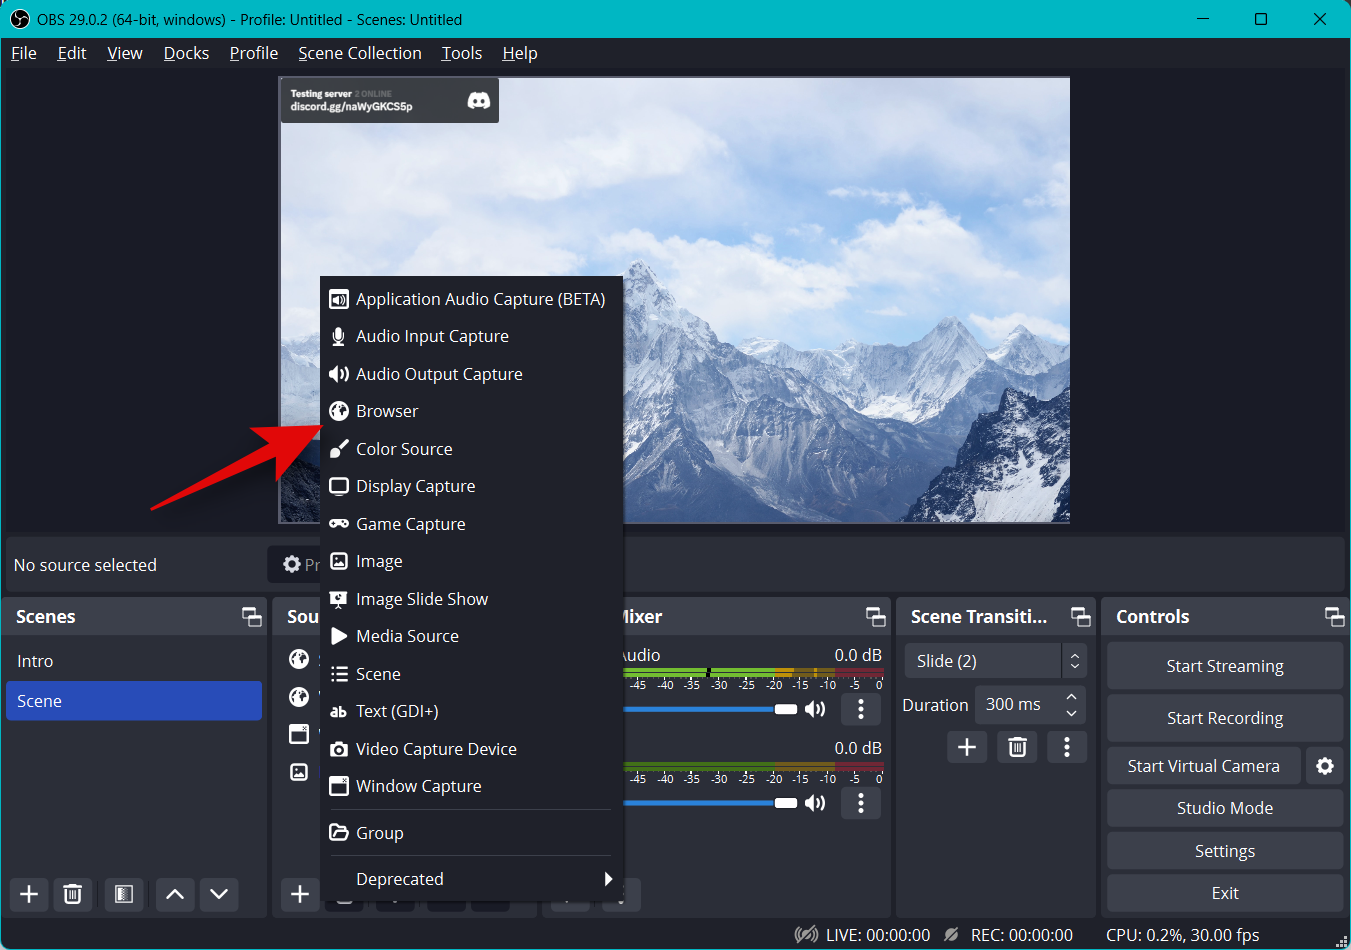
Select Browser from the list on your screen.
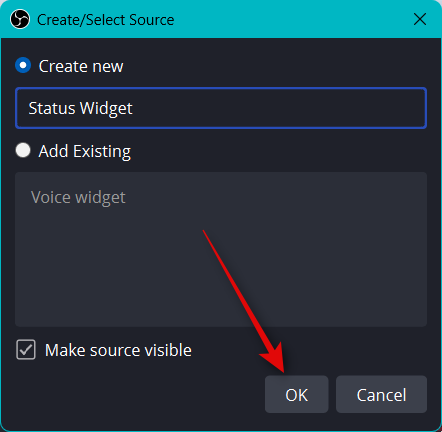
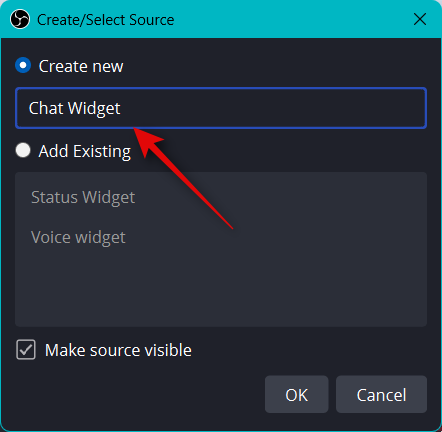
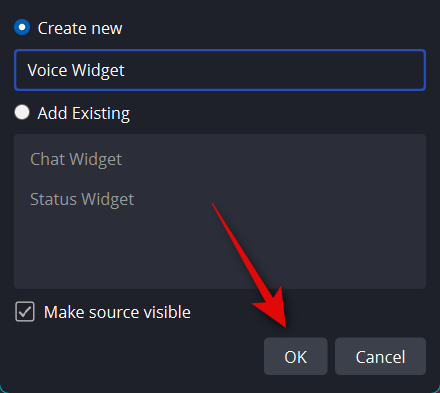
Enter a name for your widget, so it helps you easily identify it.
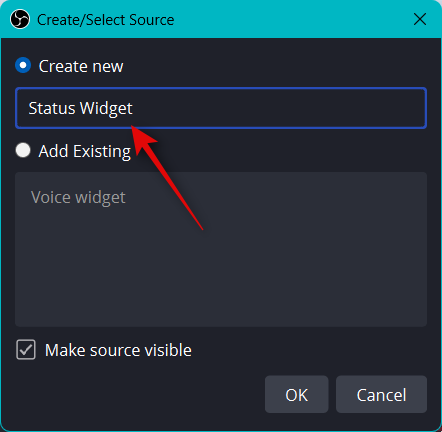
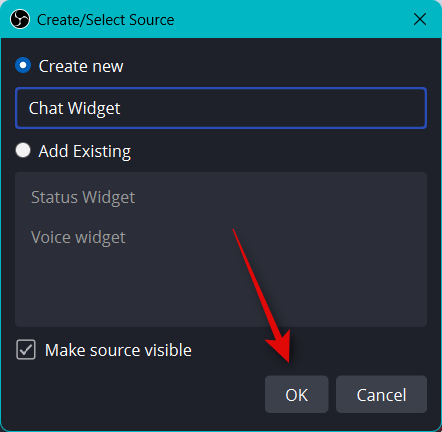
Click OK once you’re done.
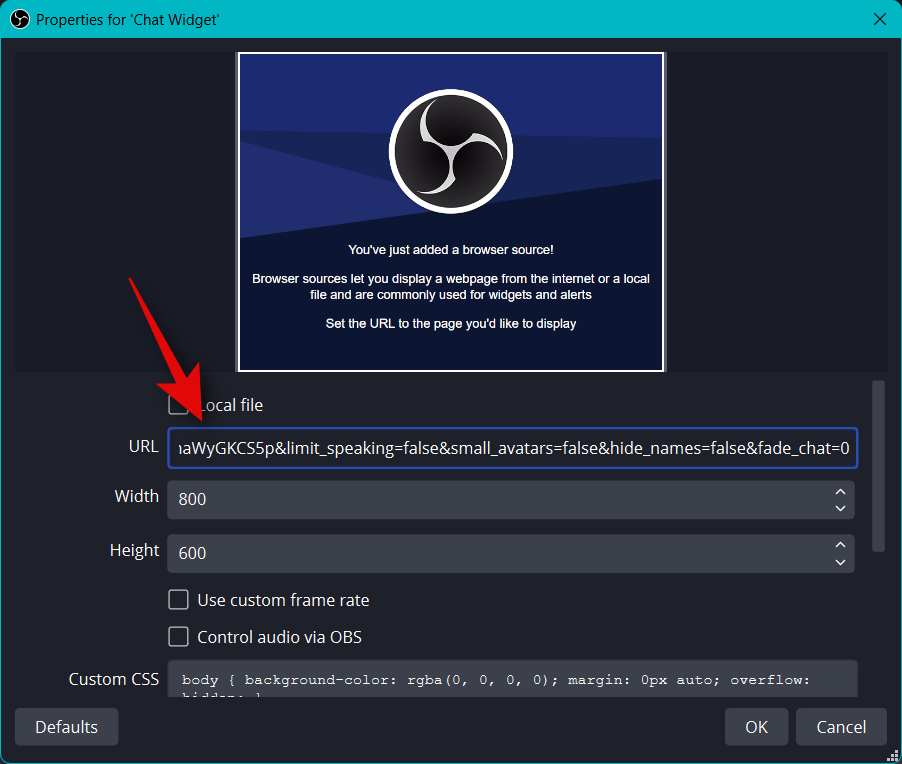
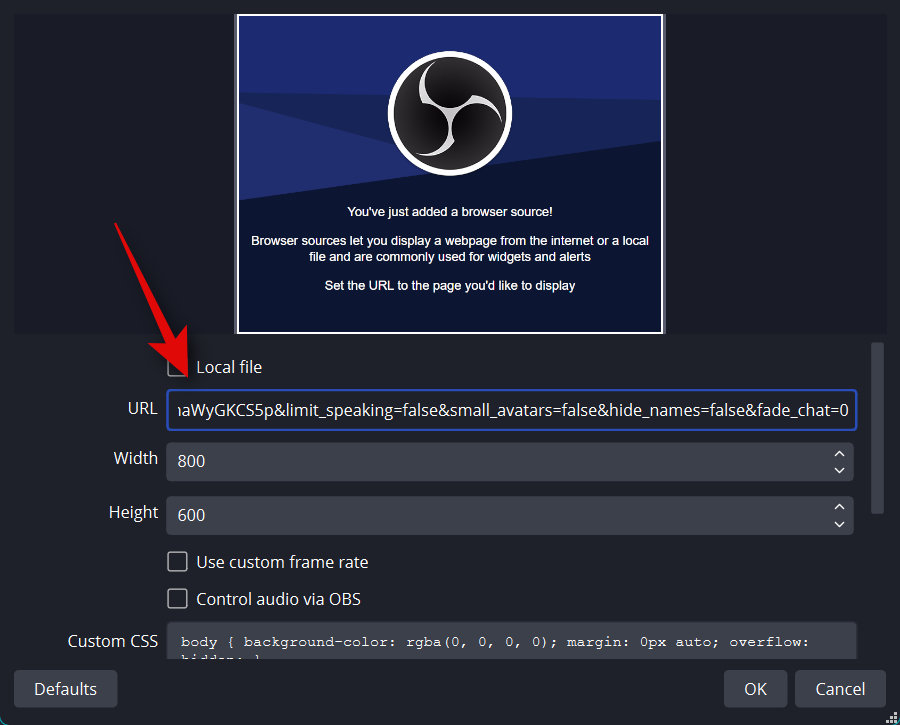
Now paste the copied link beside URL.
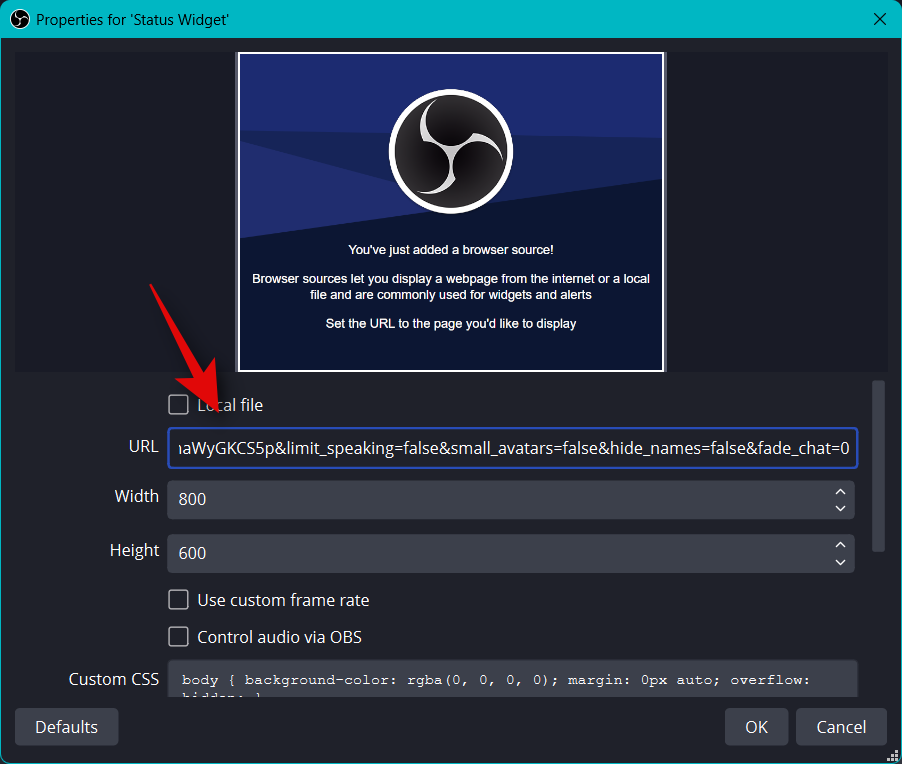
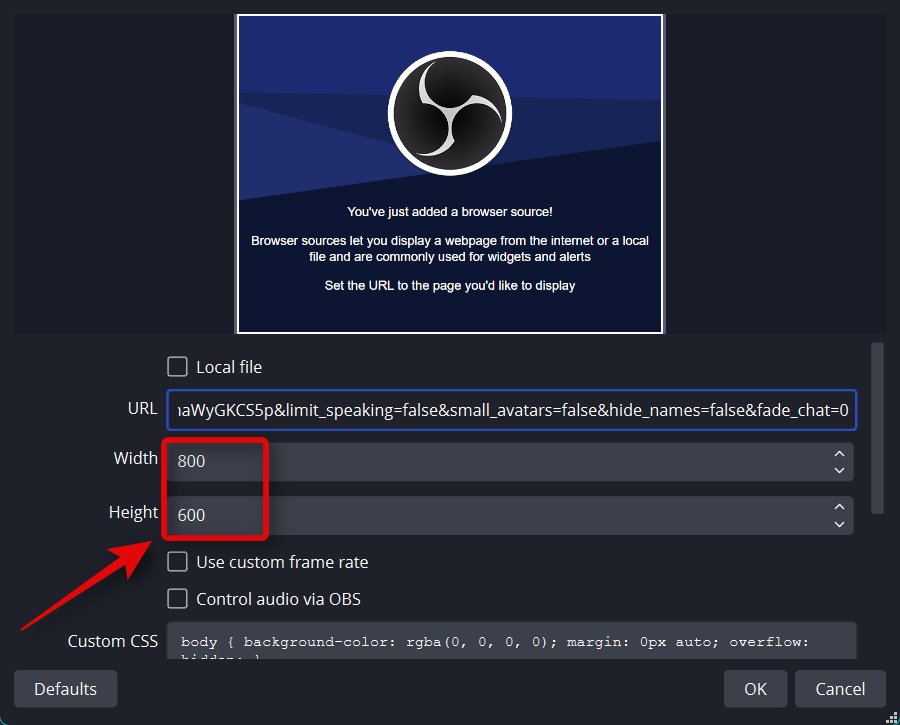
Similarly, click the drop-down menu for Widgth and Height and dial in the values for your widget size you had noted down earlier.
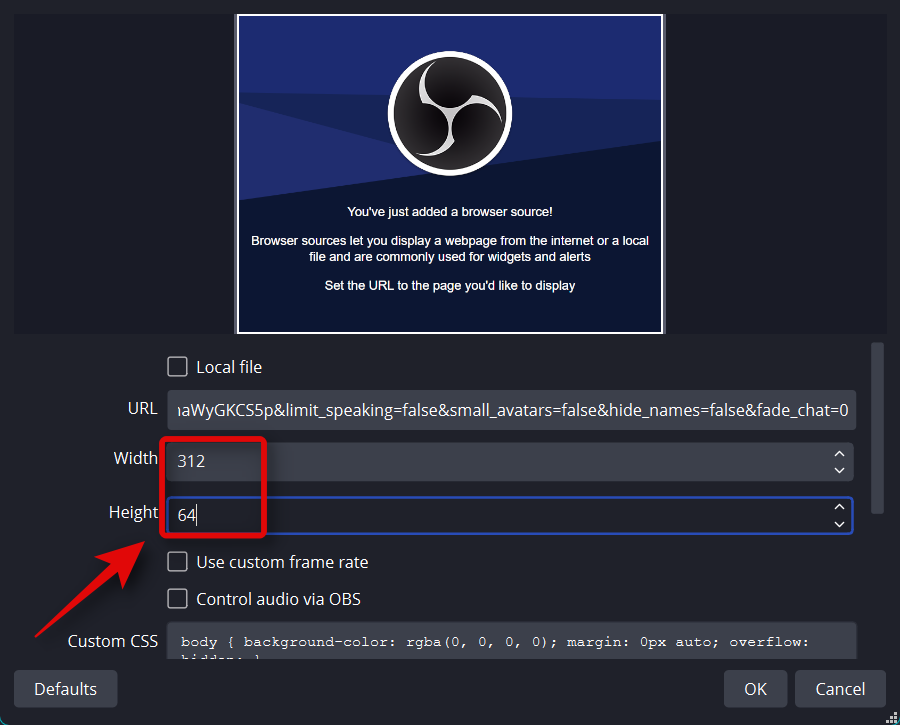
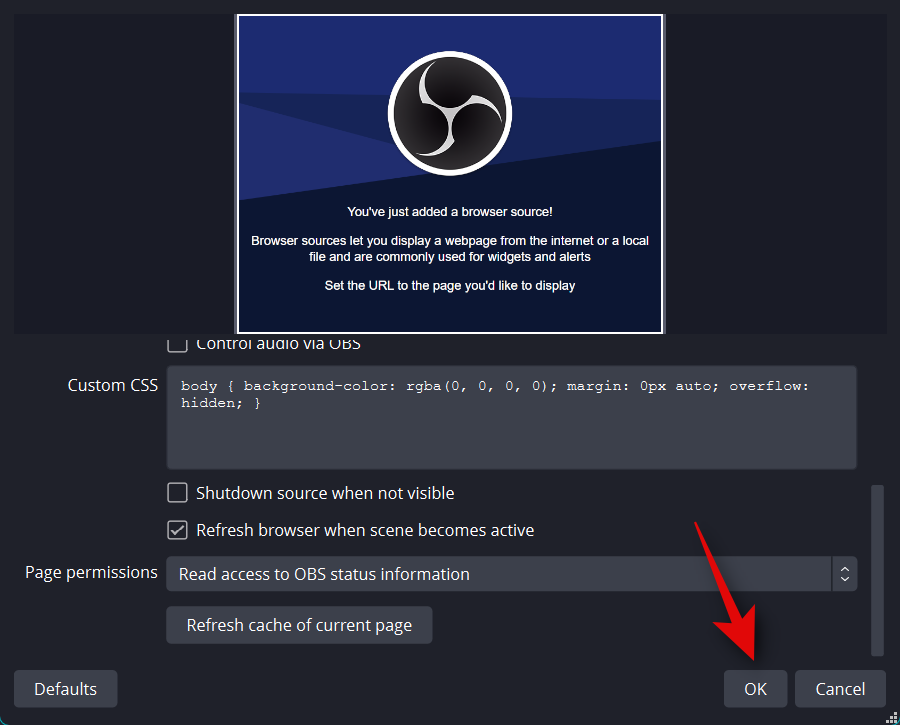
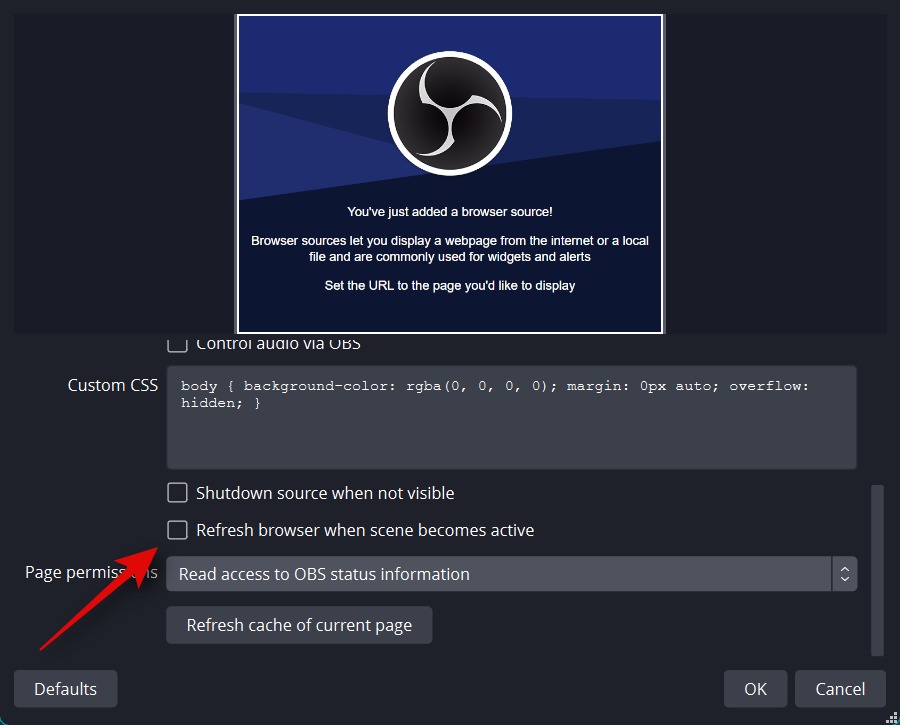
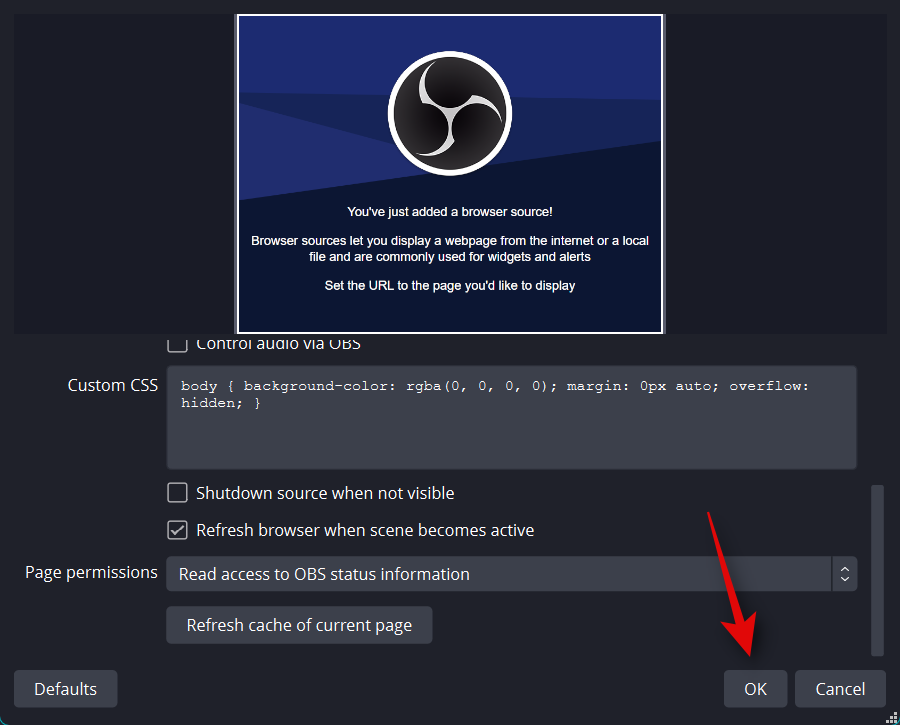
The other customizable options are irrelevant for the Status Widget. But you should check the box for Refresh browser when the scene becomes active. This will help ensure you get updated information each time you switch scenes.
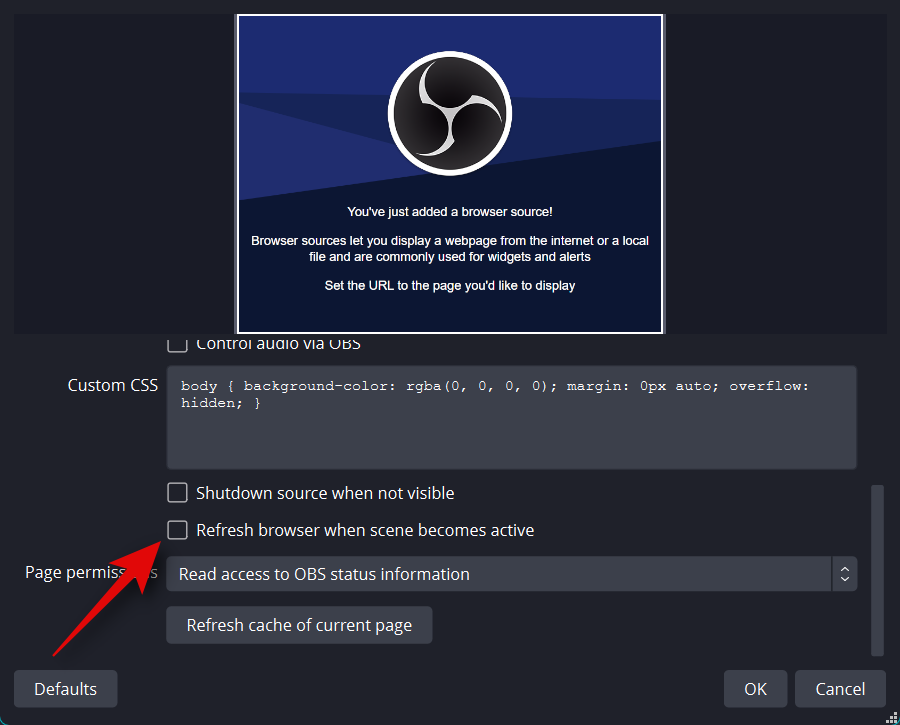
Click OK once you’re done.
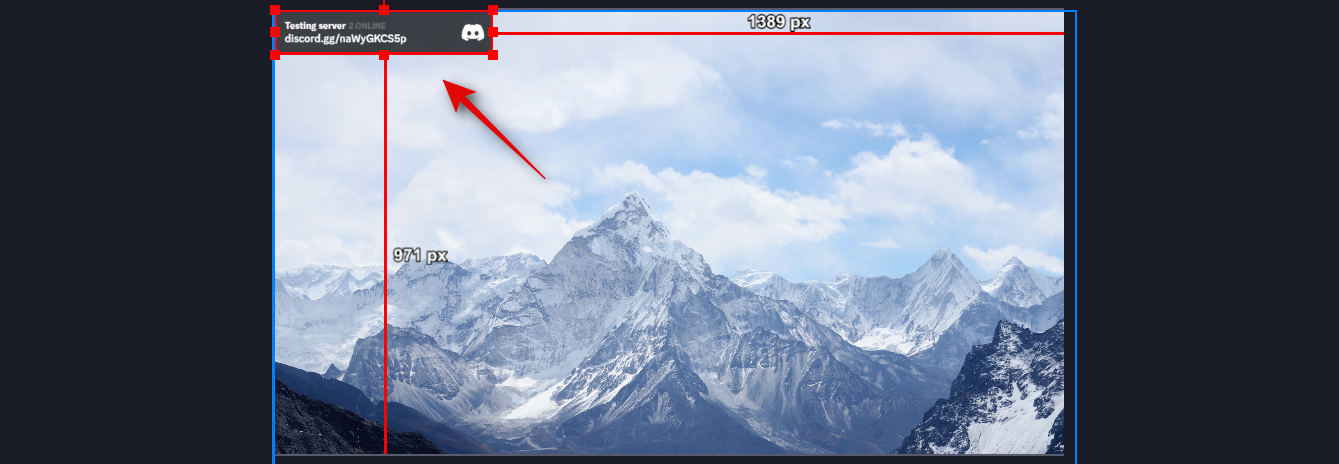
Now use the red corners to resize your widget to fit your stream.
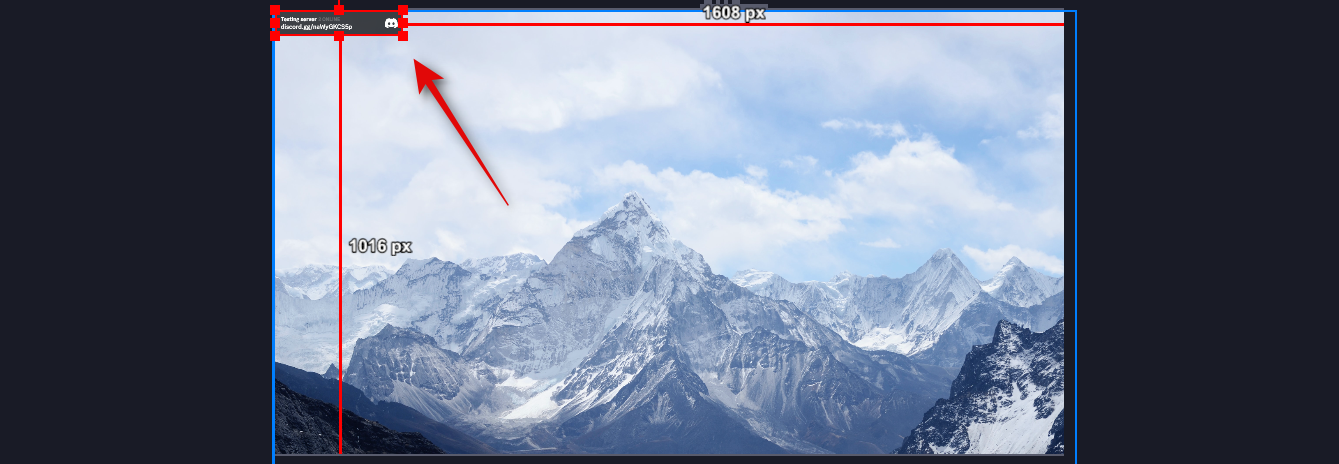
Click and drag the widget to reposition it on your screen as needed.
And that’s it! You will now have added a Status widget for your server to your stream in OBS using the Streamkit for Discord.
For the Chat Widget
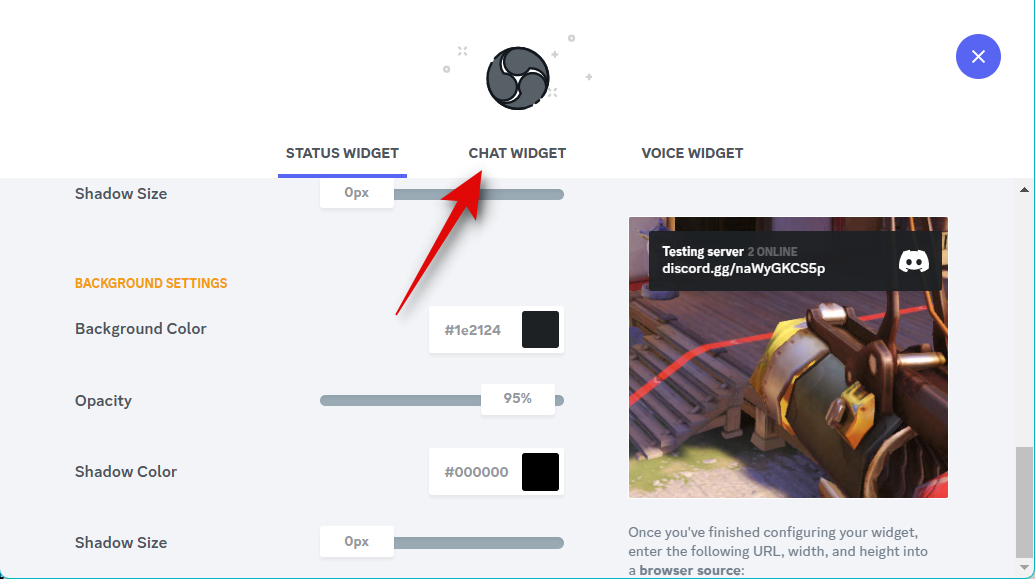
To add the Chat Widget to your stream setup in OBS, click and switch to the CHAT WIDGET at the top.
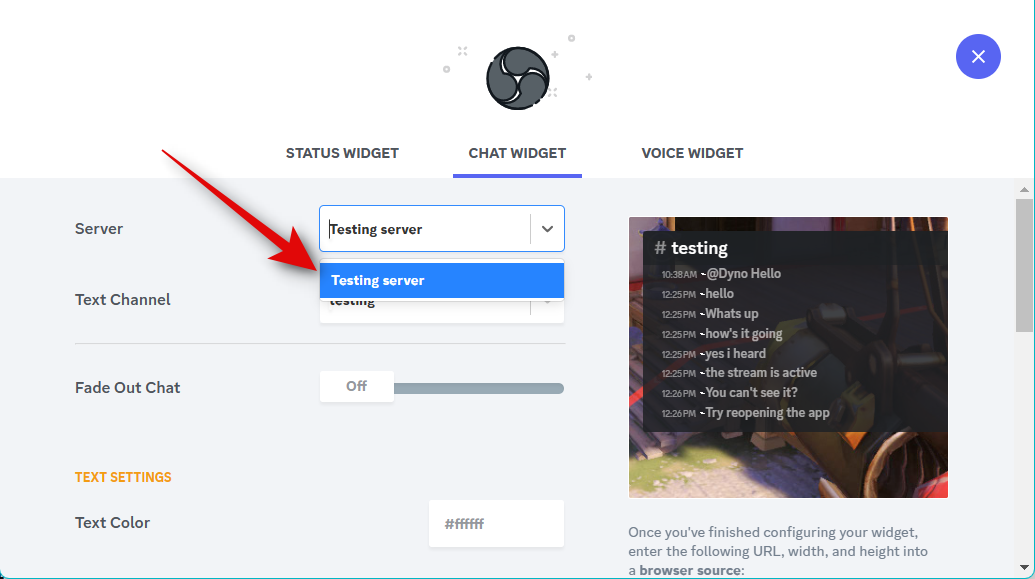
If you’ve added a Status widget, your color preferences will automatically be carried over to the Chat Widget. Click the drop-down menu for Server and choose the server for which you wish to display the chat in your stream.
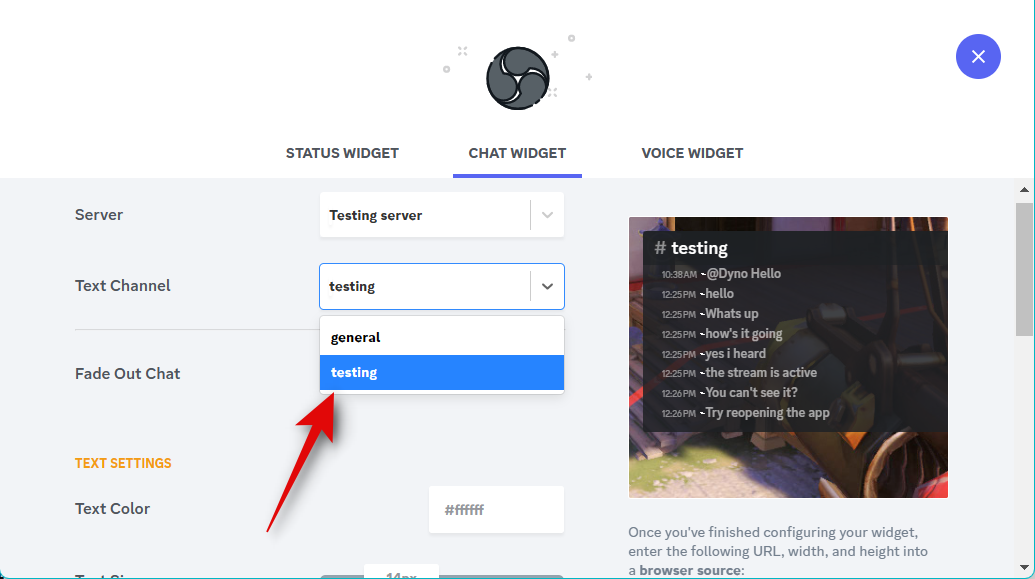
Now click the drop-down menu for Text Channel and choose the preferred channel whose chat you wish to display.
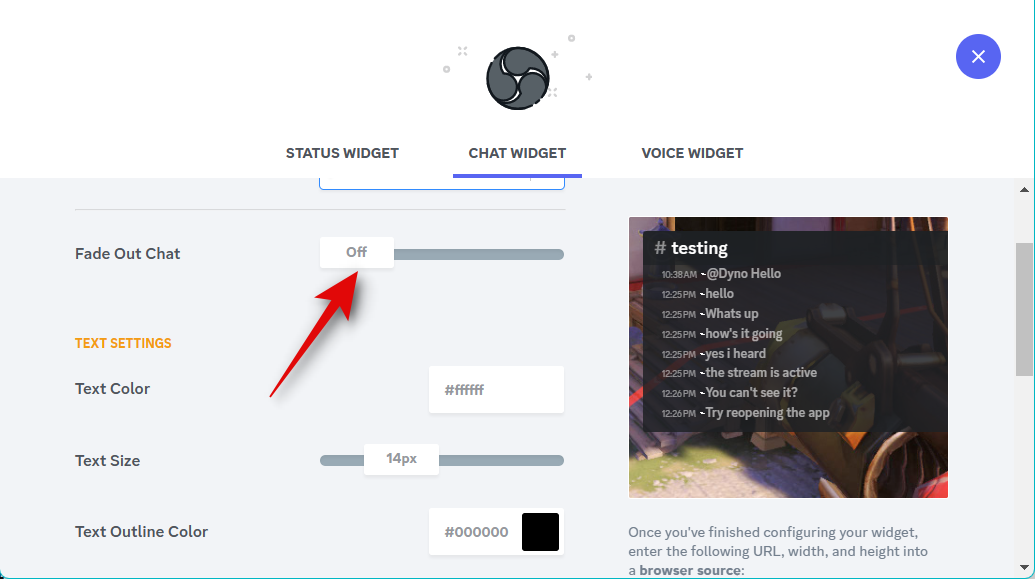
Use the slider for Fade Out Chat to choose how long it will take for the older chat to fade out.
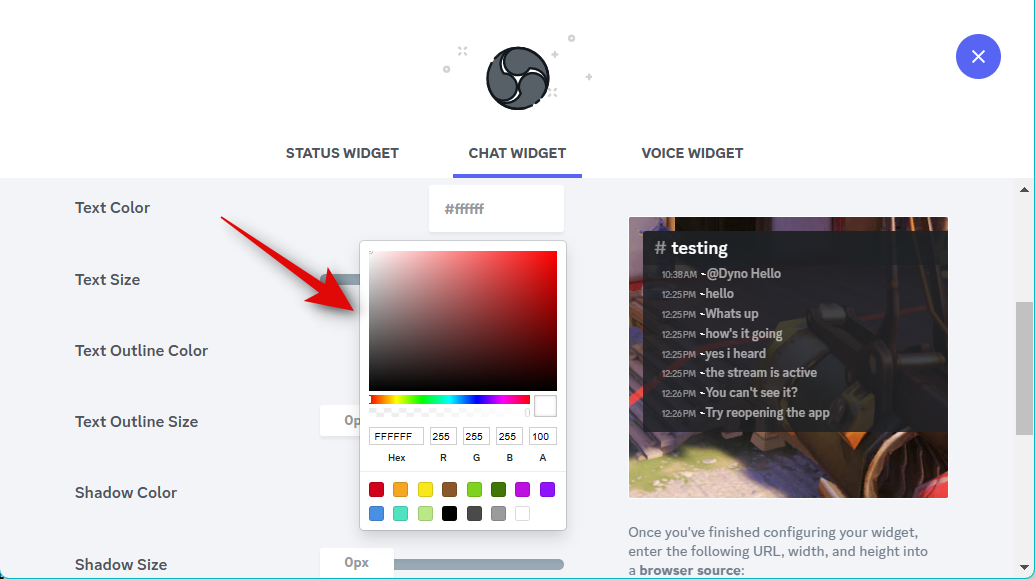
Now use the Text Color text box to choose your preferred color.
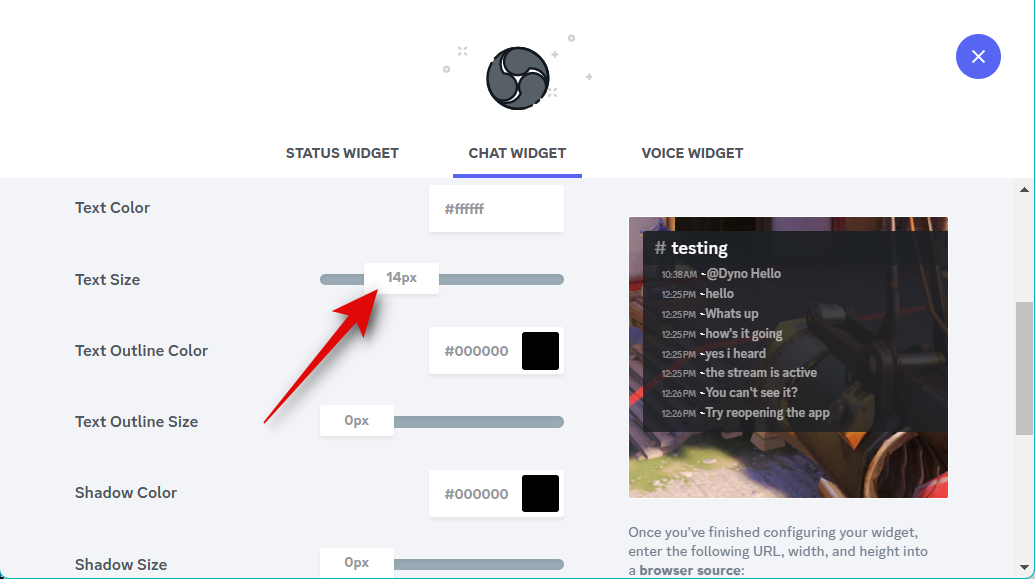
Use the Text Size slider to adjust your text’s size. This option will affect the text size of incoming messages and not the text size of your text channel name at the top.
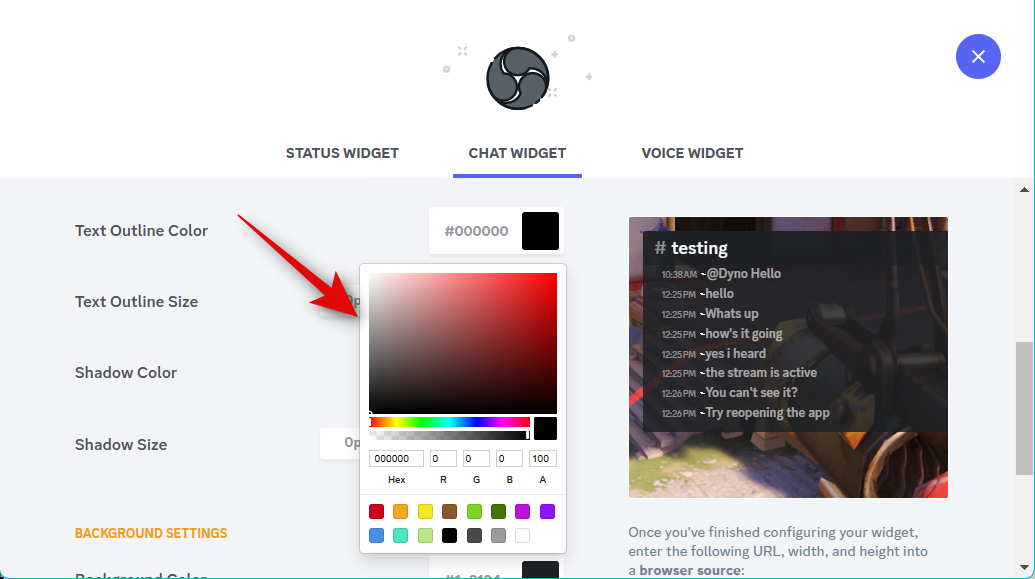
Similarly, use the Text Outline Color option to choose your preferred outline color for text in your widget.
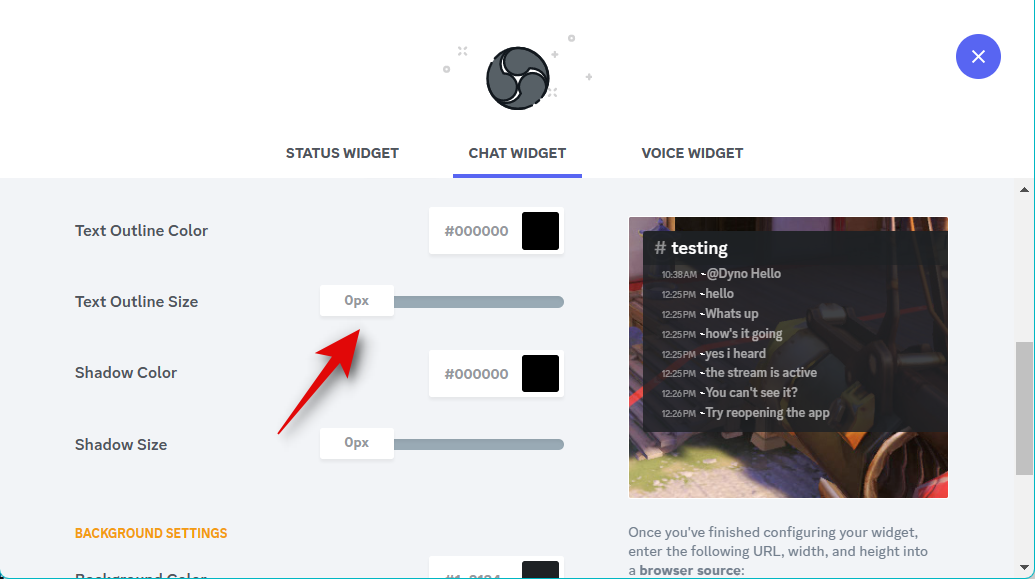
Use the Text Outline Size slider to adjust the size of your text outline. You can turn this down to zero to disable the text outline.
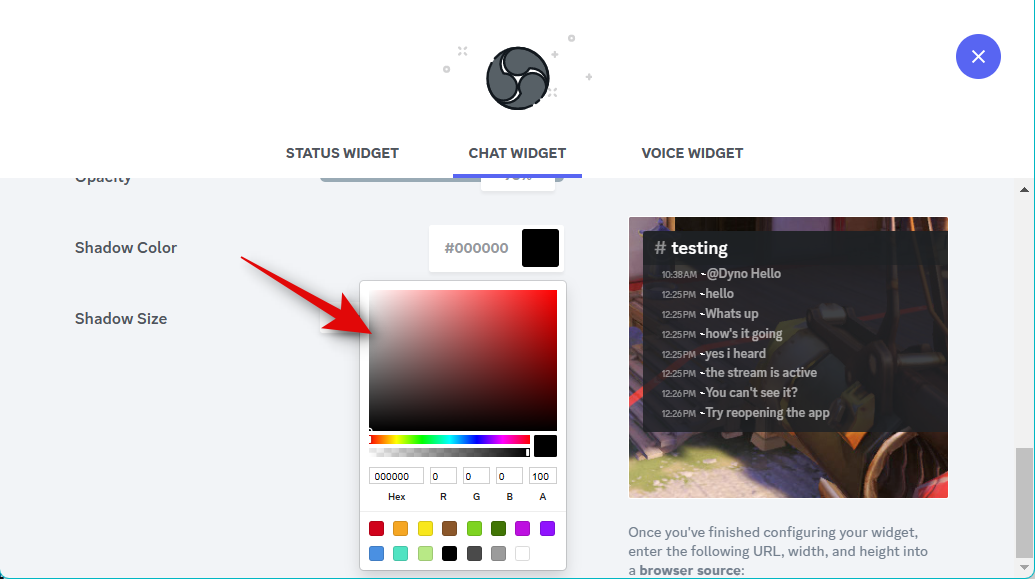
Shadow Color will help you choose the color of the shadow added to your text.
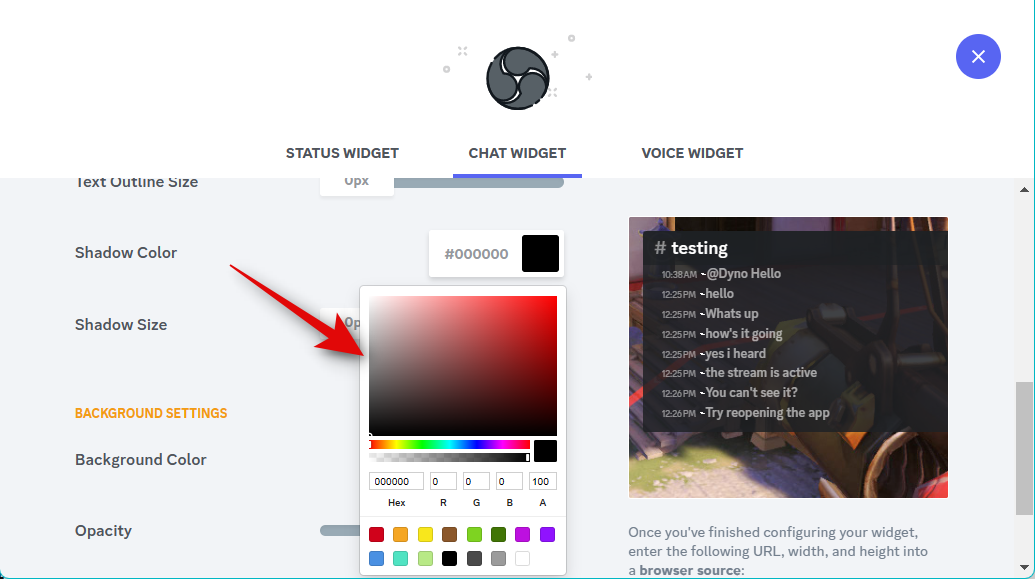
The slider for Shadow Size will help you choose the size of the shadow applied to your text. You can keep this set to zero to disable text-shadow.
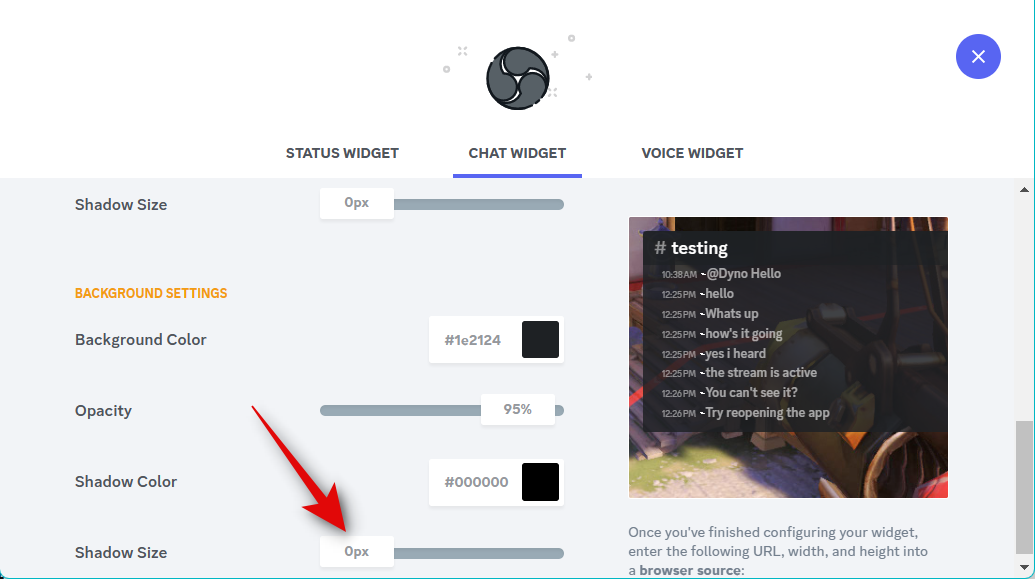
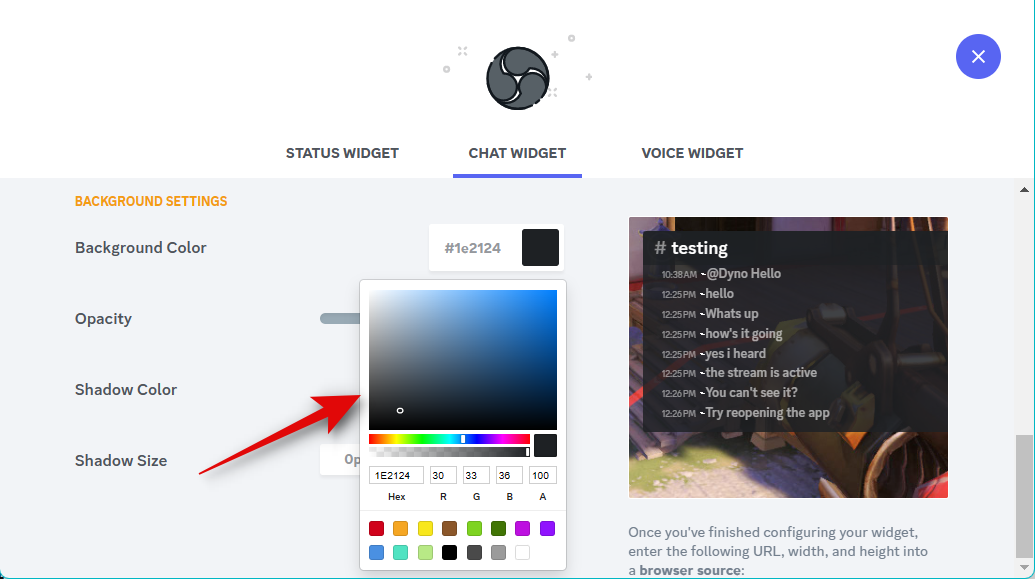
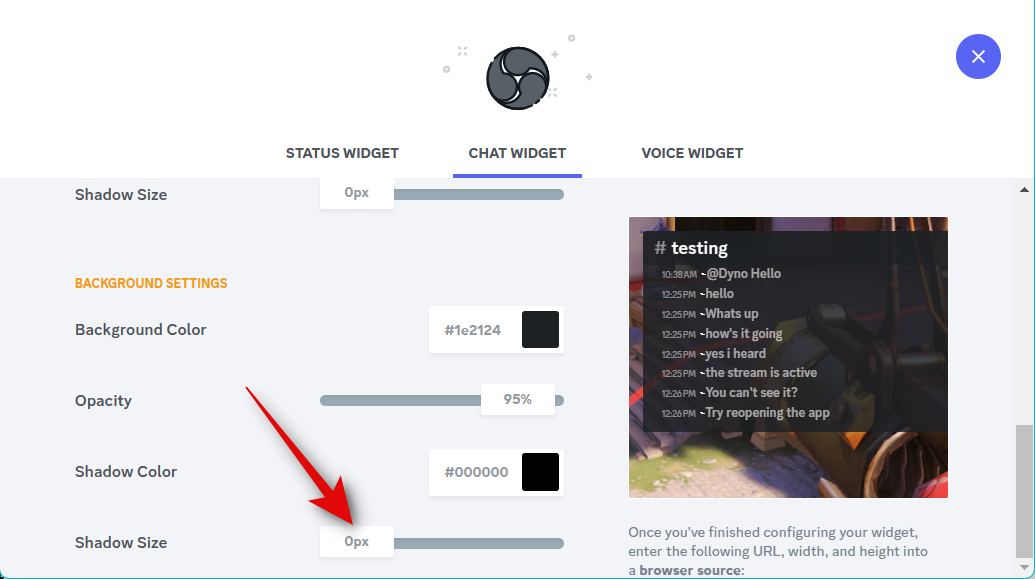
Use the Background Color option to change your widget’s background color.
Use the Opacity slider to adjust the transparency of your widget.
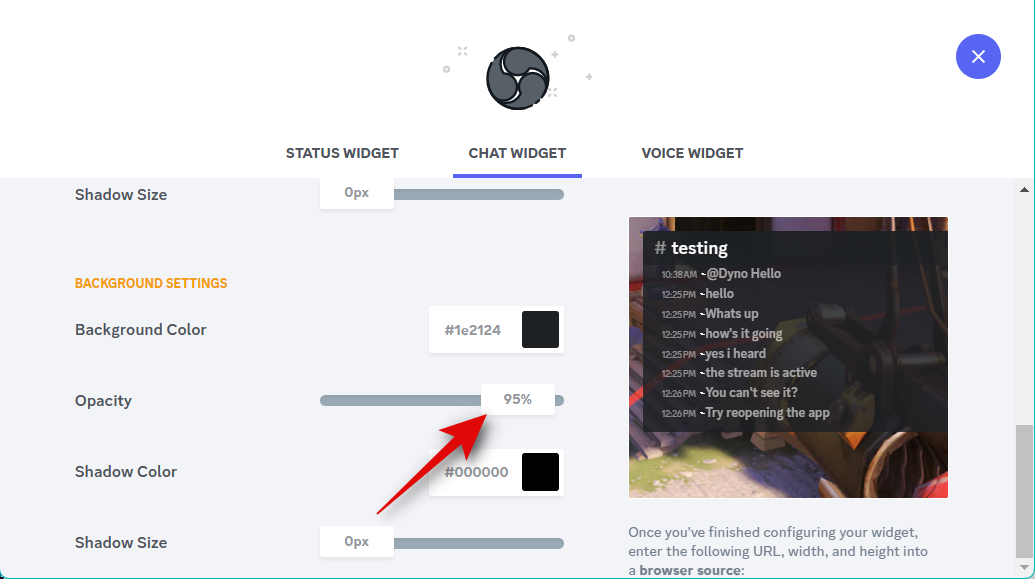
You can also add a shadow for your widget. Use the Shadow Color option to choose a preferred color.
Now choose the widget shadow size using the slider for Shadow Size.
Once you are happy with the look of your widget, click and copy the link under the widget preview.
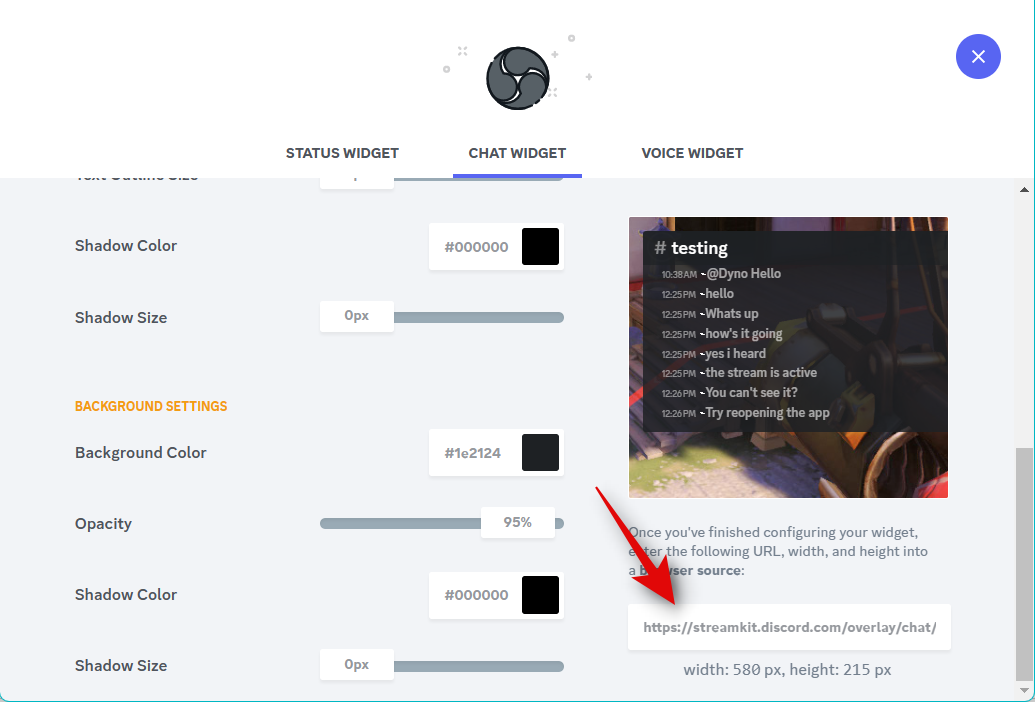
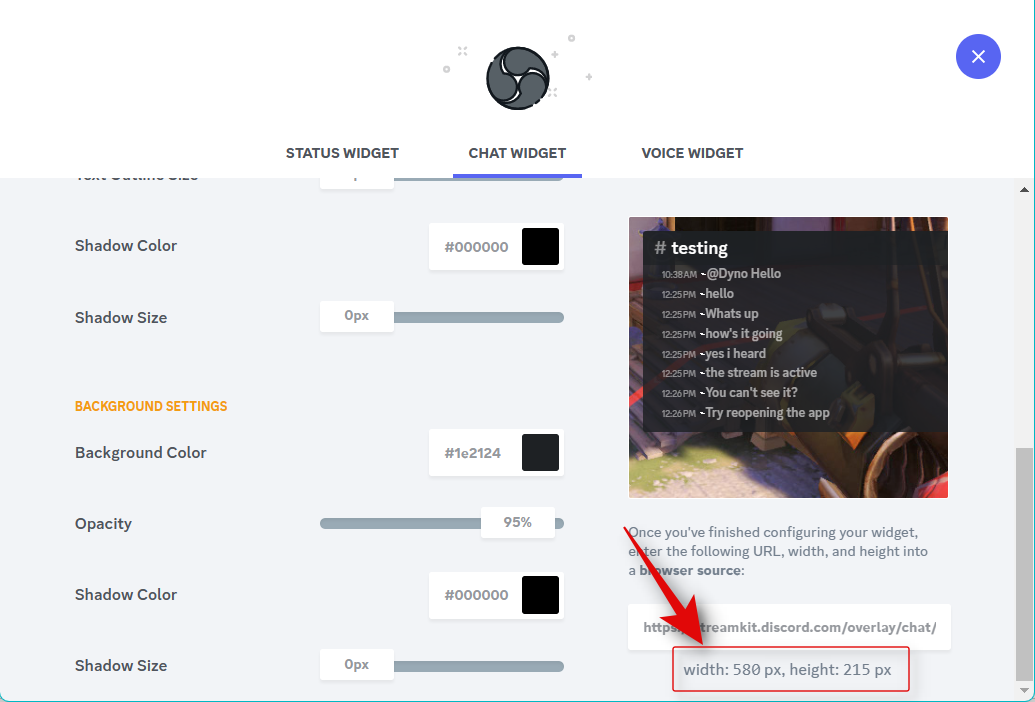
Note down the width and height values displayed under the link as well.
Now switch to OBS and click the + icon under Sources.
Select Browser.
Enter a name for your widget at the top.
Click OK once you’re done.
Paste the URL we copied to your clipboard beside URL.
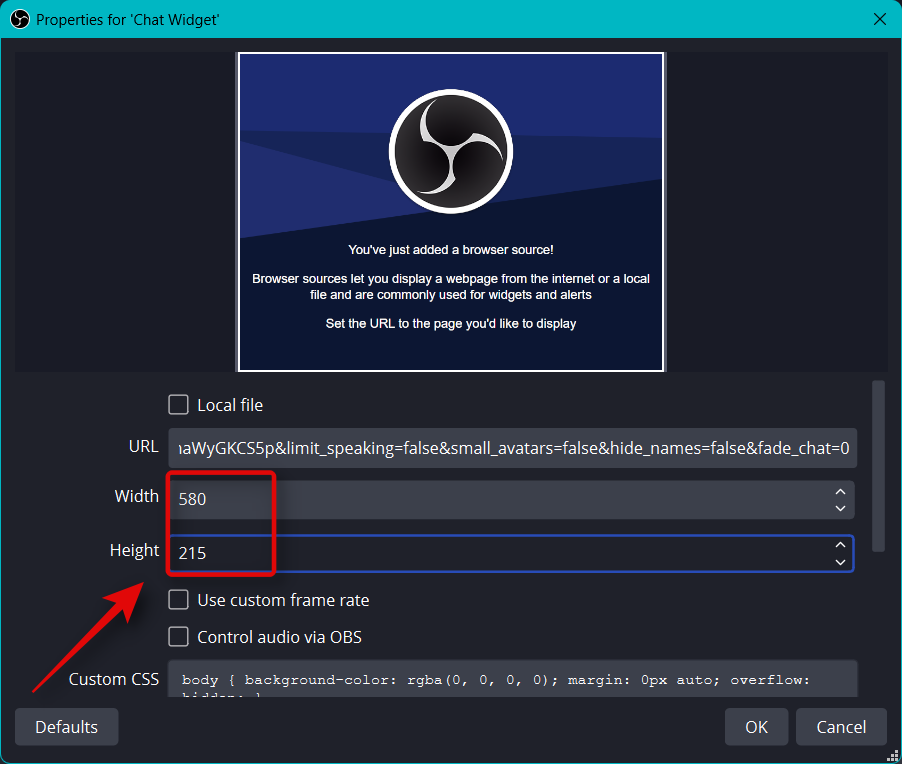
Now enter the values you noted down for widget width and height beside Width and Height.
Check the box for Refresh browser when the scene becomes active.

Now click OK.

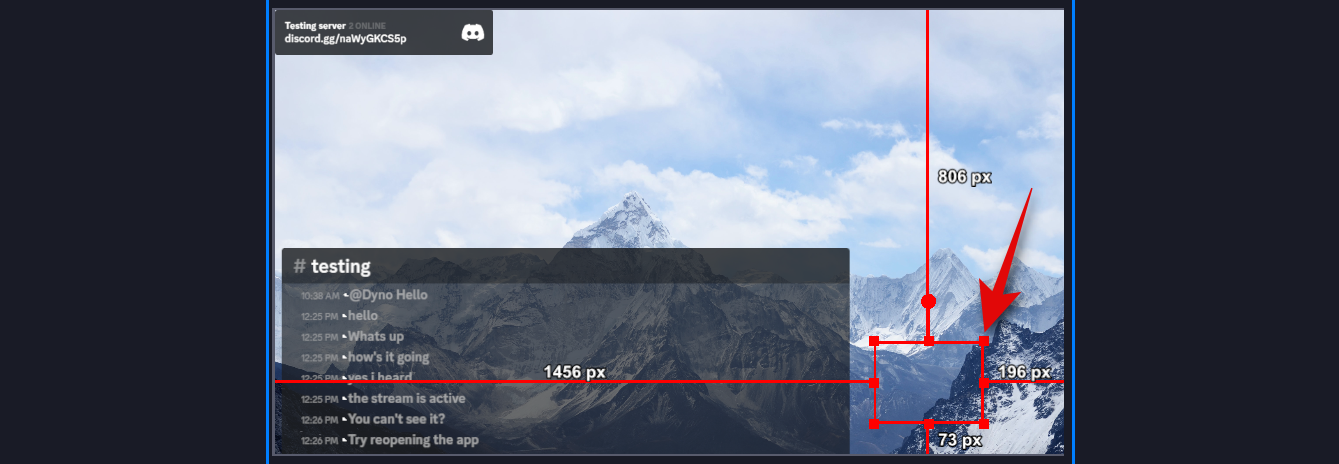
Change the size of your widget using the red corners.
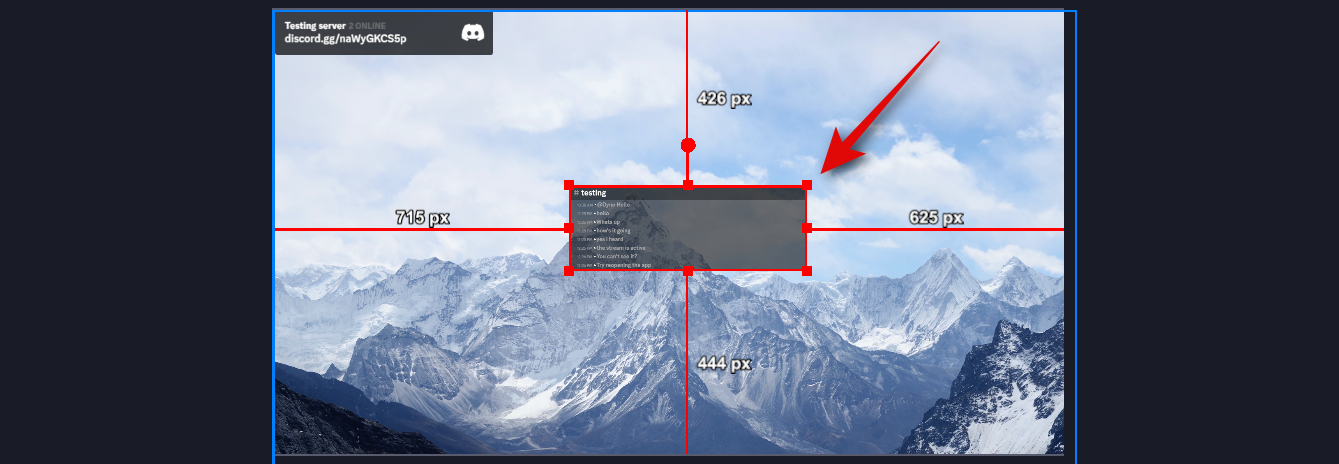
Now click and drag the widget to reposition it on your screen.
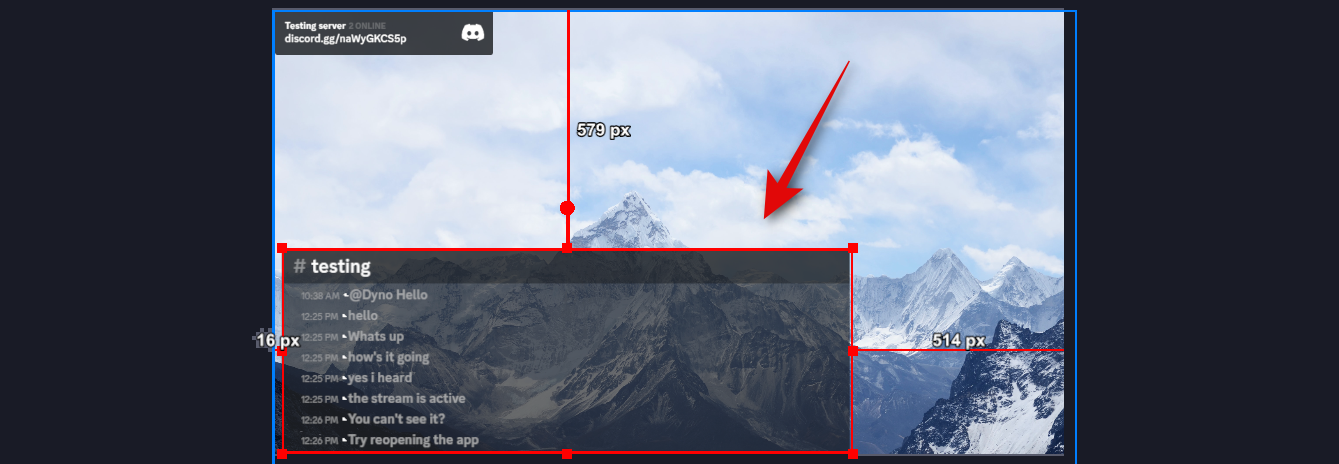
And that’s it! You will now have added the Chat widget to your stream in OBS.
For the Voice Widget
Here’s how you can add a Voice widget for your voice channel in Discord in your OBS setup using the Streamkit. Follow the steps below to help you along with the process.
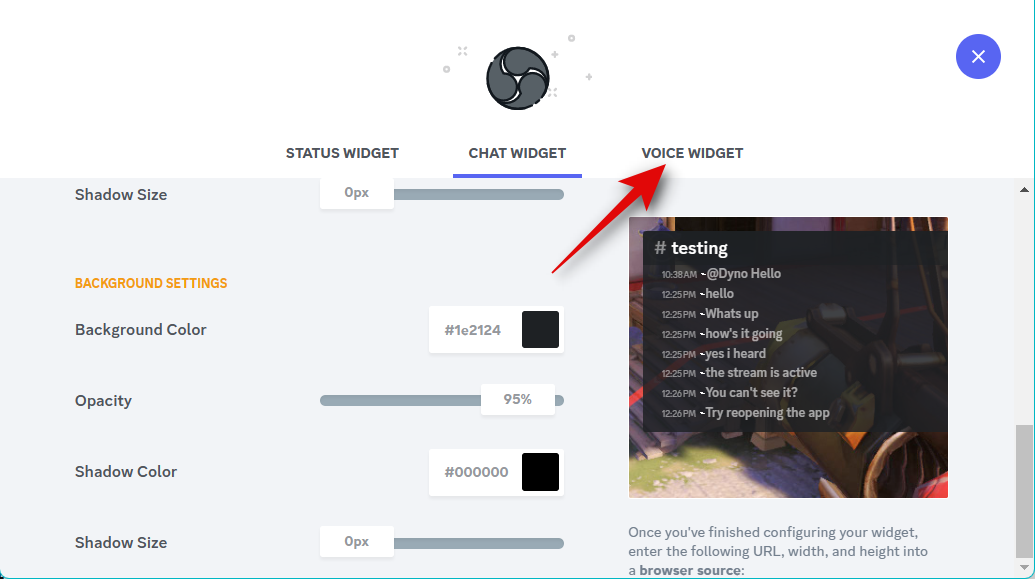
With the widget link open in your browser, click VOICE WIDGET at the top.
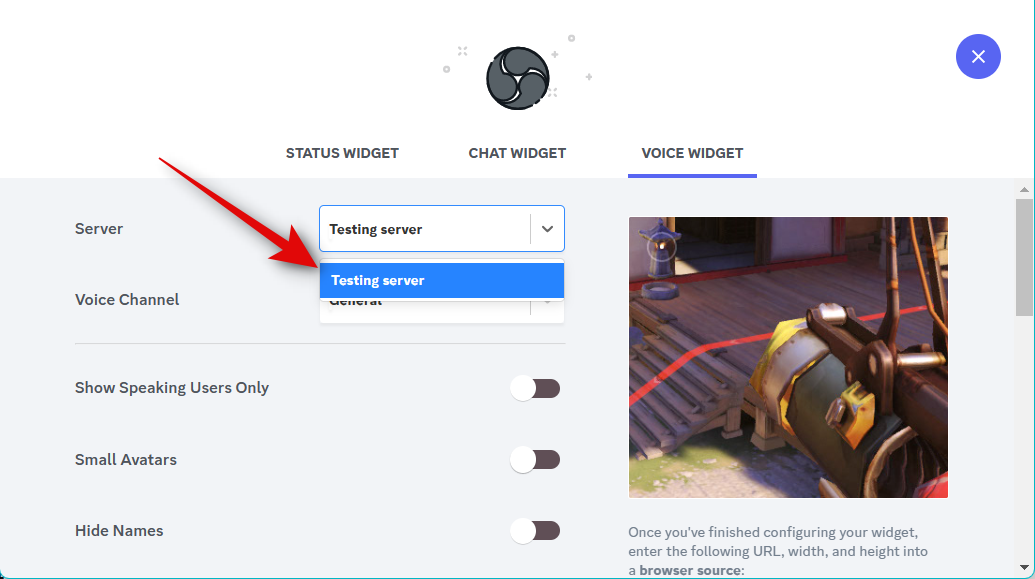
Click and choose your server using the drop-down menu beside Server.
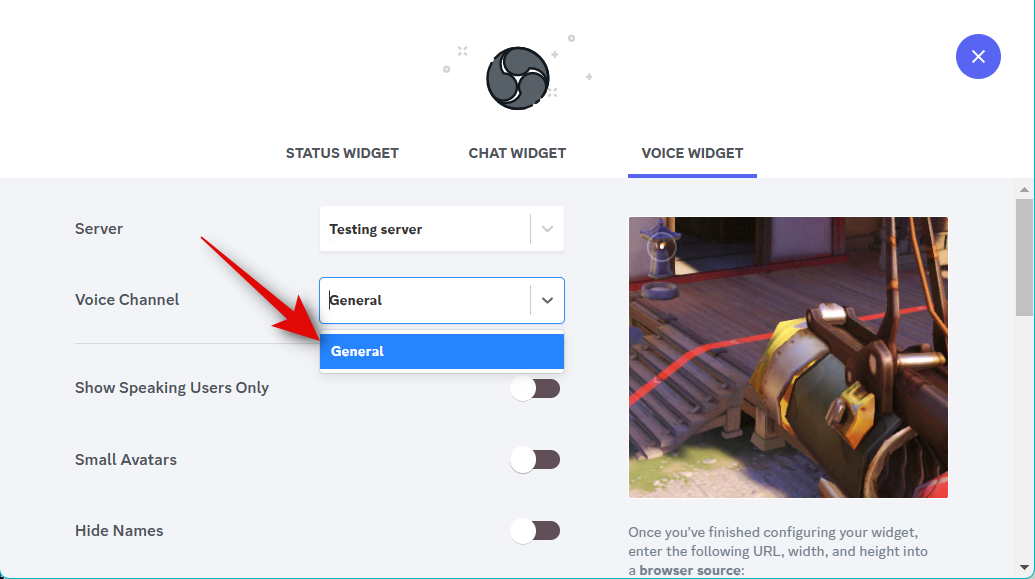
Now choose your preferred voice channel by using the drop-down menu for Voice Channel.
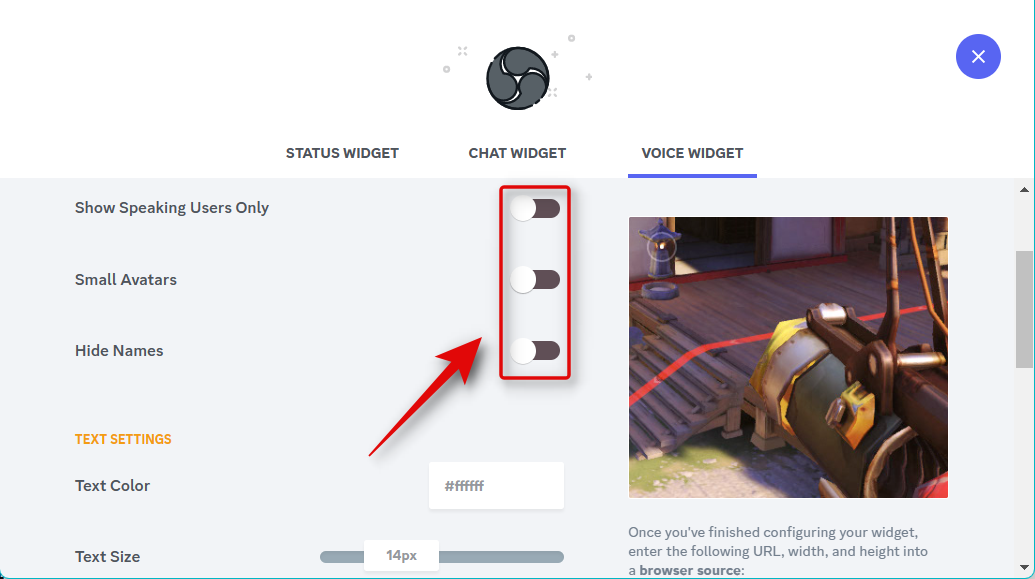
You can now turn on or turn off the following toggles based on your preferences.
- Show Speaking Users Only
- Small Avatars
- Hide Names
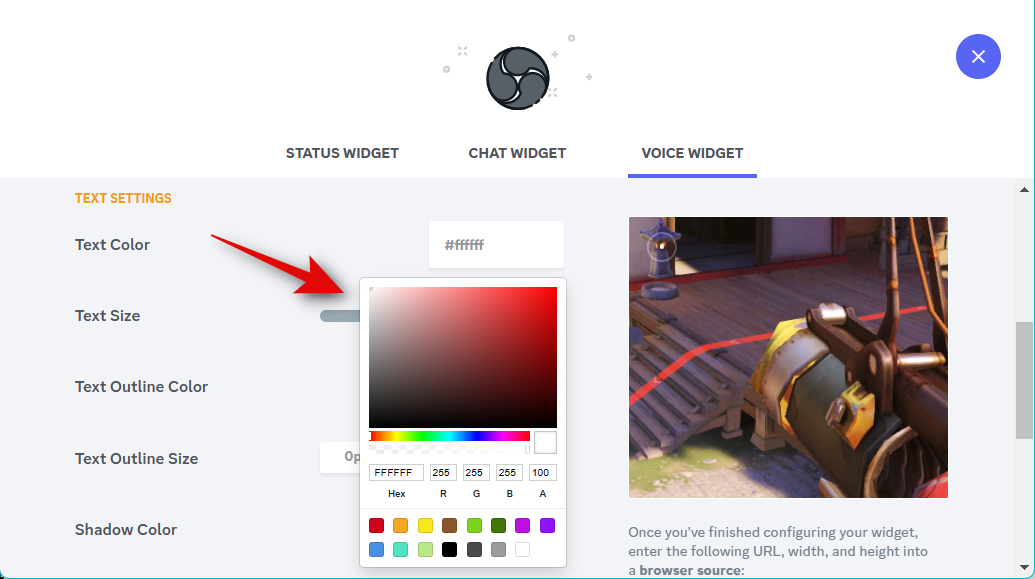
Click the text box for Text Color and choose your preferred text color.
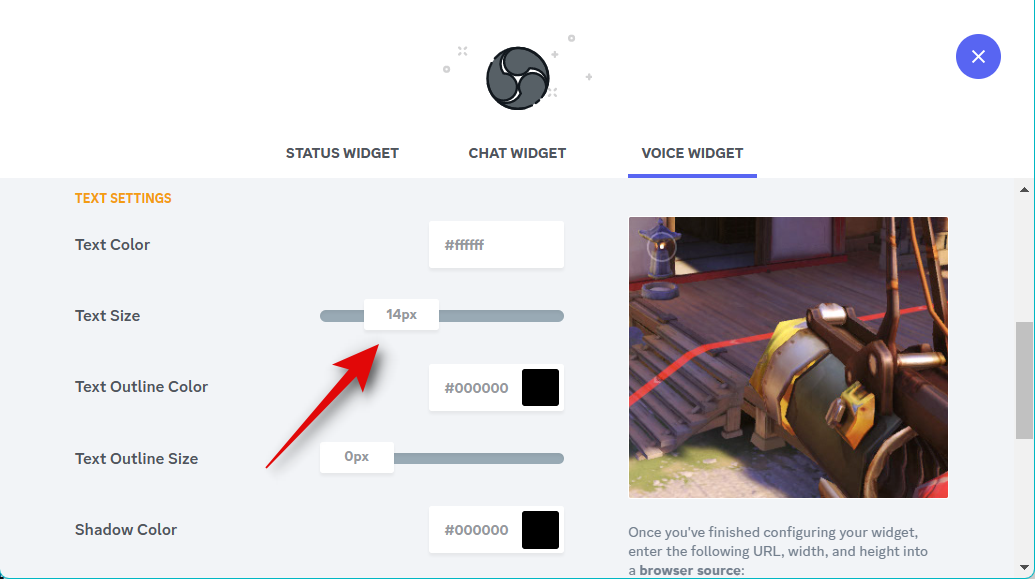
Now use the next slider for Text Size to adjust your text size based on your preferences.
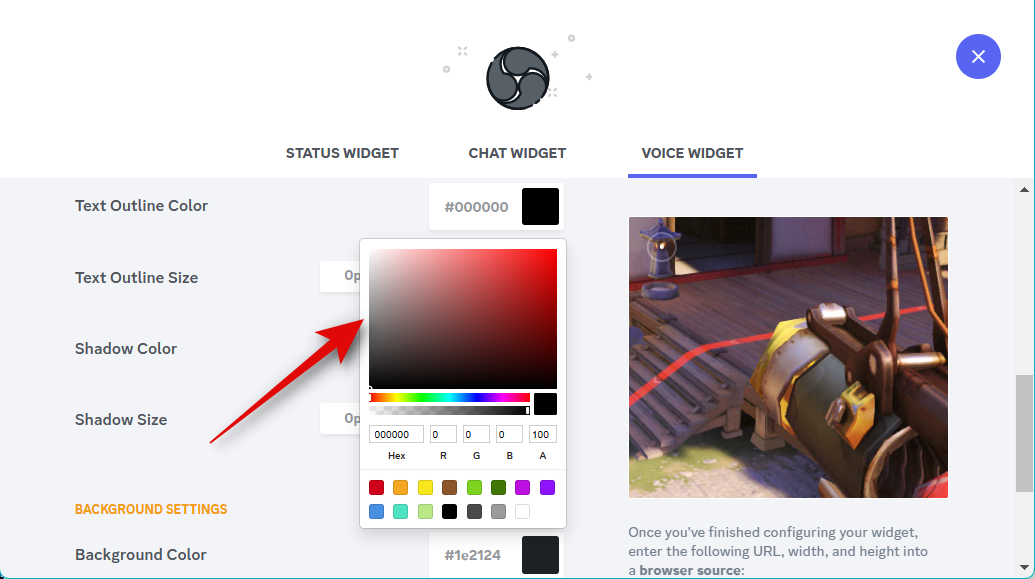
Click Text Outline Color and choose your preferred outline color.
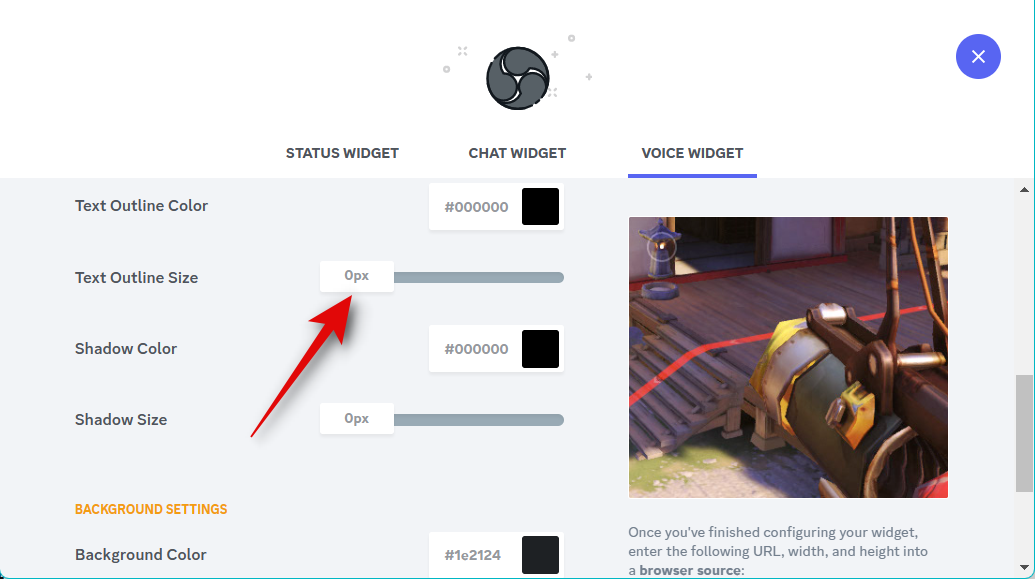
Use the slider for Text Outline Size to change the size of your text outline.
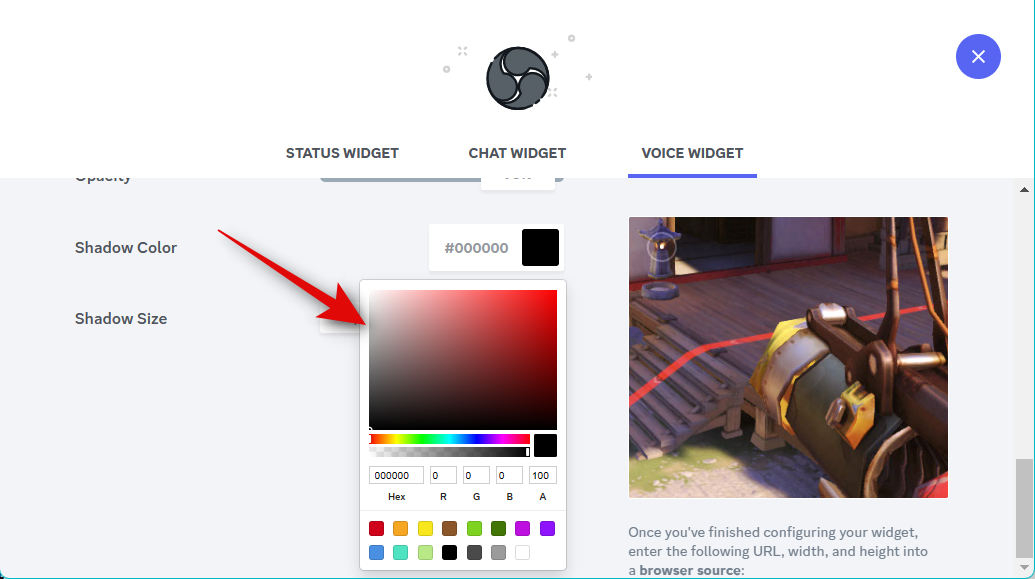
Next, choose your Shadow Color by clicking the text box.
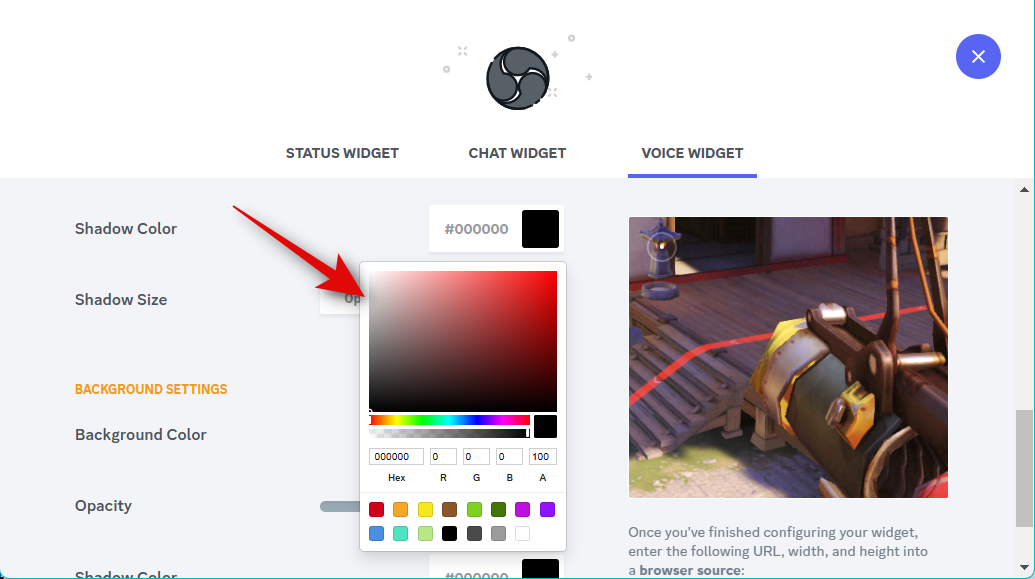
Choose the size of your text shadow using the slider for Shadow Size.
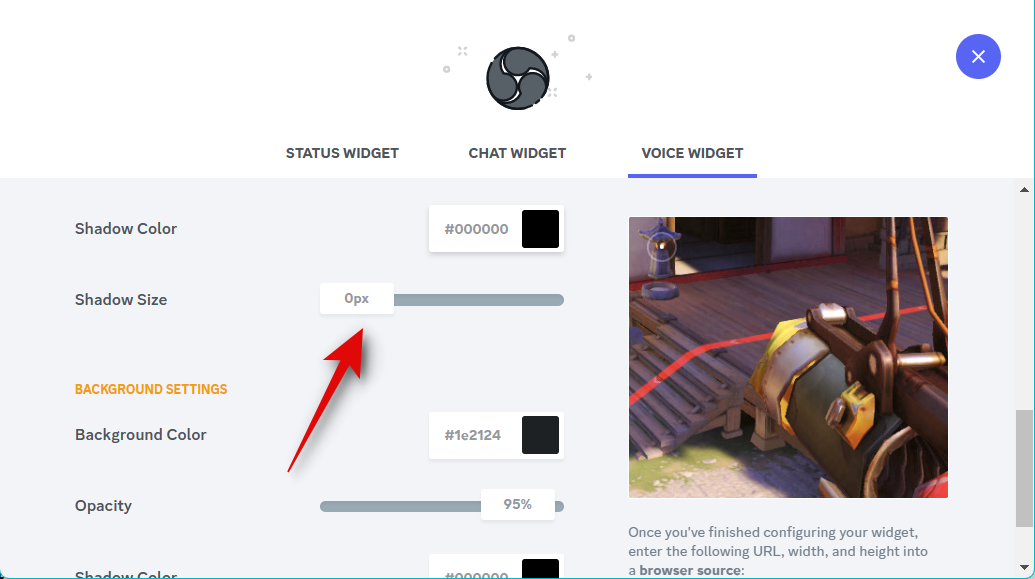
Next, click Background Color and choose your preferred color for the background of your widget.
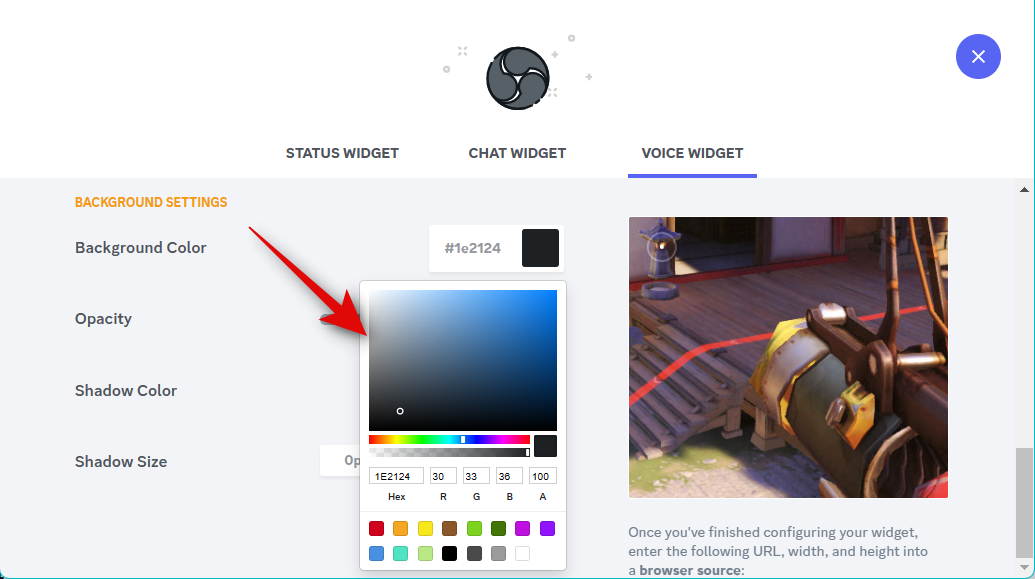
Use the Opacity slider to adjust the transparency of your Voice Widget.
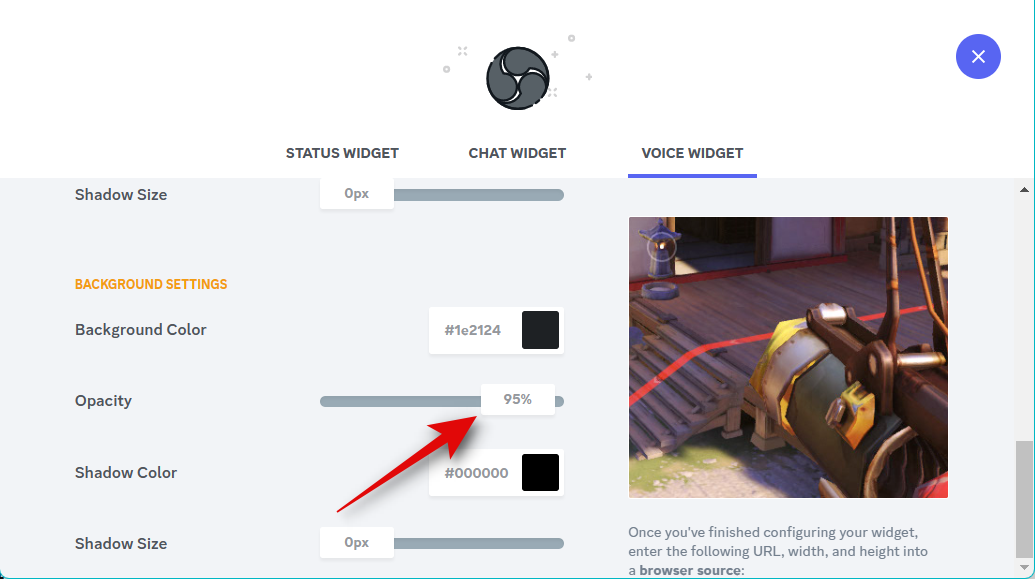
Like we did before, click Shadow Color and choose your preferred color for the widget shadow.
Use the last slider for Shadow Size to adjust the size of your widget shadow.

Once you are happy with your design, click and copy the link under your widget preview.
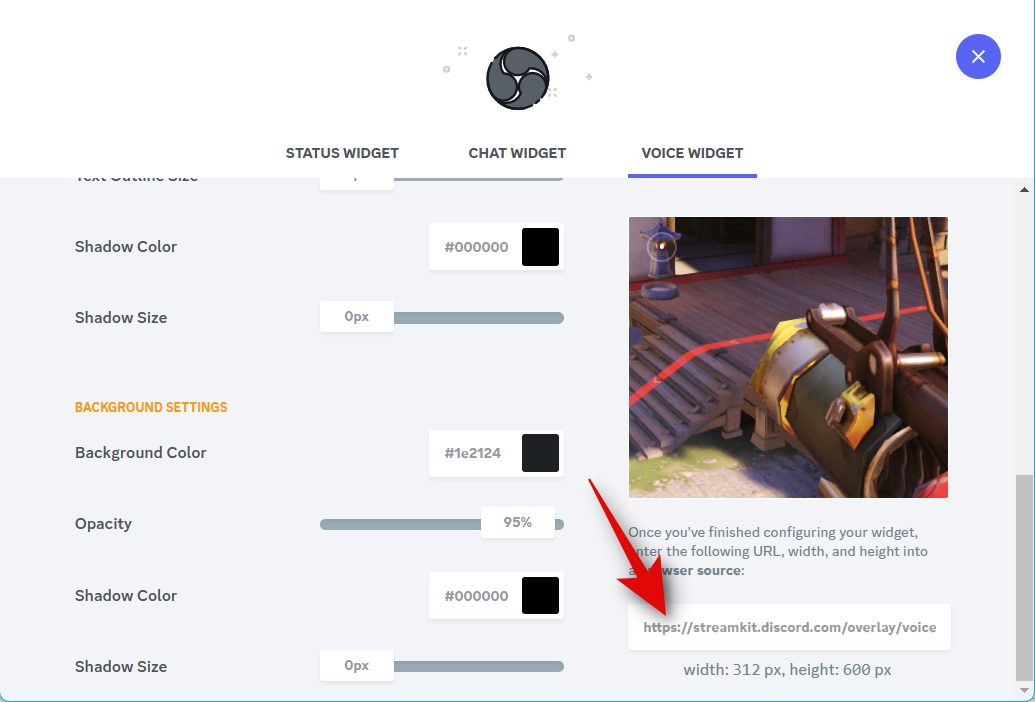
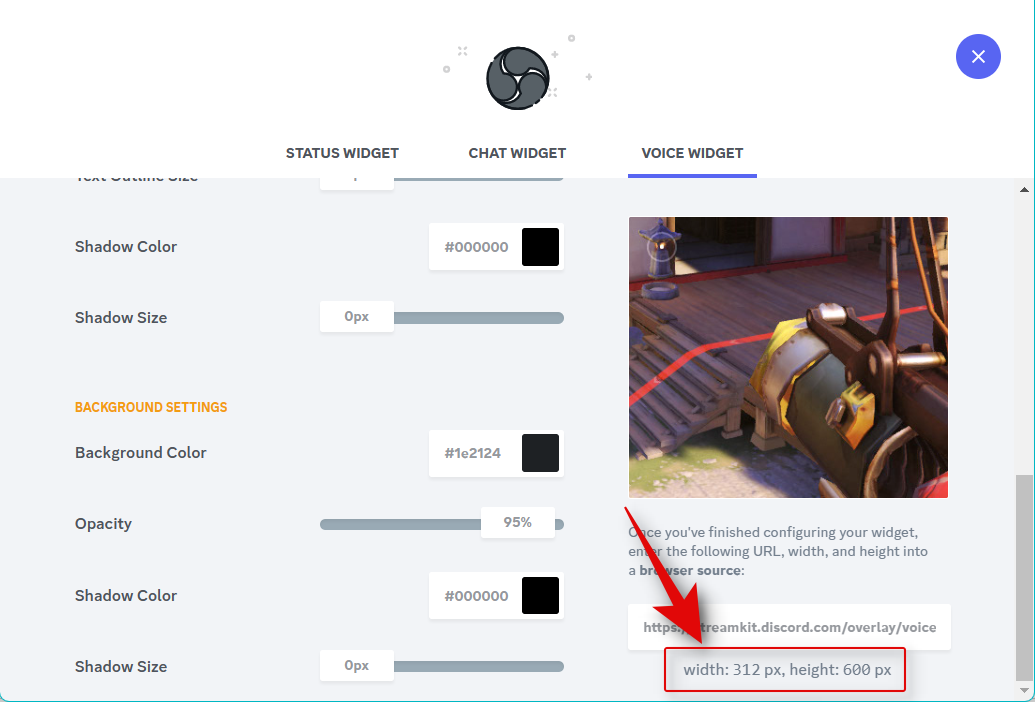
Additionally, note down the width and height of your Voice Widget.
Now open OBS and click the + icon under Sources.
Select Browser.
Now enter a preferred name for your Voice Widget at the top.
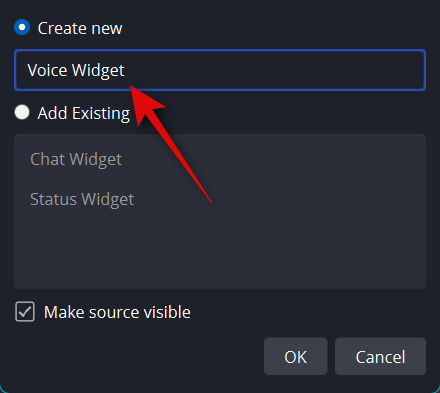
Click OK.
Now paste the URL we copied beside URL.
Enter the width and height you noted down earlier beside Width and Height.
Click and check the box for Refresh browser when the scene becomes active.
Click OK once you’re done.
Now use the red corners to adjust the size of your widget. Click and drag the widget to reposition it on your canvas as needed.
And that’s it! You will now have added the Voice Widget for your Discord voice channel in your OBS setup.
Step 3: Finalize and initiate your stream
You are now a few steps away from finalizing and initiating your stream. Use the steps below to help you stream to Discord on your preferred server.
Open OBS and ensure that all scenes and capture sources work as intended. Launch all the necessary apps and games that you will need to capture for your stream. Ensure your webcam feed is working as intended if you’ve added one.
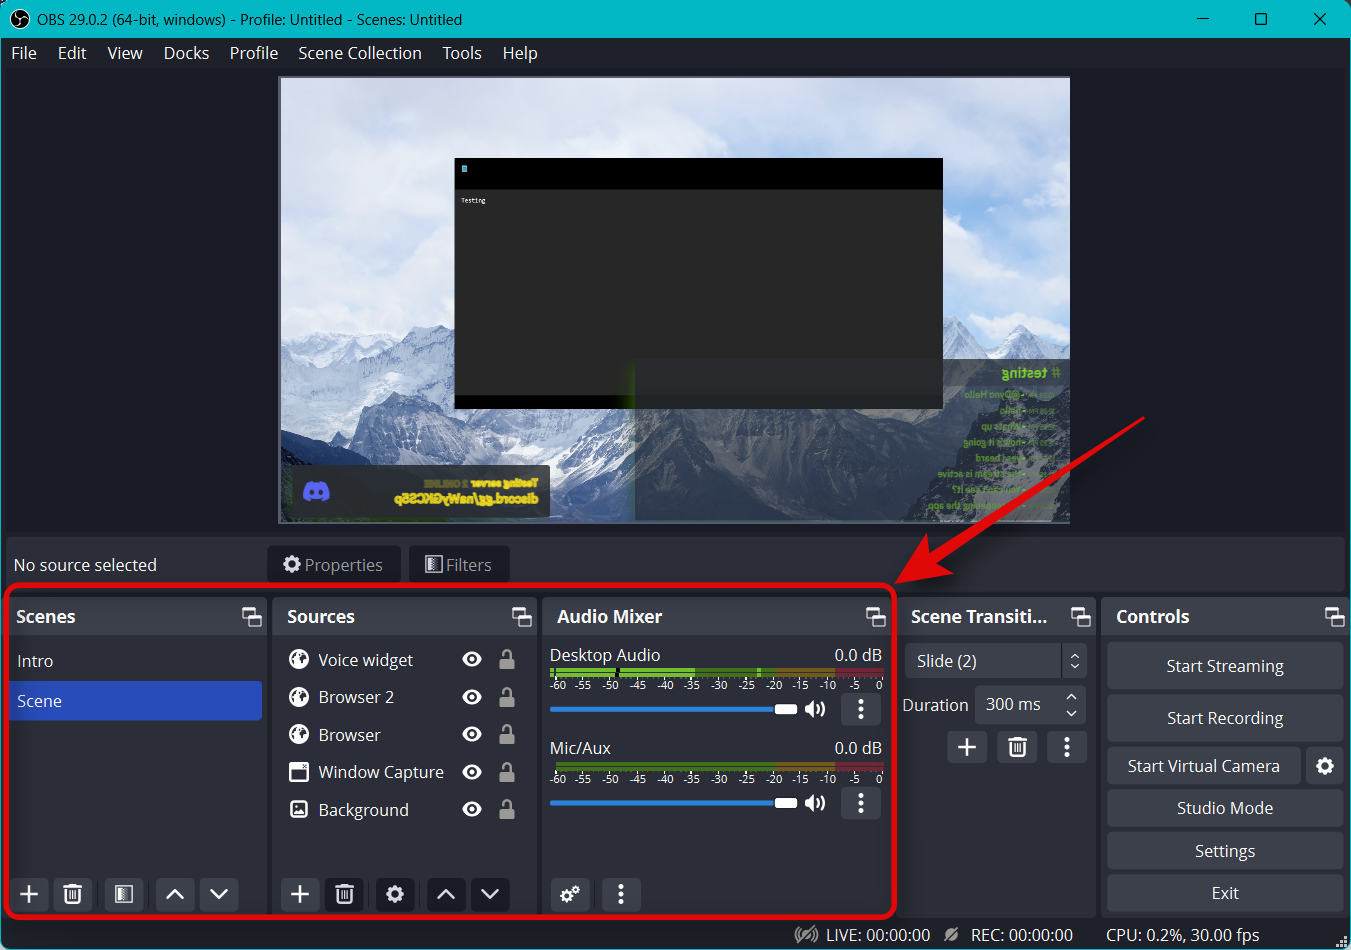
Now as discussed above, we will use OBS Virtual Camera to stream your entire setup to a channel in Discord. However, Discord auto-mirrors your camera feed whether you use a webcam or a virtual camera. Thus we will need to flip all our elements in OBS. This is a bit inconvenient but only involves a few steps. Click and select your capture source.
Now right-click on it and hover over Transform.
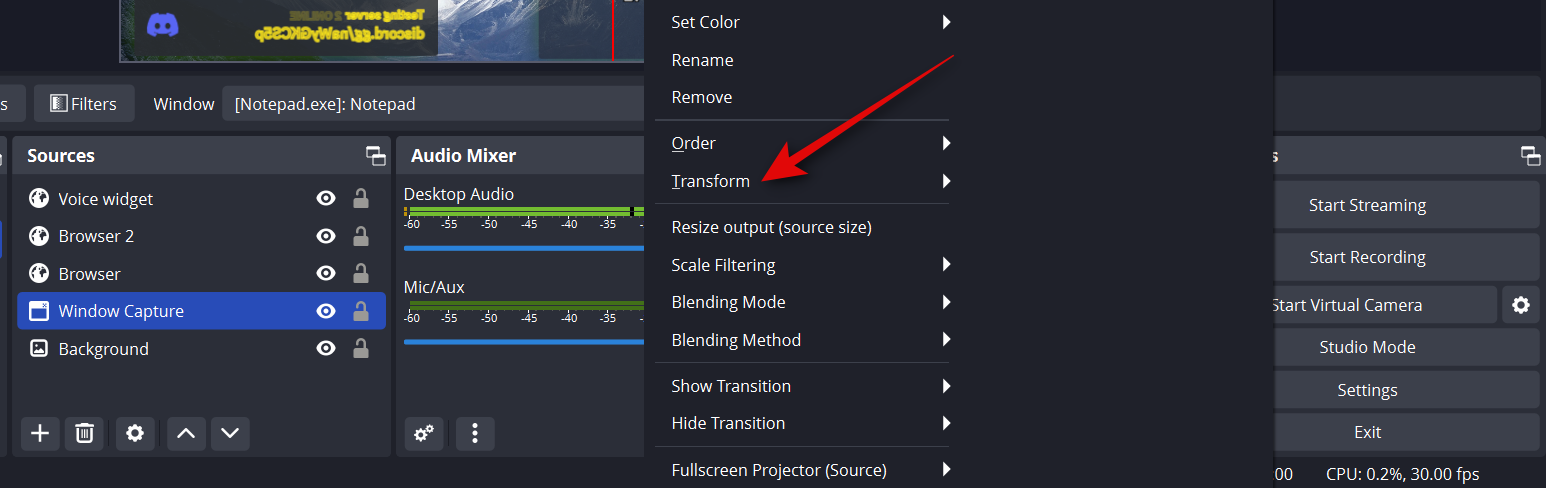
Note: Ensure you have the red border visible around your source. You might have to click twice to properly select a source in your setup.
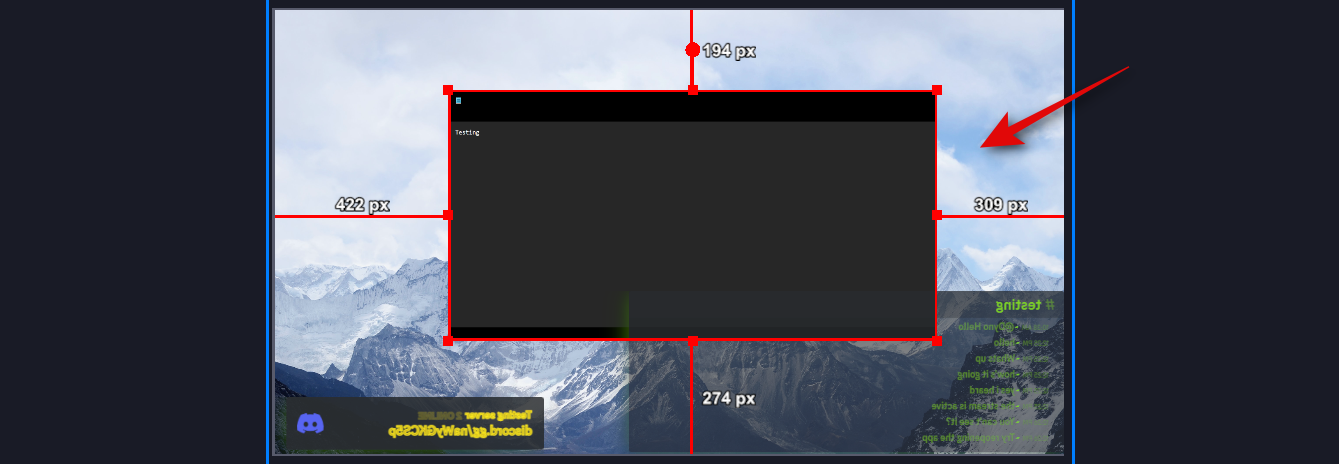
Select Flip Horizontal.
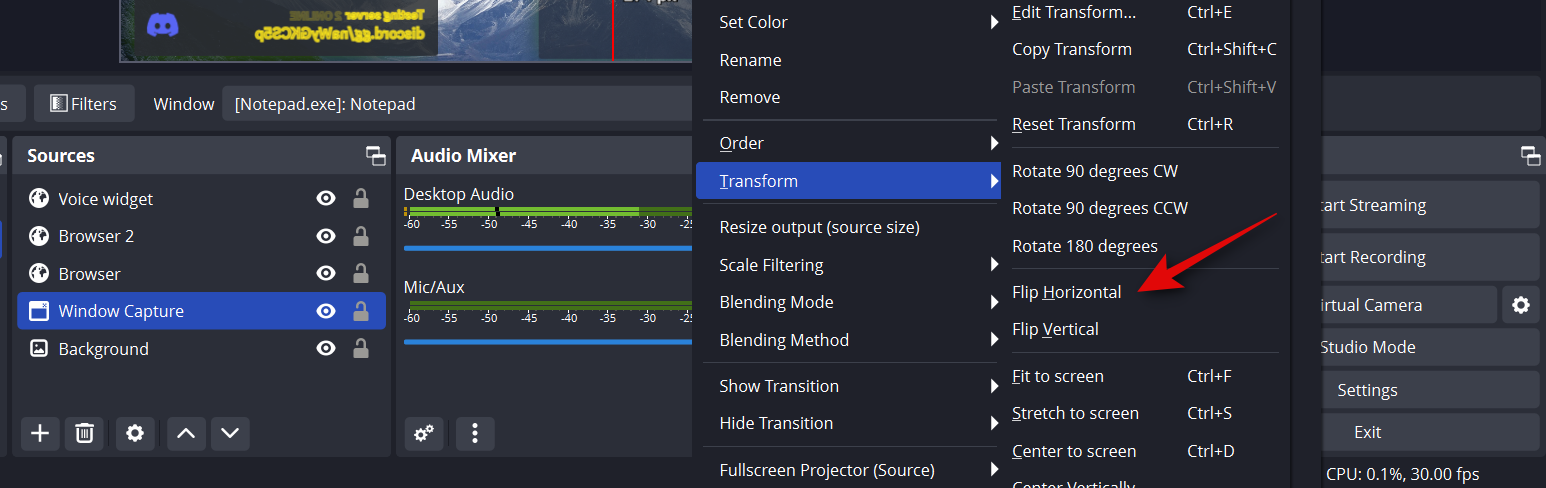
Your capture will now be flipped. In some cases, you might need to reposition the captured source on your base canvas. Repeat the steps above and flip all your elements on the base canvas horizontally.
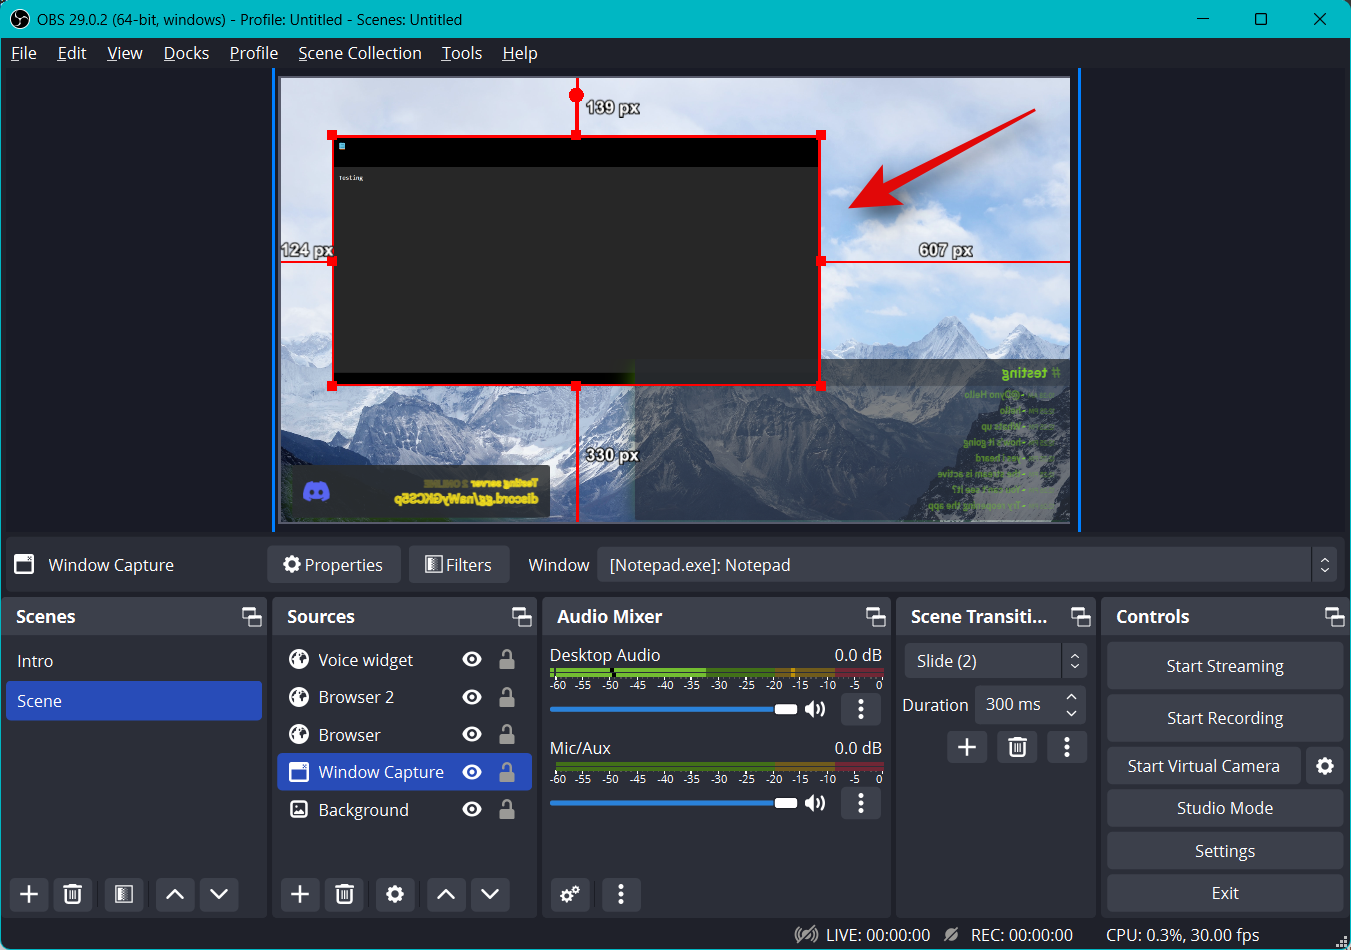
Once you have verified your setup, click Start Virtual Camera under Controls in the bottom right corner.

Now open the Discord app and click the Gear () icon beside your username in the bottom left corner.
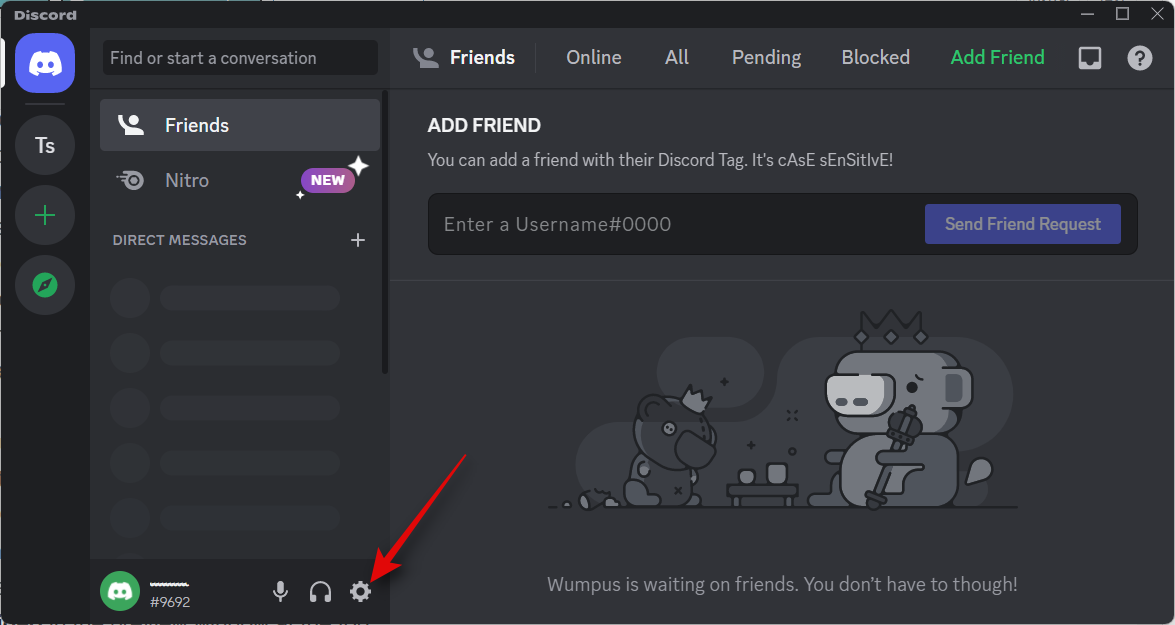
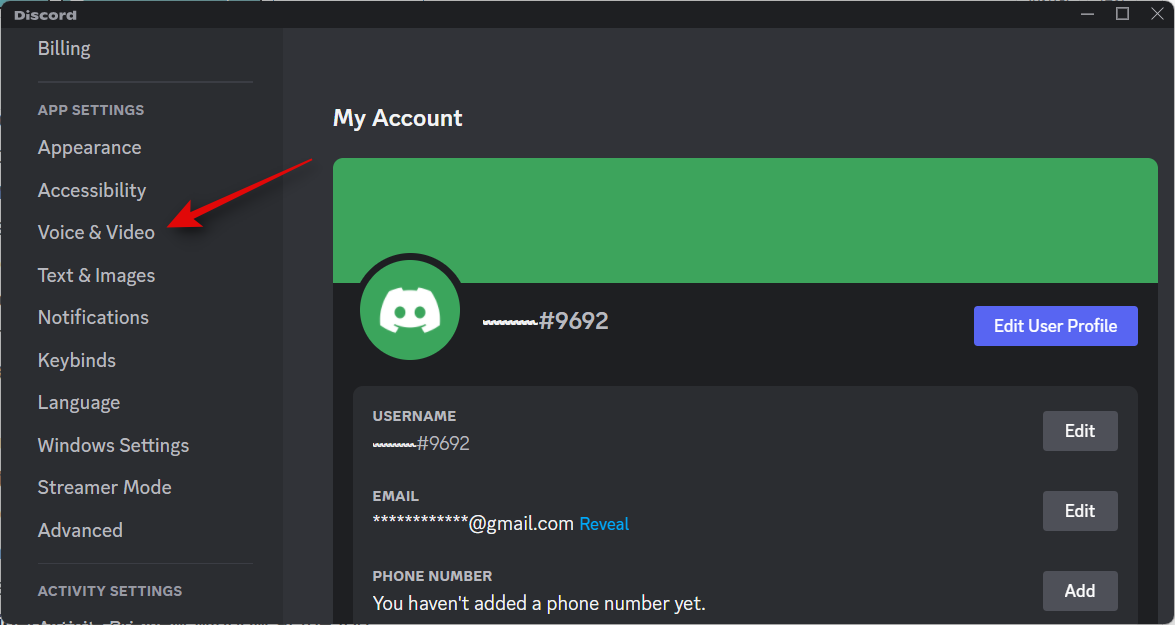
Click Voice & Video in the left sidebar.
Click the drop-down menu for INPUT DEVICE and choose the microphone you wish to use in your stream.
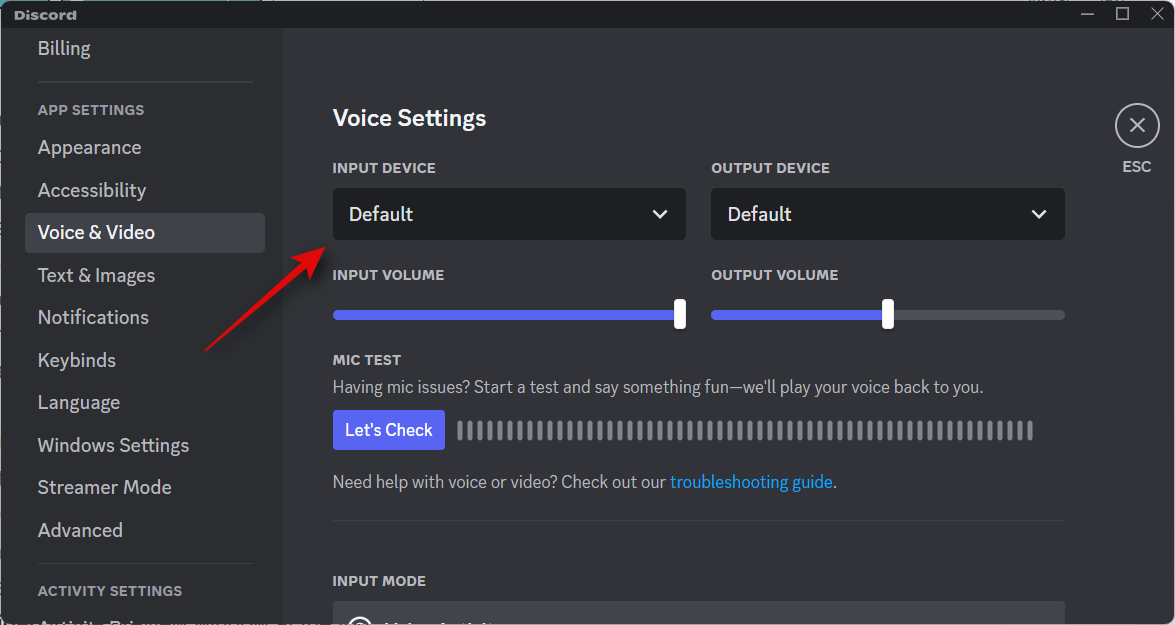
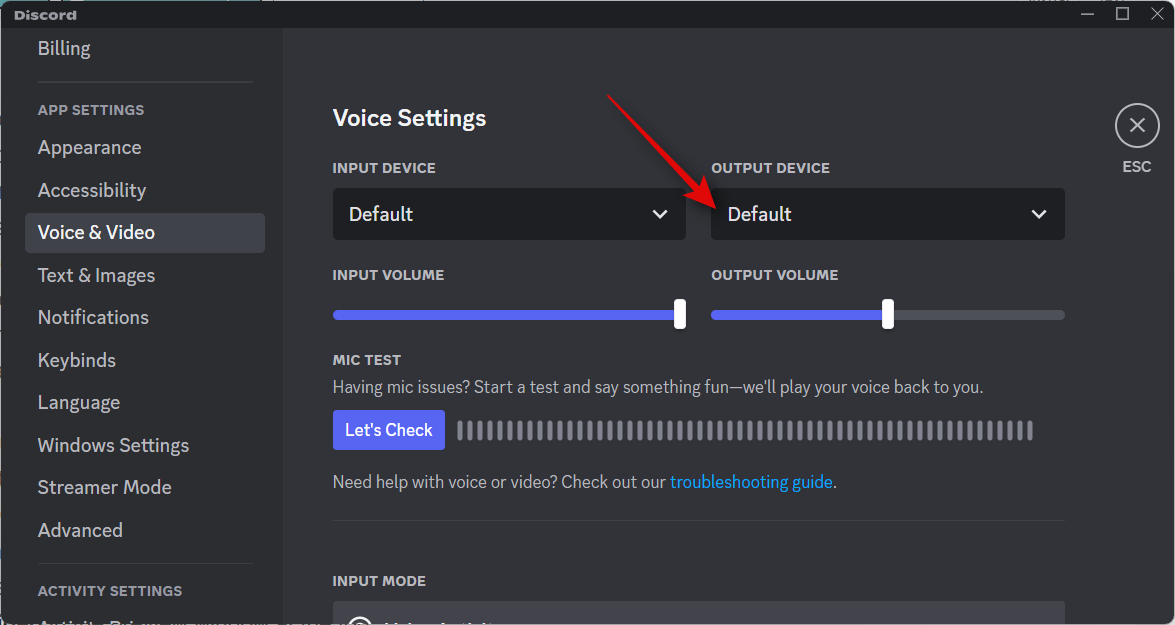
Similarly, select your preferred OUTPUT DEVICE using its drop-down menu.
Click Let’s Check and speak into your microphone. You should be able to monitor and check your voice input for any noise, glitches, or errors.
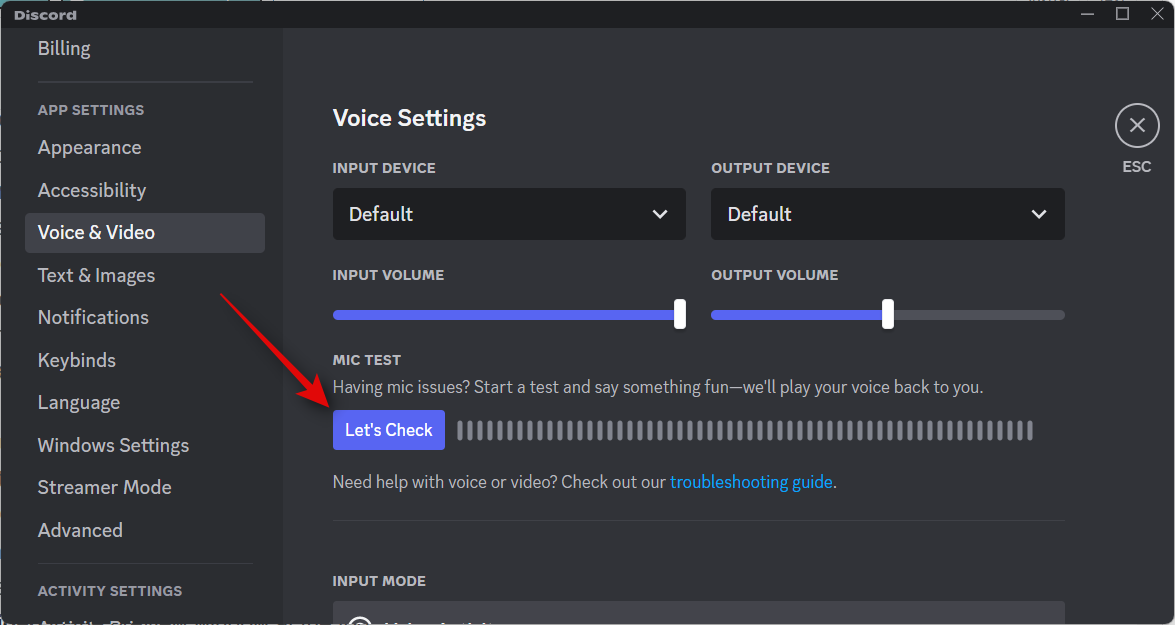
Click Stop Testing once you’re done.
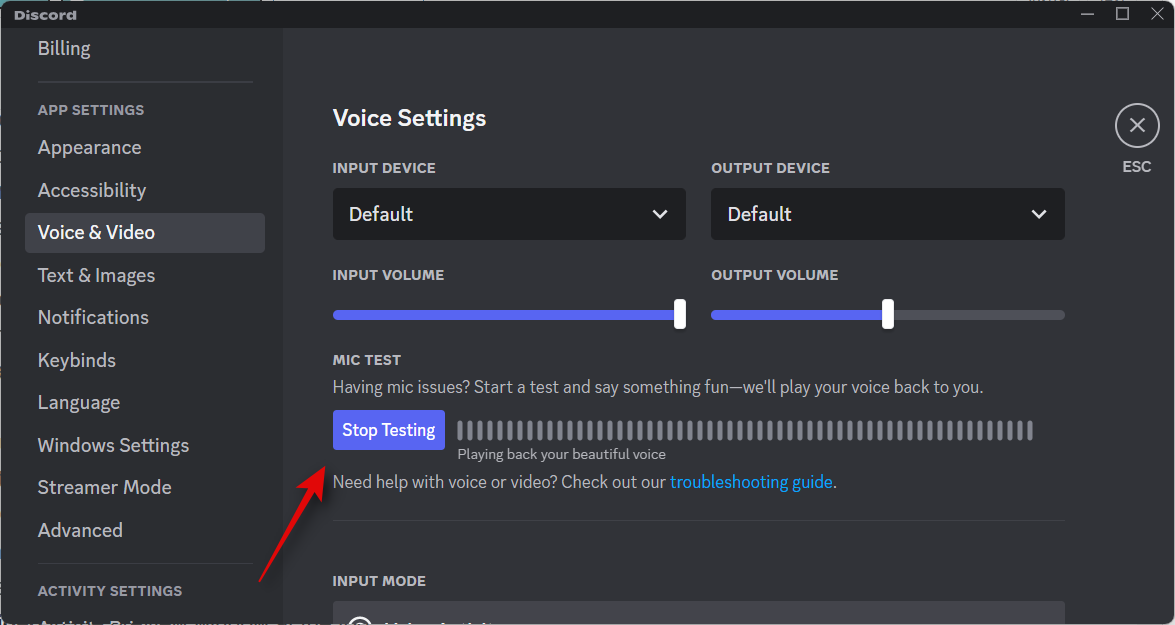
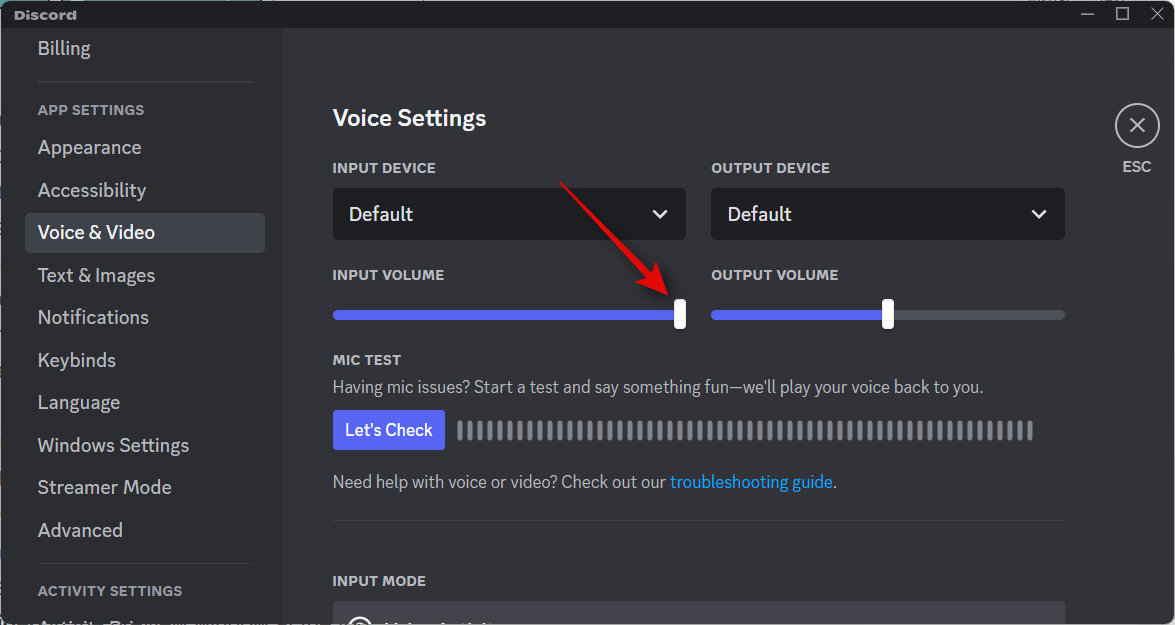
If you find your mic volume to be too high, you can either adjust it using the INPUT VOLUME slider in Discord or use the dedicated slider in the Audio Mixer section of OBS.
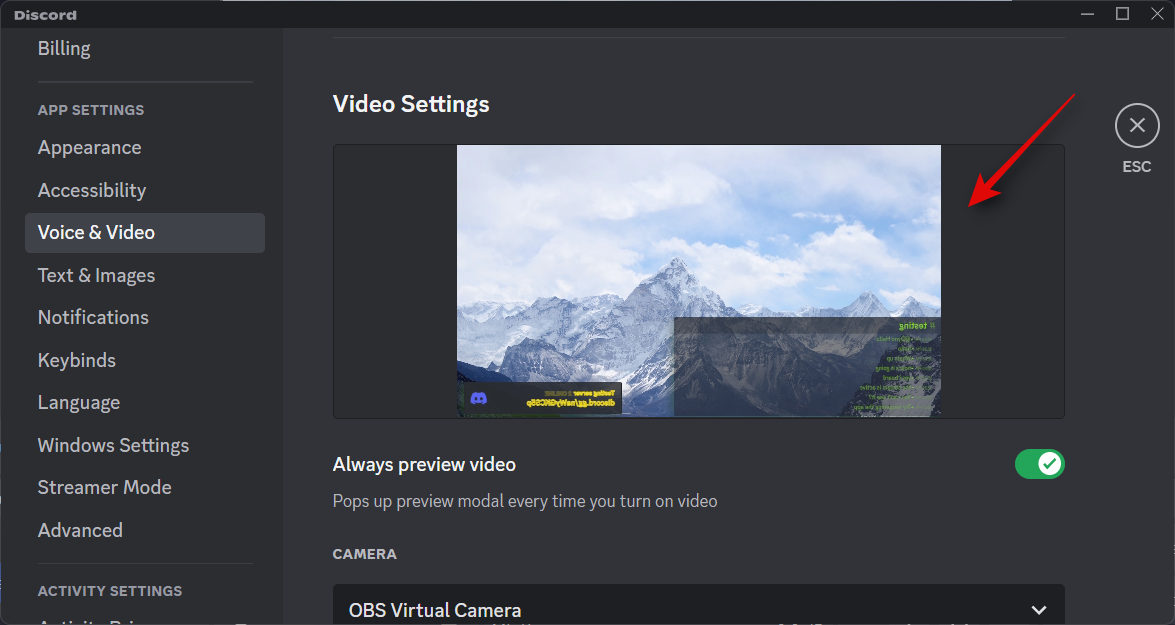
Scroll down to Video Settings and turn on the toggle for Always preview video.
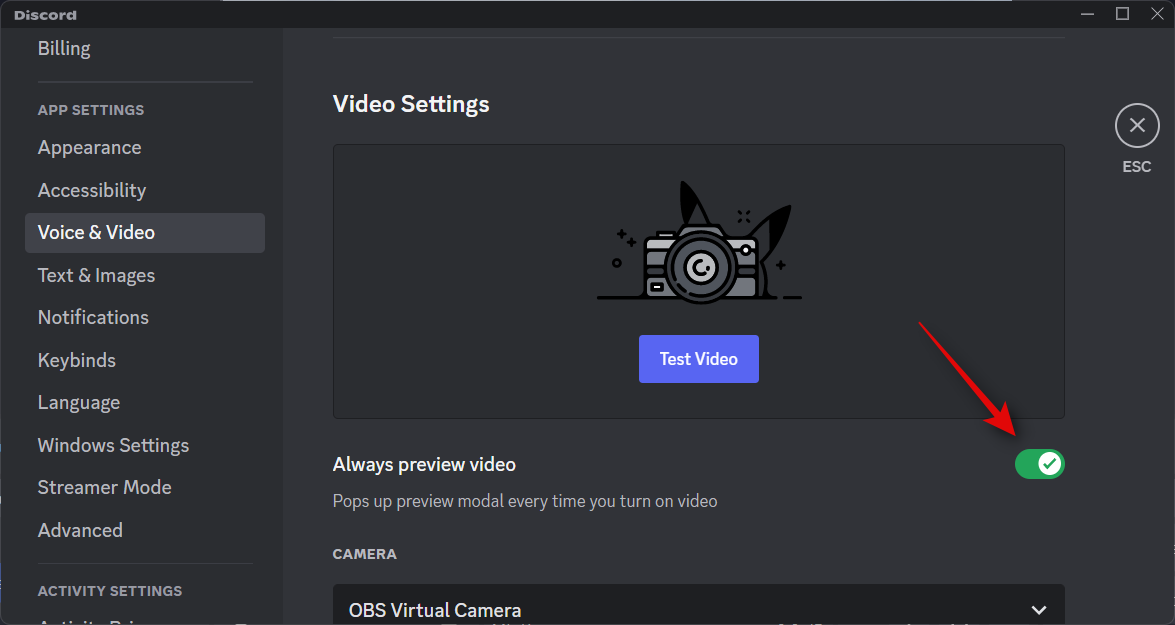
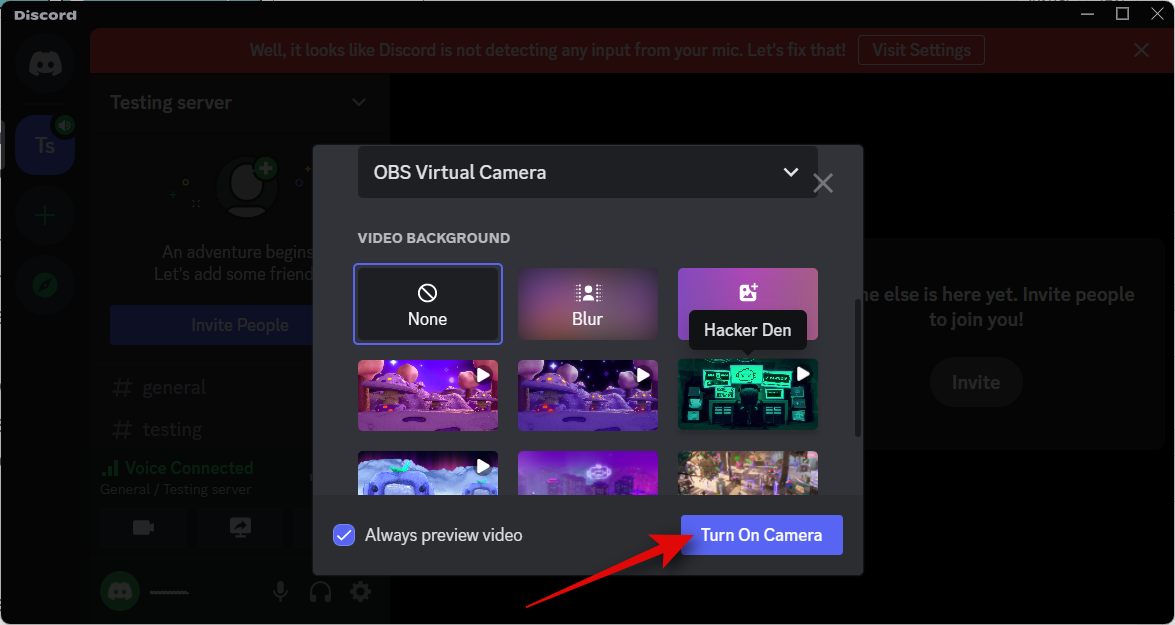
Now click the drop-down menu for CAMERA and select OBS Virtual Camera.

Once selected, click Test Video in the preview window at the top.
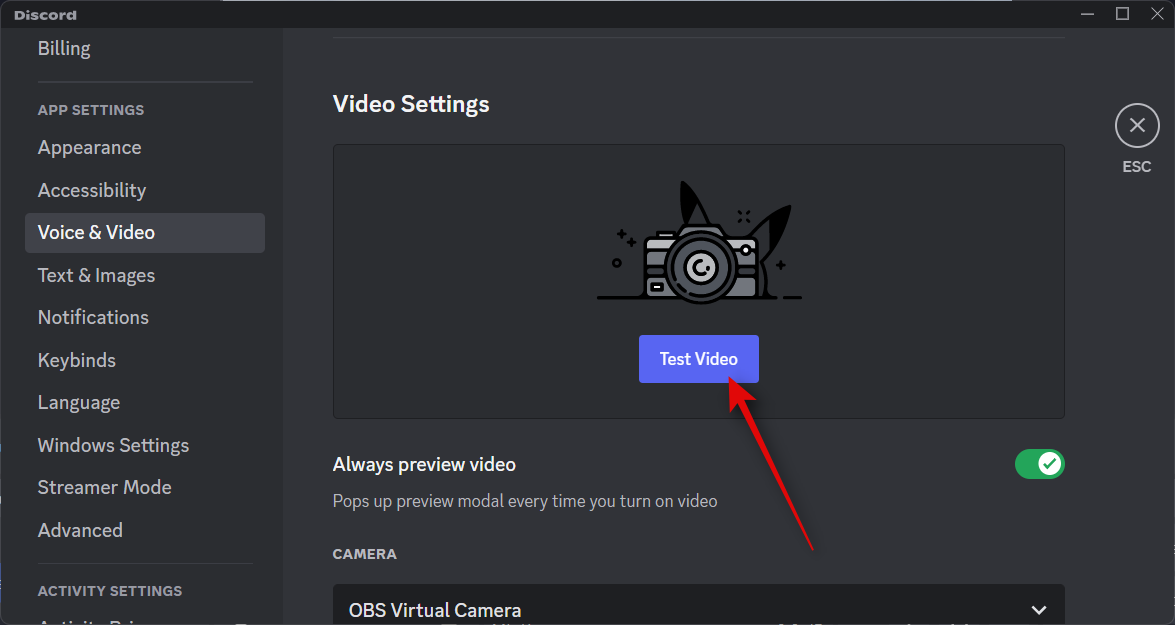
If all worked correctly, your stream will now be visible in the preview.
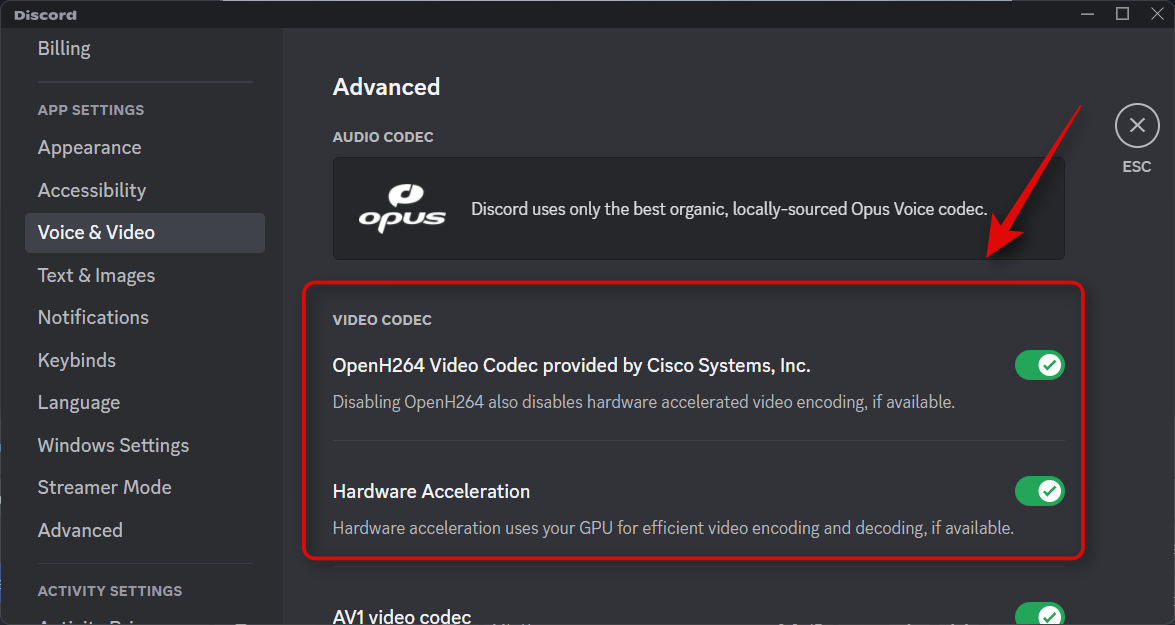
You can now scroll down and customize advanced audio settings according to your liking. Discord offers various post-processing effects and more to help enhance your conversation experience. Depending on the equipment you use, these settings can improve or decrease the quality of your stream.
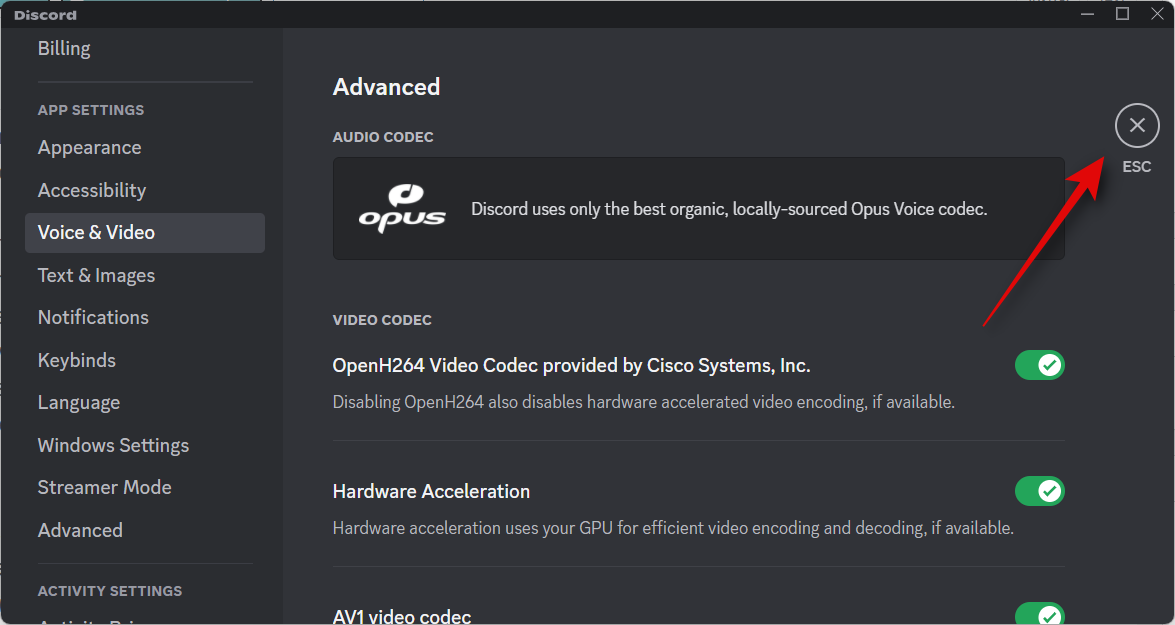
Once customized, close settings by pressing Esc or by clicking the X in the top right corner.
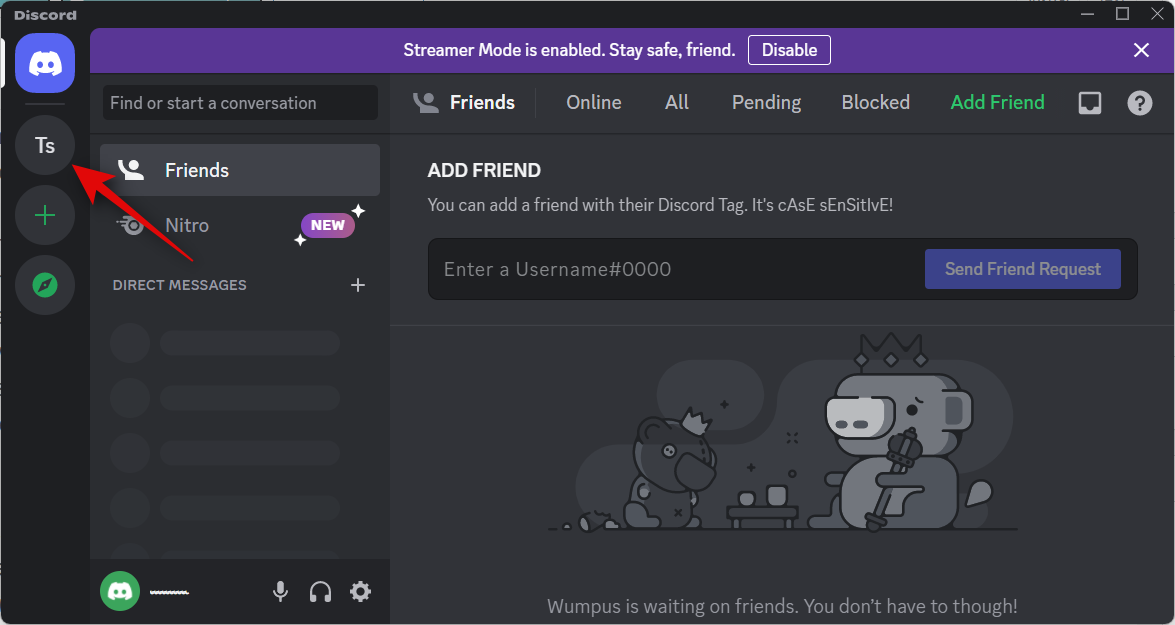
Now click and select the server where you wish to stream from the left sidebar.
Click and select the Channel where you wish to stream.
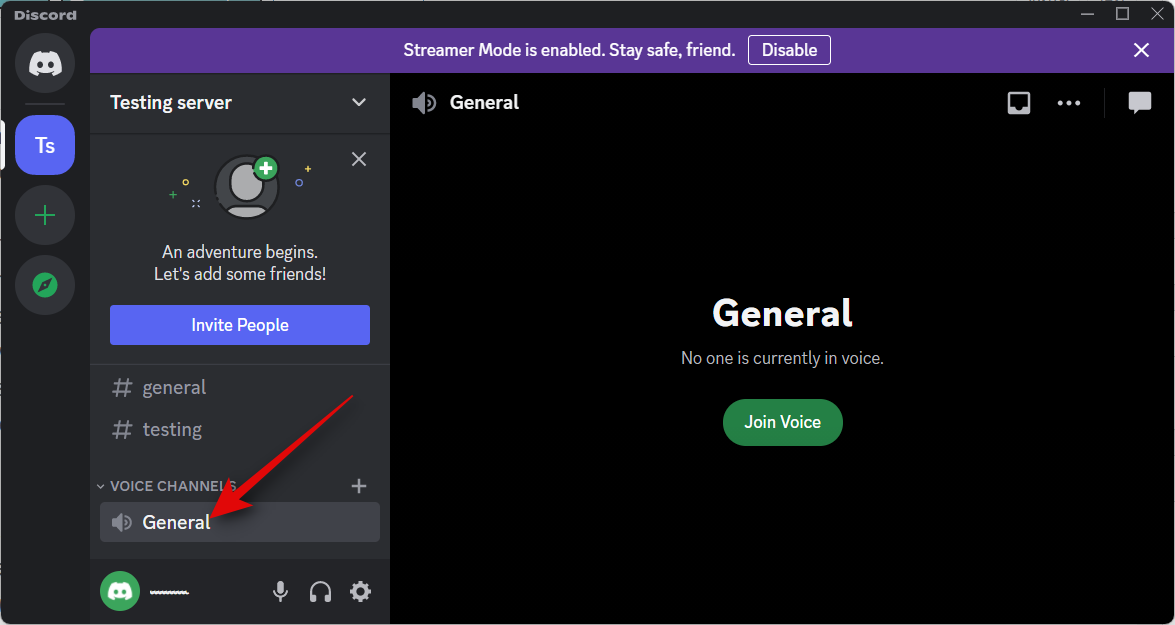
Now initiate a voice chat.
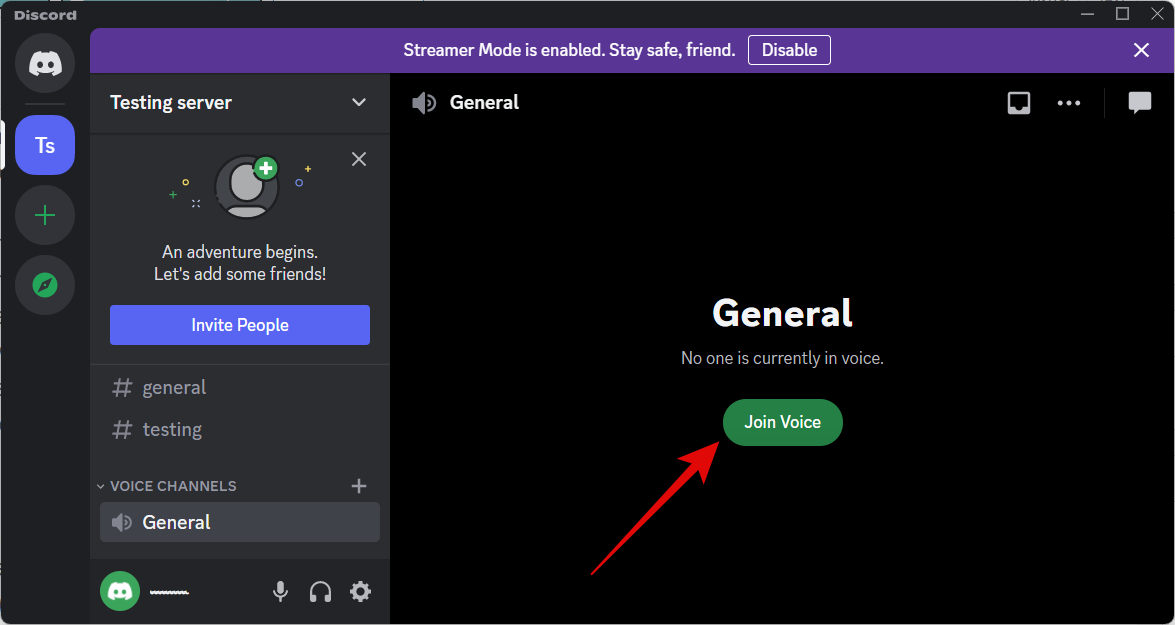
Your call will now be displayed on your right. Click the Camera icon to turn on your camera.
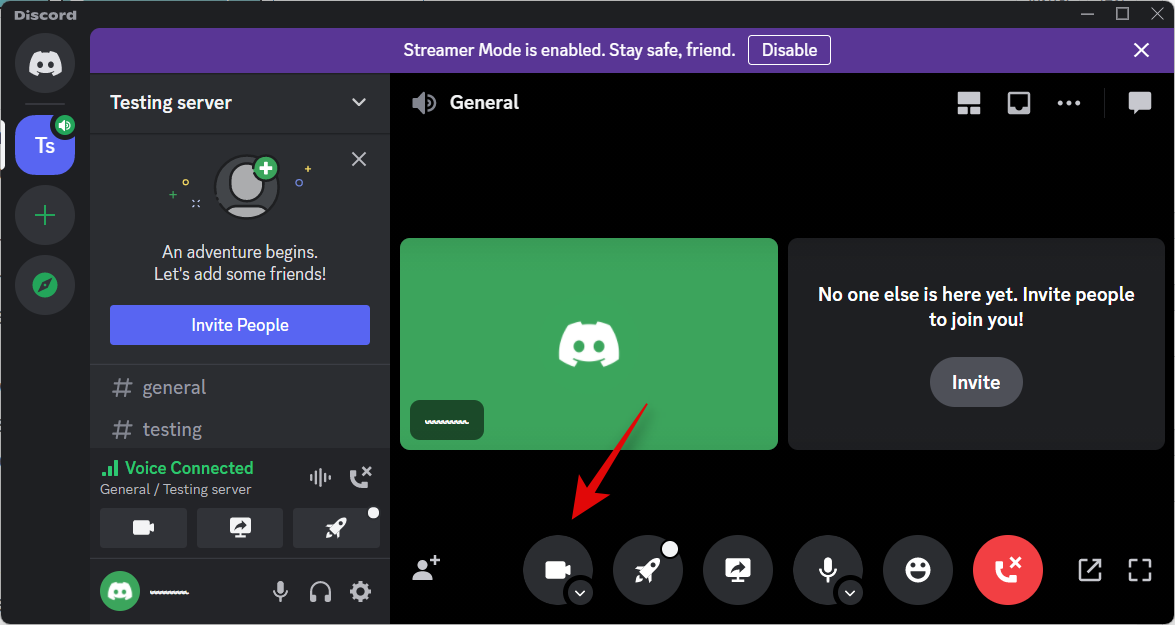
Your OBS Virtual Camera should now be selected by default.
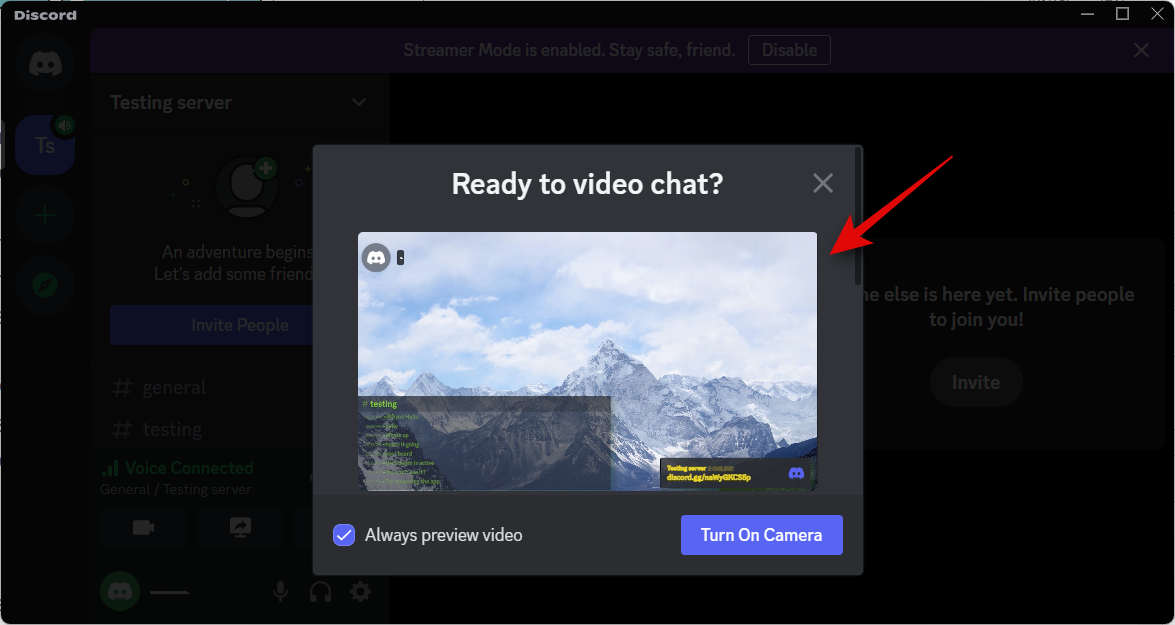
Click Turn On Camera if you can view the preview and everything is working as intended.
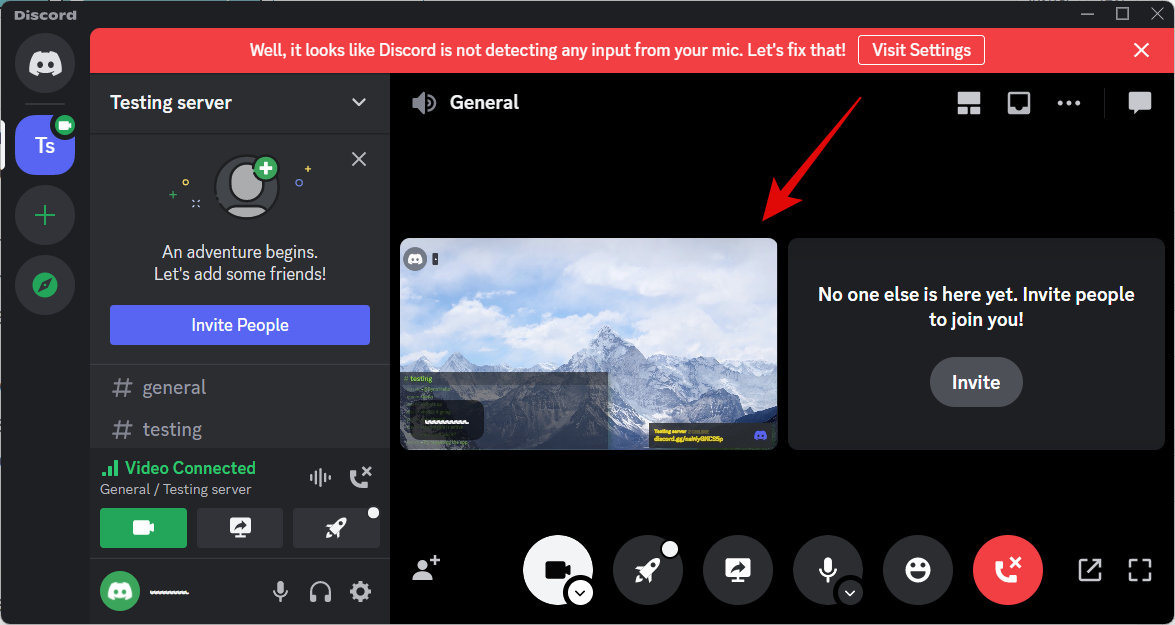
Your stream will now be visible as your camera feed in Discord, and you can now interact with your Discord community on the fly when streaming content.
And that’s how you can stream to Discord using OBS.
We hope you were able to easily stream to Discord using OBS via the steps above. If you face any issues or have any more questions for us, feel free to reach out using the comments below.


One response to “How to Stream OBS to Discord: Step-By-Step Guide [2023]”
Hi, i cant scroll down and see the url and resolution