

Freeze is misleading because 100% Freeze only guarantees the first application; after each successful Freeze, the enemy’s Freeze resistance ramps up so later freezes may require repeated triggers.
A 100% Freeze gadget is still doing what its label says on the first clean Freeze attempt. The confusion starts after that, because the same Salmonid becomes harder to freeze again each time the status lands.
That is why a Jump Bomb, Blast Boot, or Meteor Mitt can look broken against a high-health target. The gadget has not lost its listed chance; the enemy has gained enough Freeze resistance that a later refreeze may need several successful freeze rolls before the status actually sticks.
Why 100% Freeze stops feeling guaranteed
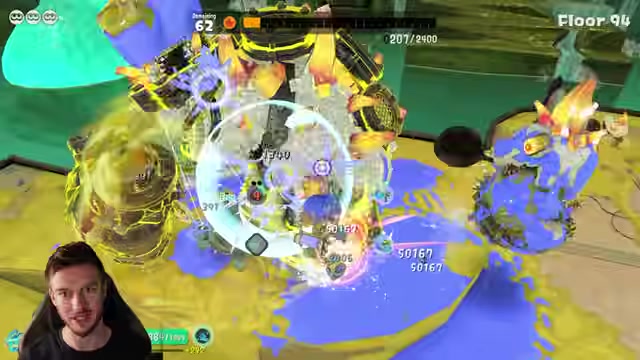
The important distinction is between the source’s Freeze chance and the enemy’s current resistance to being frozen again. A 100% Freeze gadget can force the first application, but once the target has already been frozen, the next application is checked against a tougher resistance state.
Against normal enemies, that may not matter much because they die before the scaling becomes obvious. Against tanky Salmonids such as Stringers, the target survives long enough for the resistance ramp to show up, so later 100% gadget hits can fail to apply Freeze.
How Freeze resistance ramps after each Freeze
| Freeze attempt | What changes |
|---|---|
| First Freeze | A 100% Freeze source can apply the status cleanly. |
| Second Freeze | The target has resistance, so a later Freeze may need about 2 trigger attempts. |
| Third Freeze | The resistance ramp can push the requirement toward about 4 trigger attempts. |
| Later Freeze attempts | Repeated freezes can climb toward 8, then 16 attempts, which makes gadget-only refreezes unreliable. |
After a successful Freeze, the enemy gains another layer of resistance. The demonstrated pattern is a doubling-style requirement: the first Freeze lands cleanly, then later freezes can behave like they need 2, 4, 8, or even 16 successful trigger attempts as the same target keeps getting frozen.
KEY!The exact hidden formula is not shown in-game, so treat the sequence as the working behavior players can build around rather than a menu-visible stat. The result is simple: the longer the enemy survives through repeated Freeze cycles, the less a single gadget press can be trusted to refreeze it on demand.
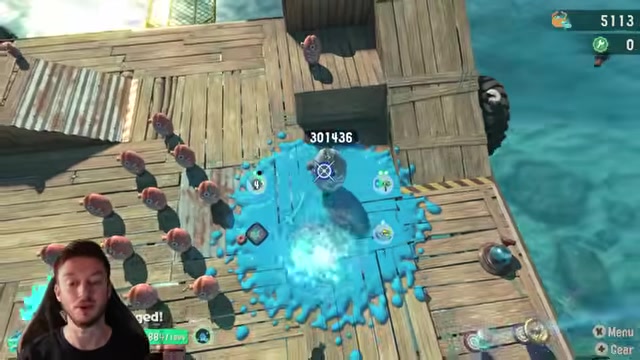
Pair a 100% Freeze gadget with weapon Freeze so every shot between gadget uses gives you extra chances to beat the target’s rising resistance.
Freeze control and Ice Breaker damage are separate
| Effect | What it does |
|---|---|
| Freeze | Gives Salmonids a chance to become Frozen; Frozen Salmonids can’t move. |
| Ice Breaker | Makes Frozen Salmonids take 5x weapon damage, then ends the frozen status when they are attacked. |
Freeze is the crowd-control status. Its job is to stop Salmonids from moving for a short window; it does not, by itself, create the big damage spike players associate with frozen targets.
The burst comes from Ice Breaker. Its chip text reads: “Frozen Salmonids take 5x damage when attacked by weapons. Attacking Frozen Salmonids will end their frozen status.” That means the payoff is a timed weapon hit: freeze the target, hit it for the boosted damage, and accept that the hit breaks the status.
Why weapon Freeze smooths out refreezes
A weapon with a Freeze chance gives you more rolls between gadget uses. For example, a blaster with Freeze: 10% chance is nowhere near a guaranteed Freeze on a single shot, but every hit can still act as another attempt to apply the status.
That matters after resistance starts climbing. If a target now needs multiple trigger attempts before it freezes again, weapon hits can help fill that gap instead of forcing you to rely only on the next Jump Bomb, Blast Boot, or Meteor Mitt.
This improves consistency, not certainty. A 10% Freeze weapon can still whiff several times in a row, but it gives a Freeze build more chances to reach the next successful application before the target pushes through your control window.
The Freeze build pieces to pair together
| Source | Use |
|---|---|
| Weapon Freeze | Adds extra freeze-roll opportunities while you are shooting between gadget uses. |
| 100% Freeze gadgets | Use Jump Bomb, Blast Boot, or Meteor Mitt for the strongest opening Freeze and major refreeze attempts. |
| Ice Breaker | Turns each Frozen window into 5x weapon damage and ends the status on hit. |
The strongest Freeze setup is not just one 100% gadget. It is the combination of a high-chance gadget, weapon-side Freeze rolls, and Ice Breaker for the payoff hit.
That structure is especially useful in later levels where enemies live long enough for resistance to matter. Against targets like Stringers, the goal is to keep creating Freeze windows often enough to land repeated 5x Ice Breaker weapon hits without expecting permanent lockdown.
Freeze mistakes that cost damage
| Mistake | Reality |
|---|---|
| Assuming 100% Freeze works forever | It applies cleanly at first, then enemy resistance makes later freezes harder. |
| Thinking Freeze itself boosts damage | Ice Breaker creates the 5x damage hit, not Freeze alone. |
| Trying to permanently lock bosses | High-health enemies build enough resistance that refreezes become inconsistent. |
The trap is building as if Freeze is a permanent off-switch. It is better used as burst control: stop the target, cash out with Ice Breaker, then keep shooting and rotating gadgets to look for the next Freeze window.
Frequently Asked Questions
Does 100% Freeze mean guaranteed every time?
No. It means the source has a 100% Freeze chance before repeated-freeze resistance gets in the way. After the enemy has already been frozen, later applications can fail because the target’s resistance has increased.
Does Freeze increase damage by itself?
No. Freeze only immobilizes Salmonids. The damage increase comes from Ice Breaker, which applies the 5x weapon damage effect against a Frozen target.
Why does Ice Breaker remove Freeze?
Ice Breaker is built as a burst payoff, not a passive damage aura. Its own text says attacking Frozen Salmonids ends their frozen status, so the boosted hit consumes the control window.
Should you put Freeze on your weapon too?
Yes, if you are building around Freeze. A weapon Freeze roll gives you more chances to refreeze resistant enemies while your gadgets cycle, even when the listed weapon chance is much lower than 100%.
Can Freeze permanently lock down high-health enemies?
No. Repeated Freeze resistance makes that unreliable against durable targets. Freeze can still control and burst them, but the setup works through repeated chances and Ice Breaker hits rather than a permanent stun loop.
Video help





Leave a Reply