
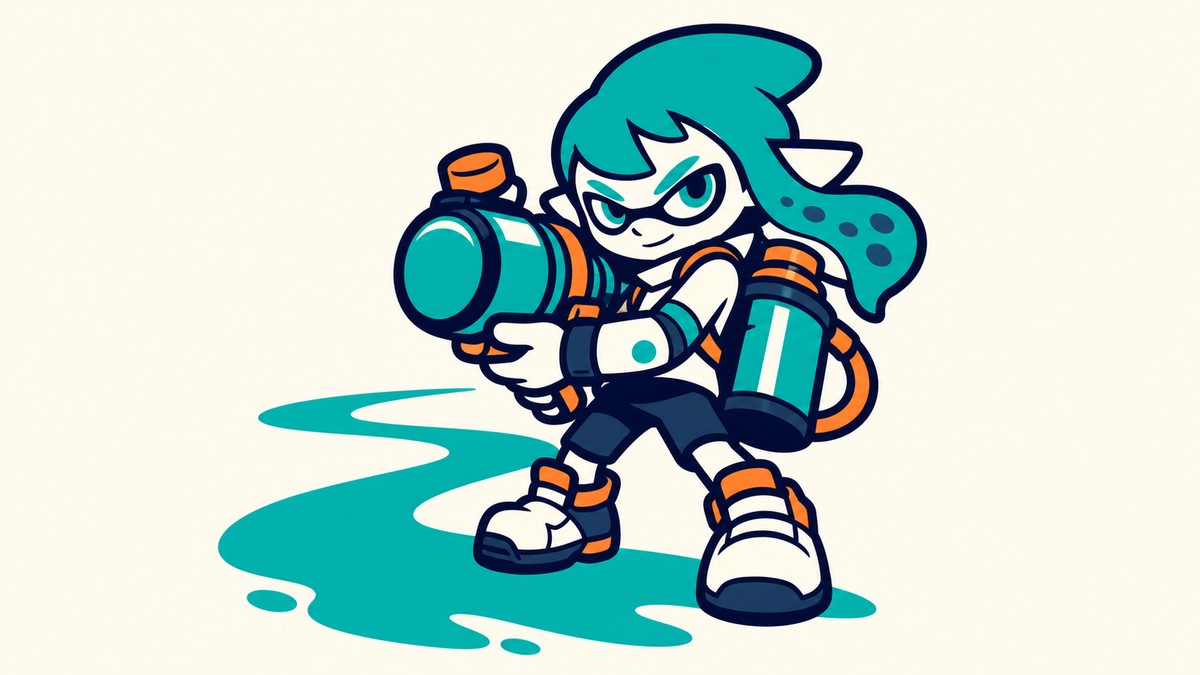
The safest beginner plan in Splatoon Raiders is to master inked movement first, then build around frequent gadget use, with Power Tank plus Splatchet and Splatellites as the easiest early-to-mid-game setup.
Splatoon Raiders rewards players who treat every fight as a movement problem before treating it as a damage check. Your loadout matters, but your runs get cleaner once you are painting safe ground, spending gadgets, and upgrading the parts that keep those tools online.
Raid loop and first priorities
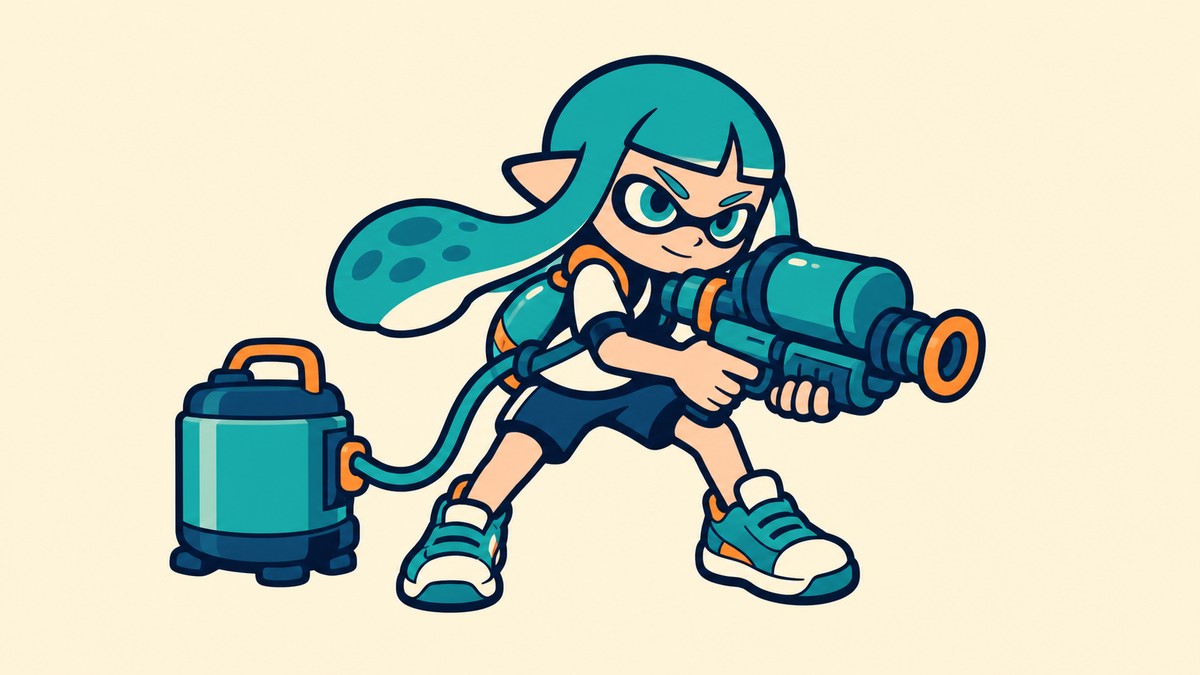
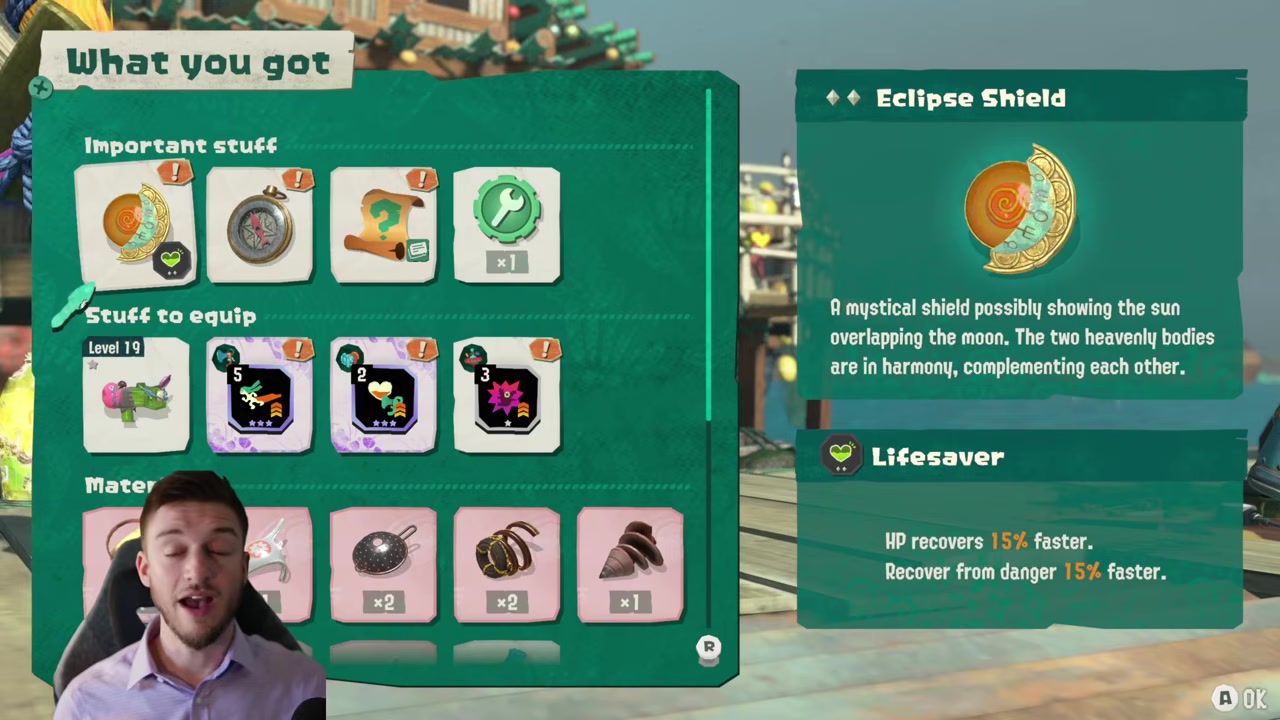
The core loop is simple: pick a raid destination across the Spirhalite Islands, fight through Lesser Salmonids, Boss Salmonids, and Seasoned Salmonids, then bring your haul back to the Hideout Ship. Raids feed you weapons, Spirhalite Crystals, gadget parts, and Salvage, which all push your next build a little further.
KEY!That makes early progress less punishing than it first looks. In solo play, Salvage stays with you even after a defeat, so a failed run can still become a useful upgrade run if you gathered enough before going down.
When starting out, choose between Tourist, Raider, and Survivalist based on how much pressure you want from enemy speed, damage, and health. Rewards are not changed by difficulty, so use the setting that lets you learn clean habits instead of forcing sloppy wins.
Ink routes keep runs alive
Mobility and ink management decide runs. A bad position or an empty ink tank can end a fight even when your weapon is strong, so spend the opening moments of an arena painting ground you can actually use later.
Get comfortable with the dodge movement: while moving, switch direction and jump to snap into a quick evasive move. You can also hold jump to charge a stronger jump, which helps with height, spacing, and getting out of pressure when the floor is turning hostile.
Paint escape lanes before the wave fully builds. A short ink trail behind you gives you somewhere to swim, refill, and reset instead of backing into enemy ink or a gate hazard with no plan.
Swim through your own ink often, avoid enemy ink as much as possible, and think one move ahead. The goal is not to stand in the perfect spot forever; it is to always have a retreat path when ranged enemies, bomb throwers, or map-covering Salmonids start squeezing the arena.
Paint your escape lane before the fight escalates, then refill through that lane whenever your ink or health starts slipping.
Power Tank build for early raids
| Pick | Use |
|---|---|
| Power Tank | Best beginner Tank for steady ink control, Splatchet burst, and Splatellites uptime. |
| Tactical Tank | Strong alternative built around Shot Pot turret placement, Bombloons paint bursts, and ranged support. |
| Speed Tank | Playable for dash and jump attack mobility, but weaker than Power and Tactical for most early runs. |
| Splatellites | Keep active as often as possible to create ink around you and stabilize movement. |
| Splatchet | Use as a burst tool against defensive enemies or clustered targets. |
| Shark Blade | Easiest Bot Buddy pick for simple setup and strong hits into defensive enemies. |
| Pulley Brush | Fast close-range weapon that paints getaway paths while attacking. |
| Splattershot / Squelcher | Forgiving shooting with Splattershot, longer-range aiming with Squelcher. |
| Blasters / Dualies / Splatanas | Good preference picks for splash damage, mobility, or aggressive pressure. |
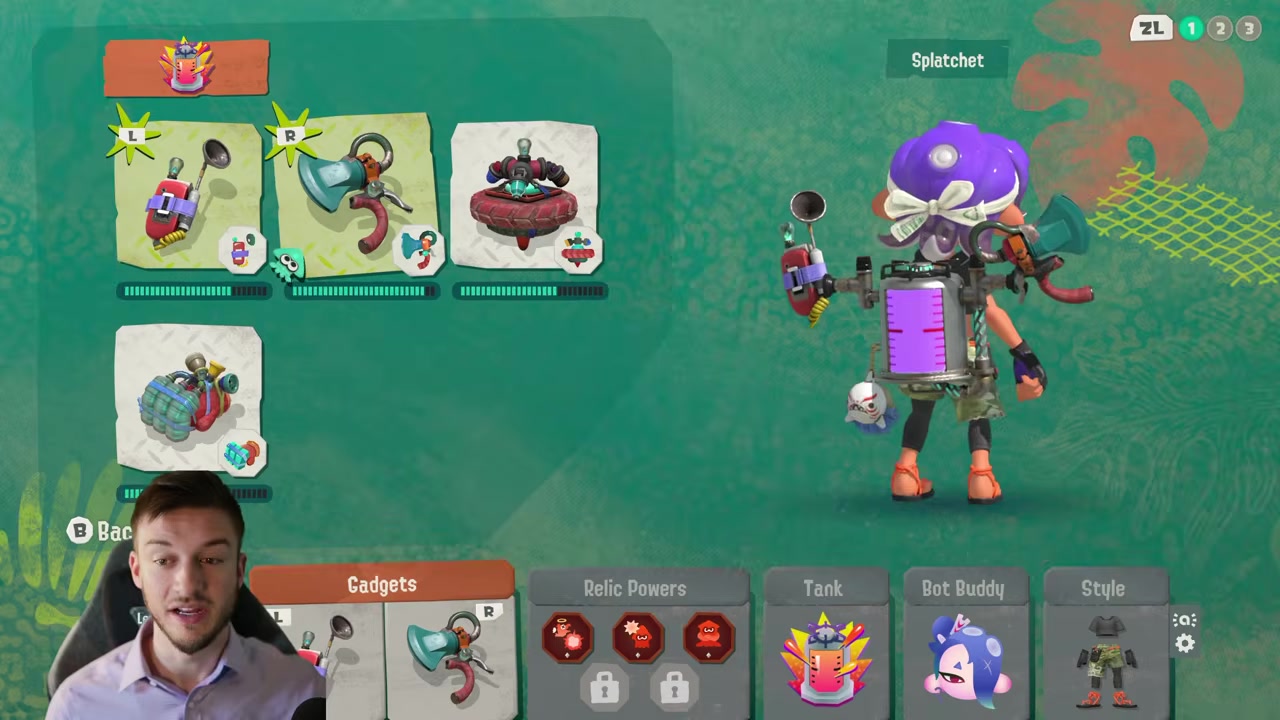
Power Tank is the easiest Tank to recommend first because it supports aggressive play without abandoning safety. Build it around Splatellites for near-constant ink coverage and Splatchet for a reliable burst hit, especially into defensive enemies that slow the whole clear.
Once gadget part upgrades open up, push Splatellites toward a larger area, longer duration, and automatic activation through attacks. That turns it from a panic button into the background engine of the build, because you can keep moving, keep refilling, and keep fighting inside your own ink.
Tactical Tank is the best alternative if you prefer setting up damage from safer positions. Shot Pot works like a turret that keeps firing after you throw it, while Bombloons spread a large patch of ink and can be tossed into crowded spots before you commit.
Weapons are preference-based, and the pool spans 11 weapon types with more than 100 weapon variations, while the full type list is still unpublished. For early comfort, immediate-fire and fast-swing options are easier than charge-heavy weapons; Pulley Brush, Splattershot, Squelcher, Blasters, Dualies, and Splatanas all have a real place depending on range, aim, and how close you like to fight.
Post-raid upgrades that matter early
Buy health upgrades early. Extra health gives you room to learn dodges, ink routes, enemy tells, and arena layouts without losing a run to one bad read.
After that, prioritize gadget part slots once they unlock. More slots can reshape a build, and upgrades that improve cooldown, radius, and uptime often do more for your clear speed than raw damage bumps.
Use the Hideout Ship between raids instead of rushing back out with the same weak setup. Upgrade or scrap weapons at Frye’s Weapon Stash, craft gadgets with Shiver in the Gadget Workshop, enhance Tanks at the Mechanic’s Shack, and save working loadouts as Gear menu presets with - when you want quick swaps.
Raid types and dungeon goals
| Activity | Goal |
|---|---|
| Treasure chest stages | Clear simple enemy waves around chest rewards. |
| Blue crystal stages | Explore open areas and break crystals as your route allows. |
| Rune/ruins stages | Beat timed waves that build toward boss pressure. |
| Dens | Farm timed three-wave fights for extra upgrade resources. |
| Sampler Dungeons | Clear fixed-loadout challenges for Skill Tomes. |
Read the activity name before entering, because each type asks something different from your build. Chest stages are the cleanest combat checks, blue crystal stages give you more room to choose your route, and rune or ruins stages pressure both your damage and your ability to adapt quickly.
Dens are worth using as farms when your next upgrade is just out of reach. Sampler Dungeons are different: they strip away your normal loadout comfort and reward Skill Tomes, which function as Skill Points for character progression.
Combat priority for faster clears
Kill the enemies that make the arena worse before chasing easy targets. Ranged attackers, bomb throwers, sniper towers, enemies spreading huge patches of enemy ink, and defensive blockers should move to the top of your target list.
After the worst threats are marked, group weaker enemies into lanes or clusters and hit them with movement attacks or gadget bursts. This is where tools like Splatchet, Bombloons, and turret pressure can erase a group faster than weapon shots alone.
Do not sit on Showstopper. Spend it when a dangerous cluster, boss-style enemy, sniper tower, or defensive wall is slowing the clear, because many raids reward speed more than perfect conservation.
Keep gadgets cycling whenever cooldowns refresh, grab large fish eggs worth 100 when the objective cares about egg progress, and reposition before gates or hazards trap you. A fast clear usually comes from moving early, not from escaping late.
Exploration, co-op, and stuck arenas
Watch the compass and watch indicators while exploring the Spirhalite Islands. Some hidden Sampler Dungeons point you in a direction, while others use a hot-cold style search that gets stronger as your cursor moves closer to the hidden location.
Co-op generally opens after clearing Scayl Buried Ruins on Erpp Island, then using the communications station or radio options on the Hideout; the exact prompt flow can vary slightly around those station and radio menus. Once available, multiplayer supports 2-4 player co-op online or through local wireless, with options such as Go Help!, Spicy variants, Local Play, and keyword rooms.
If a specific arena feels like it counters your setup, change the variable that is actually failing. Swap from close-range to longer range, move from Power Tank to Tactical Tank, rebuild gadgets around control instead of damage, or lower difficulty long enough to learn the enemy pattern cleanly.
Frequently Asked Questions
What is the best Tank for beginners in Splatoon Raiders?
Power Tank is the best beginner Tank because it solves two early problems at once: keeping ink under you and giving you a simple burst option when enemies block your path.
Which weapon should beginners use first?
Use a weapon that attacks immediately while you are still learning movement. Splattershot is the safest shooter pick, while Pulley Brush is better if you like close-range pressure and constant path painting.
Should you use Showstopper right away or save it?
Use Showstopper on the first meaningful threat that slows the room down. Saving it for a perfect moment usually wastes more time than it protects.
Are Sampler Dungeons worth doing early?
Yes. Sampler Dungeons are worth doing early because fixed-loadout fights build core movement skill, and each clear gives a Skill Tome for progression.
Can you change difficulty after starting Splatoon Raiders?
Yes. On the Hideout Ship, press X, tap R twice to reach Options, then change Difficulty from that menu.
Video help






Leave a Reply