What to know
- Day Sensors and Rain Sensors work through a Logic Block to automatically control powered devices.
- The power source must connect to the Logic Block before connecting the sensor.
- Using the inverted setting allows devices to switch on or off depending on day, night, or rain conditions.
- This setup helps conserve battery power and reduce unnecessary energy consumption.
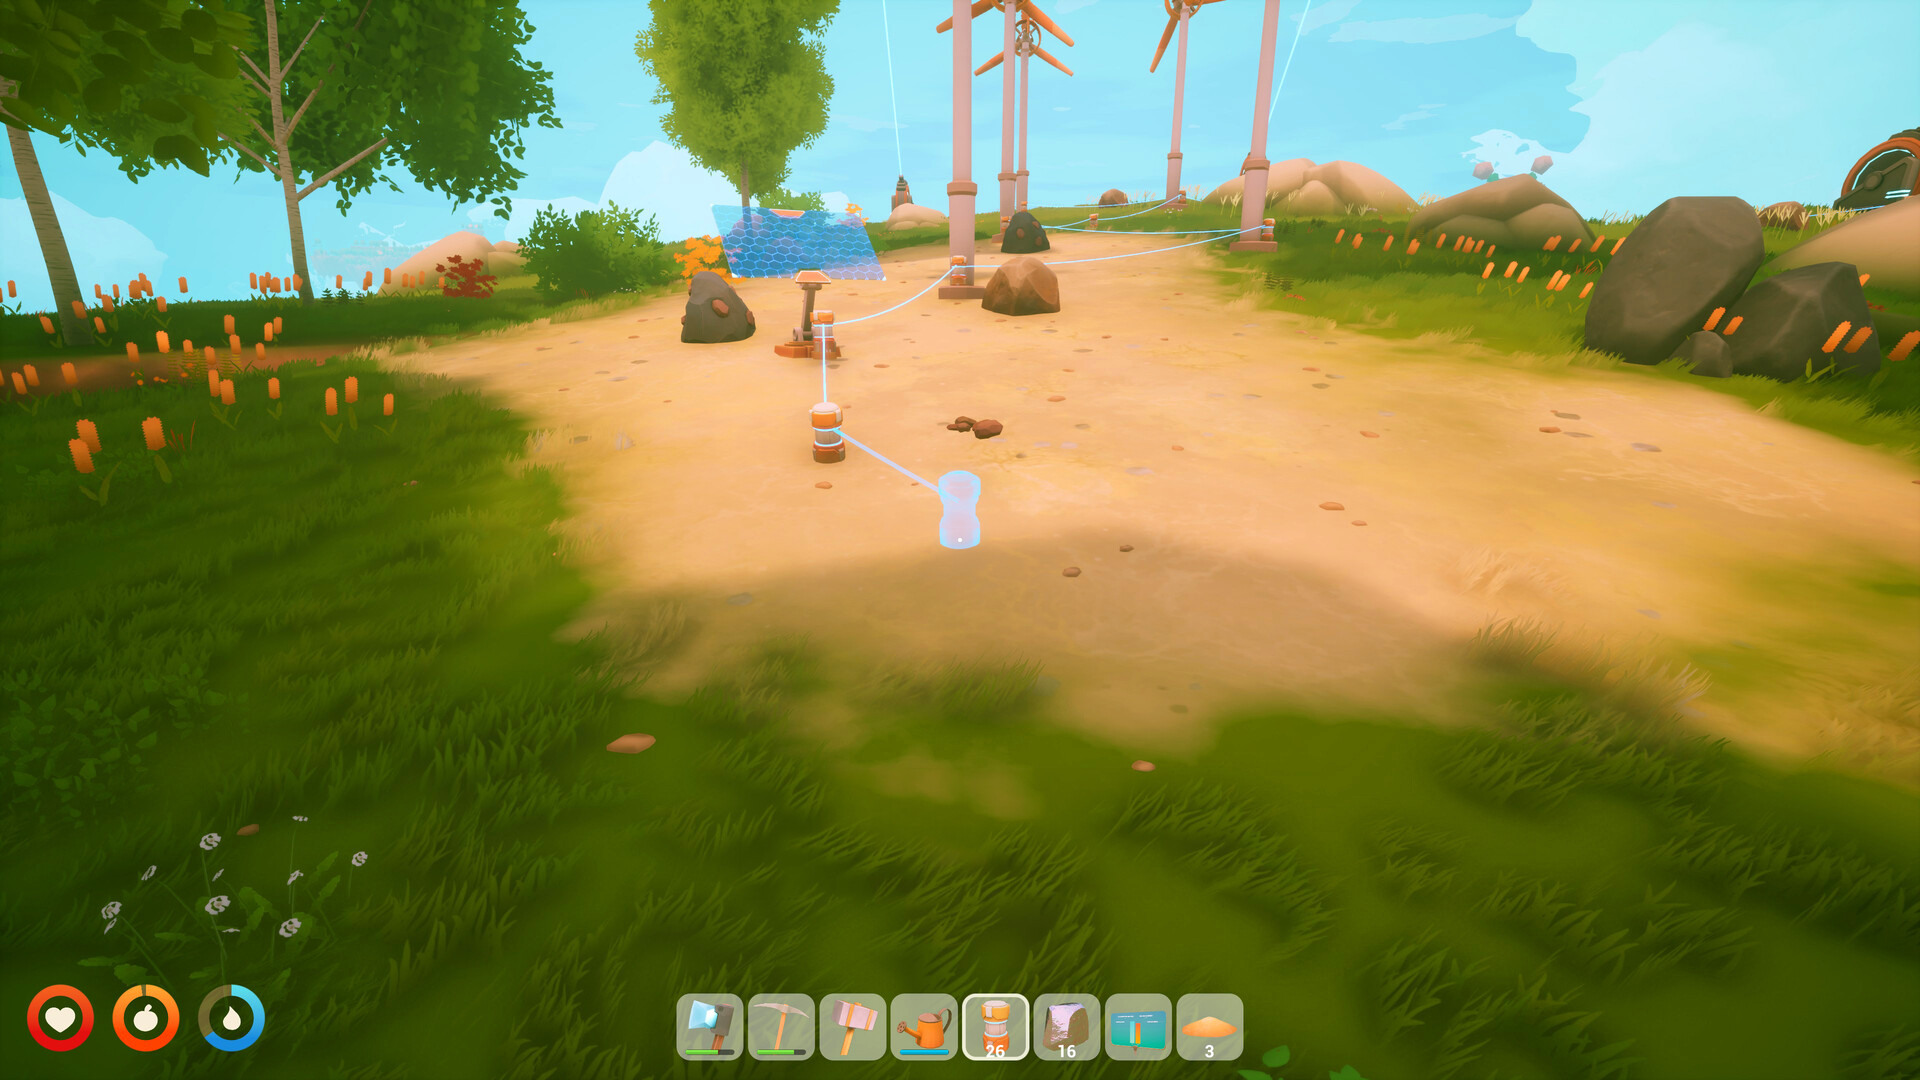
If you’re building an efficient base in Solarpunk, Day Sensors and Rain Sensors are extremely useful automation tools. They allow your lights, machines, and other powered devices to react automatically to environmental conditions without requiring manual switches. With a simple Logic Block setup, you can make lights turn on at night, shut down equipment during the day, or activate systems only when it’s raining.
Quick overview
| Component | Purpose |
|---|---|
| Logic Block | Processes sensor signals and controls outputs |
| Day Sensor | Detects whether it is day or night |
| Rain Sensor | Detects active rainfall |
| Battery/Windmill | Provides power to the system |
| Controlled Device | Lights, machines, pumps, or other powered objects |
| Inverted Mode | Reverses the sensor’s output behavior |
How Day Sensors and Rain Sensors work
Sensors in Solarpunk do not directly power devices. Instead, they send a signal to a Logic Block, which determines whether power should be passed to the connected device.

A Day Sensor checks the current time of day and can trigger actions when daylight or nighttime conditions are met. A Rain Sensor functions similarly but responds to weather conditions instead.
Because both sensors use the same wiring setup, you can easily swap one sensor for another depending on your automation needs.
Required components
Before beginning, make sure you have:
| Item | Required |
|---|---|
| Power Source (Battery, Windmill, etc.) | Yes |
| Logic Block | Yes |
| Day Sensor or Rain Sensor | Yes |
| Device to Control | Yes |
| Cables | Yes |
How to connect a Day or Rain Sensor
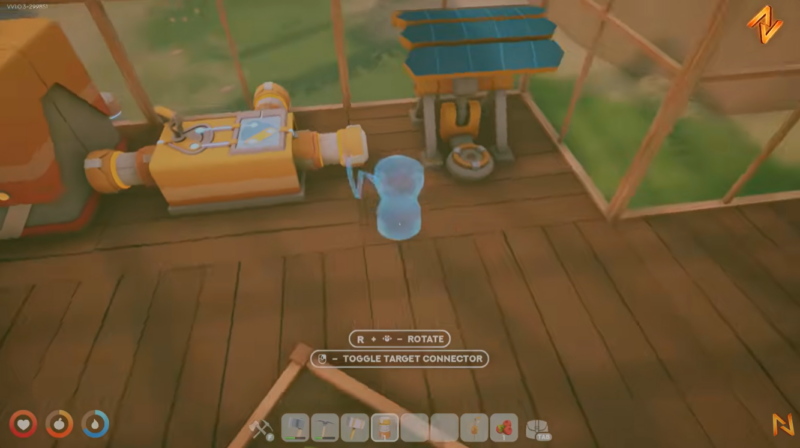
Step #1 – Leave the system unpowered initially
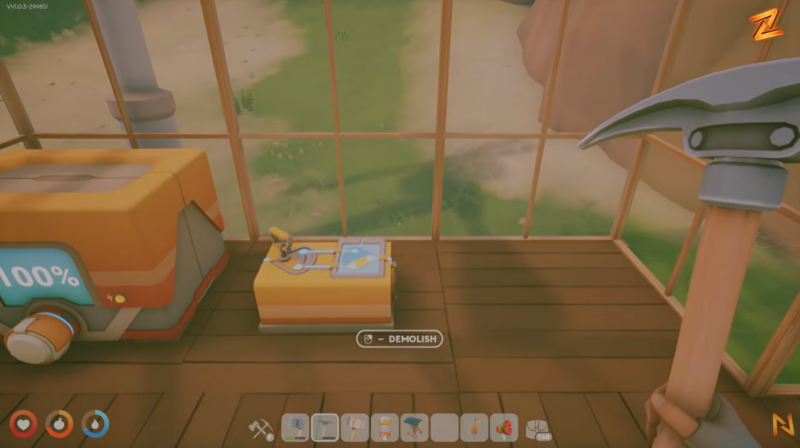
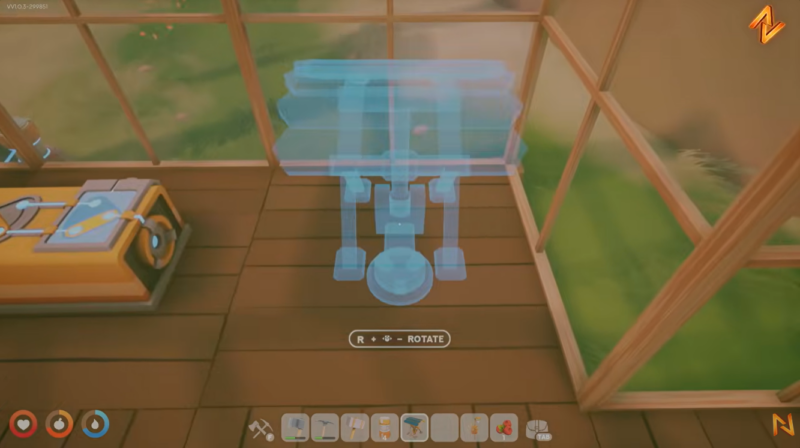
Place your Logic Block and Day Sensor first. Avoid connecting any power sources while arranging the setup to make wiring easier.
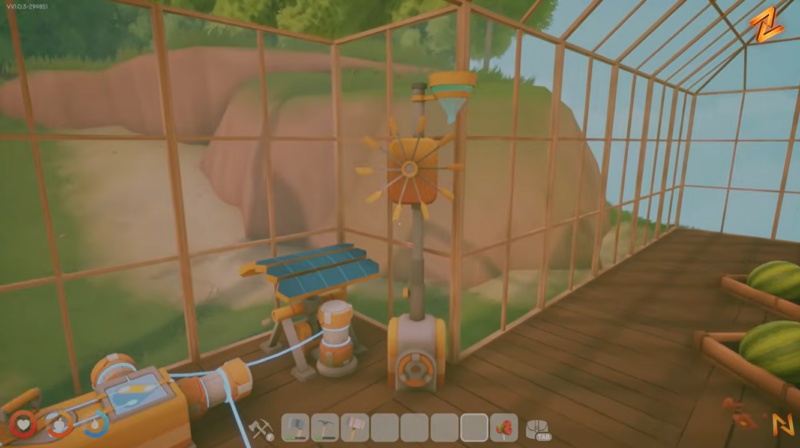
Step #2 – Connect the power source
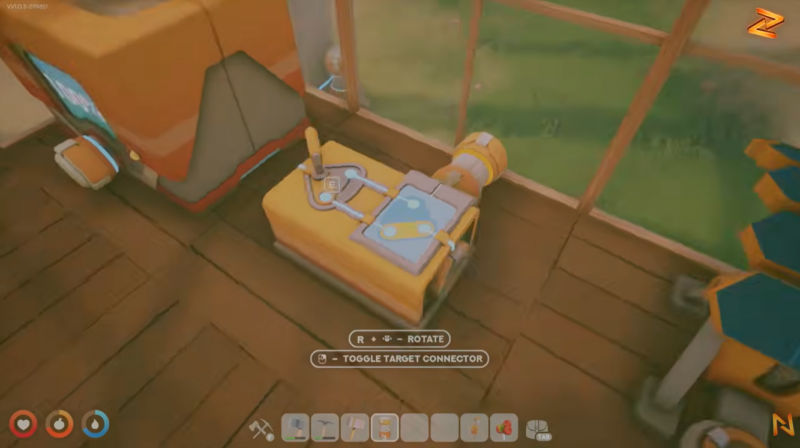
Run a cable from your battery, windmill, or other power generator into the left-side input port of the Logic Block.
This provides the Logic Block with the power it will distribute when conditions are met.
Step #3 – Connect the Day Sensor
Attach a cable from the side port of the Logic Block to the Day Sensor.
The sensor now sends day/night information to the Logic Block.
Step #4 – Connect your device
Run a cable from the output side of the Logic Block to the device you want to automate.
Common examples include:
- Base lights
- Workshop machinery
- Decorative lighting
- Automated systems
Step #5 – Test the setup
Once everything is connected, wait for the appropriate time of day or adjust the Logic Block settings to verify that the device responds correctly.

Examples include:
| Device | Rain Sensor Use |
|---|---|
| Lights | Turn on during storms |
| Decorative Effects | Activate when raining |
| Specialized Machines | Run only during rain |
| Custom Automation Circuits | Weather-based triggers |
Understanding inverted mode
The most important setting inside the Logic Block is Inverted Mode.
Normally, a Day Sensor will activate outputs during the conditions it detects. When inverted mode is enabled, the behavior is reversed.
| Setting | Result |
|---|---|
| Normal Day Sensor | Active during the day |
| Inverted Day Sensor | Active during the night |
| Normal Rain Sensor | Active when raining |
| Inverted Rain Sensor | Active when not raining |
A common use case is automatic lighting. By enabling inversion, your lights can remain off during daylight hours and automatically switch on at night, helping conserve battery power.

Sensor indicator colors explained
While configuring sensors and logic systems, you’ll notice different color indicators.
| Color | Meaning |
|---|---|
| Orange | Day-related state |
| Blue | Night-related state |
These visual indicators make troubleshooting much easier when testing your automation network.
You can create several useful systems using sensors and logic blocks:
| Automation | Sensor Type |
|---|---|
| Automatic nighttime lights | Day Sensor (Inverted) |
| Daytime machinery shutdown | Day Sensor |
| Rain-activated decorations | Rain Sensor |
| Weather-responsive production systems | Rain Sensor |
| Energy-saving workshop setup | Day Sensor + Logic Block |
By combining sensors with Logic Blocks, you can build a highly efficient base that automatically reacts to changing environmental conditions without any manual input.
Day Sensors and Rain Sensors are among the simplest automation tools available in Solarpunk. Connect a power source to the Logic Block, attach the sensor to the side input, connect your device to the output, and configure inversion if needed. Once set up, your base can automatically respond to daylight cycles or weather conditions while reducing unnecessary power consumption.


Leave a Reply