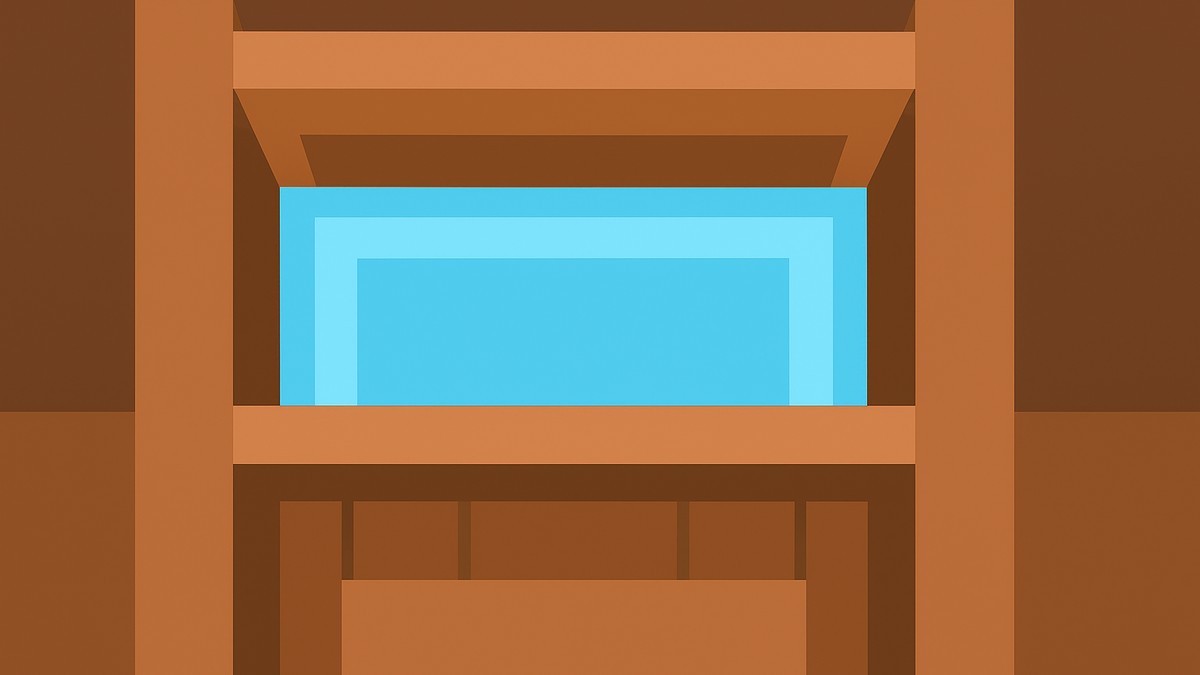
The better way to use sign boards in Solarpunk is to put the chest on a shelf, place the sign behind the shelf instead of directly on the chest, name it, and lower it slightly if needed so the label stays visible without blocking chest access.
If you are labeling storage in Solarpunk, placing a sign directly on the front of a chest can make the chest annoying to open because the sign sits in the interaction space. The cleaner setup is to treat the sign as a background label: chest in front, sign behind it, text visible above or around the shelf line.
This works especially well for storage walls, where you want to scan labels quickly without fighting the cursor every time you grab materials. Item names, recipe details, and sign-board costs may shift across early builds, but the placement habit itself is simple and reliable.
Why signs on chests cause problems
The problem starts when the sign is placed where your cursor naturally goes to open the chest. Instead of selecting the chest cleanly, you end up hitting the sign board first, which slows down a storage area that should be quick to use.
That gets worse when you have several chests lined up together. A base with labeled storage should save time, not turn every material run into a tiny targeting problem.
How to place sign boards without blocking chests in Solarpunk
STEP 1/5
Place a shelf
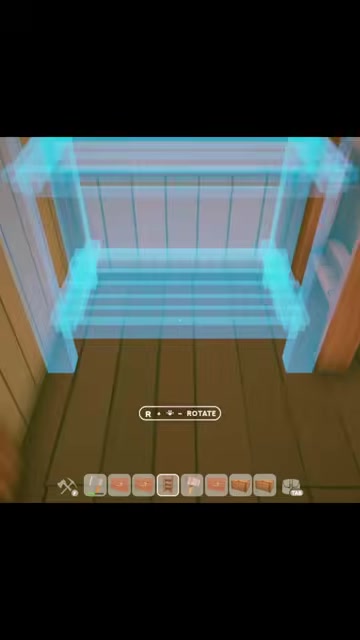
Put down a shelf where you want the labeled storage chest to sit.
STEP 2/5
Put the chest on top
Place the chest on the shelf so its front stays open and easy to access.
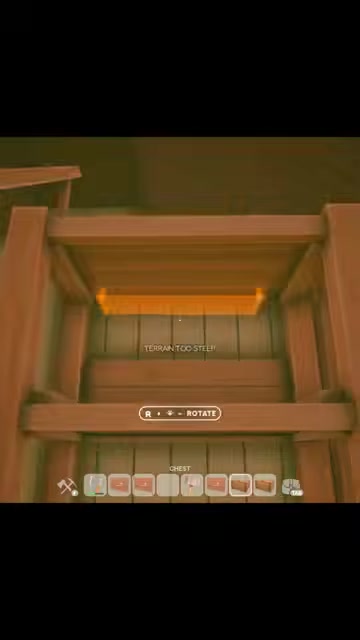
STEP 3/5
Add the sign behind the shelf
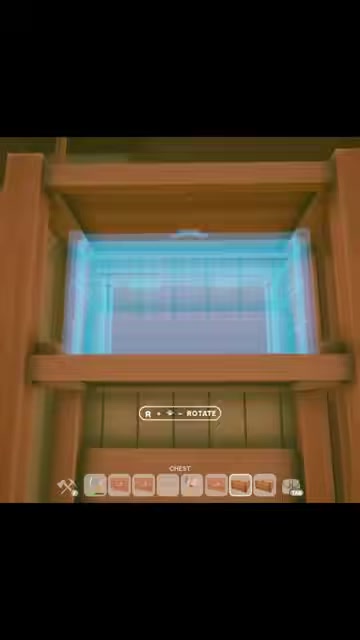
Attach the sign board behind the shelf instead of directly on the chest face.
STEP 4/5
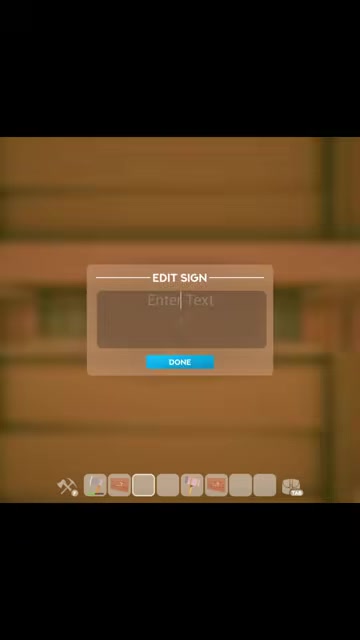
Name the sign
Use a short label, such as Iron, so the storage category is easy to read at a glance.
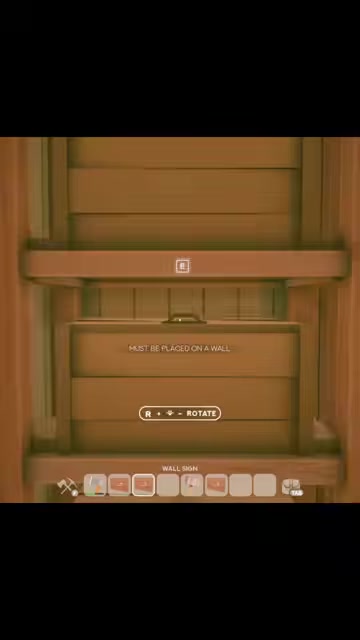
STEP 5/5
Lower the sign if needed
Keep the chest face clear and make the sign read from behind the shelf; that gives you a visible label without stealing the chest interaction spot.
Video help
Storage labels that stay readable
| Area | Good label style | Why it works |
|---|---|---|
| Farm storage | Seeds, Food | Separates planting supplies from harvested items. |
| Workshop storage | Tools, Crafting | Keep active gear away from general materials. |
| Mining storage | Ore, Fuel | Makes resource runs faster after exploring islands. |
| Animal area | Animals | Mark supplies tied to care, feed, or nearby pens. |
| Power area | Panels | Points players toward solar or energy-related storage. |
| Exit route | Out | Works as a quick direction label in a dense base. |
Category labels work better than long descriptions because they turn your storage wall into a quick visual index. Labels like Seeds, Food, Tools, Ore, Fuel, Crafting, Animals, Panels, and Out are short enough to scan and broad enough to stay useful as your base grows.
If you are labeling a row of chests, keep the wording pattern consistent. All storage signs should use item categories, all route signs should use directions, and all production signs should name the machine, output, or zone they support.
Other smart places to use signs and markers
| Use case | Best placement | What to write |
|---|---|---|
| Storage wall | Behind shelves or above chest rows | Seeds, Ore, Fuel |
| Farm entrance | Facing the path into the growing area | Farm or Seeds |
| Workshop corner | Near benches and production storage | Crafting or Tools |
| Power or solar area | Beside panels, batteries, or related storage | Panels or Power |
| Route split | At the fork, facing the approach path | Out, Farm, or Ship |
| Secondary base | At the entry point or landing area | Base 2 or its main function |
| Resource-rich island | Use a map marker where you can find it again | Ore, Animals, or the main resource |
Sign boards are most useful when they make your base easier to read from the path you actually walk. Put labels where your eyes land as you approach a zone: near storage walls, farm entrances, workshop corners, power setups, and route splits.
Map markers are the related long-range tool. Use them for secondary bases, resource-rich islands, animal locations, or places you want to revisit later; just keep exact unlock costs and recipe details flexible unless your current build shows them in-game.
The main rule is visibility from the approach path. A sign hidden behind crops, machines, or storage clutter may look placed correctly, but it will not help when you are moving quickly through the base.
Mistakes to avoid with sign boards
Do not put signs over the part of the chest you usually click to open. Even if the label looks neat, it defeats the purpose if it makes the chest harder to use.
Avoid long labels, too. A sign that reads like a sentence is slower than opening the chest and checking inside, which means the label is no longer doing its job.
Do not save signage for decoration after the base is already confusing. Add labels while building storage walls, farm routes, and workshop corners so the layout stays readable as it grows.
Frequently Asked Questions
Can signs block chests in Solarpunk?
Yes. If a sign board is placed directly on the front of a chest, it can get in the way when you try to access the chest. Move the sign behind the shelf or away from the chest’s main interaction area.
Where should I place a sign so the chest stays usable?
Place the chest on a shelf, then put the sign behind the shelf. If the label is not visible, lower the sign slightly until the text can be read while the chest front remains clear.
What should I write on storage signs?
Use short category labels such as Seeds, Food, Tools, Ore, Fuel, Crafting, Animals, Panels, or Out. One clear label per function is easier to scan than a long description.
Are map markers the same as sign boards?
No. Sign boards are best for local base labels, such as chests, farms, workshops, and power areas. Map markers are better for remembering places away from your main base, such as secondary bases or islands with useful resources.
Do we know the exact sign-board crafting cost?
Exact sign-board crafting costs, text limits, unlock requirements, and per-item recipes are not fixed enough to state as universal. Check your current build’s research or crafting menu before planning a large signage layout.