

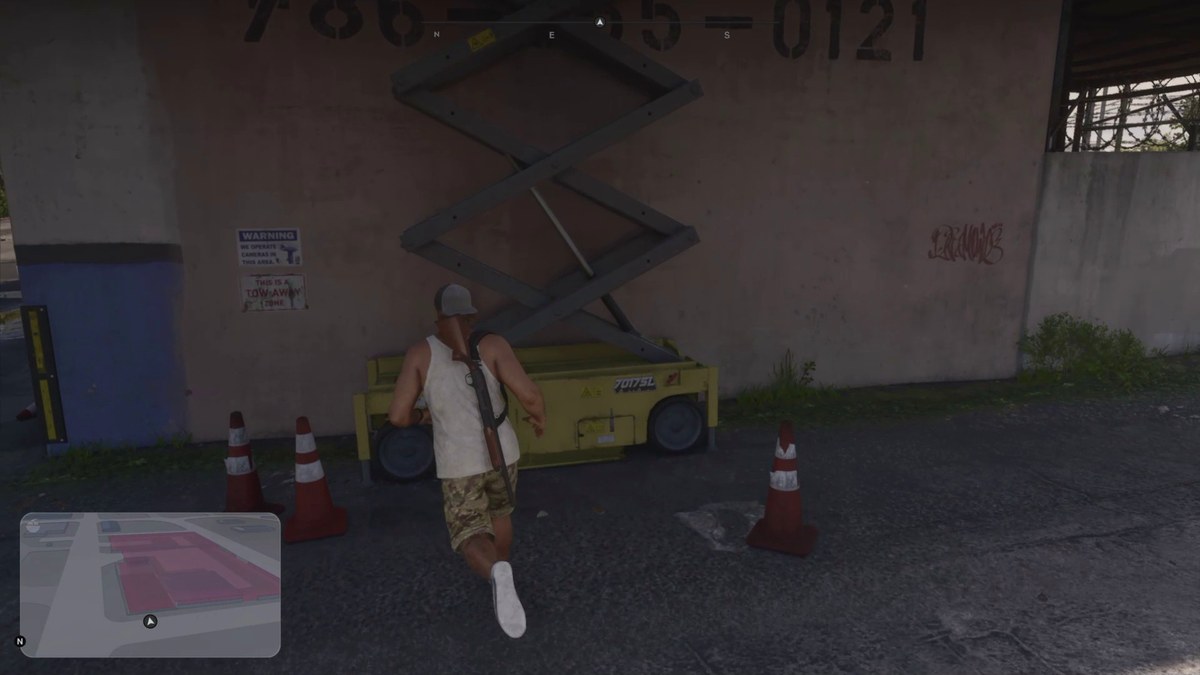
Use the yellow scissor lift behind the impound building to reach the roof, then find the red Phoenix attached to a blue tow truck.
Unwanted Attention is a car-recovery mission in Grand Theft Auto VI. The game’s platforms are PlayStation 5 and Xbox Series X|S. You’re working with Cal to recover a vehicle for Brian, starting with the objective Search the impound for the Phoenix. This guide covers the impound search, escape, repair, delivery and appearance change, stopping at the objective to buy an outfit at the gun store.
- How to recover the red Phoenix in Grand Theft Auto VI
- Part 1 – Identify the Phoenix and reach the impound yard
- Part 2 – Free the Phoenix and escape the impound
- Part 3 – Evade pursuit and take the Phoenix to the Pay ‘n’ Spray
- Part 4 – Deliver the Phoenix and collect the cash
- Part 5 – Change appearance and locate the gun store
- What police-search status appears after the Phoenix is resprayed?
How to recover the red Phoenix in Grand Theft Auto VI
Identify the Phoenix and enter the yard, free it and escape, visit the Pay ‘n’ Spray, deliver the car, then change your appearance and locate the gun store.
Part 1 – Identify the Phoenix and reach the impound yard
Begin with Search the impound for the Phoenix.
Find the scissor lift
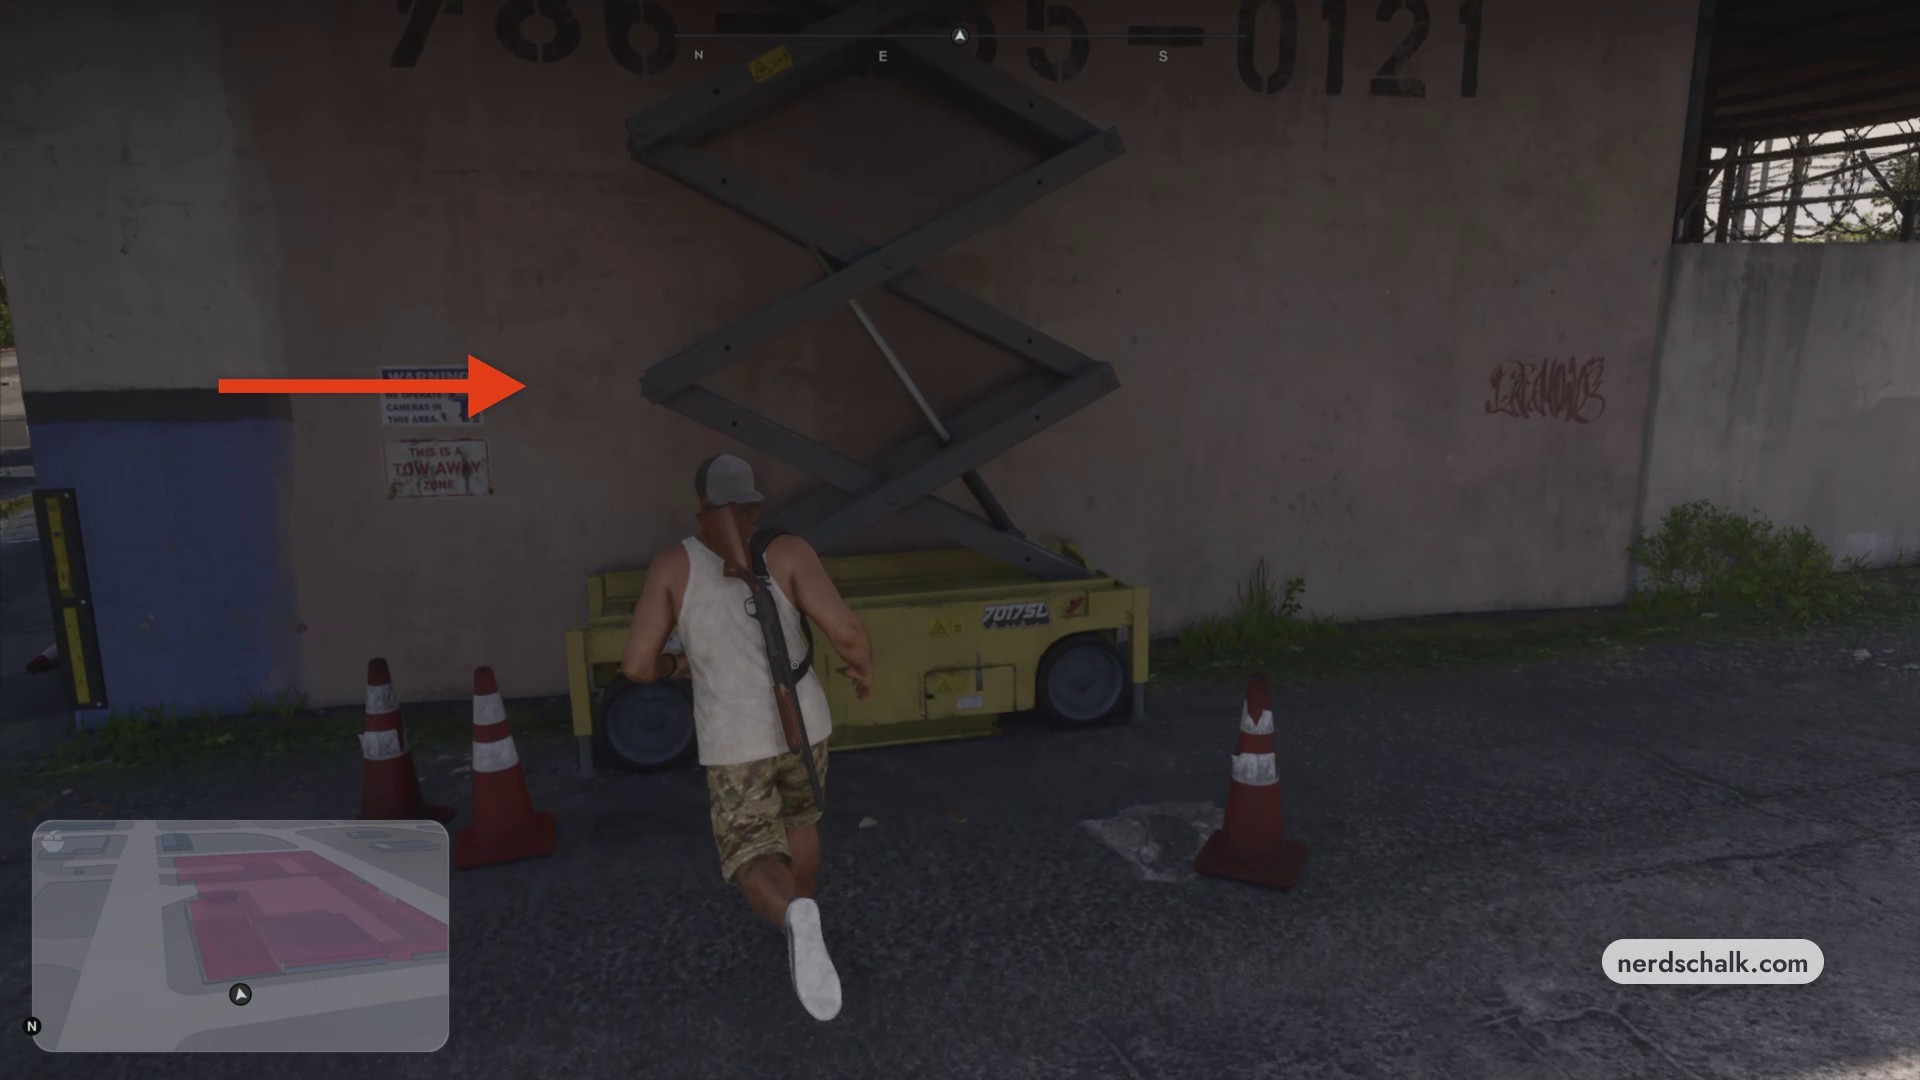
From outside the impound, facing its wall, open your phone and check Cal’s messages for a photograph of the red 1977 Phoenix. Follow the exterior wall around the building to the yellow scissor lift at the back.
Lower the platform
Raise the lift
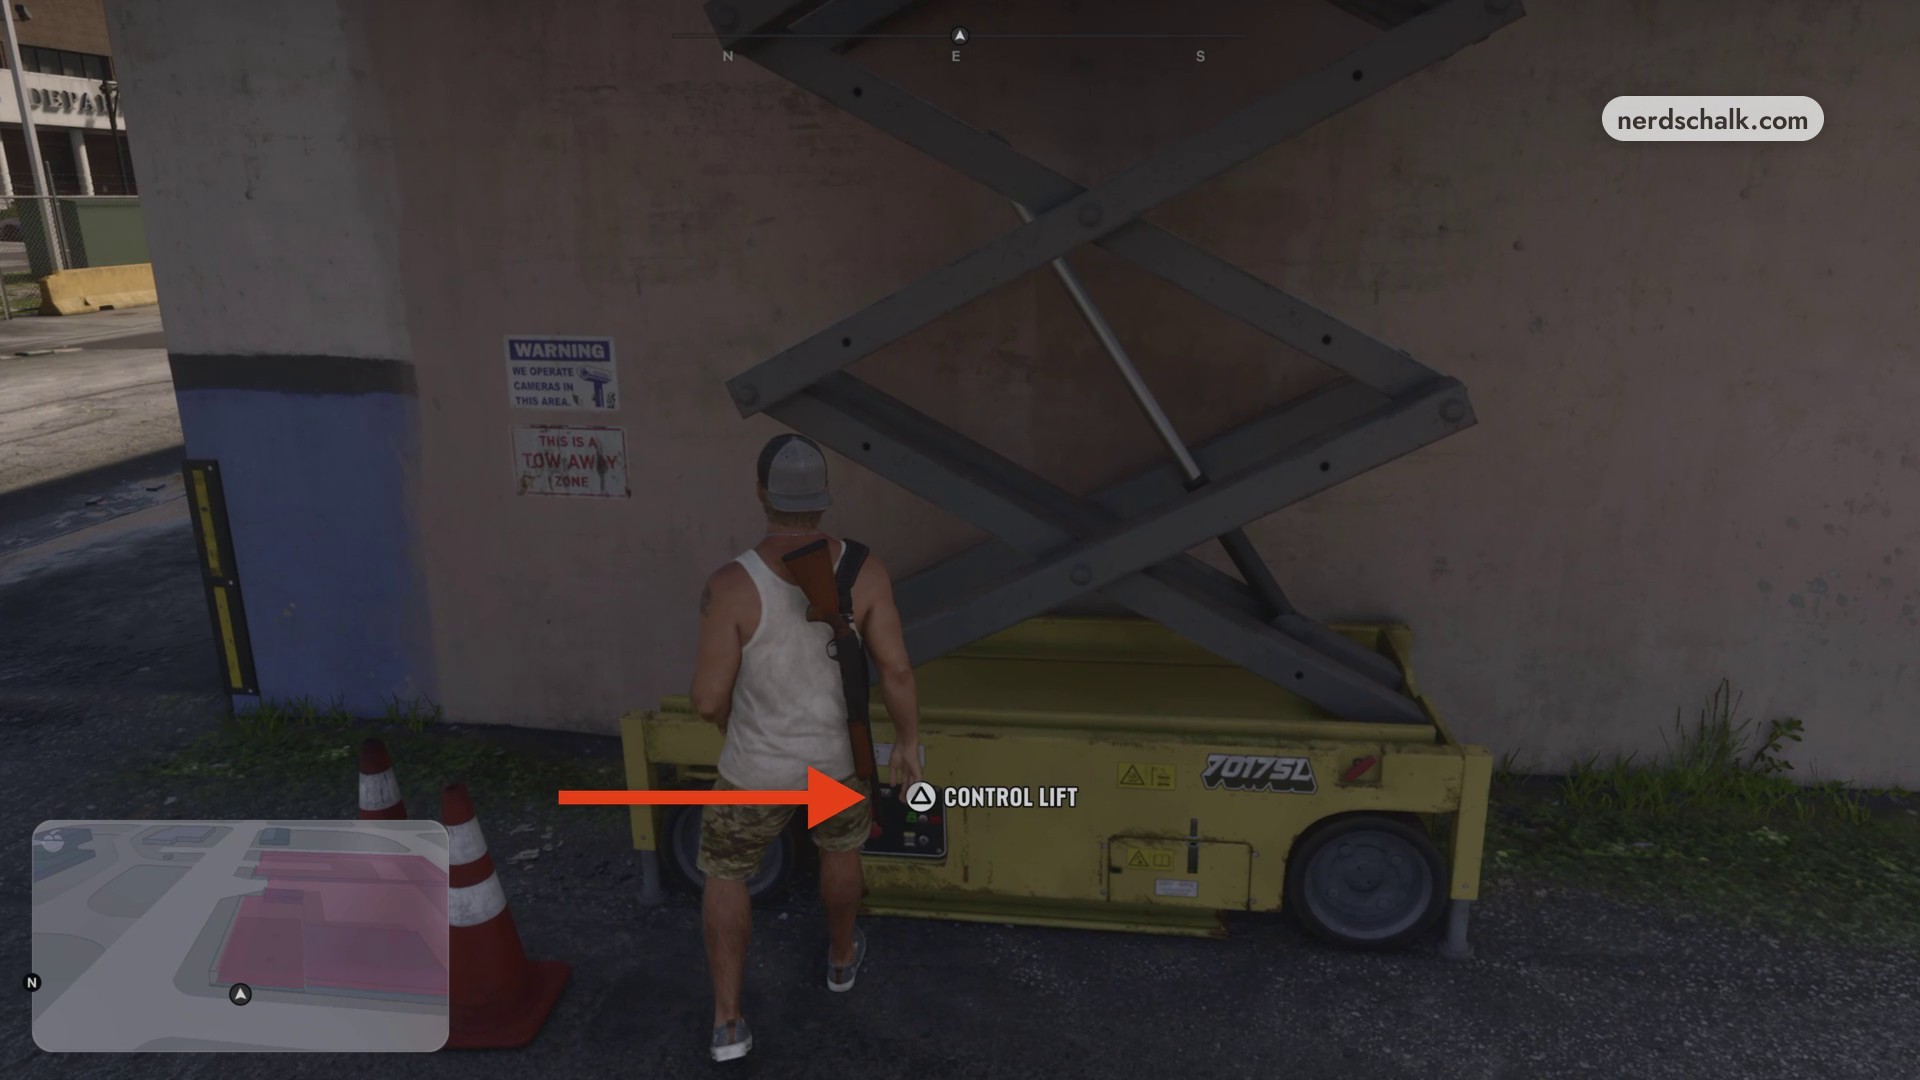
Climb onto the platform and operate its control console to raise it to roof height.
Climb onto the roof
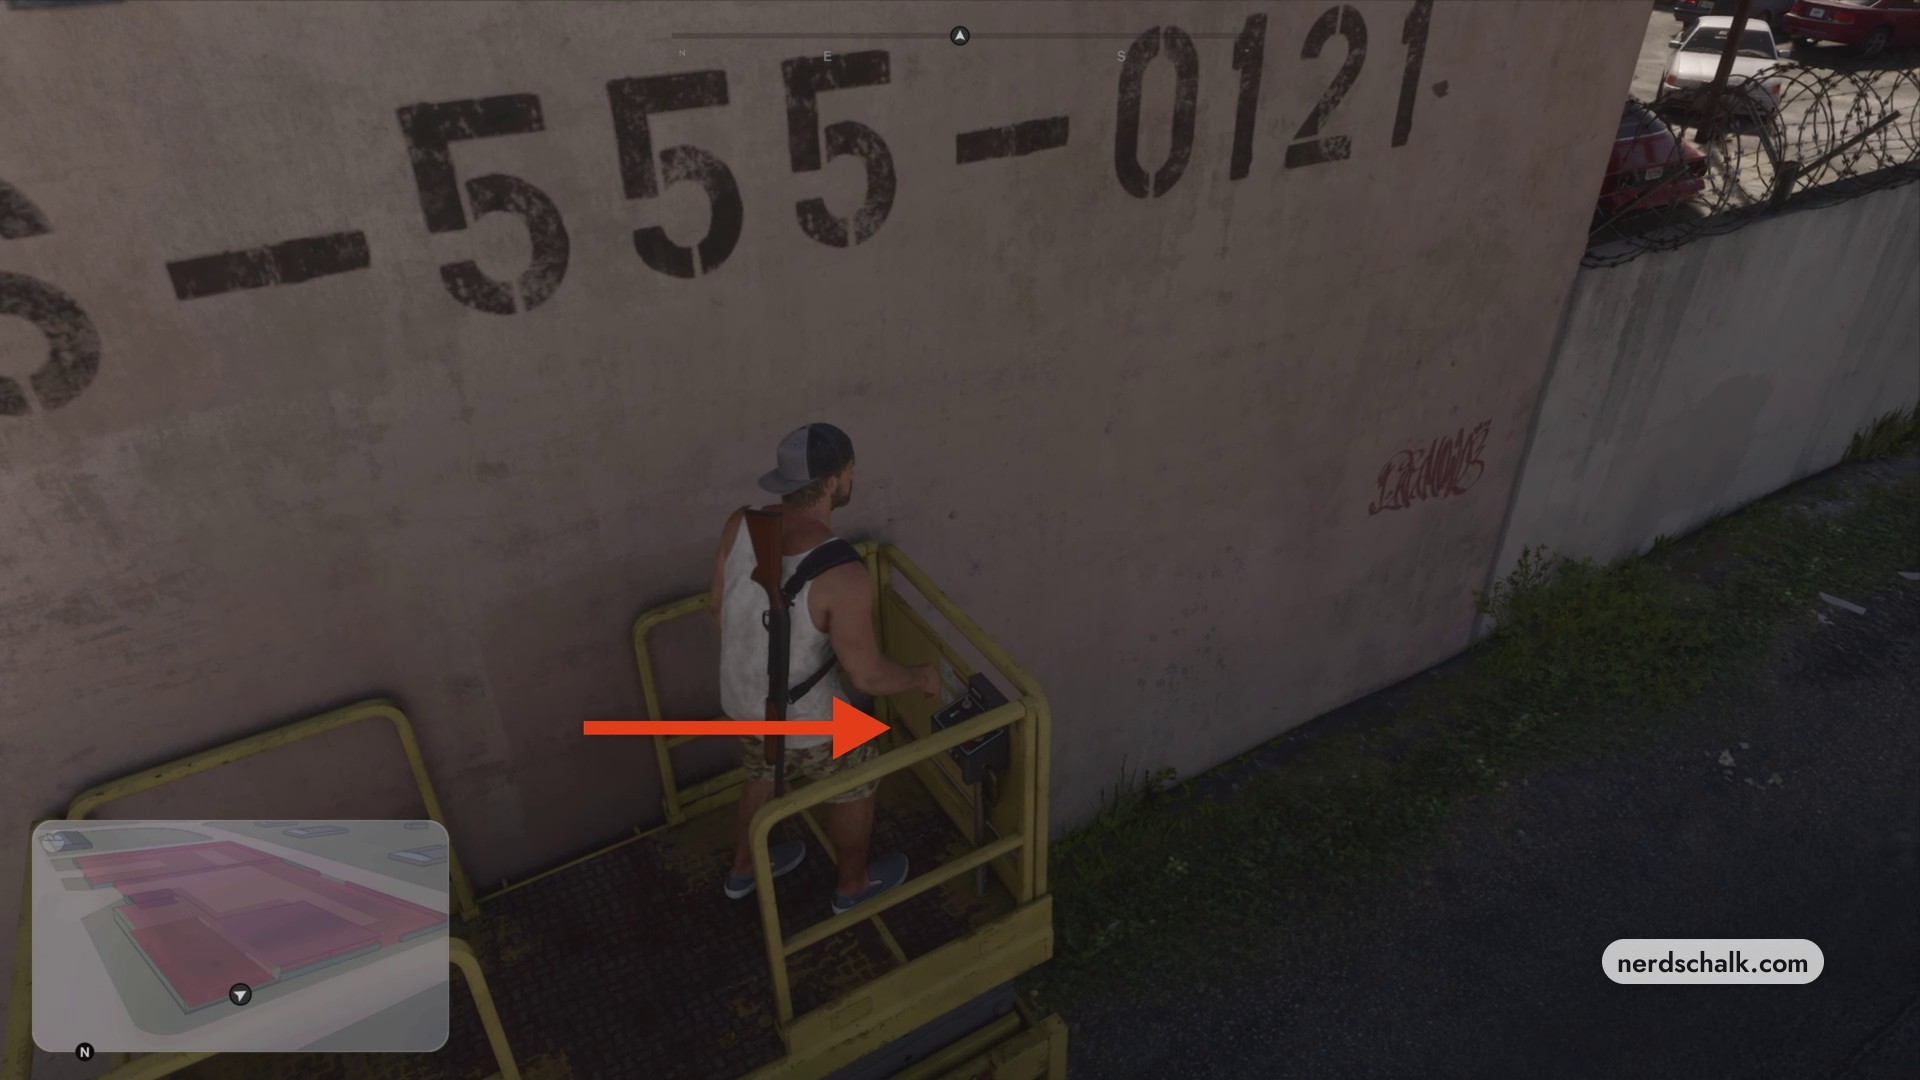
Vault over the lift’s railing onto the rooftop, then move toward the edge overlooking the compound. Keep quiet and out of sight to avoid detection.
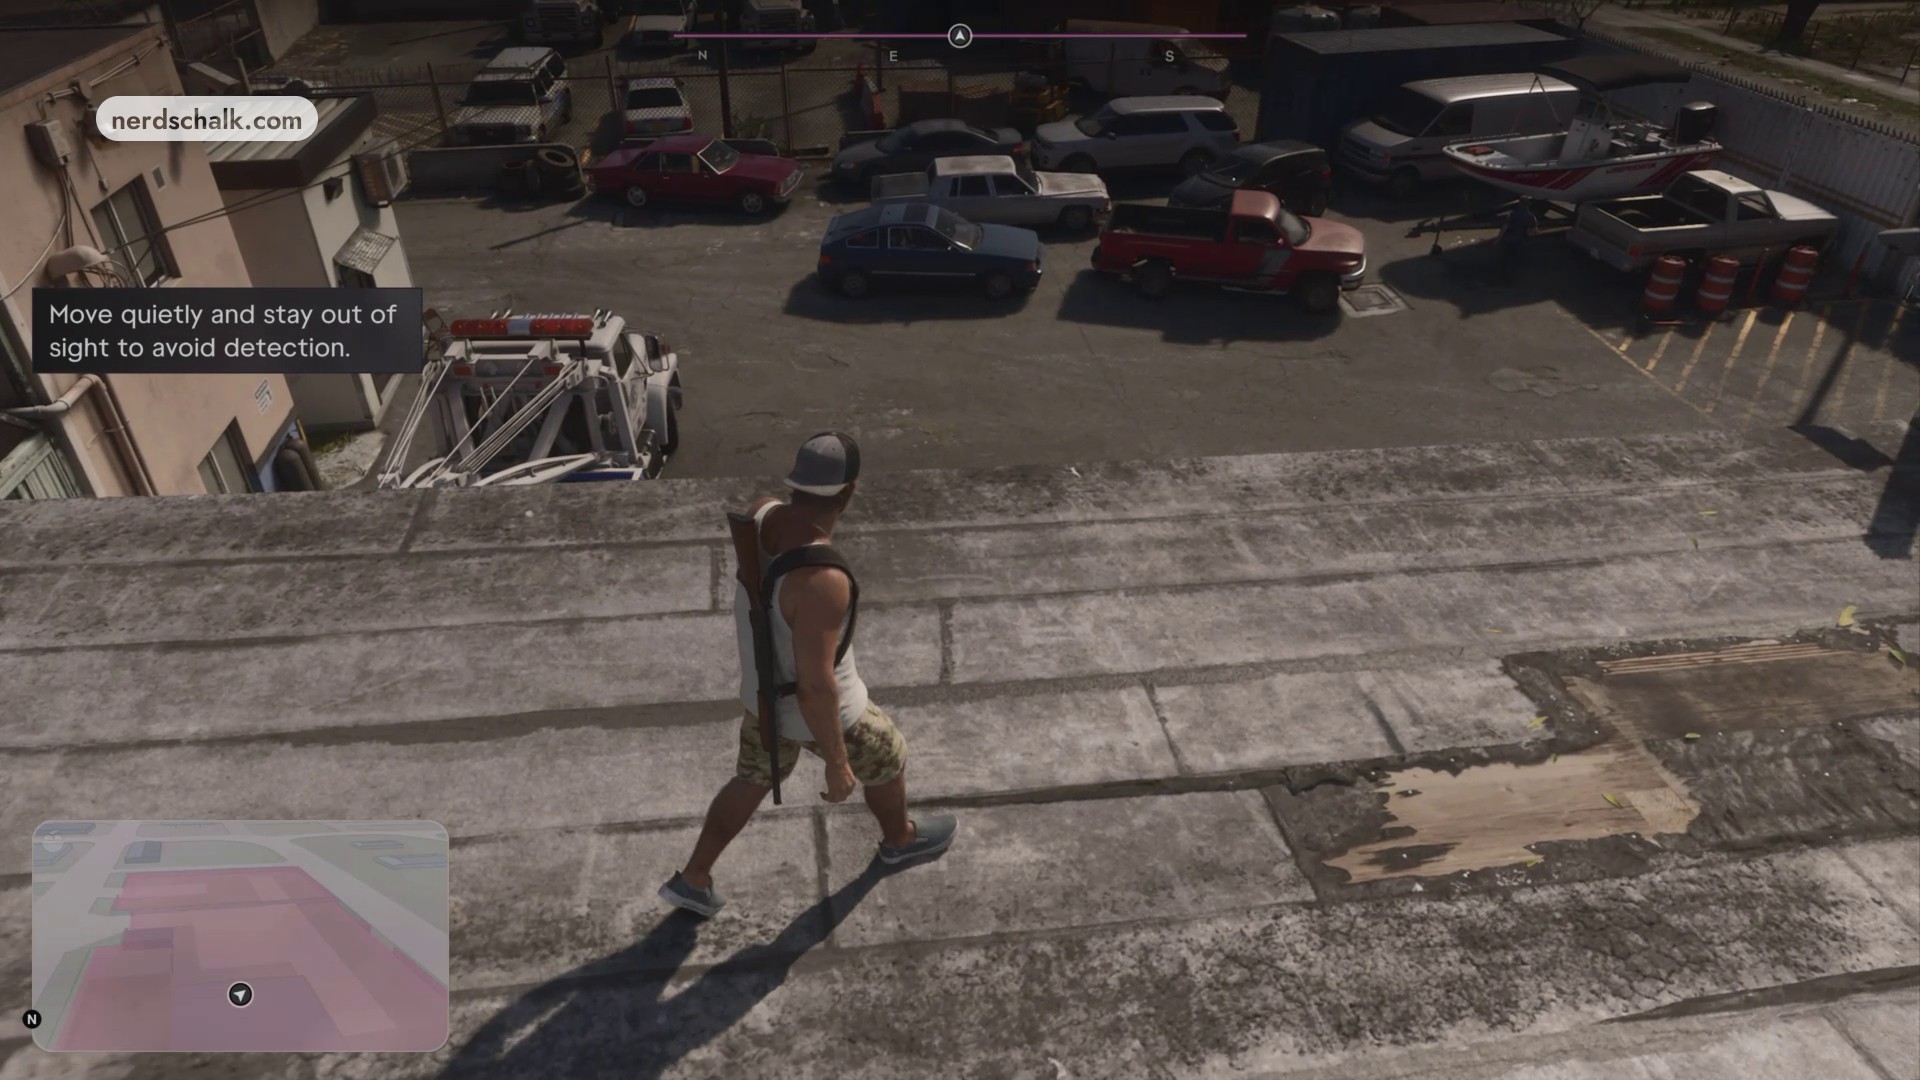
Locate the Phoenix below
Use the phone camera/scanner to examine the vehicles; WAiNK is the vehicle-specification app. Continue across the roof to the lower shed extension and scan from its ledge for the red Phoenix behind the blue roadside-assistance tow truck.
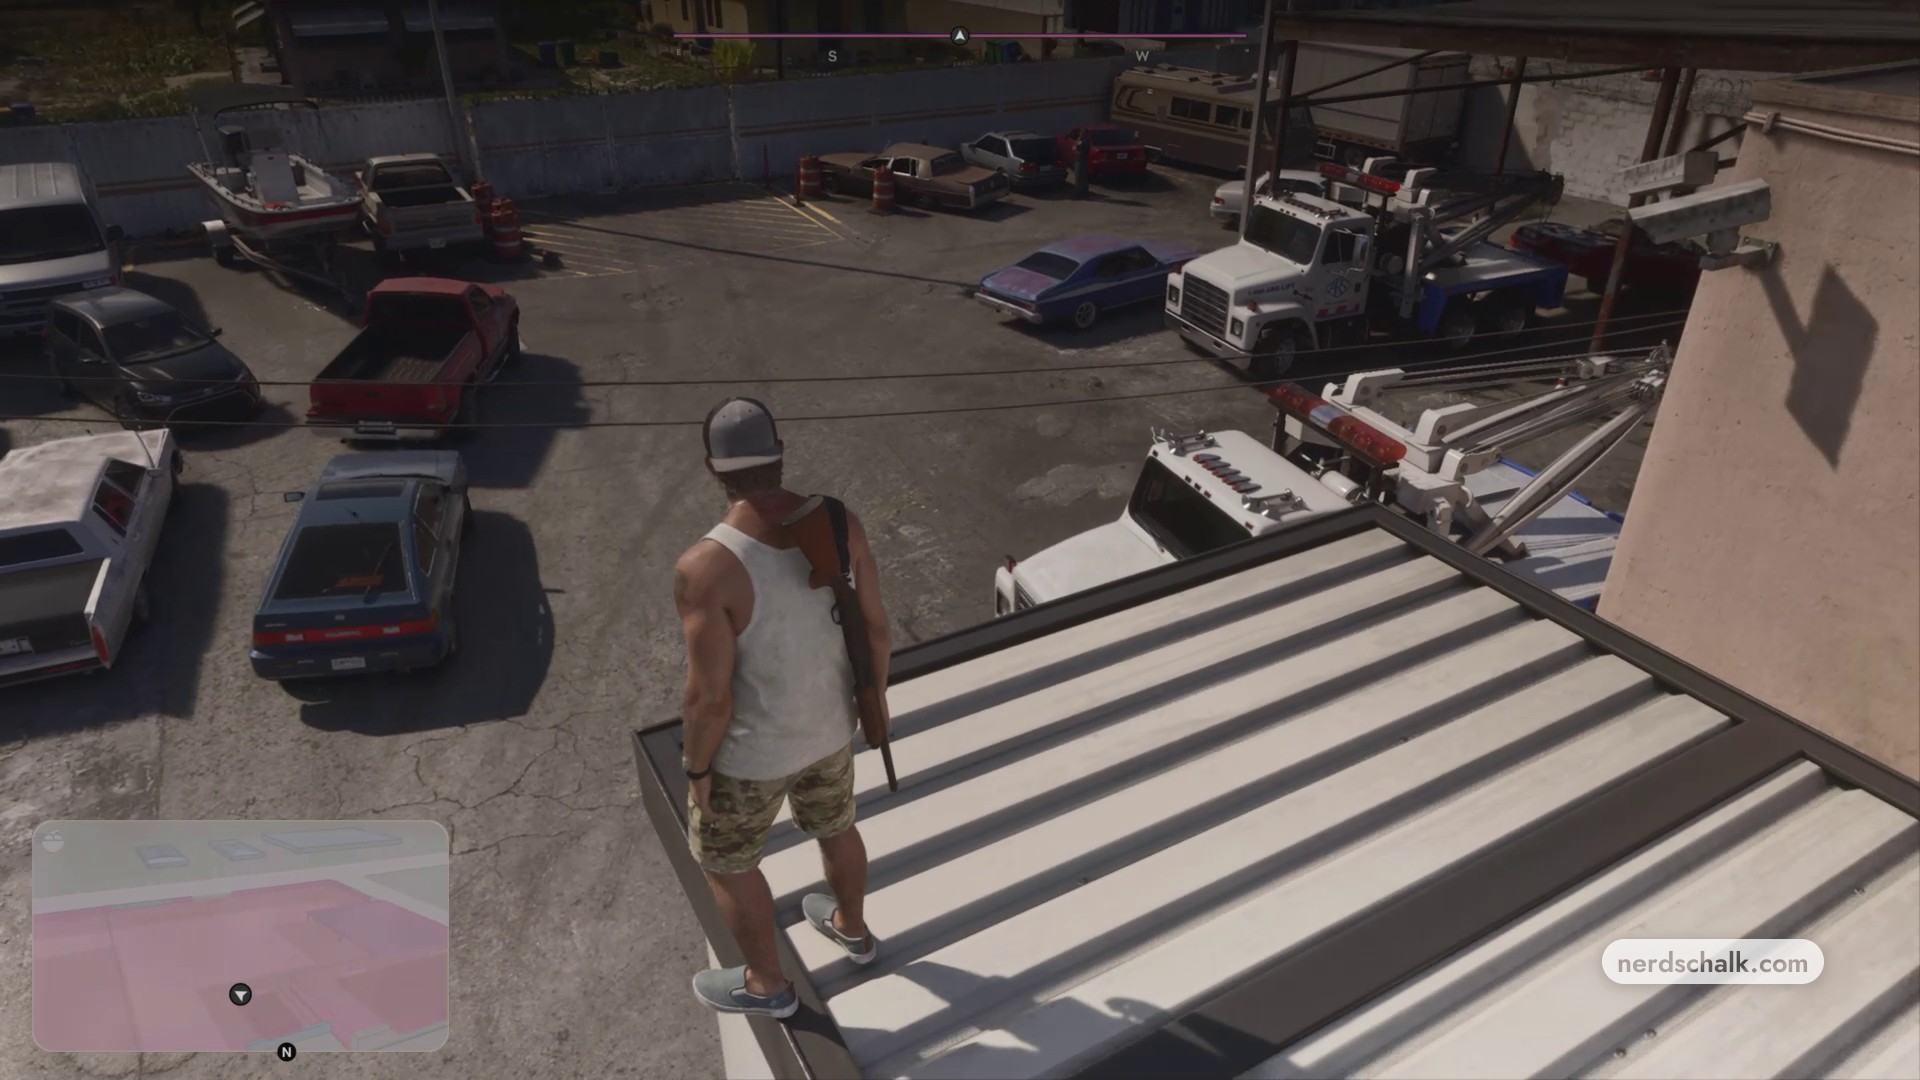
Drop into the yard
Carefully drop from the shed roof, then crouch behind the parked tow trucks for cover. Move through the gaps between them toward the Phoenix.
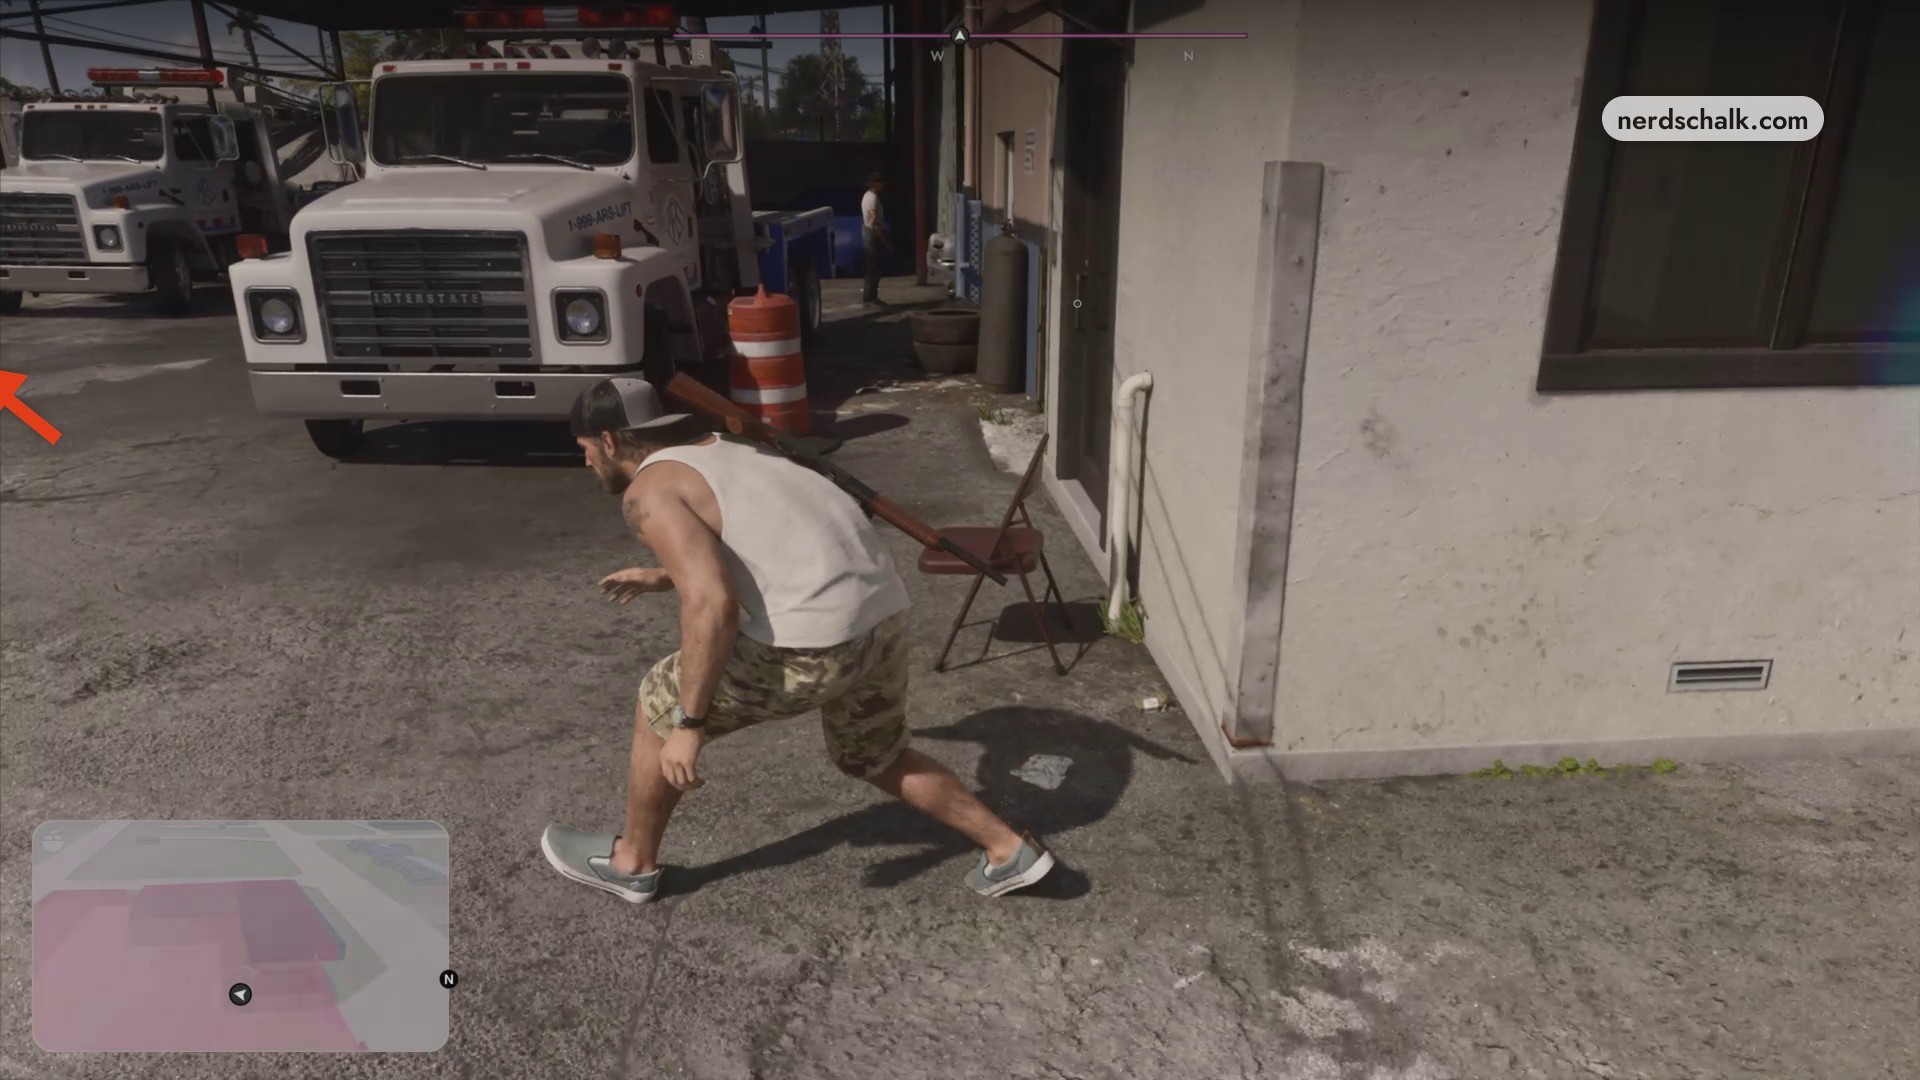
Part 2 – Free the Phoenix and escape the impound
The objective changes to Steal the Phoenix.
Release the tow hook
Detach the Phoenix from its towing connection before taking the driver’s seat. Use the RELEASE TOW HOOK interaction described in the callout after the procedure.
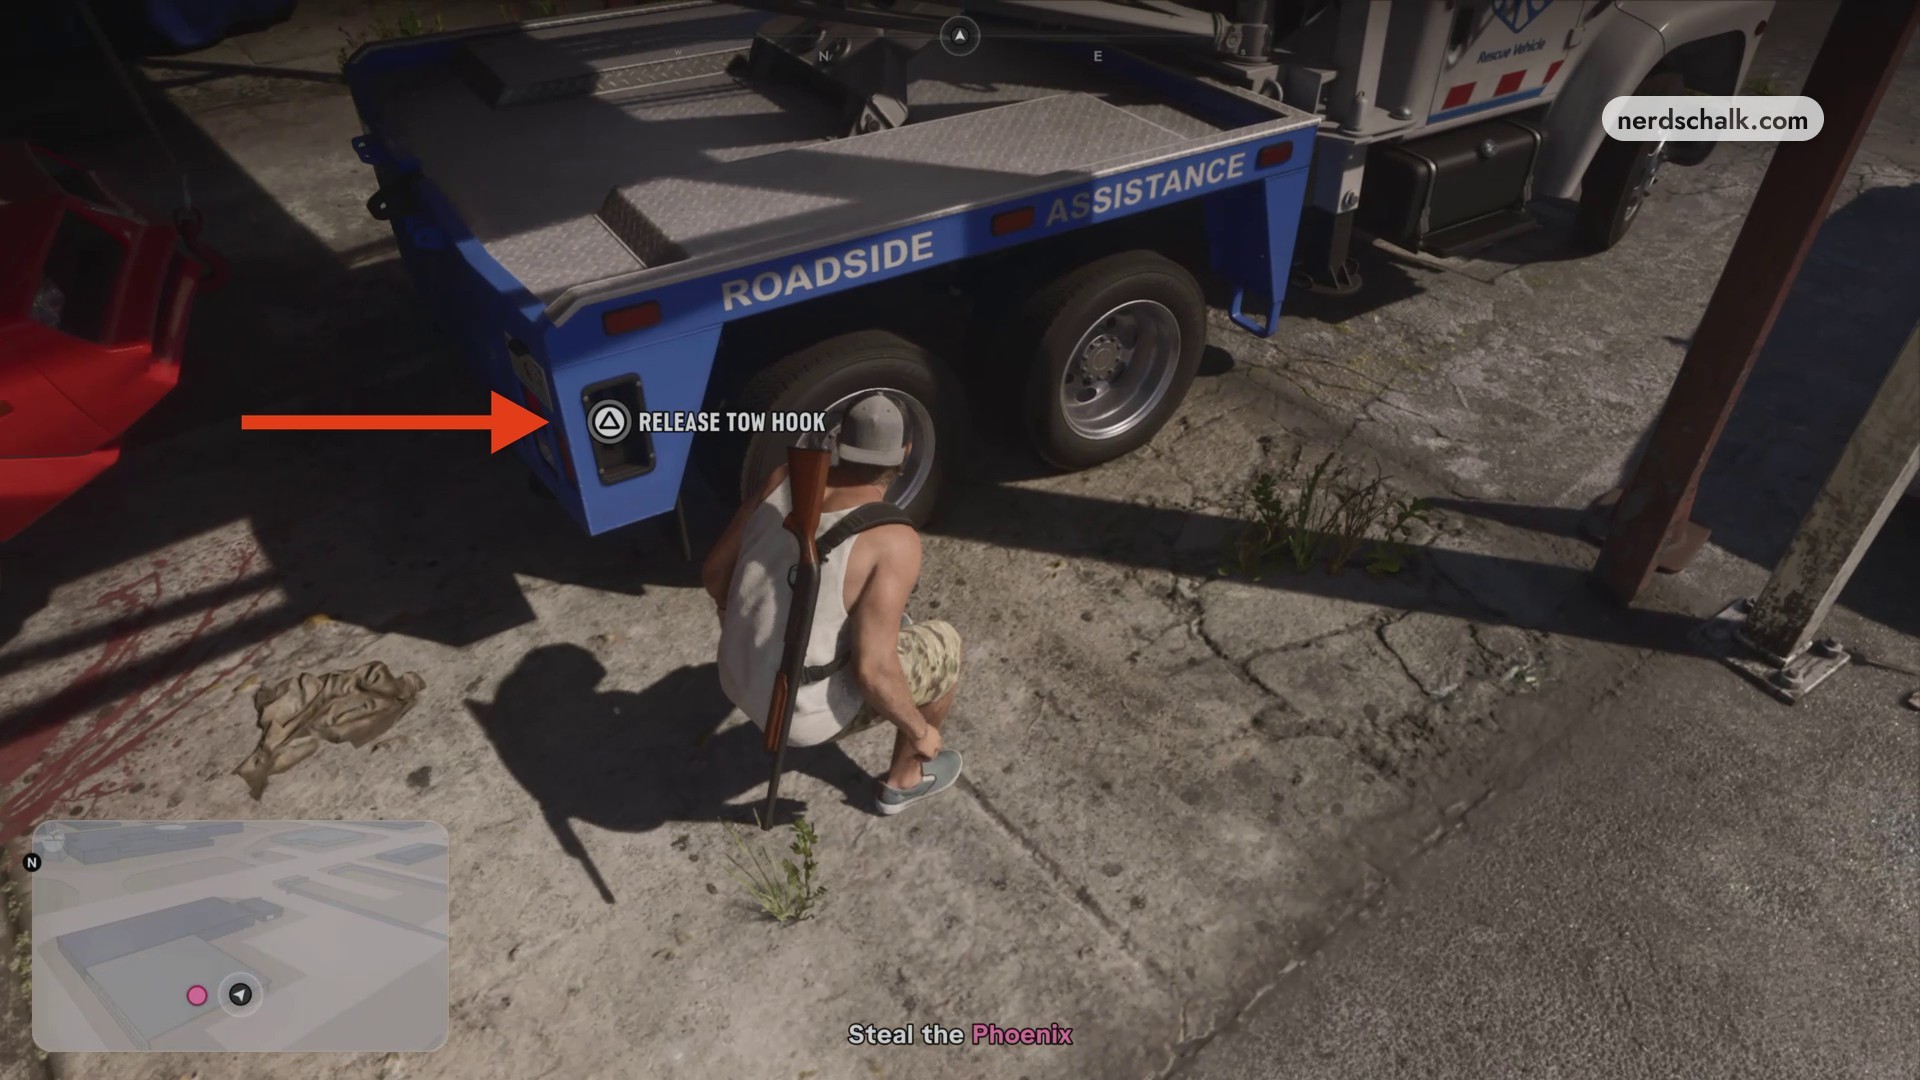
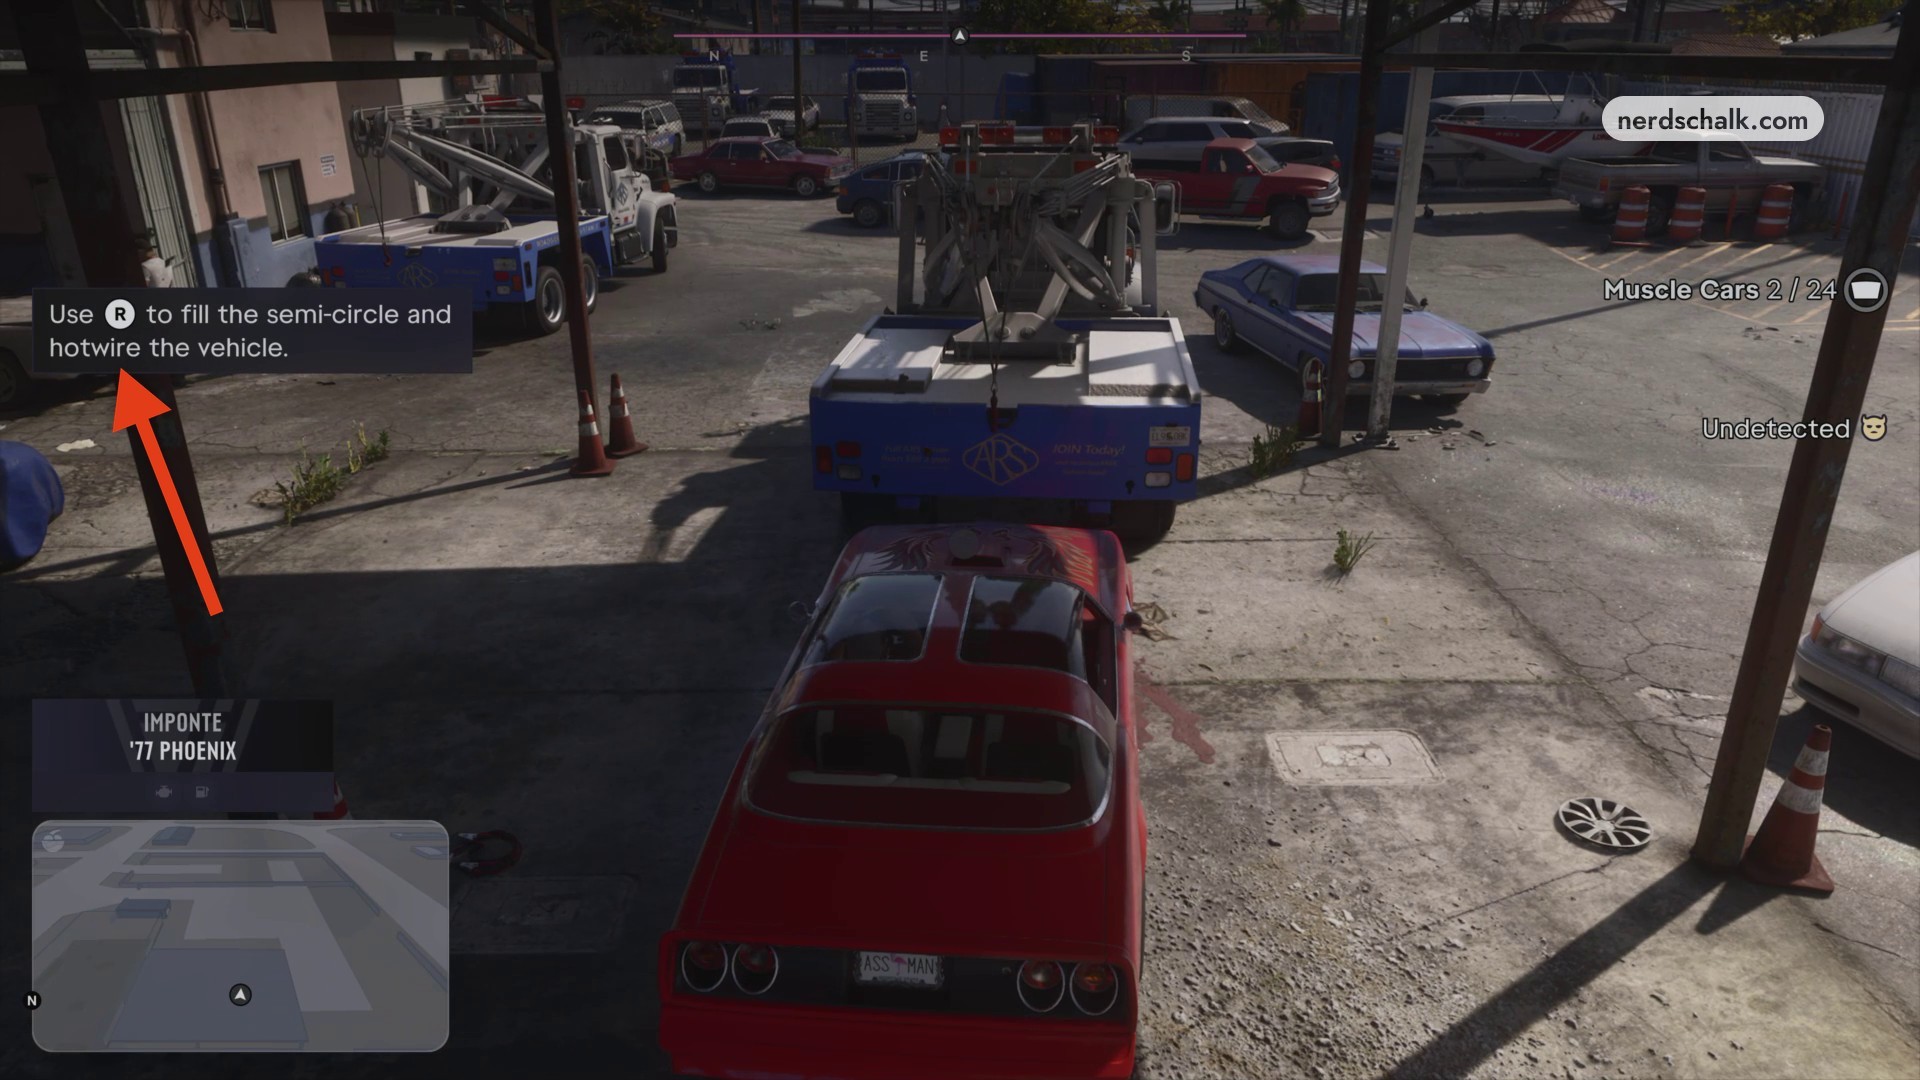
Enter and hotwire the Phoenix
Get into the driver’s seat. Follow the analog-stick prompt, using R to fill the displayed semi-circle and hotwire the ignition.
Break through the exit gate
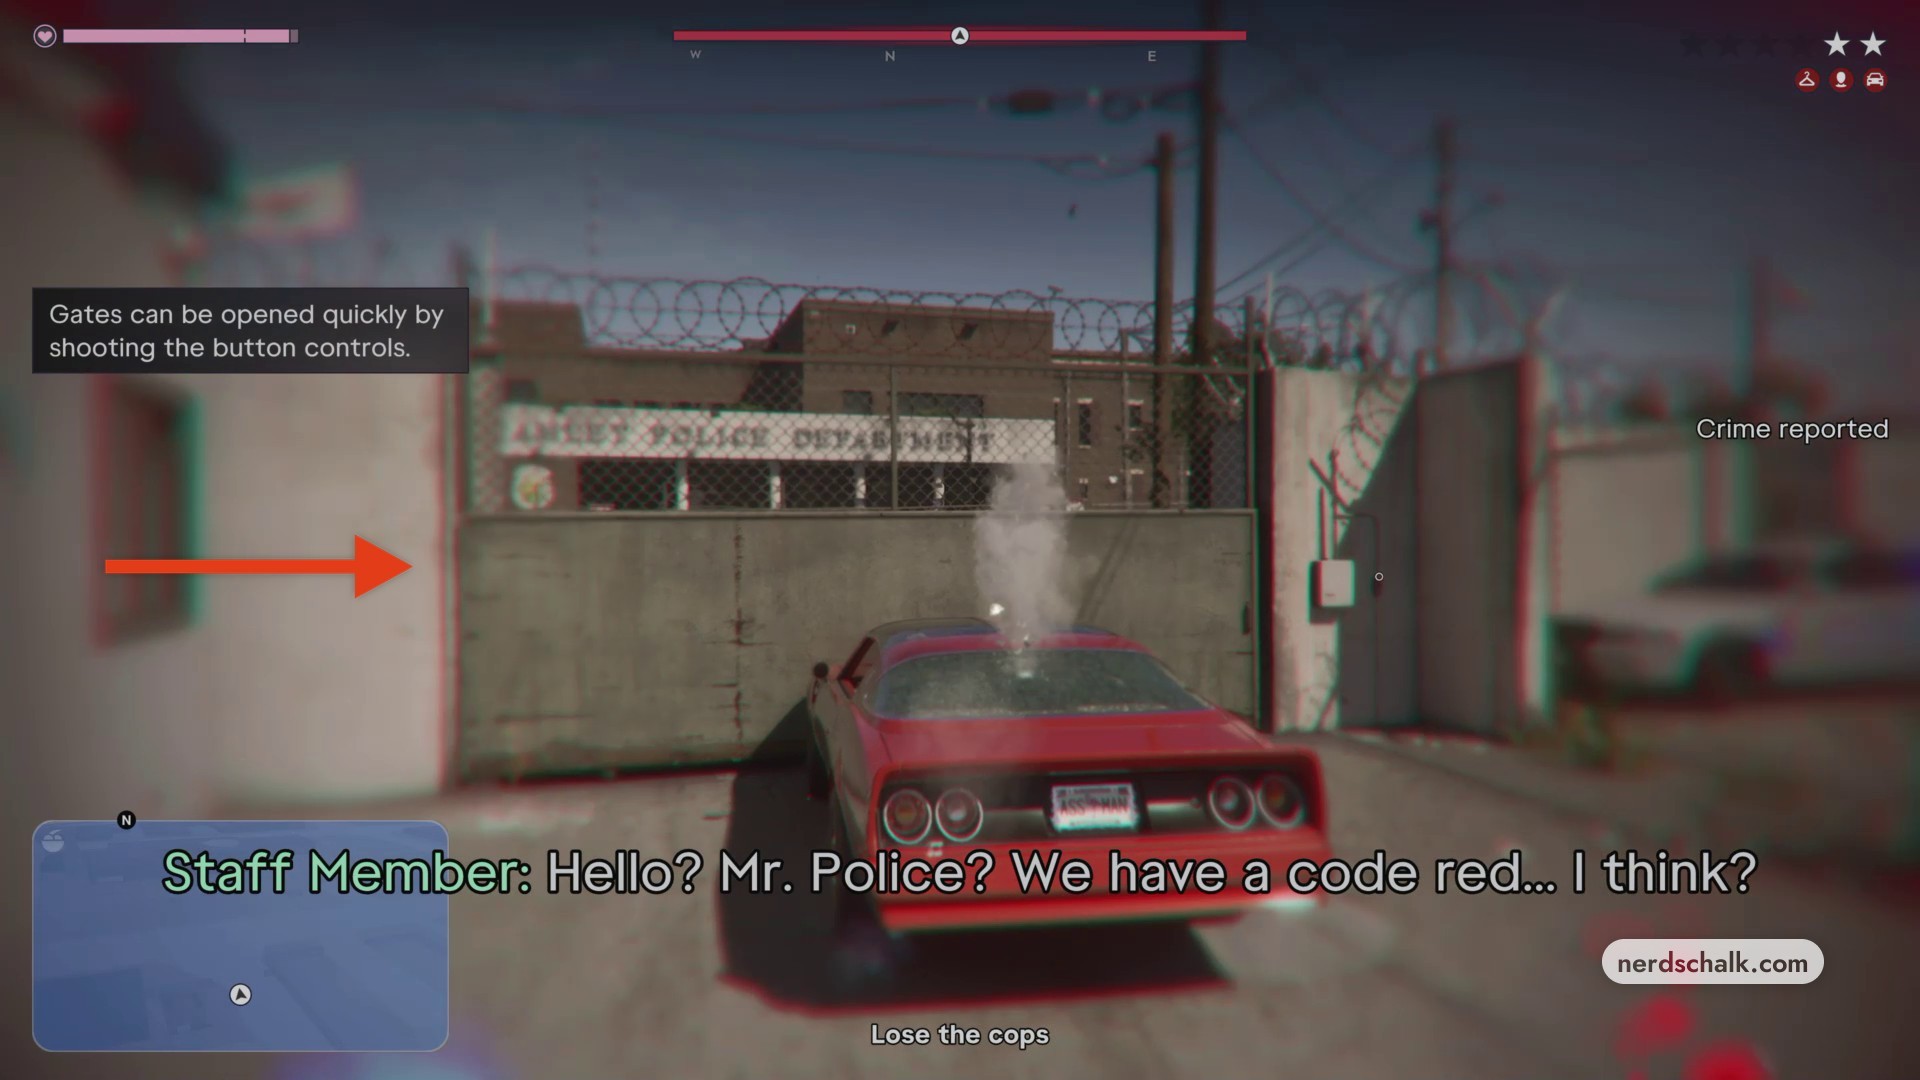
Accelerate forward and ram the closed main gate to leave the impound. The on-screen advice says shooting a gate’s button controls opens it quickly. Police respond during the escape, and the objective changes to Lose the cops.
Part 3 – Evade pursuit and take the Phoenix to the Pay ‘n’ Spray
Put distance between the Phoenix and the police search area.
Drive away from town
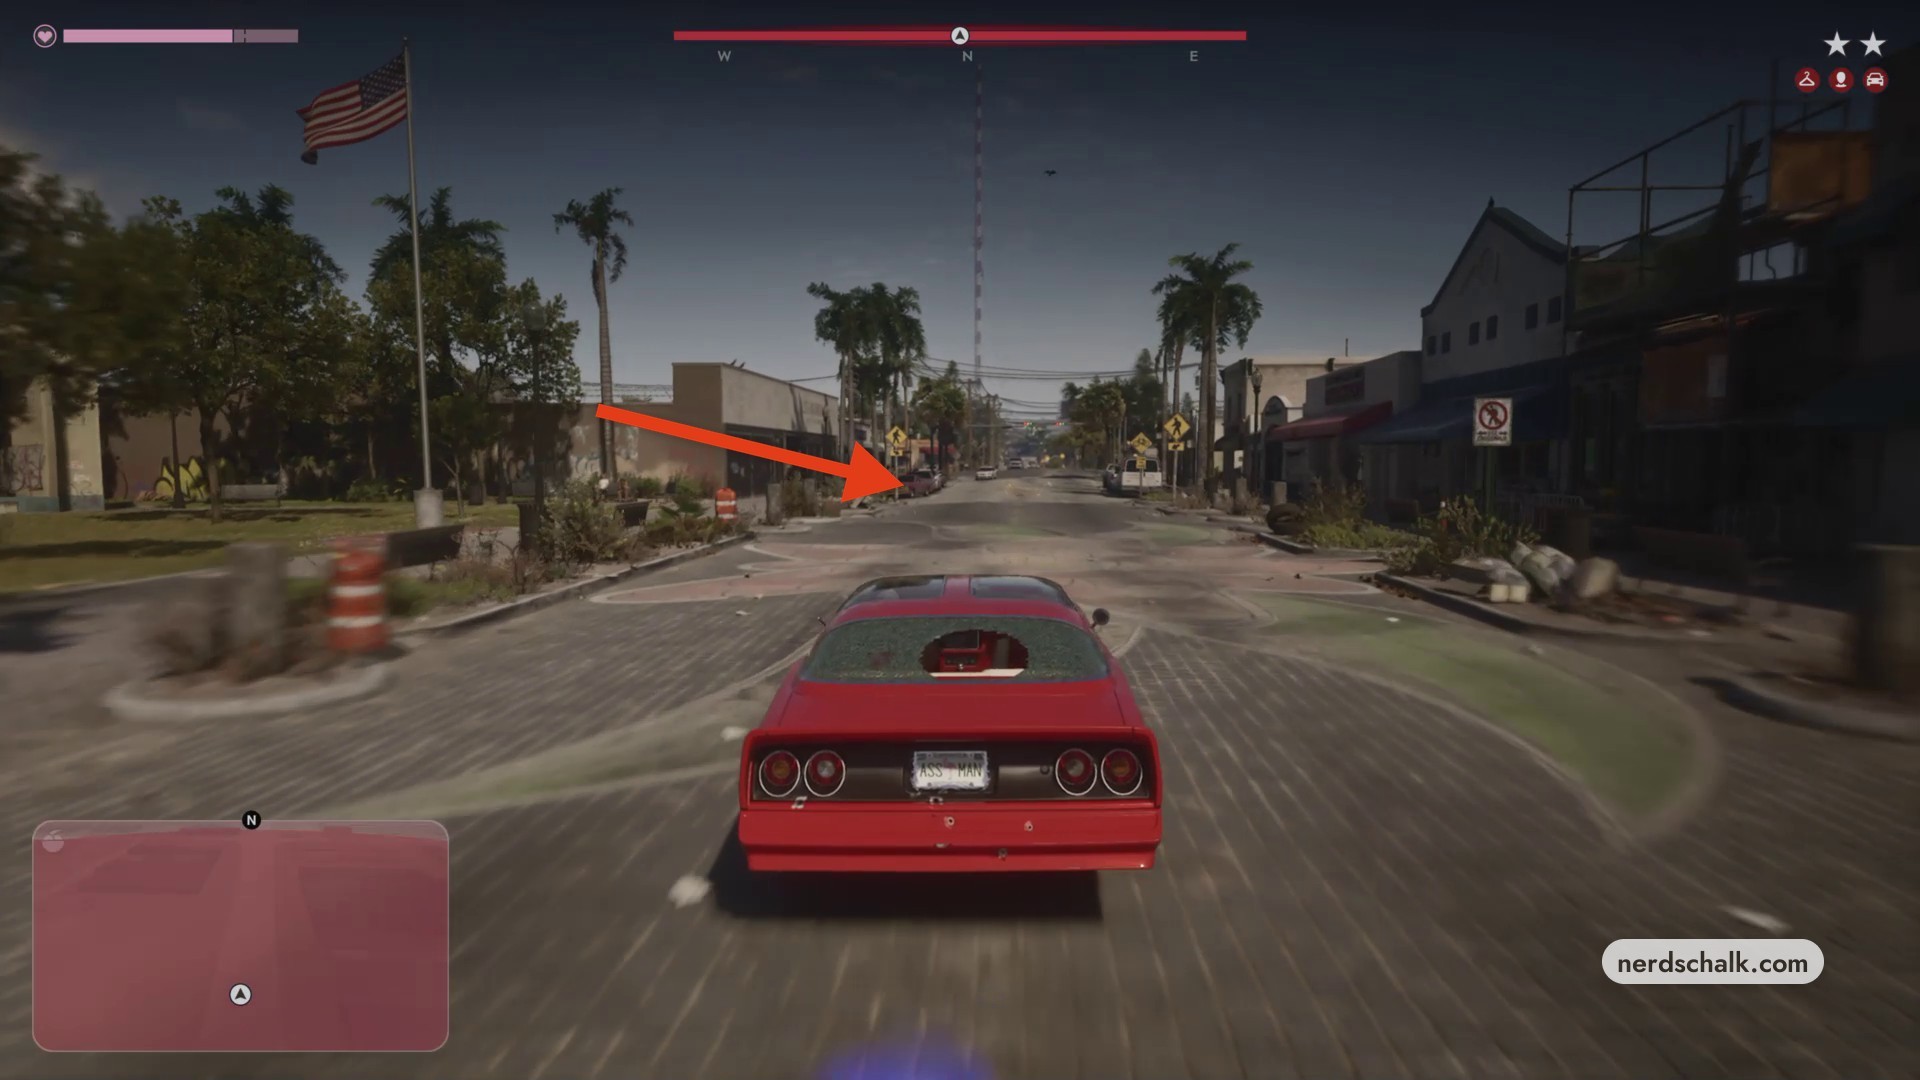
Follow the streets away from the immediate pursuit, leave Hamlet, and turn off the highway onto dirt trails to move away from the police search perimeter.
Reach Peyton’s Scrapyard
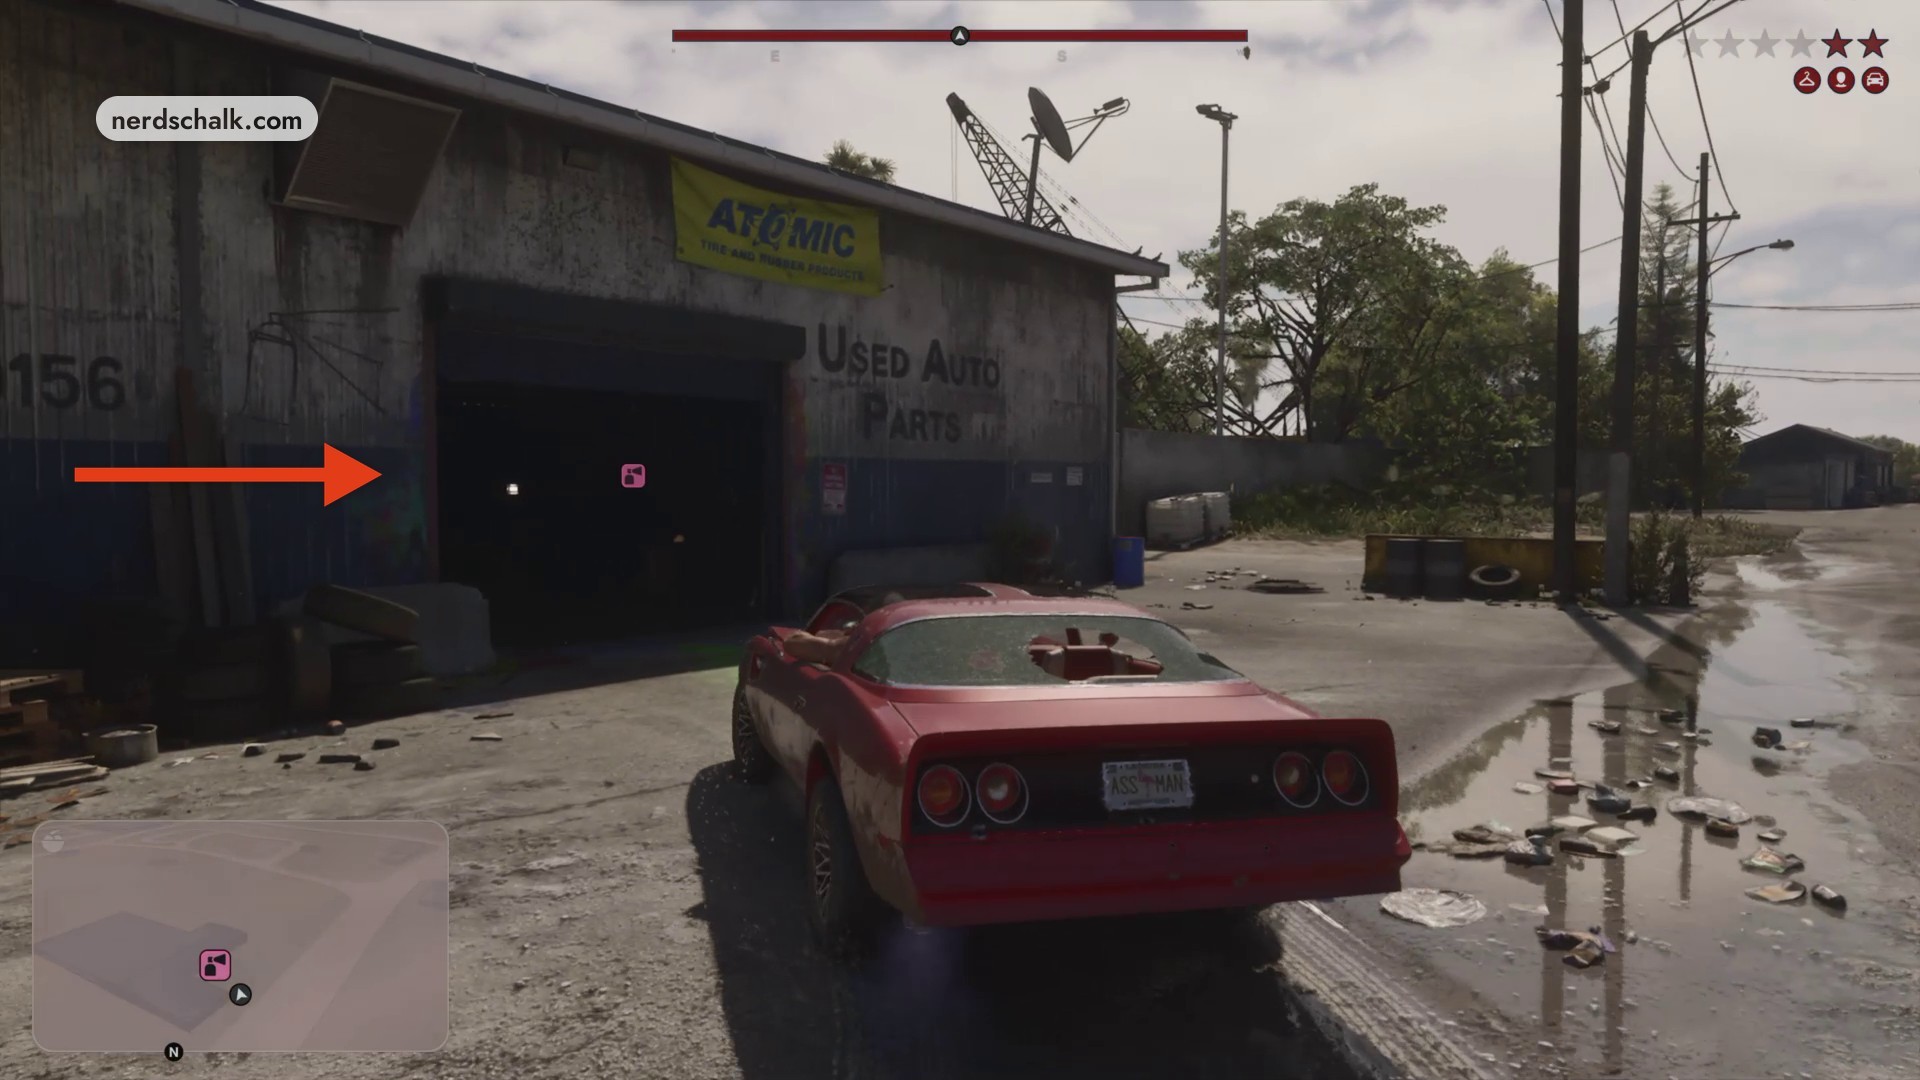
Open the map and steer away from the red police-search shading around Hamlet. Head off-road toward the Hamlet Pay ‘n’ Spray, then follow the highway navigation line to Peyton’s Scrapyard and drive into its open garage bay.
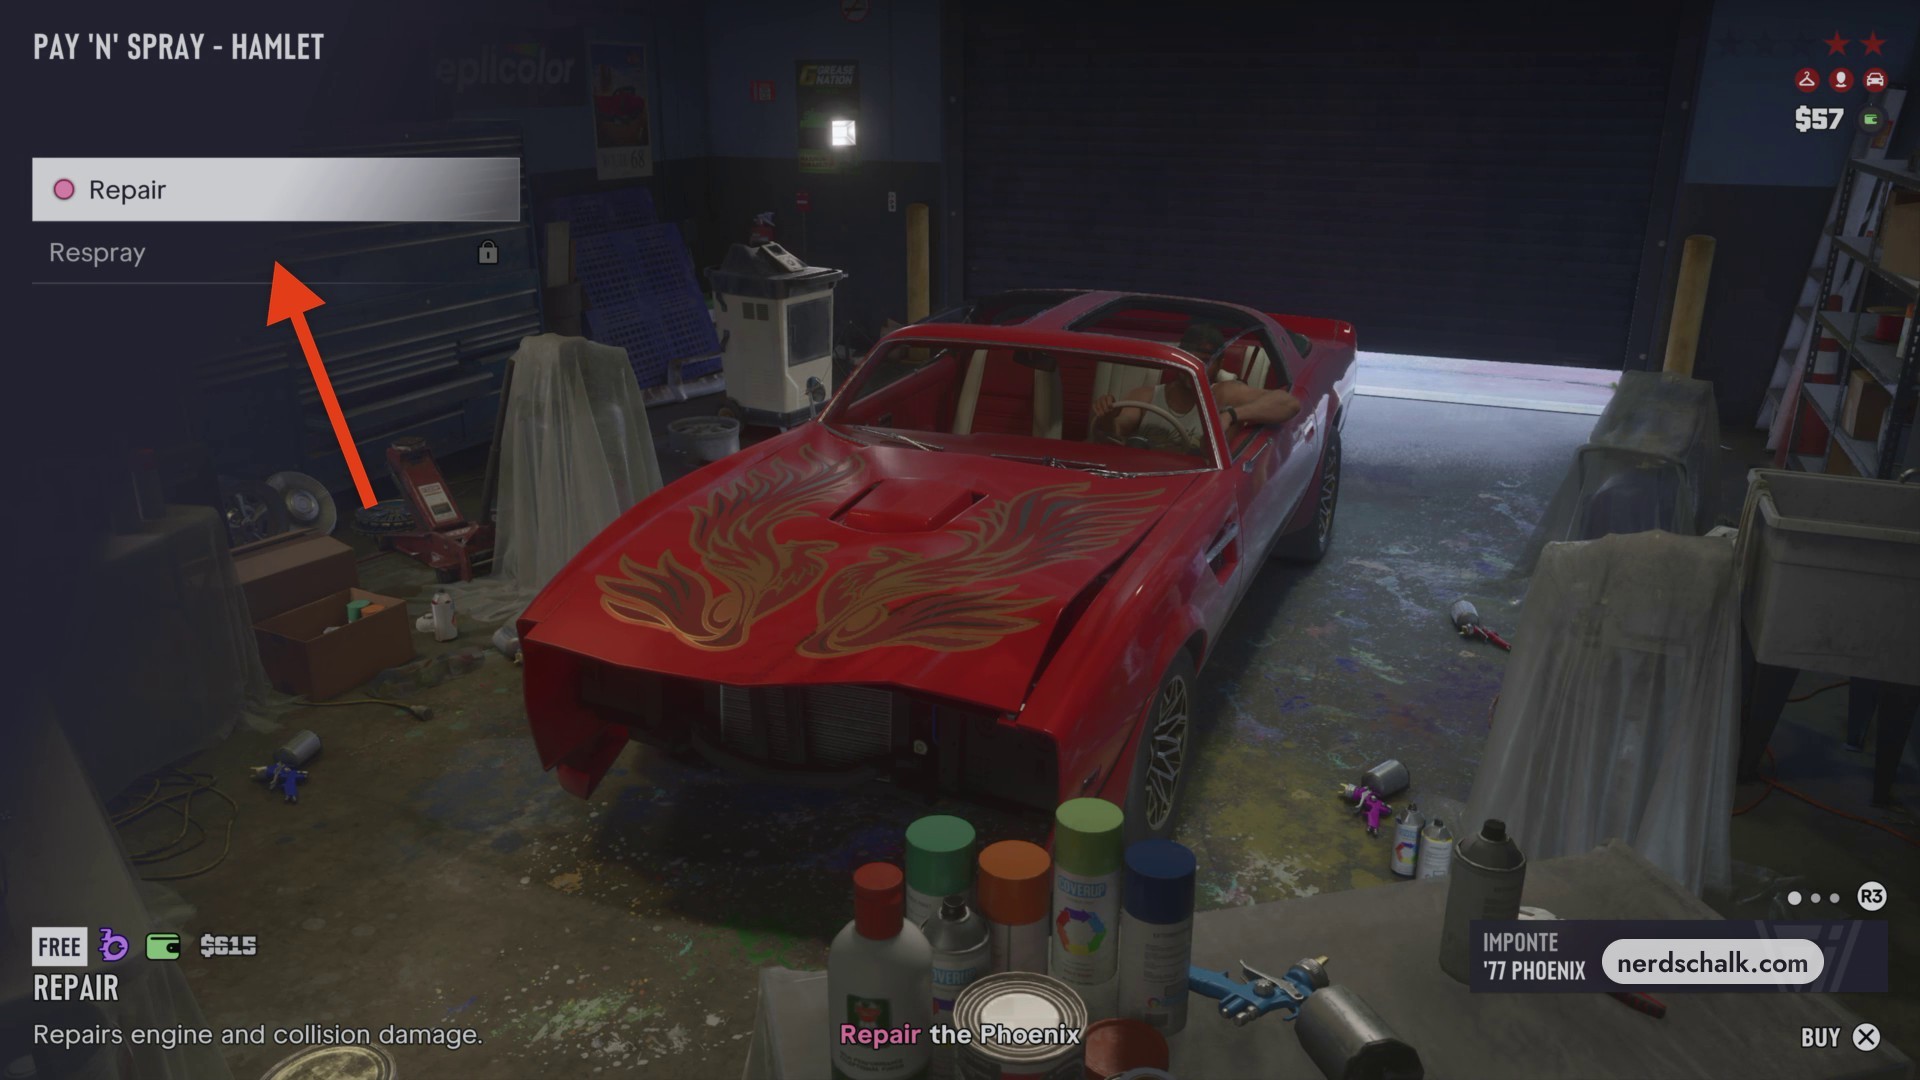
Repair the Phoenix
In PAY ‘N’ SPRAY – HAMLET, select Repair to fix the Phoenix’s engine and collision/body damage.
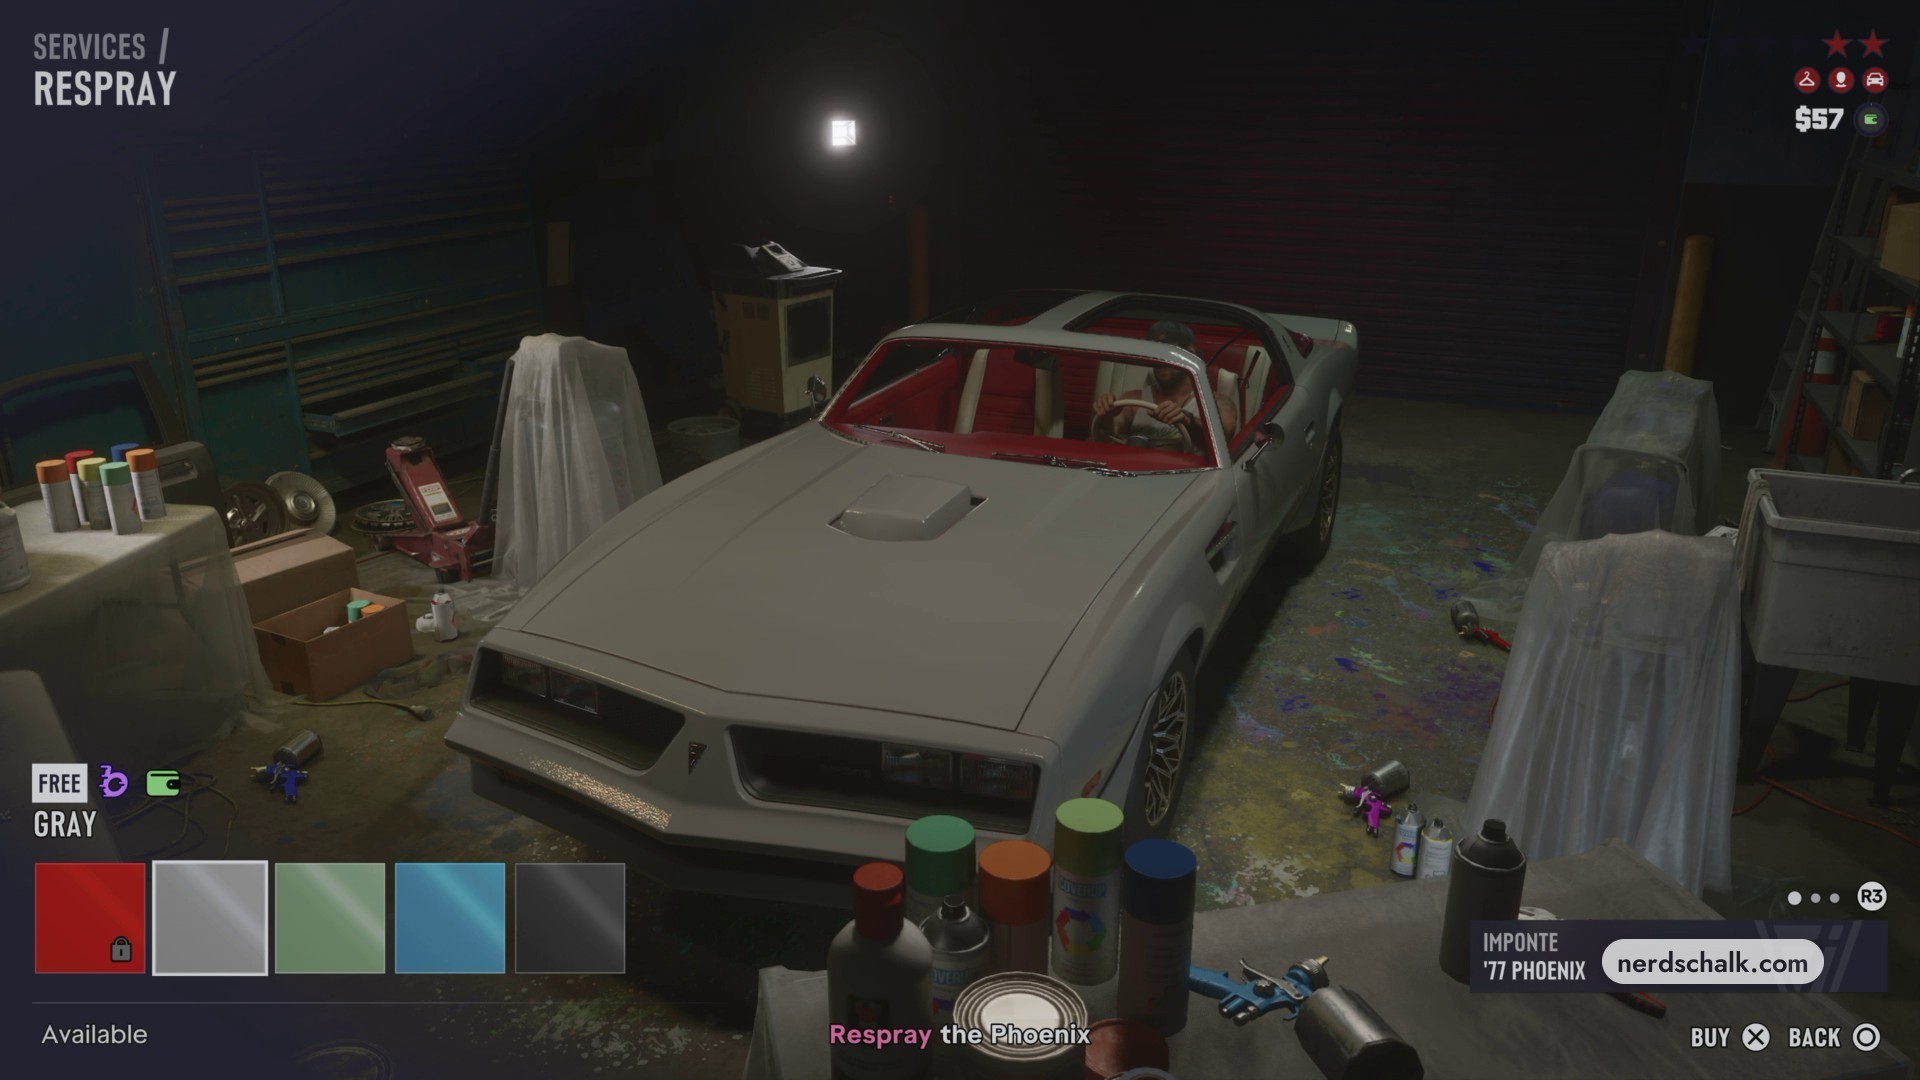
Respray the Phoenix
Select Respray and choose a different paint color, such as Black, to reduce police recognition and shed the car’s heat. The paint menu lists GRAY as Available and includes a FREE label.
Part 4 – Deliver the Phoenix and collect the cash
Continue with Deliver the Phoenix to Brian’s garage.
Drive to Brian’s garage
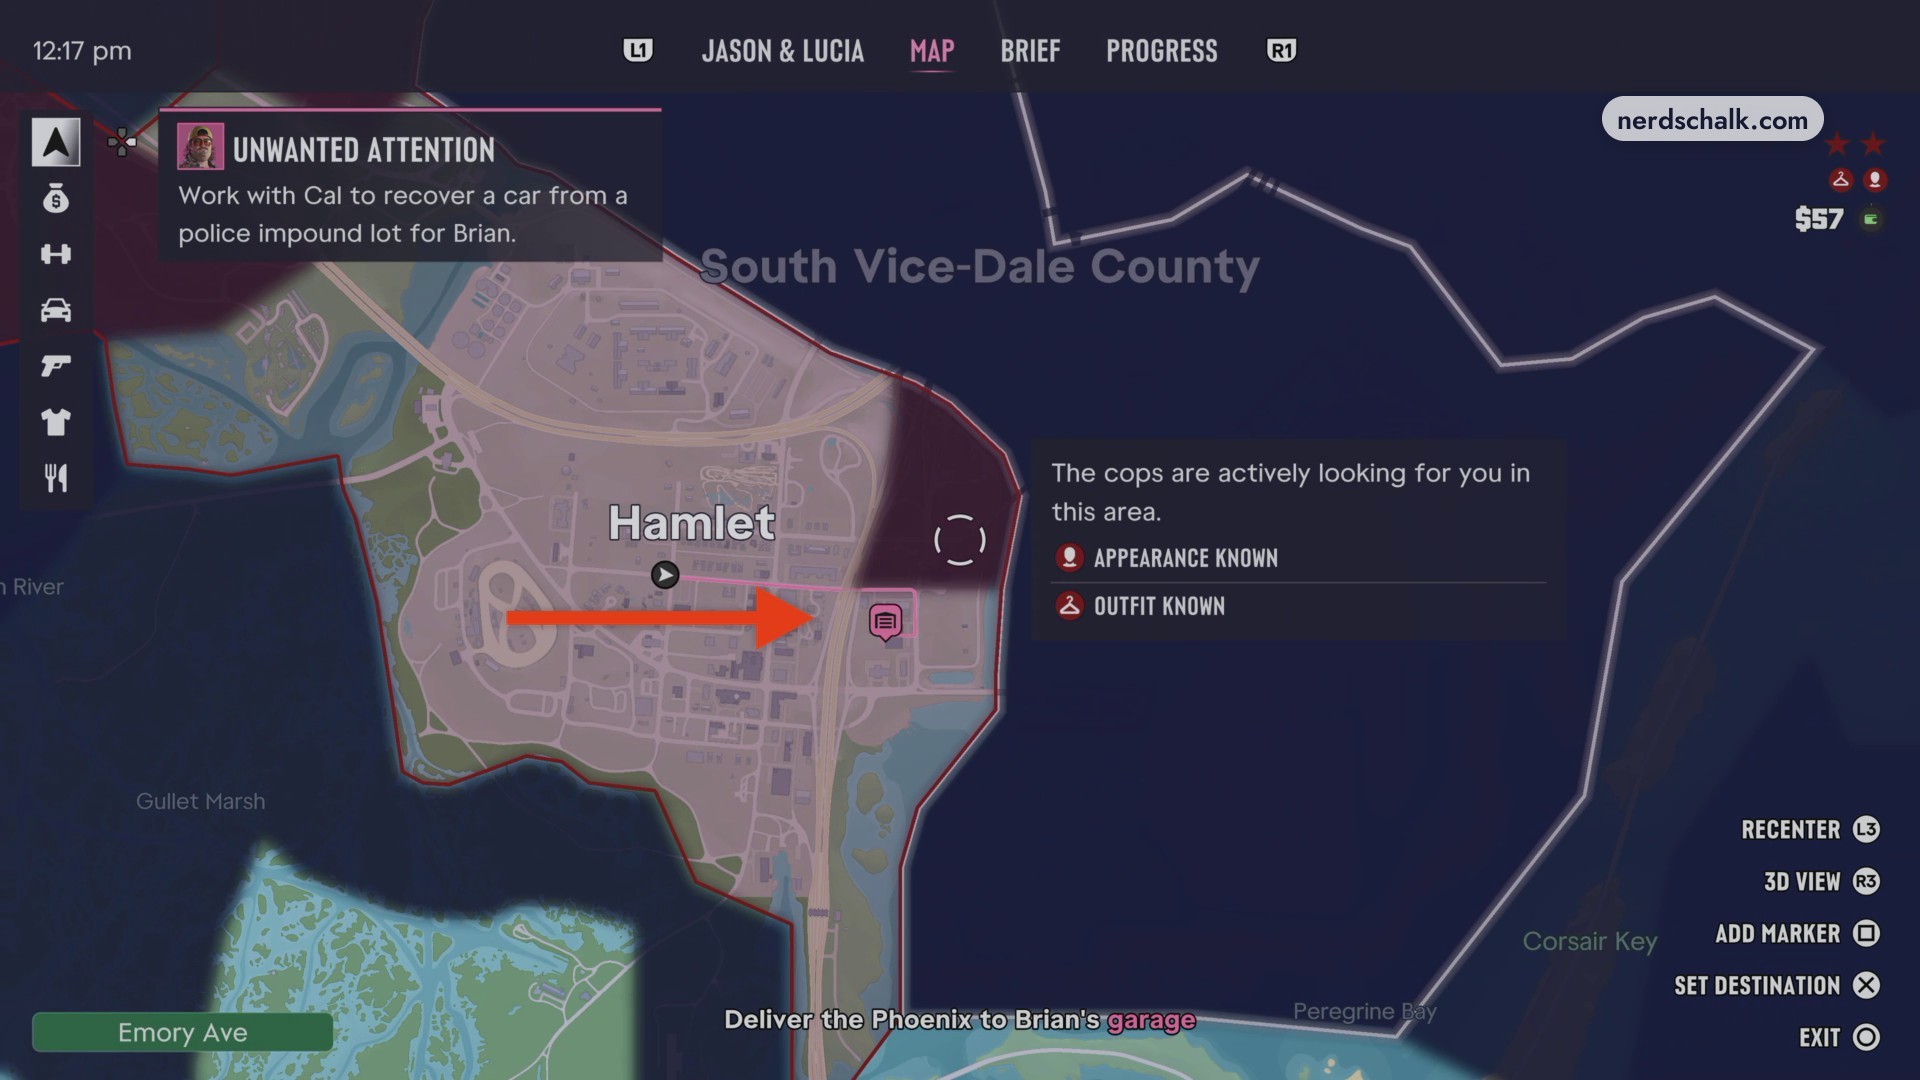
Leave the shop in the repainted Phoenix, now Black, and continue through Hamlet’s streets. Consult the map and follow the pink garage waypoint on Palmetto to Brian’s storage garage behind the aircon shop, where the roll-up door is open.
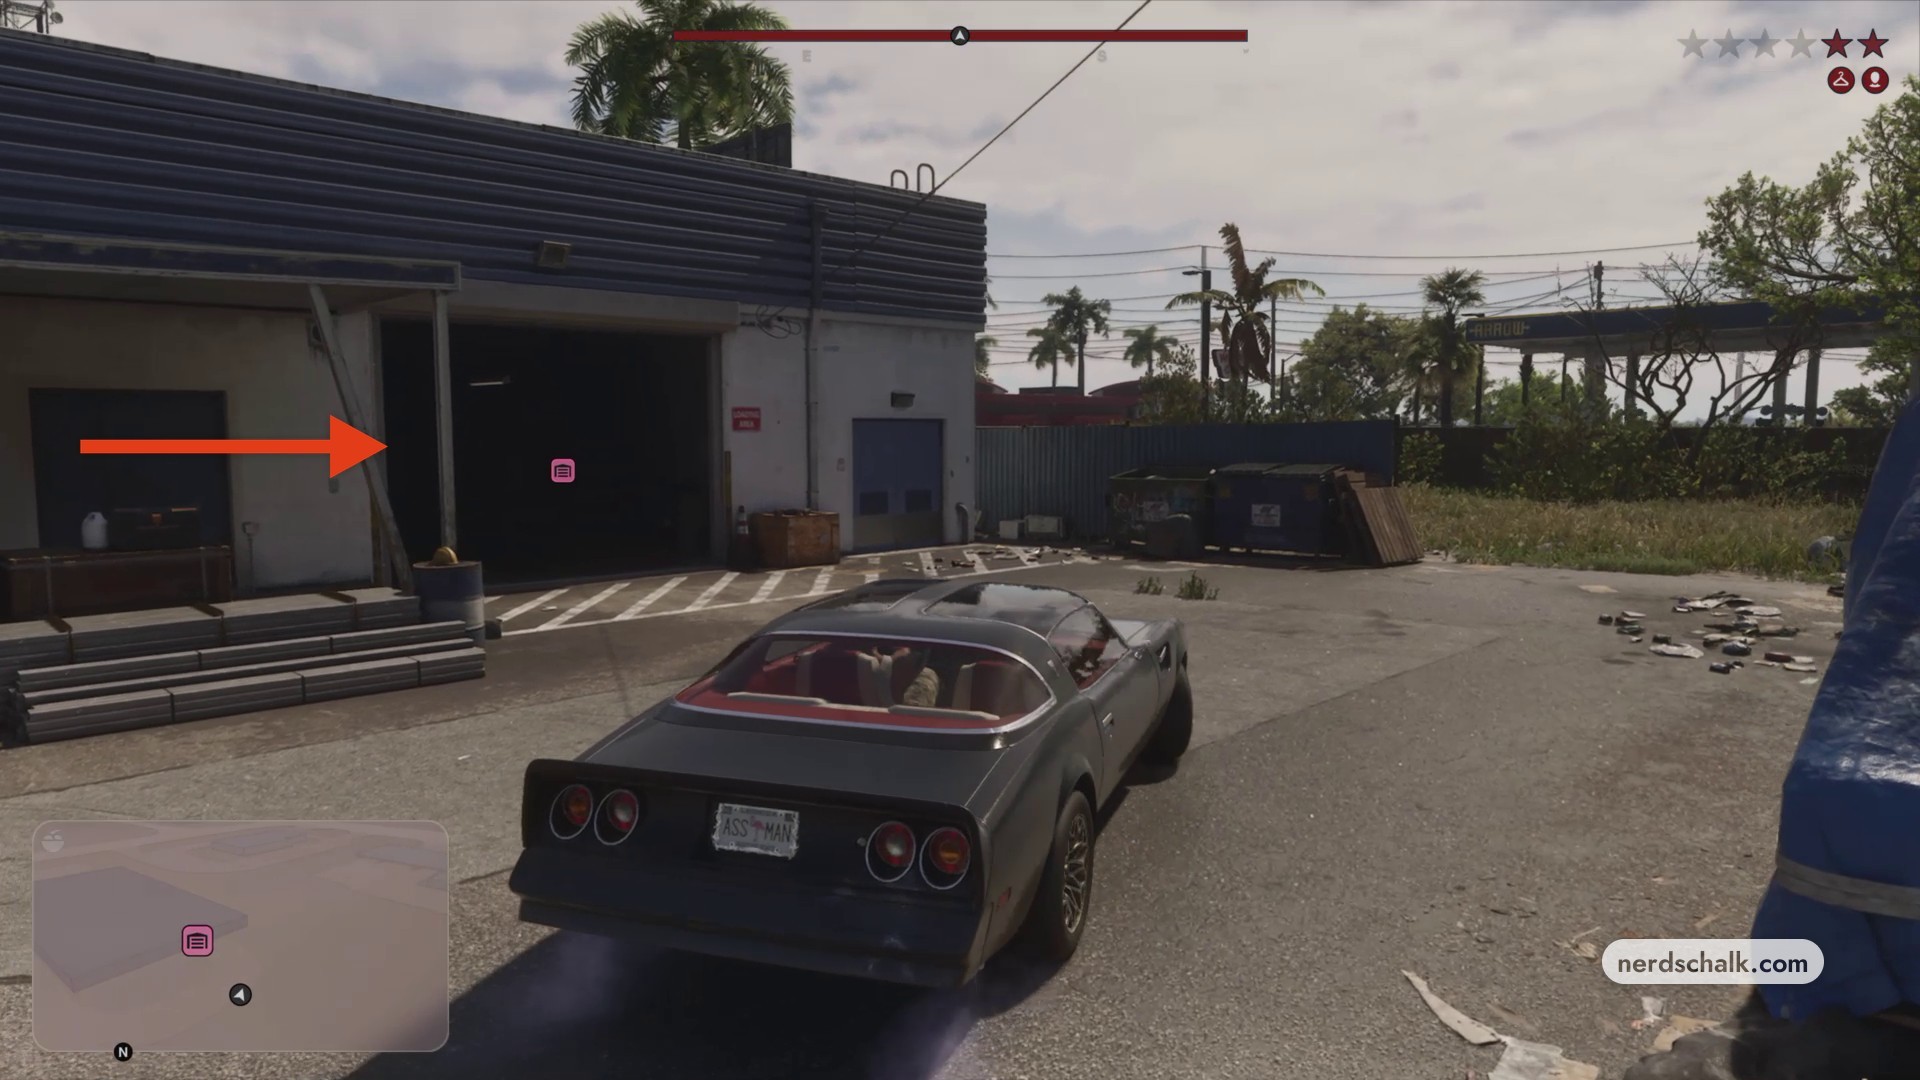
Park fully inside
Pull the entire Phoenix into the garage bay, then get out of the car.
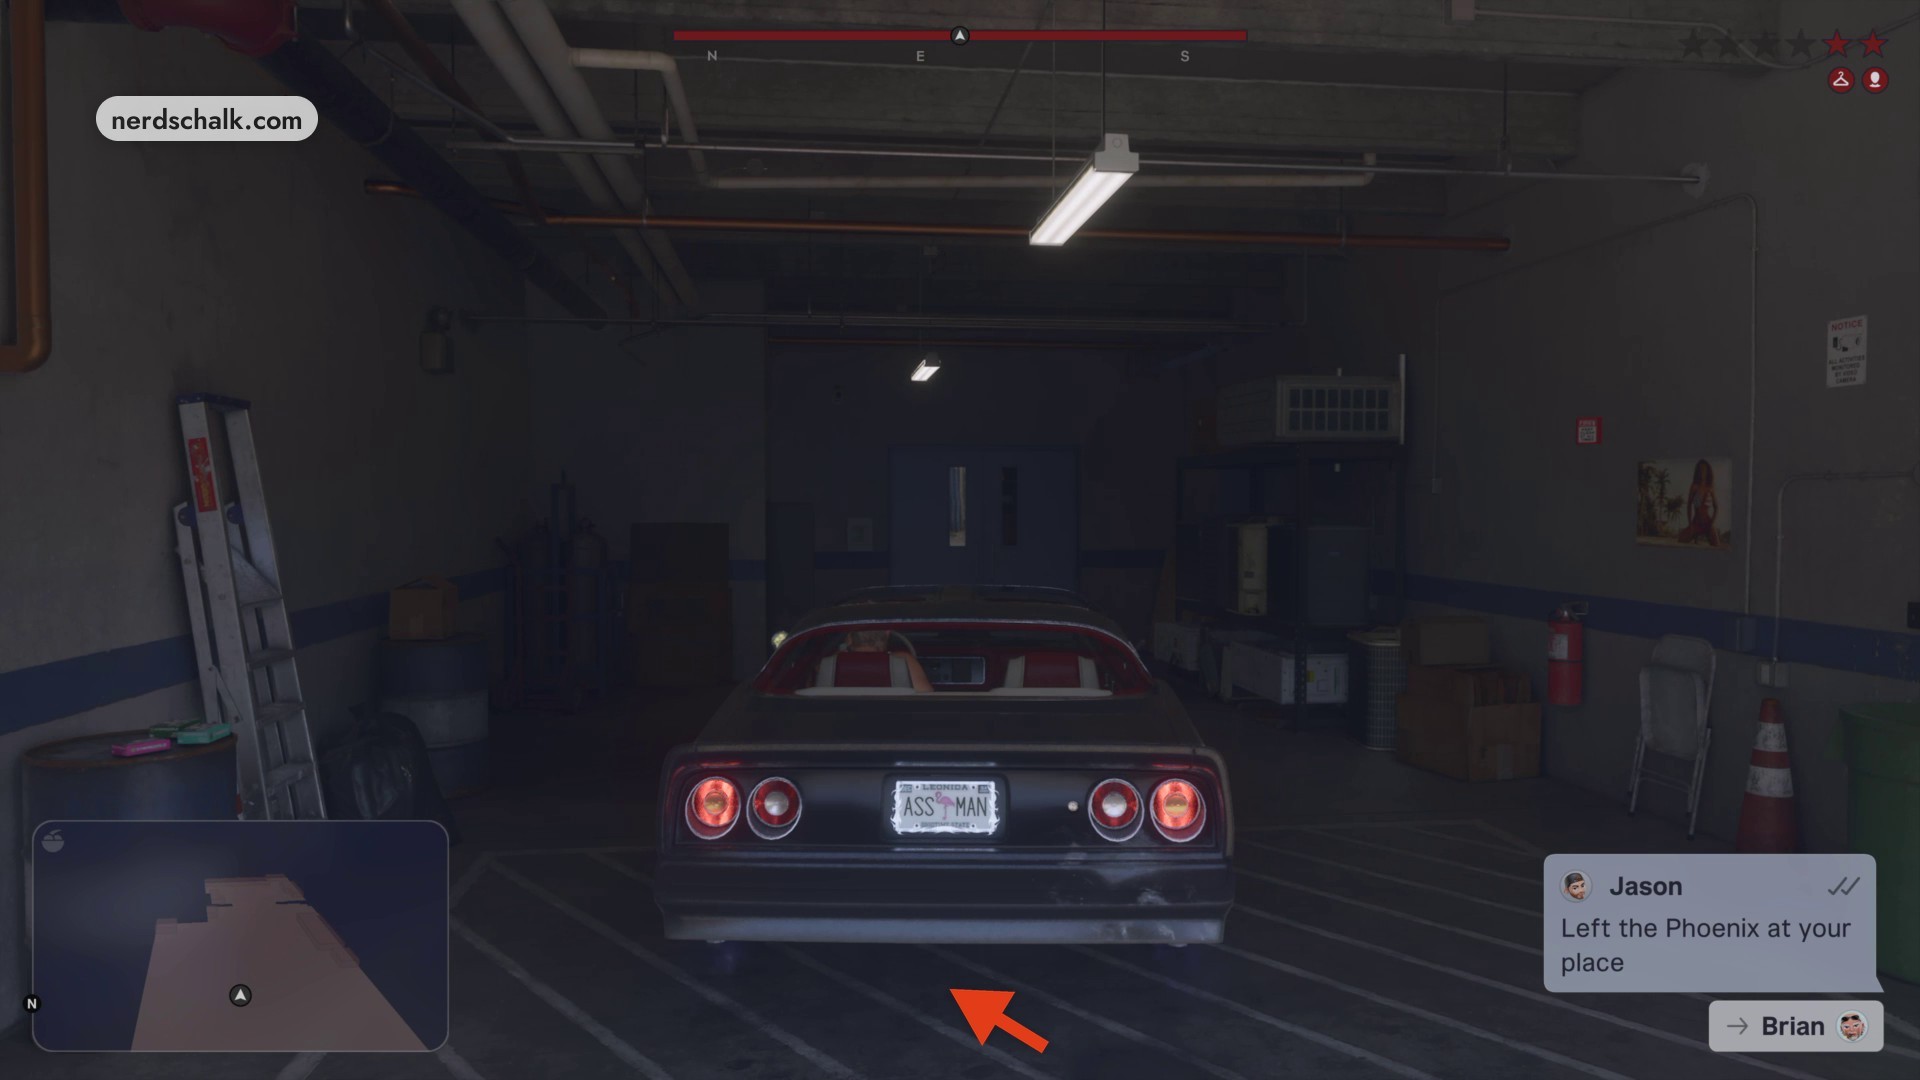
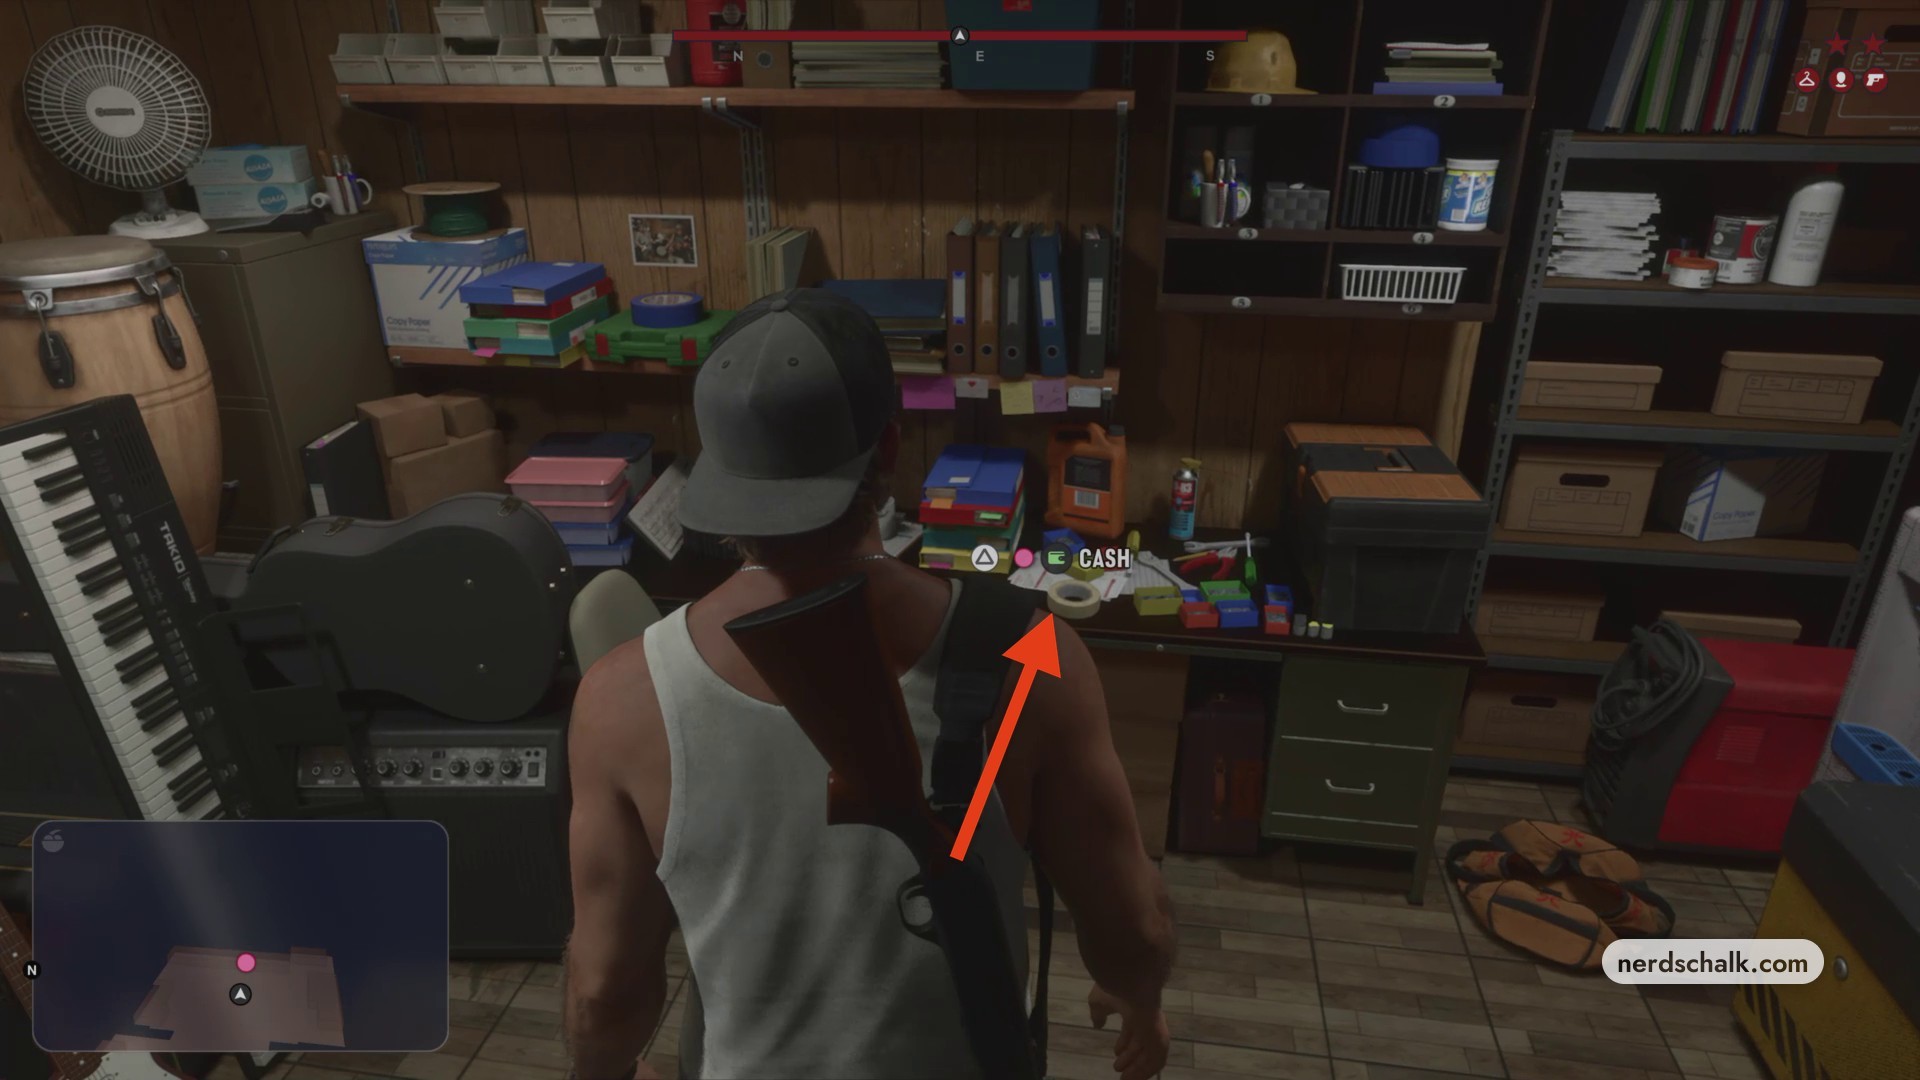
Collect the desk cash
Go through the blue double doors into the back office. Use the CASH interaction at Brian’s desk to collect your reward and add it to your balance.
Part 5 – Change appearance and locate the gun store
Adjust your appearance before checking the nearby store destination.
Remove the baseball cap
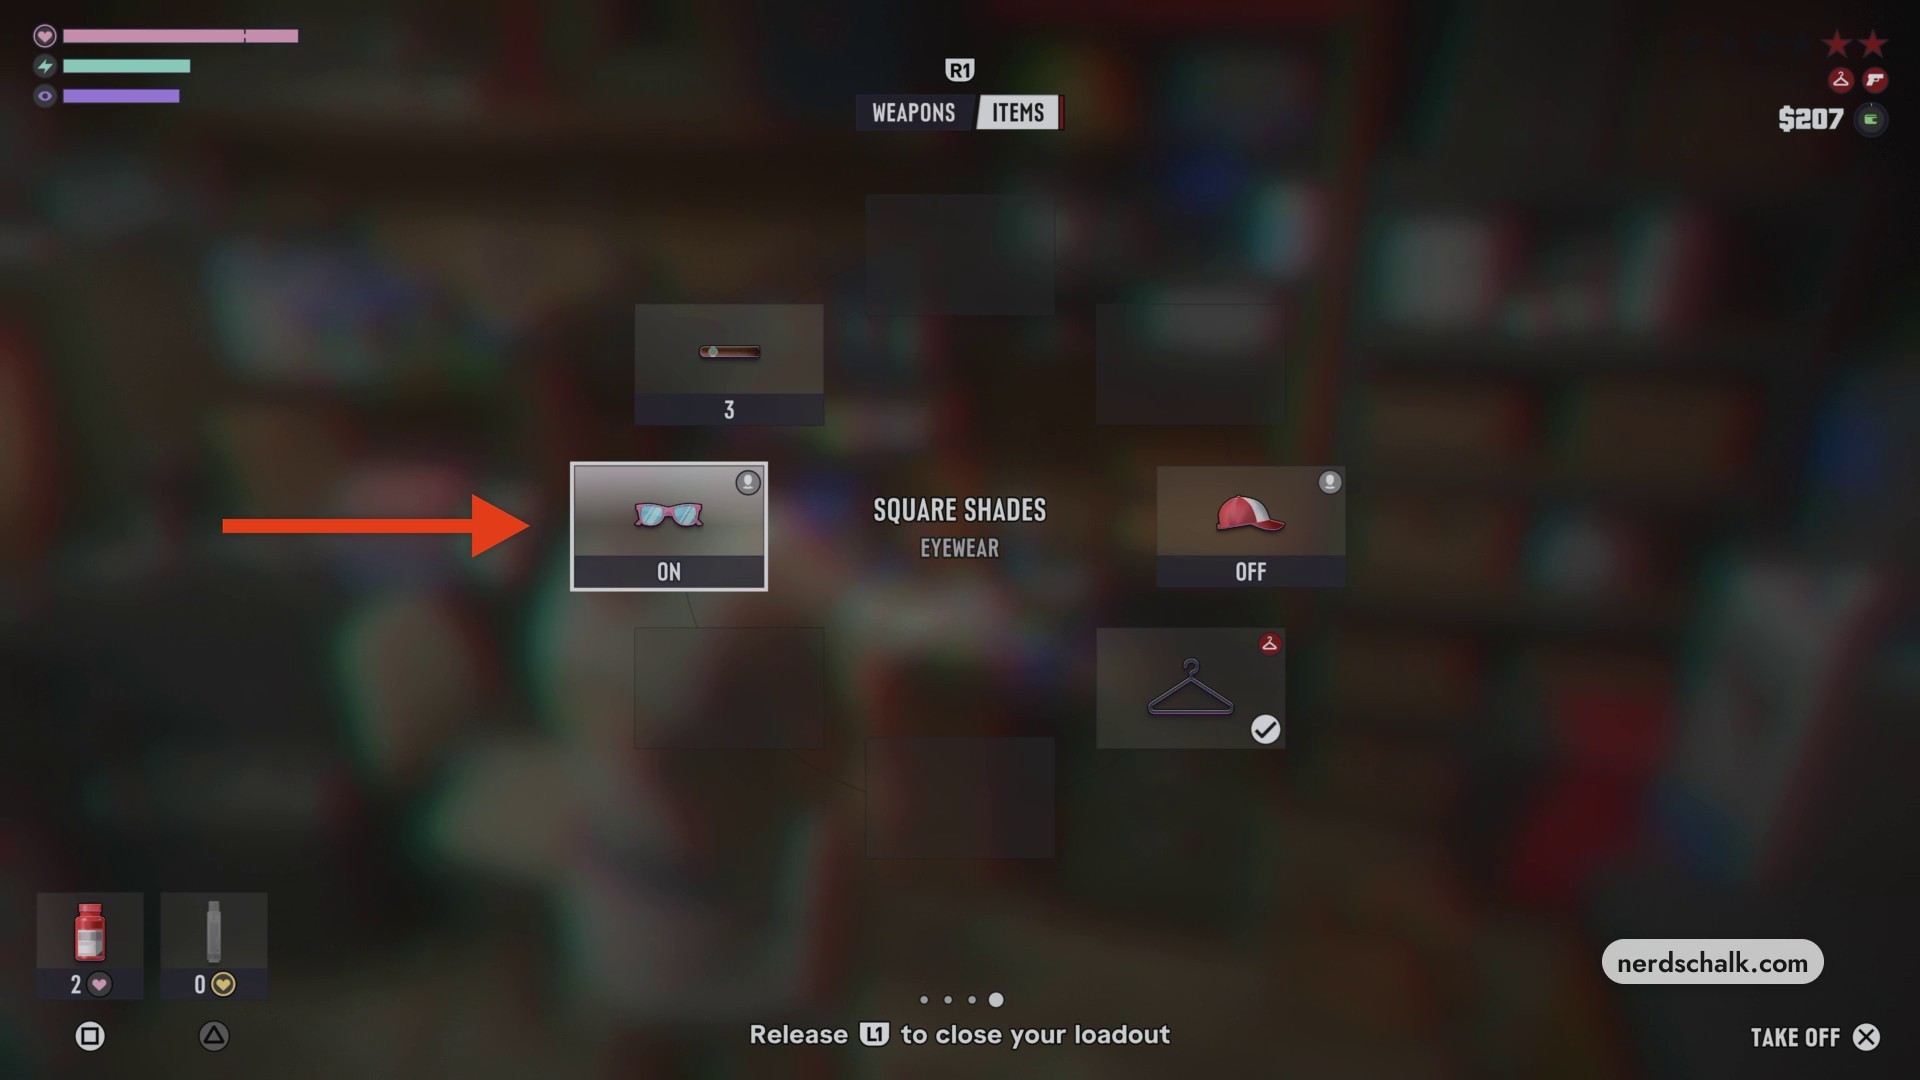
Hold L1 to open the loadout and press R1 for Items. Select Baseball Cap and set it to Off.
Equip the square shades
Select Square Shades under EYEWEAR and set them to On to disguise your appearance and reduce suspect recognition. Release L1 to close the loadout, then use the map to locate the nearby gun store, BIG SHOTS.
› story detailsSpoilers for the story. Open to read.
Unwanted Attention story details
Jason finds the red Phoenix attached to a tow truck in Hamlet’s impound yard.
Brian calls Jason along the dirt path and tells him to scrub the car.
Cash is waiting for Jason in the garage’s back room.
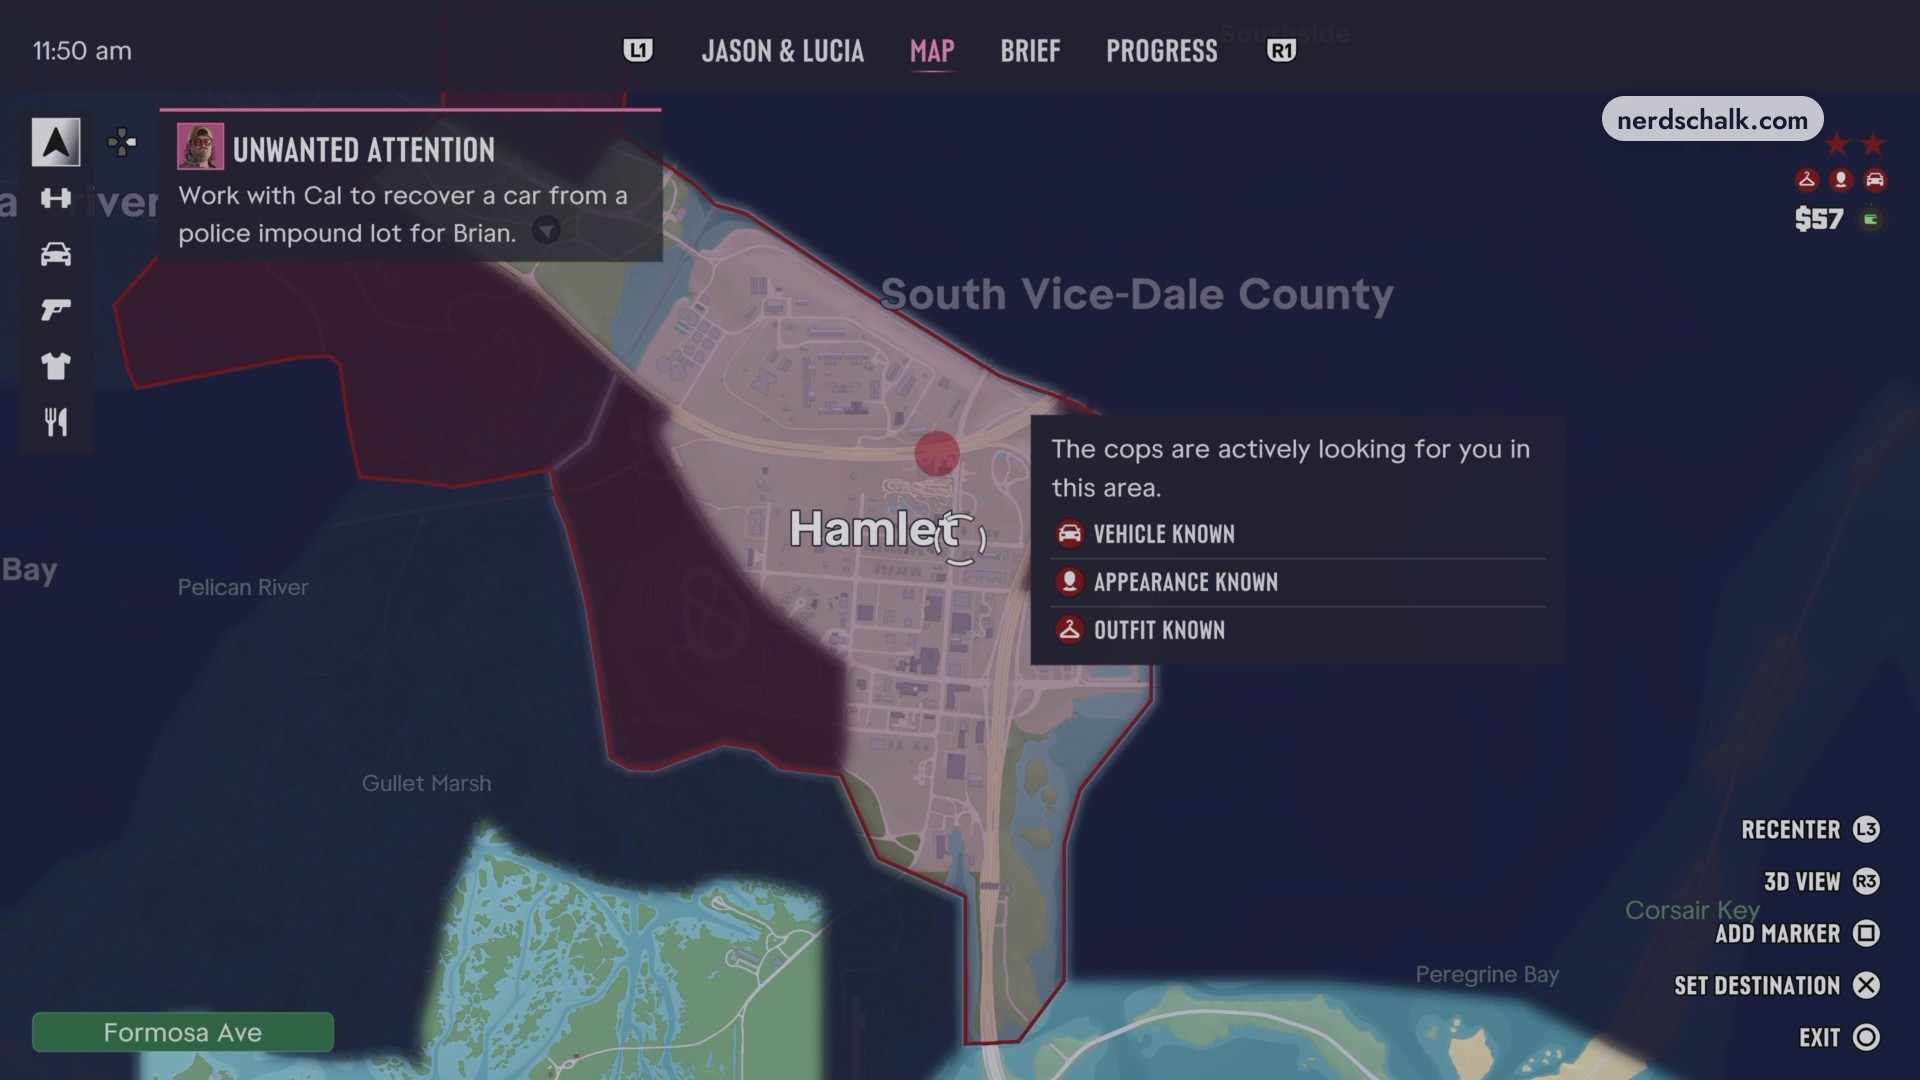
What police-search status appears after the Phoenix is resprayed?
| Map stage | Displayed police status |
|---|---|
| Earlier escape map | Active police search; VEHICLE KNOWN, APPEARANCE KNOWN, OUTFIT KNOWN. |
| Later delivery map | Active police search; APPEARANCE KNOWN, OUTFIT KNOWN. |
The later delivery map still shows an active-search warning alongside APPEARANCE KNOWN and OUTFIT KNOWN.
Related Grand Theft Auto VI guides




Leave a Reply