
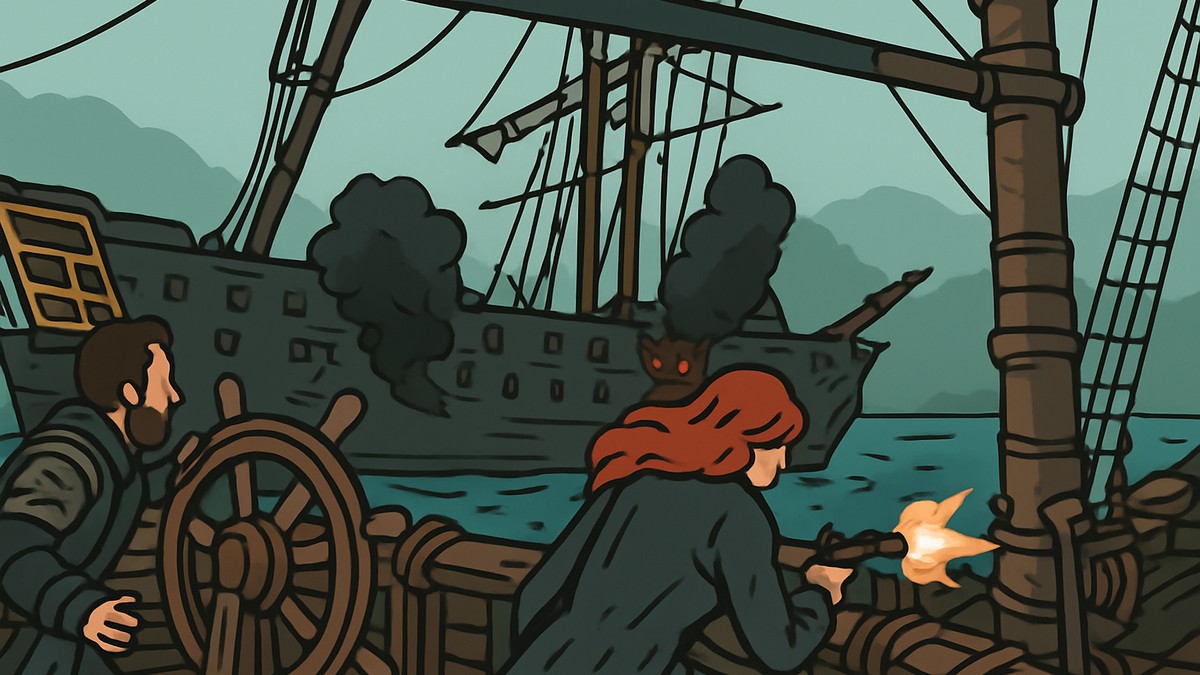
You can board the Royal Fortune without stopping for major Jackdaw upgrades by letting the other ships damage it, using the starting canal and islands as safe zones, saving mortars for clean shots, and boarding smaller disabled ships for repairs and mortar ammo before finishing Roberts’ ship.
Royal Misfortune can feel brutal if you enter it with an under-upgraded Jackdaw, because the Royal Fortune has a huge health pool and the open-water fight quickly becomes chaotic. The slower low-upgrade route is to stop forcing a straight duel, let the surrounding ships do a large chunk of the work, and turn the starting canal into your reset point whenever Roberts’ ship turns on you.
This is not the fastest intended way to clear Sequence 12, Memory 02. Upgrading the Jackdaw is still easier, but if you are already stuck inside the mission or refusing to leave for upgrades, this method gives you a patient way to survive long enough to board.
- Royal Misfortune low-upgrade setup
- Royal Fortune battle plan
- Low-upgrade Royal Fortune boarding route
- How to board the Royal Fortune with a low-upgrade Jackdaw in Assassin’s Creed IV: Black Flag
- Using smaller ships as repair and mortar pickups
- Finishing the Royal Fortune without sinking it
- Reaching Bartholomew Roberts after boarding
- Optional pre-boarding captain trick
- Royal Fortune mistakes that ruin the attempt
- Frequently Asked Questions
Royal Misfortune low-upgrade setup
| Detail | Value |
|---|---|
| Mission | Royal Misfortune |
| Sequence and memory | Sequence 12, Memory 02 |
| Main target | Bartholomew Roberts |
| Ship to board | Royal Fortune |
| Your ship | Jackdaw |
| Why it works | Other ships damage the Royal Fortune while the canal gives you space to reset aggro. |
| Main drawback | It is slow and can take around 20 to 25 minutes. |
The fight starts after the chase on Principe, when Bartholomew Roberts reaches the Royal Fortune and Edward takes the wheel of the Jackdaw. The method below is for a very lightly upgraded Jackdaw; one showcased clear used about three or four upgrades, so treat a literal zero-upgrade clear as a stricter challenge version of the same survival loop.
If you can leave the mission and buy ship upgrades, that remains the cleaner answer. If you cannot, the workable plan is to use distance, terrain, neutral ship damage, and captured repair ships instead of trying to outgun the Royal Fortune directly.
Royal Fortune battle plan
| Phase | What |
|---|---|
| Opening chase | Use the front cannons as much as possible before the fight reaches open water. |
| Barrel trail | Dodge the Royal Fortune’s dropped barrels so you do not lose free health early. |
| Open-water pause | Stop near the canal mouth and let the other ships attack Roberts’ ship. |
| Aggro reset | When the Royal Fortune turns toward you, retreat into the starting canal and drop barrels behind you. |
| Mortar use | Fire mortars only when the shot is clean and the smaller ships are not in the blast. |
| Repair setup | Disable smaller ships later, then keep them available as repair and mortar pickups. |
| Final push | Use replenished mortars from range, cripple the Royal Fortune, then move alongside for boarding. |
KEY!The whole route is a loop: wait, let the fight happen away from you, punish the Royal Fortune when it is safe, and retreat when it commits to chasing you. Do not turn the neutral ships hostile early, because they are the reason this method works.
Low-upgrade Royal Fortune boarding route
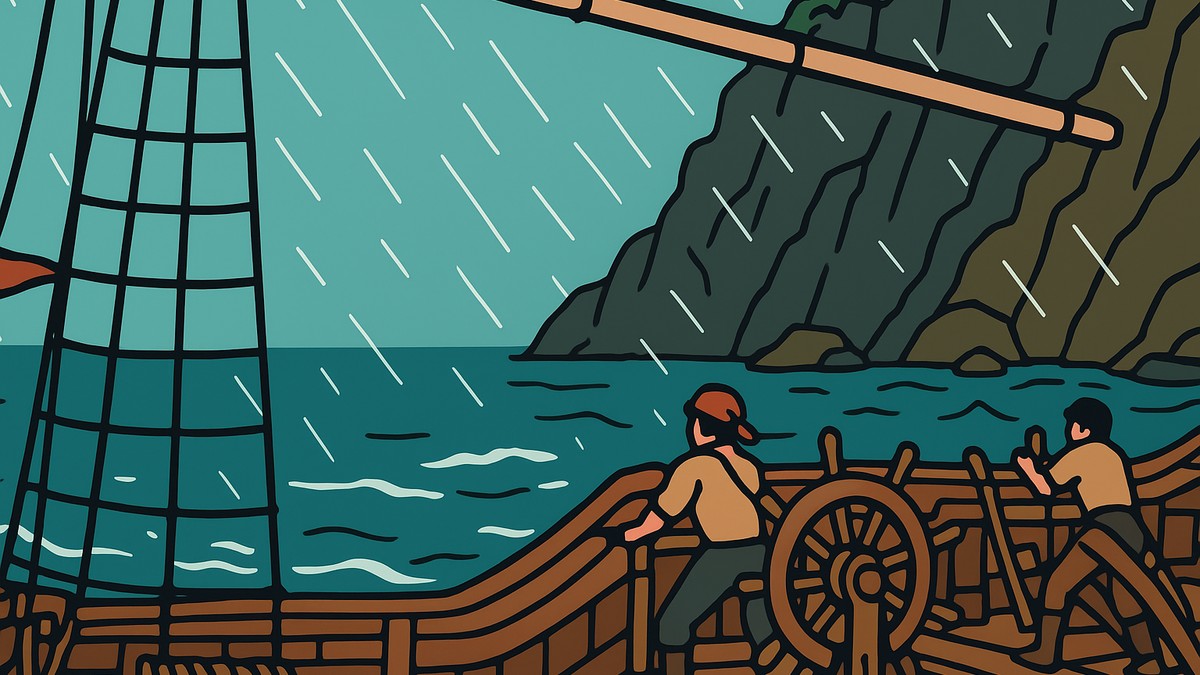
How to board the Royal Fortune with a low-upgrade Jackdaw in Assassin’s Creed IV: Black Flag
This route uses the starting canal as a safe zone, turns the surrounding ships into free damage, and saves disabled vessels for repairs before the final boarding push.
STEP 1/22
Hit the Royal Fortune with front cannons
At the start, use every safe front-cannon shot to shave off as much health as possible before the chase reaches open water.
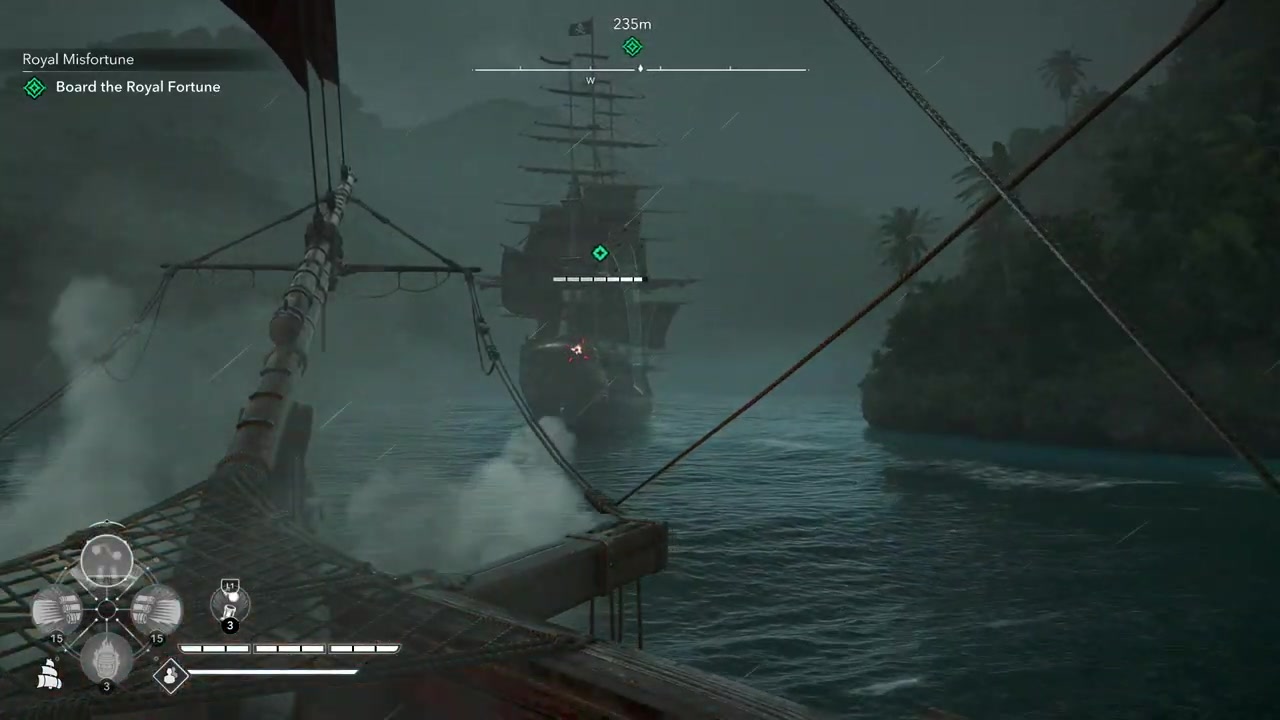
STEP 2/22
Avoid the barrel trail
As the Royal Fortune heads out, steer away from the dropped barrels because early damage makes the later survival loop harder.
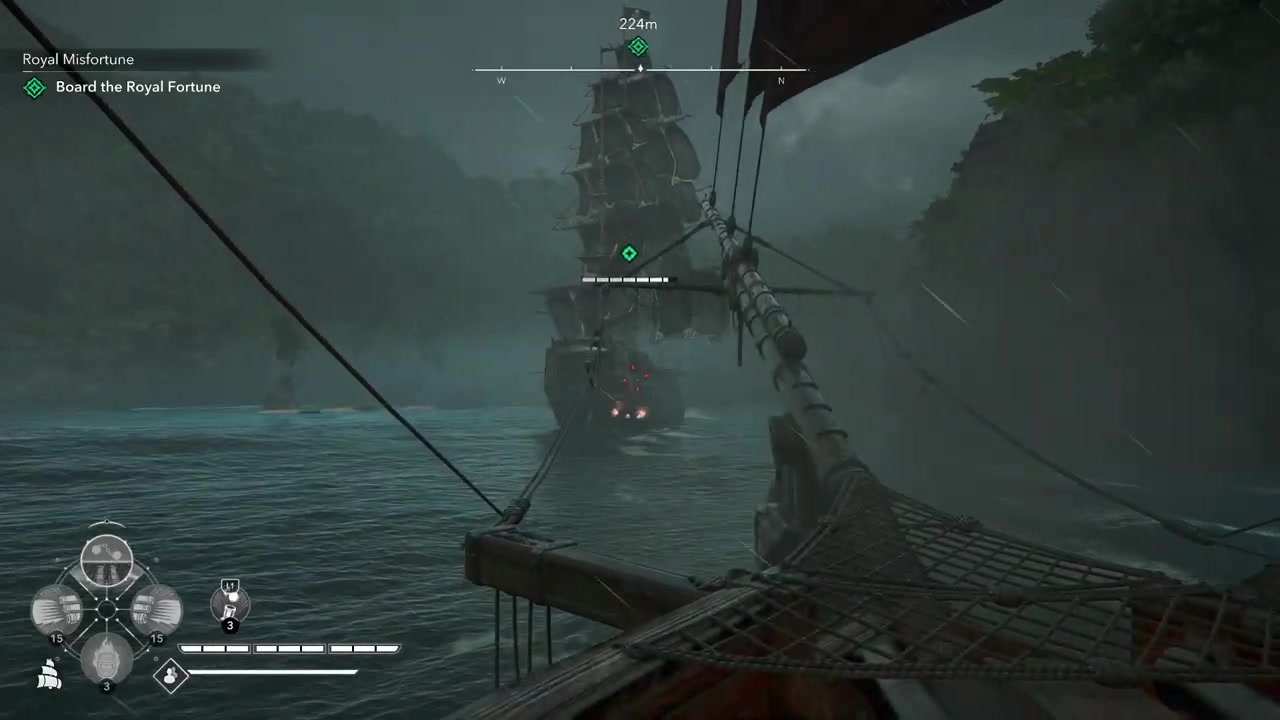
STEP 3/22
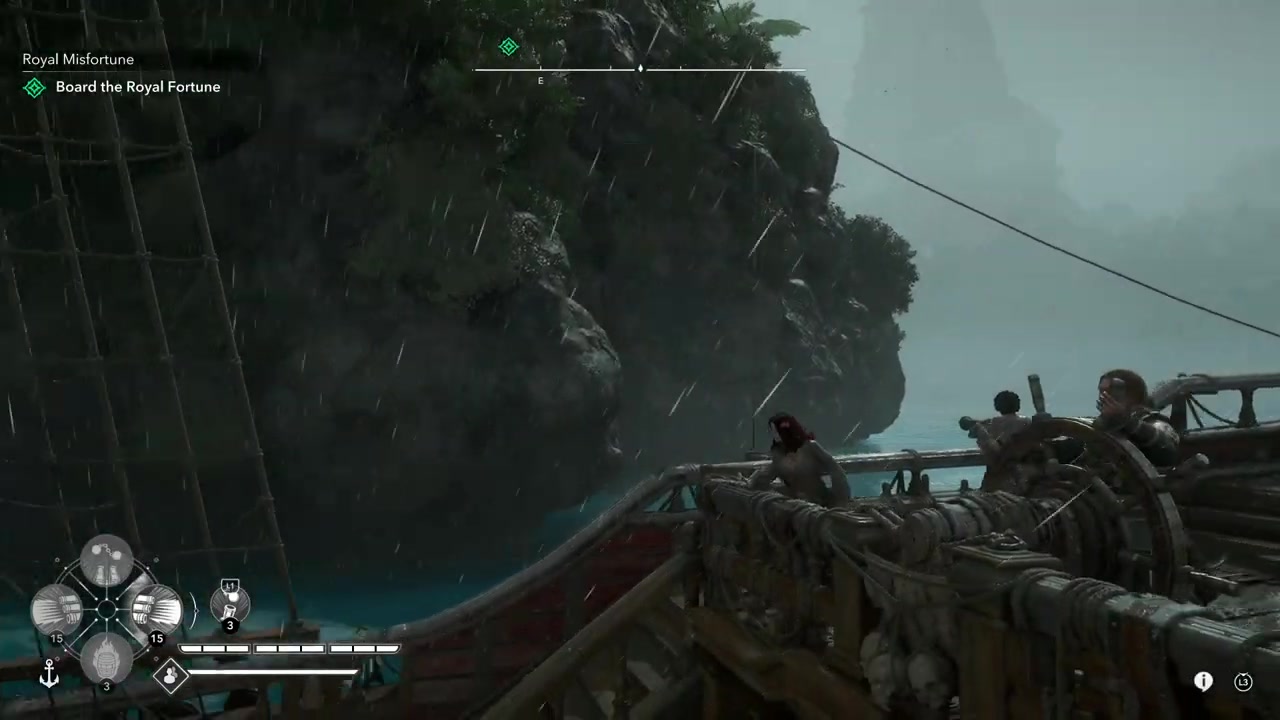
Stop near the canal mouth
When the fight opens up, drop your sails near the turn instead of charging into the middle of the ships.
STEP 4/22
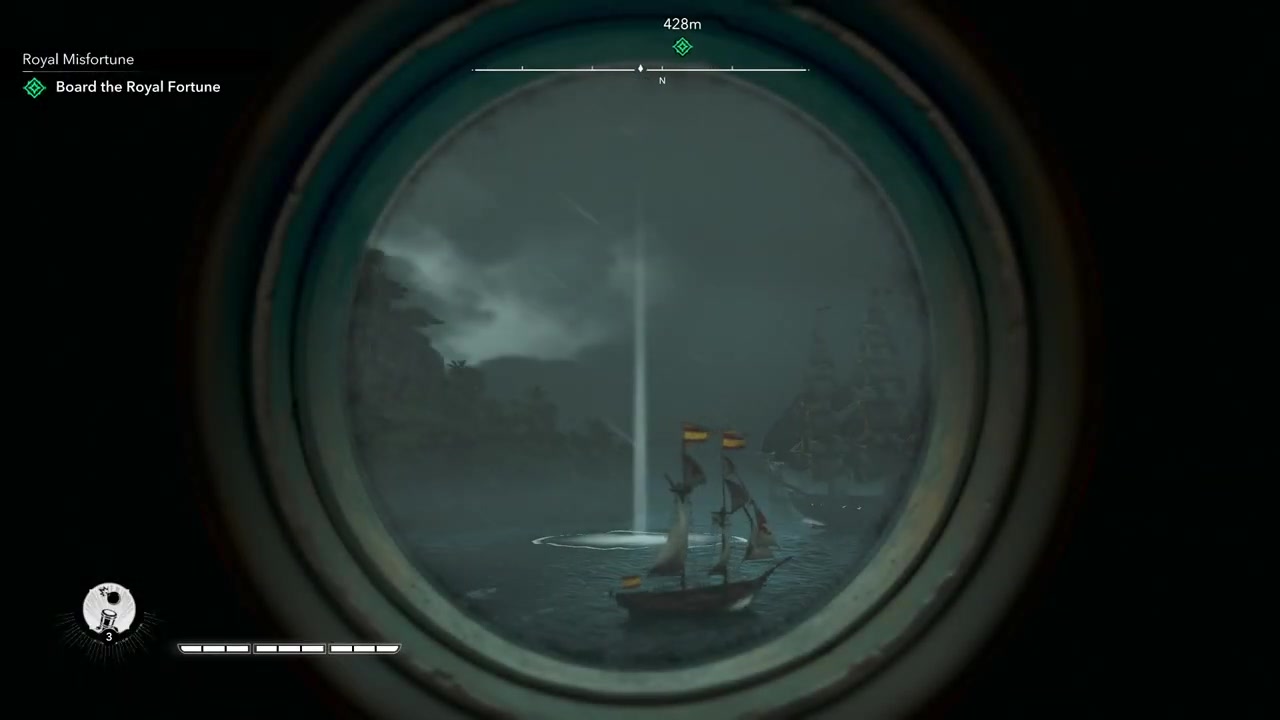
Check the fight without firing mortars
Use the spyglass or mortar view to watch the ships, but save your mortar ammo for cleaner shots later.
STEP 5/22
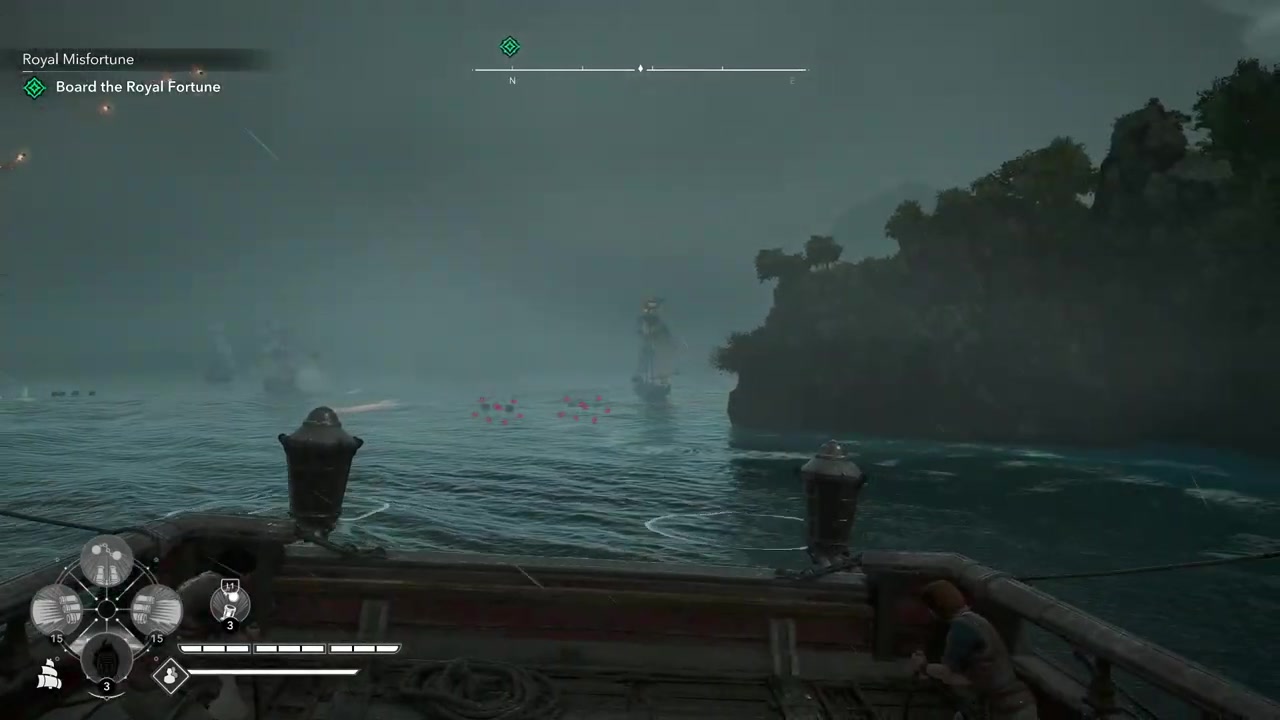
Retreat when the Royal Fortune turns on you
If Roberts’ ship starts coming for the Jackdaw, turn back toward the same canal where the mission began.
STEP 6/22
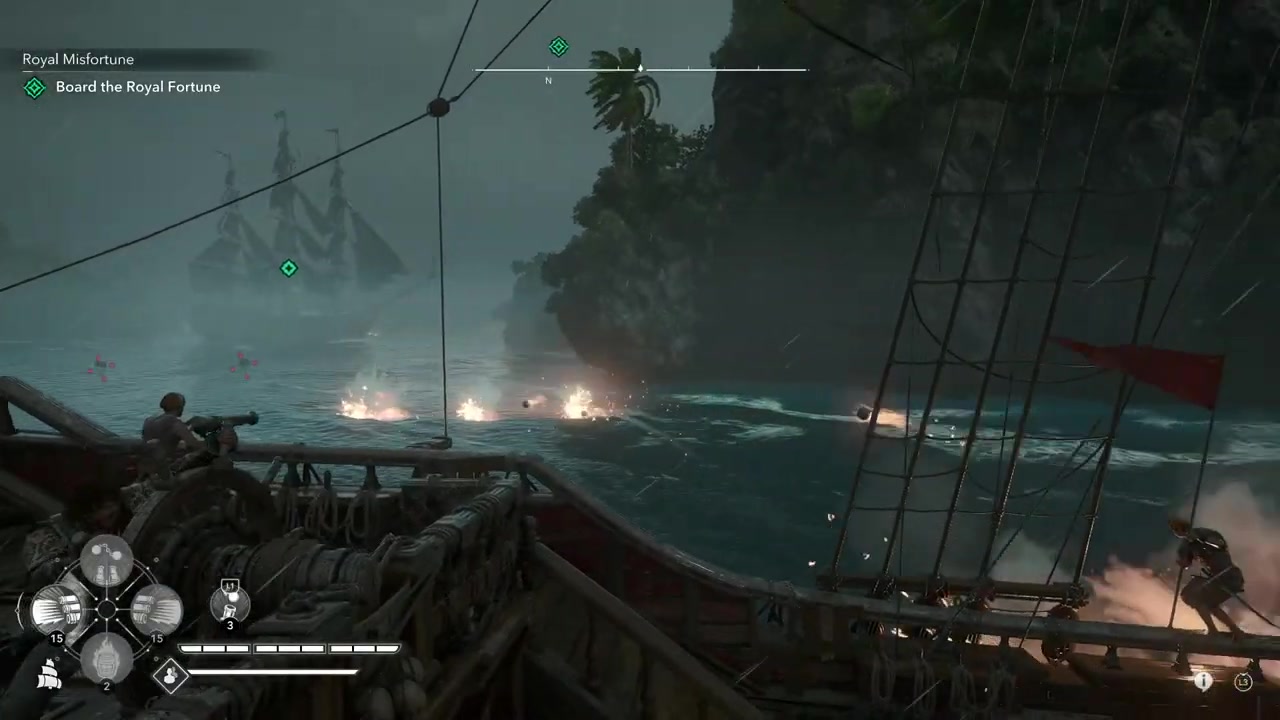
Drop rear barrels while escaping
Sail down the canal and leave barrels behind you to slow or deter pursuit while the island blocks pressure from open water.
STEP 7/22
Wait behind the island barrier
Stay in the safe area and let the smaller ships continue damaging the Royal Fortune while you avoid direct fire.
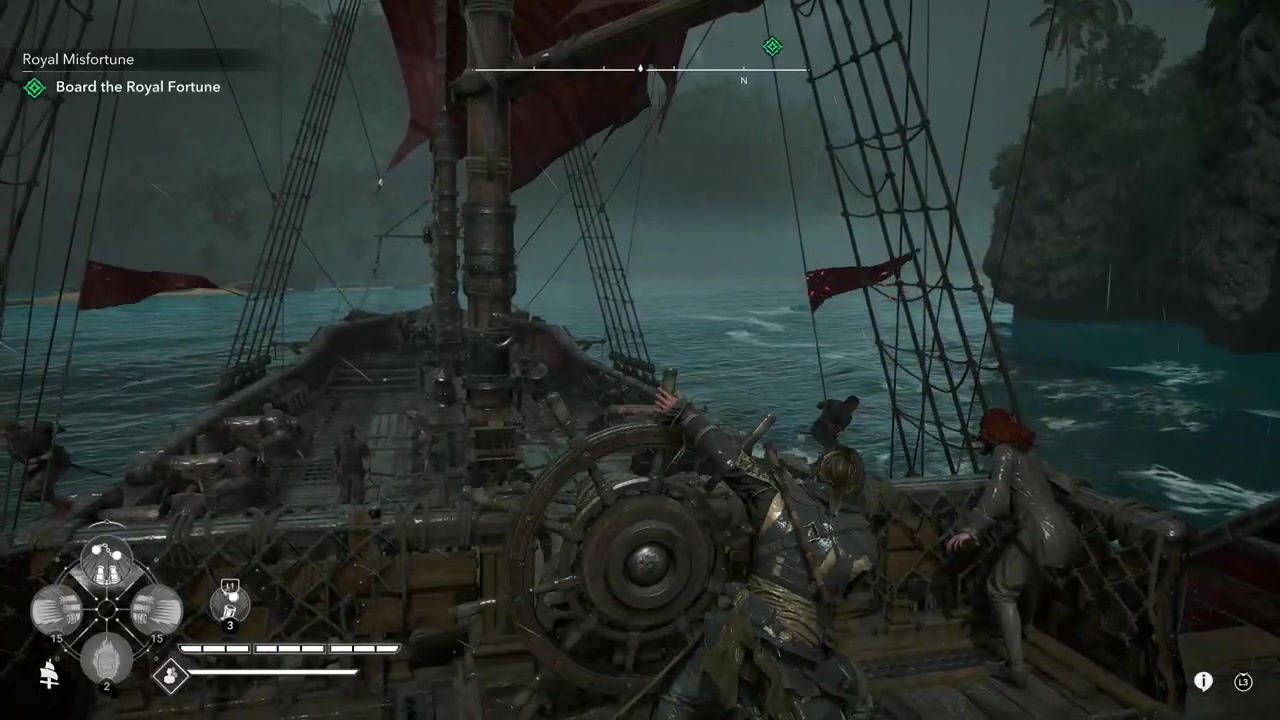
STEP 8/22
Let the ships reach their farthest point
After roughly two minutes, the enemy group should be farther out, giving you more room to re-enter safely.
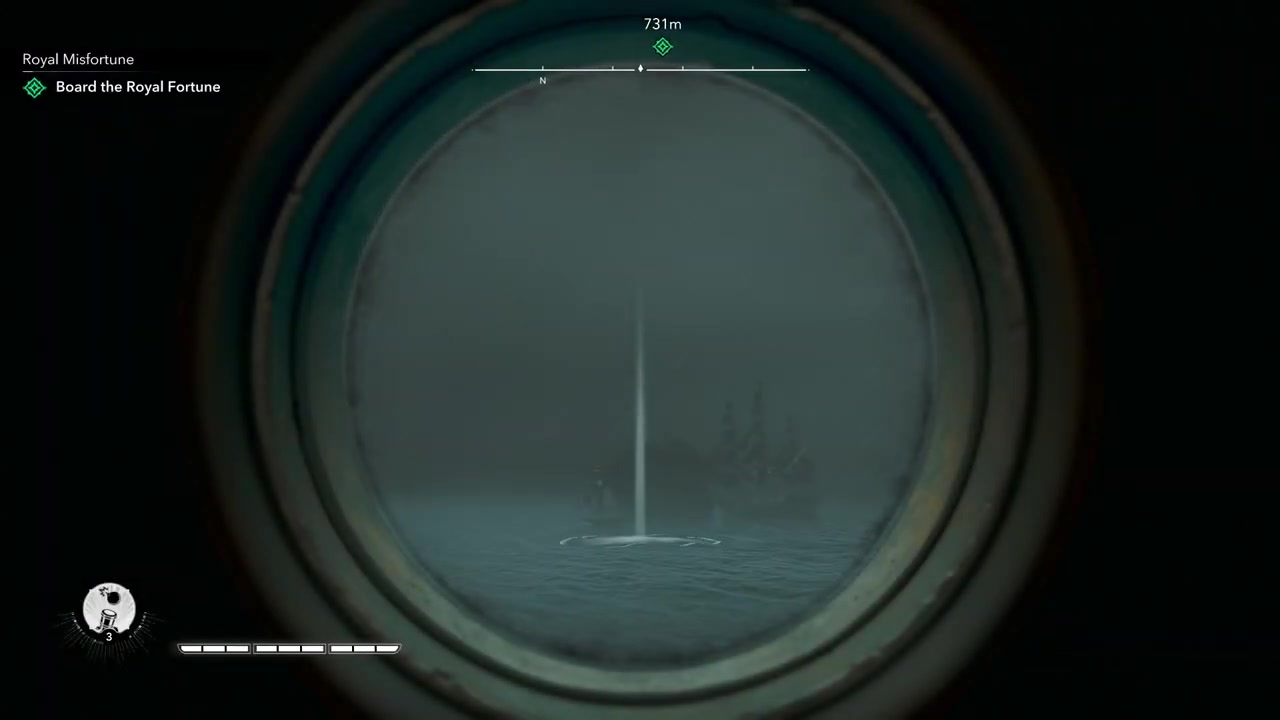
STEP 9/22
Fire a mortar only from clean range
Use a mortar when the Royal Fortune is far enough away and the shot will land without wasting ammo.
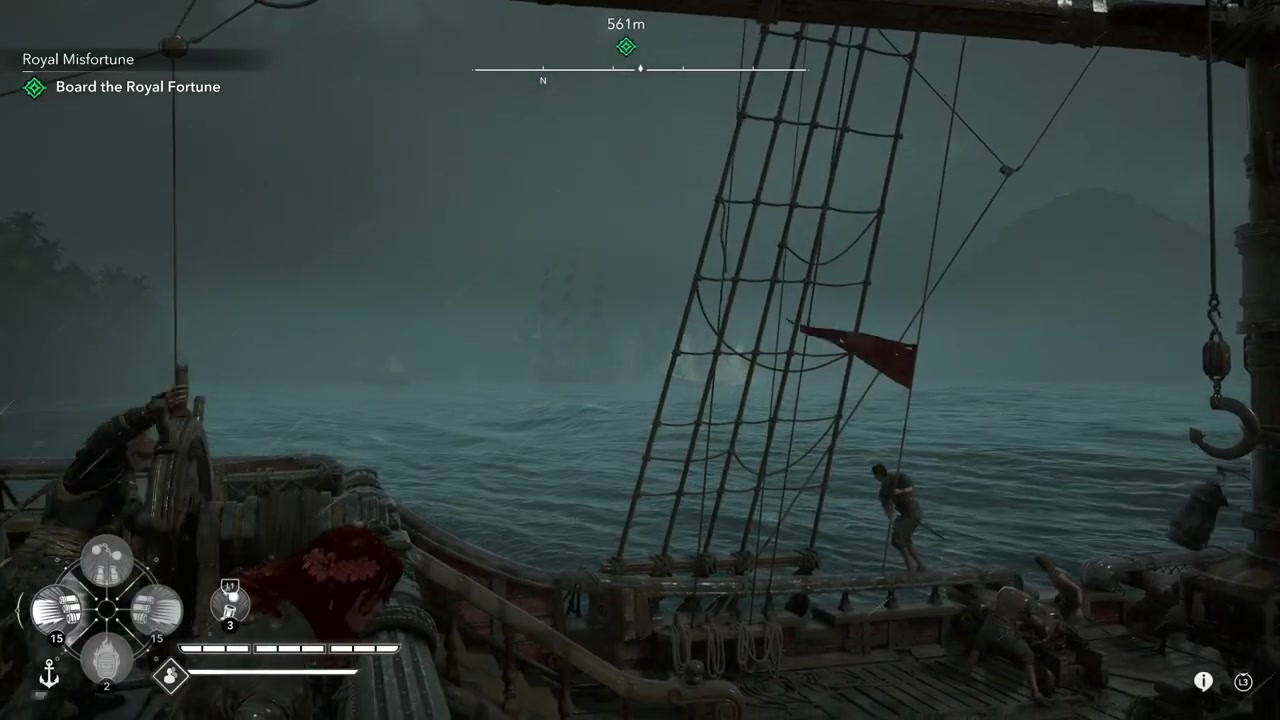
STEP 10/22
Reset through the canal again
Any time the Royal Fortune chases you, head back down the starting canal instead of fighting it in open water.
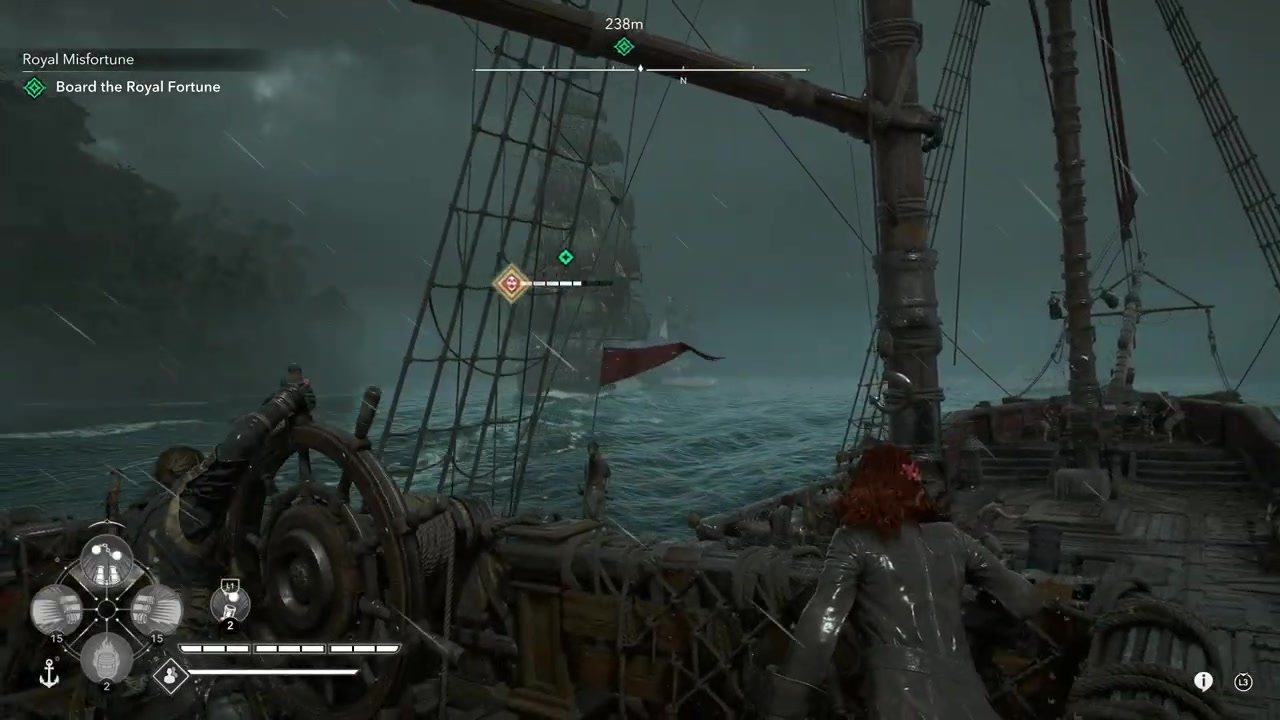
STEP 11/22
Use mortars during a clear chase angle
If the Royal Fortune lines up cleanly behind you, spend mortar shots carefully and make each one count.
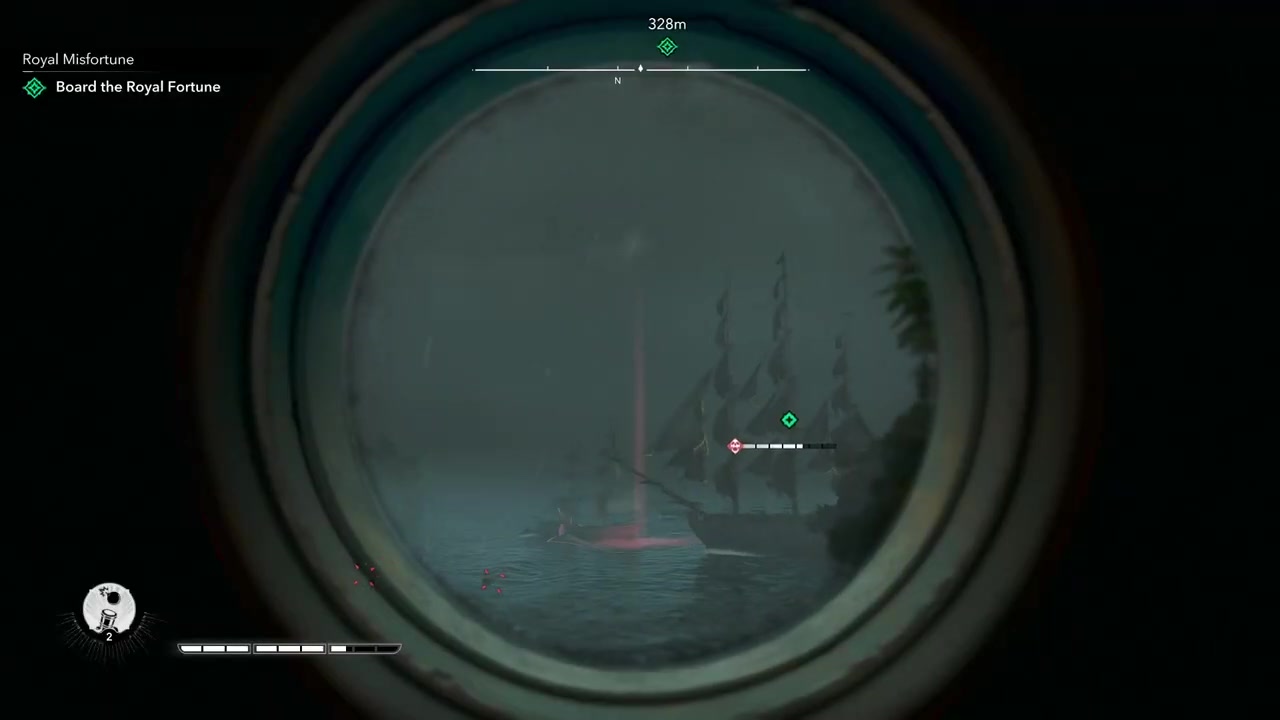
STEP 12/22
Confirm your safe-zone position on the map
The canal near the mission start is your reset route, and the nearby islands create the terrain break you keep reusing.
STEP 13/22
Mark the Royal Fortune with the spyglass
Tag Roberts’ ship so you can track its position and health through terrain while the other ships keep fighting it.
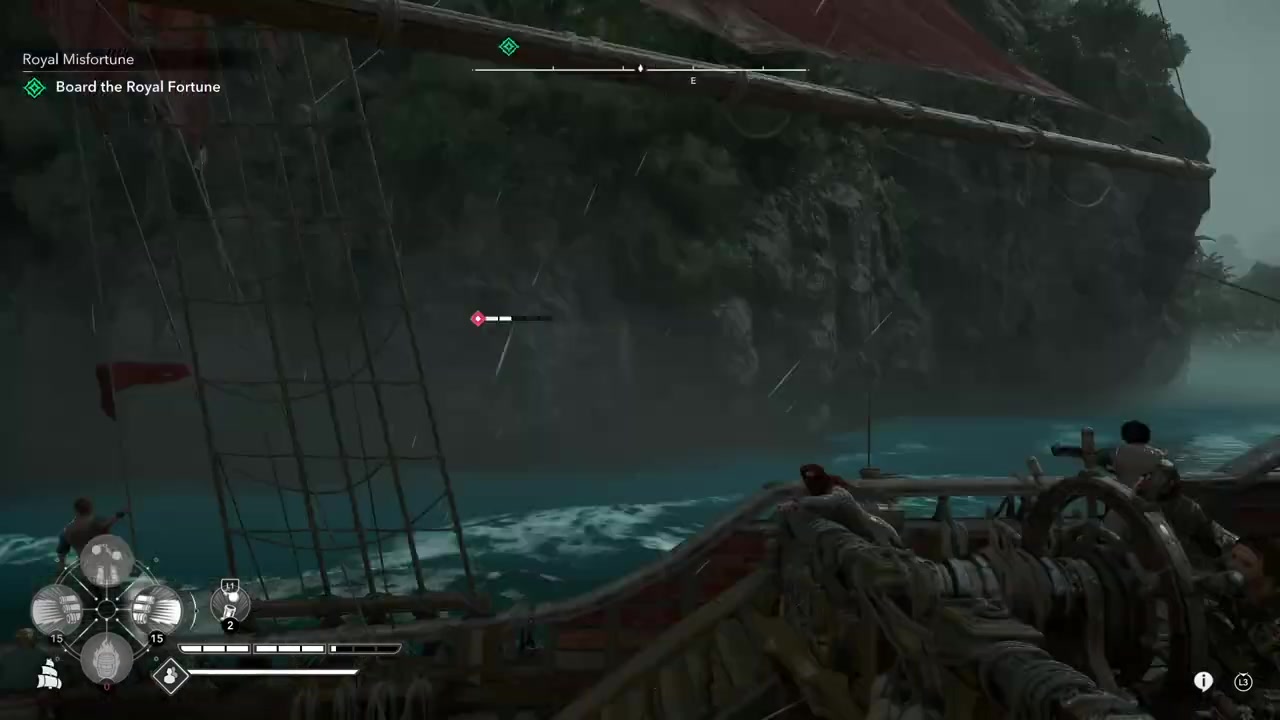
STEP 14/22
Repeat the canal loop when aggro returns
Keep moving back and forth between open water and the canal whenever the Royal Fortune locks onto you.
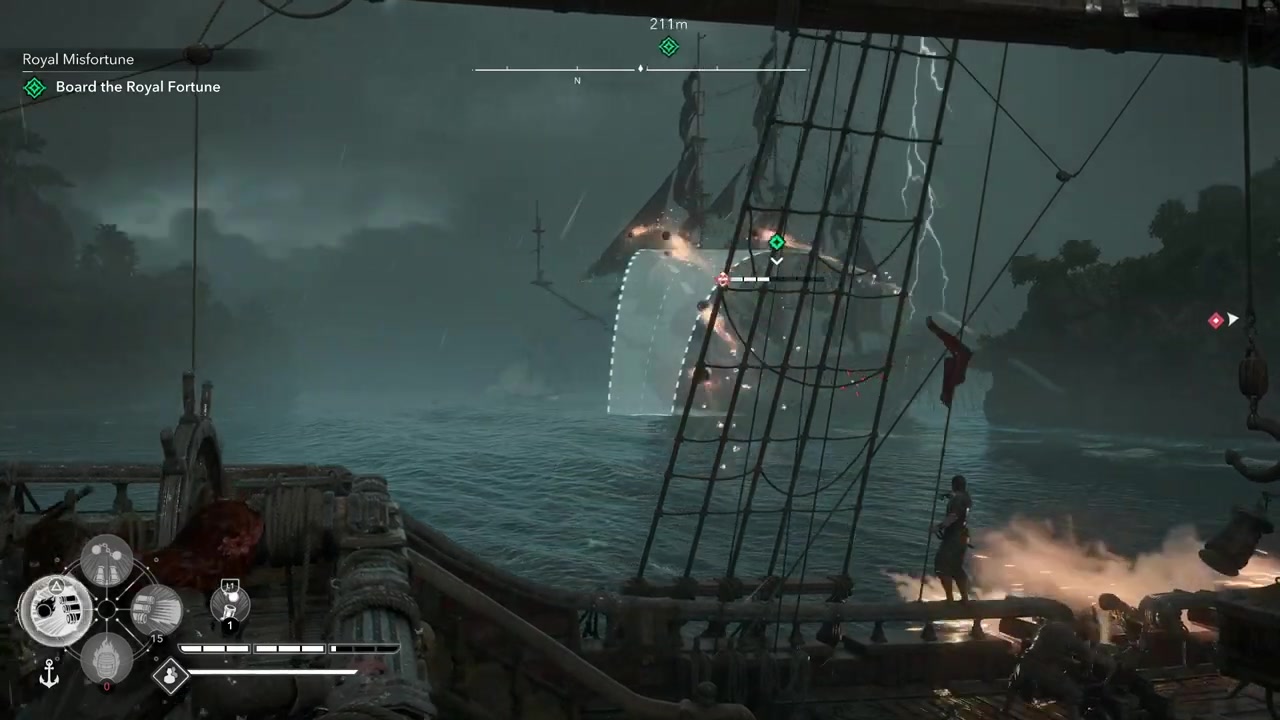
STEP 15/22
Circle the island if the Royal Fortune gets stuck
If Roberts’ ship hangs up in the trench, go around the island to reach the smaller ships without taking a head-on fight.
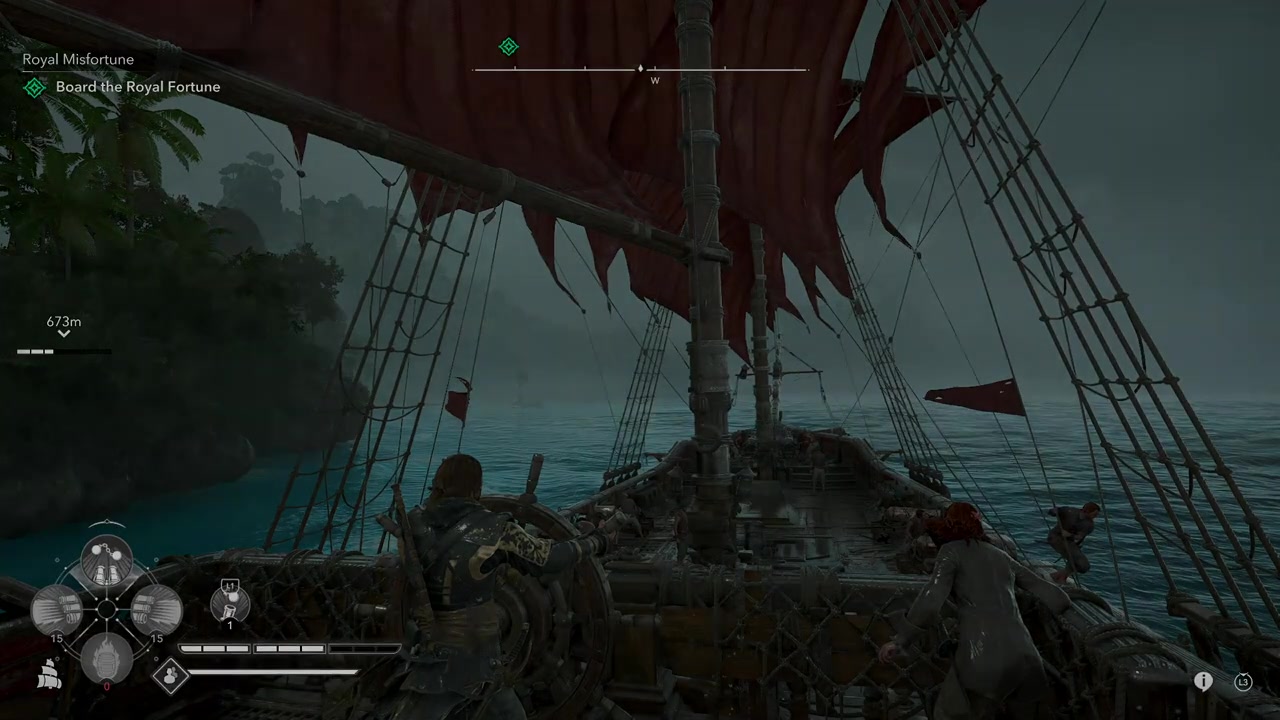
STEP 16/22
Fight the remaining smaller ships one at a time
With the Royal Fortune delayed or blocked, isolate the smaller ships and damage them safely.
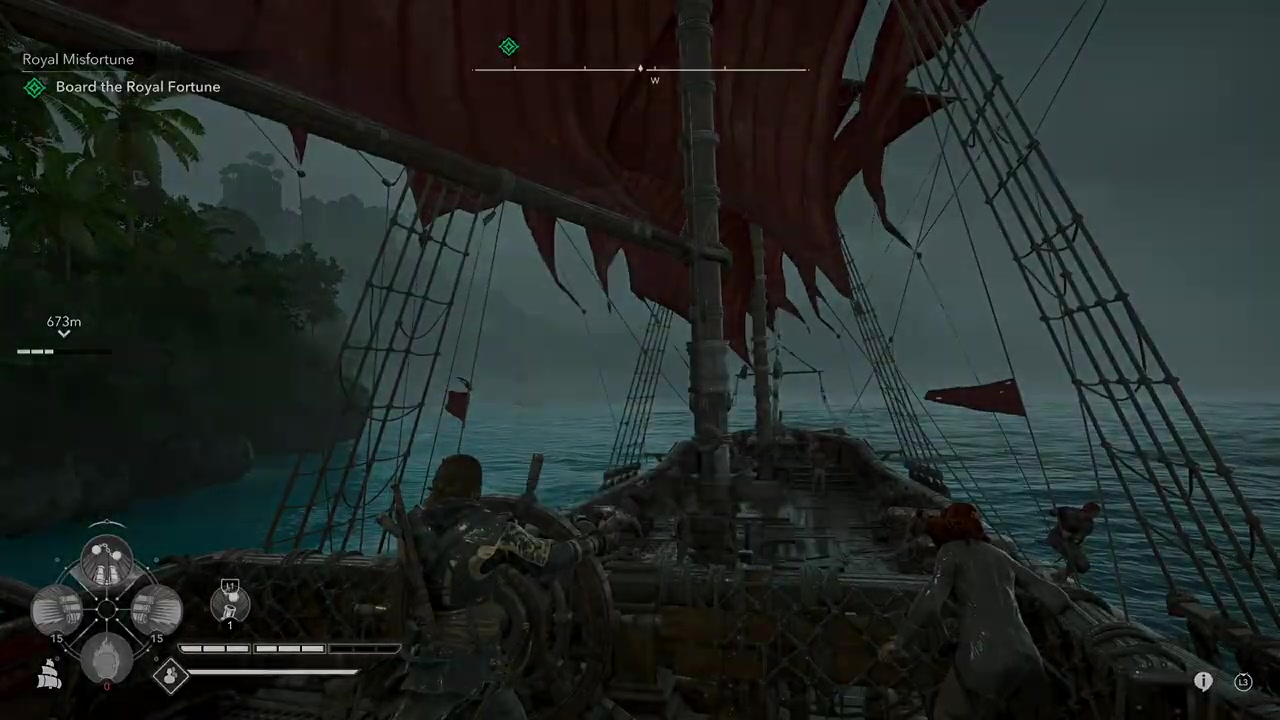
STEP 17/22
Disable the smaller ships without boarding yet
When the anchor icons appear, leave the disabled ships waiting instead of boarding immediately.
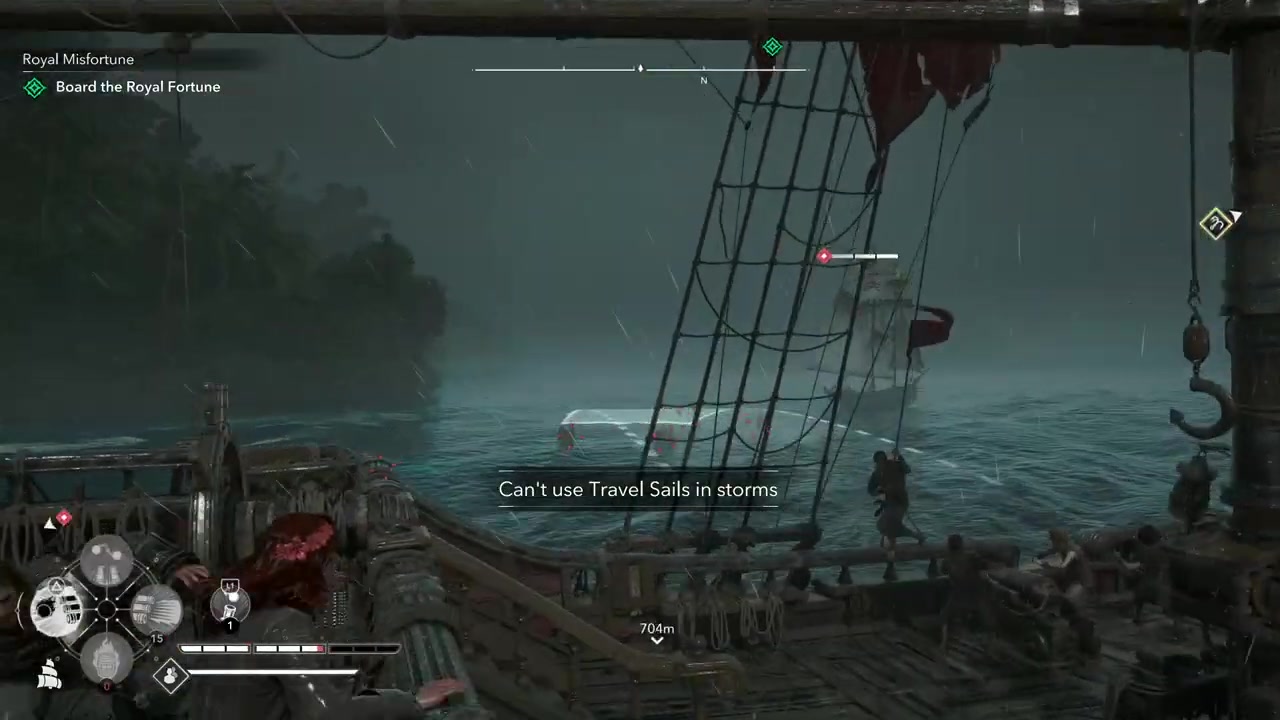
STEP 18/22
Board a disabled ship for repairs
Once the Royal Fortune is far enough away, board a smaller ship and choose the repair option to restore Jackdaw health.
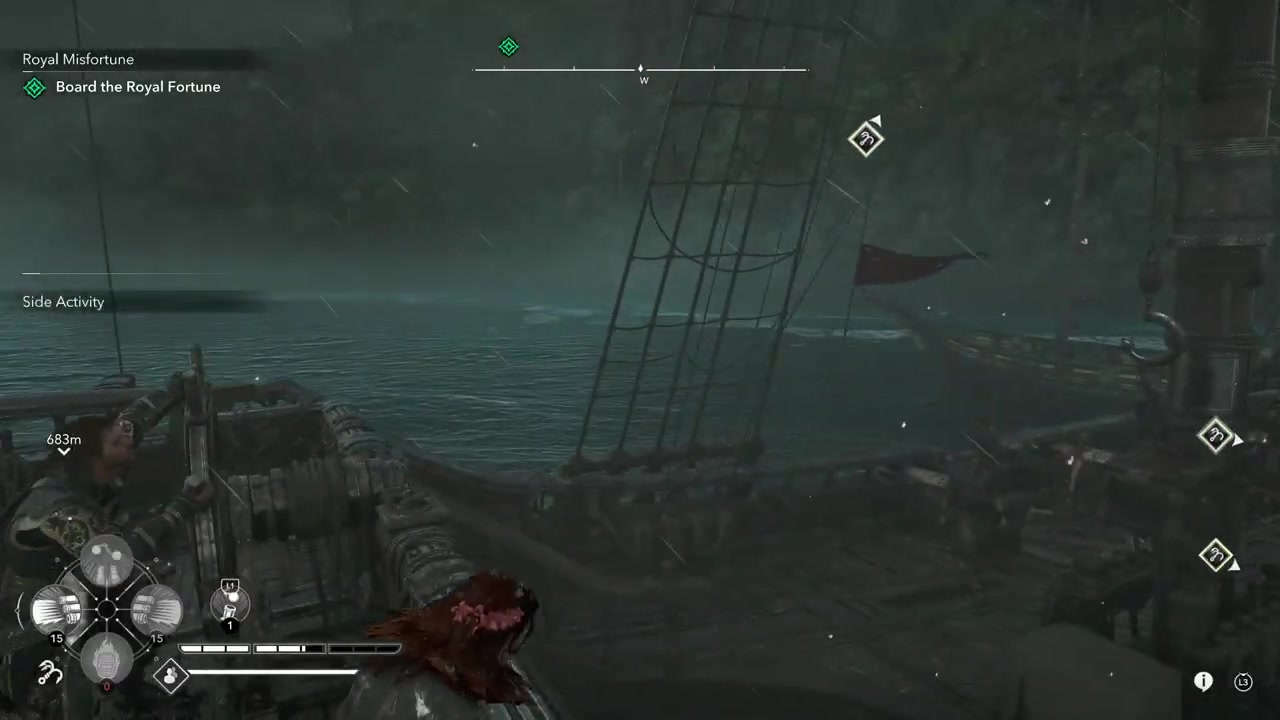
STEP 19/22
Refill mortar ammo from the boarded ship
Capturing a smaller vessel can also give you mortars, letting you return to the Royal Fortune with stronger ranged damage.
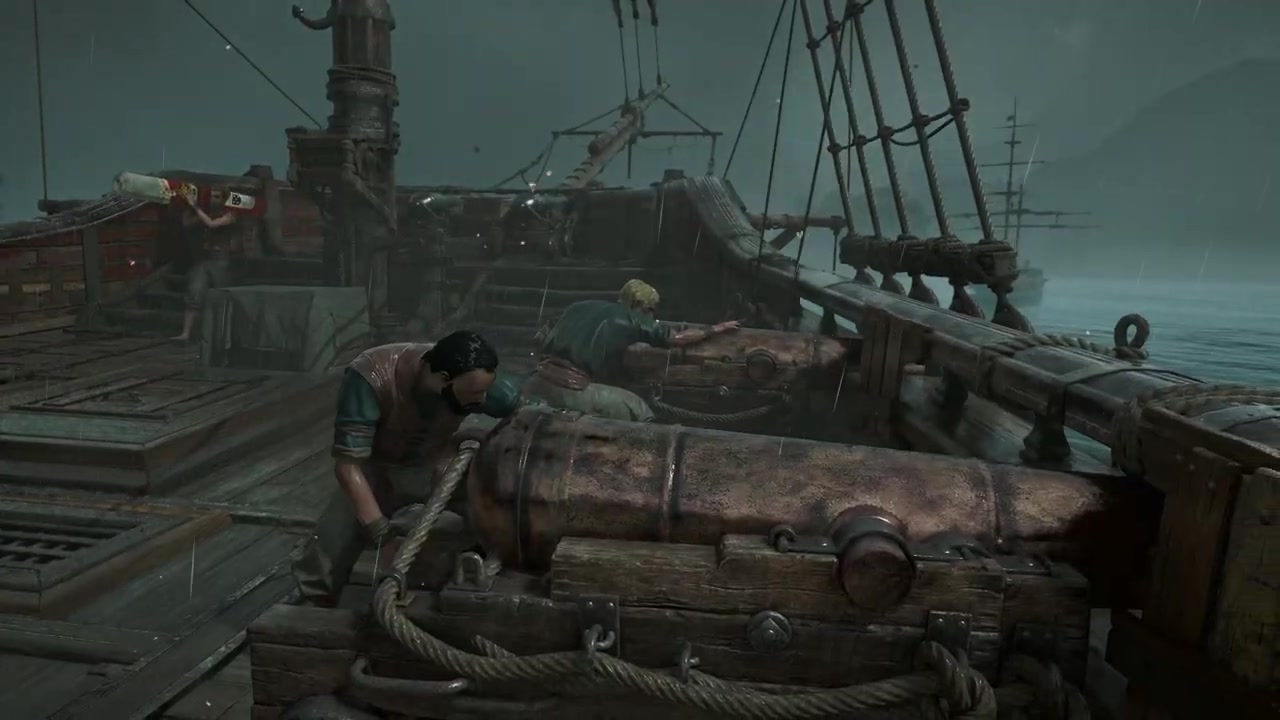
STEP 20/22
Re-engage the Royal Fortune from distance
With health and mortars restored, go back after Roberts’ ship and start landing mortar damage from safer range.
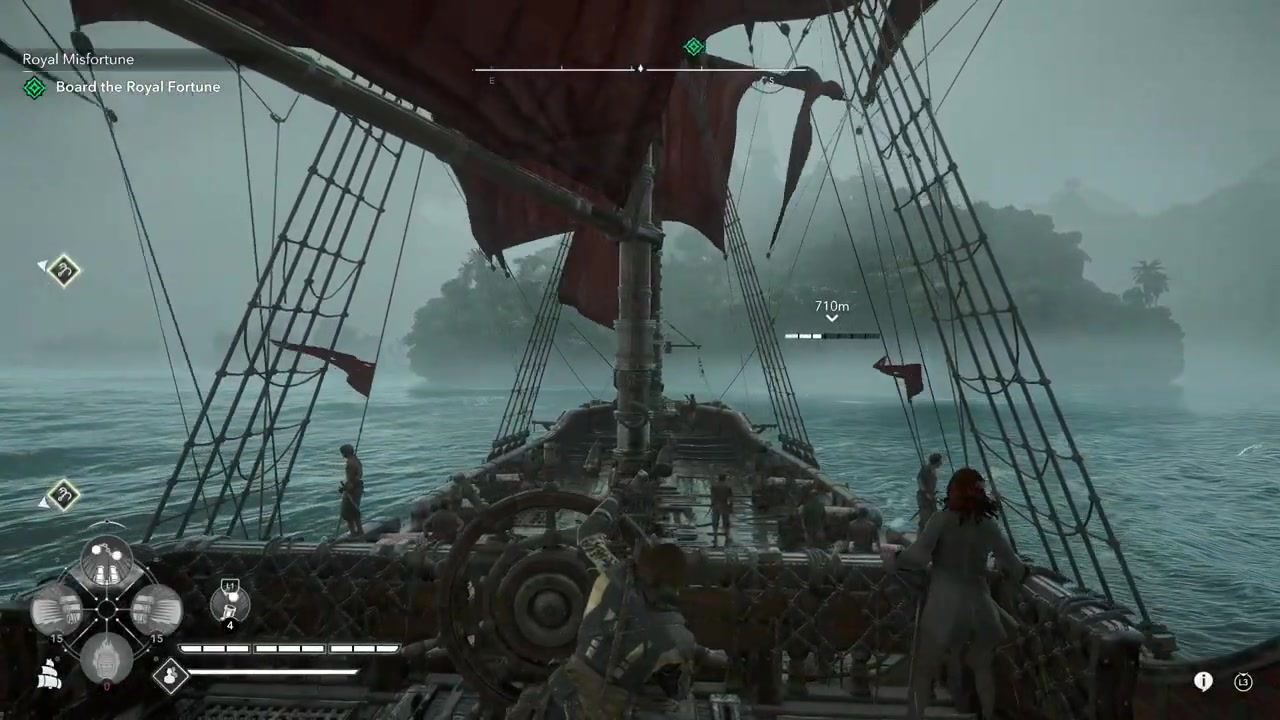
STEP 21/22
Use the repair ships as extra ammo banks
If you want the safest finish, return to another disabled ship for more mortars instead of trading broadsides.
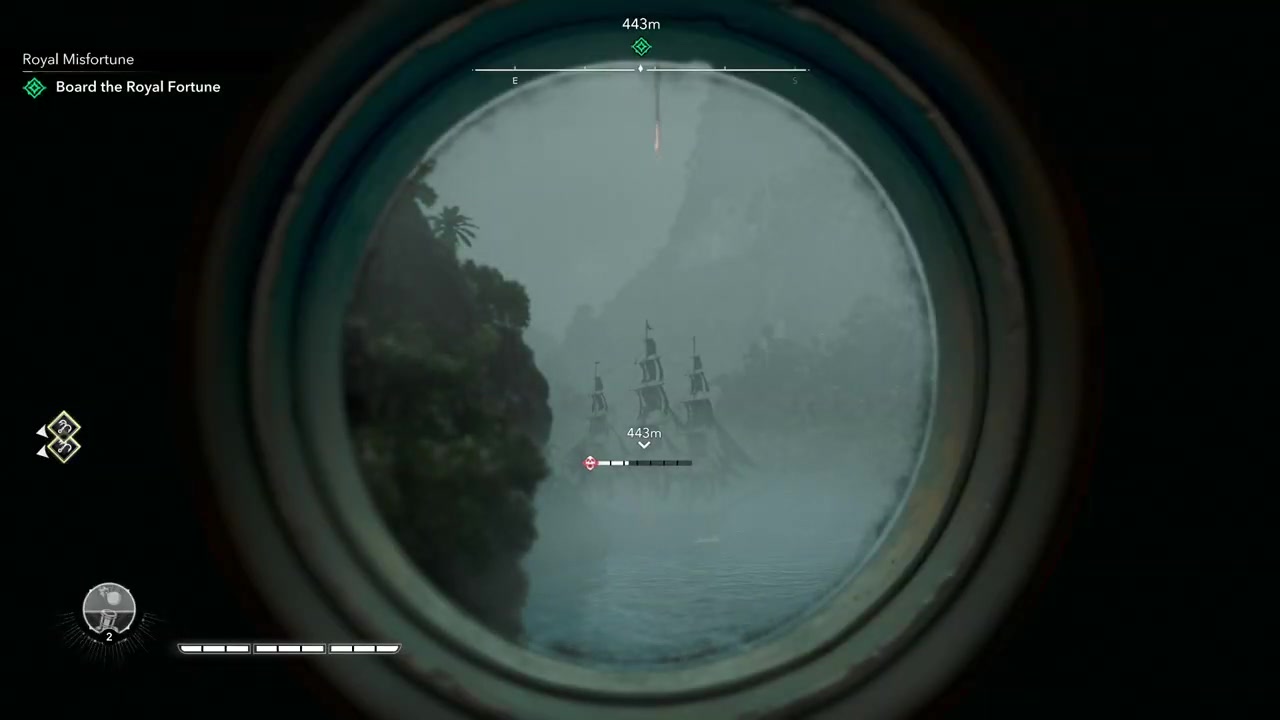
STEP 22/22
Move in when the boarding prompt appears
Once the Royal Fortune is crippled, pull alongside and trigger boarding rather than sinking it outright.
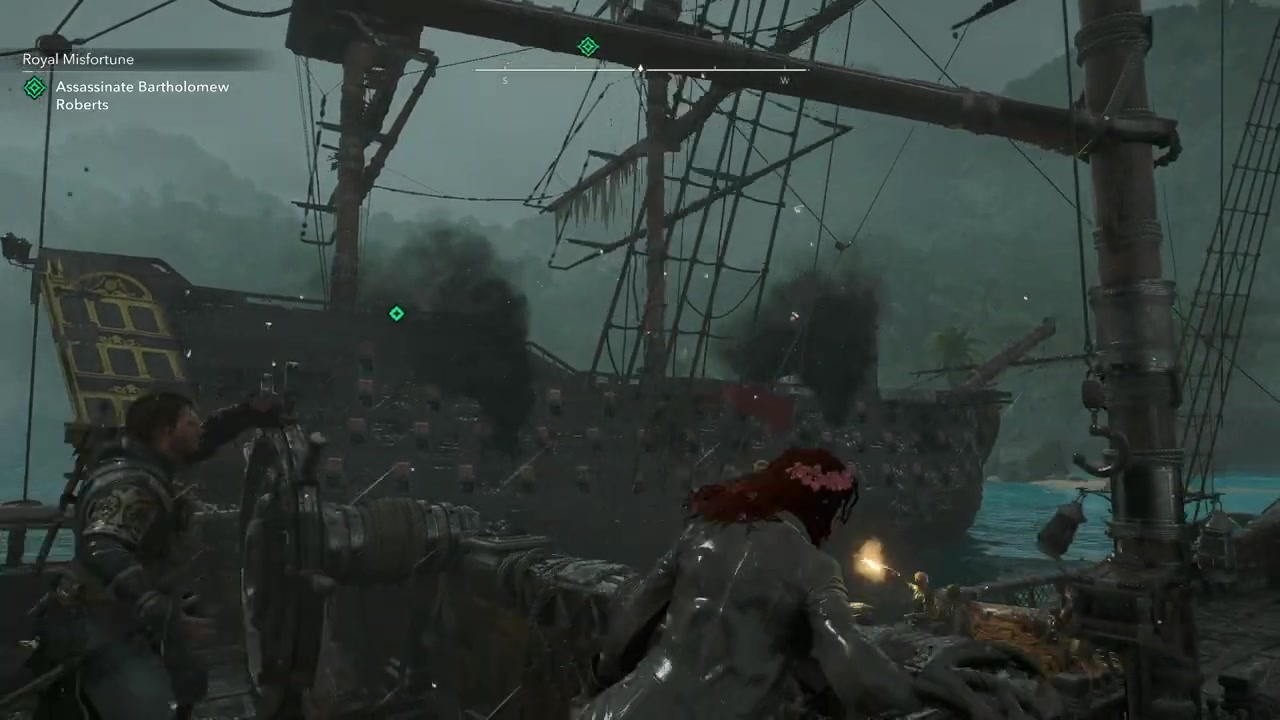
Using smaller ships as repair and mortar pickups
The smaller ships are not just background chaos. Early in the battle, they are your damage engine: as long as you avoid hitting them, they focus on the Royal Fortune and can take a full bar or more off its health before you commit to the dangerous part of the fight.
Later, once the Royal Fortune is spread away from them or blocked by terrain, those same ships become stored recovery points. Disable them until the anchor icon appears, but do not board them while Roberts’ ship is still close enough to punish you.
Boarding a disabled smaller ship lets you repair the Jackdaw, restoring badly needed health. It can also refill mortar ammo, which is what turns the final phase from a desperate broadside duel into a safer ranged finish.
Leave disabled smaller ships floating until you actually need them; they are your emergency health and mortar stockpile for the Royal Fortune’s last health bars.
Finishing the Royal Fortune without sinking it
The end of the fight is about controlled damage, not one reckless final exchange.
STEP 1/5
Use replenished mortars first
Fire from range after repairing and refilling from a smaller ship.
STEP 2/5
Reset if Roberts turns toward you
If the Royal Fortune starts chasing again, return to the canal and wait for it to lose pressure.
STEP 3/5
Repeat the ammo loop if needed
Board another disabled ship for more repairs or mortars before committing to the final hits.
STEP 4/5
Stop at the crippled state
Do not keep blasting once the Royal Fortune is disabled and ready to board.
STEP 5/5
Pull alongside for the prompt
Move next to the Royal Fortune and start boarding when the on-screen boarding prompt appears.
The Royal Fortune is ready when it is crippled, not when it is destroyed. If you over-damage it, you risk sinking the target instead of triggering the boarding sequence, so slow down once its health is nearly gone and position the Jackdaw alongside.
Reaching Bartholomew Roberts after boarding
Once boarding begins, the fastest route is above the deck fight, not through it.
STEP 1/5
Leave the wheel
After boarding starts, stop steering the Jackdaw and move onto the deck.
STEP 2/5
Use the Jackdaw lift
Sprint to the lift marked by the white sheet and ride it up to the mast platform.
STEP 3/5
Cross when the ships align
Wait for the yardarms to line up, then jump from the Jackdaw’s mast route toward the Royal Fortune.
STEP 4/5
Find Roberts with Eagle Vision
Use Eagle Vision from above to pick out Bartholomew Roberts on the enemy ship.
STEP 5/5
<
p class=”vg-step-title” id=”use-the-rope-dart-for-full-synchronization” style=”margin:16px 0 6px”>Use the Rope Dart for full synchronization
From the mast route, target Roberts with the Rope Dart and hang him if you are pursuing full synchronization.
The Rope Dart hanging is tied to the clean full-sync route, while some mission clears treat it as the intended Roberts kill method. Either way, using the mast route keeps you from wasting time in a slow deck fight while the objective is waiting above and across.
Video help
Optional pre-boarding captain trick
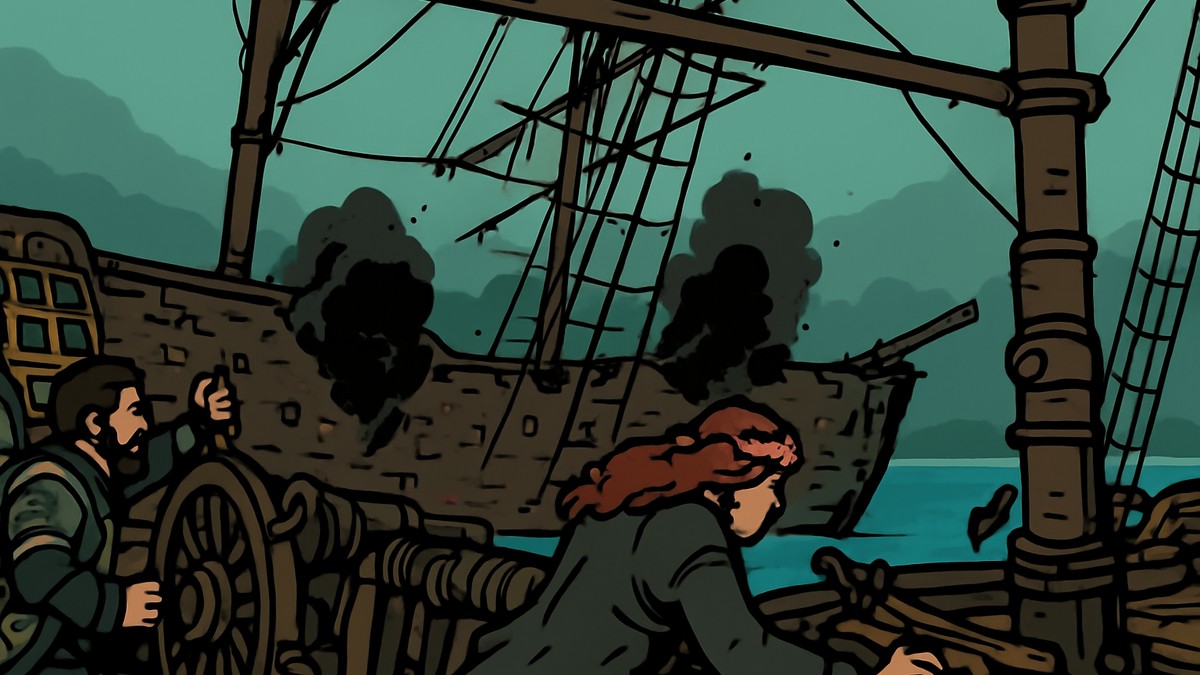
There is also an exploit-style route during the earlier shore chase. Before the invisible barriers fully lock access to the Royal Fortune, Edward can reach the ship from the side, kill the captain at the helm, and return to the Jackdaw before the timer expires.
If the setup works, the Royal Fortune may become boardable after one hit later in the naval phase. Treat this as a separate shortcut from the canal-and-repair strategy, because it depends on beating the mission’s barriers and timing during the chase rather than surviving the open-water battle normally.
Royal Fortune mistakes that ruin the attempt
| Mistake | Fix |
|---|---|
| Hitting the smaller ships early | Leave them alone at first so they keep attacking the Royal Fortune instead of chasing you. |
| Wasting mortars on bad angles | Save mortars for clean shots where the Royal Fortune is clear and in range. |
| Fighting in open water while under-upgraded | Use the starting canal and islands as your repeat safe zone. |
| Boarding repair ships too soon | Disable them first, then board only when you need health or ammo and Roberts’ ship is far enough away. |
| Ignoring the canal reset | Retreat down the canal every time the Royal Fortune commits to chasing you. |
| Sinking the Royal Fortune | Stop heavy damage once it is crippled and move alongside for the boarding prompt. |
| Dragging out the deck fight | Use the lift and mast route to reach Bartholomew Roberts quickly. |
Most failed low-upgrade attempts come from turning the mission into a straight naval duel too early. The Jackdaw is not built to trade hits with the Royal Fortune in open water when it is barely upgraded, so the terrain and neutral ships have to do part of the work.
The other big problem is spending resources before they matter. Mortars, repair ships, and the canal reset are limited advantages; if you waste them, the final two health bars become much harder than they need to be.
Frequently Asked Questions
Can you beat Royal Misfortune with no Jackdaw upgrades?
You can use this low-upgrade strategy to clear Royal Misfortune without leaving for major Jackdaw upgrades, but the showcased version of the route used about three or four upgrades. A true zero-upgrade run is a stricter challenge, and the same canal reset, neutral ship damage, and repair-ship loop are the tools that make it possible.
Should you attack the smaller ships during the Royal Fortune fight?
Not early. Leave the smaller ships alone at first so they stay focused on the Royal Fortune. Attack them later, after Roberts’ ship has been pulled away or blocked by terrain, so you can disable them and turn them into repair and mortar pickups.
Why should you wait before boarding disabled smaller ships?
Disabled smaller ships are stored recovery points. If you board them immediately, you may waste a repair while your health is still fine, or get punished by the Royal Fortune while stuck in the boarding sequence. Wait until you actually need health or mortar ammo.
What should you do if the Royal Fortune keeps chasing you?
Sail back down the same canal where the mission’s naval section began, drop barrels behind you, and keep going until the Royal Fortune loses pressure and turns back toward open water. Sometimes you need to sail deeper into the canal than expected before it resets.
Do you need the Rope Dart to kill Roberts?
The Rope Dart is the clean route for the full synchronization kill on Bartholomew Roberts. After boarding, use the Jackdaw lift, cross the mast route when the ships align, activate Eagle Vision, and hang Roberts from above if you want the full-sync objective.
More questions⤵
What if the boarding objective does not update?
If you board the Royal Fortune and the objective fails to advance, reload the checkpoint and trigger the boarding sequence again. Make sure the ship is properly crippled, move alongside for the prompt, and avoid sinking it with extra damage after it becomes boardable.




Leave a Reply