
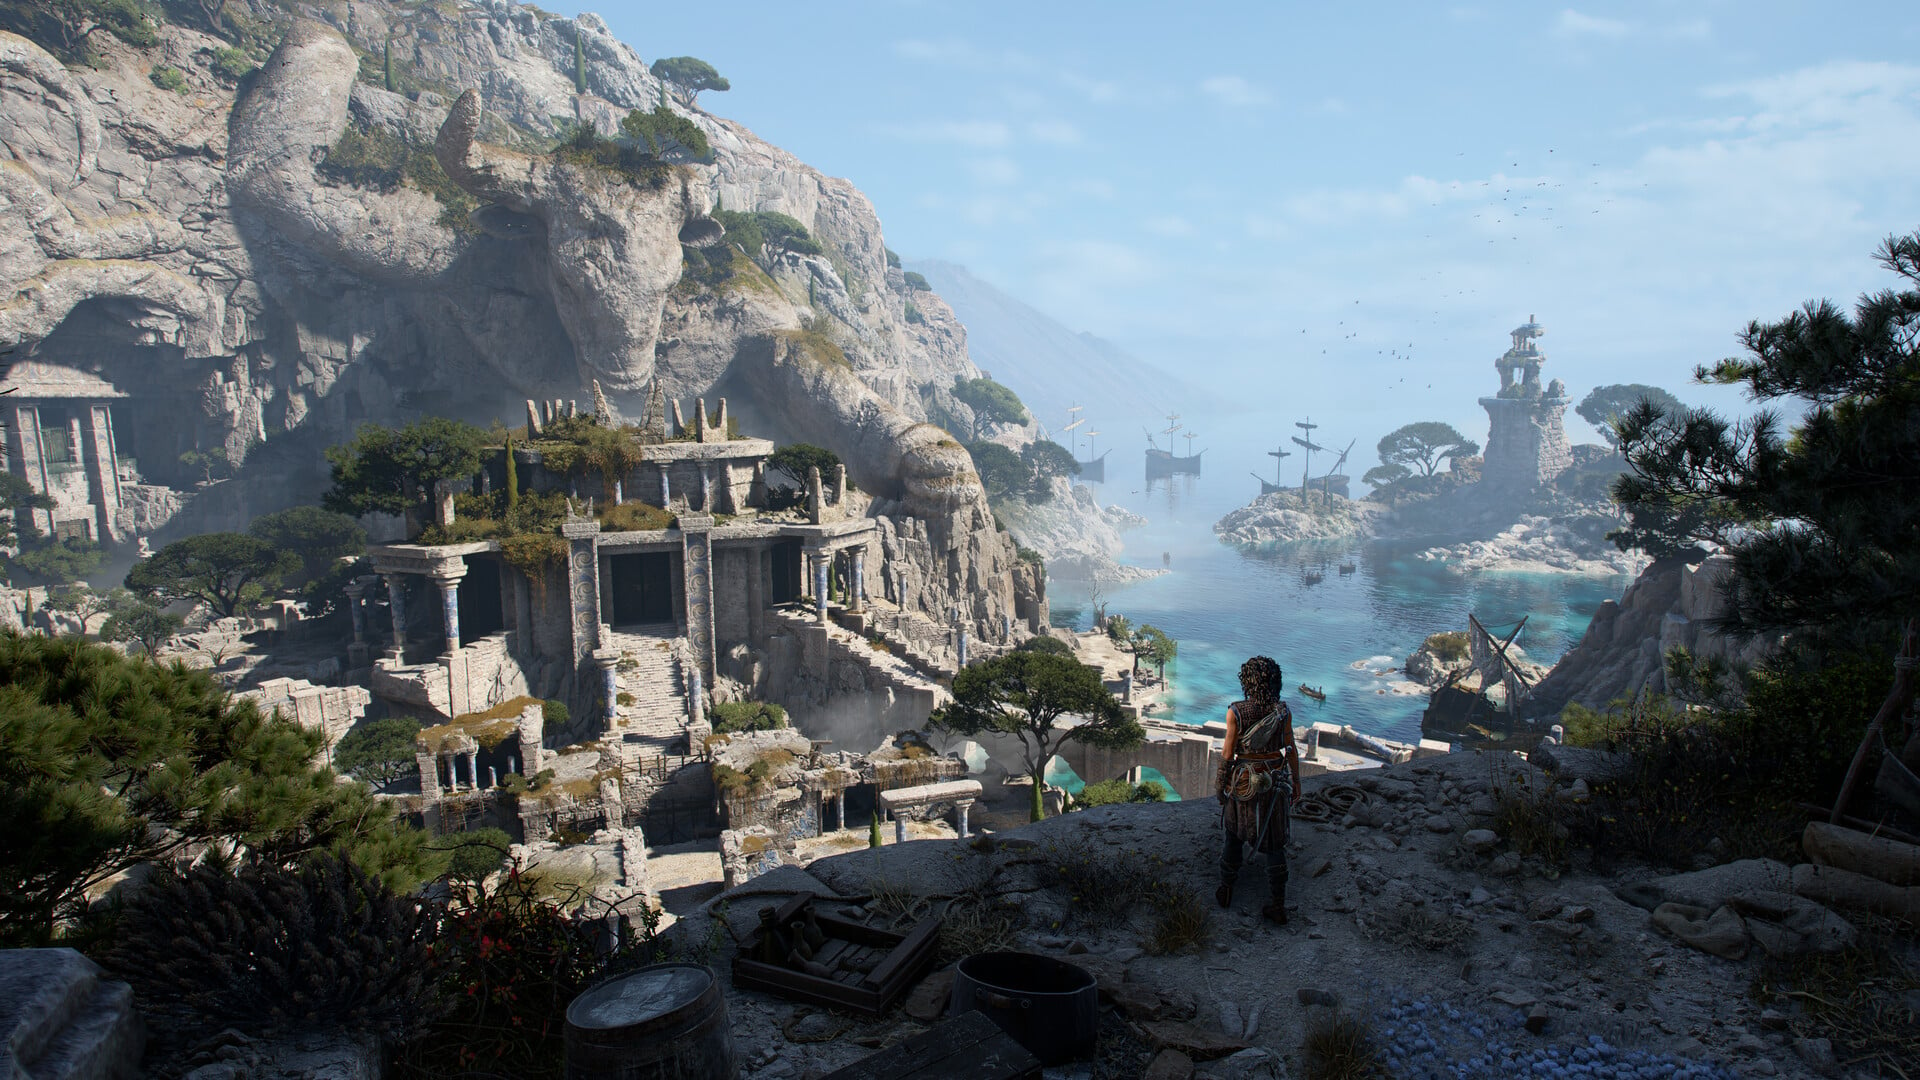
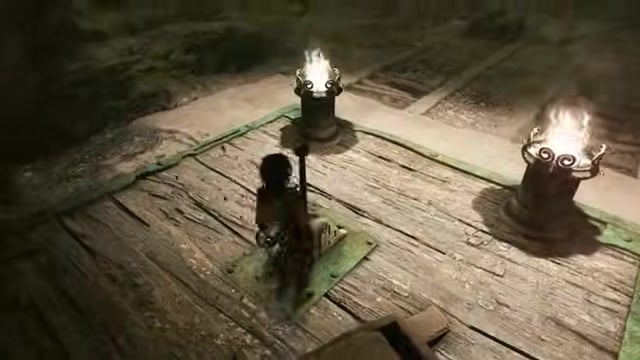
Use the orb’s Torch mode to shine light on the maze floor near each pedestal, then set each pedestal to the symbol its glowing line ends on — the left pedestal’s line ends on the ‘O’-shaped glyph, and the right pedestal’s line ends on its own glyph (an I-shape or cross) at the end of that path.
The Trial in Chapter 4, From Hell It Rose, closes with a circular floor maze and two facing pedestals that each want a single glyph. You never walk the maze or rotate anything — the whole answer is drawn on the floor in light that only the orb reveals, and each pedestal simply copies the symbol its own line runs to.
Solving the maze: set each pedestal to the symbol its light path ends on
| Pedestal | Symbol its light path ends on |
|---|---|
| Left pedestal | ‘O’-shaped glyph |
| Right pedestal | Glyph at the end of its path (I-shape or cross) |
Stand next to one of the two pedestals and switch the orb to Torch mode, then sweep the beam across the floor. A faint blue line appears and snakes through the central maze until it stops on a single symbol tile. That tile is the glyph you feed into that pedestal — nothing more to it. Do the same at the second pedestal, read where its own line ends, and enter that glyph there.
The left pedestal’s line is the dependable one — it always terminates on the round, O-like glyph. The right side follows the exact same rule, but the shape it ends on is easy to misread at a glance, so trust the line under your beam rather than your memory of the picture. As long as each receptacle shows the symbol its own path stops on, you’re correct. Once both are set, confirm the inputs and the next Trial door swings open — there’s no navigating or dial-spinning involved, only reading the two revealed paths.
Before touching either pedestal, switch the orb to Torch mode and sweep the beam across the floor at each one — the blue line only shows under that light, and it points straight at the glyph you need.
Maze Light Puzzle solution in Chapter 4
If you’ve arrived mid-Trial, the maze room is gated by a beam puzzle at the entrance — route a single shaft of sunlight through four lenses onto the door sigil to get in.
Stand on the upper pressure plate
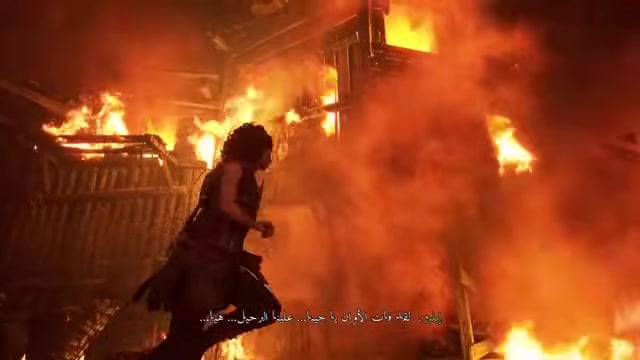
Head upstairs above the entrance and step onto the pressure switch to let sunlight flood the chamber; your companion takes over holding it once prompted.
Aim the first lens across the room
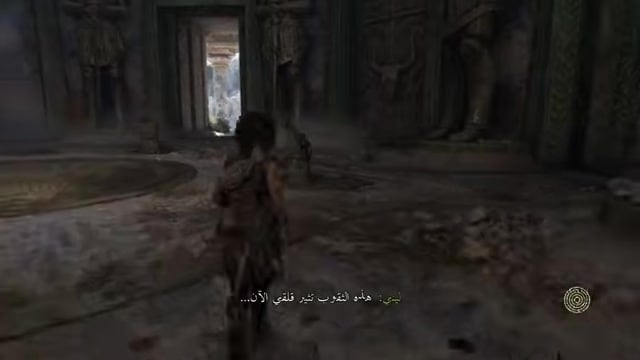
Turn the first lens so its beam reaches the lens diagonally opposite, tucked behind a hanging wall, to start the chain.
Re-aim each lens down the chain
Follow the beam and rotate every lens in turn until it reaches the fourth and final lens.
Point the last lens at the door sigil
Turn the final lens onto the sigil on the main stone door itself — not a side medallion — and the door unlocks.
Mistakes that stall players on the maze
The biggest time-sink is trying to brute-force the glyph combinations instead of reaching for Torch mode — the symbols mean nothing until the light reveals which one each pedestal points to. The other classic slip is mixing up the two pedestals and dropping the O on the wrong side, so keep the left line and right line straight in your head before you input anything.
It also helps to remember what this puzzle isn’t: it’s not a maze to walk through or a mechanism to rotate. The floor pattern is scenery. Only the two light paths and the two pedestal symbols decide whether the door opens.
What the Trial throws at you next
Past the maze door, the Trial keeps leaning on the orb’s abilities. You’ll reach the Minotaur arena, where you pair floor symbols with the wall dials using reflected light, then a light-splitting chamber that uses the orb to fan one beam into several and raise platforms. After that comes the coloured reflector puzzle, which asks you to charge a central column with green, red and blue beams at once. Each builds on the same reflect-and-reveal logic you’ve just used here.






Leave a Reply