
What to know
- Chapter 4 revisits the hospital and station hub with expanded collectibles and quests.
- Most items are tied to side quests, making exploration essential.
- Scans dominate this chapter and reveal key story details.
- Hidden areas and interactions hold some of the best rewards.
Chapter 4 in REPLACED builds on familiar locations while significantly increasing collectible density. You’ll revisit the hospital and station hub, but with more depth, more interactions, and more reasons to explore every corner carefully. This chapter leans heavily into storytelling through scans and quest-driven progression, meaning you’ll naturally unlock many collectibles as you complete side content.
Replaced Chapter 4 all collectibles guide
| Type | Count | Notes |
|---|---|---|
| Scans | 12 | Core lore and environmental storytelling |
| Music Tracks | 2 | Found in hub and secret areas |
| Upgrades | 3 | Quest and activity rewards |
| Miscellaneous | 4 | Arcade, cat, and interactions |
| Genetic Profiles | 1 | Quest-related unlock |
Chapter 4 Scans – 12
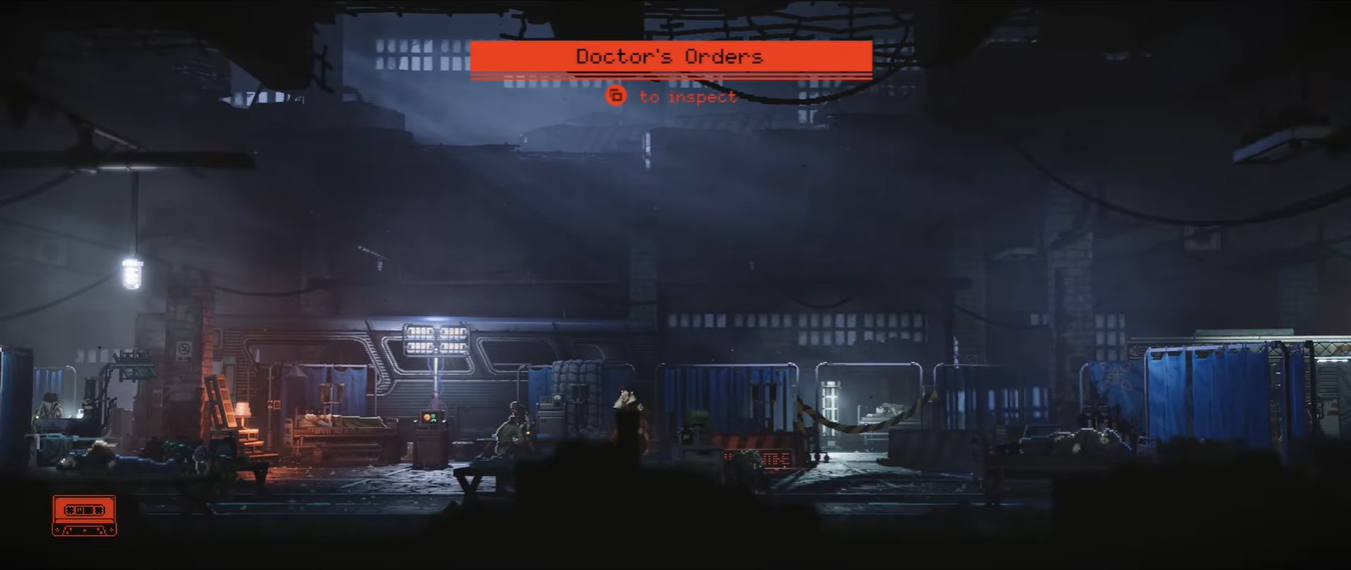
Scan #39 – Doctor’s Orders
Located directly in front of you at the start of the chapter inside the hospital.
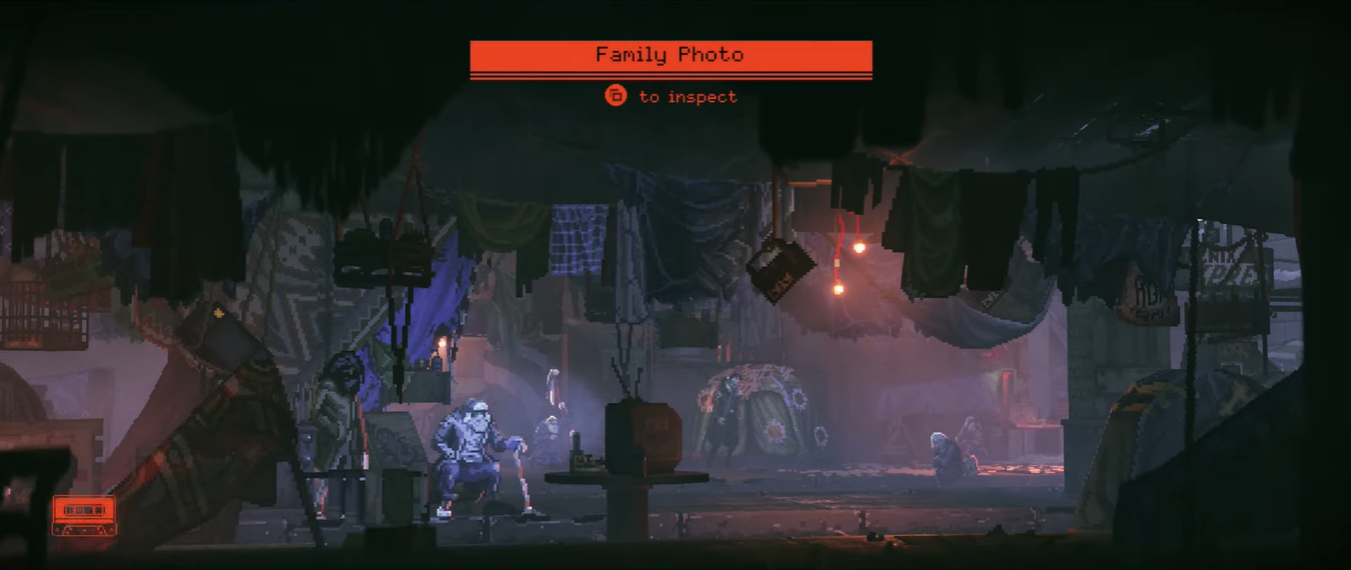
Scan #40 – Family Photo
Obtained from the safe outside the hospital during the Old Man’s quest.
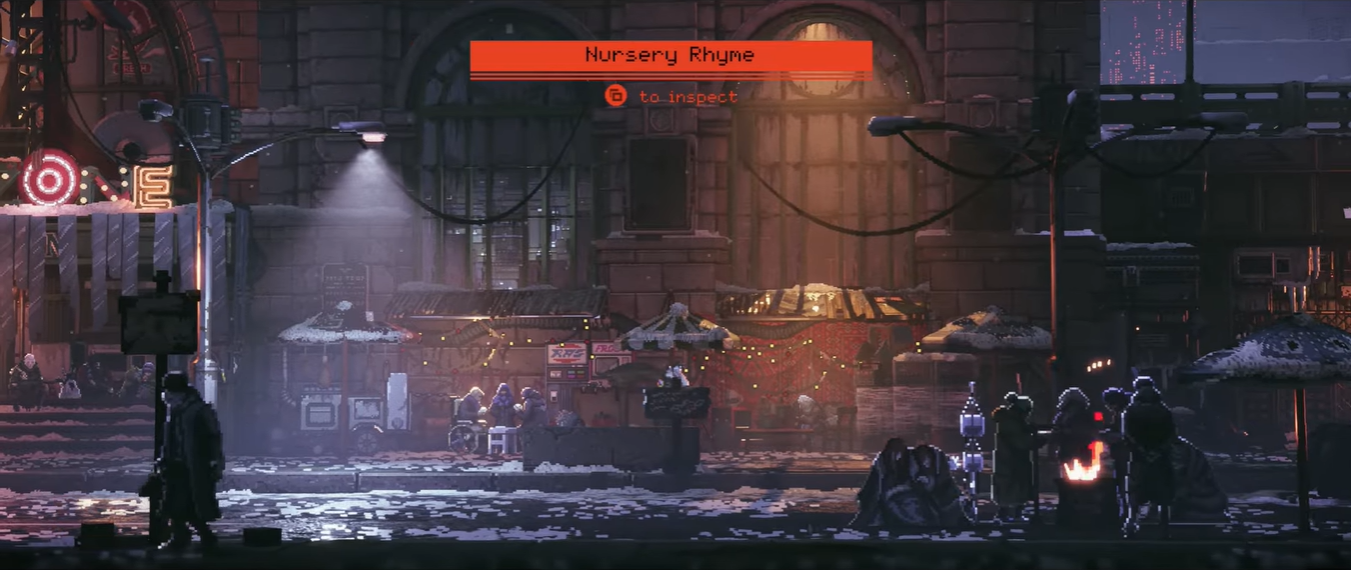
Scan #41 – Nursery Rhyme
Found on a signboard along the right side of the safe zone street.
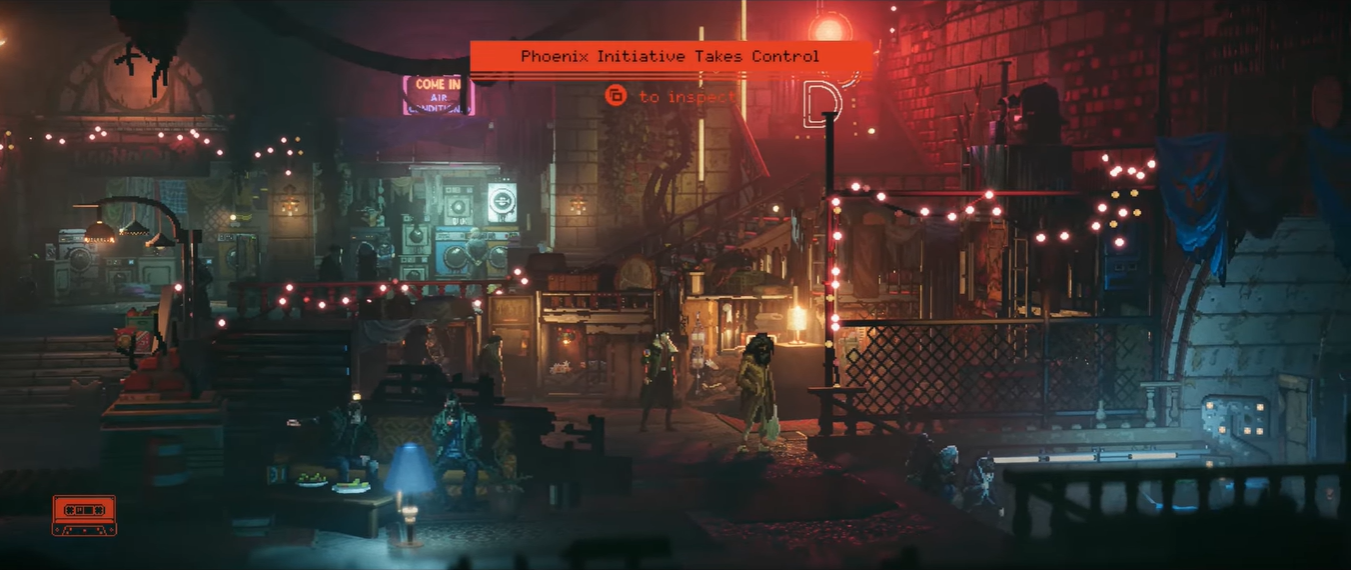
Scan #42 – Phoenix Initiative Takes Control
Inside the safe zone, slightly to the right of the central area.
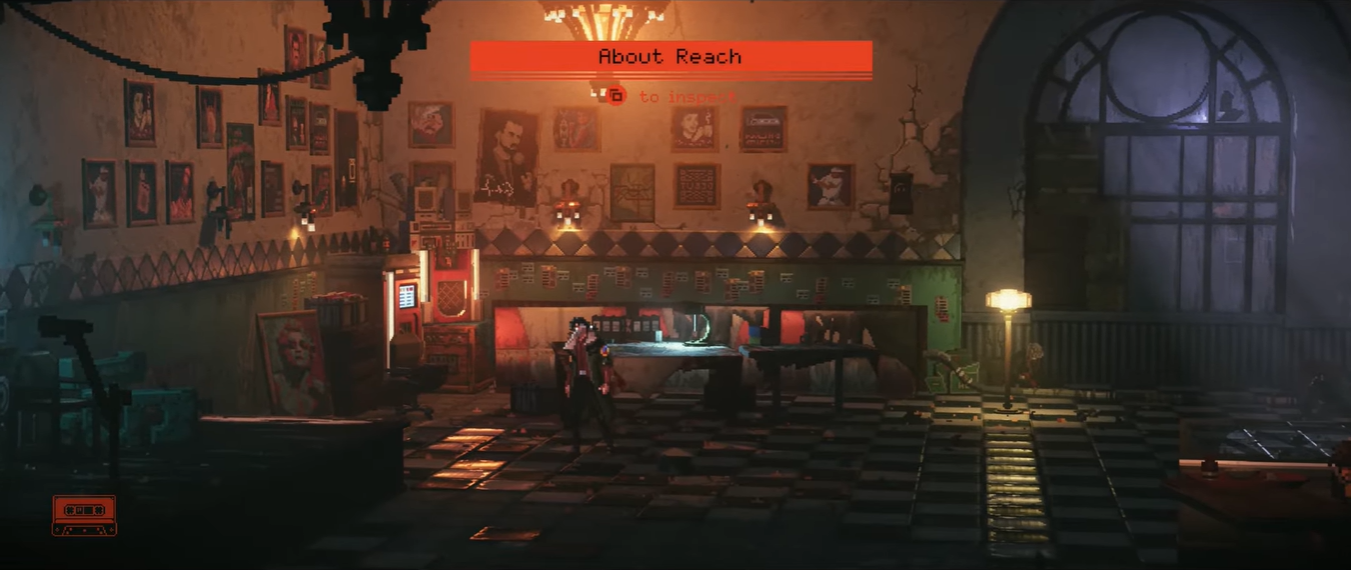
Scan #43 – About Reach
Ride the Fireball to the far left and scan the large R.E.A.C.H. poster.
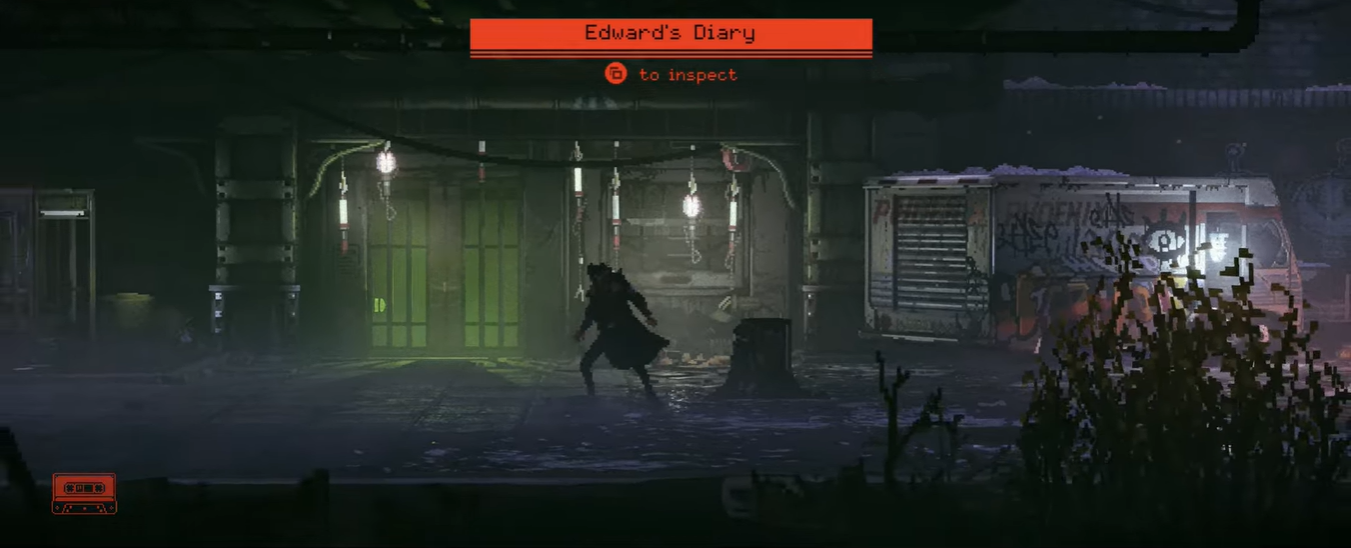
Scan #44 – Edward’s Diary
Unlocked during Edward’s quest after starting his mission near the bar.
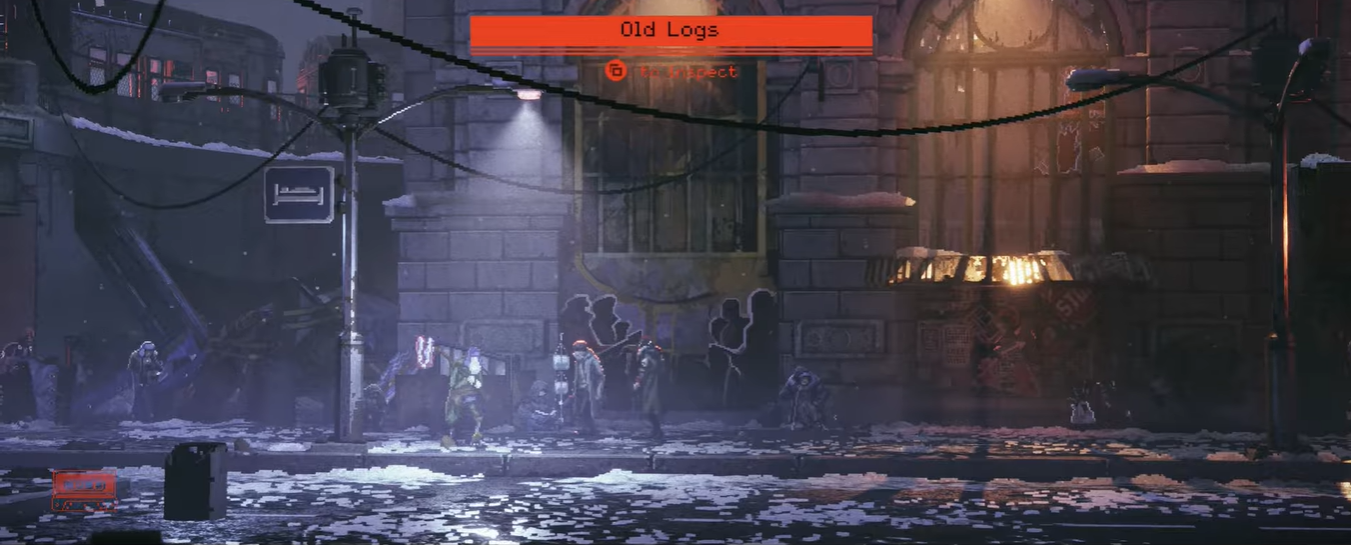
Scan #45 – Old Logs
Found on a facility map board that you inspect during Edward’s quest.
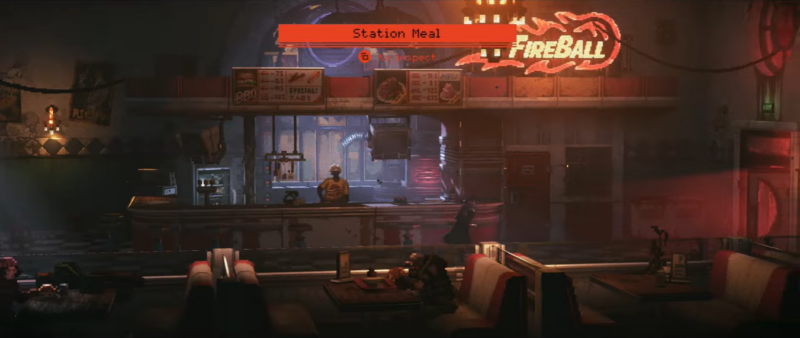
Scan #46 – Station Meal
Scanned when you secure food for Excalibur during his quest.
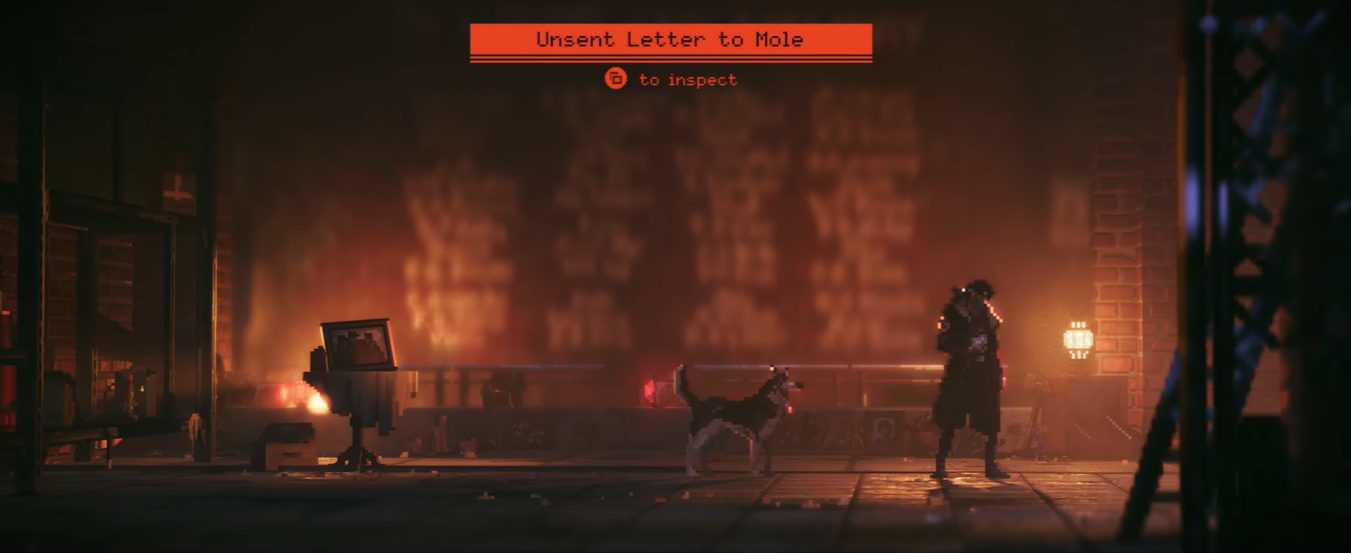
Scan #47 – Unsent Letter to Mole
Located in the hidden room revealed during Excalibur’s quest.
Scan #48 – Solar Panels Are Safe
In YO-YO’s room, interact with the terminal to obtain this scan.

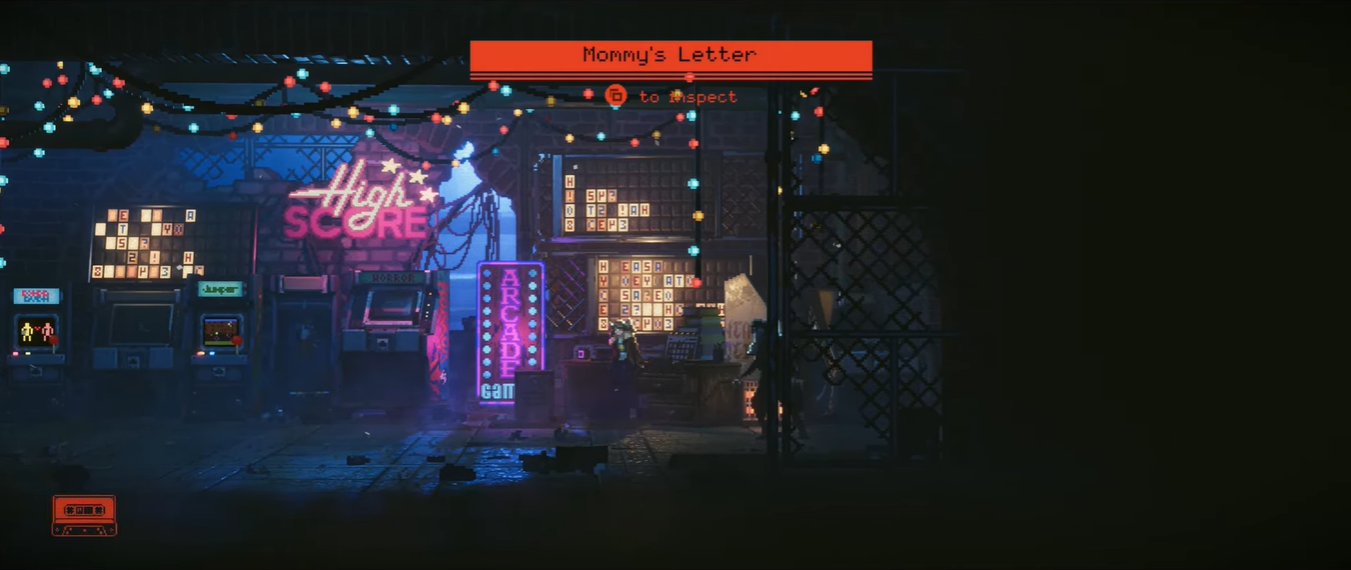
Scan #49 – Mommy’s Letter
Near Susan, placed on a nearby surface within the safe zone.
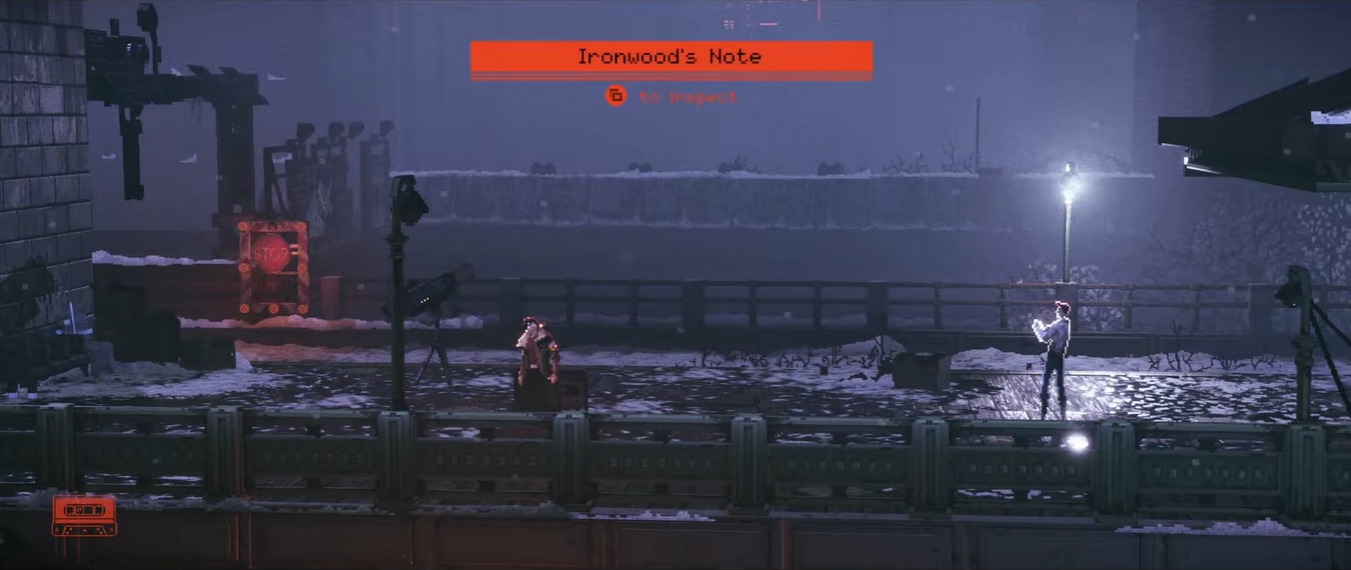
Scan #50 – Ironwood’s Note
Found in the same area where David’s Chapter 2 quest concluded.
Chapter 4 Music tracks – 2
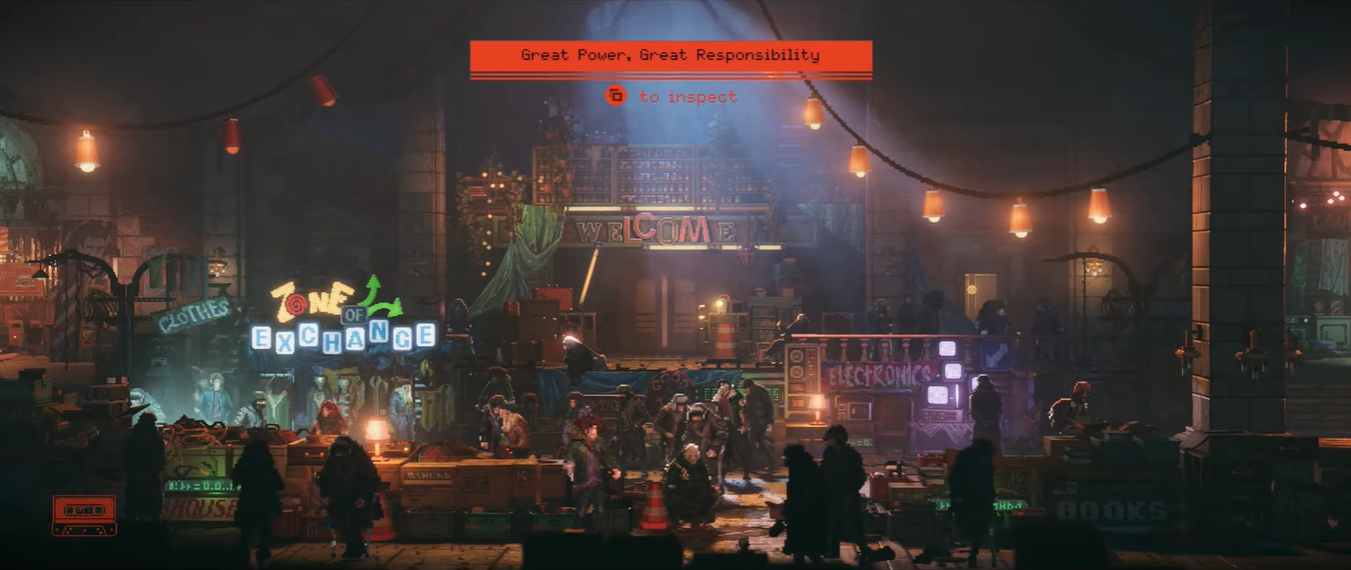
Music #5 – Great Power, Great Responsibility
Collected within the safe zone near the central area.
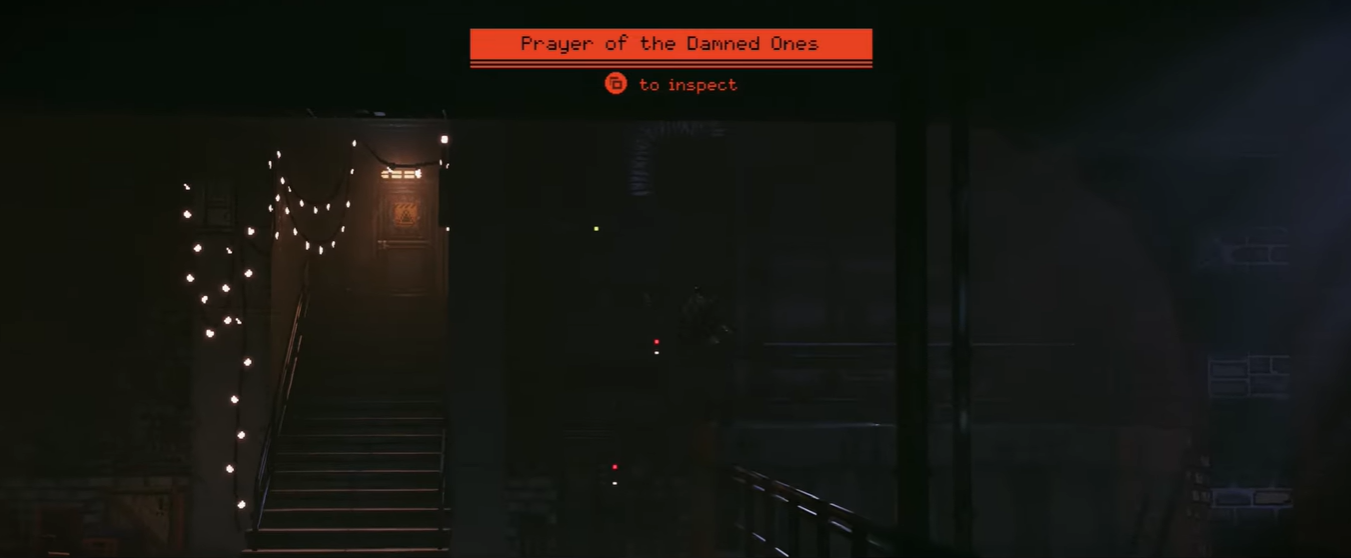
Music #6 – Prayer of The Damned Ones
Inside Excalibur’s secret area, located on a higher platform before descending.
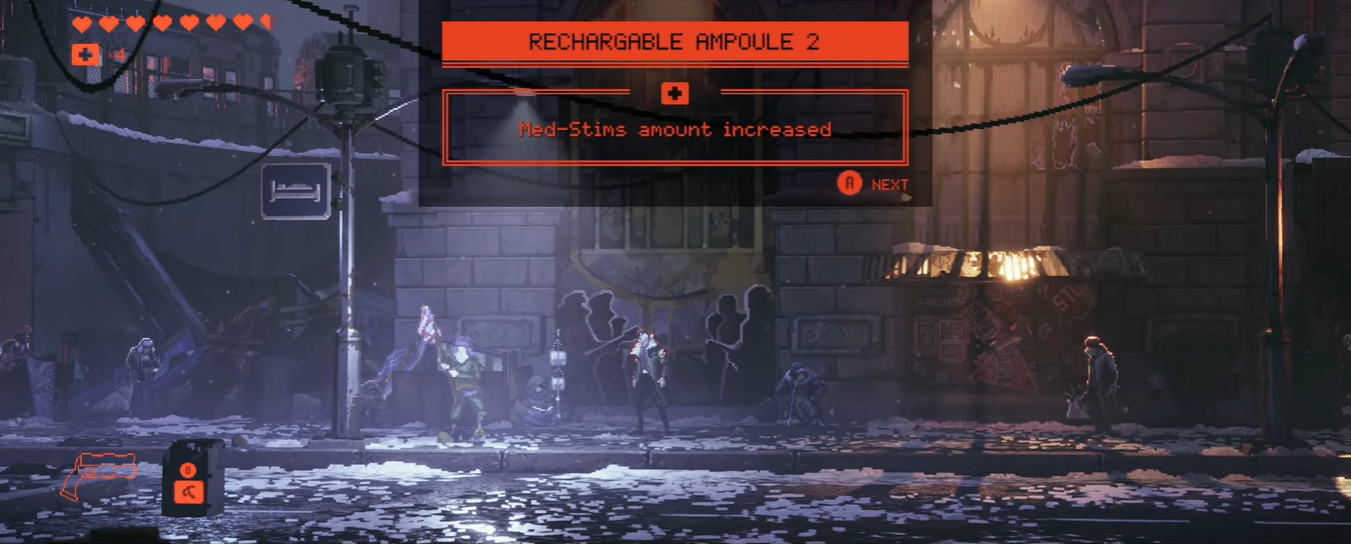
Chapter 4 Rechargeable Ampoule – 1
Rechargeable Ampoule #2
Awarded after completing Edward’s quest chain.
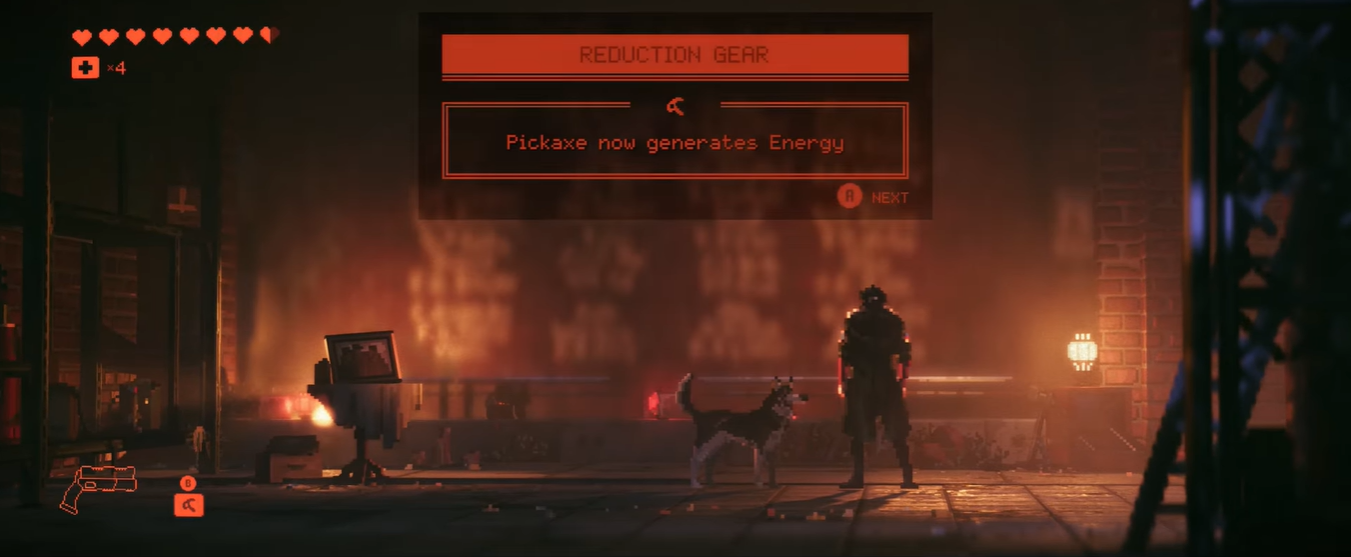
Upgrades and quest rewards – 2
Reduction Gear #1
Obtained by finishing Excalibur’s quest after interacting with glowing wall points.
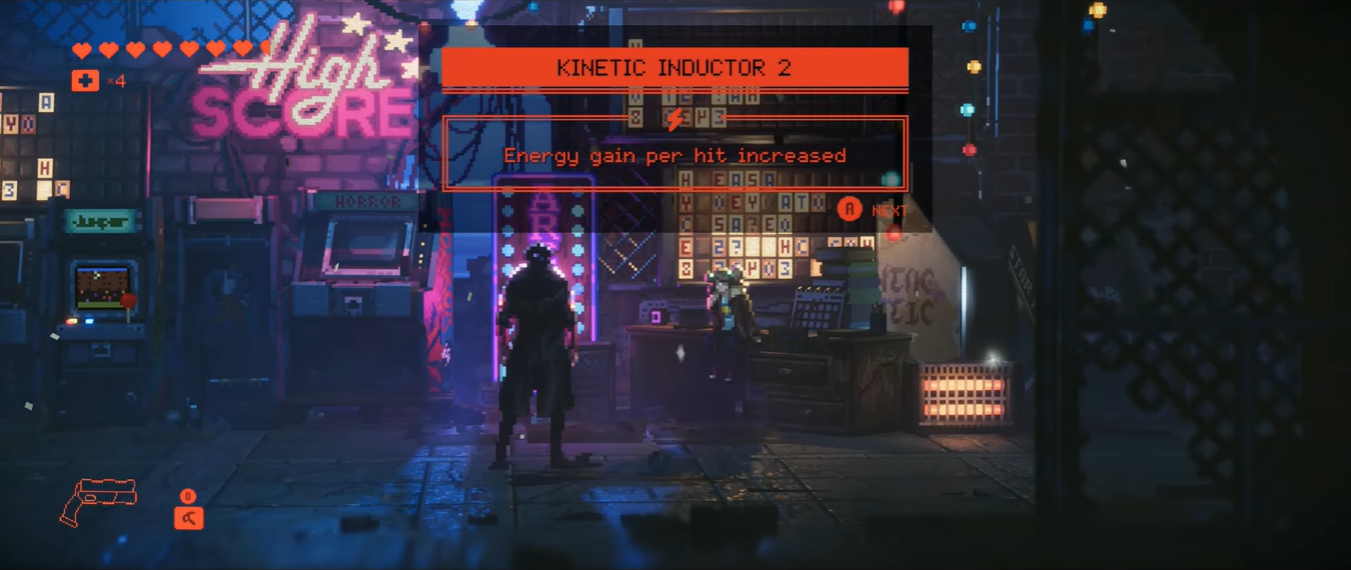
Kinetic Inductor #2
Reward from Susan after beating the high score in Arcade Game #2.
Chapter 4 Arcade Games – 1
Arcade Game #2
Unlocked after Susan introduces a second arcade machine in the safe zone.

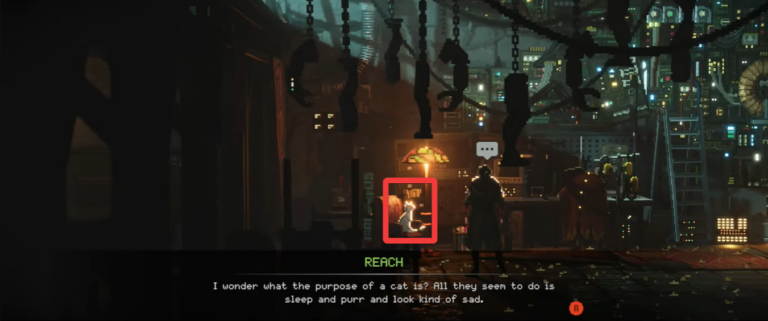
Chapter 4 Cats – 1
Cat #2
Found in YO-YO’s room; interact with it to progress the collectible.
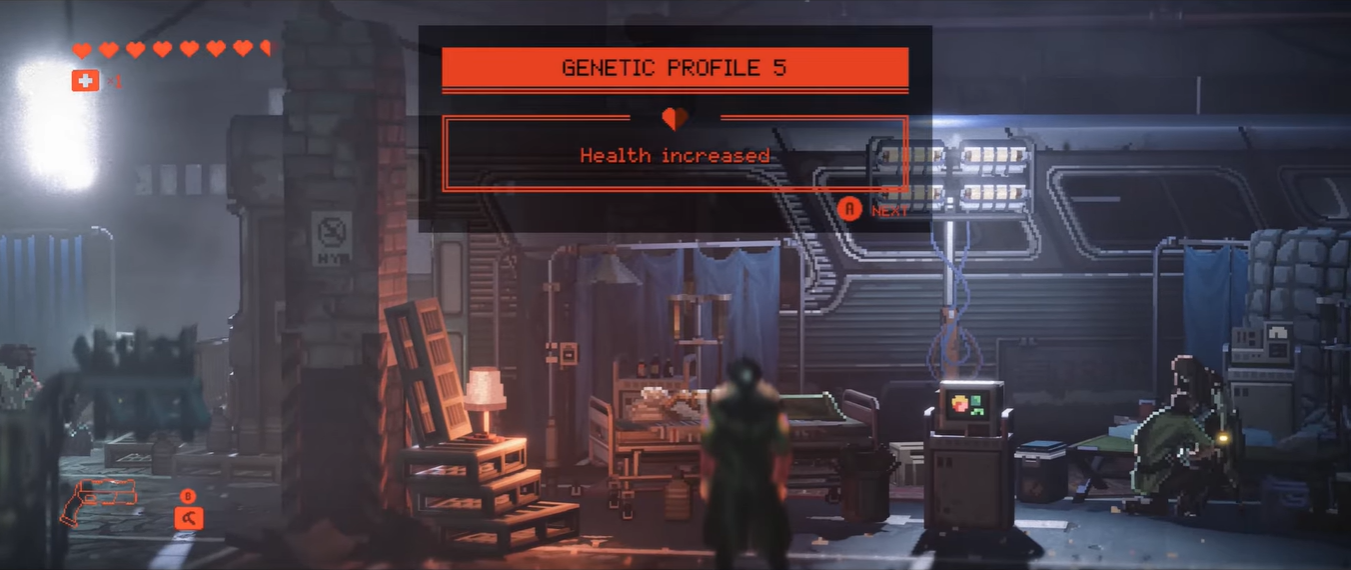
Chapter 4 Genetic Profiles – 1
Genetic Profile #5
Granted at the end of the Old Man’s quest when you return the family photo.
REPLACED chapter 4 collectibles wrap up
Chapter 4 stands out because it tightly connects collectibles with narrative progression, ensuring that everything you pick up feels meaningful.
| Type | Name |
|---|---|
| Scan #39 | Doctor’s Orders |
| Scan #40 | Family Photo |
| Scan #41 | Nursery Rhyme |
| Scan #42 | Phoenix Initiative Takes Control |
| Scan #43 | About Reach |
| Scan #44 | Edward’s Diary |
| Scan #45 | Old Logs |
| Scan #46 | Station Meal |
| Scan #47 | Unsent Letter to Mole |
| Scan #48 | Solar Panels Are Safe |
| Scan #49 | Mommy’s Letter |
| Scan #50 | Ironwood’s Note |
| Music #5 | Great Power, Great Responsibility |
| Music #6 | Prayer of The Damned Ones |
| Upgrade | Rechargeable Ampoule #2 |
| Upgrade | Reduction Gear #1 |
| Upgrade | Kinetic Inductor #2 |
| Misc | Arcade Game #2 |
| Misc | Cat #2 |
| Genetic Profile #5 | Genetic Profile #5 |
As you explore, you’ll notice that quests naturally guide you toward most items, while a few hidden collectibles reward curiosity and careful observation. If you take your time and revisit key areas, you’ll be able to collect everything without unnecessary backtracking.


Leave a Reply