


Quick Answer: Get the Emberheart Lantern by defeating the Yeti Demon in The White Terror Lair. You first need a Frozen Heart to start the Yeti fight, then you need the lantern to charge Cold Immunity at campfires in Iceveil Valley. The lantern is not guaranteed from one kill, so you may need several Yeti attempts.
The Emberheart Lantern is the item you need for sustained exploration of the snowy areas in Project Slayers 2. Iceveil Valley applies cold damage while you are outside the protection of the game’s cold-immunity system, making the lantern an important part of progressing through the region.
How to get the Cold Immunity Lantern in Project Slayers 2
Here is how you can get the Emberheart Lantern and Cold Immunity buff in Project Slayers 2:
Step 1: Get a Frozen Heart
You need a Frozen Heart before you can start the Yeti encounter.
Frozen Hearts can be obtained from chest-based activities around the map. Sealed Chests are one of the documented ways to farm them; these chests require you to defeat the nearby enemies before you can open them. Rare chests and raid-related chests are also listed as possible sources.
The Black Merchant can also stock Frozen Hearts, giving you another way to obtain the summoning item when it appears in his inventory.
Step 2: Go to the White Terror Lair
Once you have a Frozen Heart, travel toward the Yeti’s location near Butterfly Estate.
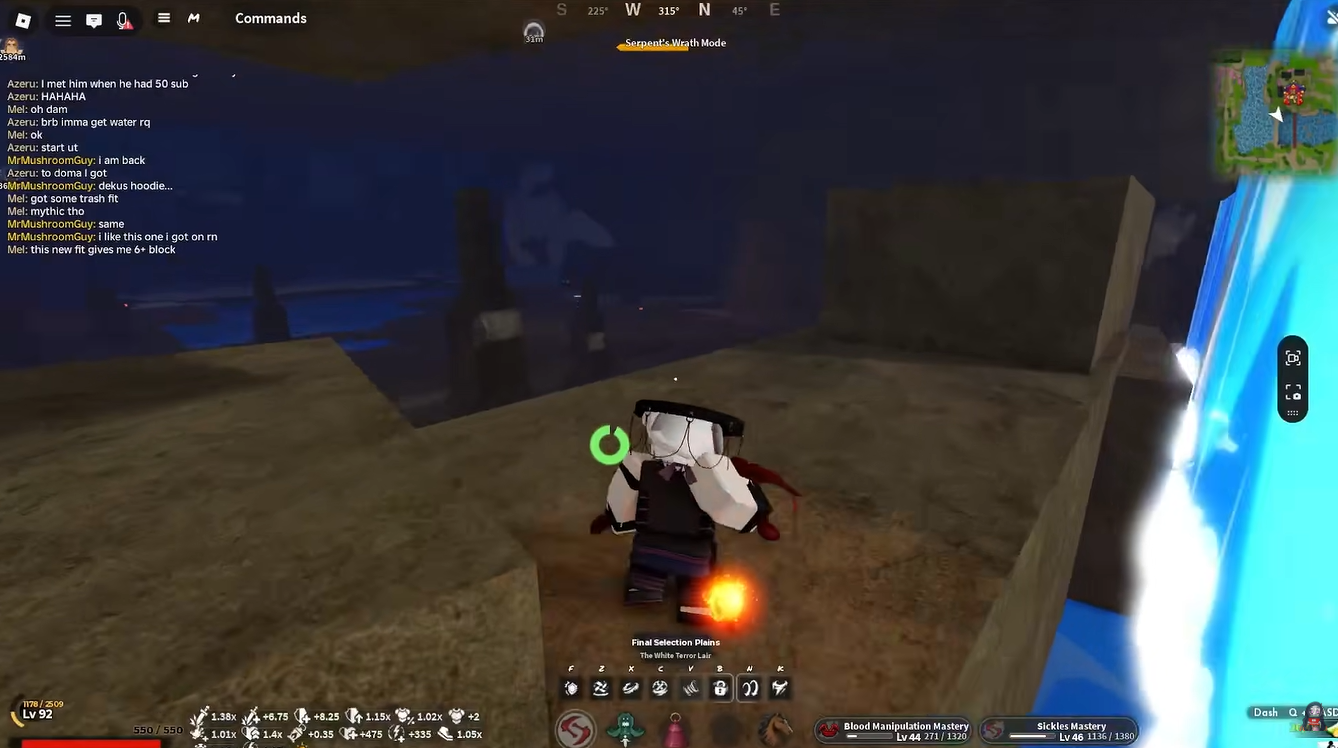
The Yeti Demon is inside The White Terror Lair, which is reached through a cave behind a waterfall in the area around Butterfly Estate.
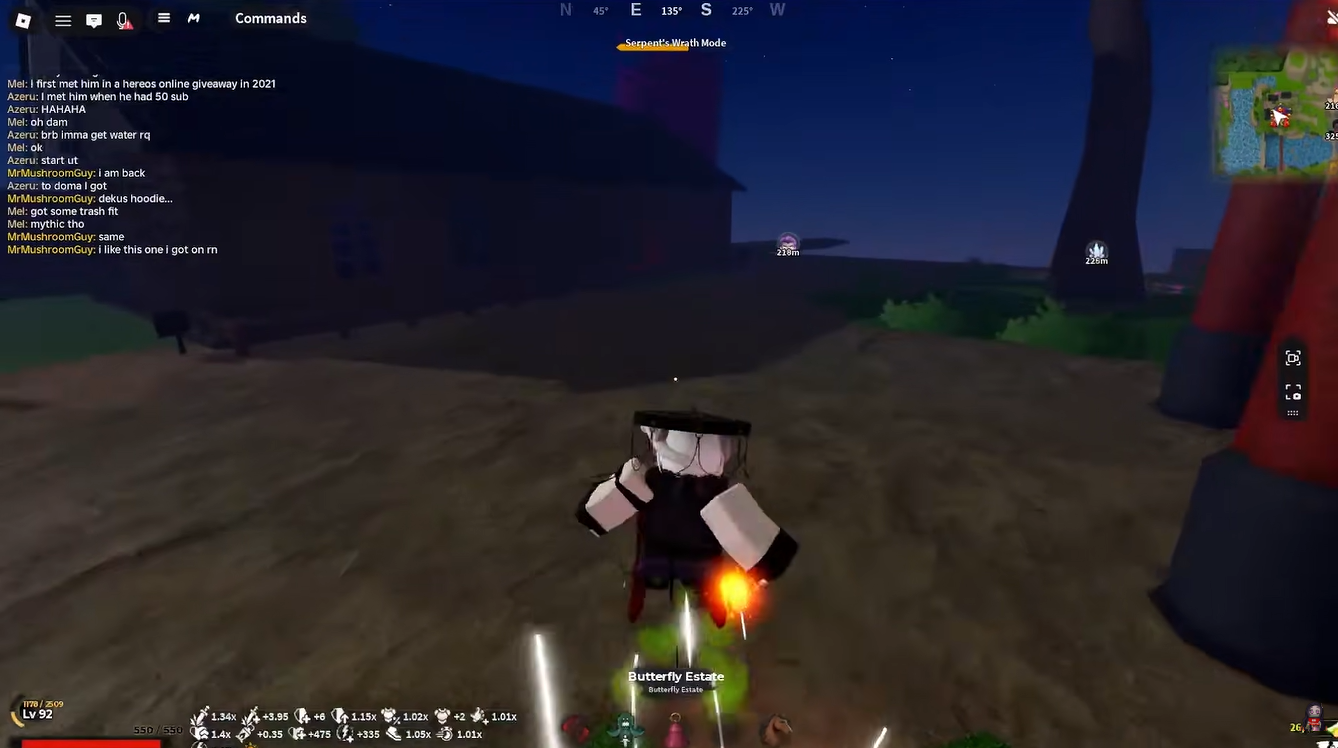
The route is easier if you use a mount and establish a nearby spawn point before repeatedly farming the boss.
From the Butterfly Estate side of the map, look for the waterfall and the cave entrance behind it. Enter the cave and continue toward the Yeti’s arena.
Step 3: Summon the Yeti Demon
Finding the Yeti’s location does not immediately start the boss fight.
You need the Frozen Heart in your inventory. Approach the frozen Yeti at the boss interaction point and hold the displayed interaction key. The Frozen Heart is used to activate the encounter, after which the Yeti Demon becomes active and the fight begins.

Make sure you are ready before interacting with the boss because using the Frozen Heart starts the encounter.
Step 4: Defeat the Yeti Demon
The Yeti fight has an important mechanic you need to understand.
At certain points during the battle, the Yeti can summon minions and become invulnerable while recovering health. When this happens, attacking the boss does not progress the fight. Focus on the summoned enemies instead.
Once the minions are defeated, the Yeti becomes vulnerable again and you can return your attention to the boss.
A group can make the encounter easier because multiple players can divide the boss’s attention and deal with the summoned enemies more quickly.

You should also keep an eye on your health and your available escape options. The surrounding snow area can continue putting pressure on you, so do not spend unnecessary time outside the boss fight if your character is already in danger.
Step 5: Get the Emberheart Lantern
After you defeat the Yeti Demon, check your rewards for the Emberheart Lantern.
The listed drop chance for the lantern is 25%. That means the lantern is a chance drop rather than a guaranteed reward from the first Yeti kill.
If you do not receive it, you need another Frozen Heart and another Yeti fight.
Because the lantern is a chance drop, collecting several Frozen Hearts before beginning a dedicated farming session can reduce downtime between attempts.
Step 6: Equip the Emberheart Lantern
Getting the lantern does not mean you have permanent Cold Immunity immediately.
Equip the Emberheart Lantern as your stat item before making longer trips into the snowy region. The lantern enables the Cold Immunity system, but you still need to charge the immunity timer at a campfire.
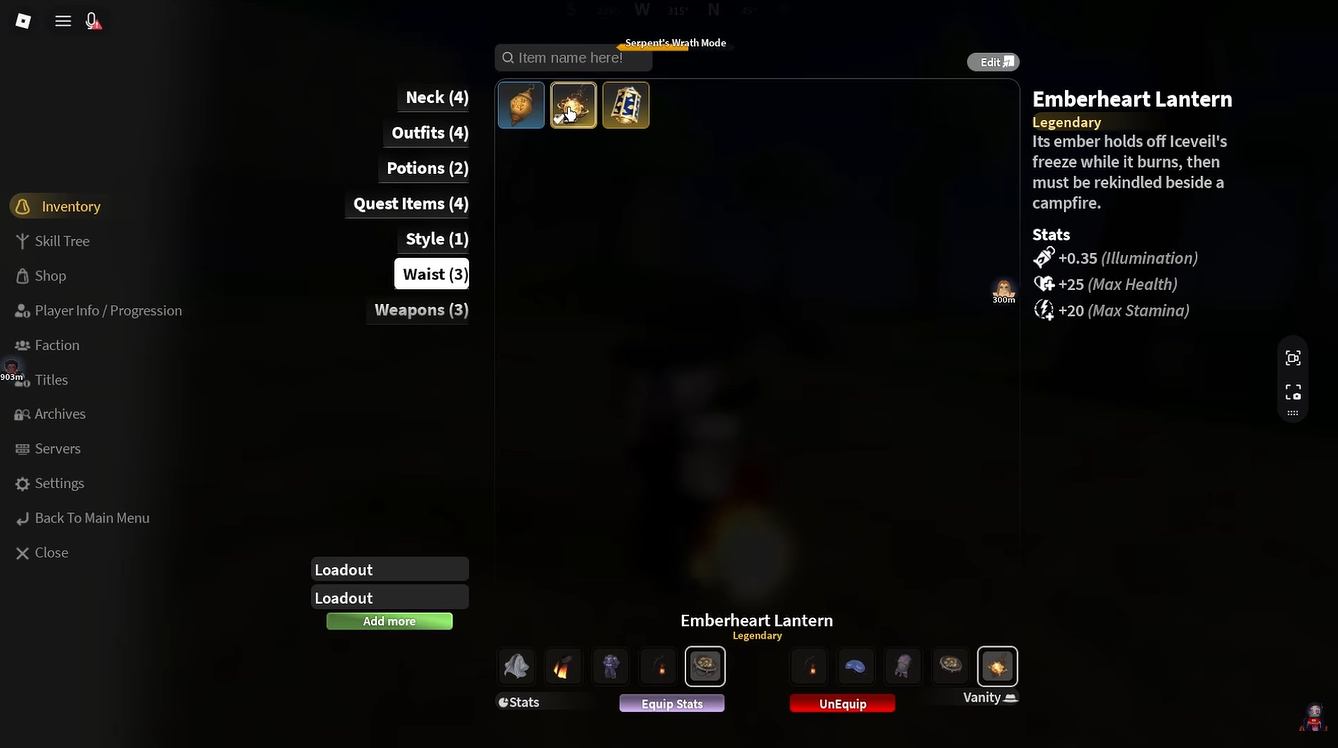
If you equip the lantern and still take cold damage, check whether your Cold Immunity timer has been charged.
Step 7: Charge Cold Immunity at a Campfire
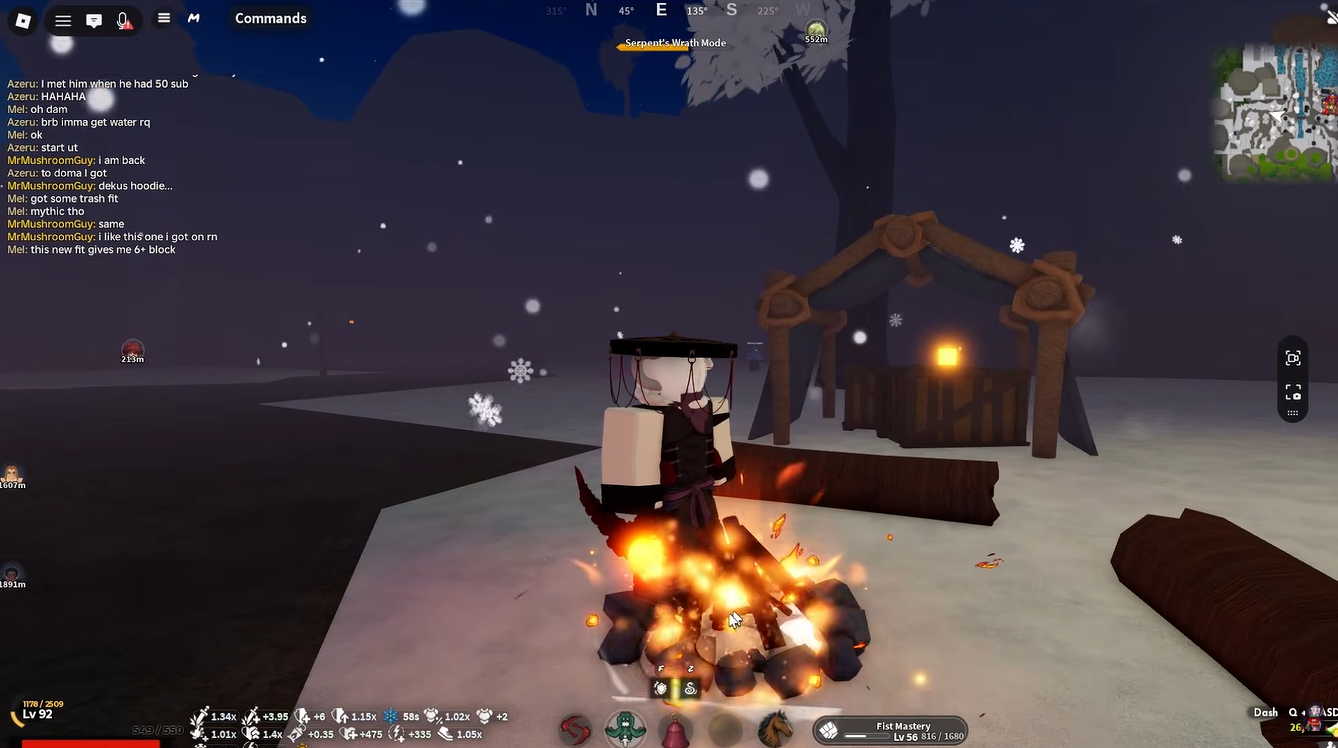
After equipping the Emberheart Lantern, find a campfire in Iceveil Valley.
Stand close to the campfire and allow the Cold Immunity meter to charge. The September 2026 build documented by the sources allows the meter to reach a maximum of 10 minutes.
Once the timer is charged, you can leave the campfire and explore the snow-covered area while the immunity timer counts down.
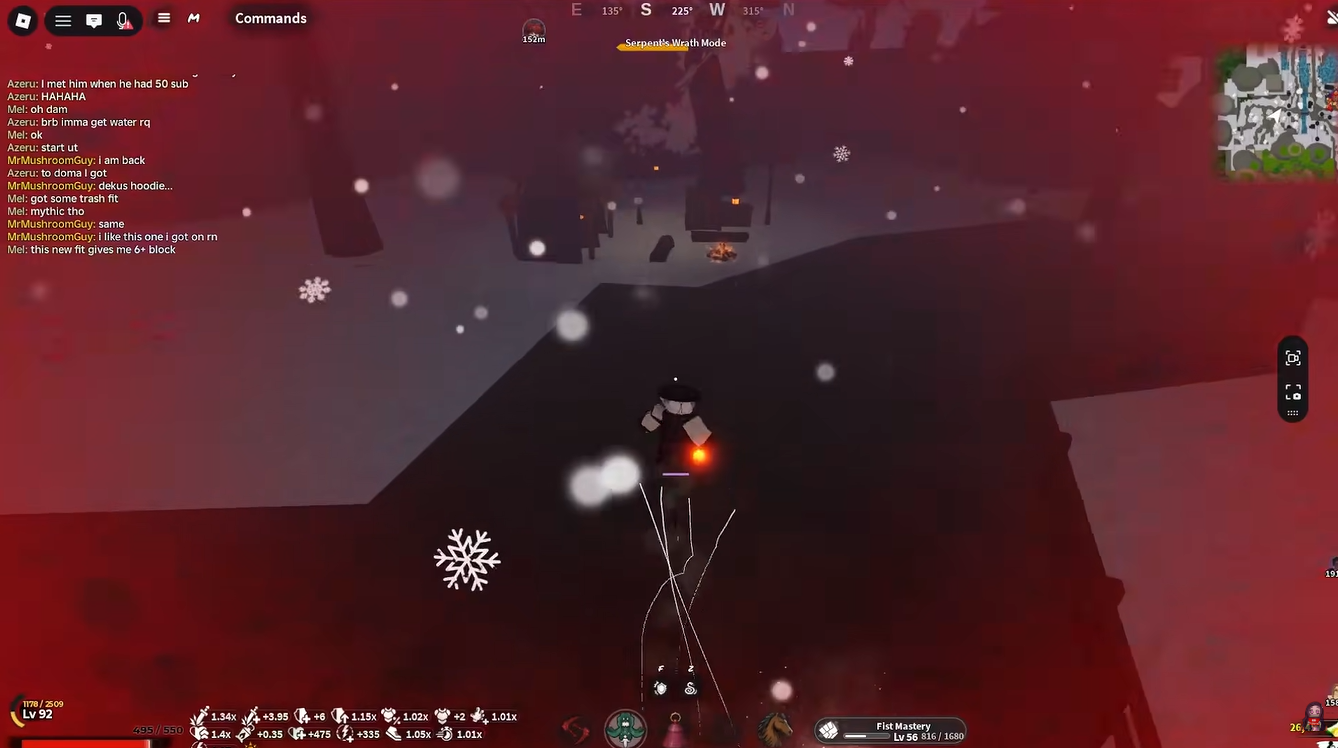
When the timer gets low, return to a campfire and recharge it.
The basic gameplay loop is therefore:
Equip lantern → charge at campfire → explore Iceveil Valley → return to campfire → recharge → continue.
The Emberheart Lantern does not remove the need to recharge the immunity meter.
How Cold Immunity Works
The Emberheart Lantern and Cold Immunity are connected, but they are not the same thing.
The lantern unlocks the protection system. The campfire supplies the active immunity time.
If you simply equip the lantern and walk into Iceveil Valley without charging it, you can still lose health to the cold.
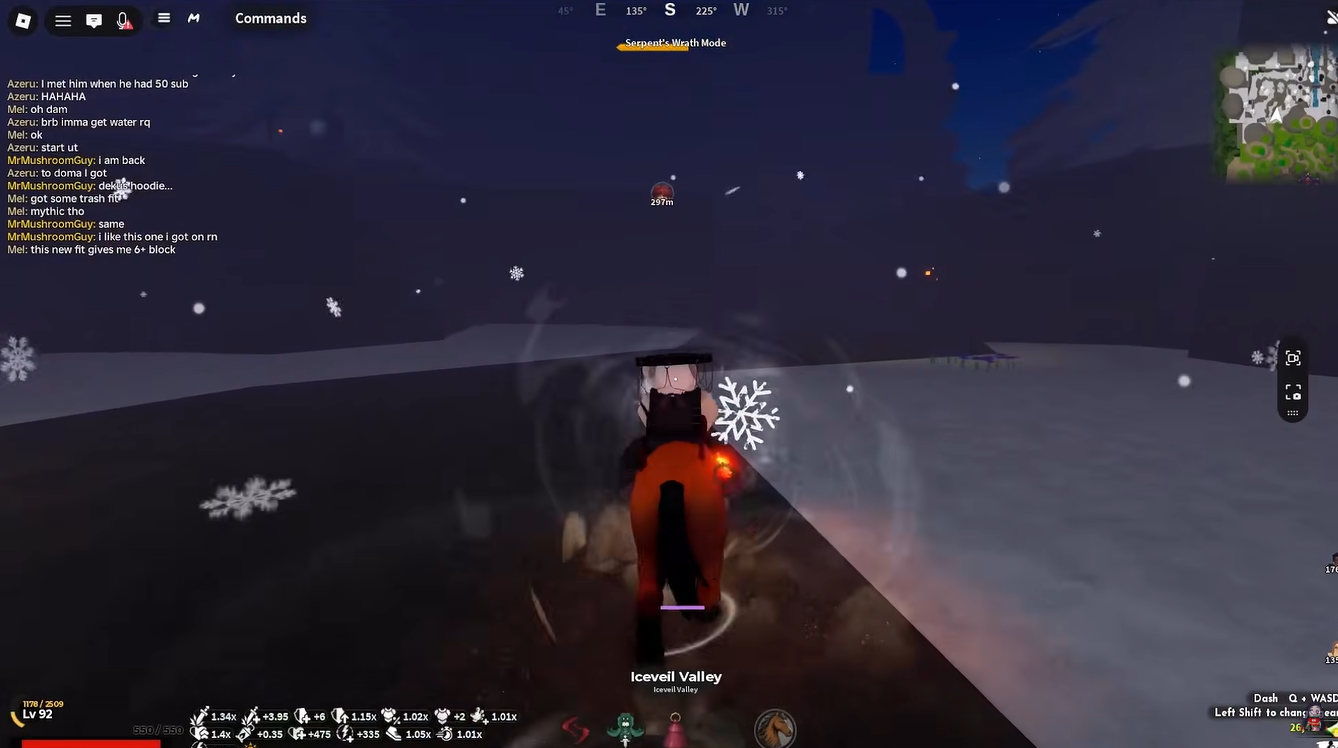
Watch the Cold Immunity indicator on your screen while traveling through the snow. When the timer approaches zero, make your way back toward a campfire instead of waiting for it to expire in the middle of a long route.
Where to find Campfires
Campfires are positioned around the snowy region and act as safe recharge points for the Emberheart Lantern’s Cold Immunity.
When you first get the lantern, locate a few campfires before beginning longer farming routes. That gives you known places to return to when the immunity timer drops.
This is especially useful when you are traveling to distant NPCs, bosses or chest locations because you can plan your route around the available campfires rather than running until the timer expires.
Other lanterns in Project Slayers 2
Here are the other lanterns currently documented for Project Slayers 2. The game has lanterns that mainly improve visibility, while some variants also provide additional effects.
| Lantern | How to Get It | Main Use / Effect |
|---|---|---|
| Lantern | Buy from Kuro in Bamboo Grove at night | Basic light source for exploring dark areas |
| Cherry Blossom Lantern | Lantern variant associated with Kuro’s shop | Improved illumination for nighttime exploration |
| Emberheart Lantern | Drops from the Yeti Demon | Provides Cold Immunity when charged at Iceveil Valley campfires |
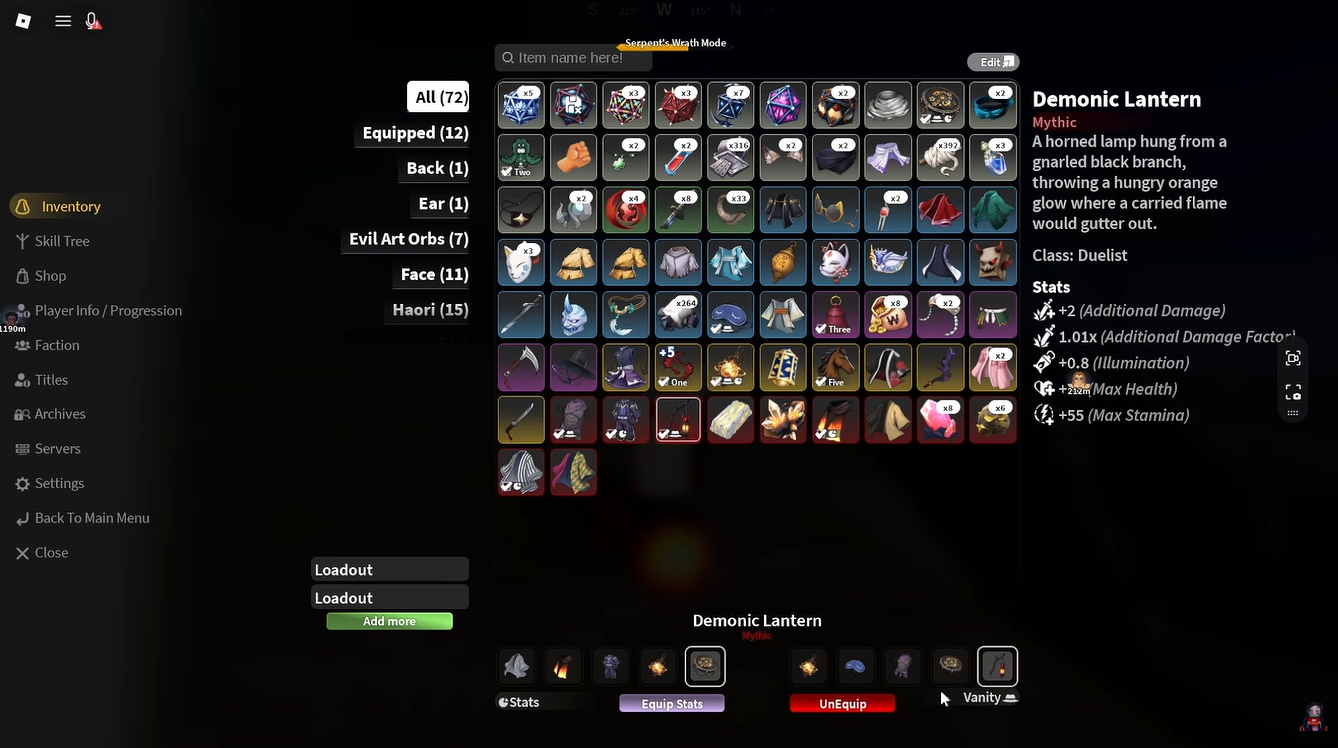
| Demonic Lantern | World Bosses, World Chests and Tier 3 Chests | Mythic lantern with additional gear bonuses |
Kuro’s basic lantern is sold in Bamboo Grove at night, while the Emberheart Lantern comes from the Yeti Demon. The Demonic Lantern is documented as mythic loot from world bosses, world chests, and Tier 3 chests.
FAQs
How do you get Cold Immunity in Project Slayers 2?
Get the Emberheart Lantern from the Yeti Demon, equip it, then charge its Cold Immunity at a campfire in Iceveil Valley.
Where is the Emberheart Lantern?
The Emberheart Lantern drops from the Yeti Demon inside The White Terror Lair near Butterfly Estate.
What do you need to summon the Yeti?
You need a Frozen Heart. Bring it to the Yeti’s interaction point inside The White Terror Lair and use the displayed interaction prompt.
Is the Emberheart Lantern a guaranteed Yeti drop?
No. The listed drop chance is 25%, so you may need to defeat the Yeti multiple times.
Where is the Yeti in Project Slayers 2?
The Yeti Demon is inside The White Terror Lair, in a cave behind a waterfall near Butterfly Estate.
Does equipping the Emberheart Lantern give permanent Cold Immunity?
No. You need to charge the Cold Immunity meter at a campfire, and the active protection runs on a timer. The documented September 2026 build allows the meter to reach 10 minutes.




Leave a Reply