
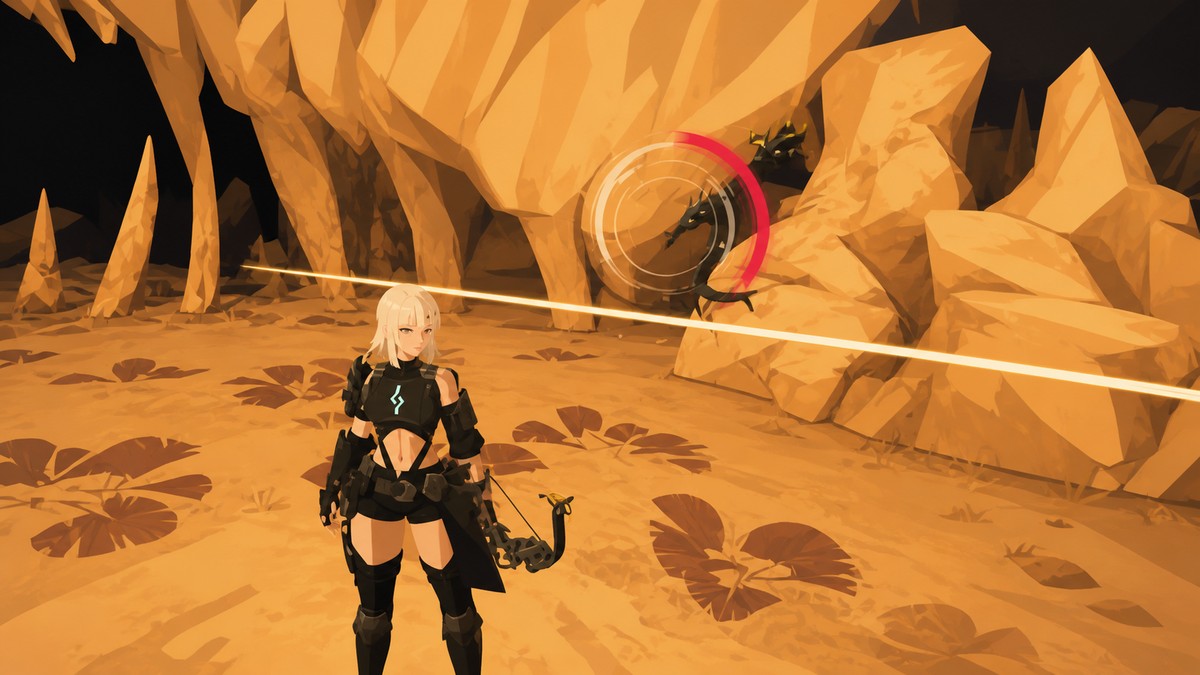
In version 1.0.3, the fastest Palworld route shown here is to farm Successful Bounty Tokens from Faybreak Isles bounty targets by capturing and butchering them, then spend those tokens at a Bounty Officer on Life Fruit, Power Fruit, Stout Fruit, and Ripe Starfruit.
The route is built around Successful Bounty Tokens, not random world pickups or the old raid loop. You clear a short Faybreak Isles circuit, catch the bounty target with Yakumo active, butcher the captured target with the Meat Cleaver, then cash out at a Bounty Officer.
This is a late-game efficiency farm: the faster you move between targets and the better your drop-boost setup is, the more fruits you turn the route into per reset.
- What changed in version 1.0.3
- Best setup for the bounty-token farm
- How to farm Bounty Tokens from Faybreak Isles bounty targets in Palworld
- Why capture and butcher is the core loop
- What to buy from the Bounty Officer
- Starfruit currencies to keep separate
- Route mistakes that slow the farm
- Frequently Asked Questions
What changed in version 1.0.3
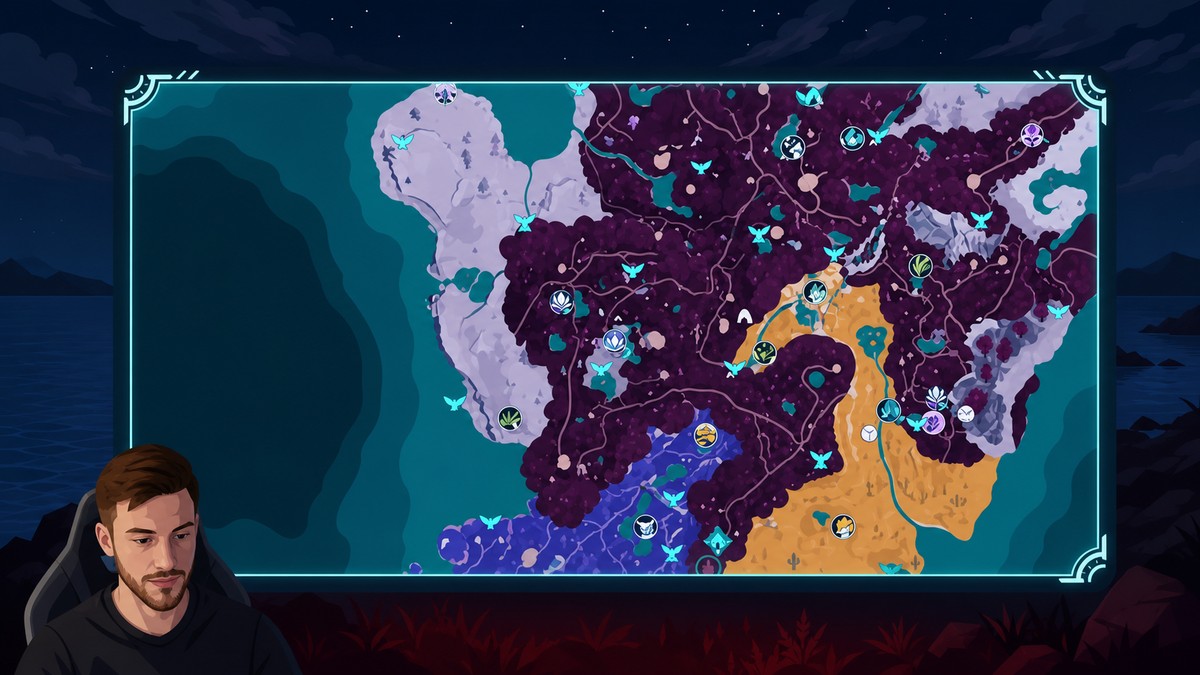
As of version 1.0.3, Moonlord raids no longer drop Life Fruit, Power Fruit, and Stout Fruit. That matters because the Moonlord loop was the old go-to for grinding Stat Fruits quickly.
Older Moon Lord routes are now outdated for this specific farm. The current method moves the grind to Faybreak Isles bounty targets, because they can be converted into Successful Bounty Tokens and those tokens buy the fruit directly.
Best setup for the bounty-token farm
| Setup piece | Use |
|---|---|
| Yakumo with Lavish Hospitality | Passes a strong drop-boost passive to captured bounty targets. |
| Yakumo with Service-Minded | Adds another drop-boost passive for better token output. |
| Splatterina | Boosts rewards from Meat Cleaver butchering through Blade of Uncontrolled Passion. |
| Fast flyer such as Jetragon | Cuts travel time between Faybreak Isles targets. |
| Mercy Hit | Helps weaken bounty targets without accidentally killing them. |
| Meat Cleaver | Turns each captured bounty target into a second reward roll. |
| Pal Spheres | Needed to capture the bounty targets before butchering them. |
| Open party slots | Lets you catch targets and process them immediately. |
You can run the route with less than the ideal party, but the fastest version uses a drop-focused setup. Yakumo is the centerpiece because its passives can transfer to captured humans, and Splatterina helps push more value out of the butchering half of the loop.
Leave room in your party before you start. If every slot is full, the capture-and-butcher flow slows down exactly where the route is supposed to be fast.
Keep Yakumo out before every capture so Lavish Hospitality and Service-Minded can land on the bounty target before you butcher it.
How to farm Bounty Tokens from Faybreak Isles bounty targets in Palworld
This route clears the close bounty spawns first, then rotates through the wider Faybreak Isles circuit before you wait for the targets to respawn.
STEP 1/13
Start at Scorched Hill
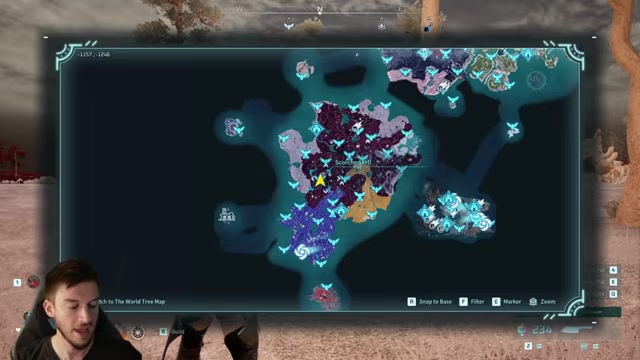
Fast travel to Scorched Hill, mark Pinch and Ram on the map, and begin with the two nearby bounty targets.
STEP 2/13
Weaken Pinch without killing the target
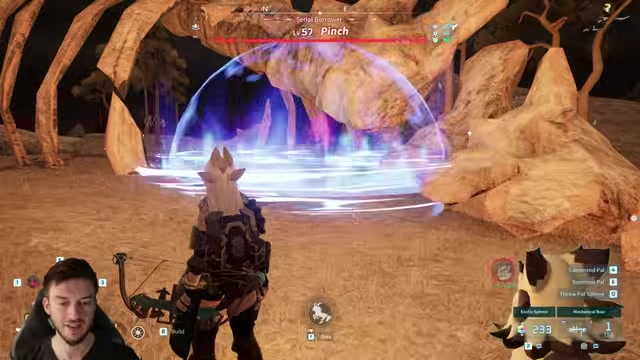
Bring out Yakumo, use Mercy Hit if you have it, and lower Pinch safely before throwing a Pal Sphere.
STEP 3/13
Capture Pinch for the first token payout
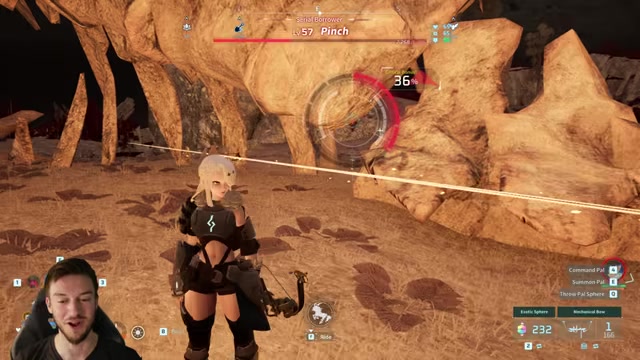
Catching the bounty target gives the first Successful Bounty Token drop and puts the target in your party.
STEP 4/13
Butcher Pinch with the Meat Cleaver
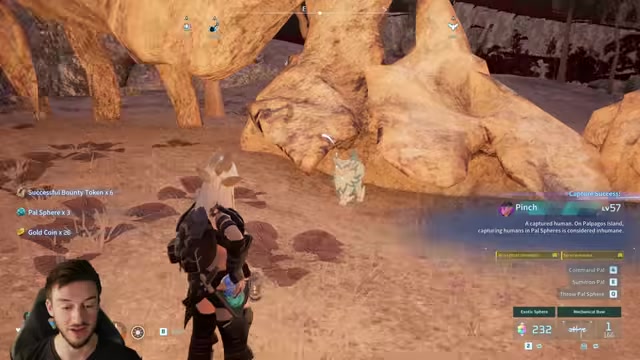
Equip the Meat Cleaver, choose the butcher command, and collect the extra drops from the captured target.
STEP 5/13
Fly from Pinch to Ram
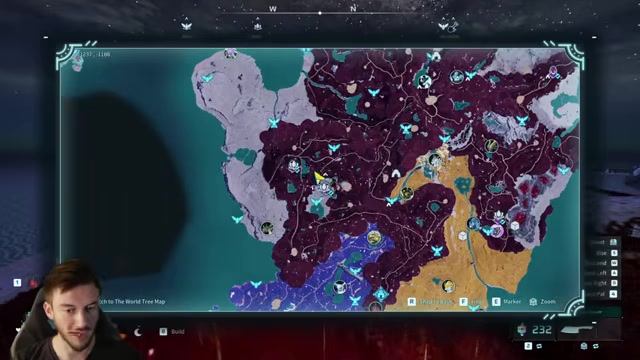
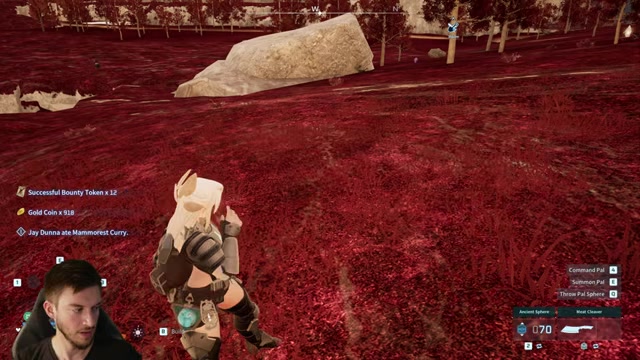
Use your flyer to reach Ram quickly, keeping your map marker active so you do not waste time searching the red forest.
STEP 6/13
Catch Ram with Yakumo active
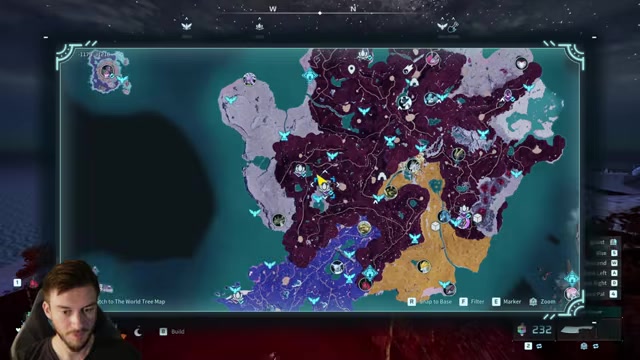
Watch Ram’s gunfire, weaken the target from a safe angle, then capture Ram for the initial bounty-token reward.
STEP 7/13
Butcher Ram after getting clear

Move out of danger, use the Meat Cleaver on the captured Ram, and collect the second drop set.
STEP 8/13
Move to Faybreak Shipwreck for Cash
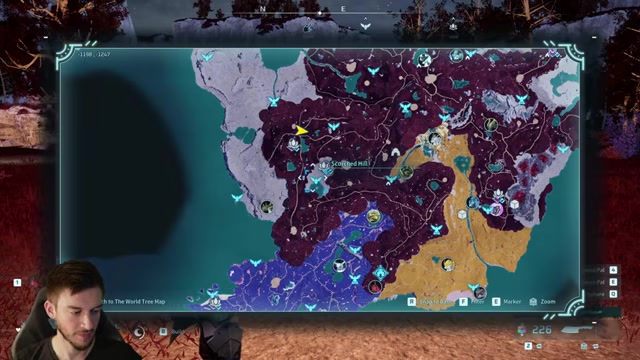
Head to Faybreak Shipwreck and check the back area for Cash, then repeat the same capture-and-butcher flow.
STEP 9/13
Sweep Amethyst Outcrop for Mimic
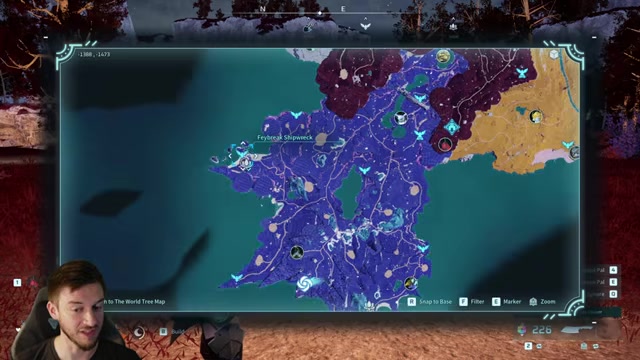
Fly to Amethyst Outcrop, find Mimic, and process the target the same way for more Successful Bounty Tokens.
STEP 10/13
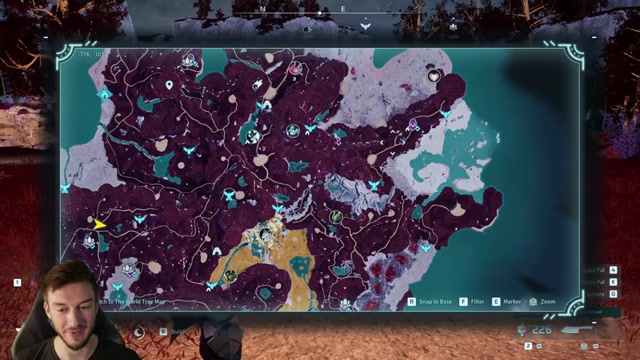
From Crimson Cliffs, fly down toward the beach route that leads into the hidden Withered Seaside access.
STEP 11/13
Use the gateway into Withered Seaside

Climb through the narrow entrance, using a Grappling Gun if needed, because this is the awkward target access point in the loop.
STEP 12/13
Finish at Wildlands Floodgate
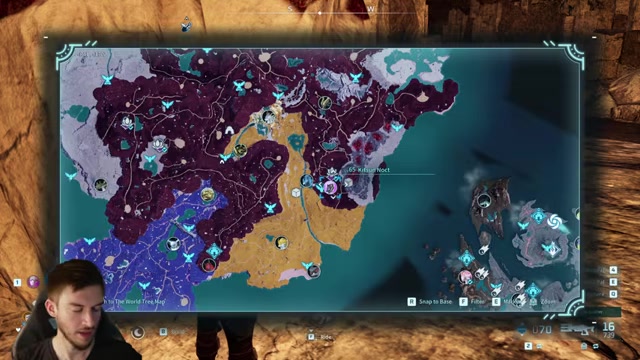
Go to the bounty target near Wildlands Floodgate, clear it with the same Yakumo capture and Meat Cleaver routine, then wait for the targets to respawn.
STEP 13/13
Redeem the tokens at a Bounty Officer
Go to Fisherman’s Point or Small Settlement and spend the Successful Bounty Tokens on fruits.
Video help
Why capture and butcher is the core loop
Key Each bounty target has two reward moments in this route. The capture gives the first Successful Bounty Token payout, and the butcher triggers more drops from the same target.
That is why Yakumo matters so much. When Lavish Hospitality and Service-Minded transfer onto the captured target, the butchered drop output can jump noticeably. A single showcase run showed examples such as 6, 14, 12, 18, and even a larger Ram payout, but the exact token count varies, so treat this as a repeatable route rather than a fixed-rate farm.
You also pick up side rewards along the way, including things like Pal Spheres, Gold Keys, coins, and technology-related value, depending on the target and drop roll.
What to buy from the Bounty Officer
| Item | Token cost |
|---|---|
| Life Fruit | 25 Successful Bounty Tokens |
| Power Fruit | 25 Successful Bounty Tokens |
| Stout Fruit | 25 Successful Bounty Tokens |
| Ripe Starfruit | 50 Successful Bounty Tokens |
After each circuit, take your Successful Bounty Tokens to a Bounty Officer. Fisherman’s Point and Small Settlement work the same way for this redemption route, so use whichever is faster from your current position.
Life Fruit, Power Fruit, and Stout Fruit are the Stat Fruit purchases for maxing Pal IVs. Ripe Starfruit is the rank-up purchase to speed up condensing progress.
Starfruit currencies to keep separate
This route is a Successful Bounty Token farm. It is for buying Life Fruit, Power Fruit, Stout Fruit, and Ripe Starfruit from a Bounty Officer.
Dog Coins still belong to a different Starfruit lane. Some older routes focus on buying regular Starfruit with Dog Coins, farming Mimogs, or using Moon Lord methods from before version 1.0.3. Those are separate grinds, and mixing the currencies is the easiest way to waste time at the wrong vendor.
Route mistakes that slow the farm
The biggest mistake is catching a target without Yakumo out. If Yakumo is not active before the capture, you lose the passive-transfer upside that makes the butcher rewards stronger.
Use a flyer between every stop, and keep bounty targets marked on the map so the loop stays clean. Be careful around Ram because the gunfire can hit hard, and bring a Grappling Gun for the hidden beach and cave route near Crimson Cliffs.
Once the Faybreak Isles targets are cleared, wait for them to respawn before repeating the circuit. The route’s speed comes from repeating the same capture, butcher, redeem cycle cleanly rather than wandering for one-off fruit sources.
Related Palworld guides
Frequently Asked Questions
Can I farm these fruits without ideal Yakumo and Splatterina passives?
Yes. The route still works as a bounty-target capture farm, but it loses speed because you give up the extra drop pressure from Lavish Hospitality, Service-Minded, and Splatterina.
Are Dog Coins still useful for Starfruit after version 1.0.3?
Yes. Dog Coins are still useful for regular Starfruit purchases and other upgrades, but this specific route uses Successful Bounty Tokens for Bounty Officer purchases.
How often should I repeat the Faybreak Isles route?
Repeat it whenever the bounty targets are back. Clear the circuit, redeem or bank your tokens, then run it again after the targets respawn.






Leave a Reply