

In Palworld 1.0 mid game, your biggest upgrades are the Vanguard Charm, two extra accessory slots, Growth Acceleration Bell, Sphere Module, Pal Tamer’s Glasses, smarter inventory slots, and Pal/base upgrade systems.
The middle stretch of Palworld 1.0 is where permanent upgrades start beating raw level grinding. Prioritize gear, slots, capture tools, and base systems that keep improving every trip instead of sinking time into one-off farming runs.
- Mid-game priority order
- Vanguard Charm removes heat and cold gear swaps
- Dog Coin boxes add two accessory slots
- Growth Acceleration Bell speeds Pal leveling
- Sphere Modules raise catch rates before serious captures
- Pal Tamer’s Glasses show potential and add mercy hits
- Inventory cleanup with storage rules, food slots, and weapon slots
- Exploration turns into Technology Points
- Potential, condensation, surgery, and souls build a carry
- Pal Labor Research Lab boosts base work
- 1.0 progression habits to carry forward
- Frequently Asked Questions
Mid-game priority order
| Priority | How to get or use it |
|---|---|
| Vanguard Charm | Solves heat and cold armor swaps while adding a large HP boost; start at the Scorched Ashland blueprint station. |
| Third and fourth accessory slots | Spend Dog Coins at the Marsh Island Church Ruins Medal Merchant for permanent slot upgrades. |
| Growth Acceleration Bell | Boosted PAL leveling from an accessory slot; start from the Mount Flopie Summit schematic. |
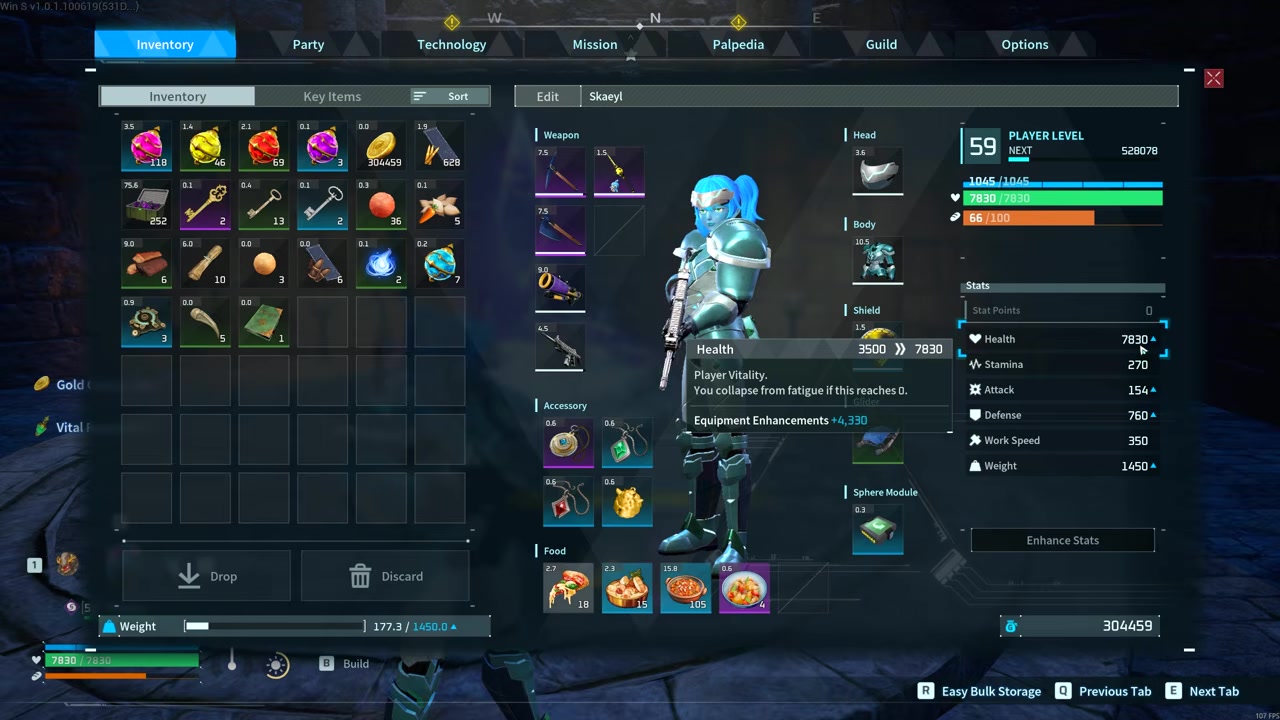
| Sphere Module | Raises capture strength from the inventory’s Sphere Module slot; craft one before burning Hyper Spheres. |
| Pal Tamer’s Glasses | Shows Pal potential and enables safer low-HP captures; start from the schematic near (5, 124). |
| Storage, Feed Bags, and Holsters | Cut inventory cleanup and loadout swaps; configure chests, then add permanent food and weapon slots. |
| Technology Point exploration | Turn fast travel points and dungeon end chests into more technology unlocks. |
| Carry Pal upgrades | Pick one high-potential Pal, then stack condensation, surgery, and Pal Souls. |
| Pal Labor Research Lab | Spends Ancient Pal Manuscripts on base-wide work-suitability bonuses. |
| Map markers and late-1.0 prep | Mark reusable resource spots and start preparing for Wing Pack, Awakening, Mutation, raids, Sunreach, and World Tree. |
KEY!If time is tight, spend it on permanent unlocks first. Slots, accessories, capture strength, and base-wide research make every later expedition faster.
Vanguard Charm removes heat and cold gear swaps
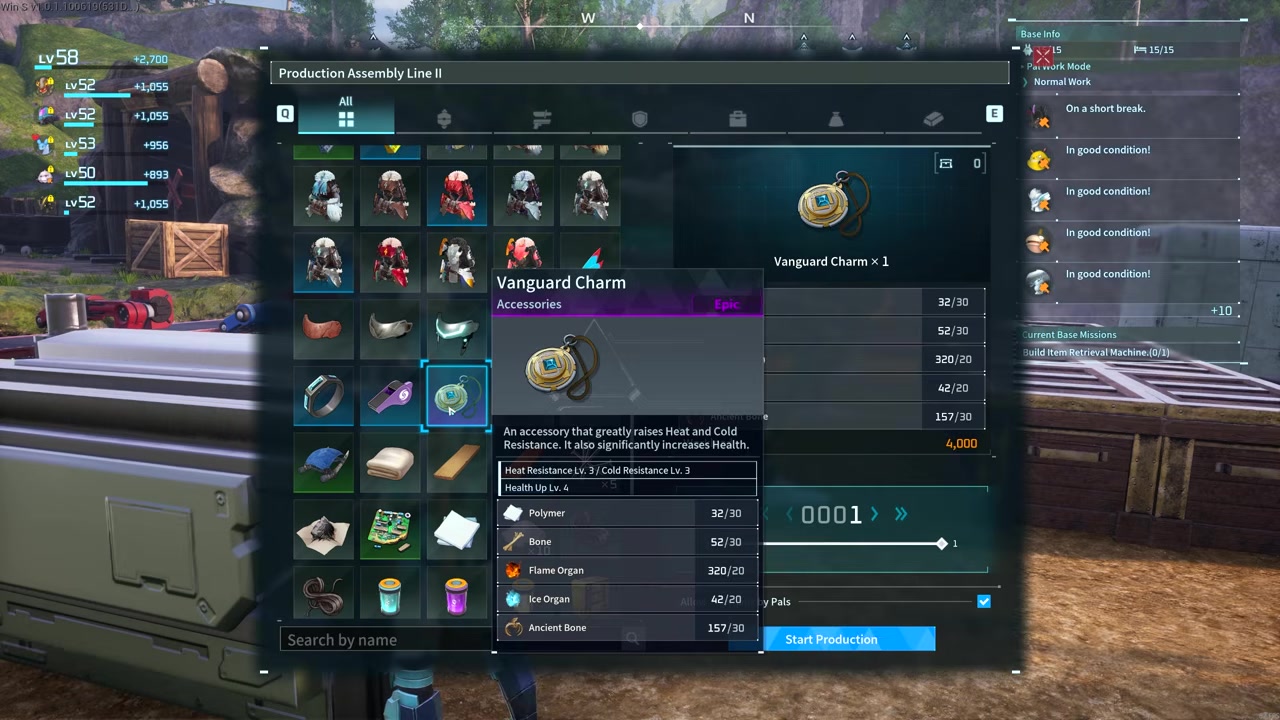
Vanguard Charm is the strongest first target because it compresses three bonuses into one accessory: Heat Resistance level 3, Cold Resistance level 3, and Health Up level 4. On a 5,200 HP setup, that health bonus can push the total to 6,500 HP, so it is not just a comfort item.
What you need first
Go to Scorched Ashland

Head for the blueprint station near (-812, -826), close to the Scorched Ashland fast travel area.
Open the blueprint wall
Break the three rocks next to the station; the doorway opens after the rocks are destroyed.

Loot the schematic
Grab the Vanguard Charm Schematic from the blueprint wall and return to base.
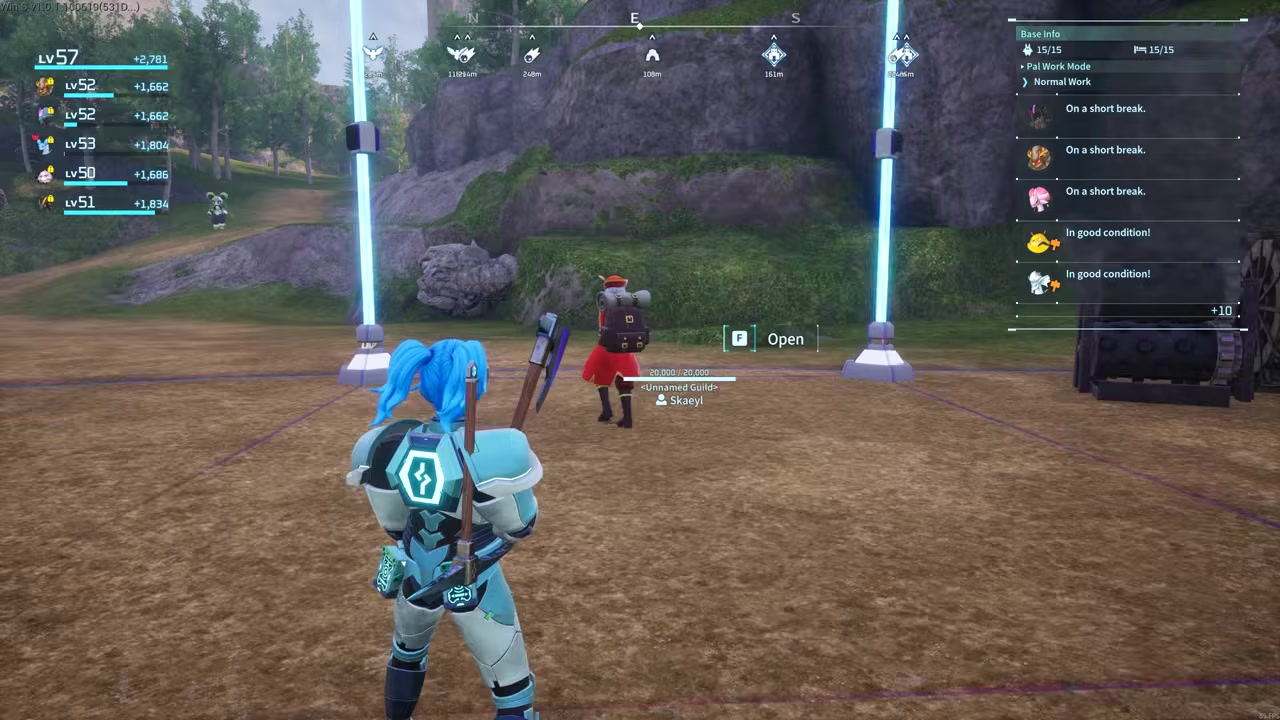
Craft the charm
Use the Production Assembly Line to make the charm with Polymer, Bones, Flame Organs, Ice Organs, and Ancient Bone.
For Polymer, make it from High Quality Pal Oil and Sulfur. A Dumud in a Ranch can supply the oil, while yellow sulfur nodes can be mined, including the ore area around (289, -98).
Bones are fastest through the Wandering Merchant at the Small Settlement for 200 gold each, and you need 30. If you catch that merchant and place him in a Viewing Cage, you can use his shop from your base without taking a base Pal slot.
Flambelle or Rooby in a Ranch can trickle in Flame Organs, while Foxcicle covers Ice Organs. The slower Bones route is Vixy in a Ranch, but 30 Ancient Bone is the real field check: mine skeletal structures in the top-right eco-dome and avoid the flying robots while you gather.
Dog Coin boxes add two accessory slots
Your inventory can hold four accessories, but the last two slots are locked behind Dog Coin purchases. These are permanent upgrades, so buying them early makes every charm, bell, and stat accessory easier to fit.
What you need first
Farm Dog Coins
Hunt or catch Mimogs when you find them, and check rubbish piles on the ground while exploring.
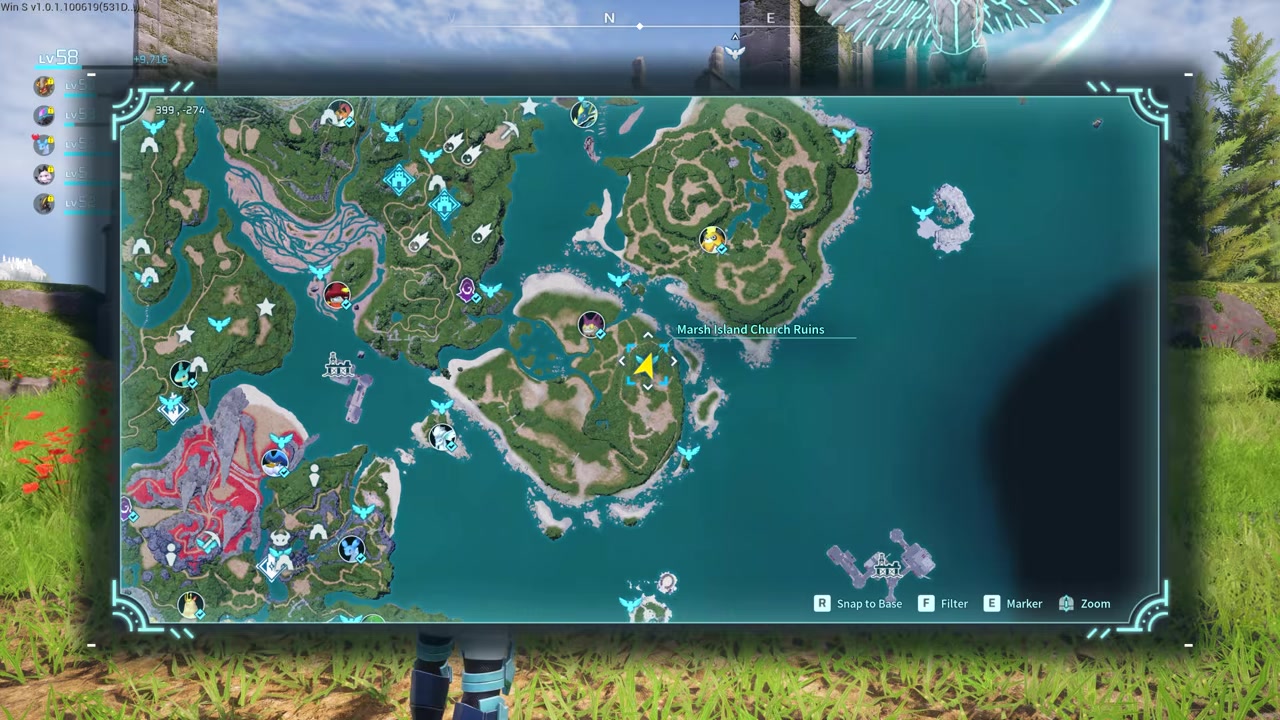
Visit the Medal Merchant
Go to Marsh Island Church Ruins at (400, -274) and talk to the Medal Merchant.
Buy the first box
Spend 50 Dog Coins on the Mysterious Accessory Box to open the third accessory slot.
Buy the second box
Spend 300 Dog Coins on the Mystic Accessory Box; both boxes cost 350 Dog Coins total.
Mimogs are worth stopping for because one can drop dozens of coins and training manuals together. Rubbish piles are the steady supplement, and hotter regions tend to give more coins from them.
Growth Acceleration Bell speeds Pal leveling
Growth Acceleration Bell is the accessory you want once your extra slots are open, because it gives Pal experience support without changing your normal combat loop. Its schematic comes from a blueprint tower near Mount Flopie Summit.
What you need first
Mark Mount Flopie Summit

Mark (-25, -93) near Mount Flopie Summit and look for the blueprint tower.
Clear the tower entrance
If the wall is sealed, handle the outside puzzle, enemy, or Pal requirement around the tower before opening it.
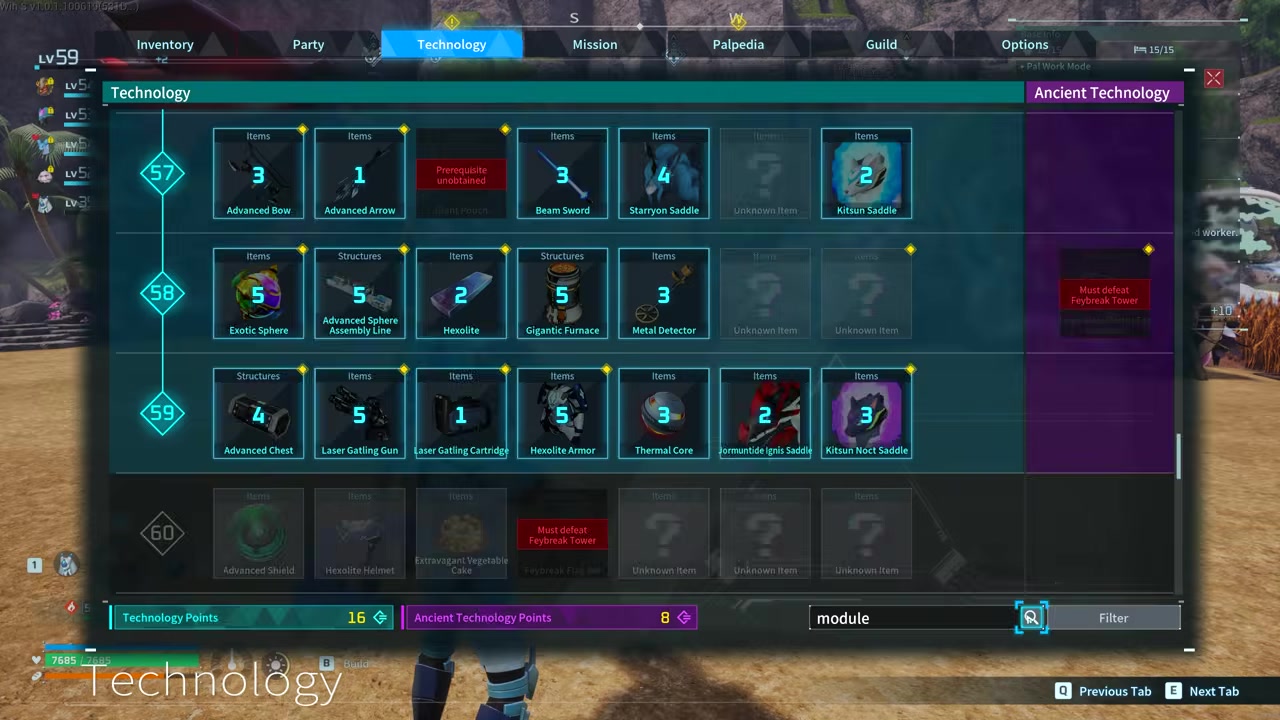
Take the schematic
Loot the Growth Acceleration Bell Schematic from the blueprint wall.
Collect mushrooms
Harvest mushroom trees and mushrooms at Sakurajima – Mushroom Wetlands near (-465, 133) for Mysterious Mushrooms.
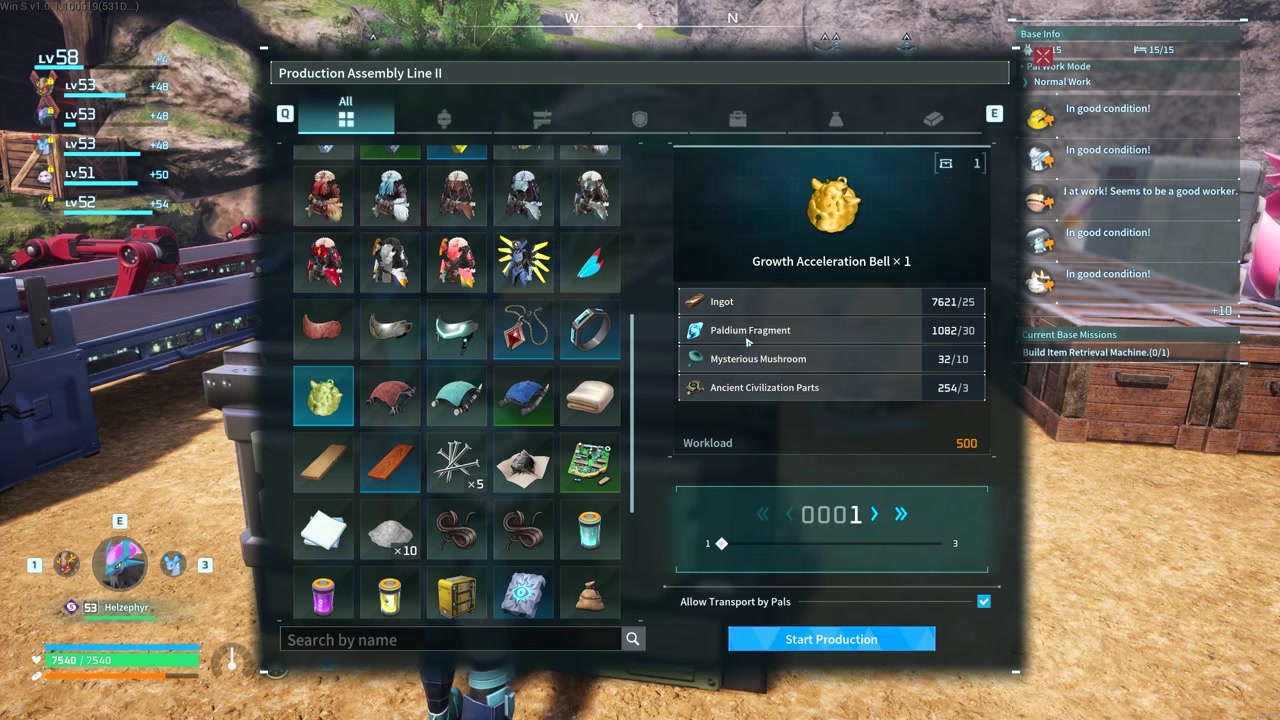
Finish the craft
Use Ingots, Paldium Fragments, Mysterious Mushrooms, and Ancient Civilization Parts to craft the Growth Acceleration Bell.
Ancient Civilization Parts are the only material that might slow this down. Run dungeons to kill the boss and loot the path, or fish purple-sparkle targets with a rod and bait; for fishing, keep the green line on the yellow node during the minigame.
Sphere Modules raise catch rates before serious captures

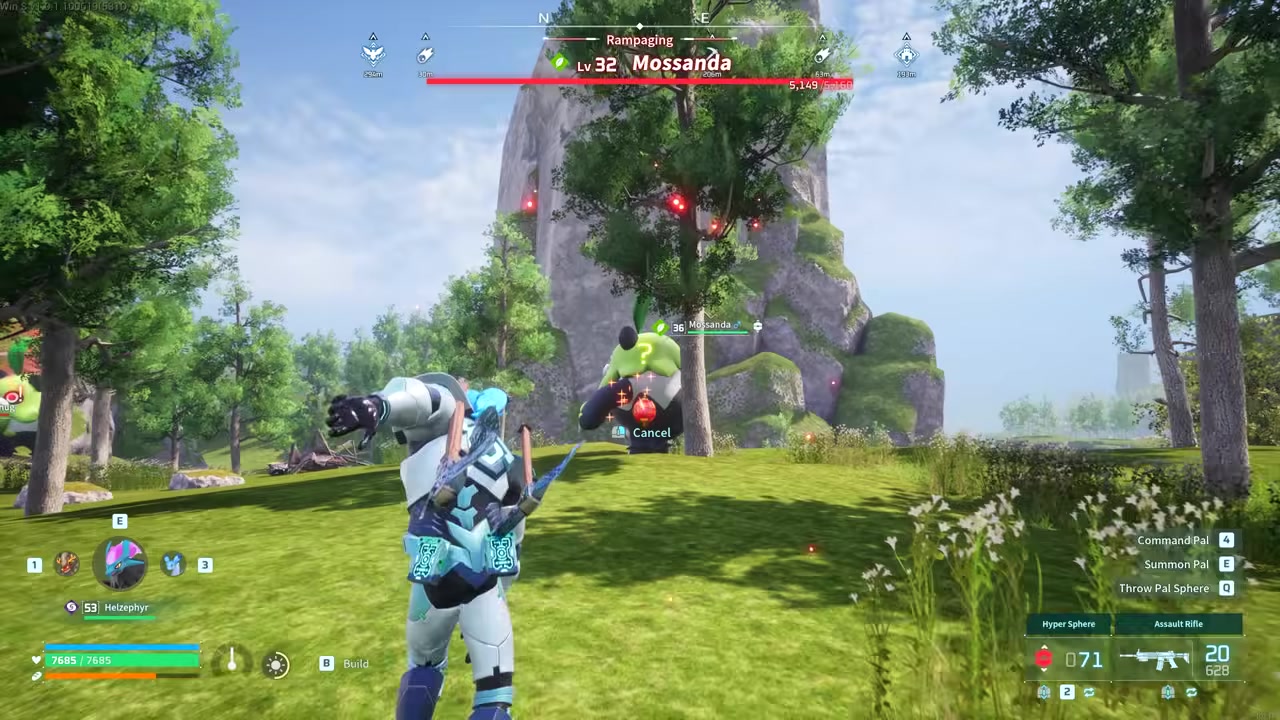
Your inventory has a dedicated Sphere Module slot, and leaving it empty is wasted capture strength. The tech tree starts offering modules at level 19, and you craft them at the Sphere Assembly Line.
The early tradeoff is simple: heavier modules can reduce throw distance while raising capture strength. Slider Module is a strong first target because it reaches capture strength 3 early enough to matter, while the Sniper Module path adds range for longer throws.
On a level 36 Pal, a Hyper Sphere capture chance went from 20% to 26% after equipping a capture strength 3 module. That is the difference between wasting a stack and landing captures at a much healthier pace.
Pal Tamer’s Glasses show potential and add mercy hits
Pal Tamer’s Glasses are the mid-game bridge between catching randomly and building intentionally. They let you read potential before investing resources, and they also keep direct damage from dropping a capture target below 1 HP.
What you need first
Get the schematic
Go to the blueprint location at (5, 124) and loot the Pal Tamer’s Glasses Schematic.
Gather standard parts
Prepare Refined Ingots, Paldium Fragments, and Ancient Civilization Parts.

Harvest Ancient Bark
Enter the southern Grizzbolt eco-dome and chop the glowing stump resources for Ancient Bark.
Craft and equip
Make Pal Tamer’s Glasses at the Production Assembly Line and place them in an accessory slot.
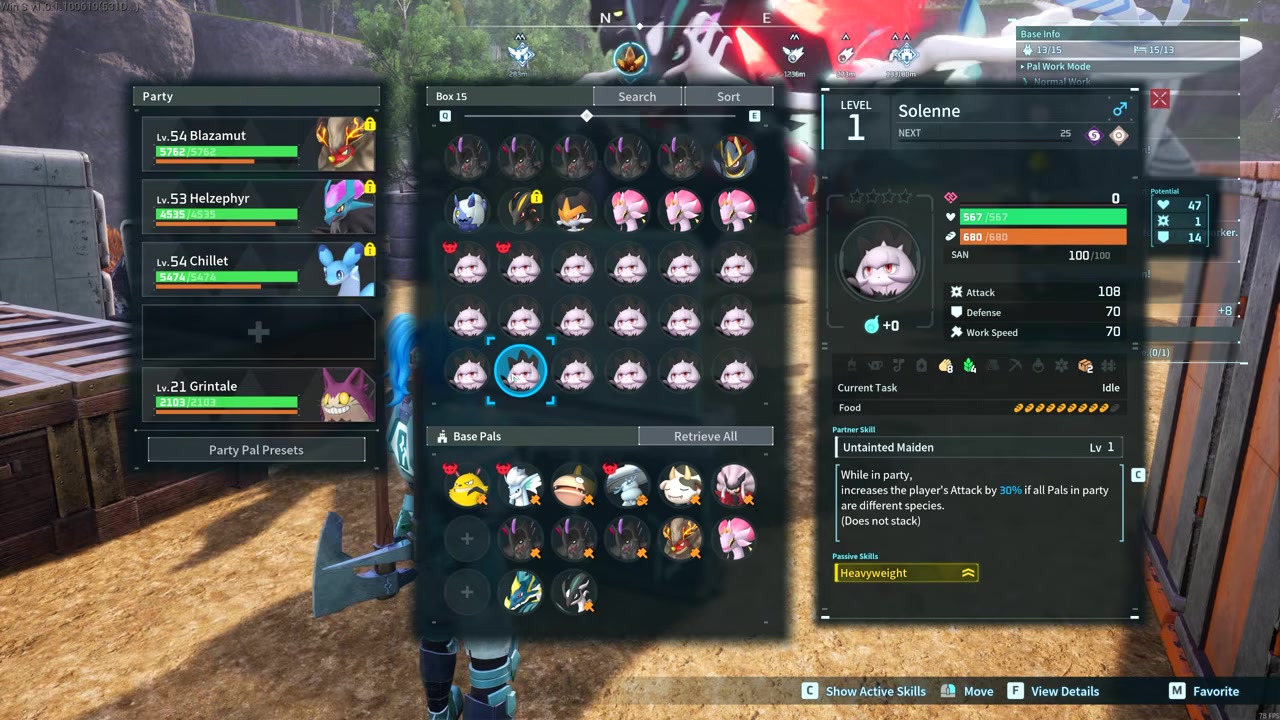
With the glasses equipped, Pal potential appears on wild Pals, base Pals, ride Pals, and Palbox entries. The readout covers health, attack, and defense on a 1 to 100 scale, so breeding batches are much easier to sort before you spend souls or condensation fodder.
The mercy effect only protects against direct damage. If a target is burning, poisoned, or taking another damaging status, it can still die after your hit leaves it at 1 HP, so stop using status damage when the capture is the point.
Inventory cleanup with storage rules, food slots, and weapon slots
| Feature | Unlock or use |
|---|---|
| Chest settings | Set allowed categories on each chest so bulk storage has defined destinations. |
| Easy Bulk Storage | In your base inventory, press R, set an exclusion list, optionally disable the popup, then stow matching items. |
| Feed Bags | Craft bag upgrades from the technology tree; they become permanent food slots that auto-feed you and party Pals. |
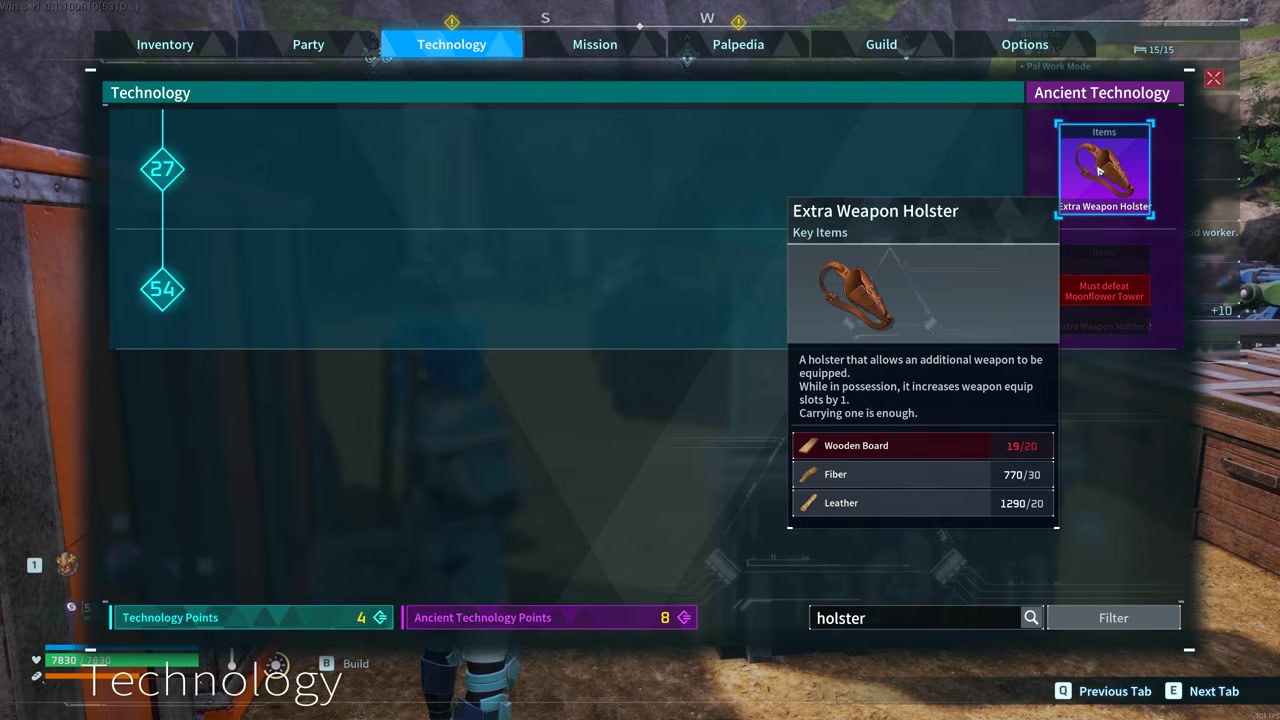
| Extra Weapon Holster | The level 27 tech adds active weapon slots once available; a later holster appears at level 54 after Moonflower Tower. |
Base storage starts working faster once each chest has a job. Open chest settings, decide what can go into that chest, then use Easy Bulk Storage from your inventory while standing in base to send matching items back into their existing stacks.
The useful part of Feed Bags is that they are not normal bag items after crafting; they become character features. A Large Feed Bag setup can hold four food slots, which keeps food out of the main inventory while you and your party eat automatically.
Extra Weapon Holster is the loadout equivalent: more active weapons means fewer pauses to reshuffle tools and guns. The level 27 holster may require a boss or tower clear before it appears; once it is available, craft it because it opens access to five weapon slots.
Exploration turns into Technology Points
Palworld 1.0 keeps the technology tree tight enough that leveling alone can leave you short. New fast travel points each give one Technology Point, and fast travel is not limited to standing at a Palbox, so chain gray map points while you are already out.
Dungeons are the second exploration loop. Clear to the boss, loot the end chests, and look for Advanced Technical Manuals; using one manual grants one Technology Point. The same routes can also stock Paldium Fragments and may include permanent player stat rewards.
Mark every completed dungeon and looted blueprint tower on your map so future farming trips only hit places that can still pay out.
Potential, condensation, surgery, and souls build a carry
| System | Use |
|---|---|
| Pal Essence Condenser | Sacrifice duplicate Pals into one chosen Pal to raise stats and work suitability in stages. |
| Pal Surgery Table | Level 38 table that transfers passive skills into chosen slots for gold. |
| Statue of Power | Spends Pal Souls to raise stats directly. |
Start with potential, not passive luck. With Pal Tamer’s Glasses, check health, attack, and defense potential in the Palbox, then choose the best individual of the species you actually plan to use for combat, work, or both.
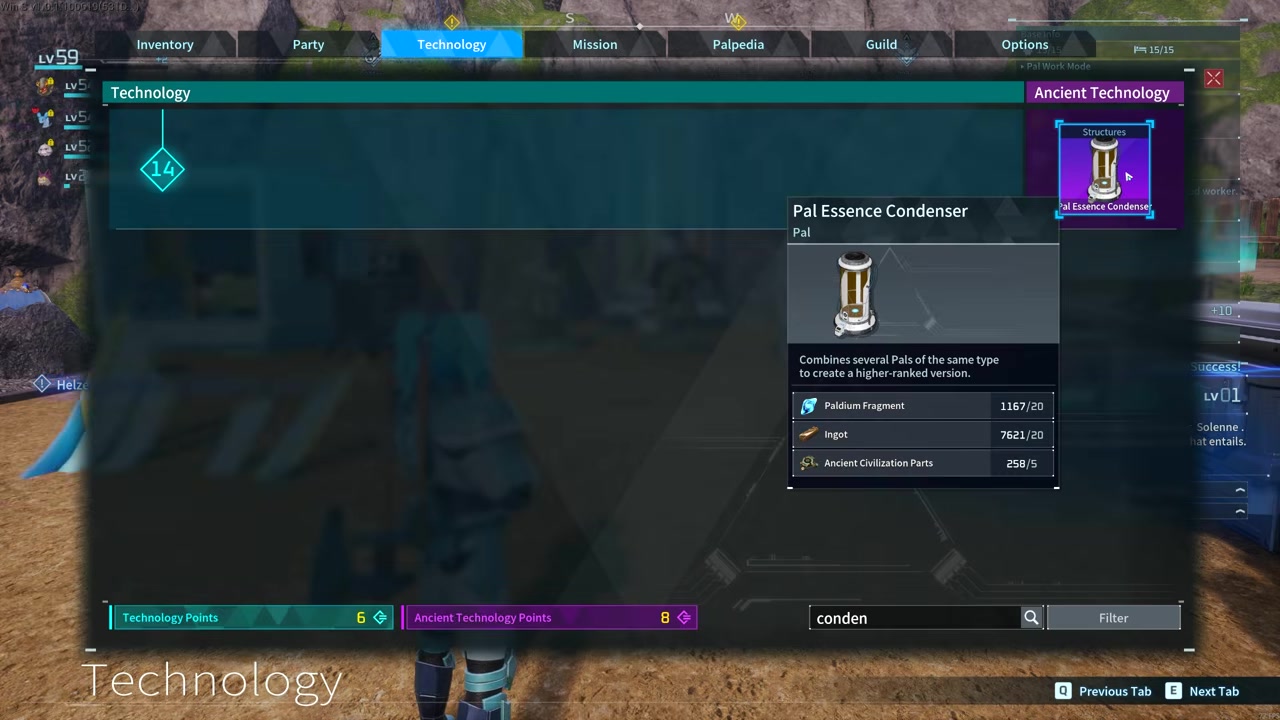
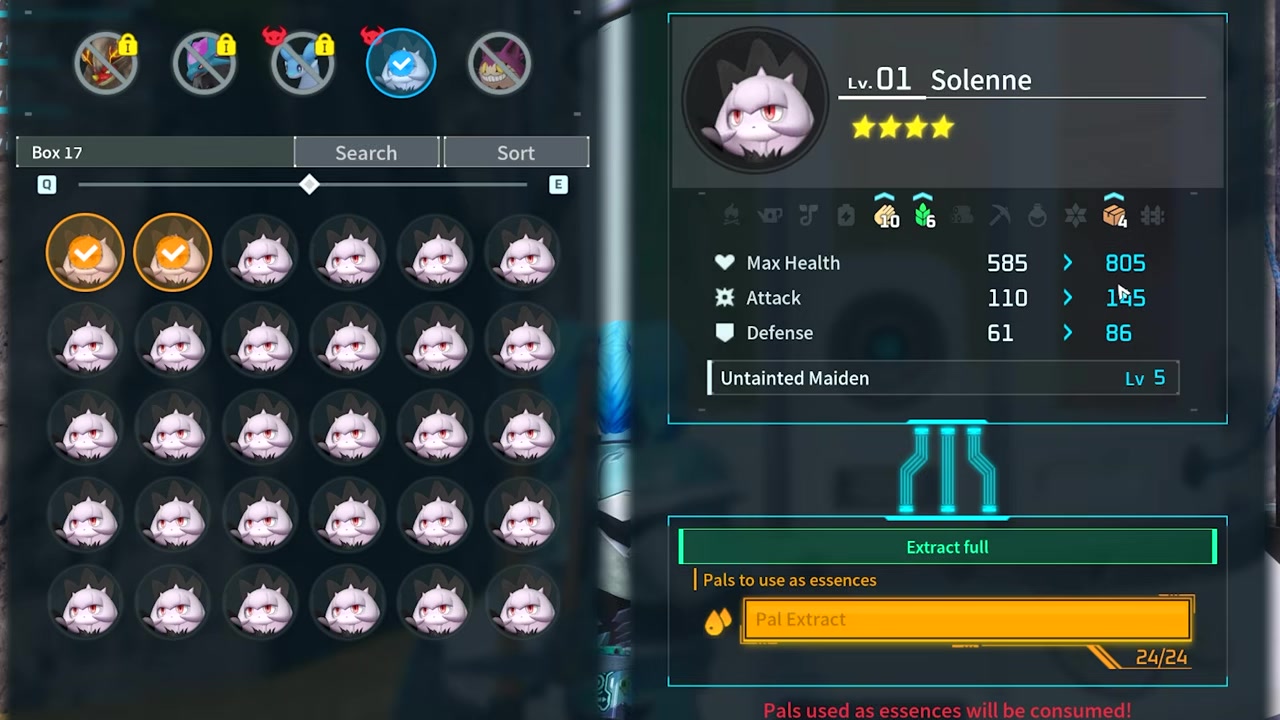
The Pal Essence Condenser wants duplicate Pals of the same species and folds them into the base Pal. Each stage costs more fodder, but the gains can touch max health, attack, defense, and work suitability; that is how a worker’s handiwork, gathering, transport, mining, or kindling levels start climbing beyond the normal value.
When reading passive skill text, yellow values are permanently set, while blue values increase through condensation. Known active skills are more flexible: they can be swapped from a Pal’s skill menu in the main menu or at a Pal station.
Use the Pal Surgery Table at level 38 when the potential is right but the passive set is not. You can move a passive into a chosen slot or replace one, paying gold for the transfer; a gold-rarity passive can cost 50,000 gold.
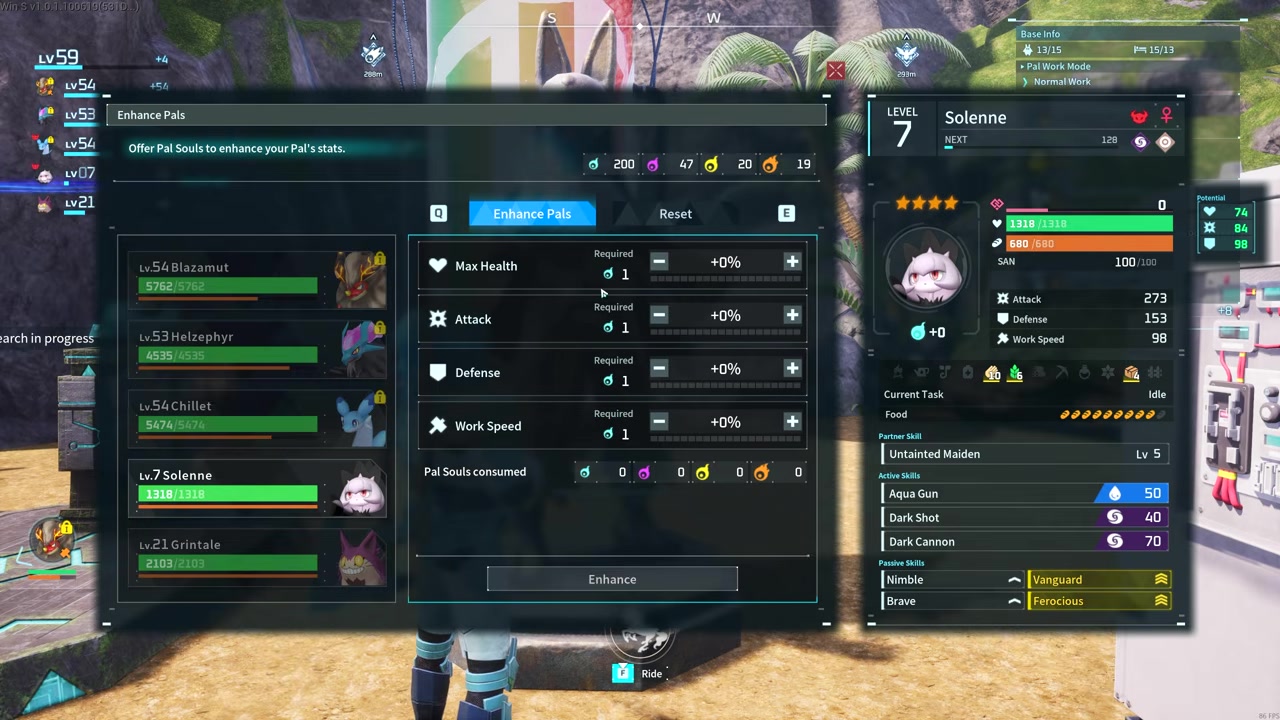
Pal Souls are the final layer. Pick up Small Pal Soul and Medium Pal Soul drops while exploring, spend them at the Statue of Power for stat boosts, and reset the investment for gold if you later decide that Pal is not the keeper.
Pal Labor Research Lab boosts base work
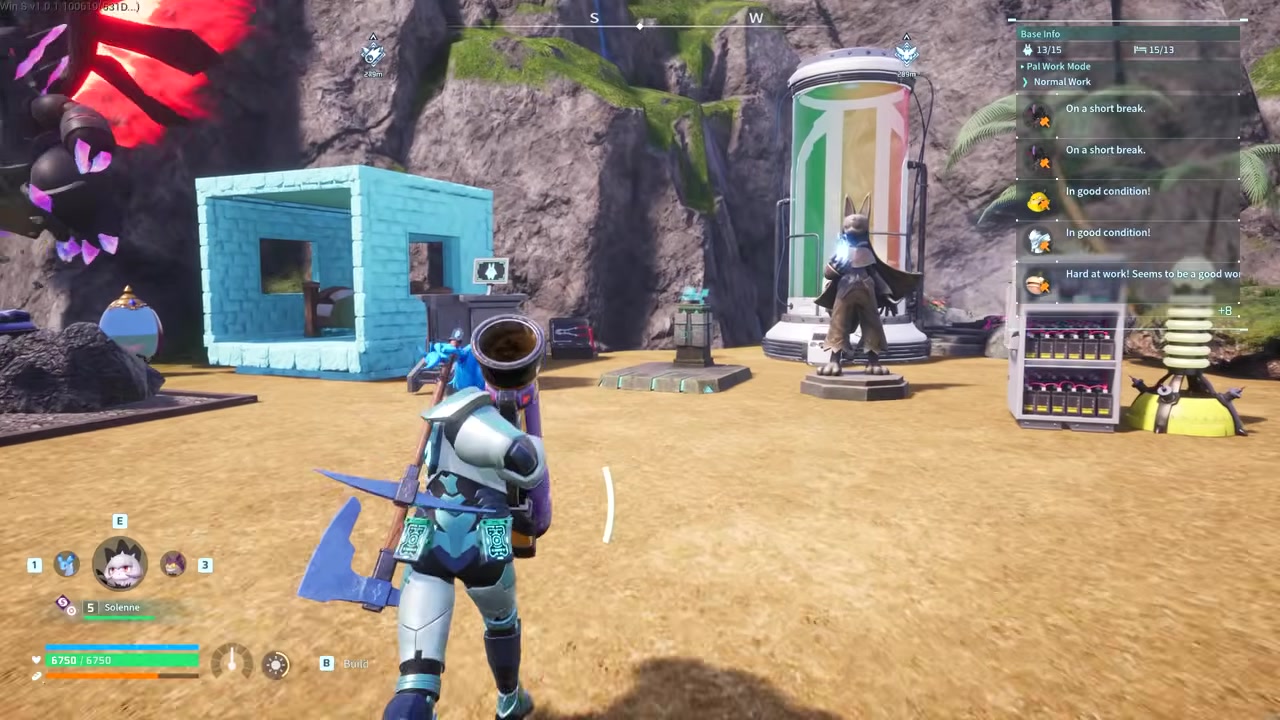
Pal Labor Research Lab is easy to ignore because it looks like another base station, but it creates permanent, base-wide bonuses by work suitability. That means handiwork, mining, kindling, and the other labor types can all be improved from one research tree.
What you need first
Place the research lab
Unlock the Pal Labor Research Lab at level 19 and build it inside the base you want to improve.
Farm manuscripts
Send expeditions from the Pal Expedition Station and choose missions that reward Ancient Pal Manuscripts.
Pick a suitability tree
Spend manuscripts on the work type you use most, such as handiwork, mining, or kindling.
Build the utility structure
Place one unlocked support item, such as the Large Toolbox, because extra copies do not stack the bonus.
Force the right worker
If research sits idle, put a matching Pal in your party and throw it at the lab job, such as a mining Pal for mining research.
Check expedition rewards before dispatching, because the station can also return materials such as Ancient Civilization Parts. Pick the mission for the resource you are short on, not just the first timer that is available.
1.0 progression habits to carry forward
Once these mid-game upgrades are handled, build map discipline around resources that return. Skill fruit trees respawn, and fixed egg spawn locations respawn too, with egg size randomized, so mark good locations instead of relying on memory.
If a skill fruit tree has fruits you do not want, leave them, travel away, and check again later; the fruit selection can rotate after one or two returns. Trees inside a base can be picked up by Pals, so use that deliberately if you build around them.
The same habit carries into the late 1.0 systems: keep a real combat Pal candidate ready for Awakening and Mutation, prepare base defenses for wave-style raids, and plan travel around Wing Pack, Sunreach, and World Tree progression.
Frequently Asked Questions
What should I get first in Palworld mid game?
Get Vanguard Charm first if you can reach Scorched Ashland and craft at level 29; it frees your armor choice from temperature coverage.
Where is the Vanguard Charm schematic?
The Vanguard Charm Schematic is in Scorched Ashland near (-812, -826), behind a blueprint wall opened by breaking the three rocks beside the station.
How many Dog Coins do I need for both extra accessory slots?
You need 350 Dog Coins total: 50 for the Mysterious Accessory Box and 300 for the Mystic Accessory Box.
Which Sphere Module should I use first?
Use Slider Module first when available because it is an accessible capture strength 3 option; move into the Sniper Module path when you want range too.
Do Pal Tamer’s Glasses stop all damage from killing a Pal?
No. Pal Tamer’s Glasses stop direct hits from dropping the target below 1 HP, but burn, poison, and other damaging statuses can still finish it.
More questions⤵
What is the easiest way to get Ancient Civilization Parts?
Run dungeons when you need a steady route. Purple-sparkle fishing is a useful second route if you already have a rod and bait.
Video help






Leave a Reply