You don’t limit the storage options on a mobile device that’s increasingly becoming the media hub (on the go) for everyone in the world. Google did that by removing SD card support from its Nexus device line-up, and it was acceptabl. But then the company moved away from supporting USB On-The-Go as well on some of its recent Nexus devices and that wasn’t welcomed at all by the Android community.
But thanks to Google for not hesitating on bringing the full fledged USB OTG support back with the Nexus 9. Although, when plugging in a USB drive still doesn’t pops up like it used to before. But you can access the drive without root or any other app, all you’ll need is file manager app.
We recommend using the ES File Explorer app, it’s free and has all the features you’ll ever need. Plus, the app’s UI is also neat.
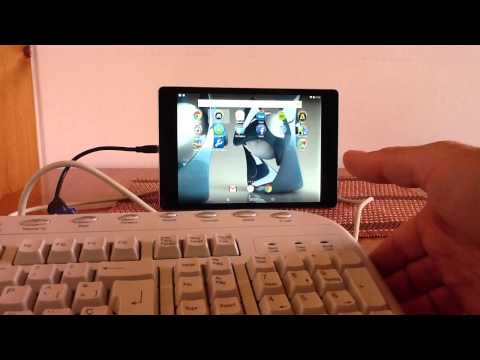
Check out the video below showing Nexus 9 connected to a USB HUB and powering four USB devices:
- A Generic Keyboard
- Mouse
- 8 GB usb drive
- 1 TB external Hard Drive
If you aren’t able to get it working, here’s a quick guide you can follow:
How to Connect USB drive to Nexus 9
- Download/Install ES File Explorer app on your Nexus 9 → Play store link.
- Using USB OTG cable, connect a USB drive to your Nexus 9.
- Open the ES File Explorer app, touch Local in the menu on left (if it isn’t already selected).
- You’ll see your USB drive as last item in the list, probably right below Download.
- Select the USB drive and you should be able use it now.


