What to know
-
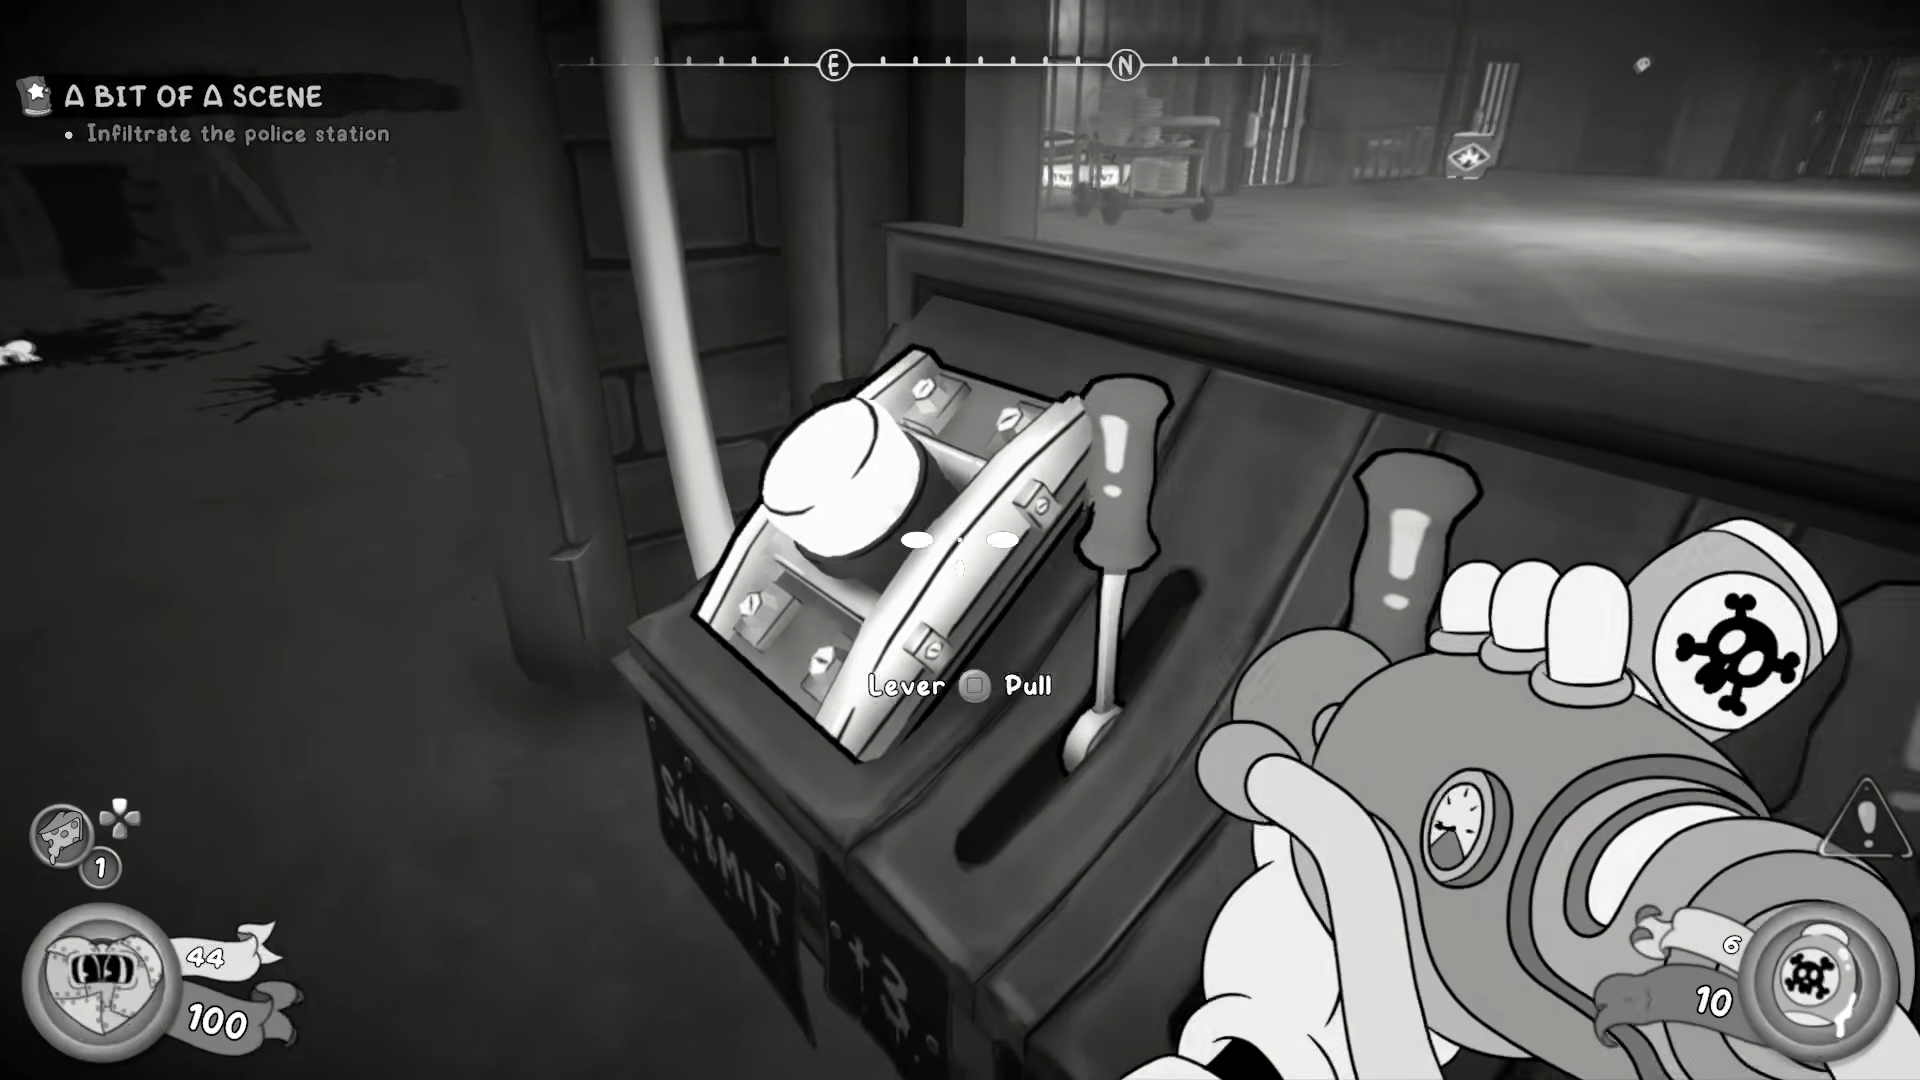
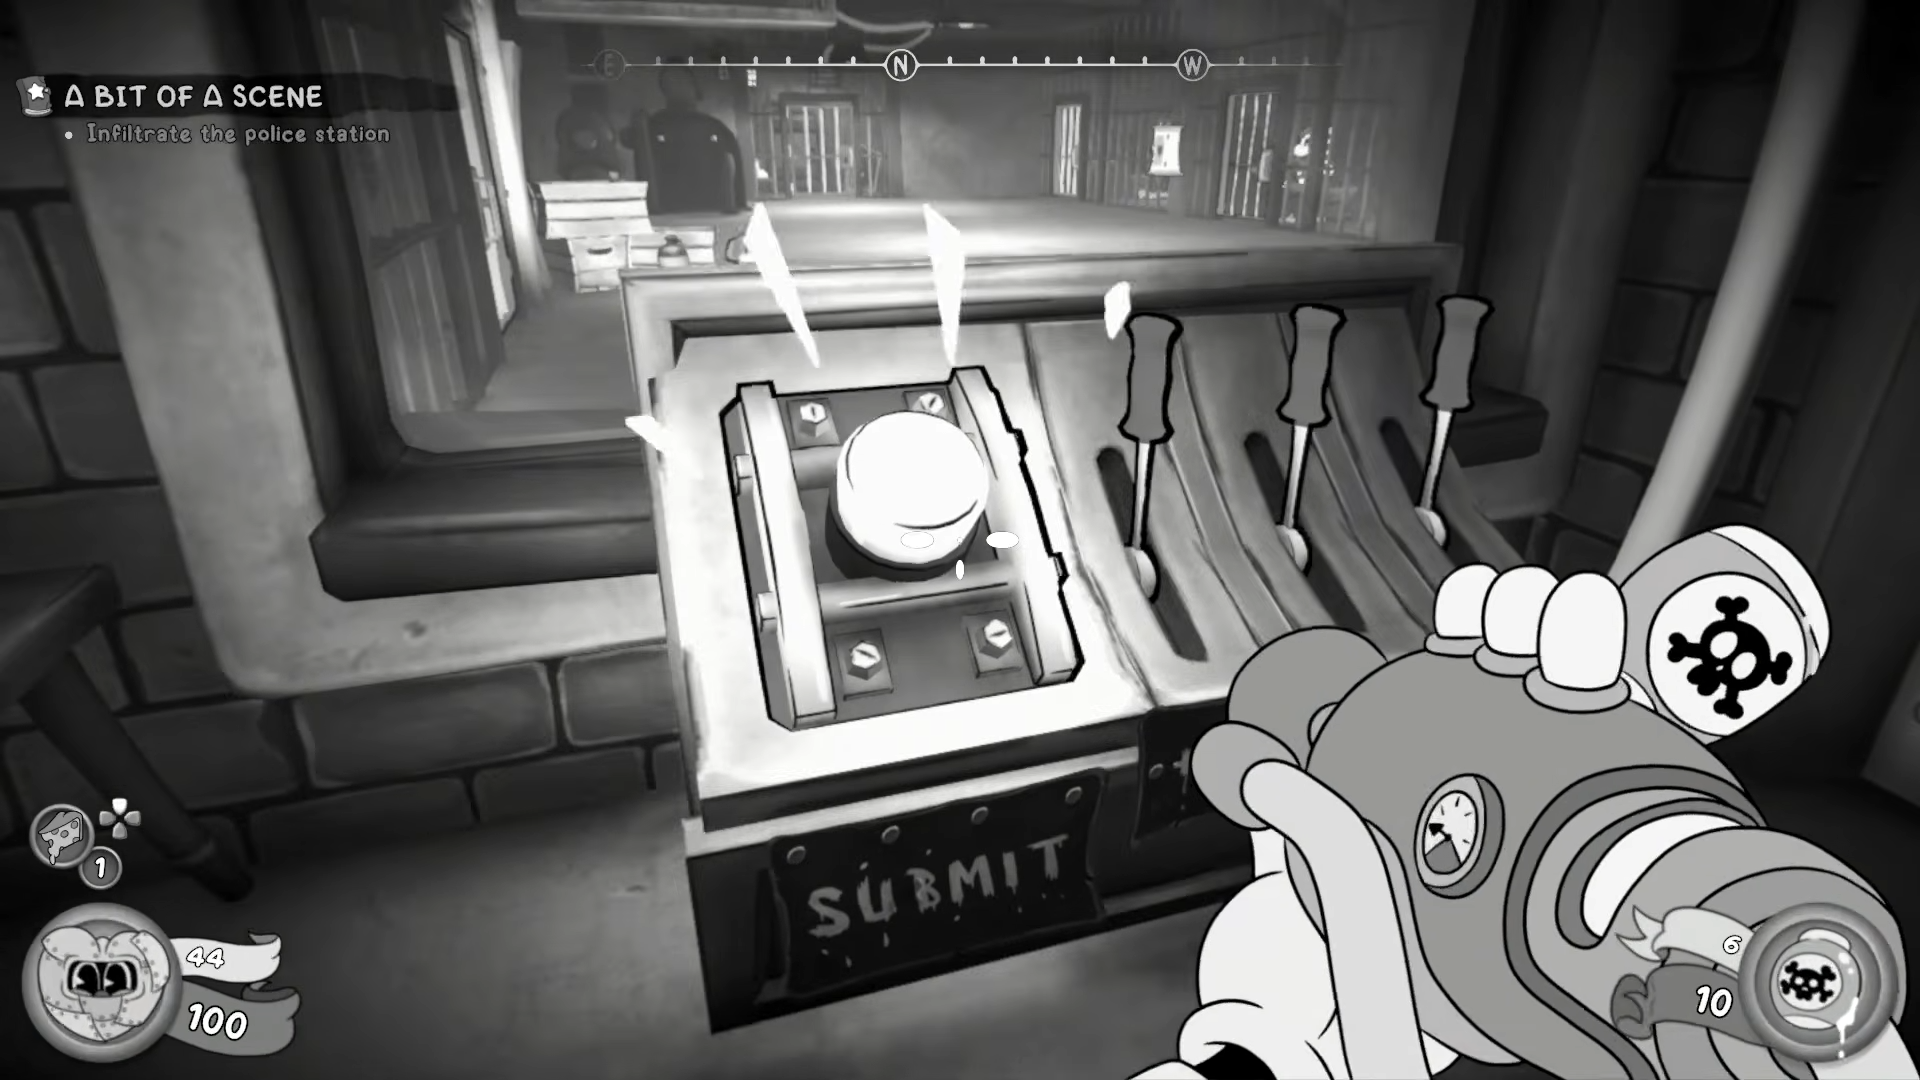
The room contains locked cages, two buttons, and three levers on each of two panels.
-
Each panel has a screen showing a target number, and the lever values must be adjusted to match it.
-
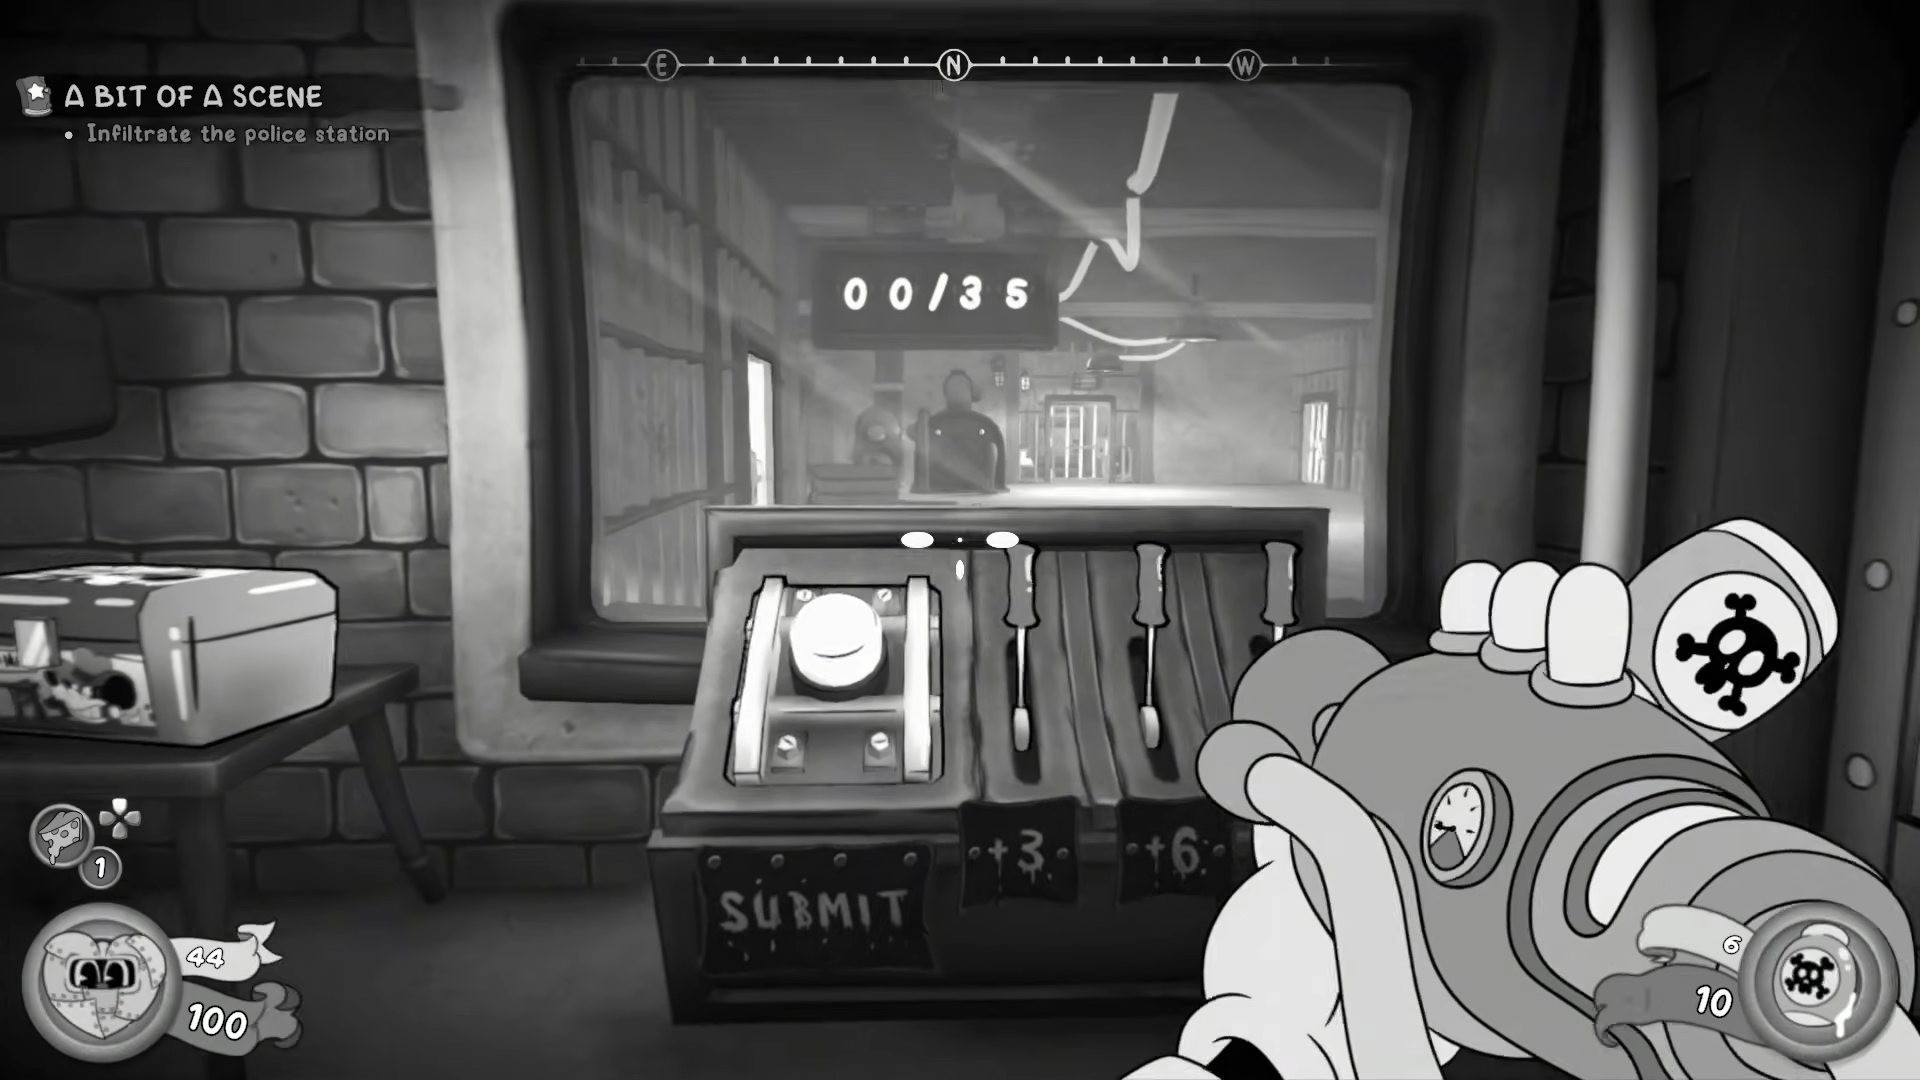
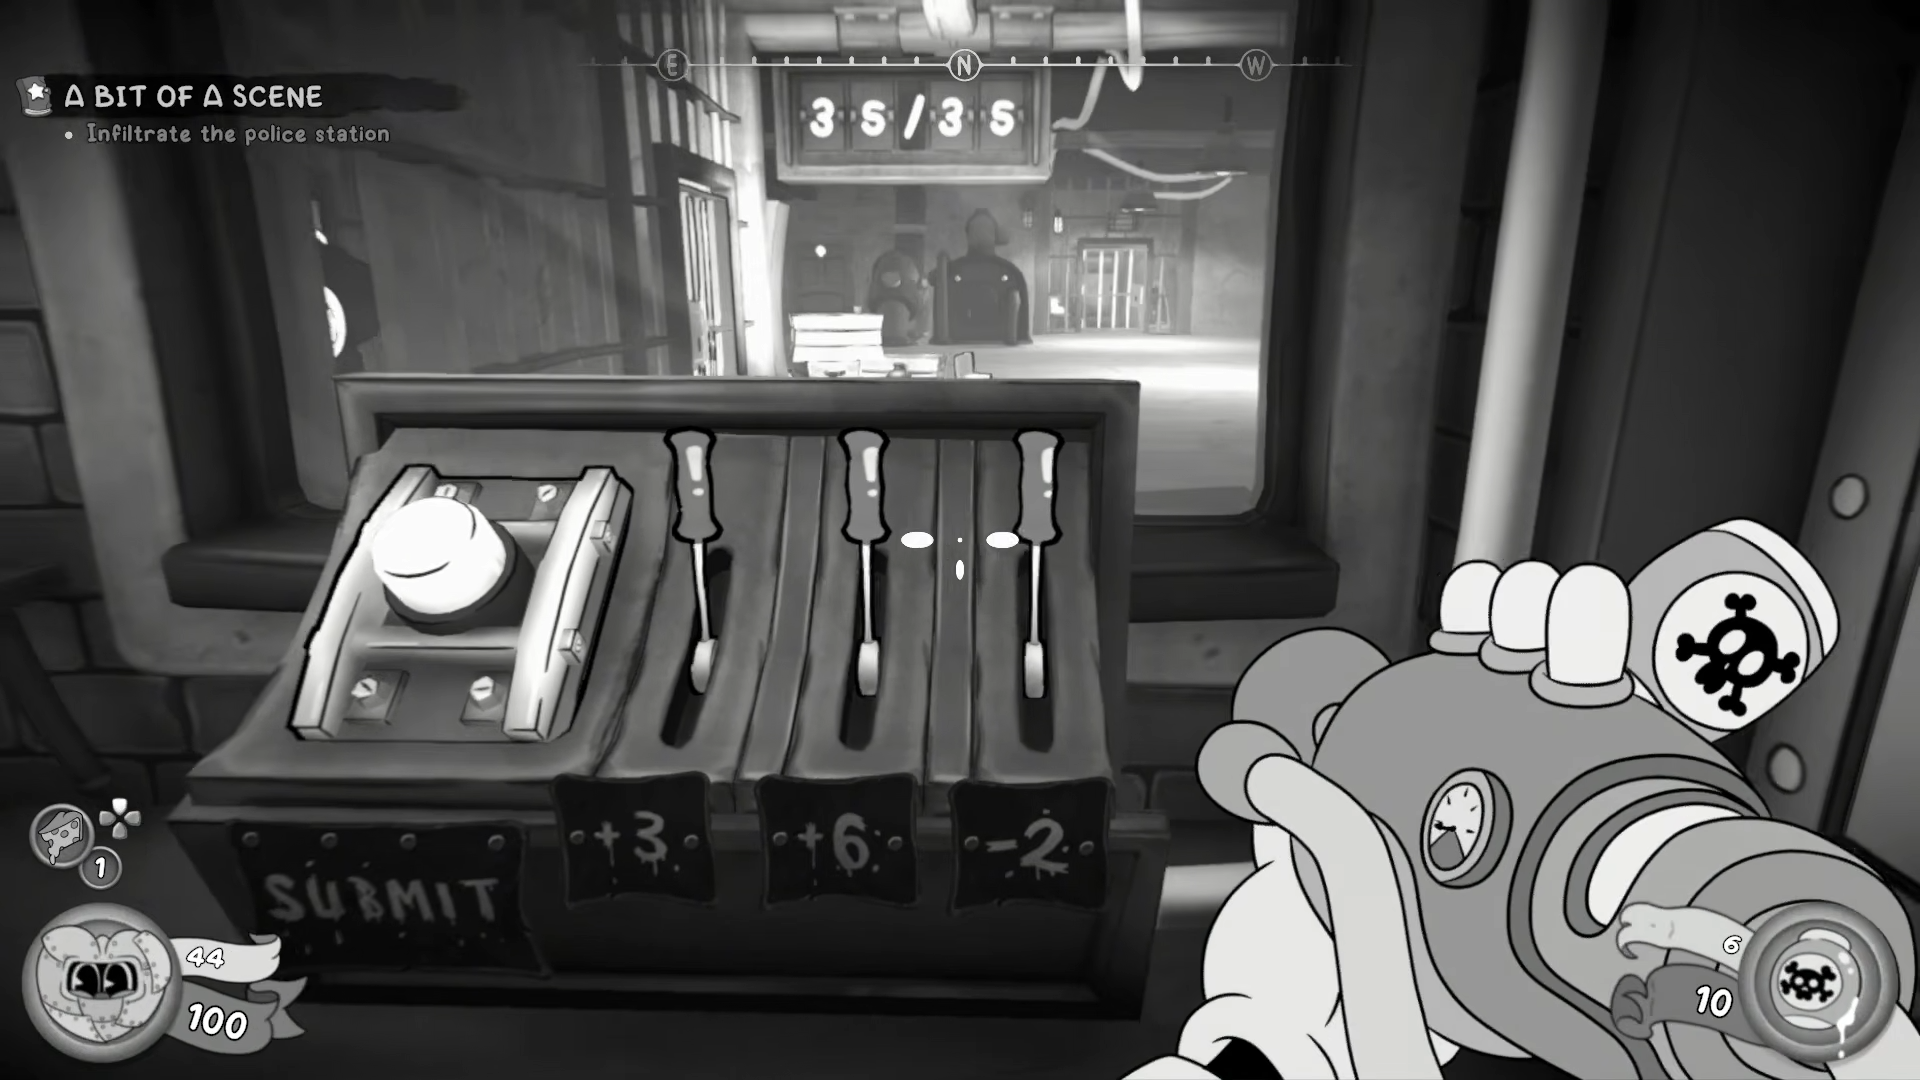
The first panel should be tuned until its total reaches 35, then the button is pressed.
-
After that, solve the second panel the same way, press its button, and the ceiling power will start flowing so you can continue.
In the police station segment of Mouse: P.I. Mouse for Hire, you will encounter a puzzle that is less about combat and more about observation and simple logic. To move forward, you need to activate the room’s panels in the correct order, matching their values to the numbers shown on the screens.
A Bit Of A Scene Puzzle Details
How to solve puzzle for ‘A Bit of a Scene’
This section covers the exact puzzle flow for the police station area. The core idea is simple: use the levers to make each panel’s total equal the number shown on its screen, then confirm it with the button. Once both panels are activated, the electricity returns and the path forward opens.
Step 1: Enter the room and inspect the setup
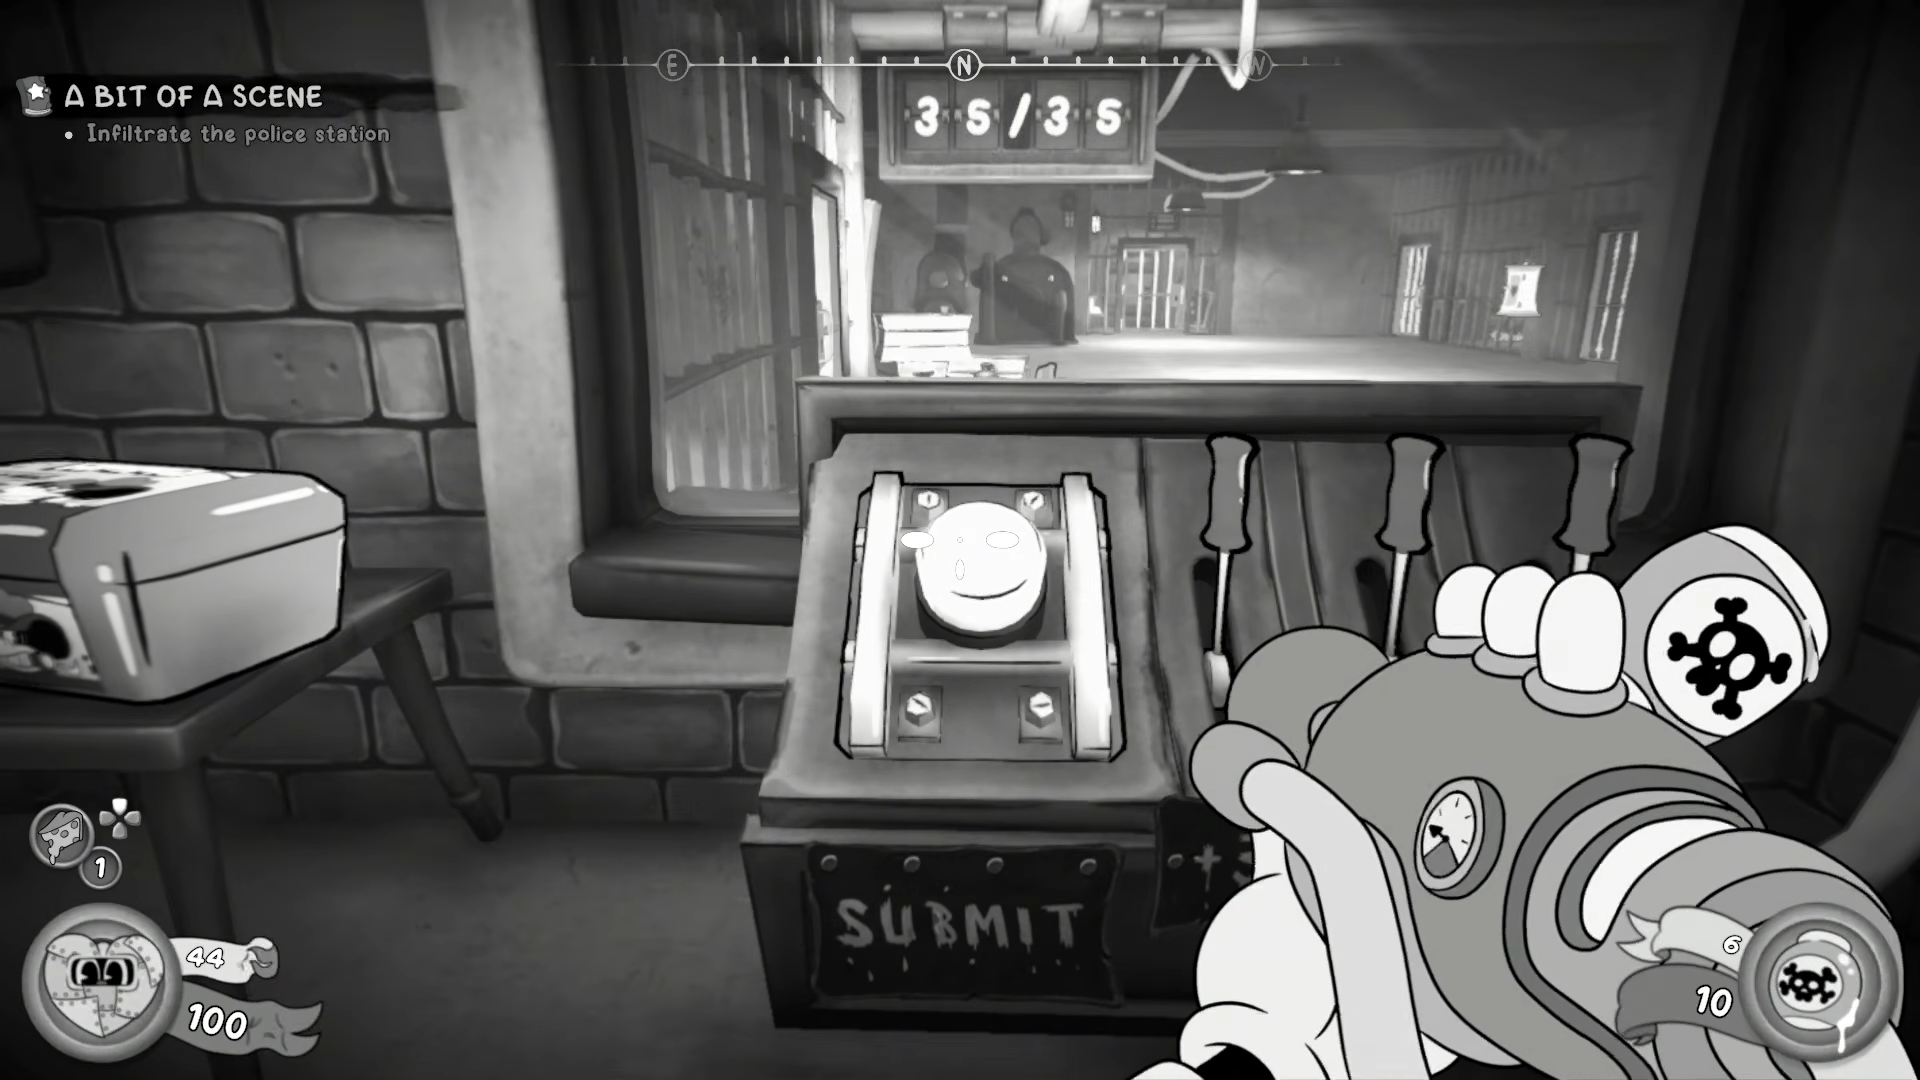
When you enter, look for the locked cages, the two buttons, the three levers on each panel, and the screen above the puzzle area. The screen gives you the target number you need to reproduce using the lever values. The room is structured so that each panel must be solved separately before the mission can move on.
Step 2: Read the target number
Check the screen above the first panel and note the number shown there. The visible target for the first panel is 35. The levers below it have their own numbers, and the goal is to combine them so their total matches that target as closely as possible, then exactly once the correct arrangement is found.
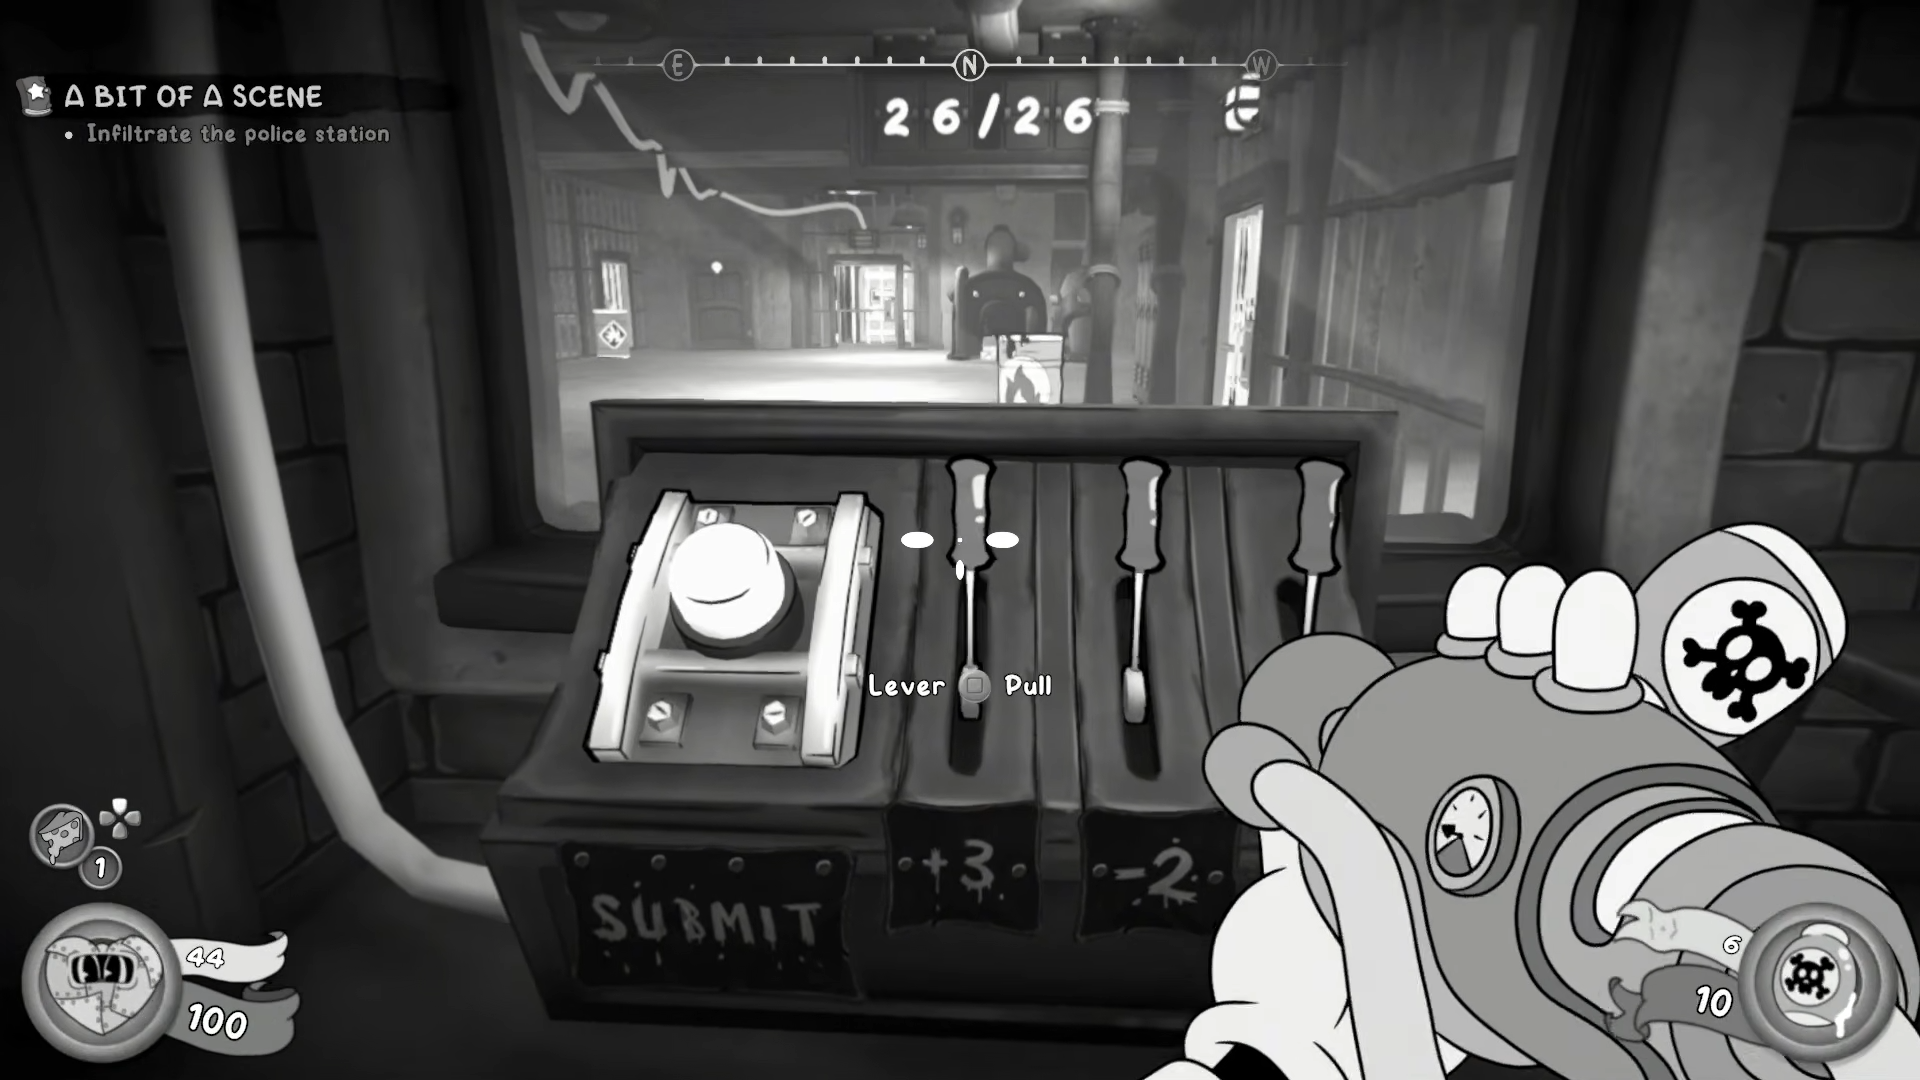
Step 3: Adjust the first panel’s levers
Flip the first panel’s levers until the values add up to 35. The solution depends on the numbers currently assigned to the levers, so the important part is the arithmetic rather than a fixed lever order. Keep adjusting until the panel total equals the board number, then stop changing it.
Step 4: Activate the first panel
Once the first panel matches 35, press the button next to it.
This confirms the solution and activates that side of the puzzle. After that, move to the second side of the room and repeat the process.
Step 5: Solve the second panel
The second panel uses the same logic as the first. Compare the lever values to the screen number, adjust until the total matches, and then press the button on that panel.
When both panels are correct, the room changes state and the mission progresses.
Step 6: Continue after the power returns
After both panels are activated, electricity begins flowing along the ceiling.
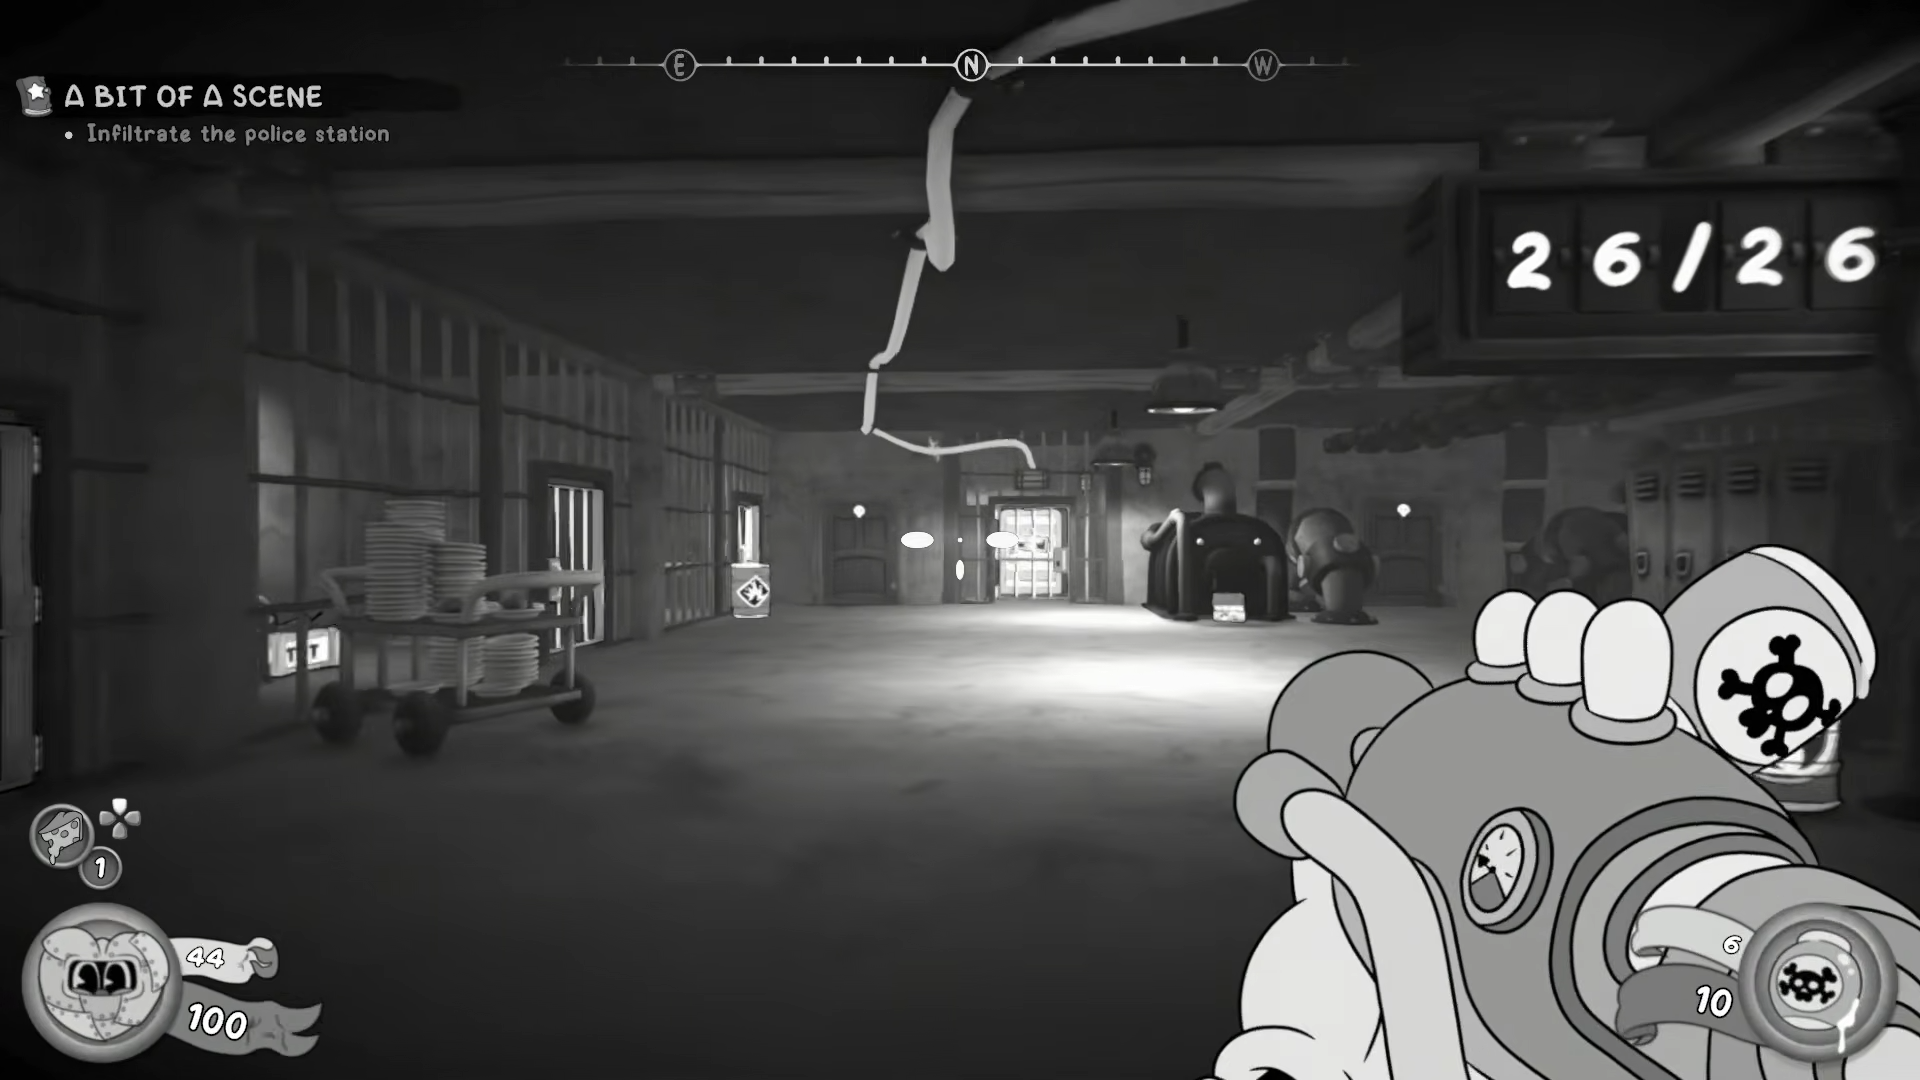
That signal marks the puzzle as completed and opens the way for the rest of the mission. From there, you can proceed deeper into the infiltration sequence.


Leave a Reply