

The Gloombound Stone is in a chest inside the ruined structure at the Stones of Remembrance in eastern Fainweald, roughly at map coordinates 1334, 7480, and it increases the Gloom you gain from slain enemies.
Gloom is the currency that pays for almost everything as you level in Mortal Shell 2, so a Tarstone that boosts how much of it drops off dead enemies is worth grabbing early. The Gloombound Stone does exactly that, and it’s sitting in a single chest in eastern Fainweald from the moment you reach the open world. Here’s the exact spot, the fastest way in, and how to squeeze even more Gloom out of it later.
Gloombound Stone location and item details
| Detail | Value |
|---|---|
| Item type | Support Tarstone |
| Region | Stones of Remembrance graveyard, eastern Fainweald |
| Nearby landmarks | East of Shattered Beacon, northeast of Blackridge Pass Beacon, southeast of Stonebled Gate |
| Map coordinates | Roughly 1334, 7480 |
| Chest | Stone/bone chest inside the central ruined structure |
| Main effect | Slain foes drop more Gloom |
Key The Gloombound Stone is a Support Tarstone, and it lives in one chest tucked inside the central ruined building at the heart of the Stones of Remembrance graveyard in eastern Fainweald. Everything you need to pin it on the map is below.
How to get the Gloombound Stone in Mortal Shell 2
Open your map
Zoom in on the stone ruins east of the Shattered Beacon dungeon and pin the marker around 1334, 7480.
Travel to eastern Fainweald
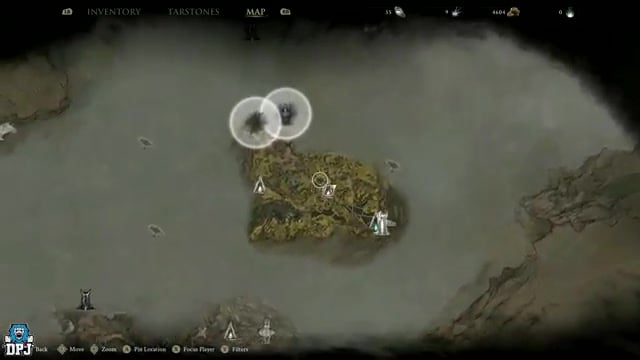
Make for the Stones of Remembrance graveyard, recognizable by its patch of yellow flowers.
Follow the broken stonework
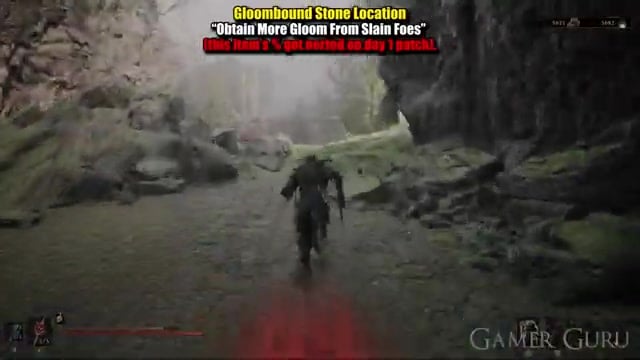
Trace the shattered stone path until you reach the standing archway that leads into the ruin’s interior.
Use the water as an alternate cue
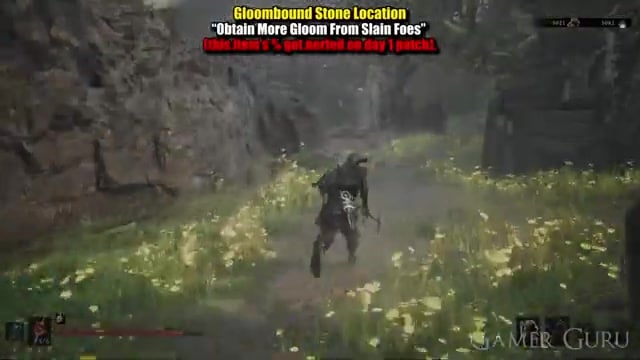
Coming from the body of water with three enemies, clear them and head left into the ruins by the water.
Enter the ruined structure
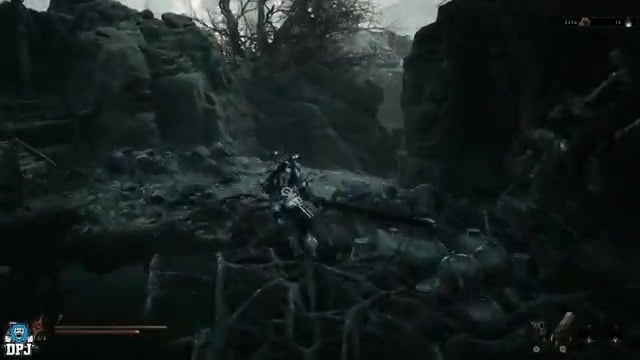
Pass under the archway into the central building where the chest sits.
Open the chest
Loot the stone chest for the Gloombound Stone, and move quick since enemies patrol close by.
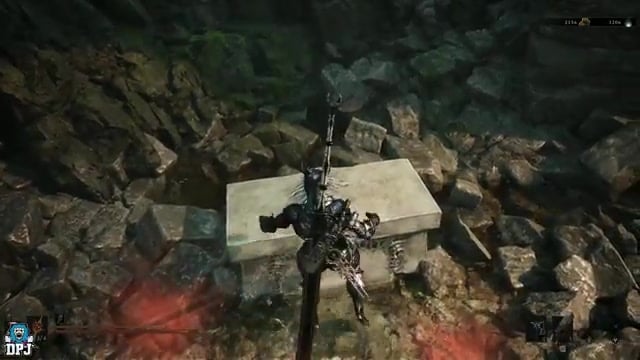
Enemies swarm the ruins, but sprint straight to the chest, loot it, and leave — nothing here forces a fight for the Tarstone.
What Gloombound Stone does
| Detail | Value |
|---|---|
| Effect | +30% Gloom from slain foes |
| Durability | 3,000, draining as you gain Gloom |
| Upgrade tiers | None since the Week 1 Update |
This is a Support Tarstone, so it slots into your Shell and Tarstone setup rather than acting like a conventional weapon mod. Its whole job is padding your Gloom income: every enemy you drop coughs up more of the white upgrade currency you spend leveling the Harbinger, which is why it pays off across the entire campaign the earlier you equip it. Since the Week 1 Update it is a Fragile Tarstone: the bonus is a flat +30% rather than a ladder you climb, and the stone breaks once its durability runs out.
The Gloombound Stone at the Tarforge
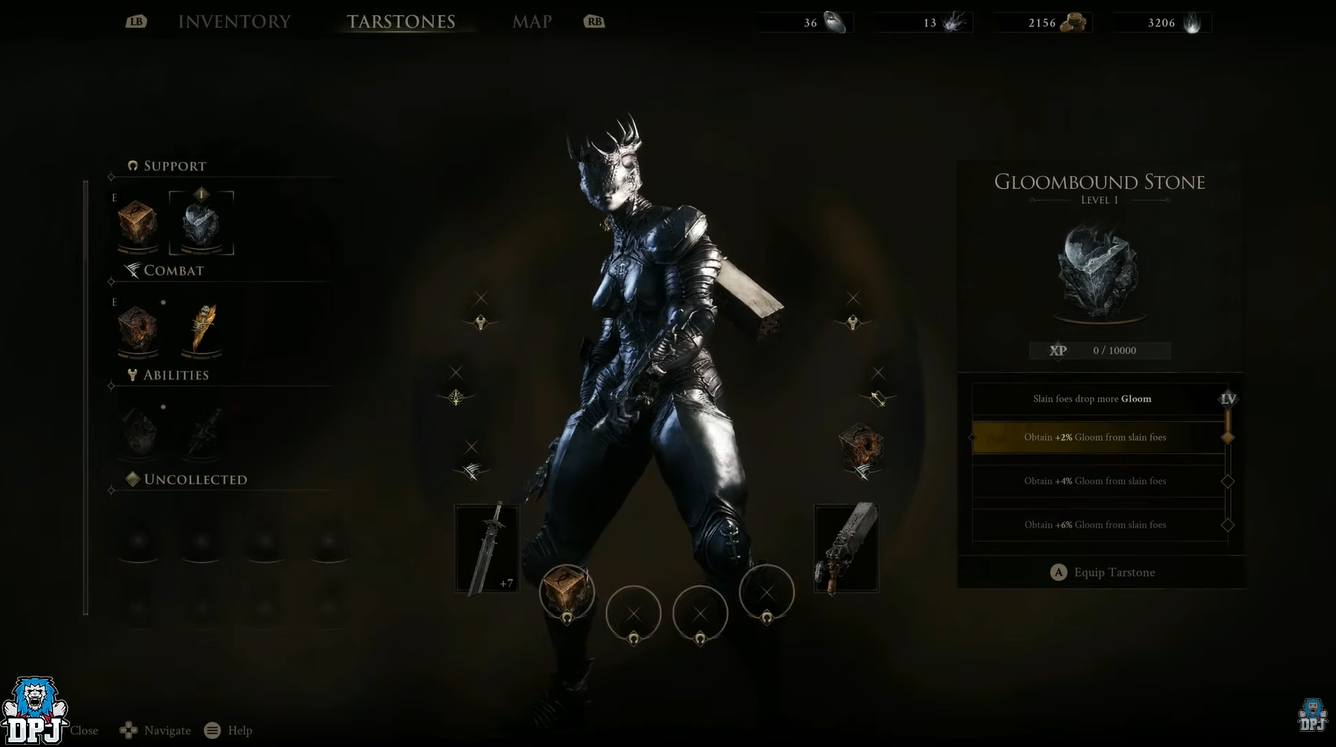
Tarstones bank XP as you kill enemies, and the Tarforge is where you spend it — hand the Etching Needles to Franz at the Tarforge in Marrow Keep to unlock the full slate of upgrade options. The Gloombound Stone itself no longer climbs that ladder: since the Week 1 Update its bonus is a fixed +30%, so there is nothing to step up.
If you want the XP and currency rolling in faster, a couple of optional follow-ups help. Flipping on Night Mode makes enemies deadlier but pumps up the Gloom and Coin they drop, and the nearby Justiciar’s Stone boosts Coin gain, so running it alongside the Gloombound Stone turns any farm route into a currency machine. Neither is needed to grab the Gloombound Stone itself.
Clearing up the location confusion
You’ll see this chest described in a few different ways — east of the Shattered Beacon, northeast of Blackridge Pass Beacon, southeast of Stonebled Gate, or simply inside the Stones of Remembrance. These are all pointing at the same ruins and the same chest, not multiple Gloombound Stones scattered around Fainweald.
Related Mortal Shell 2 guides
Frequently Asked Questions
Can you get the Gloombound Stone right after the prologue?
Yes. As soon as you finish the prologue and hit the open world, the chest is reachable almost straight away. The one hurdle is a curse blocking part of the path — you’ll need enough Gloom to dispel it, which early on means beating Magdalena, the Lady of the Woods (the first boss out from the Widow’s Overlook beacon) and siphoning back at Marrow Keep.
Is the Gloombound Stone near the Justiciar’s Stone?
It is. The Justiciar’s Stone sits a short distance away in a cavern just past the Broodshell Swarm encounter, so most players grab both in the same trip and pair them for Gloom-and-Coin farming.
Video help






Leave a Reply