
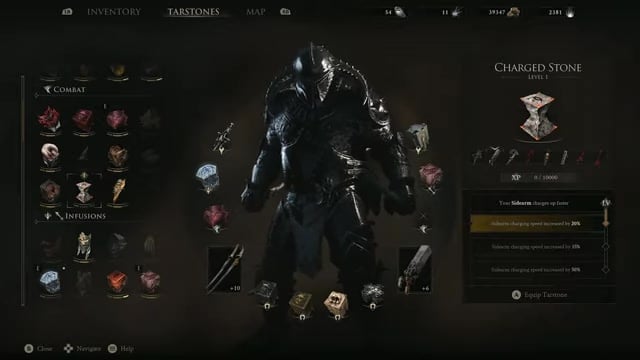
The Charged Stone is a Sidearm Tarstone that makes your sidearm charge up faster, and you grab it from a chest just past the Nameless Pass beacon inside the Withered Shoals — the Corrupted Gate reached past the Gate of Mammon.
The Charged Stone is one of the game’s Combat Tarstones, and it exists for a single job: shrinking the wind-up on your sidearm so charged shots fire sooner. It sits deep in the Withered Shoals — the Corrupted Gate you reach past the Gate of Mammon — and picking it up is a straight run rather than a boss fight. Below is the exact route, what the stone does at each level, and the sidearms worth building around it.
How to get Charged Stone in Mortal Shell 2
The whole trip is a traversal run down into the Withered Shoals — cleanse two beacons, skip the enemies you can, and the chest is waiting at the end of the cave.
STEP 1/7
Cleanse the Gate of Mammon beacon
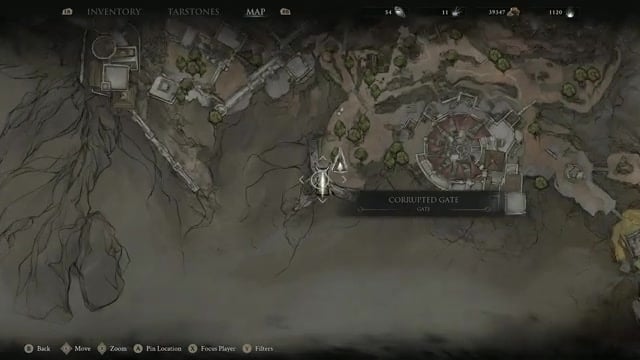
Open your map, cleanse the Gate of Mammon beacon, then step into the Corrupted Gate — the Withers — behind it.
STEP 2/7
Set off from the Ossinite Falls beacon
Inside the Withers, fast-travel to the Ossinite Falls beacon; this is your starting point for the run.
STEP 3/7
Bypass the snails through the caverns
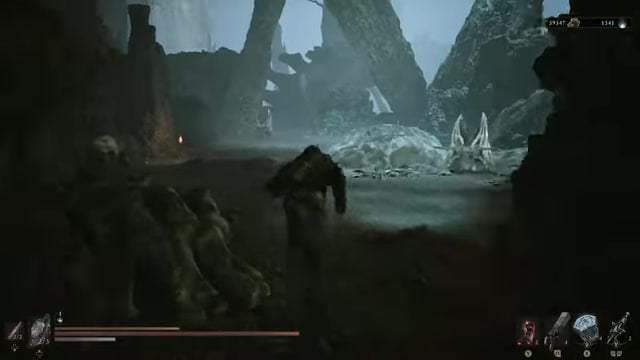
Follow the linear cavern path forward, dodging or killing enemies as you need the Gloom, and give the hard-hitting snails a wide berth.
STEP 4/7
Take the right lane to the far beacon
At the fork, keep to the right-hand lane and round left until a beacon appears in the distance — the Nameless Pass.
STEP 5/7
Cleanse the Nameless Pass beacon
Interact with it and choose Cleanse Beacon; the inner chamber and cave stay sealed until you do.
STEP 6/7
Grab the resource and push through the cave
Head into the chamber behind the beacon, take the resource off the throne, and continue through the cave tunnel.
STEP 7/7
Open the chest for the Charged Stone
At the end of the path the stone chest sits on the right-hand side — open it to claim the Charged Stone.
Video help
What the Charged Stone does and its charge-speed levels
| Level | Charge speed bonus |
|---|---|
| Level 1 | +20% |
| Level 2 | +35% |
| Level 3 | +50% |
This is a Combat Tarstone that only slots into a Sidearm, and its in-game line is exactly as plain as it sounds: your sidearm charges up faster. The bonus is flat charge-speed and it climbs as you level the stone, starting at +20% and topping out around +50% at max rank — enough to noticeably shorten the full-charge window on a heavy sidearm.
One thing to know before you chase ranks: different inventory readouts split these same numbers differently, with some showing a fourth, baseline tier before the +20% ever kicks in. Upgrade toward the percentage you want rather than counting levels, and you’ll land in the right place either way.
Best sidearms to pair with the Charged Stone

Because the max bonus roughly halves how long a full charge takes, the Charged Stone earns its slot on the slow chargers — the sidearms whose whole problem is the wait. The Salvaged Trebuchaxe is the obvious home for it; at full rank the halved charge time is the difference between it being a siege tool and a liability. It also anchors Cursed Child setups for the same reason.
You don’t have to stop at one stone, either. A sidearm carries its own Tarstone slots, so you can stack the Charged Stone alongside another sidearm Combat or Infusion Tarstone — pairing it with something like the Squall Stone — to keep rapid charged shots coming without giving up your damage or status effects.
Slot the Charged Stone on your slowest-charging sidearm, not your fastest — the +50% is close to wasted on a quick charger but transforms a heavy hitter like the Salvaged Trebuchaxe.
Leveling the Charged Stone at the Tarforge
Key You can equip the Charged Stone right away, but you can’t upgrade it until sidearm enhancement is unlocked. That gate opens once you bring the Obsidian Lathe to Franz at the Tarforge in Marrow Keep, which adds the Enhance Sidearms menu used to rank this stone up.
Funding those ranks is easier than it used to be — the August 20 Balance Patch 1 cut smelting costs at the Tarforge to a fraction of the old Gloom price and boosted gold drops, so leveling the Charged Stone no longer drains your economy.
Related Mortal Shell 2 guides
Frequently Asked Questions
Do you have to beat a boss to reach the Charged Stone?
No. The whole run is pure traversal — there’s no arena, boss gate, or forced fight standing between you and the chest. You can dodge past everything on the way in, snails included, and the only hard requirement is cleansing the Nameless Pass beacon, which is what unseals the cave the chest sits in. Kill enemies only if you want the Gloom.
Which sidearms benefit most from the Charged Stone?
The rule of thumb is simple: the slower a sidearm charges, the bigger the payoff, which is why the heavy chargers like the Salvaged Trebuchaxe get the most out of it. On the flip side, it does nothing for a sidearm with no charge step or no upgrade path at all — the Troubadour’s Lute, for example, gains nothing from it — so save the stone for a weapon whose wind-up you’re actually trying to cut.




Leave a Reply