
The Withered Knight Polearm & Shield build is a technical PvP-leaning setup built around applying Wither, stacking Charged Dash, detonating the mark, then resetting before the enemy can recover.
The setup plays around a clean loop: Apply Wither – build Charged Dash – close the gap – control or punish – reset. It is strongest when you use Polearm & Shield as the main kit and keep Greatsword in the loadout only for a clean entry tool.
- Who should play Polearm & Shield Withered Knight
- Withered Knight Polearm & Shield build snapshot
- Polearm & Shield versus Greatsword
- How to run the Withered Knight polearm loop in Mistfall Hunter
- Skills and flex choices for Polearm & Shield
- Talents that make Charged Dash work
- Gear affix priorities for Polearm & Shield
- Common mistakes with Polearm & Shield
- Frequently Asked Questions
Who should play Polearm & Shield Withered Knight
Withered Knight rewards players who can read space and tempo before pressing into melee. You are watching the enemy’s dodge rhythm, managing energy, and deciding whether a Charged Dash release will actually land before you commit.
This is not a beginner tank build where durability fixes bad timing. If you miss the mark application, release too early, or chase with no energy left, the class gives the opponent a clean punish window.
Withered Knight Polearm & Shield build snapshot
| Slot | Pick |
|---|---|
| Main weapon package | Polearm & Shield |
| Greatsword skill | Breakthrough Charge |
| Locked Polearm skills | Javelin Thrust, Breaker Shield Bash |
| Flex Polearm skill | Rainbow Piercer, Intervene, or Sacred Bulwark |
| Talent core | Polearm and Shield Specialization, Rising Morale, Focus, Shield Wall Slam, Off-Balance |
| Javelin talents | Javelin: Heavy Kick, Javelin: Stun |
| Affix priorities | Elusive, Vitality, Stoic |
| Import variants | Green and Blue shared loadouts if you already have the code strings |
Run Polearm & Shield as the main package and keep the Greatsword slot narrow. The build wants Polearm skills ready for Wither, control, and Charged Dash stack routing, while Greatsword contributes Breakthrough Charge as the gap closer.
You may also see Purple as a gear-set label, but the importable setup here is framed around Green and Blue; no code strings are printed in this guide.
Polearm & Shield versus Greatsword
| Weapon setup | Best use |
|---|---|
| Greatsword | Lower-level Withered Knight and PvE committed damage. |
| Polearm & Shield | Solo PvP control, utility, ranged pressure, safer approaches, and Charged Dash pressure once skill points support it. |
Greatsword and Polearm & Shield both work, but they solve different problems. Greatsword has the cleaner early path because Polearm & Shield is skill-point hungry before its stack and control package comes online.
Once the talent package is available, Polearm & Shield becomes the stronger fit for this PvP-leaning build. Its value is distance control, safer approaches into ranged characters, crowd control, and repeated Charged Dash pressure that forces enemy dodges.
How to run the Withered Knight polearm loop in Mistfall Hunter
Use this practice route to set the build, apply Wither, stack Charged Dash, and turn the mark into controlled melee pressure.
STEP 1/13

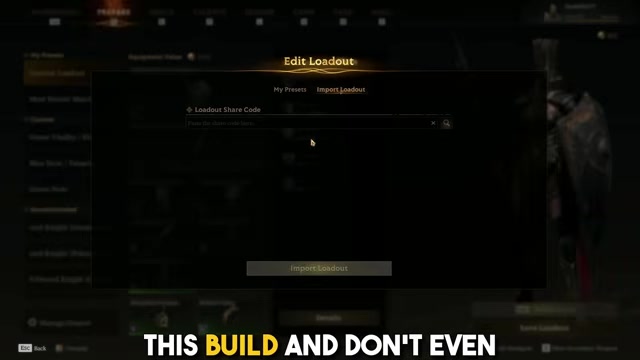
From the main menu, open Prepare, then Manage and Import, and use Import Loadout if you already have a green or blue code.
STEP 2/13
Apply Wither with basic attacks
Land three light attacks with either weapon until your weapon glows purple, then land the next light attack to put Wither on the target.
STEP 3/13
Apply Wither with Polearm skills
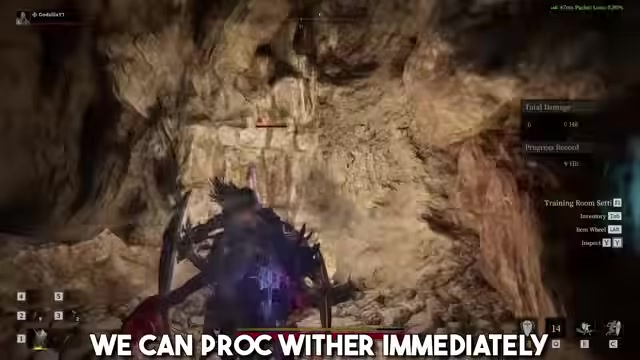
Use Javelin Thrust or Breaker Shield Bash when you need the mark immediately instead of building it through light attacks.
STEP 4/13
Gain a Charged Dash stack

Use any Polearm & Shield skill with Rising Morale active to add one Charged Dash stack and watch the shield icon at the bottom of the screen.
STEP 5/13
Detonate Wither with one stack
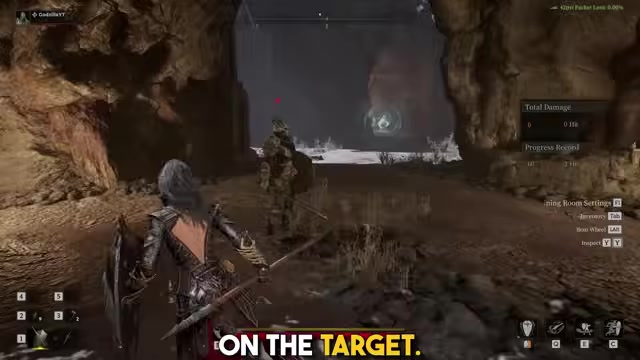
Hold block, release with one Charged Dash stack, and Shield Wall Slam turns the Charged Dash hit into a super-armored Wither execution.
STEP 6/13
Convert two stacks into a spear follow-up
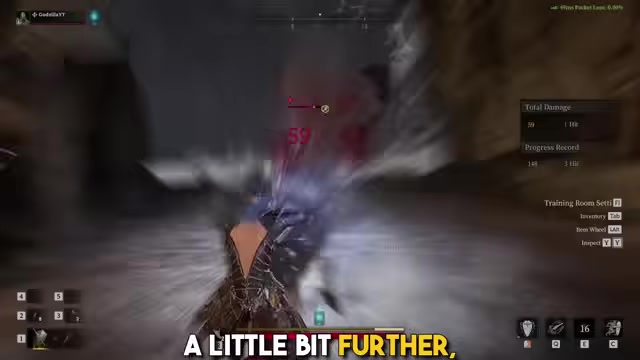
Hold block after a Polearm skill, dodge once for the second stack, then release to detonate Wither and add the spear follow-up.
STEP 7/13
Convert three stacks into the heavy thrust
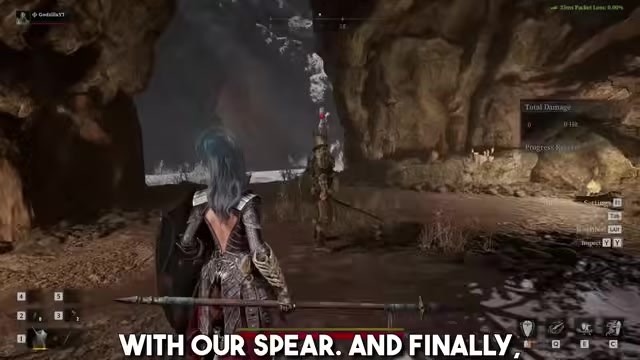
Apply Wither, hold block, dodge twice, and release for the harder Charged Dash spear thrust after the mark detonates.
STEP 8/13
Use the jump input as a side route
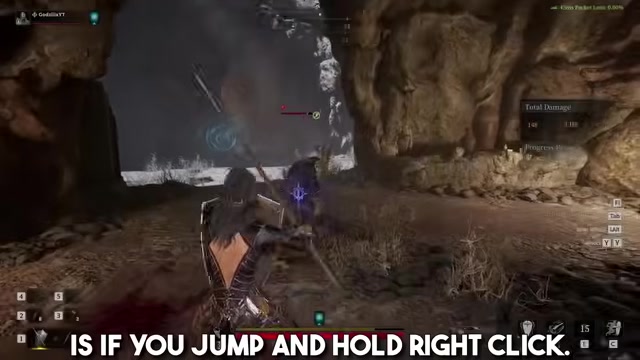
Jump and hold right-click to make Wither deal damage, while Charged Dash stays the main detonation route for this build.
STEP 9/13
Charge only by blocking when you have room

Holding block can build one stack slowly, which is mainly useful while kiting around a corner before re-engaging.
STEP 10/13
Do not release an empty block

Holding block and letting go does nothing unless you already have at least one Charged Dash stack.
STEP 11/13
Practice Javelin Thrust into a wall
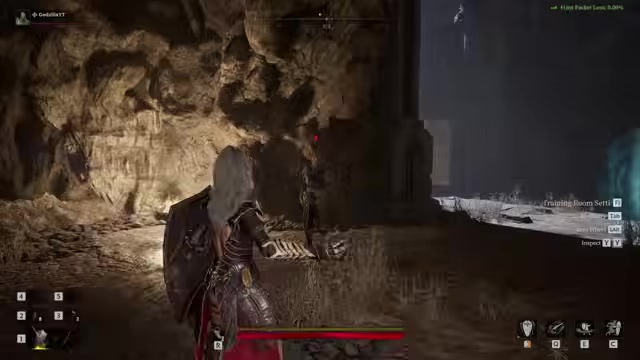
Aim Javelin Thrust so the target hits a wall, then block, dodge, and release to trigger the shield hit and follow-up thrust.
STEP 12/13
Practice Rainbow Piercer into Breaker Shield Bash

Use Rainbow Piercer for a stack, land Breaker Shield Bash, then block, dodge to the third stack, and release into the leaping thrust.
STEP 13/13
Practice the easier tapped Rainbow Piercer starter

Land two light attacks, tap Rainbow Piercer for the mini shield thrust, then block, front-dodge, and release into the shield dash and spear thrust.
Drill the Javelin Thrust wall impact before PvP; the block, dodge, and release window is tight enough that missed timing turns your opener into a punish window for the enemy.
Video help
Skills and flex choices for Polearm & Shield
| Skill | Use |
|---|---|
| Breakthrough Charge | Greatsword gap closer that keeps Polearm cooldowns ready. |
| Javelin Thrust | Locked Polearm pick for immediate Wither application and wall combo starters. |
| Breaker Shield Bash | Locked Polearm pick for Wither application, control, and Off-Balance pressure. |
| Rainbow Piercer | Main solo flex for damage routing and Charged Dash stack setup. |
| Intervene | Team utility swap for shielding allies and knocking enemies off them. |
| Sacred Bulwark | Damage swap that works best when enemies stay in front; camera lock makes sidesteps a problem. |
The Greatsword skill choice is intentionally narrow: Breakthrough Charge gives entry range without spending a Polearm cooldown. On Polearm & Shield, Javelin Thrust and Breaker Shield Bash are locked because they carry the mark and control plan.
A simpler Polearm starter kit can lean on Spear Barrage and basic Charged Dash use, but this build spends its skill budget on tighter PvP control.
Talents that make Charged Dash work
| Talent | Use |
|---|---|
| Polearm and Shield Specialization | Allows three Polearm skills and reduces Greatsword to one skill. |
| Rising Morale | Adds one Charged Dash stack after Polearm & Shield skills. |
| Focus | Part of the current talent package paired with Rising Morale and Shield Wall Slam. |
| Shield Wall Slam | Lets Charged Dash execute Wither and support the shield-based punish. |
| Javelin: Heavy Kick | Adds combo setup value to Javelin Thrust routes. |
| Javelin: Stun | Adds control so follow-up damage is easier to line up. |
| Off-Balance | Breaker Shield Bash applies slow, gains range, and reduces enemy dodge distance while narrowing its attack width. |
The talent package ties Polearm skill use to Charged Dash stacks, then turns the dash into a Wither execution tool. Polearm and Shield Specialization is the trade: three Polearm skills, one Greatsword skill.
Gear affix priorities for Polearm & Shield
| Priority | Affix |
|---|---|
| 1 | Elusive |
| 2 | Vitality |
| 3 | Stoic |
Elusive and Vitality are the core because this build spends energy constantly through dodges, block charges, and chase resets. Stoic fills the survivability gap by giving low-health mitigation and health restoration, which buys time in long PvP encounters.
If your survivability starts feeling comfortable, Stoic is the natural place to trim for more damage later. Tenacious and Burst are affix names you may see in the pool, but they are not the core priorities for this setup.
Common mistakes with Polearm & Shield
Patience matters more than constant pressure. Your best exchanges start when a control tool creates a safe opening, not when you chase every backstep and hope armor carries the trade.
Do not burn the whole energy bar trying to finish a target that still has dodges. Block during charge, use corners when you need time for a single stack, and reset after the punish instead of extending into a bad angle.
The wall combo and Rainbow Piercer routes become dangerous only when the inputs are reliable. Withered Knight rewards practice heavily, but missed combos, empty releases, and late dodges turn the class from oppressive to very punishable.
Frequently Asked Questions
Is Polearm & Shield better than Greatsword for Withered Knight?
For solo PvP after the talent investment, yes. Greatsword still has the cleaner low-level path and easier PvE damage window, so swap only when Polearm and Shield Specialization and the Charged Dash talent package are online.
Is this build good for beginners?
No, not as a first button-mashing setup. It is learnable, but early practice should be in training or lower-risk fights because the damage comes from timed marks, stacks, blocks, dodges, and releases.
What applies Wither for Withered Knight?
Build Judgment through three light attacks, then land the next light attack while the weapon is glowing purple. In this loadout, Javelin Thrust and Breaker Shield Bash can also put Wither on the target quickly.
What detonates Wither with Charged Dash?
Use a Polearm & Shield skill to gain a Charged Dash stack, hold block, then release the Charged Dash hit after the mark is active. More stacks upgrade the follow-up, with the third stack giving the hardest spear thrust in this loop.
What are the best affixes for this build?
Elusive, Vitality, and Stoic. That combination funds the dodge-heavy loop, increases the energy pool, and buys survival time when a PvP exchange goes long.
More questions⤵
What is the flex skill slot for Polearm & Shield?
Rainbow Piercer is the default flex slot. Swap to Intervene when team protection matters more, or Sacred Bulwark when you want extra damage and can keep targets in front of you.






Leave a Reply