
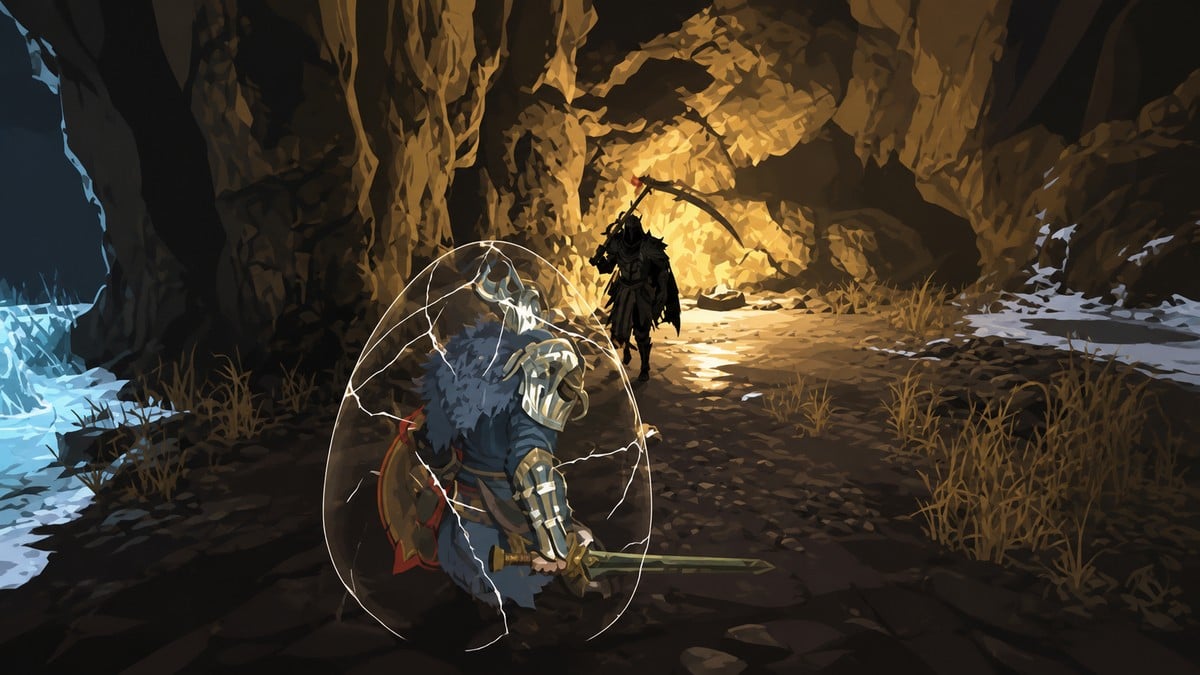
Parry Mercenary is one of Mistfall Hunter’s strongest solo classes, with the best version using Shield Dash, Whirling Cut, Hammer Dash, and Warhammer Sling to pressure melee and ranged opponents.
Parry Mercenary is the solo pick to build around if you want defense, repeatable pressure, and enough mobility to stay glued to evasive targets. The wider solo meta is still contested after the August 12, 2026 update, with Shadowstrix, Sorcerer, and Blackarrow also showing up as top picks depending on whether you value solo PvP, overall damage, or patch timing. For this build, the verdict is narrower and clearer: Shield Dash Parry Mercenary is the Mercenary setup with the best matchup spread.
- Mercenary’s solo verdict after the latest balance shift
- Parry Mercenary solo loadout
- Shield Dash talents for the best solo version
- Shield Slam and Stonebreaker Slash variants
- Shield Slam parry combo in Mistfall Hunter
- How to do the Shield Slam parry combo in Mistfall Hunter
- Affixes and gear priorities for solo Parry Mercenary
- Solo fight plan for Parry Mercenary
- Frequently Asked Questions
Mercenary’s solo verdict after the latest balance shift

Mercenary is strongest in solos when it turns every close-range trade into a parry threat. Against melee classes, that already gives you a strong base: you can block, punish, and force opponents to respect your timing instead of freely swinging into you.
Key The reason the Shield Dash version rises above the other Mercenary variants is its ranged matchup. Solo lobbies are not only about winning shield-to-shield brawls; you also need to catch players who kite, dodge early, or try to reset the fight. That is where Whirling Cut, Shield Dash, Hammer Dash, and Warhammer Sling stack into a pressure kit instead of a pure counter kit.
That does not make Mercenary the settled best class for every player. Shadowstrix still has a strong claim for solo PvP because stealth and burst let it choose fights, while Sorcerer and Blackarrow remain relevant in rankings that weigh ranged damage, control, or older patch conditions differently.
Parry Mercenary solo loadout
| Slot | Pick |
|---|---|
| Sword and Shield skills | Shield Dash and Whirling Cut |
| Hammer skills | Hammer Dash and Warhammer Sling |
| Main purpose | Parry pressure, chained gap closers, and delayed ranged punish |
The recommended setup keeps Sword and Shield as your default weapon and uses Hammer only when the fight asks for a specific punish, chase, or fake-out. Staying on sword and shield gives you access to the build’s safest pressure loop: block, parry, close space, and threaten follow-up attacks.
Warhammer Sling is the hammer skill that punishes panic movement. When an opponent expects a hammer swing and dodges early, the rock can still catch them or force another dodge. Hammer Dash is the chase tool, but it should not become your main stance; over-swapping to hammer makes you give up the shield pressure that makes the build work.
Shield Dash talents for the best solo version
| Talent | Use |
|---|---|
| Indomitable Will | Gives the build access to its Iron Will stack plan |
| Rising to the Challenge | Strengthens the Shield Dash engage and punish window |
| Absolute Punishment | Adds the stun value that makes Shield Dash threatening |
| Block Damage Boost | Rewards shield buildup with stronger pressure after blocking |
| Fearless | Turns Whirling Cut into another gap closer |
| Dash | Extends Hammer Dash so ranged targets are harder to escape |
Start by making sure the build has access to Indomitable Will. The talent tree has multiple routes tied to that idea, including Indomitable Will, Resilient Body, and Sturdy Shield, but the important point is that the build needs at least one way to generate those stacks.
From there, the priority is the full Shield Dash package. Rising to the Challenge and Absolute Punishment are the core talents because the dash can stun a target that damages you during the animation, then create room for follow-up sword and shield hits. That turns your engage tool into a punish tool instead of just a movement button.
Key Take the parry talents as part of the same plan. The buff talent tied to parry has its own cooldown, but the perfect parry itself has no cooldown; if you still have stamina, you can perfect parry repeatedly. That is why stamina discipline matters more than fishing for flashy swaps.
Camp Sword and Shield until the opponent commits; your hammer is strongest as a timed punish, not as your default weapon.
Shield Slam and Stonebreaker Slash variants
| Variant | Best use |
|---|---|
| Shield Dash | Best general solo version because it adds mobility against ranged opponents |
| Shield Slam | Combo-focused variant for parry stagger punish setups |
| Stonebreaker Slash | Melee stagger counter variant with weaker ranged coverage |
Shield Slam is the fun combo route. It can create a true combo after a parry if the opponent is staggered, but it loses reliability because Resilience and Iron Helmet can counter the setup. Pick it if you want the combo expression, not if you want the most stable solo ladder build.
Stonebreaker Slash is the melee-counter variant. With Stonebreaker Counter, it can help you answer stagger situations and turn melee pressure back on the attacker, but it does not solve Mercenary’s harder ranged matchups. Its recovery after landing also limits what you can do next.
Shield Slam parry combo in Mistfall Hunter
How to do the Shield Slam parry combo in Mistfall Hunter
Use this sequence only with the Shield Slam variant when your parry creates the stagger needed for the combo.
STEP 1/5
Hold the parry input
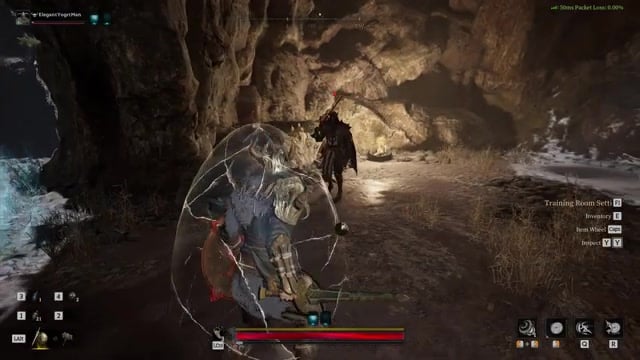
Keep holding right click as the parry connects.
STEP 2/5
Charge the sword attack
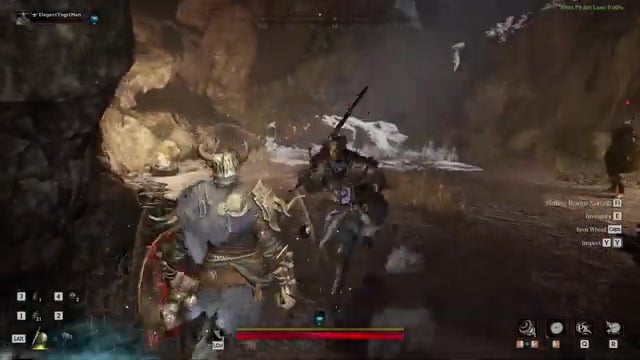
Use a charged left click without releasing the pressure window.
STEP 3/5
Cast Shield Slam downward
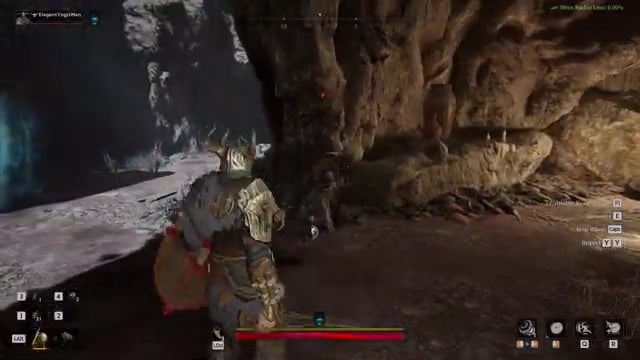
Activate Shield Slam while looking straight down.
STEP 4/5
Swap to hammer
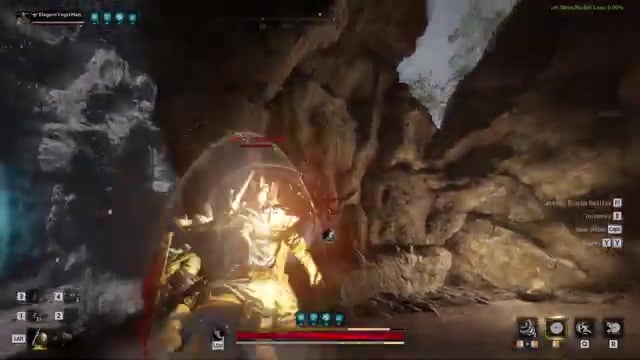
Change weapons immediately after the Shield Slam hit.
STEP 5/5
Finish with jumping hammer pressure
Use a jumping right click with the hammer to complete the sequence.
Video help
Affixes and gear priorities for solo Parry Mercenary
| Affix | Use |
|---|---|
| Tenacious | Supports staying power during solo trades |
| Stoic | Fits the block-and-parry defensive plan |
| Fervor | Helps maintain offensive pressure once you create an opening |
| Vitality | Adds survivability for longer duel sequences |
| Elusive | Helps with movement and escape pressure in solos |
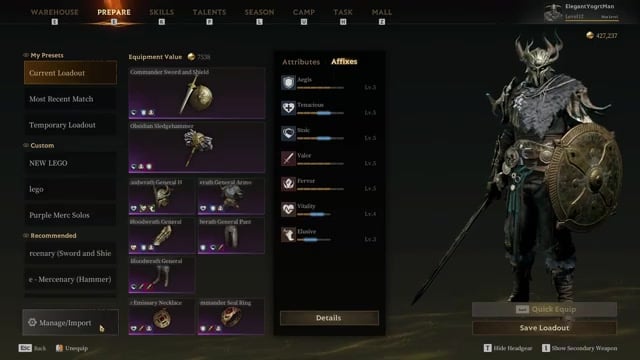
The example solo kit shown for this setup is a purple loadout using pieces from the Bloodwrath General set, including Bloodwrath General Helmet, Bloodwrath General Armor, Bloodwrath General Pants, Bloodwrath General Gloves, and Bloodwrath General Boots. Treat that as a strong example loadout path, not the only way the build can function.
Weapon examples for the same setup include Commander Sword and Shield and Obsidian Sledgehammer. The build is not about one named weapon carrying the whole setup; it is about matching survivability affixes with a skill package that keeps you close enough to force parries.
Solo fight plan for Parry Mercenary
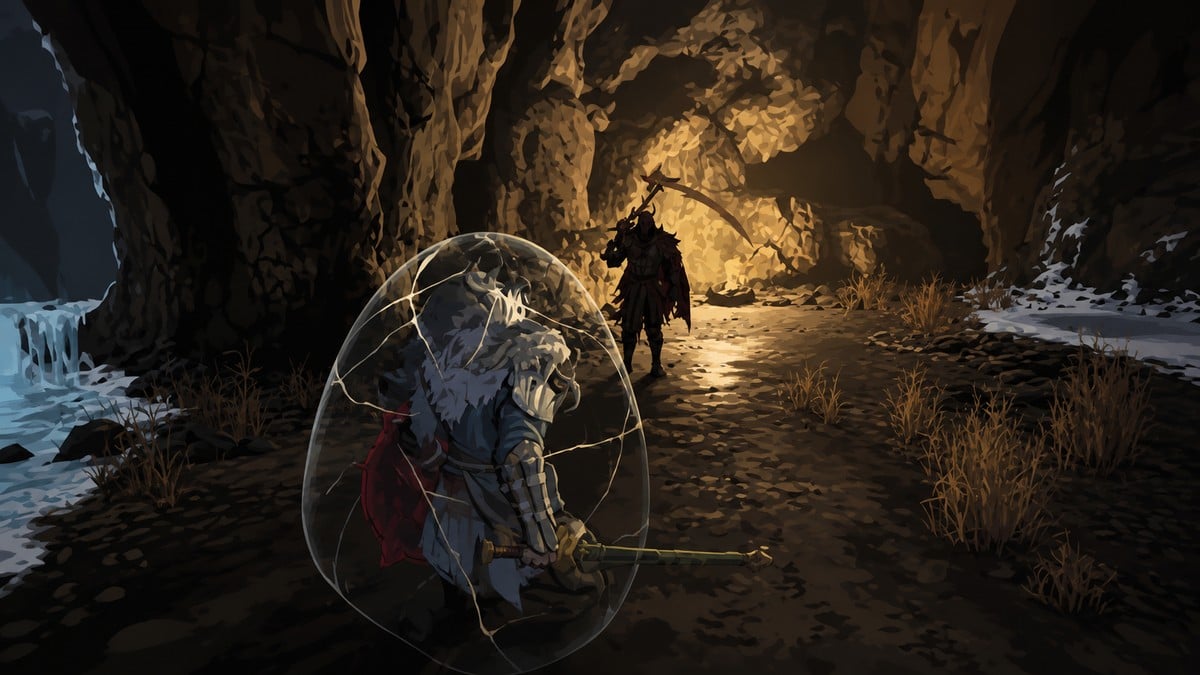
Play this build from Sword and Shield first. Let your opponent show their timing, then use block and parry pressure to make every melee approach risky. Once they start backing off, stack your chase tools instead of sprinting helplessly after them: Shield Dash, Whirling Cut with Fearless, and extended Hammer Dash all help close distance.
Use the hammer with intent. Warhammer Sling is excellent when an opponent dodges early or tries to read a hammer attack, but forcing hammer in neutral can leave you without the shield threat that keeps Mercenary stable. Swap for a punish, a gap-close, or a fake-out, then return to the weapon that lets you parry.
Watch stamina and energy before committing. Perfect parry can be repeated as long as stamina allows, but running dry turns your strongest defensive mechanic into a missed opportunity. The same goes for hammer skills: if you do not have the energy to cast, the swap loses its purpose and your pressure falls apart.
Related Mistfall Hunter guides
Frequently Asked Questions
Is Mercenary better than Shadowstrix for solos right now?
Mercenary is the stronger pick if you want safer trading, parry pressure, and a more forgiving defensive kit. Shadowstrix has the stronger case for players who prefer stealth, burst, and choosing when a fight starts, especially in PvP-heavy extraction runs.
Is the Shield Slam combo worth learning?
Yes, if you enjoy combo execution and want a punish route off parry stagger. It is less dependable than the main Shield Dash build because Resilience and Iron Helmet can shut down the payoff.
Why should I avoid keeping the hammer out most of the time?
The hammer gives you burst movement and fake-out tools, but it does not provide the same constant shield threat. If you stay on it too long, opponents get more room to attack without respecting your Sword and Shield parry loop.






Leave a Reply