
Yes, you can move a Palworld 1.0 co-op world to a dedicated server, but the host character needs a GUID conversion step if you want to keep the host’s inventory and progress.
Running a co-op world off your own PC means keeping Palworld open around the clock so friends can drop in. Moving that world onto a dedicated server fixes that, and in Palworld 1.0 the world itself — bases, Pals, buildings, and your friends’ characters — comes across cleanly when the save is copied the right way. The one real snag is your own host character, which needs an extra conversion pass because dedicated servers hand out different player IDs.
What carries over and what doesn’t
Separate two problems here, because they behave very differently. The world — its bases, structures, captured Pals, world settings, and every non-host player character — carries over intact as long as you copy the save files correctly. Those players keep their inventories and progression without any special handling.
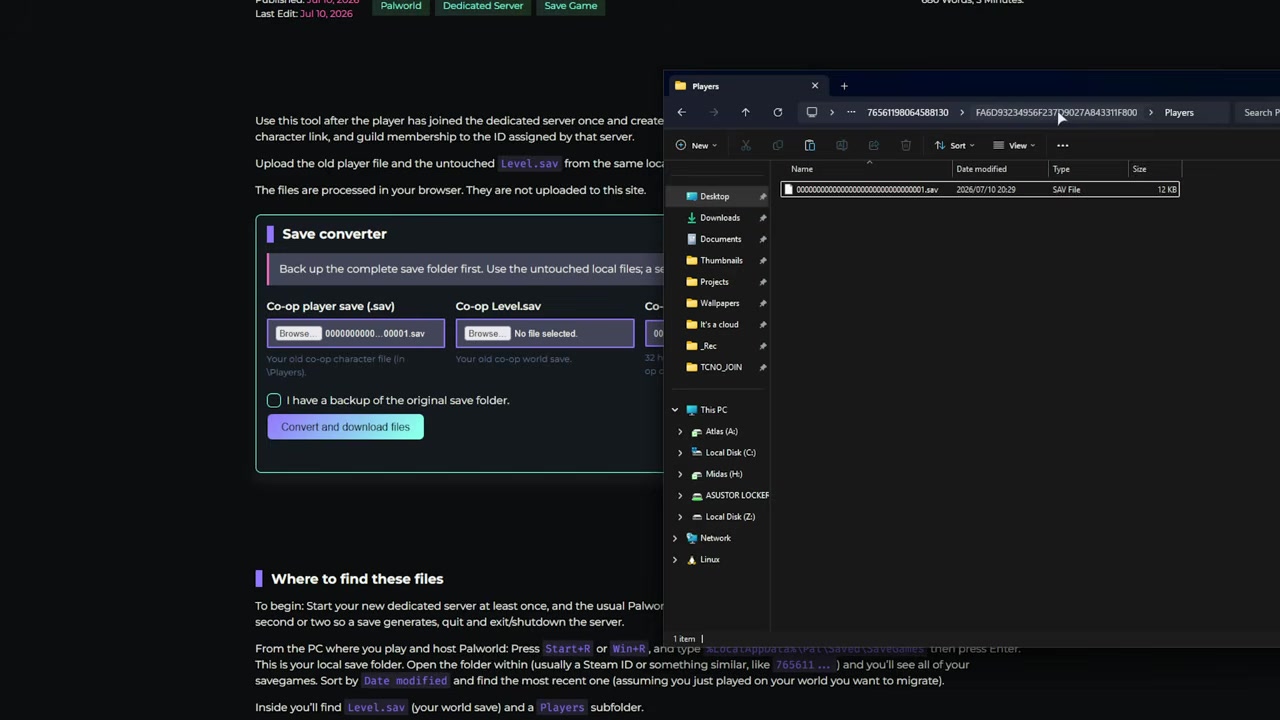
The original co-op host is the exception. Dedicated servers assign player data by GUID, and the local co-op host always uses the ID 00000000000000000000000000000001, which the server doesn’t recognize. Left alone, that means you’d rejoin your own migrated world as a blank new character. Keeping your host inventory and progress needs a conversion that remaps your old player save onto the server’s freshly generated one.
Where your co-op and server saves live
| Save location | Path |
|---|---|
| Local co-op save | %LOCALAPPDATA%\Pal\Saved\SaveGames\<SteamID64>\<world-guid> |
| Steam dedicated server save | Pal\Saved\SaveGames\0\<server-world-guid> |
| Windows server config | Pal\Saved\Config\WindowsServer\GameUserSettings.ini |
| Linux server config | Pal\Saved\Config\LinuxServer\GameUserSettings.ini |
KEY!Before touching anything, know exactly which folders you’re working between. Your local co-op world sits in your Windows app data, and the server keeps its worlds under SaveGames\0. The server’s own config — a different file from the game client’s — lives under either the Windows or Linux server folder depending on your host.
One habit saves a lot of confusion: load your co-op world once right before you start, run around, and let it autosave. That bumps the folder’s Date modified, so when you open your SaveGames directory you can sort by that column and grab the latest folder instead of guessing which cryptic ID string is the right world.
Before you touch a single file, copy your entire local world folder to a safe location — every fix here depends on having an untouched original to fall back on.
How to migrate your Palworld co-op save to a dedicated server
You’ll generate the server’s own files first, then swap in your local world and a converted host save so everything loads exactly as it did in co-op.
STEP 1/18
<
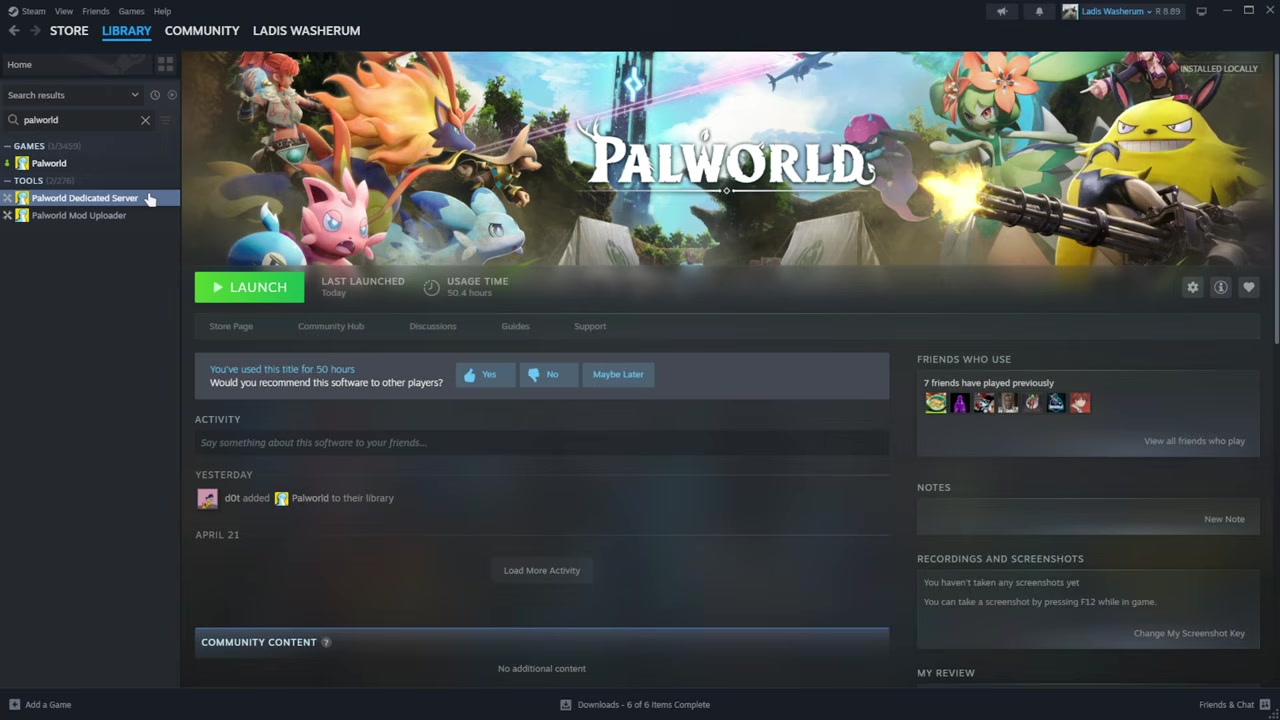
p class=”vg-step-title” data-vg-step=”1″ data-vg-of=”18″ id=”start-the-dedicated-server-once” style=”margin:16px 0 6px”>Start the dedicated server once
Boot your Steam or SteamCMD dedicated server at least once so it builds its default save structure.
STEP 2/18
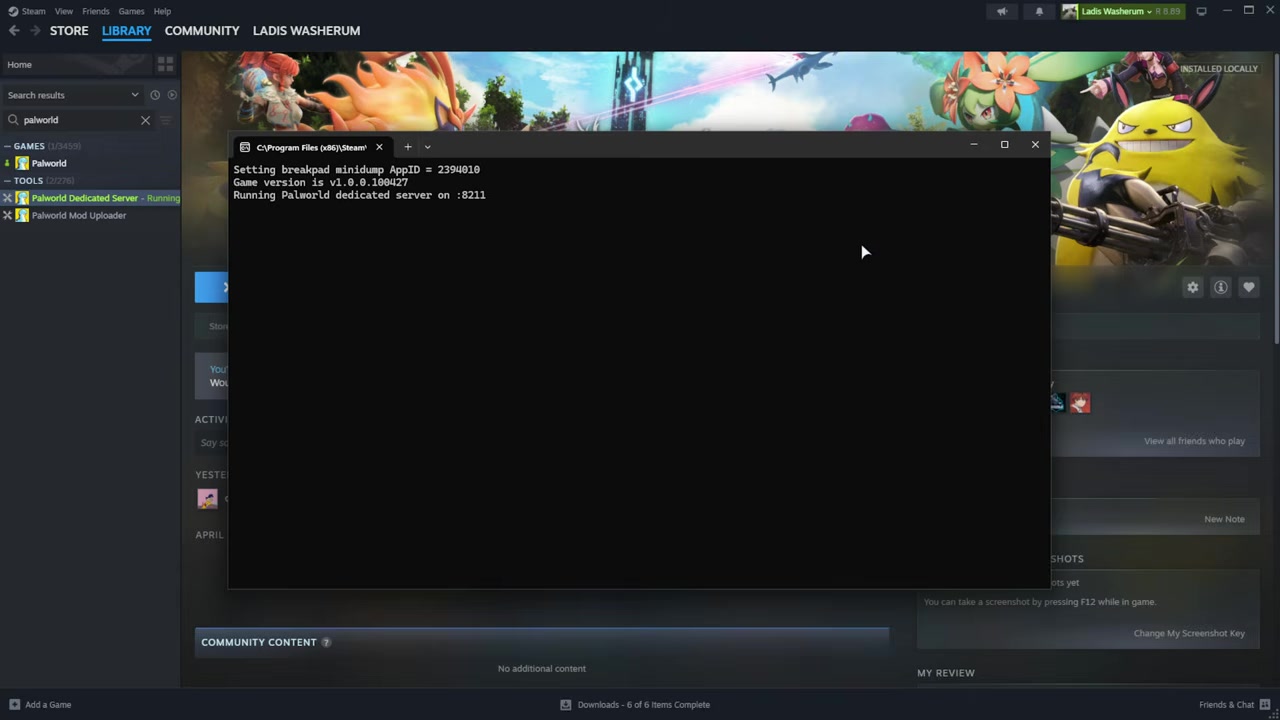
Join the server as the host
Connect to the fresh server with the same account that hosted your co-op world so it generates the player and level files you’ll need.
STEP 3/18
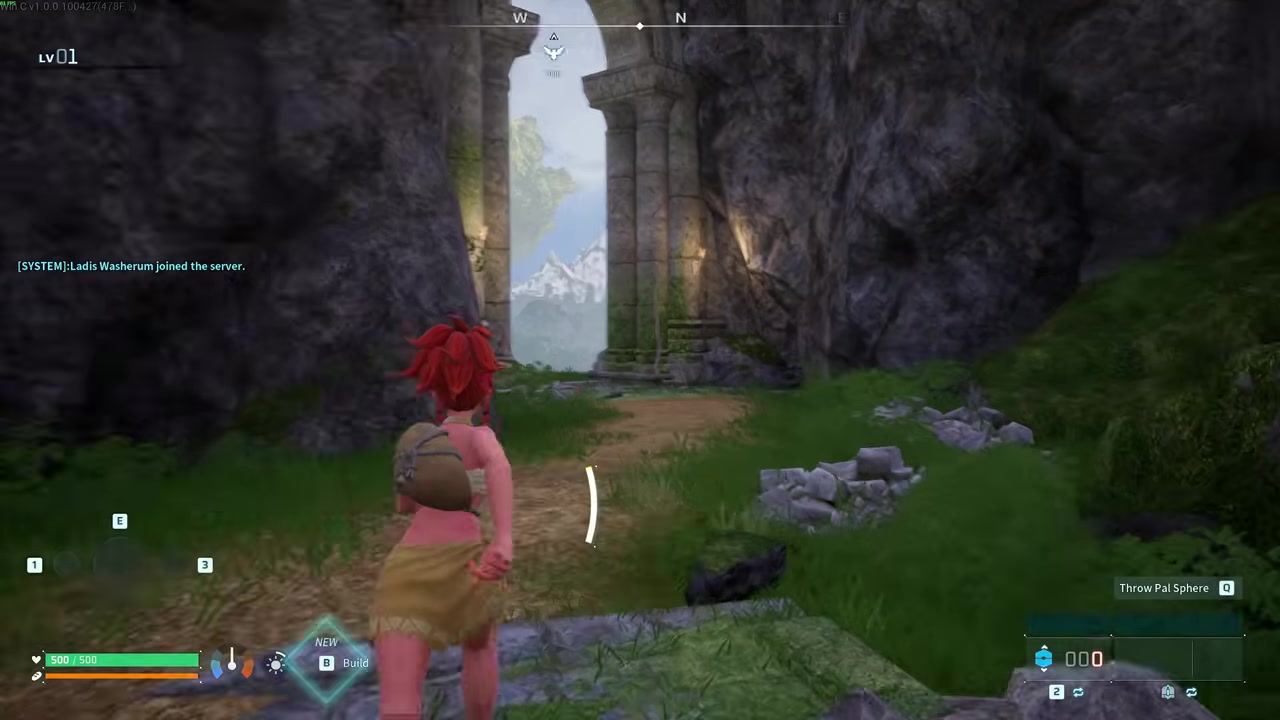
Make a throwaway character and interact
Skip customization since you’ll replace it, run into the world, and interact with something so the game actually writes a save file.
STEP 4/18
Return to title and stop the server
Quit to the menu, close the game, and shut the dedicated server down so nothing overwrites files mid-copy.
STEP 5/18
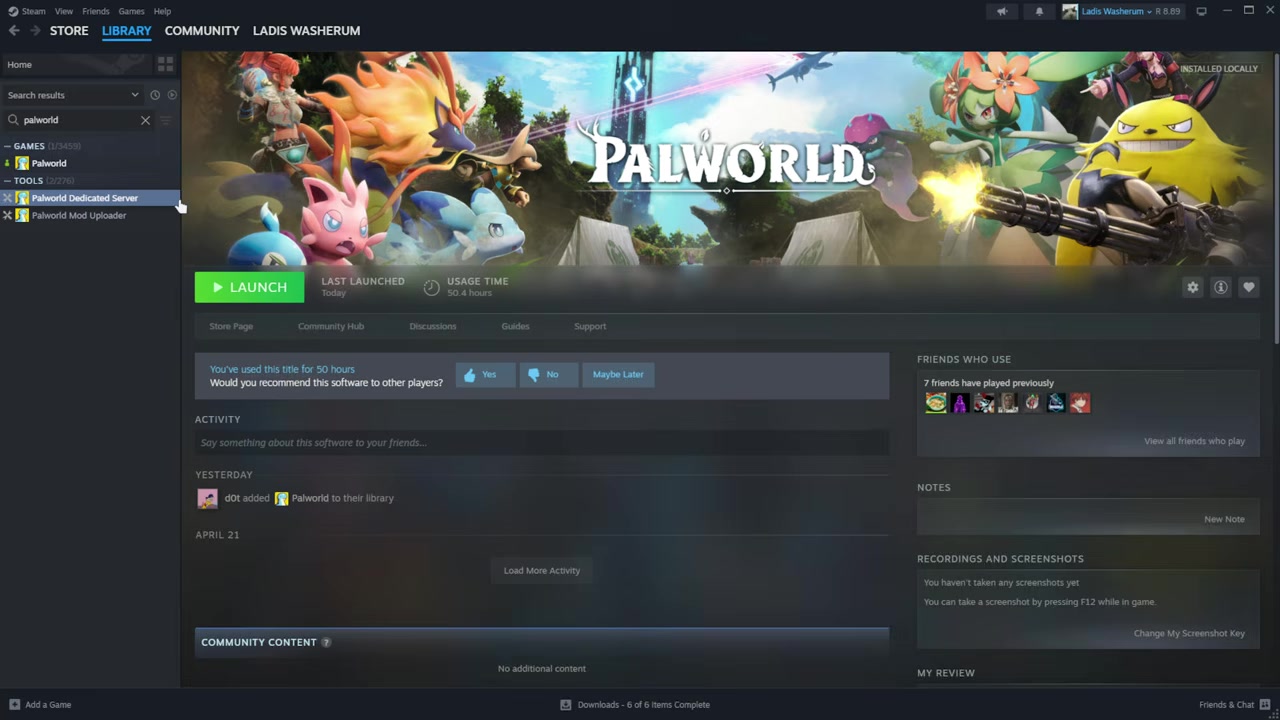
Open the server’s save folder
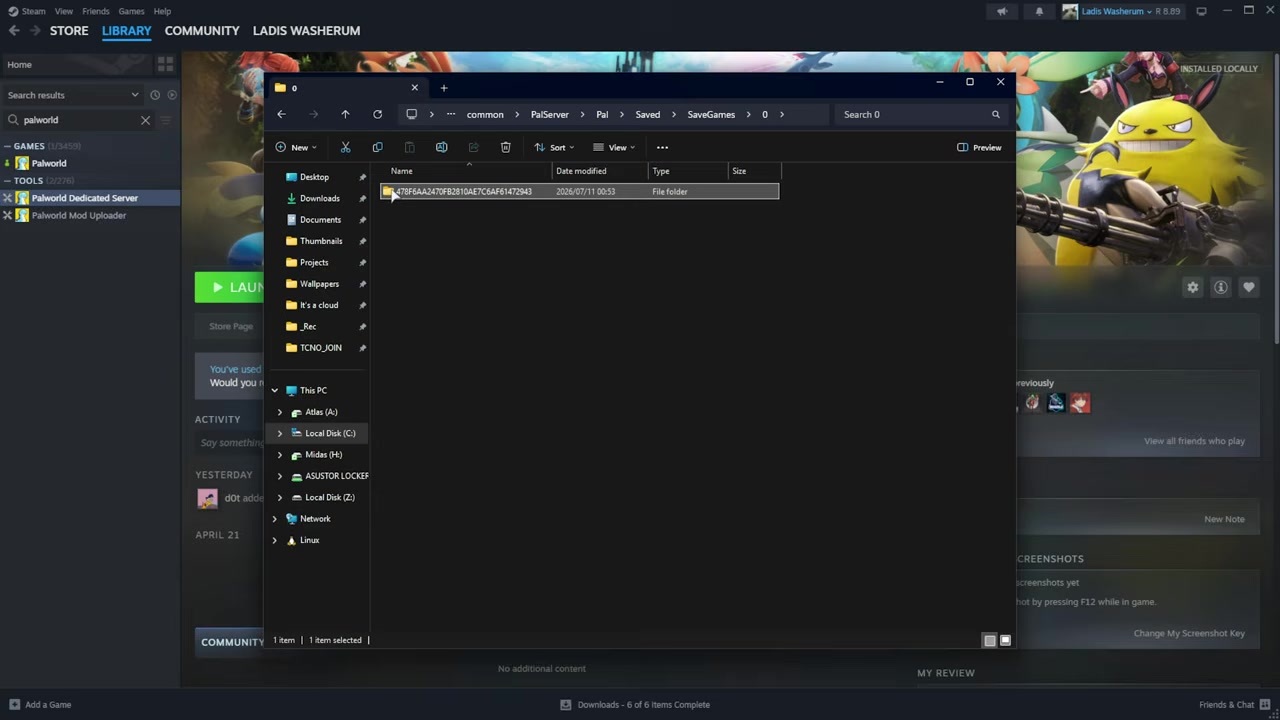
In Steam, right-click Palworld Dedicated Server, choose Manage then Browse local files, and go to Pal > Saved > SaveGames > 0.
STEP 6/18
Confirm the generated world files
Open the random-character world folder and check for Level.sav plus a Players folder; if Players is missing, rejoin and move around more to force it.
STEP 7/18
Open your local co-op save
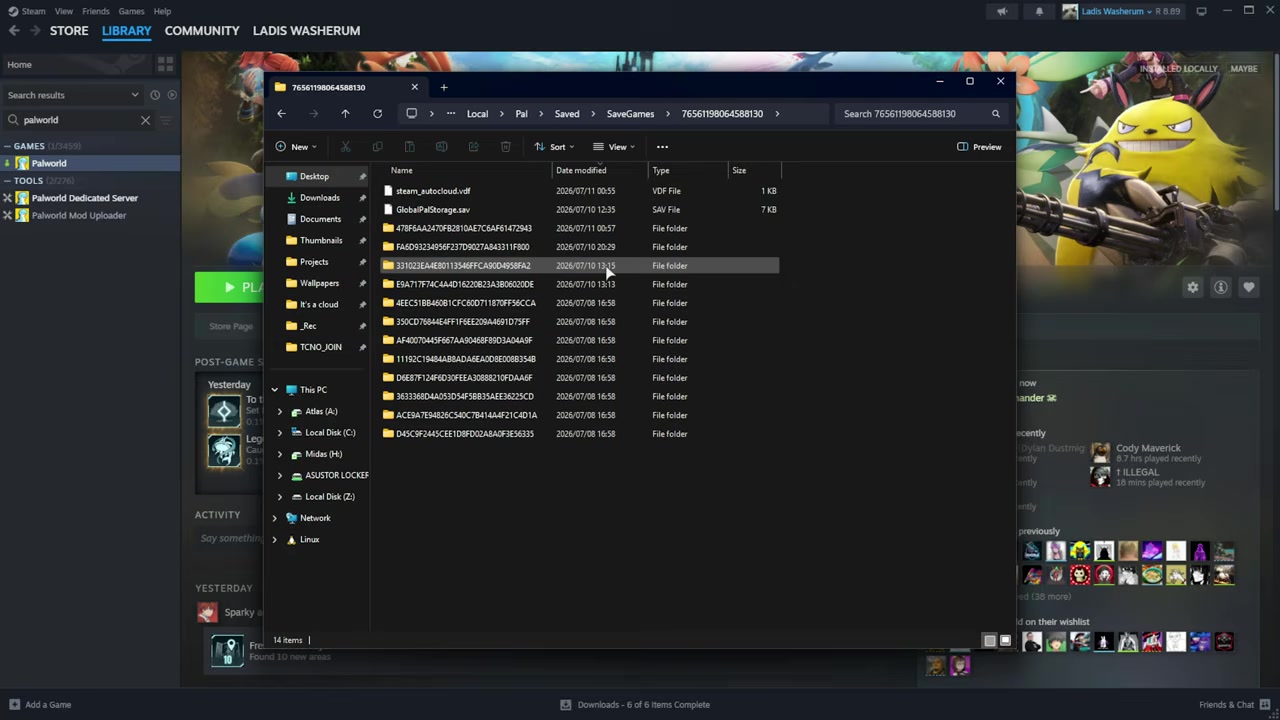
Press Win + R, type %LOCALAPPDATA%\Pal, hit Enter, then go into Saved > SaveGames and open your Steam or Epic ID folder.
STEP 8/18
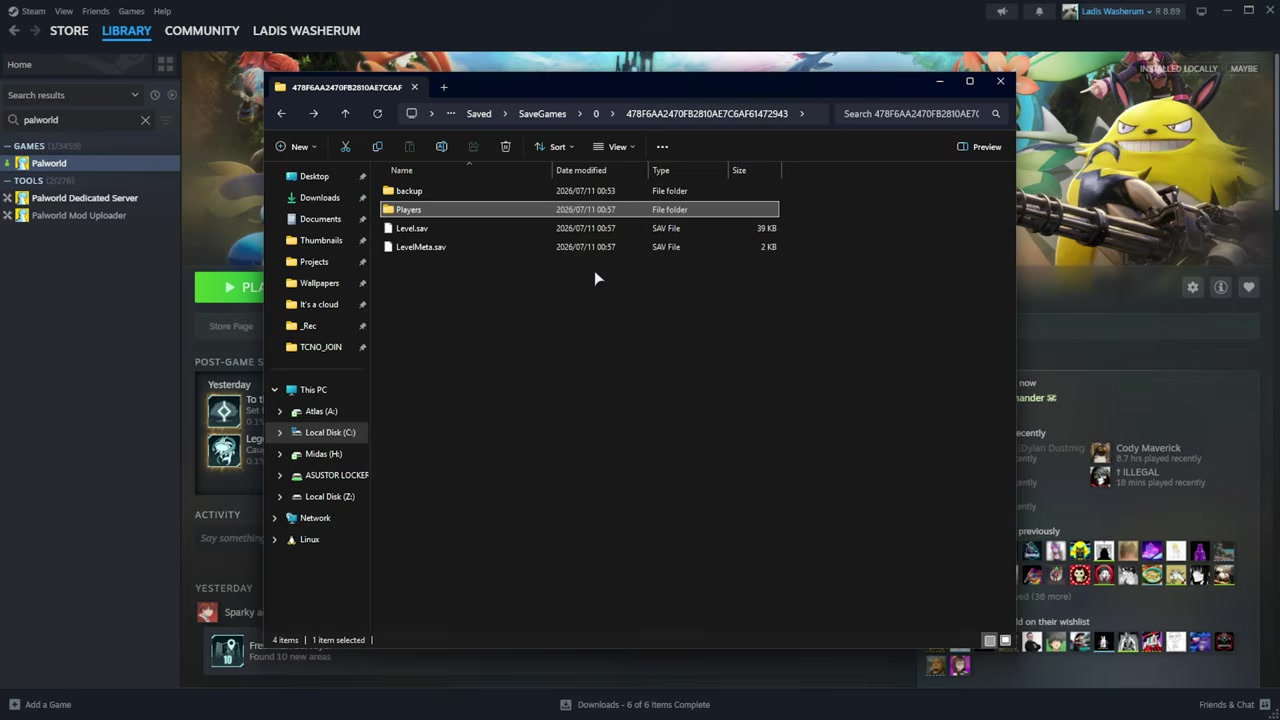
Find the latest world folder
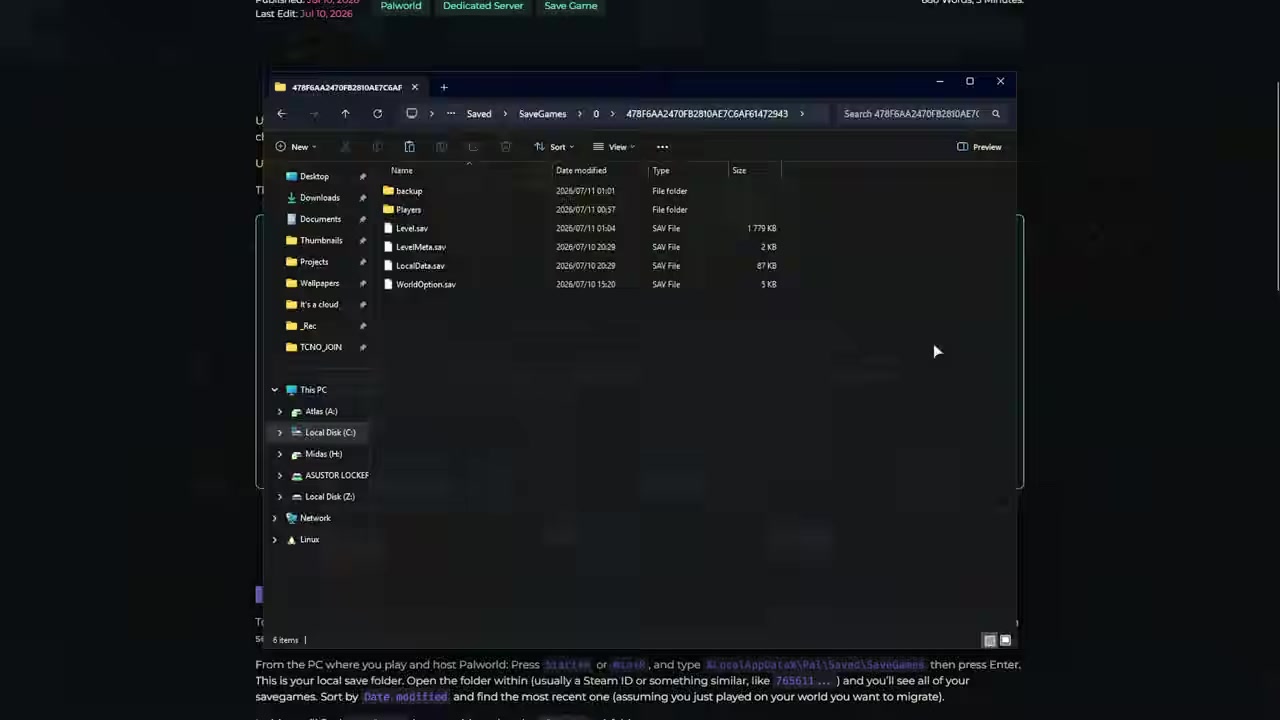
Sort by Date modified and open the most recent folder — inside you’ll see your world save plus a Players folder holding your character.
STEP 9/18
Double-check the server is stopped
Confirm the dedicated server is fully closed before copying anything, or its autosave will overwrite the world you’re importing.
STEP 10/18
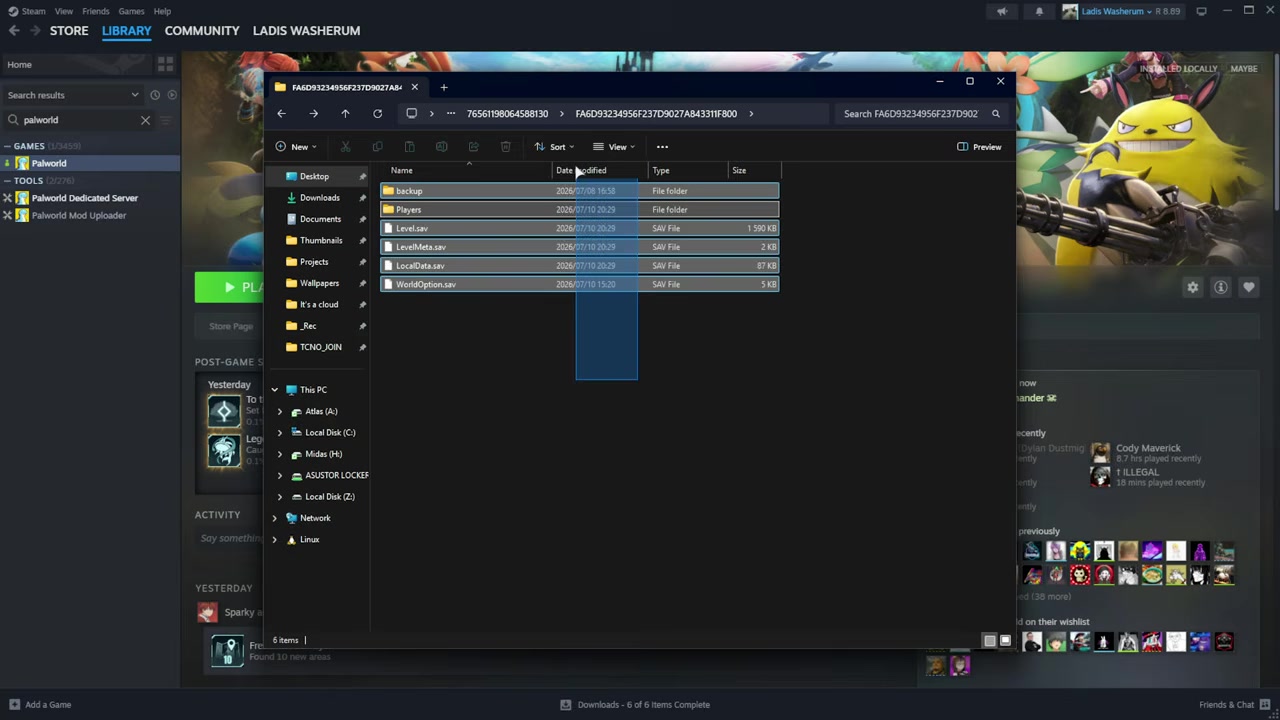
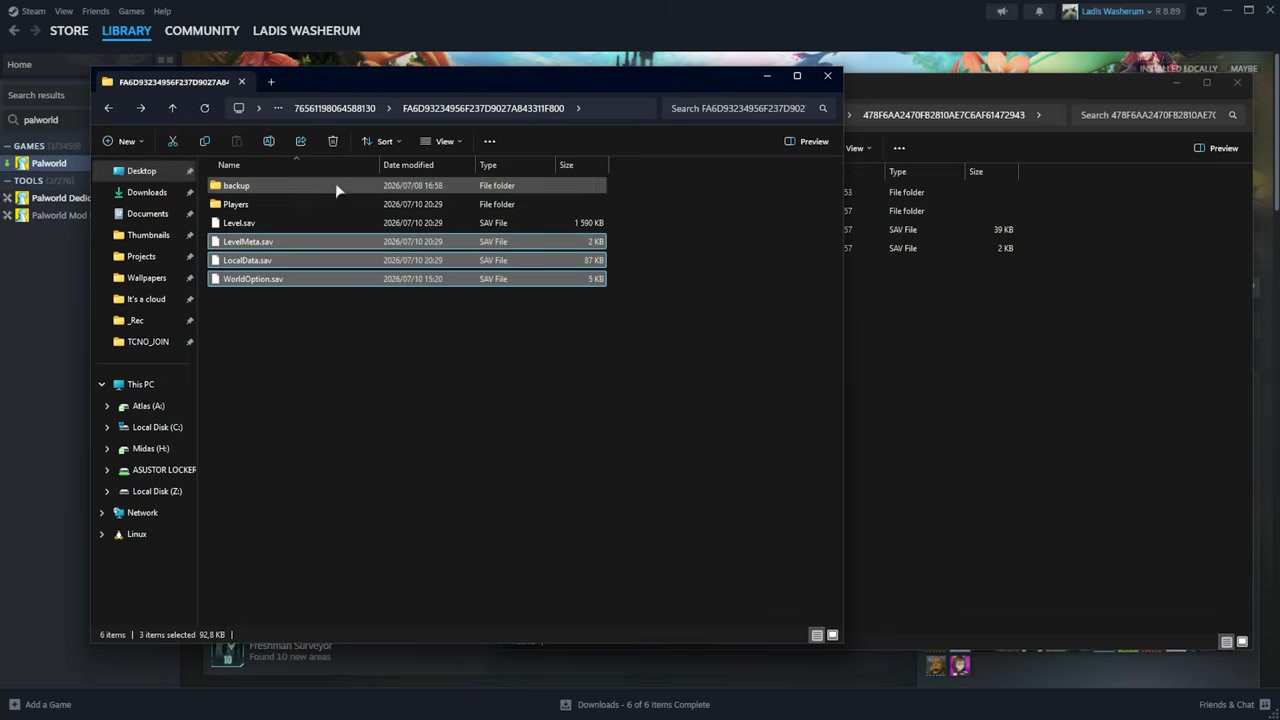
Copy the local world files
Select everything except the Players folder and Level.sav — that includes LevelMeta.sav, LocalData.sav, and WorldOption.sav — and copy those files.
STEP 11/18
Replace the server world files
In the server’s world folder, delete everything except its Players folder, then paste your copied local files in.
STEP 12/18
Load the host player file into a converter
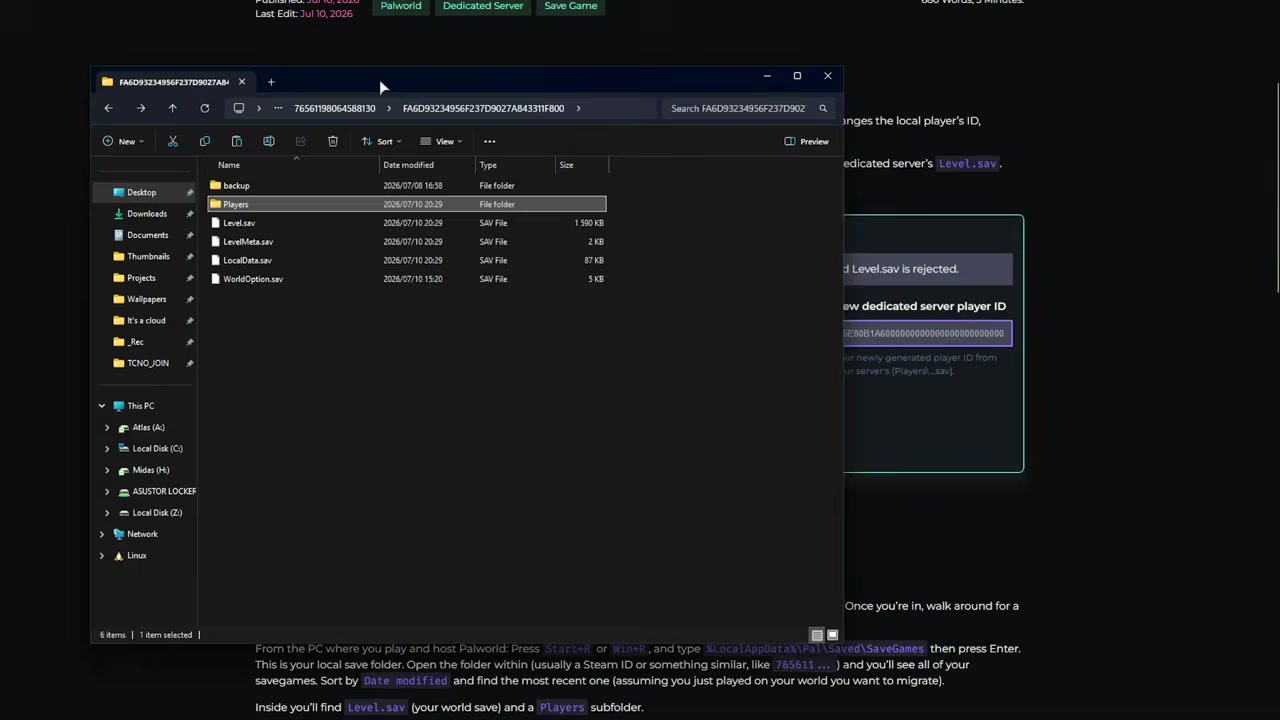
In a browser-based save converter, browse to your local Players folder and select the host file named with a string of zeros ending in 1 (00000000000000000000000000000001.sav).
STEP 13/18
Add your co-op Level.sav
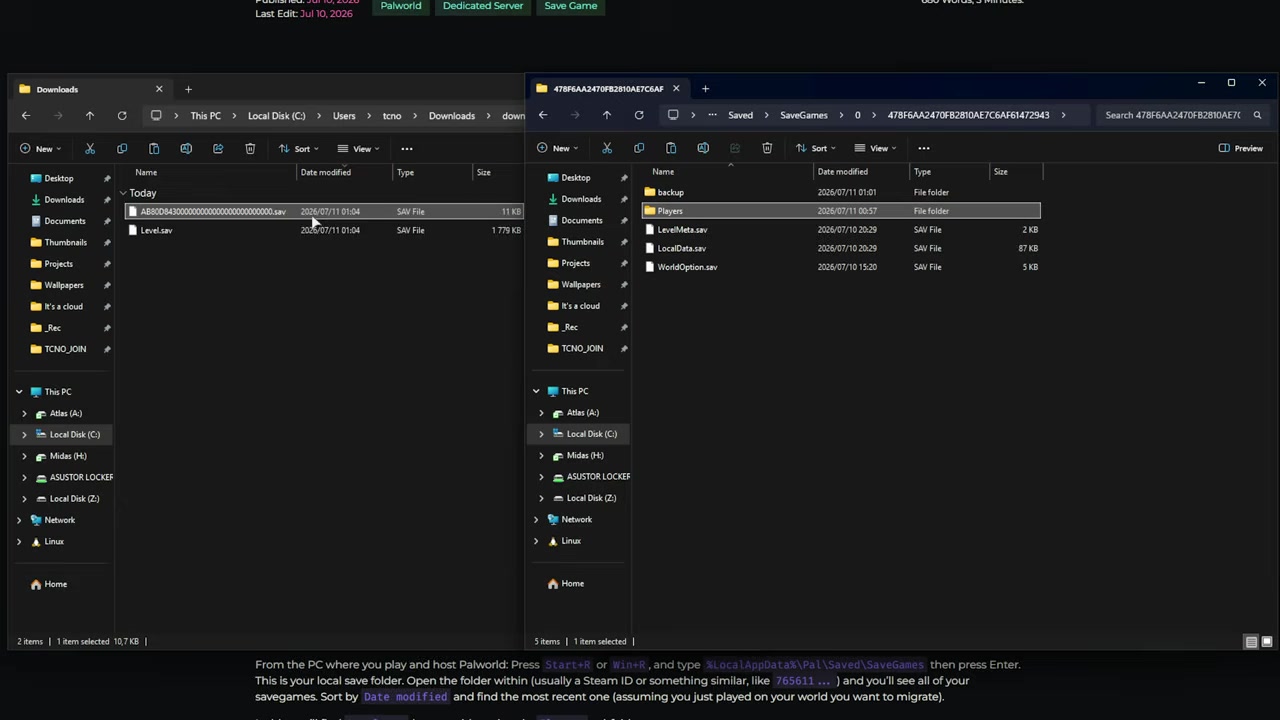
Head up one folder and add your local Level.sav to the converter as the level input.
STEP 14/18
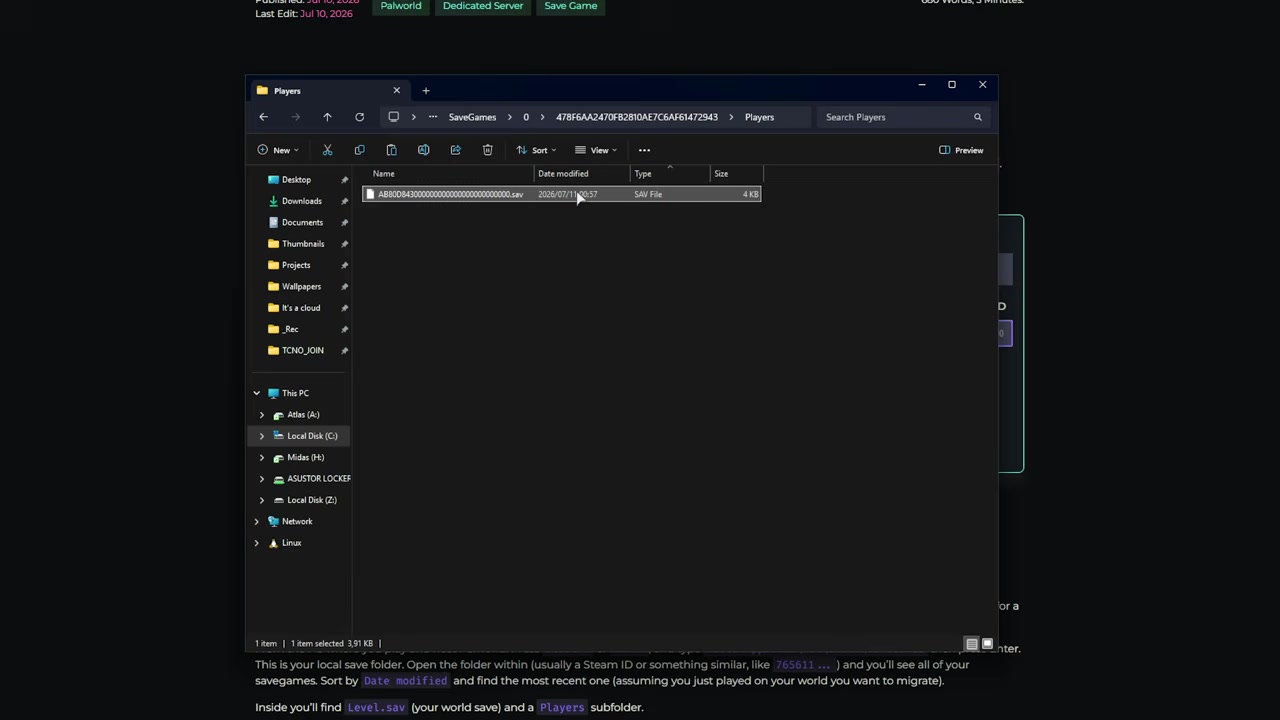
Copy the server’s generated player name
In the server’s Players folder, rename the generated .sav and copy its full filename minus the .sav at the end.
STEP 15/18
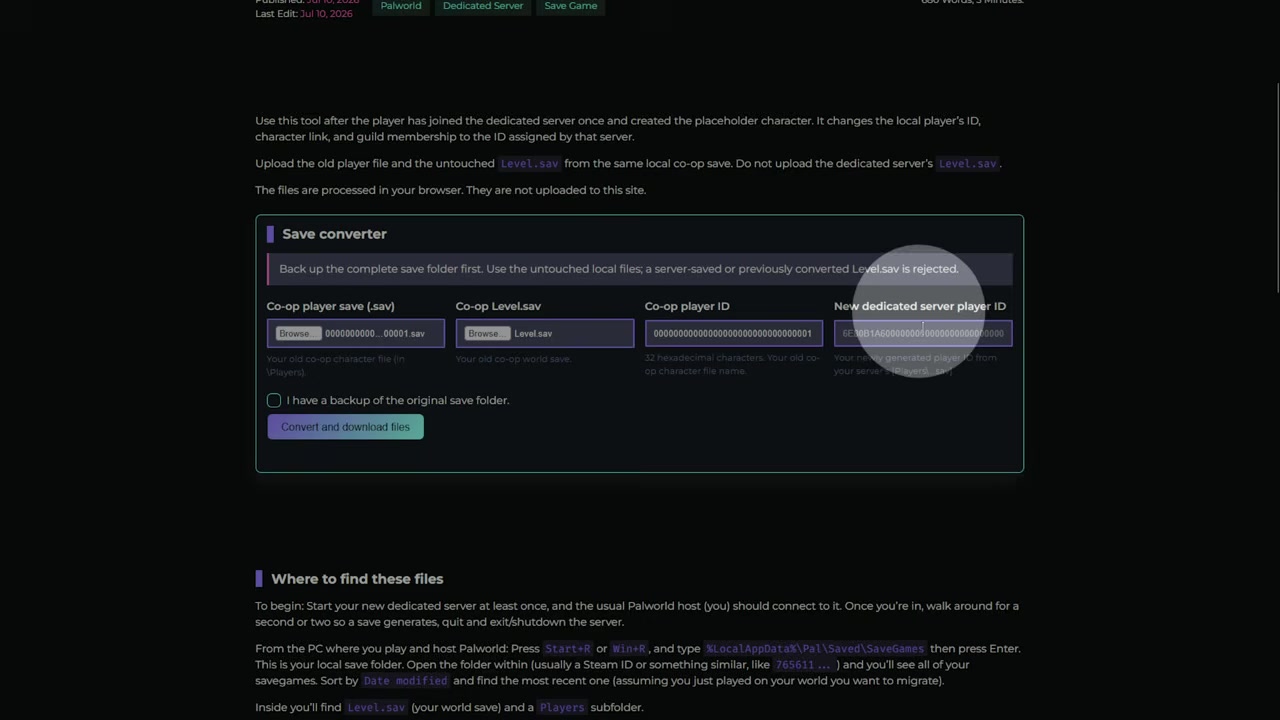
Confirm backups and convert
Paste that server player filename into the converter, tick the backup confirmation, and run the conversion to get two downloaded files.
STEP 16/18
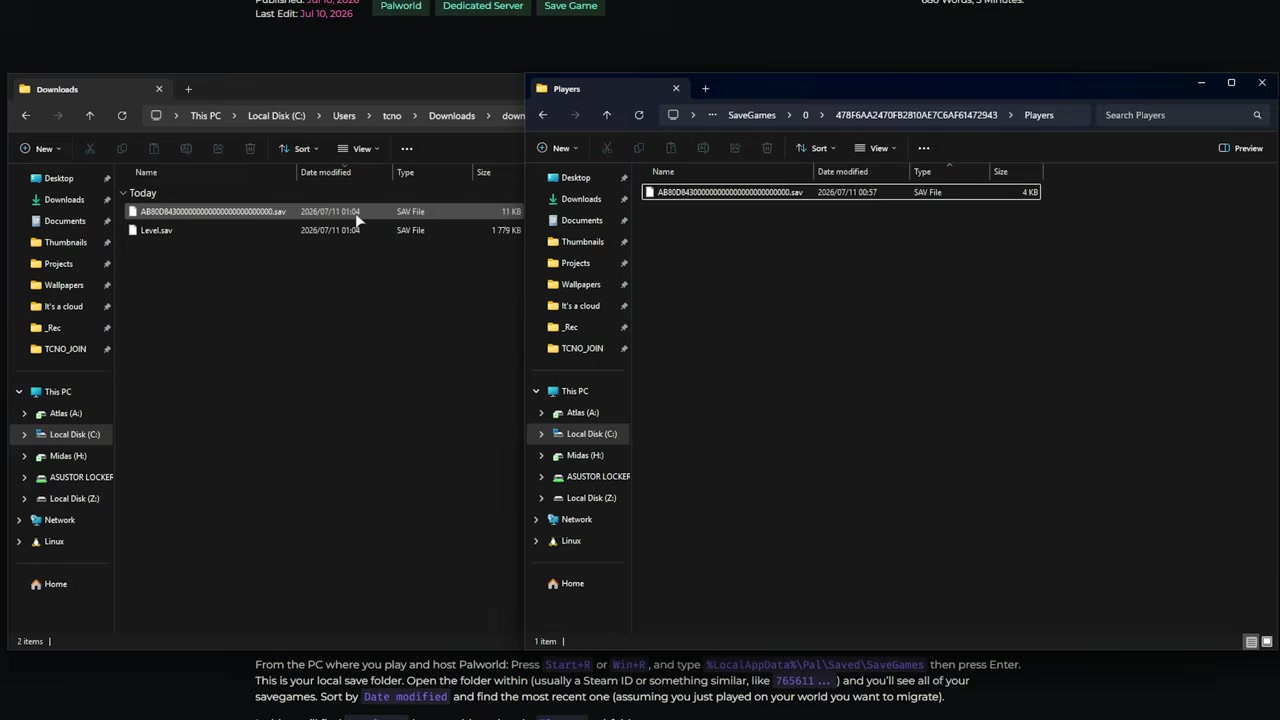
Replace the server player save
Copy the converted player save into the server’s Players folder, replacing the generated one — this brings over your inventory and progression.
STEP 17/18
Replace the server Level.sav
Move up one folder and copy the converted Level.sav over the server’s, restoring your world, bases, and buildings.
STEP 18/18
Restart and rejoin the server
Boot the dedicated server, open Palworld > Multiplayer, join the same server, and confirm your old world loaded with everything intact.
There’s also a simpler whole-folder route worth knowing if you’d rather the server boot straight from your uploaded world. Instead of swapping individual files into the existing SaveGames\0 world, you copy your entire co-op world folder up to the server, then open the server’s own GameUserSettings.ini and set DedicatedServerName= to that folder’s exact long ID. On a cloud host you’d do this over FTP or file access, downloading and replacing the same files. This gets non-host players and the world across on its own; the host character still needs the conversion above to survive.
Video help
Common mistakes that break the migration
| Mistake | Fix |
|---|---|
| Server still running during the copy | Fully stop the server first — a live autosave overwrites the world you just imported. |
| No generated player file on the server | Rejoin the fresh server and interact in-world until a .sav appears in its Players folder. |
| Copying only the Players folder | Move Level.sav and the rest of the world files too, or you’ll get a broken or empty world. |
| Replacing the wrong Level.sav | Only replace the Level.sav inside the server’s world folder under SaveGames\0. |
| Editing the client GameUserSettings.ini | Edit the server’s own config under WindowsServer or LinuxServer, not the game client’s copy. |
| Using the wrong world folder | Point at the folder with your long world ID, never a character folder or the default generated one. |
| Skipping backups | Copy the whole world folder somewhere safe before converting or replacing anything. |
| Assuming Game Pass saves behave like Steam | Xbox and Game Pass saves use different, encrypted containers and need conversion first. |
Almost every failed migration comes down to file handling — the wrong folder, a live server, or a missing file — rather than anything to do with the game itself. Run through these before you assume the save is corrupted.
Moving a Game Pass or Xbox save
The steps above assume a Steam co-op save, and Game Pass or Xbox saves don’t slot in the same way. They’re stored in different, encrypted .wgs containers rather than the plain .sav files a dedicated server reads. You’ll need to convert an Xbox or Game Pass world to the Steam save format first, and only then follow the Steam-style dedicated-server process here.
Frequently Asked Questions
Will my Palworld co-op host character transfer automatically?
No. Dedicated servers assign new player GUIDs, so without the conversion step you’ll rejoin as a fresh character. Remapping your old host save onto the server’s is a community-made workflow, not something Pocketpair officially supports, so treat it as reliable-but-not-guaranteed for every save — known edge cases include guild, Pal, Viewing Cage, and left-click quirks after the swap.
Do non-host players keep their characters after moving to a dedicated server?
Yes. As long as you copy the Level.sav and the Players folder data across correctly, non-host players continue with their existing characters, inventories, and progression — they don’t need any conversion.
Which Palworld save files should I back up before migrating?
Back up the whole world folder, not just one file. That means Level.sav, LevelMeta.sav, LocalData.sav, WorldOption.sav, the Players folder, and the backup folder if it’s there. Keeping the full original folder means you can always start over.
Do I need to edit DedicatedServerName in GameUserSettings.ini?
Only for the whole-folder method, where the server boots directly from your uploaded world folder — there you set DedicatedServerName= to that folder’s exact ID. The file-swap method reuses the server’s existing world folder under SaveGames\0, so you don’t need to touch that line at all.
Can I move a Game Pass or Xbox Palworld save to a dedicated server?
Not directly. Game Pass and Xbox saves live in encrypted containers that a dedicated server can’t read, so you have to convert them to the Steam save format first and then run the same migration you’d use for a Steam save.






Leave a Reply