What to know
-
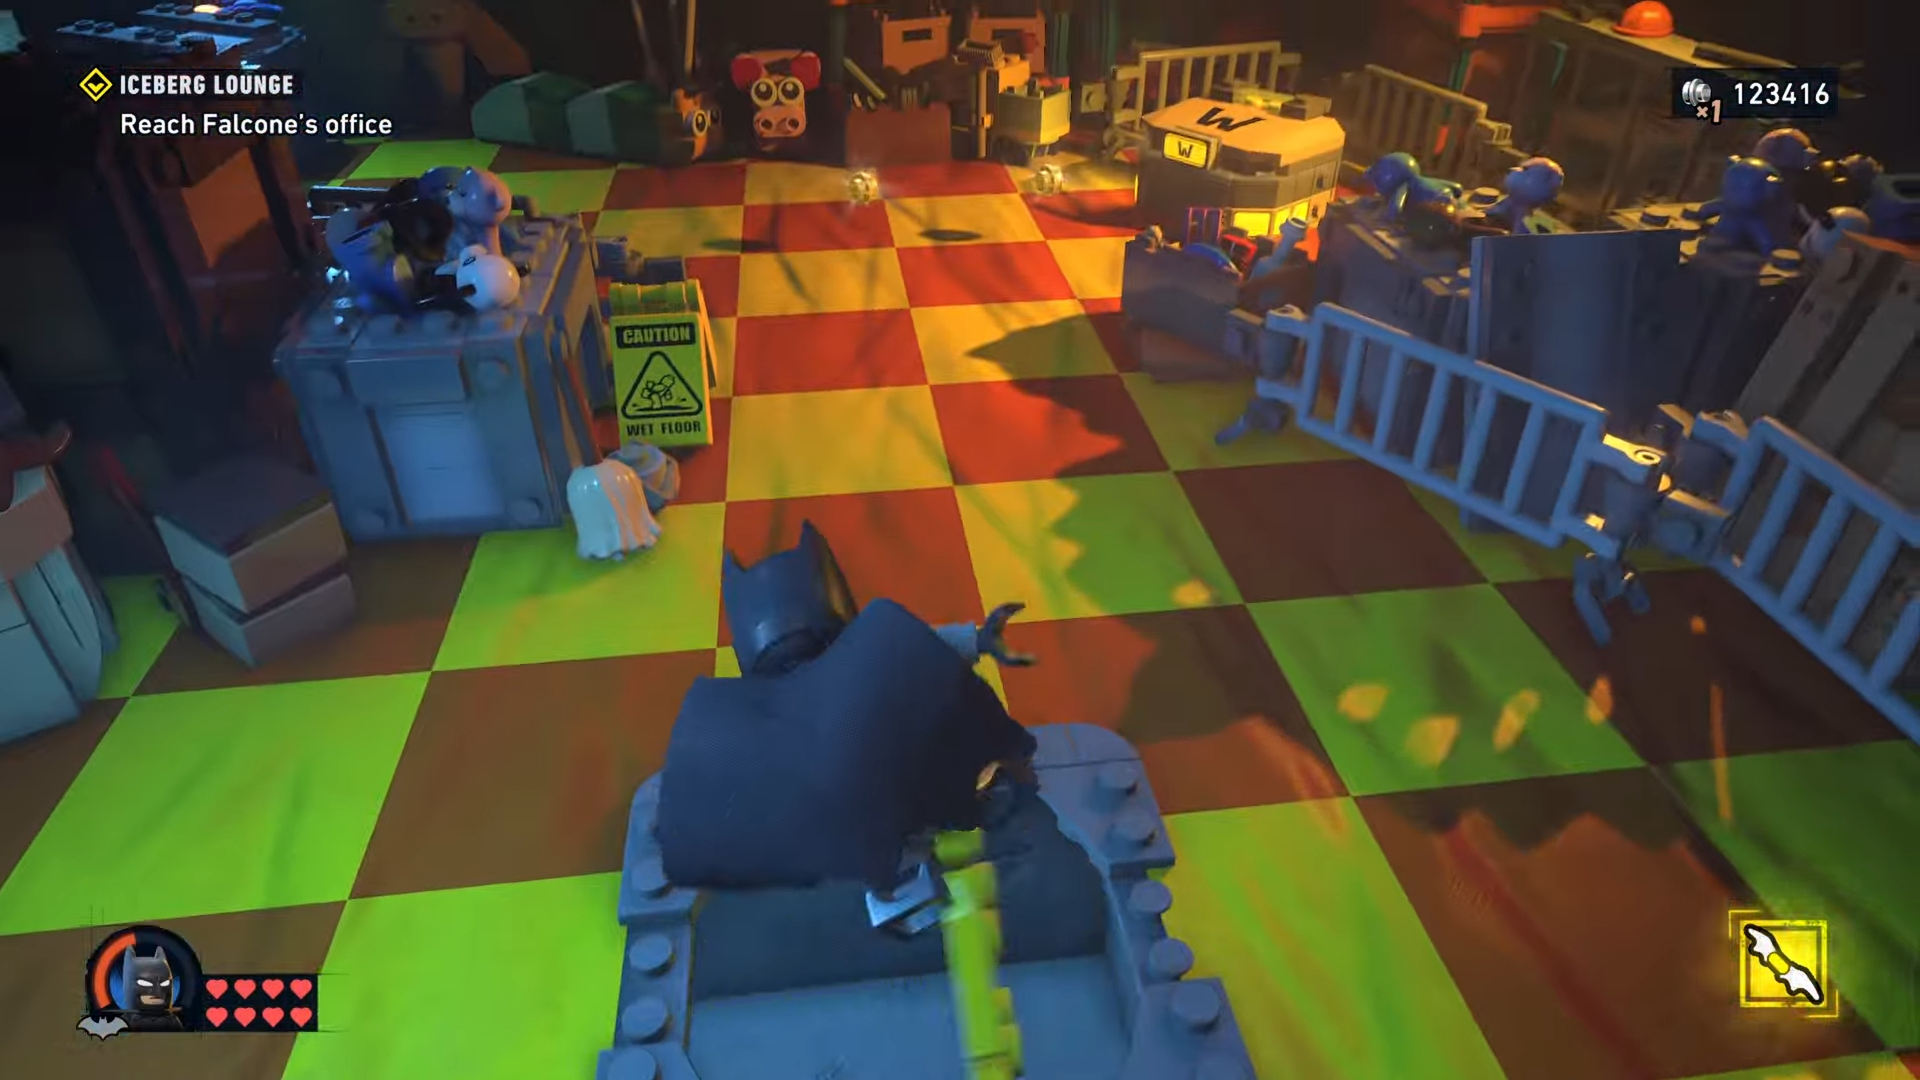
There are 5 Waynetech Caches in the Iceberg Lounge mission, and they are all tied to progression through the Carmine Falcone level.
-
The caches appear in the main path, kitchen and vent sections, ball pit areas, and the final stretch near the exit.
-
Some caches require switching between Batman and Jim Gordon to clear obstacles, activate machinery, or open access routes.
-
Collecting them rewards WayneTech Chips, which are used later for upgrades at workbench stations.
LEGO Batman: Legacy of the Dark Knight treats Waynetech Caches as mission collectibles that are easy to miss if you move too quickly through Iceberg Lounge. This guide walks through the full route in a clean order so you can clear every cache in one run.
Waynetech Caches at Iceberg Lounge details
How to find every cache
Step 1
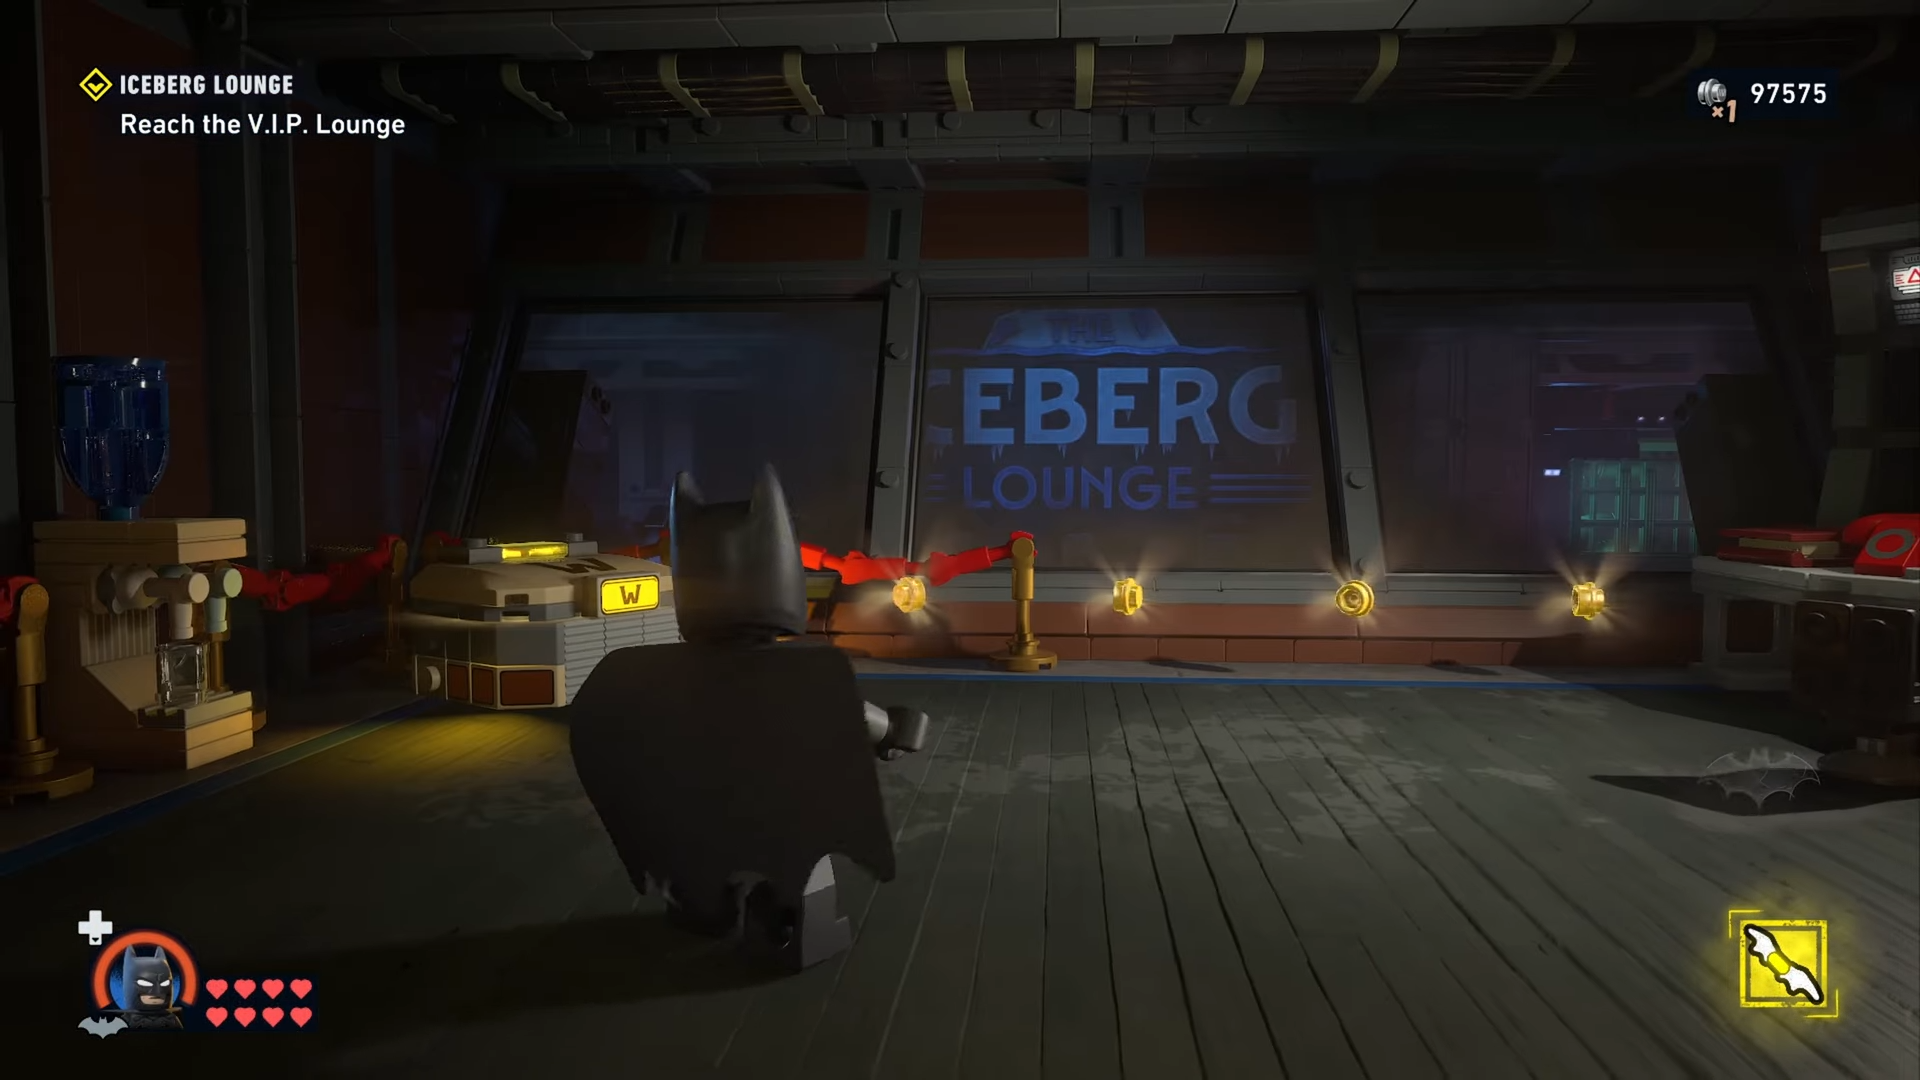
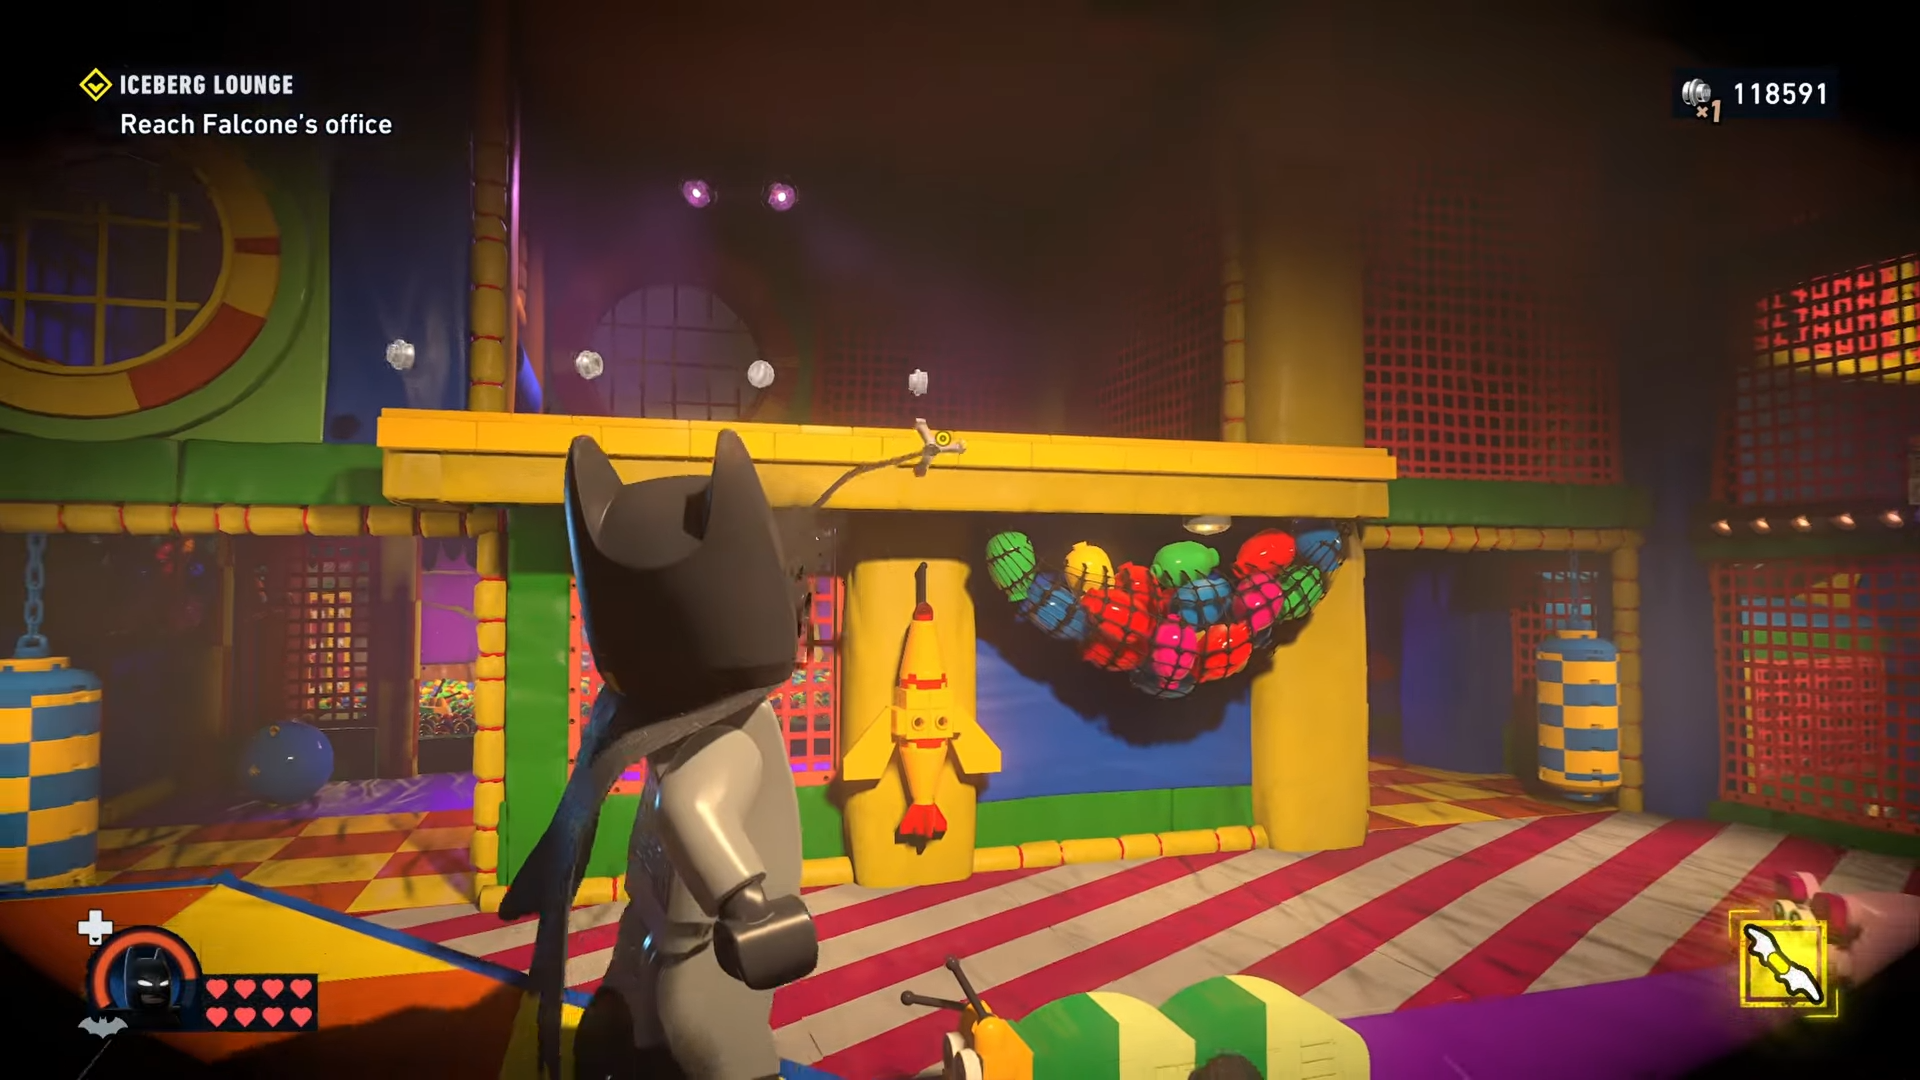
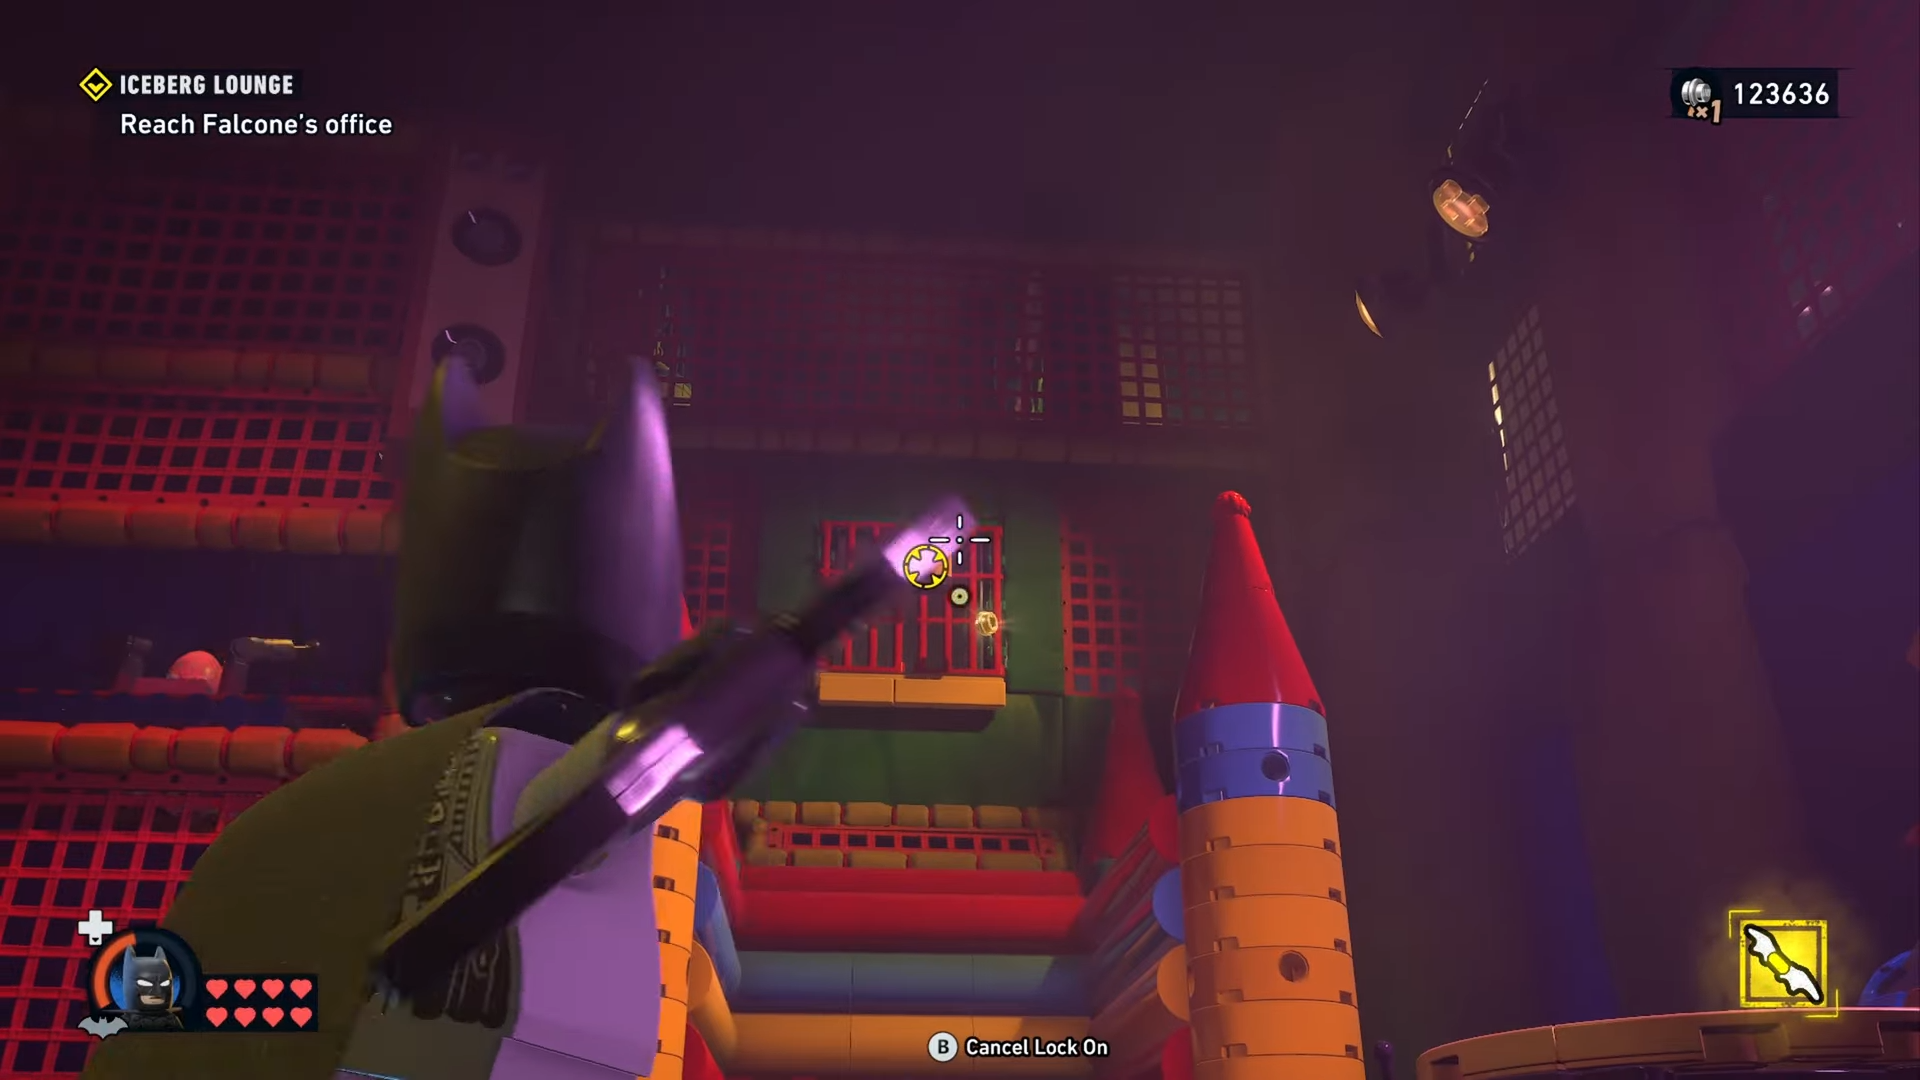
Move forward until you reach the first visible disco ball area.
Then head right.
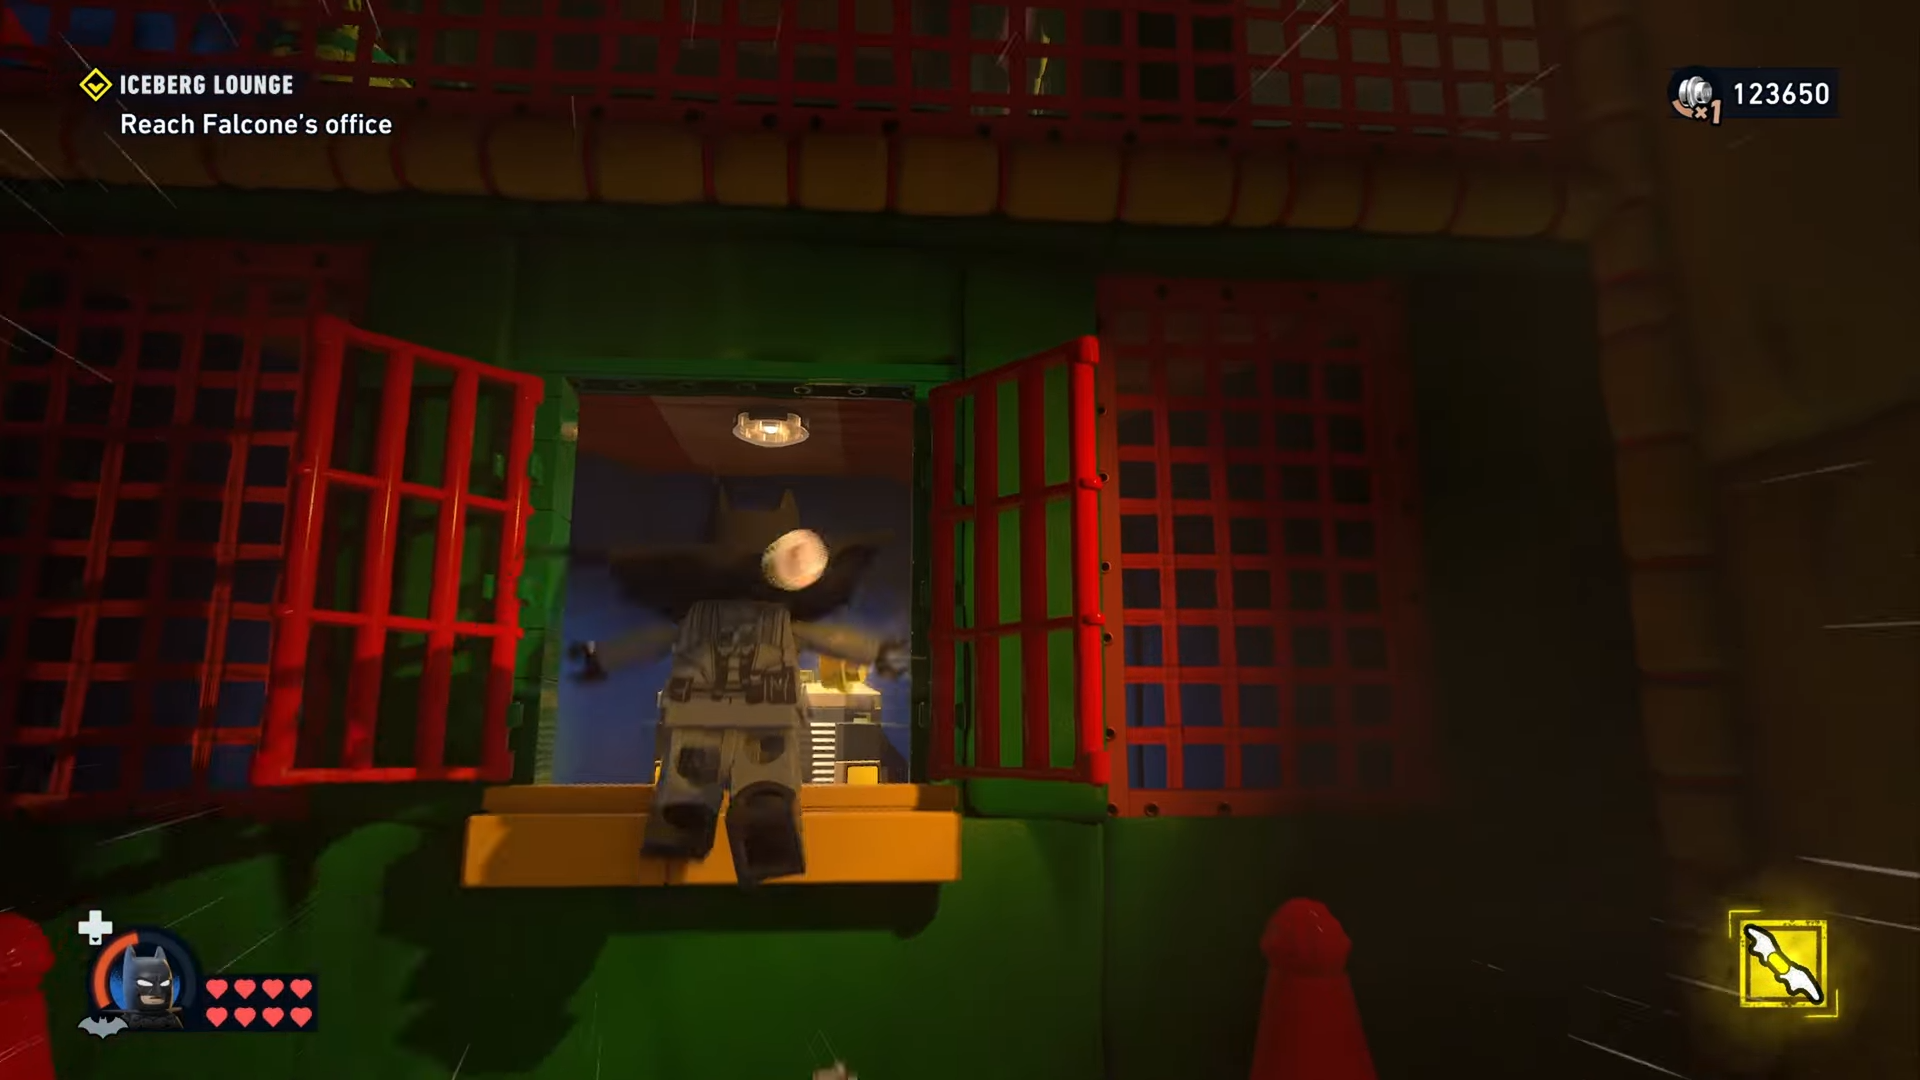
Go through the vent. And into the next room.
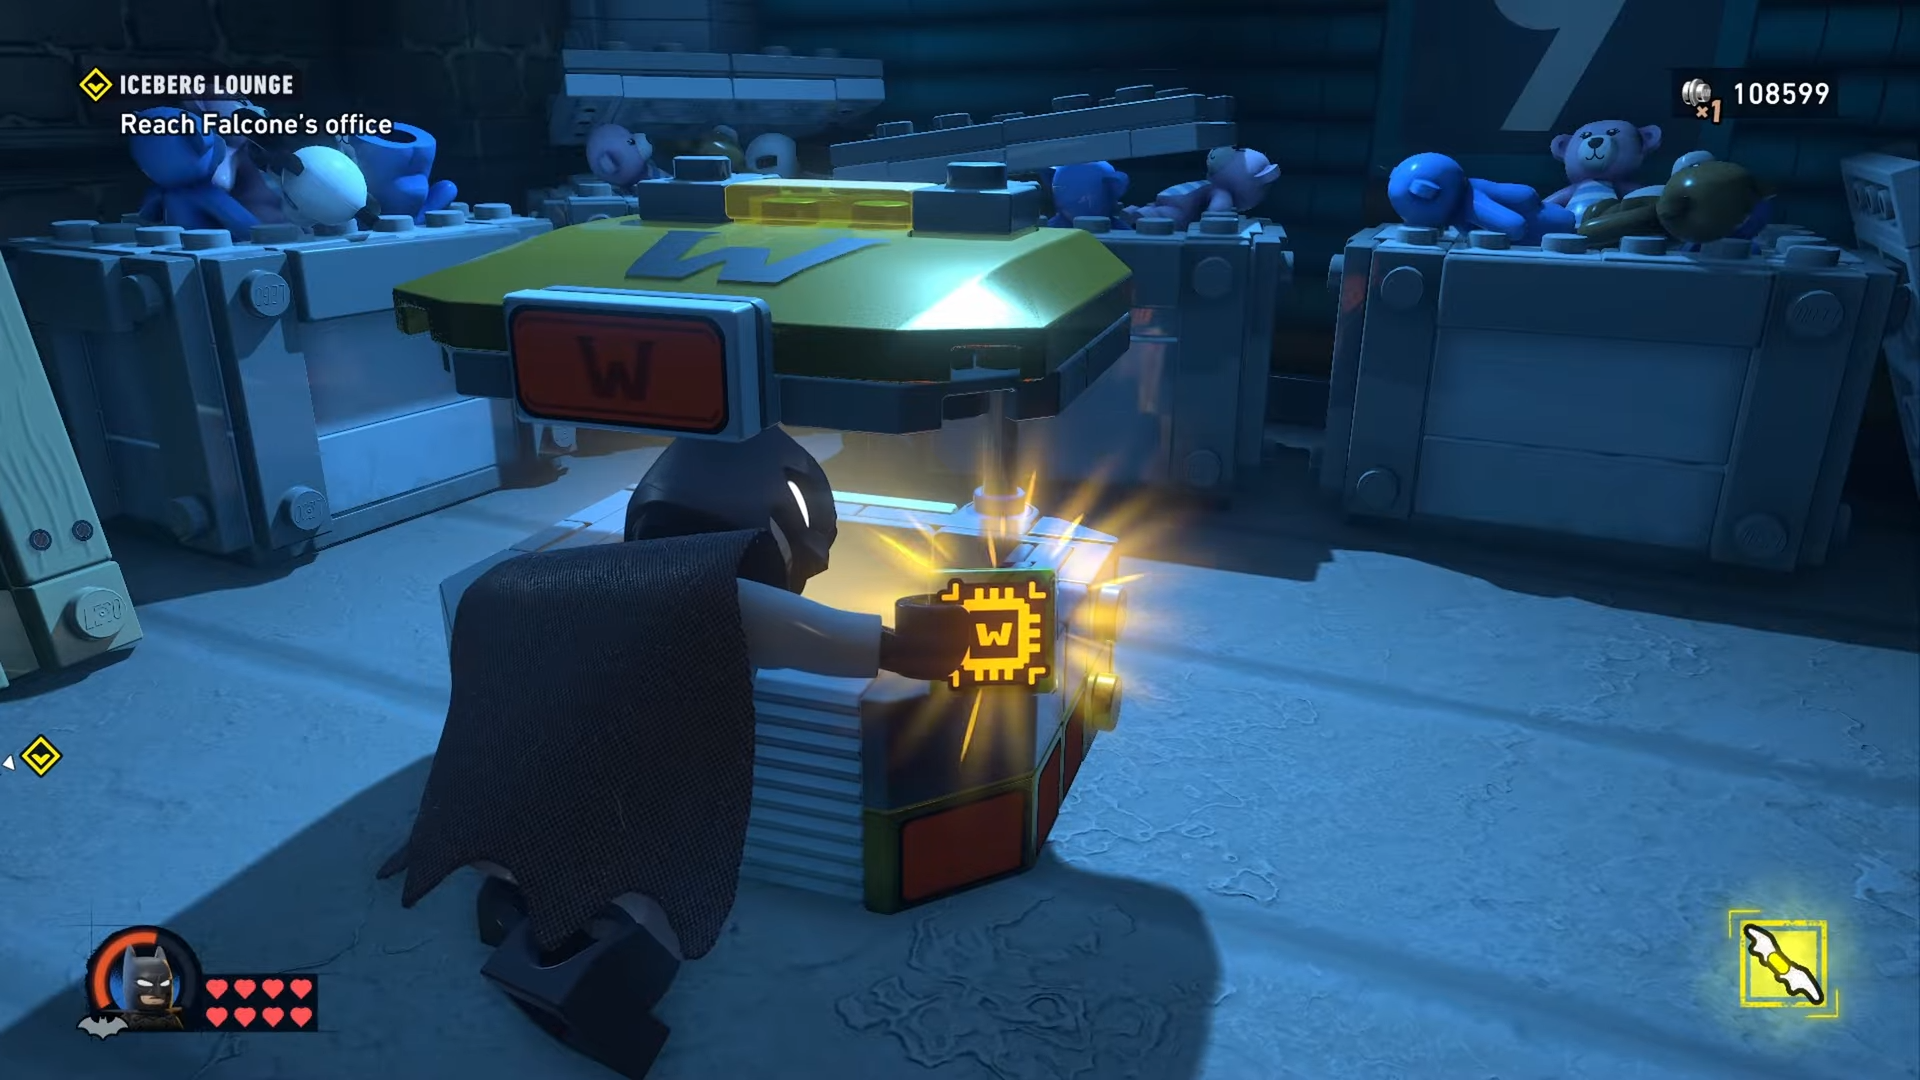
The first Waynetech Cache is immediately on the left after you enter that room.
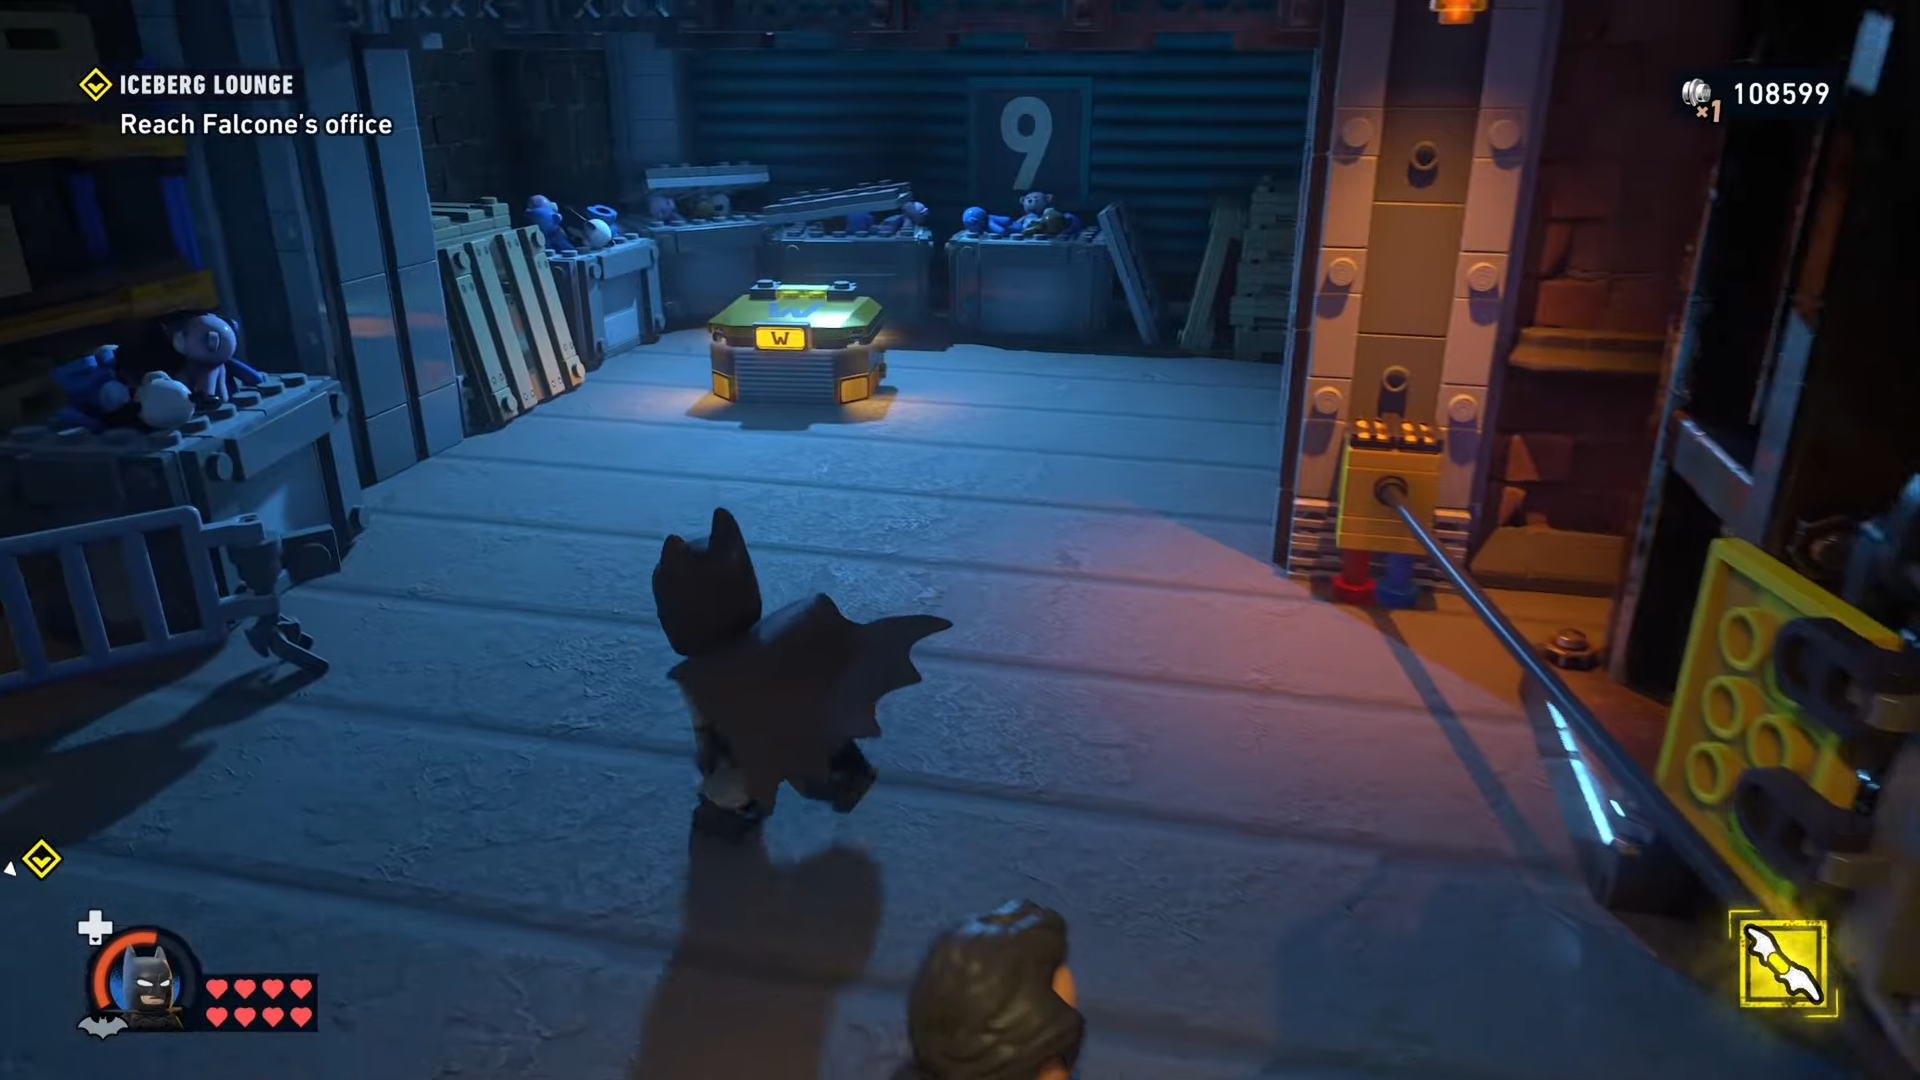
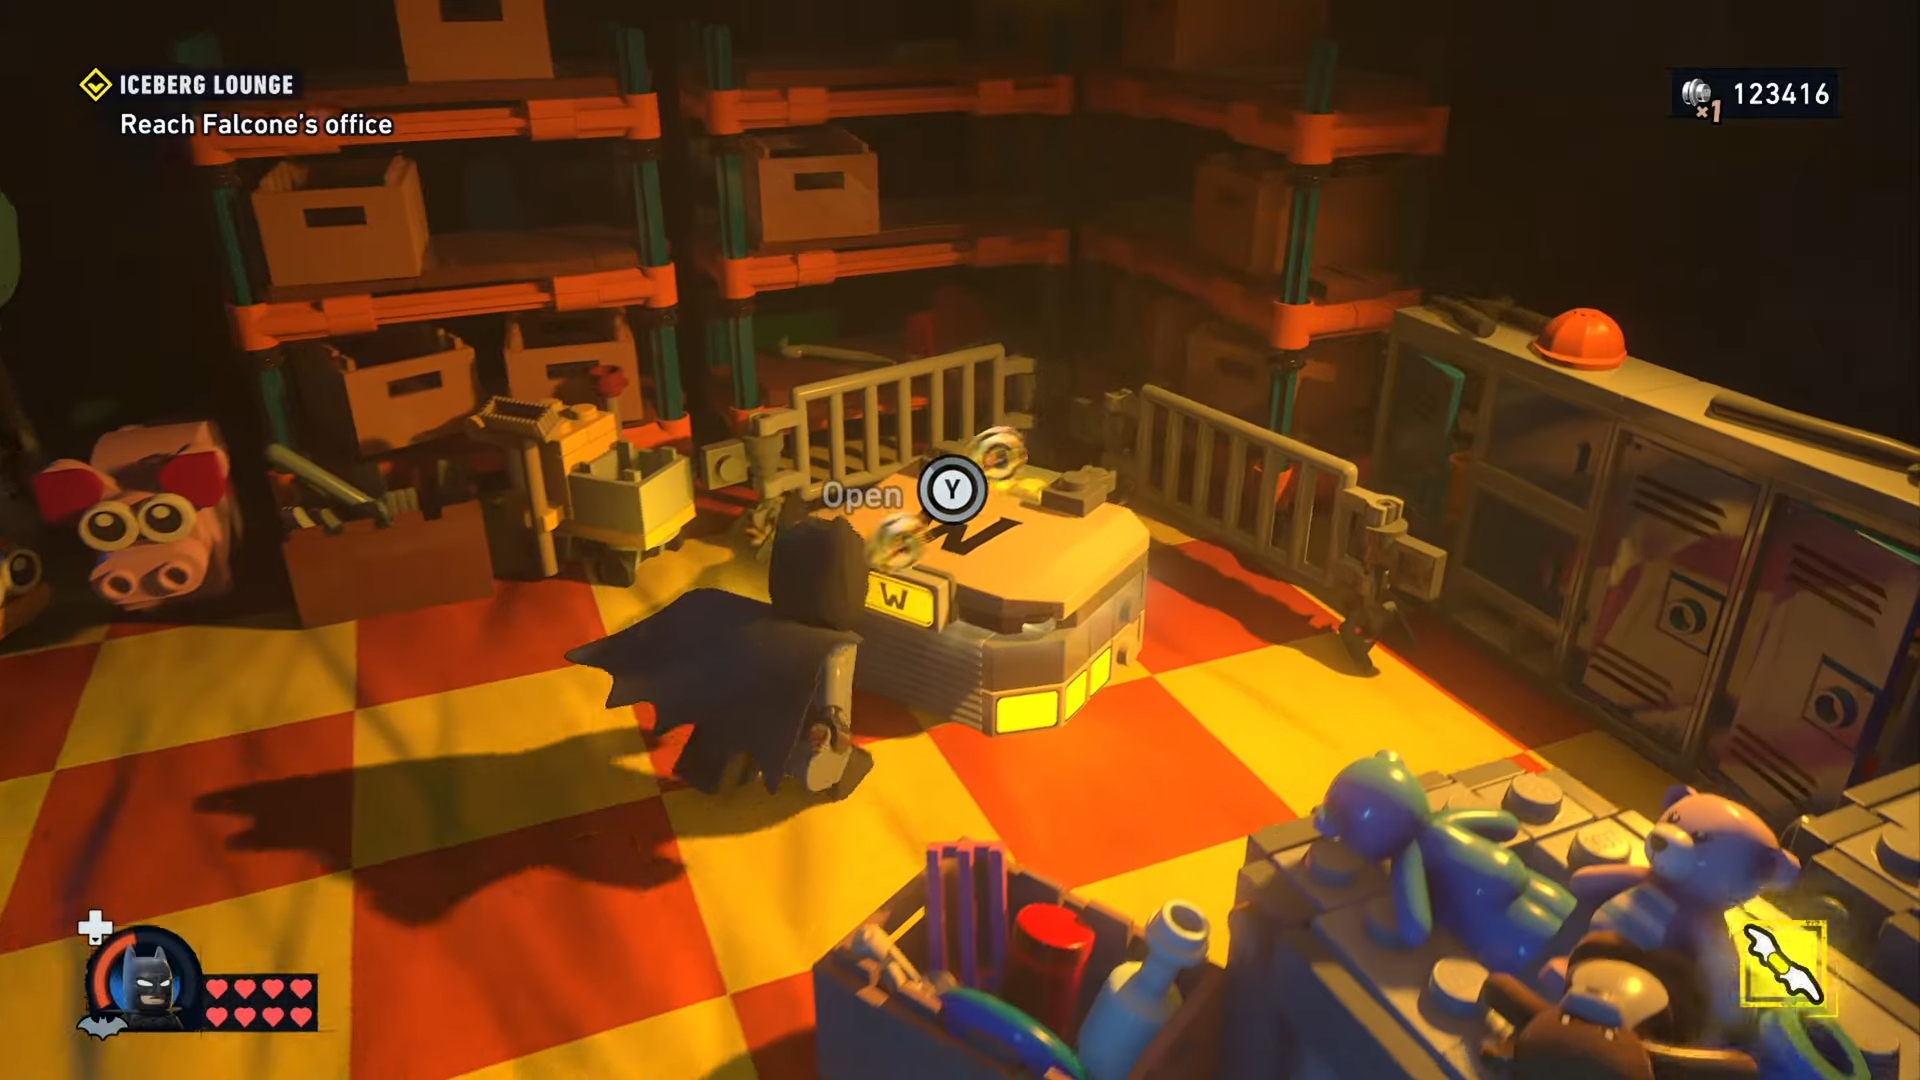
Step 2
Continue through the food section until you clear the enemies.
Go left and enter the vent.
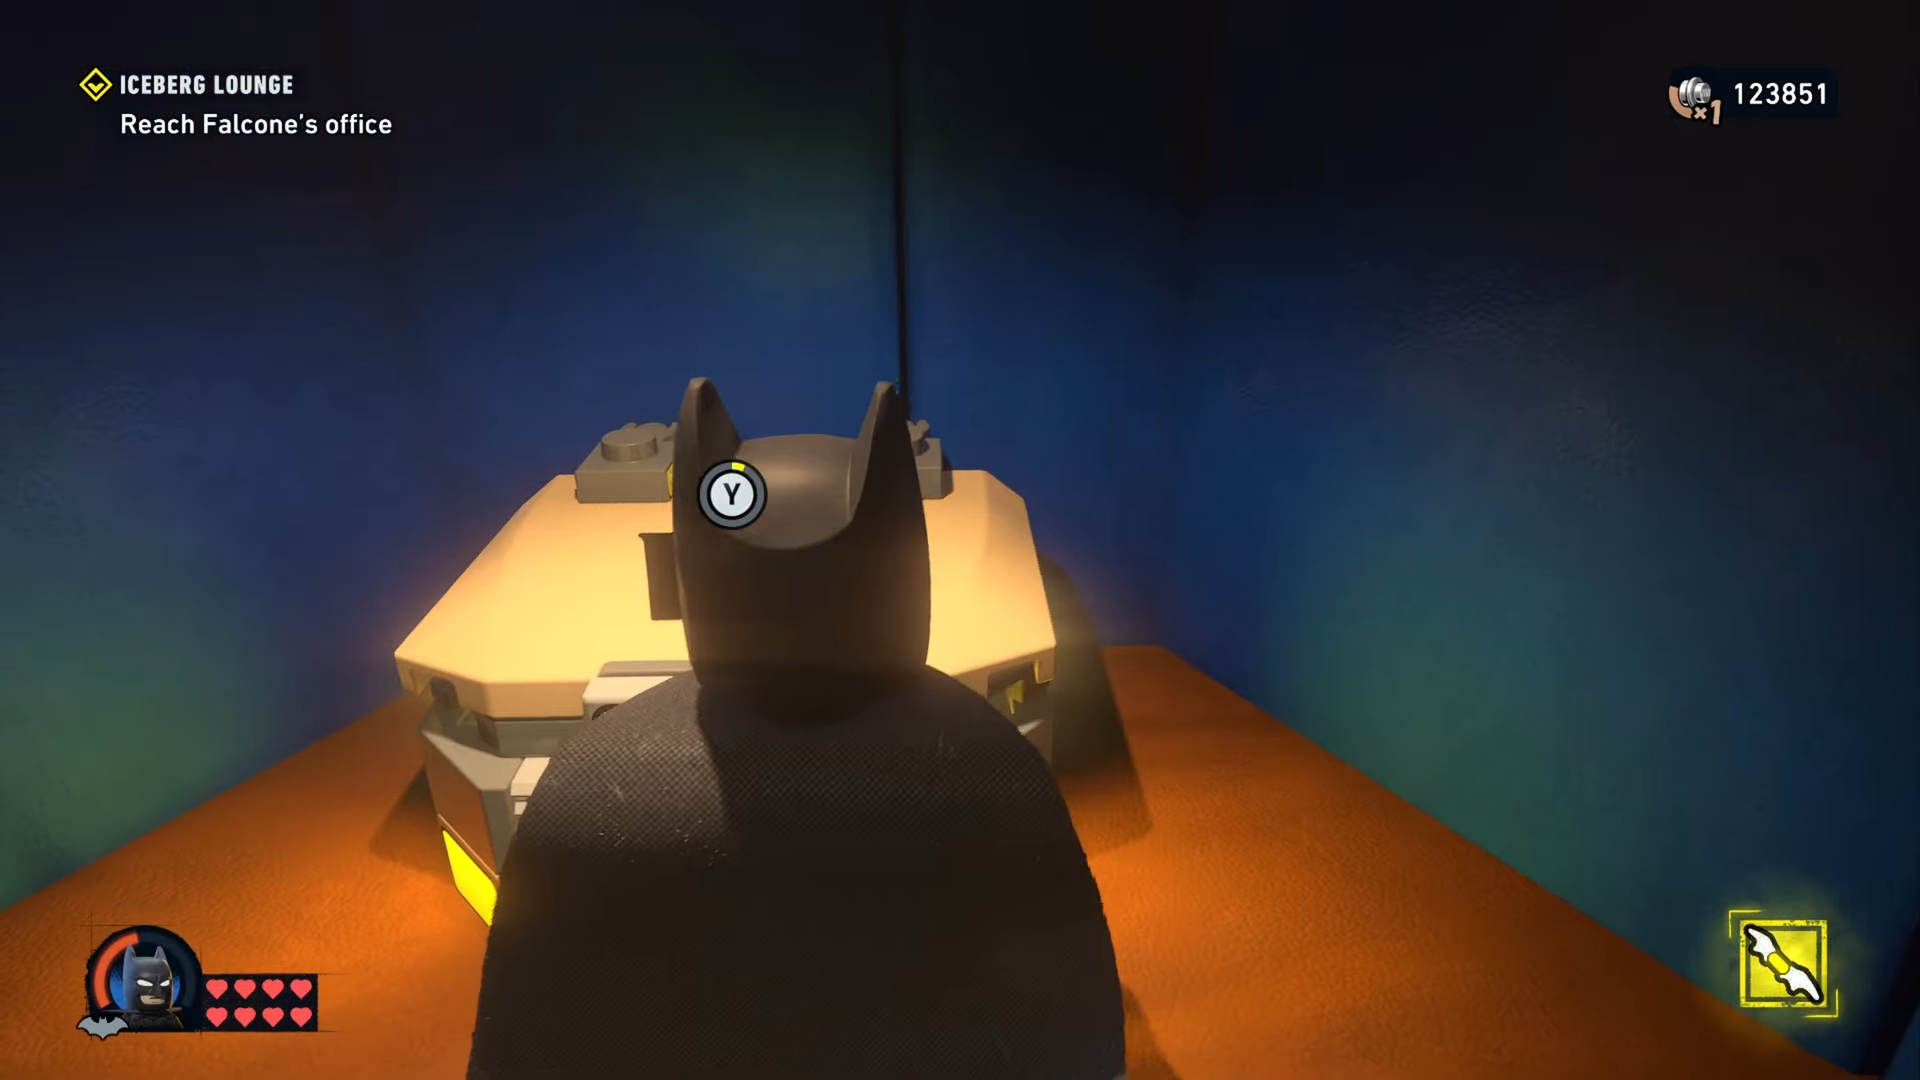
Use Jim Gordon to handle the machine. Plug it with his goop gun.
Then switch back to Batman to pick up the wire.
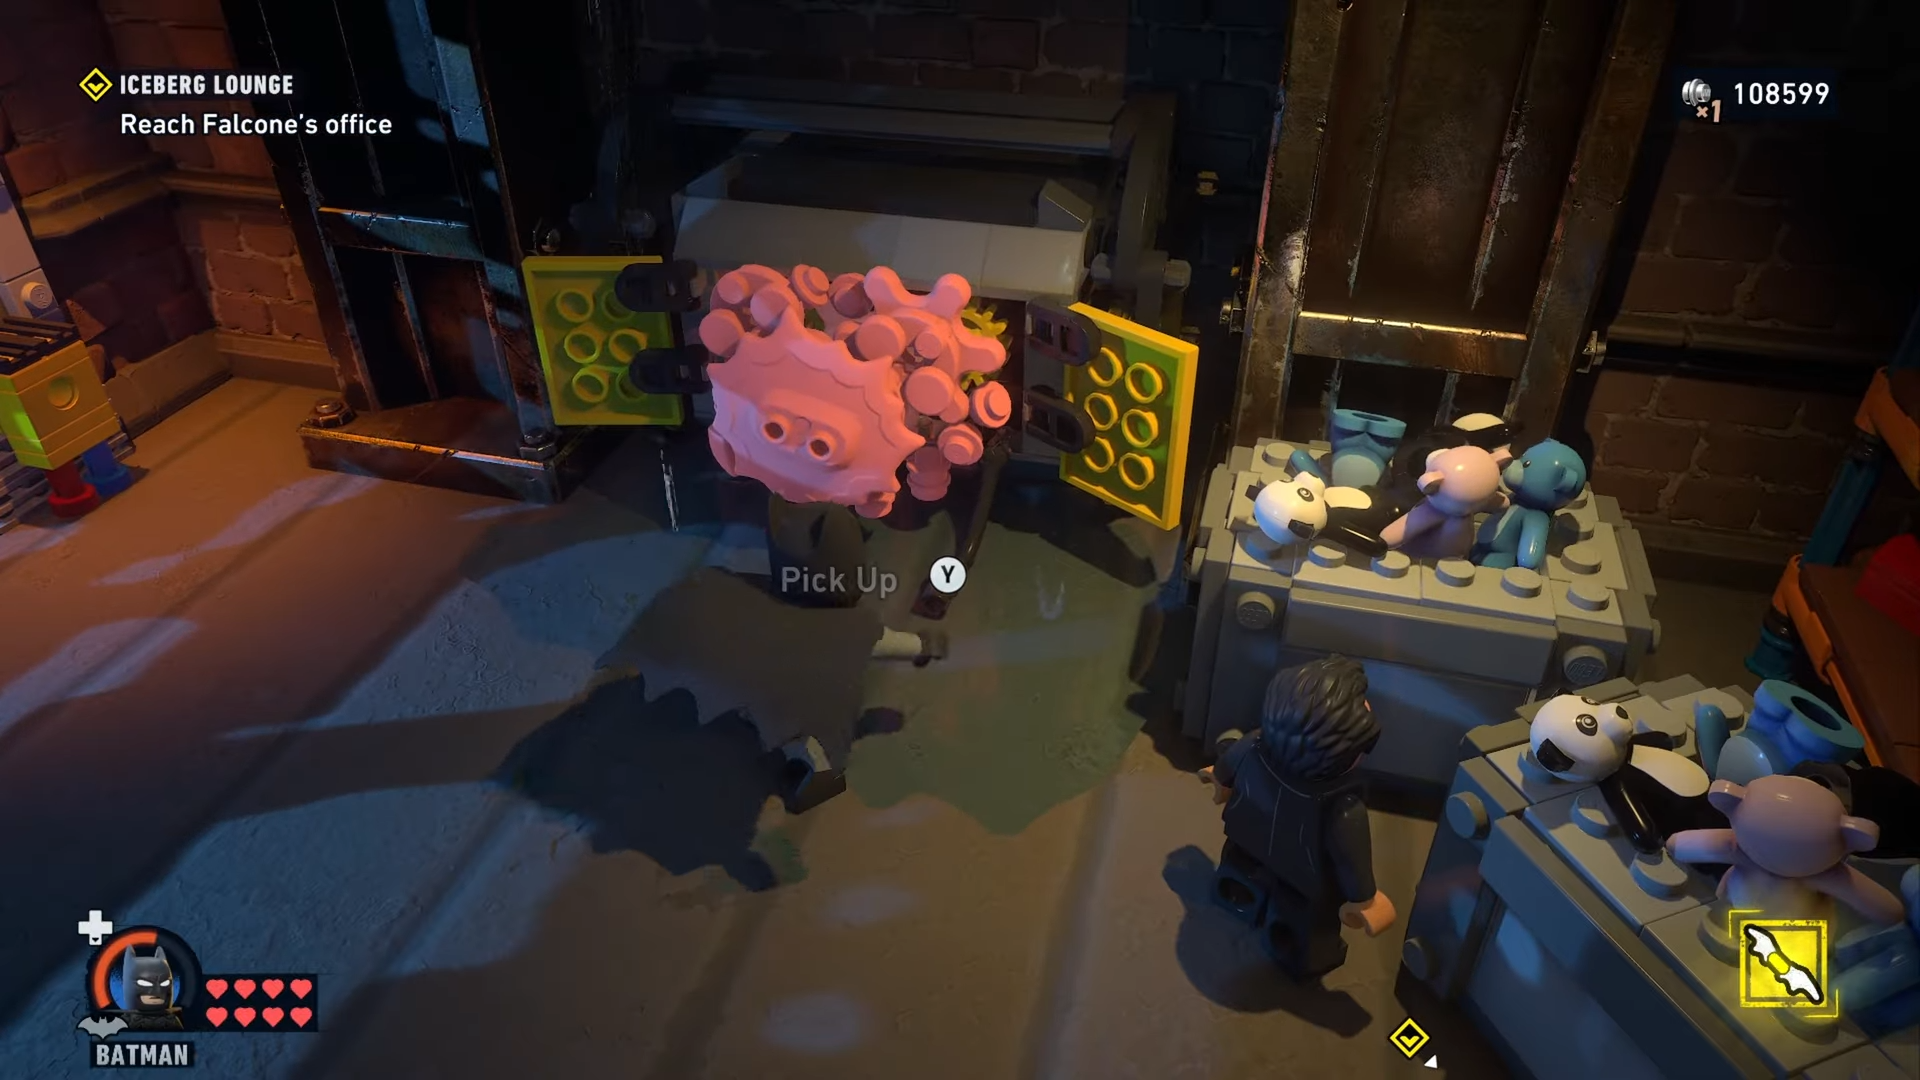
And plug it in the wall socket.

Then remove the goop.
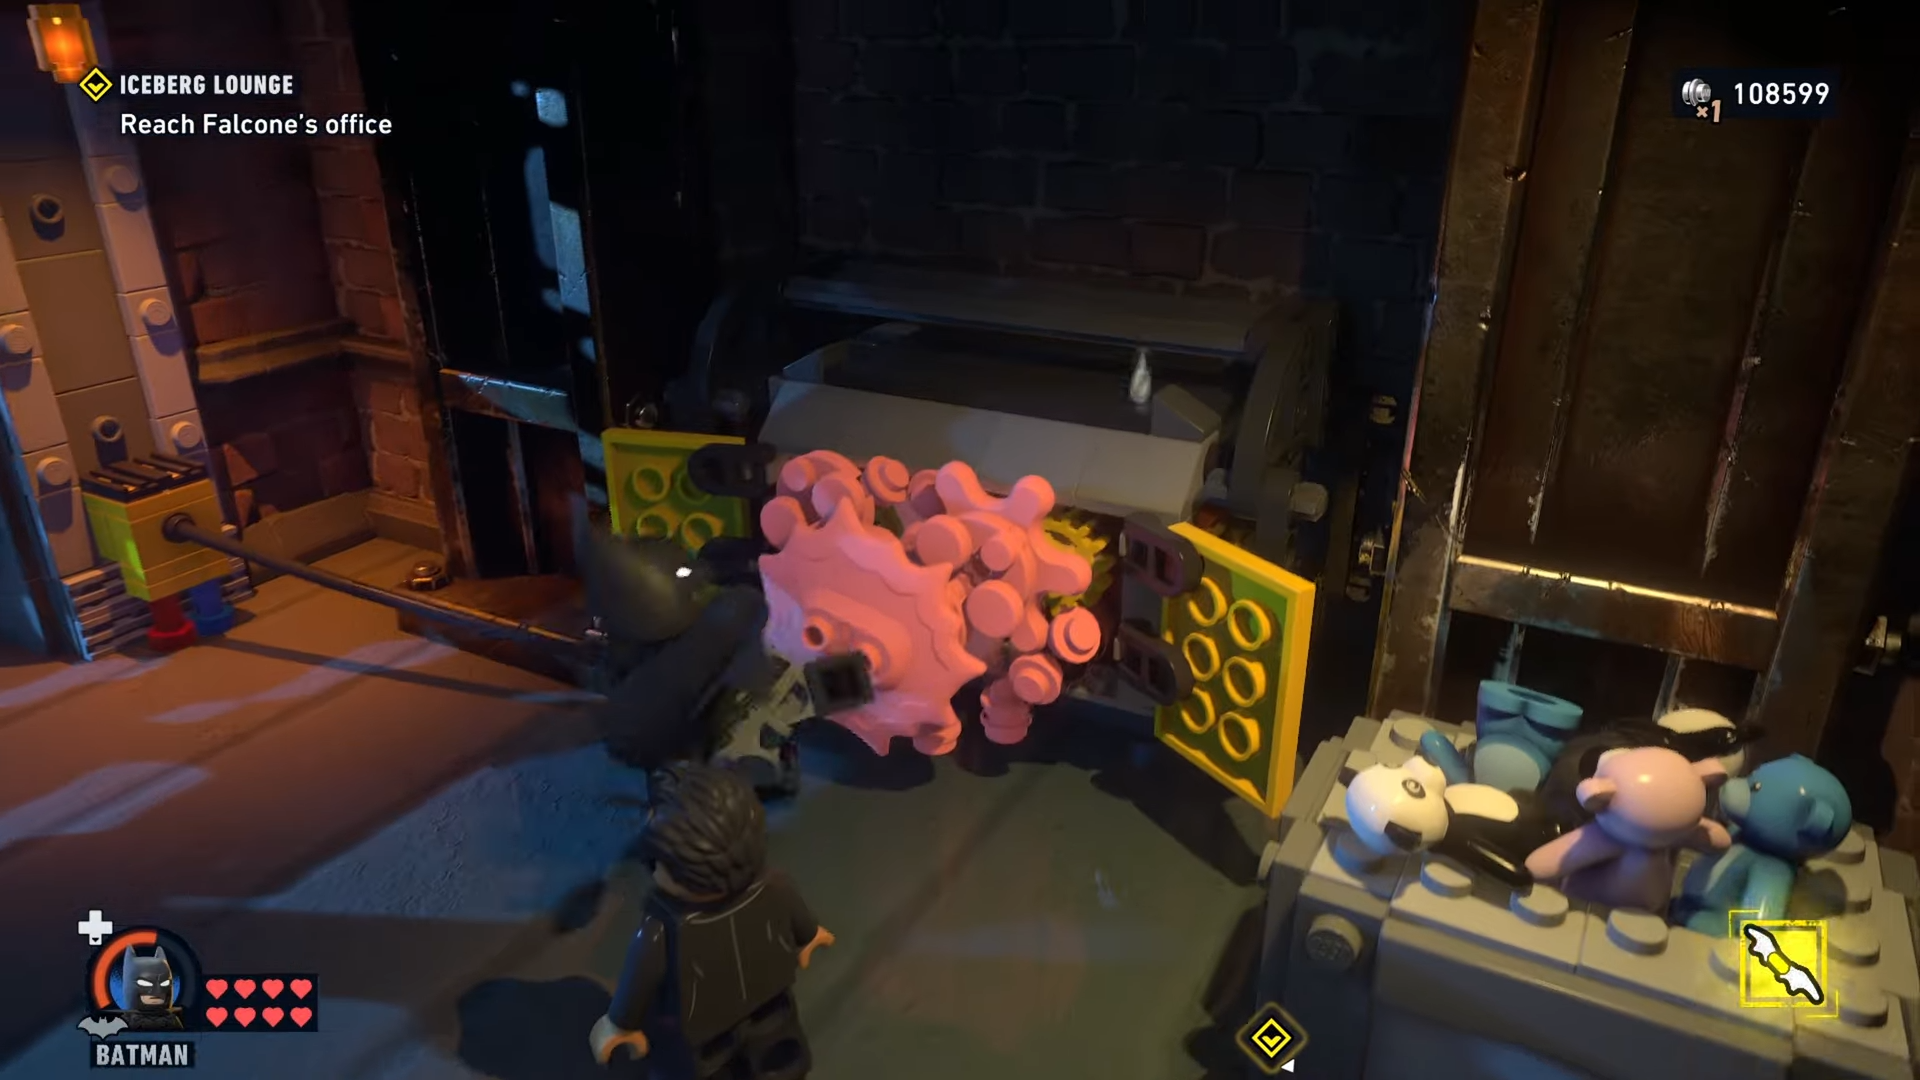
And open access to the second cache.
Step 3
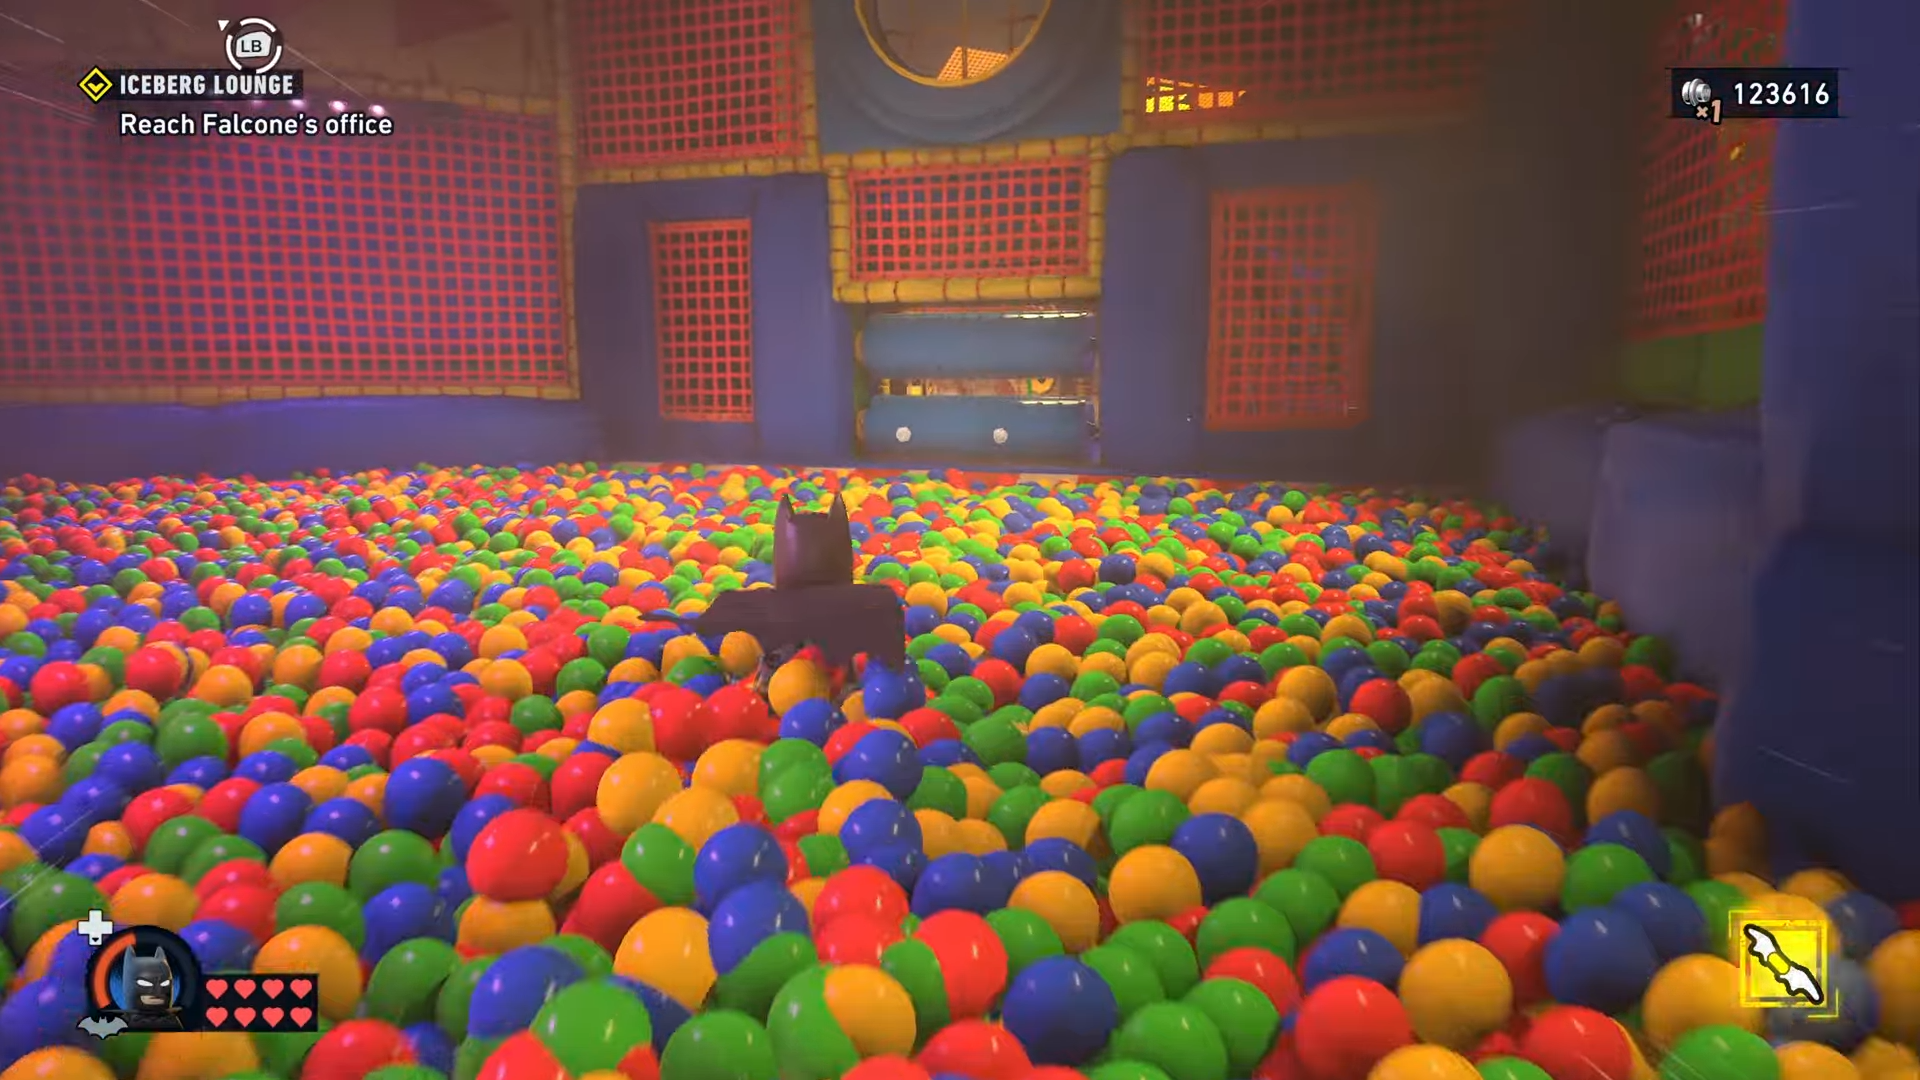
After the enemy fight near the ball pit, move up and around the area.
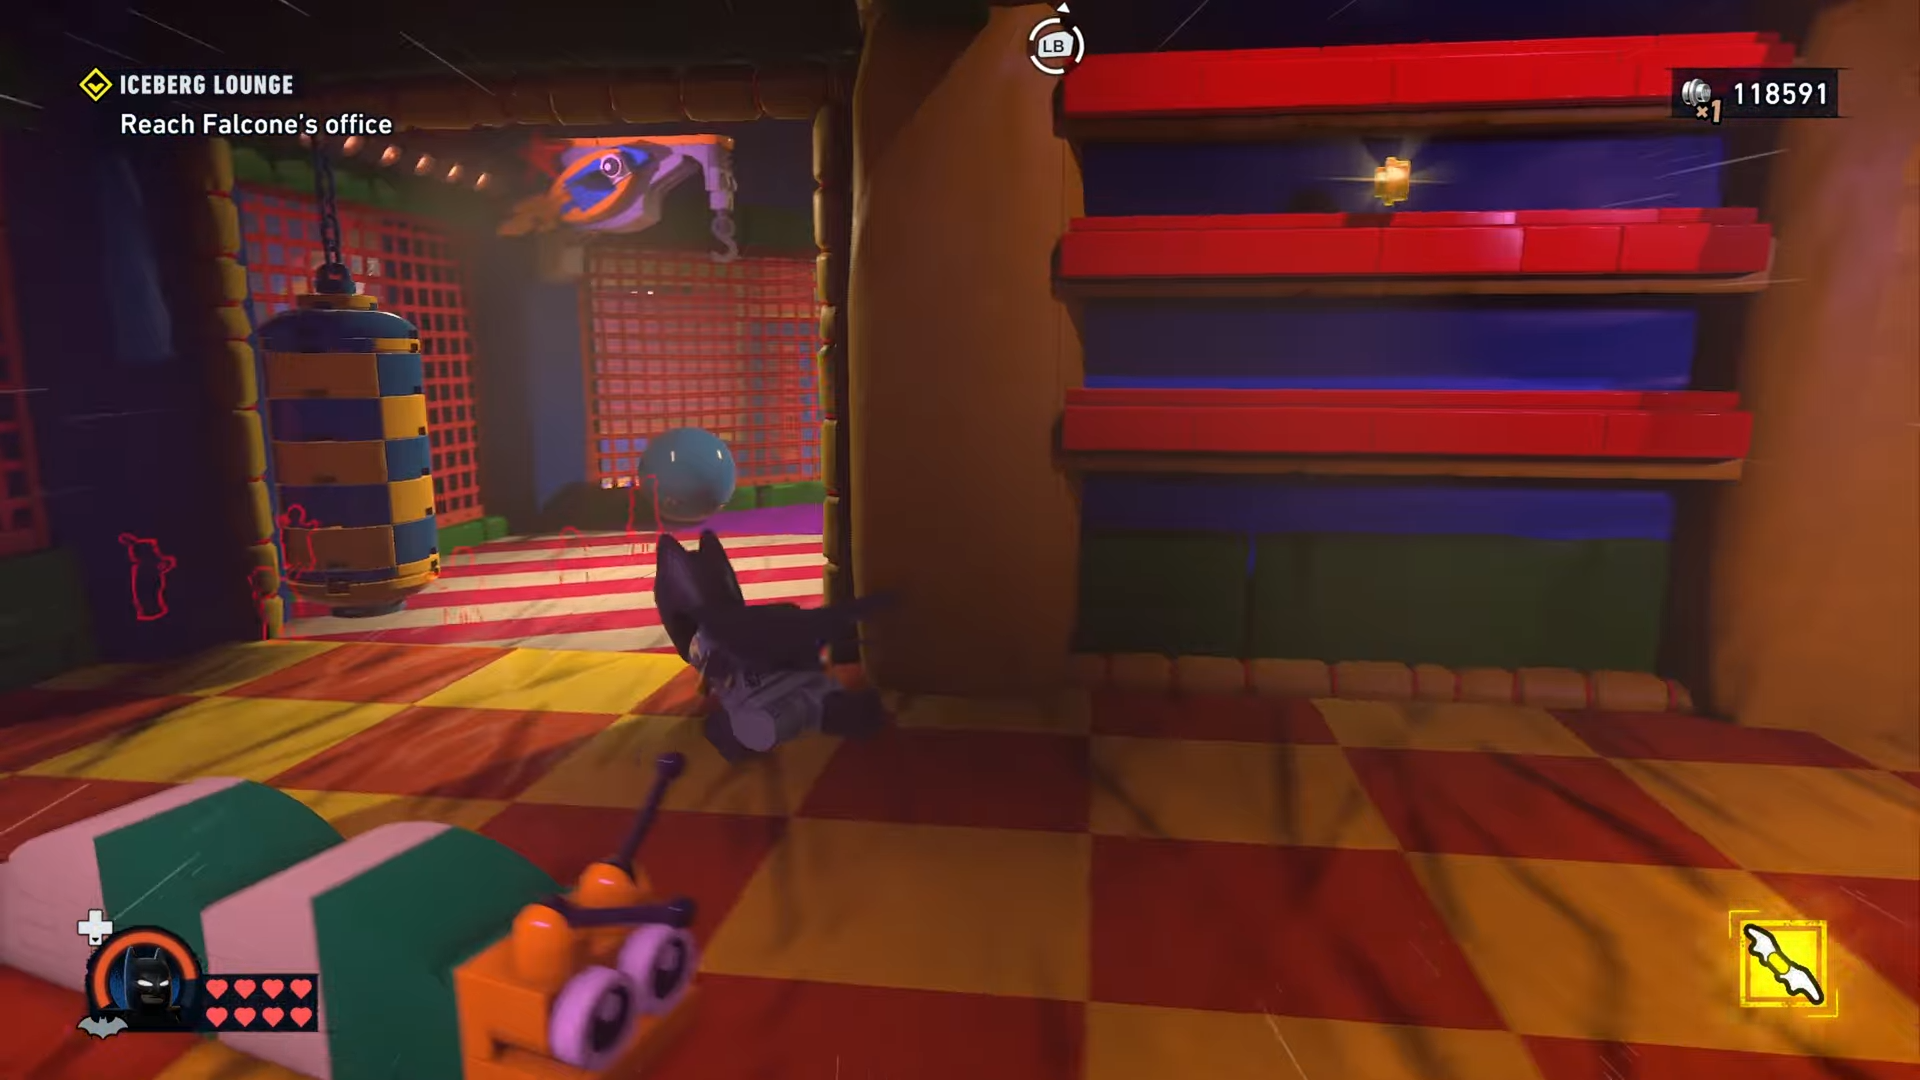
And grapple to the next platform.
Go through the spinning tubes.
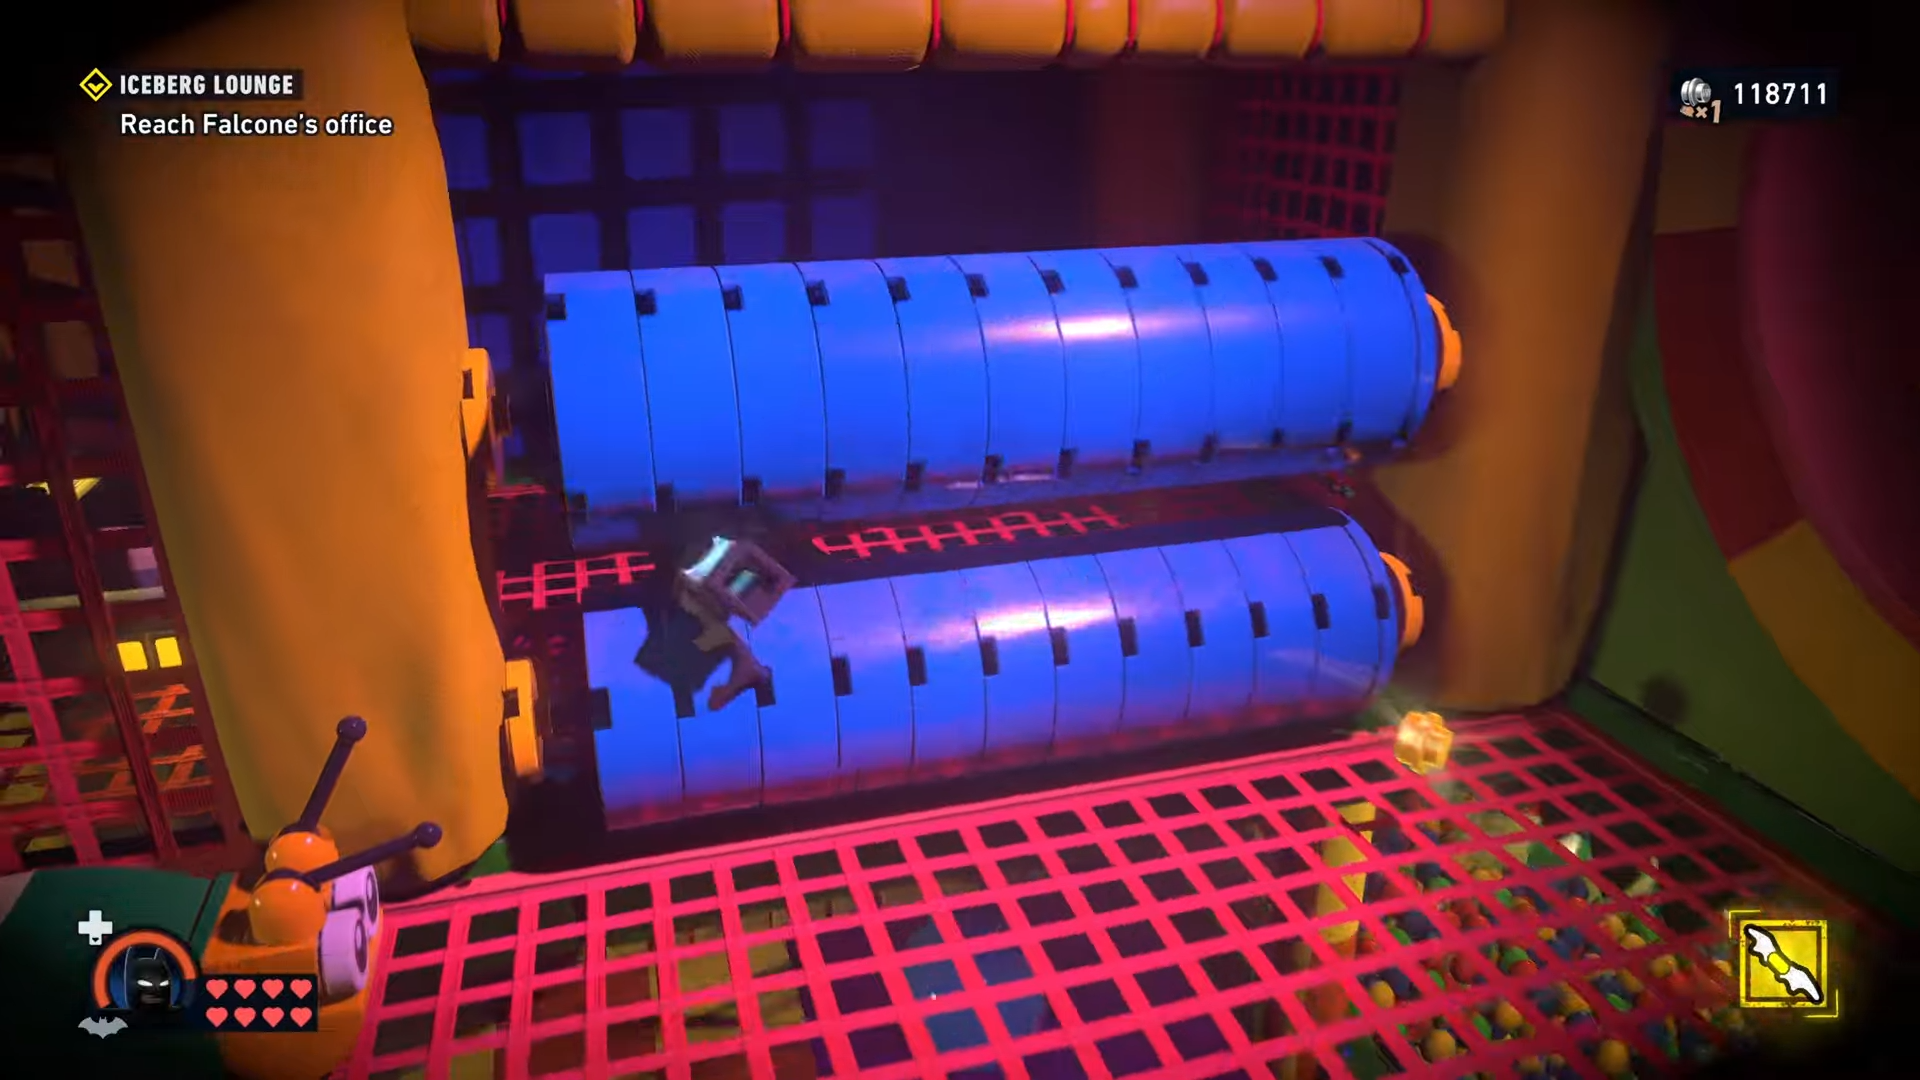
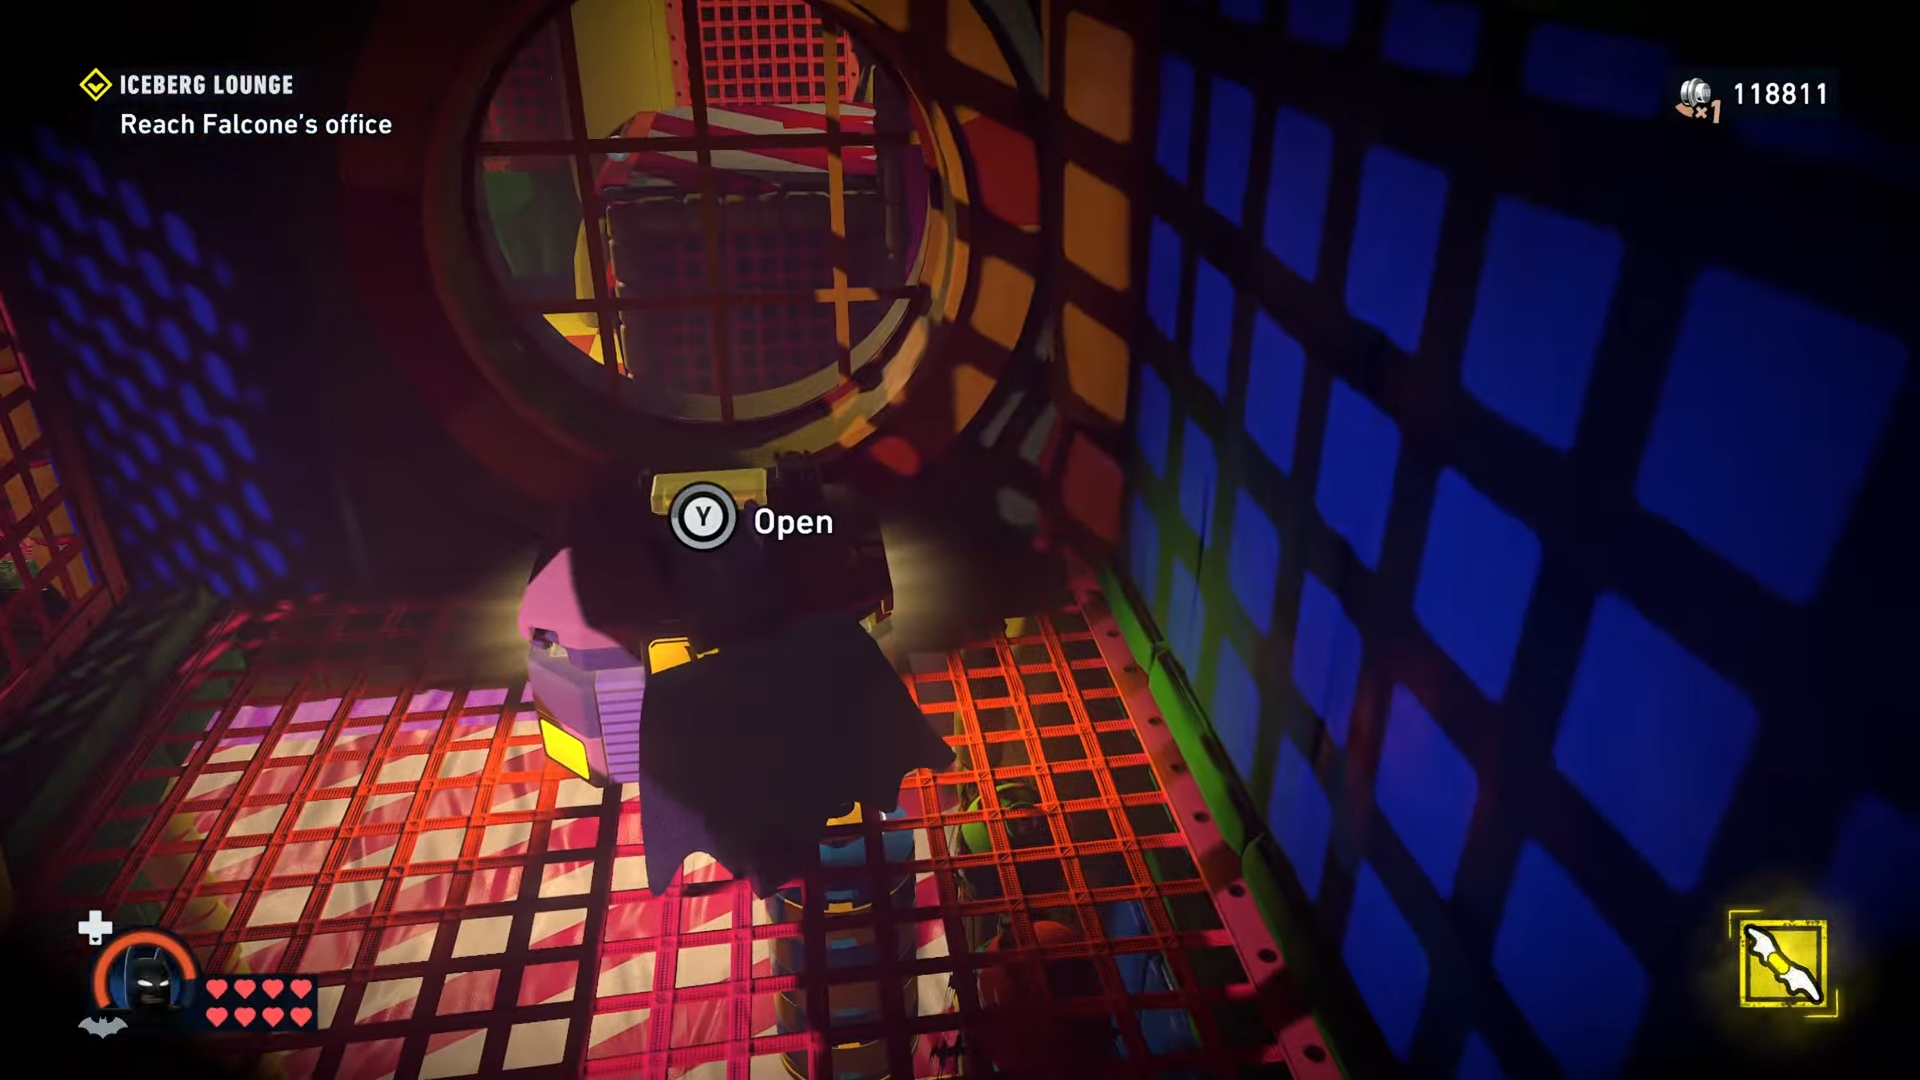
The third cache is reached by following that upper route and opening the path ahead.
Step 4
Later in the ball pit section, keep moving forward until the game prompts you into a vent path.
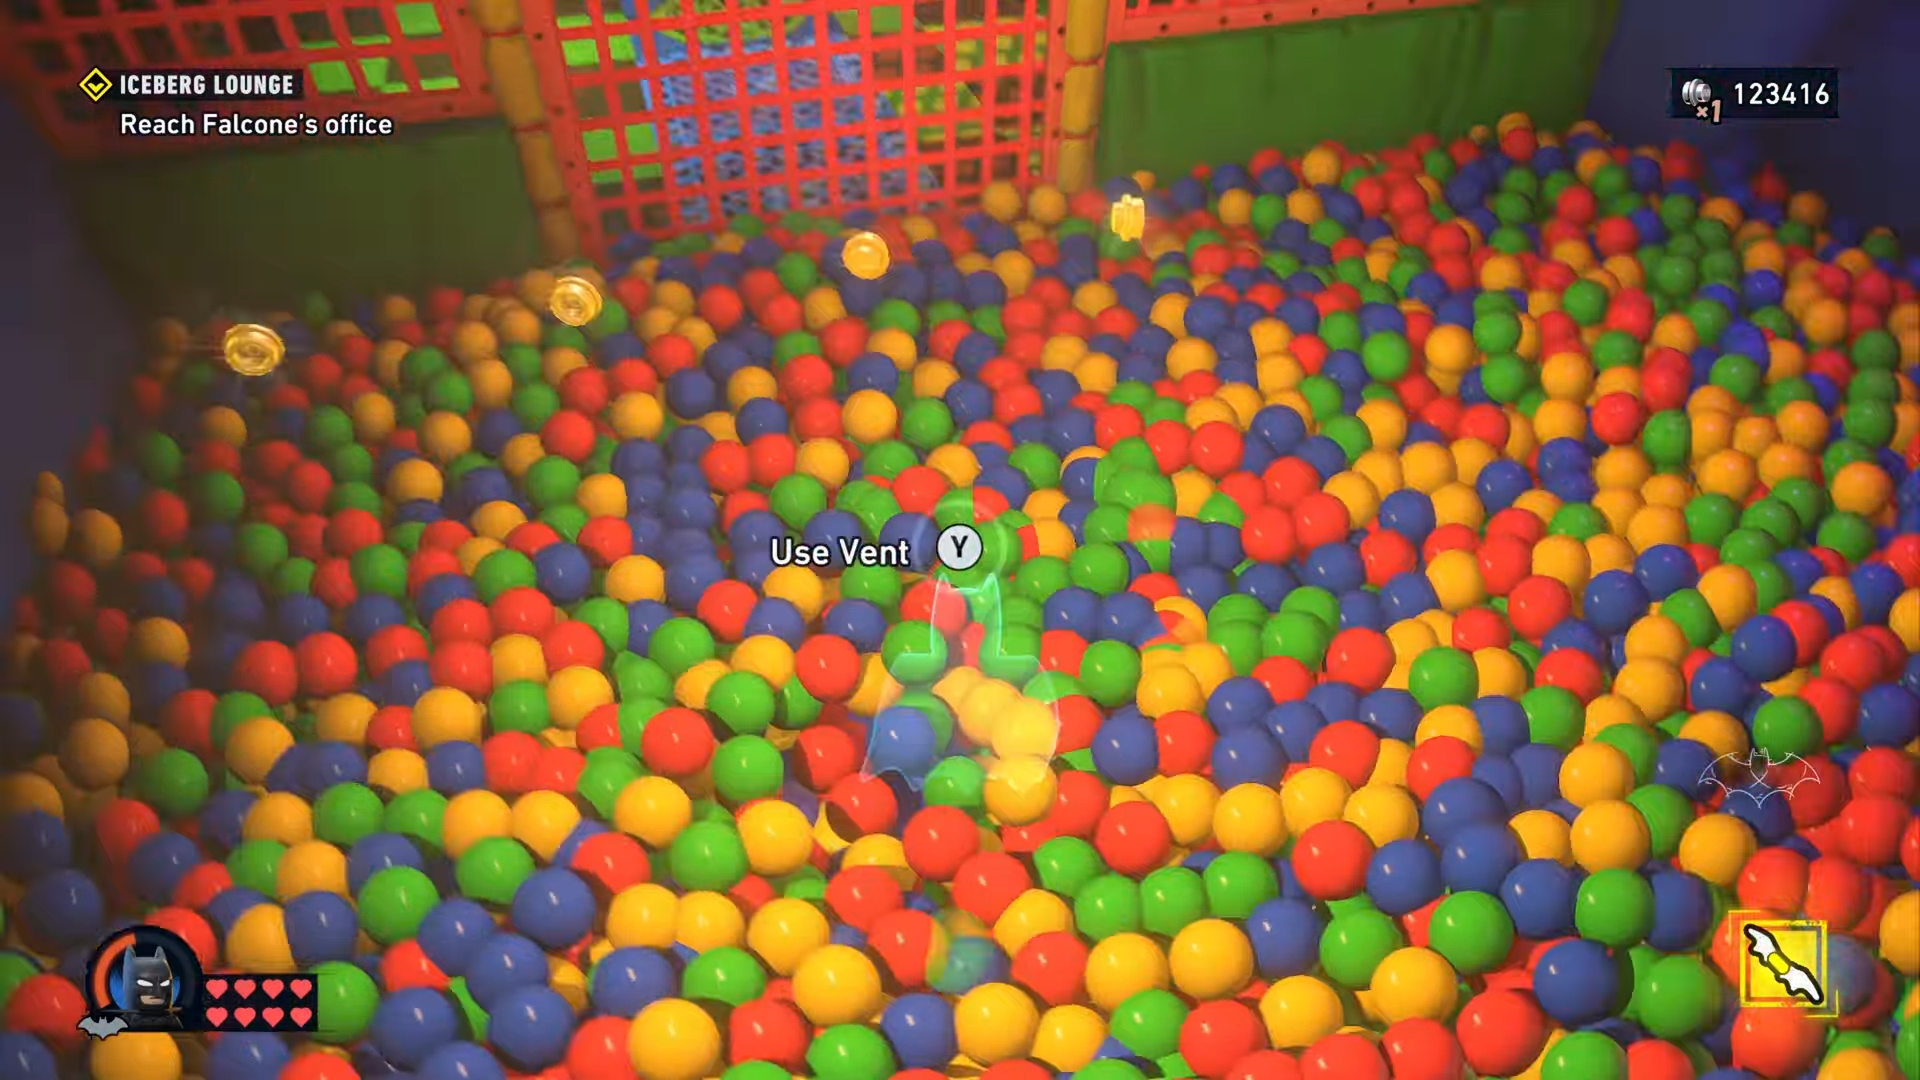
Go through that vent.
Reach the fourth cache on the far side.
Step 5
Return to the ball pit section.
Go through the spinning tubes.
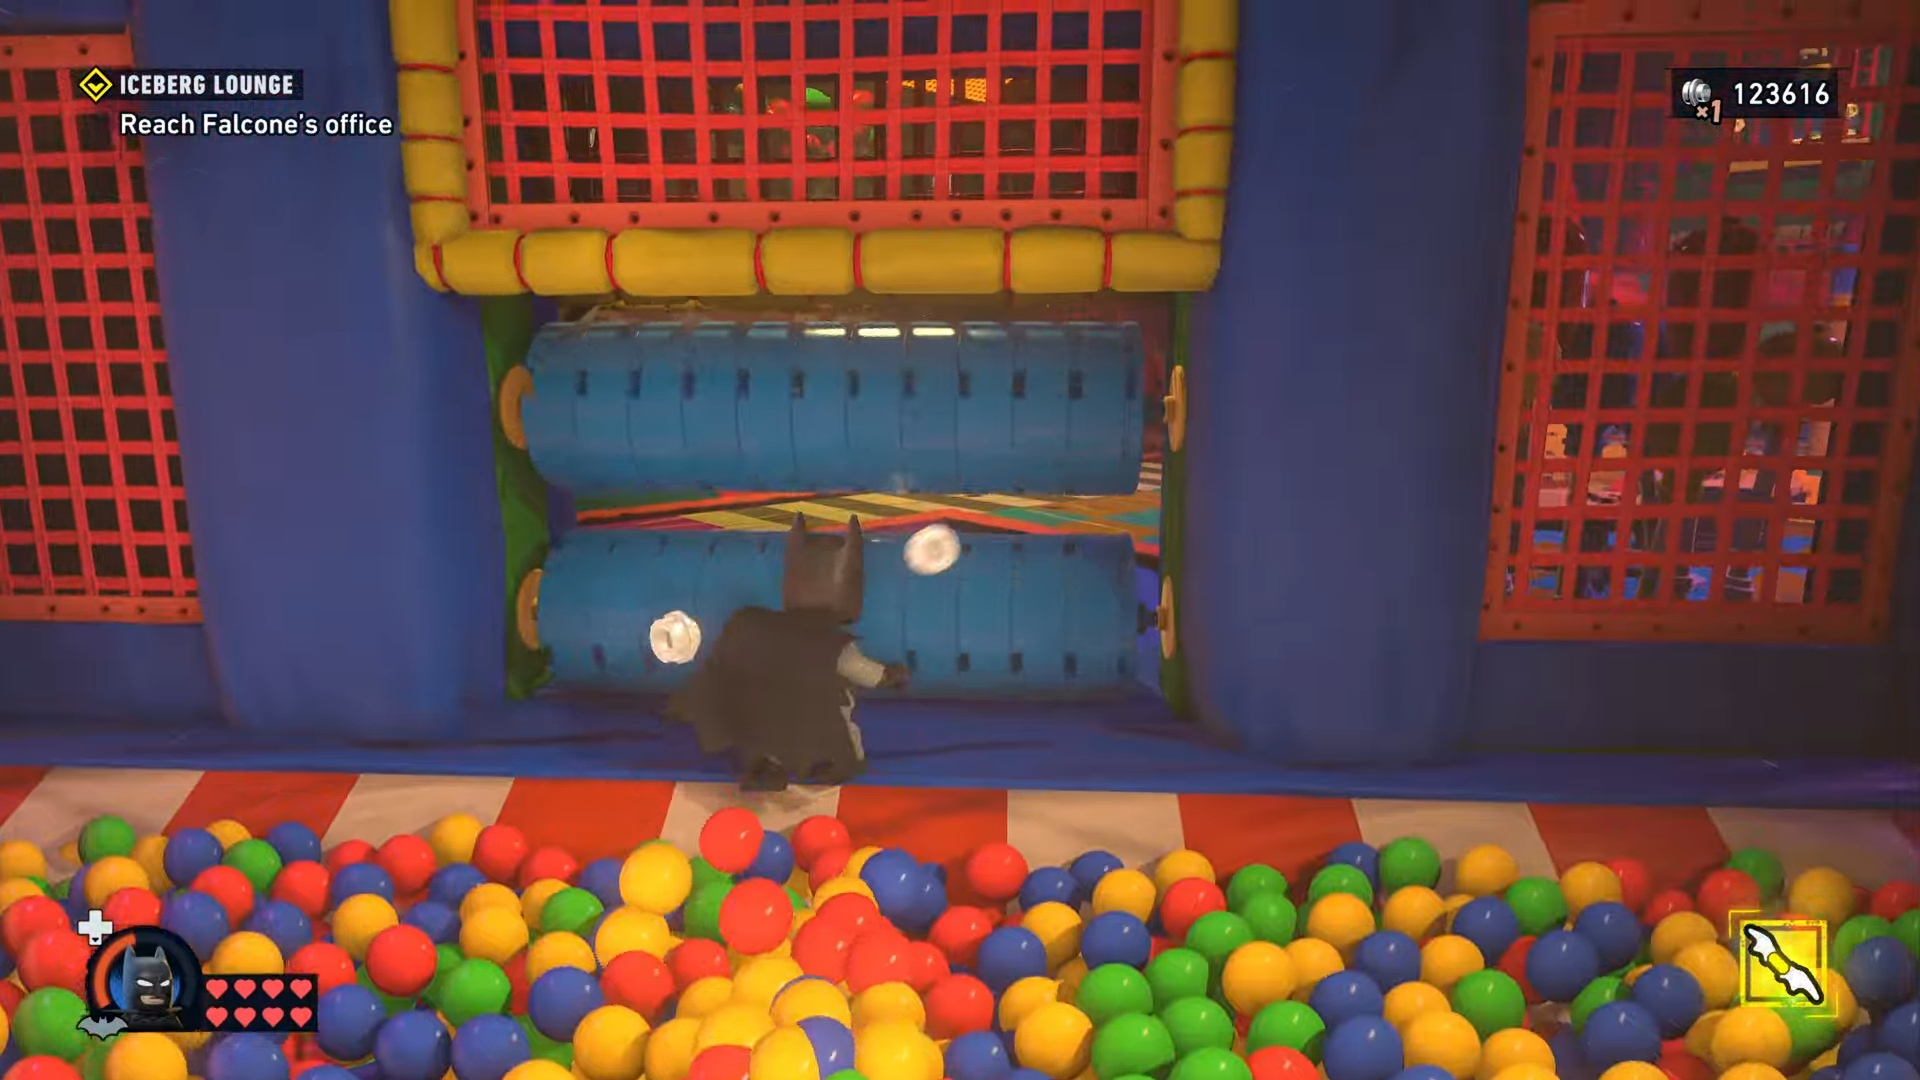
Look up and hit the red cage.
Grapple your way there.
And find the final cache.
Cache route in order
Location details
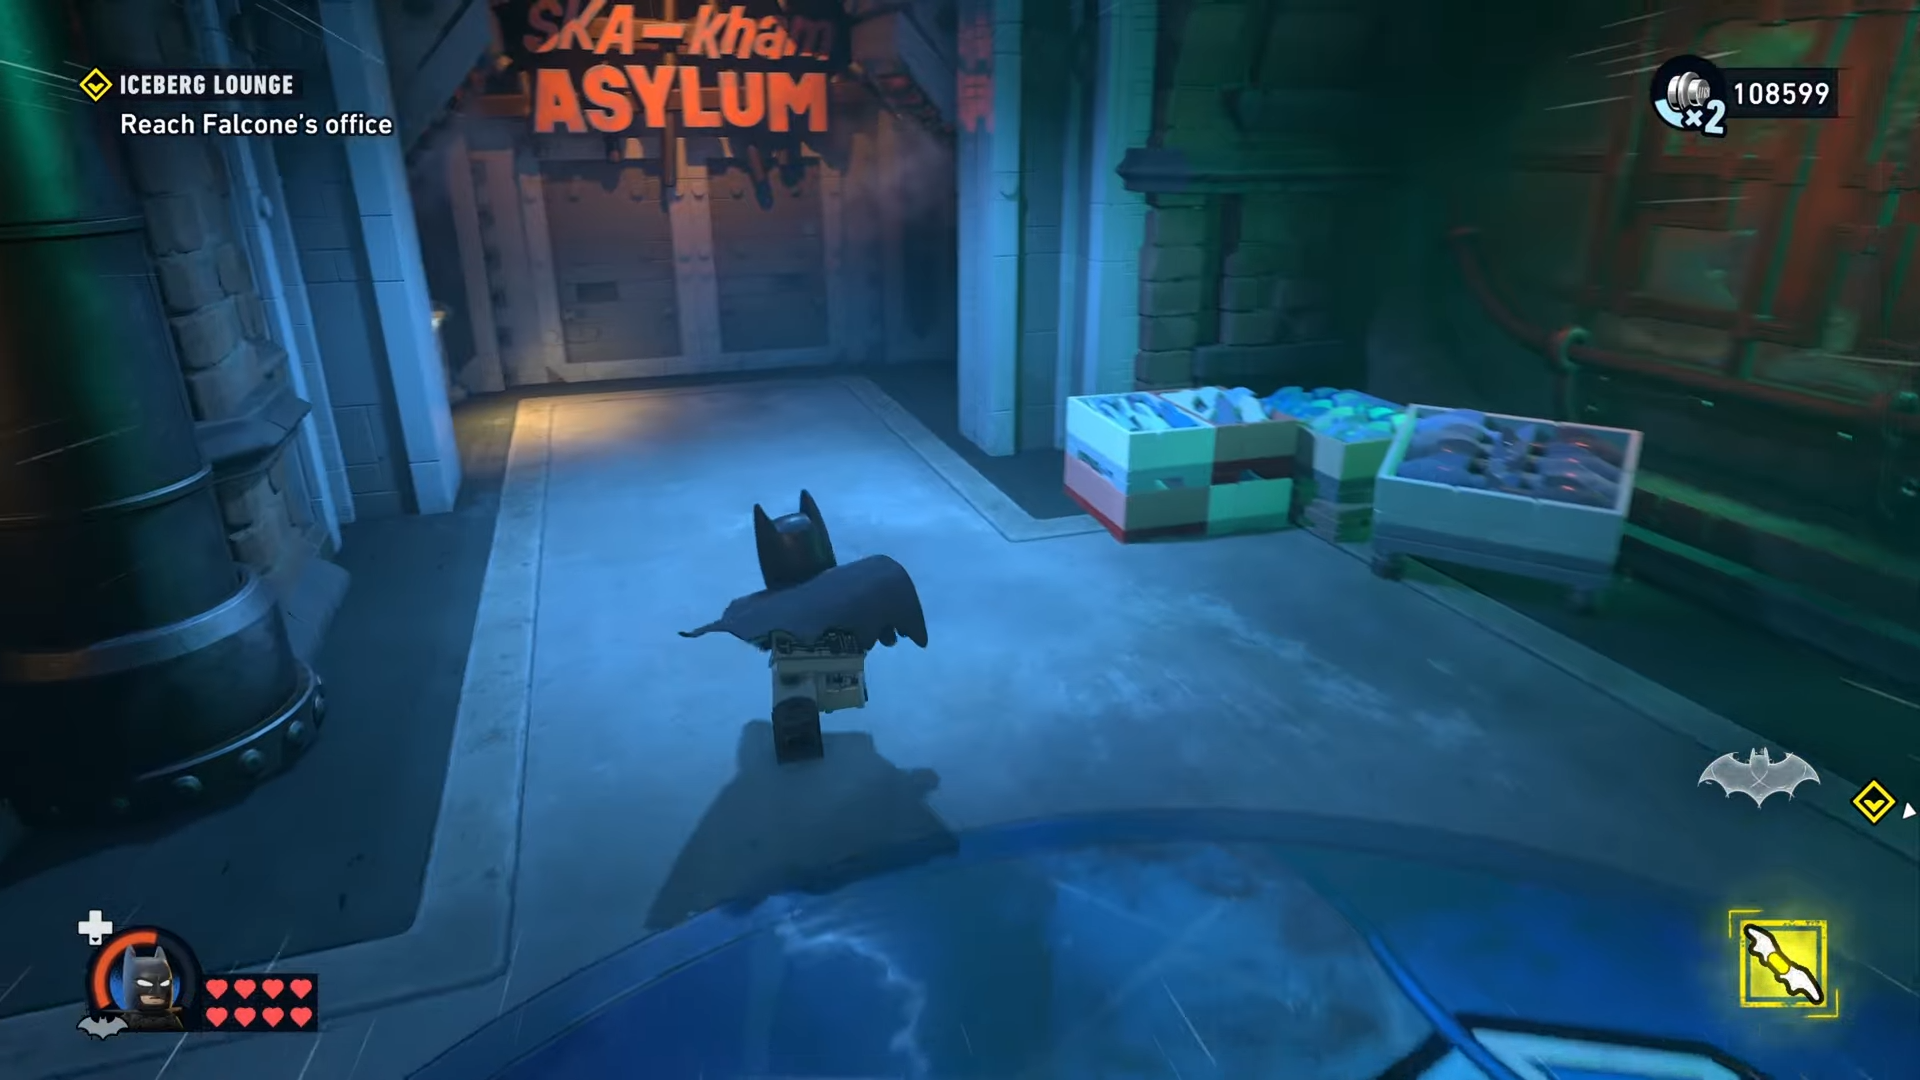
The Iceberg Lounge mission moves through a series of compact interior spaces: the entrance area, the kitchen and service corridor, a VIP-style lounge segment, and the chaotic ball pit section before the closing chase. The Waynetech Caches are placed to encourage backtracking through vents, side corridors, and elevated routes, so the safest approach is to slow down after every fight and check corners, walls, and hidden openings.
Reward value
Each cache awards WayneTech Chips, and those chips are used for upgrades at workbench stations later in the game. Since the Iceberg Lounge contains 5 caches, clearing the mission gives you 5 chips from this level alone. That makes this one of the early mission pickups worth fully completing instead of rushing past.


Leave a Reply