
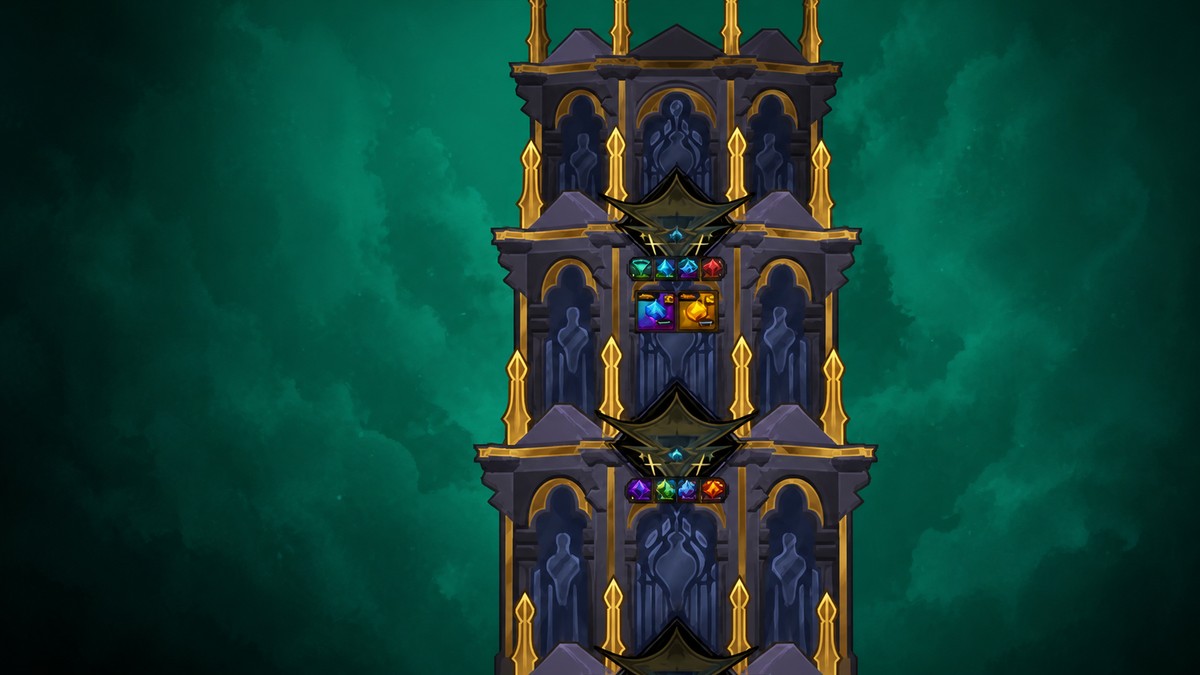
To get Cubert, clear Floor 50 in the normal Tower first, because normal Tower keeps your unit traits active and gives you the fastest route.
Cubert is tied to the new Tower push in Anime Expeditions, and the clean route is not to start with the harder Traitless version. The Tower climb changes from floor to floor, so the real work is learning when to stop brute-forcing and adjust your team around the floor effects.
- Where to get Cubert in Anime Expeditions
- How to get Cubert from normal Tower Floor 50 in Anime Expeditions
- Damage multipliers and enemy modifiers
- Six-slot team rules for higher Tower floors
- Placement, targeting, and active skills
- After Cubert, use the second Tower track
- Cubert’s Cube Summon kit
- Frequently Asked Questions
Where to get Cubert in Anime Expeditions
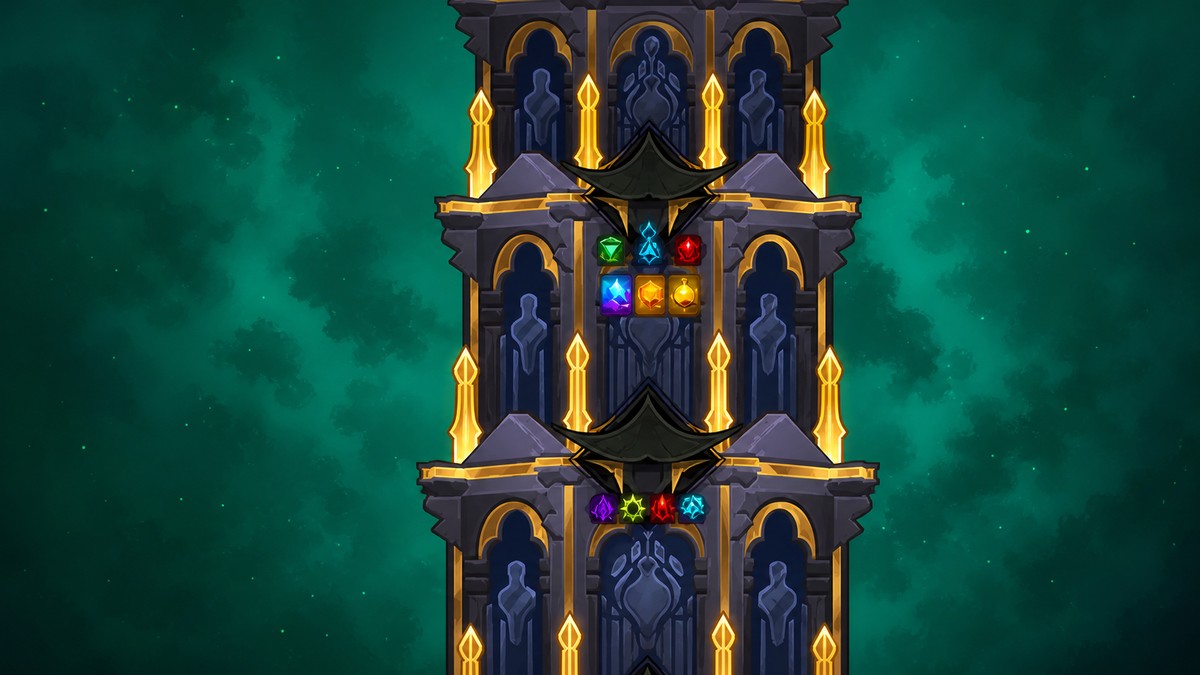
Start in the normal Tower and push to Floor 50. Normal Tower keeps traits such as Unbound, Primordial, Draconic, and other trait bonuses active, which makes it the better first climb if your only goal is getting Cubert quickly.
KEY!
Cubert is presented as a limited Hydro and Magical exclusive unit tied to the current Tower season, with the season said to change with Update 3. Current public details do not give an exact removal date or a named Cubert quest, so the smart play is to finish Floor 50 before the Tower season rotates instead of waiting for a deadline.
How to get Cubert from normal Tower Floor 50 in Anime Expeditions
Use your strongest trait-enabled team first, then tune only the parts of the lineup that the current floor is countering.
STEP 1/13
Enter the Tower area
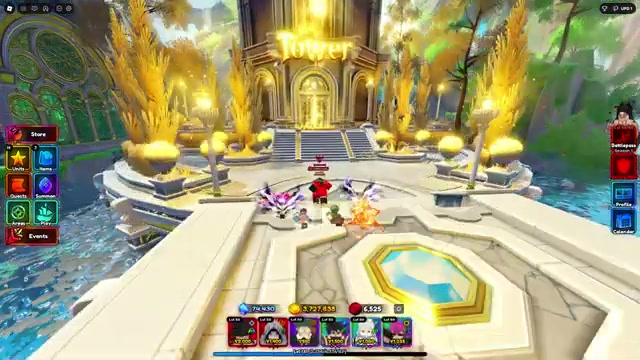
Go into the new Tower area and look for the two Tower mode choices on the left side.
STEP 2/13
Pick normal Tower

Select Tower instead of Traitless Tower so your unit traits stay active.
STEP 3/13
Set Floor 50 as the target
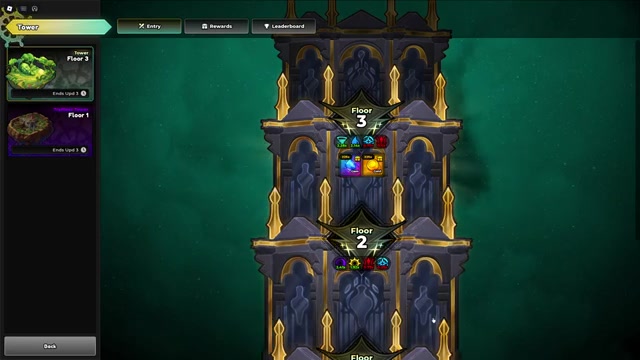
Keep climbing normal Tower until you defeat Floor 50, which is the Cubert milestone target.
STEP 4/13
Start with your main team

Use your strongest full team through the early floors instead of rebuilding before every match.
STEP 5/13
Stop changing only after a loss

When a floor beats you, return to the floor menu before trying again.
STEP 6/13
Read the floor effects

Check the stage effects, enemy modifiers, and damage multipliers for that exact floor.
STEP 7/13
Compare damage multipliers
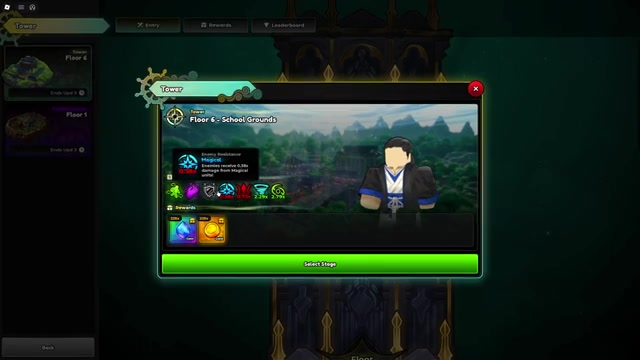
Treat values above 1 as boosted damage types and values below 1 as reduced damage types.
STEP 8/13
Replace countered carries

Swap out a main damage unit if its element or attack type has a low multiplier on that floor.
STEP 9/13
Hover every modifier icon

Read each enemy modifier before entering so shields, speed, stuns, healing, splitting, summoning, or DOT checks do not surprise you.
STEP 10/13
Keep a balanced six-slot team

Bring economy, control, support, and several damage options instead of filling every slot with one damage style.
STEP 11/13
Adjust placement and targeting
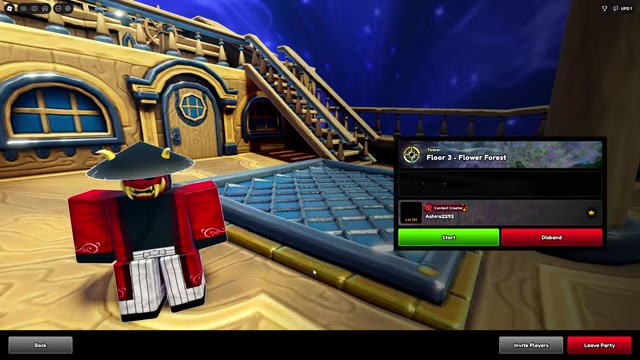
Spread units, place supports where they hit the most allies, and change targeting for the threat ending your run.
STEP 12/13
Spend active skills on hard waves

Use active skills against dangerous waves or bosses because every Tower floor is its own match.
STEP 13/13
Clear Floor 50 and claim Cubert
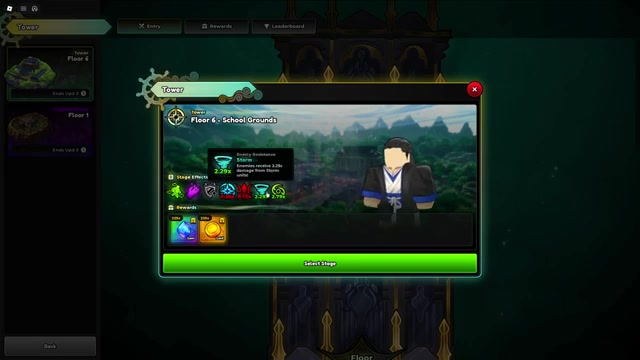
Defeat Floor 50 in normal Tower, claim Cubert, then decide whether to continue into Traitless Tower or leaderboard pushing.
Video help
Damage multipliers and enemy modifiers
| Floor effect | Best response |
|---|---|
| Boosted damage type | Use a carry that matches the boosted attack type or element. |
| Reduced damage type | Bench the countered carry and swap to a different damage profile. |
| Shielded enemies | Use fast attackers and switch targeting to shielded enemies when needed. |
| Fast enemies | Bring crowd control such as Salmon Sorcerer. |
| Splitters or summoners | Use strong area damage to clean up large groups. |
| DOT requirement | Bring burn, bleed, or another damage-over-time effect. |
| Healing enemies | Increase burst damage and focus targeting so enemies do not recover through slow clears. |
| Stun enemies | Spread placements so one stun does not shut down your whole damage cluster. |
Every Tower floor can roll a different map, enemy modifier set, and damage multiplier spread. A team that clears one floor easily can stall on the next if its main carry suddenly deals reduced damage or if the enemies need a specific counter.
Do not ignore the modifier icons just because your team power looks high. Hover them, read the exact effect, and make the smallest useful change before spending another run on the same floor.
After your first Tower loss, change only the units being countered by that floor’s multipliers or modifiers instead of rebuilding all six slots.
Six-slot team rules for higher Tower floors
| Team role | Example |
|---|---|
| Farm | Stone Alchemist for early economy. |
| Crowd control | Salmon Sorcerer for fast enemy waves. |
| Support | The Hero or Forbidden Teacher. |
| Varied damage | Several strong units split across different elements and attack types. |
A good Tower team should survive changing floor rules, not just one perfect matchup. Keep a farm unit for early economy, one crowd control option, one support, and multiple damage units that do not all share the same element or attack type.
Most failed floors do not require a full reset. Keeping your farm and support core while replacing one or two countered damage units is usually enough to keep the climb moving.
Placement, targeting, and active skills
Once stun enemies start appearing, avoid placing every important unit in one small area. Spread damage across different parts of the path so a stun wave cannot disable your entire setup at once.
Support placement matters just as much as raw damage. Put support units where their buffs affect the most allies, then adjust your damage unit targeting when one enemy type is repeatedly slipping through.
Spend active skills aggressively on dangerous waves and bosses. Since each Tower floor is a separate match, there is no benefit to saving an active skill for a later floor if using it now prevents a loss.
After Cubert, use the second Tower track
| Mode or goal | Reward reason |
|---|---|
| Normal Tower Floor 50 | Reach the Cubert milestone while traits remain active. |
| Traitless Tower milestones | Claim a separate reward track after the normal Tower climb. |
| Seasonal leaderboard pushing | Chase optional rewards such as Shiny Cubert, cosmetics, titles, trade crystals, gimps, crowns, and other resources. |
Clearing Floor 50 is not the end of Tower rewards. Normal Tower and Traitless Tower have separate floors and milestone tracks, so you can move into Traitless Tower afterward for another progression path.
Traitless Tower is harder because traits are disabled, so base kits, stats, equipment, passives, support buffs, and team synergy carry more weight there. Leaderboard pushing is optional; it is for players who want seasonal placement rewards beyond the regular Cubert unit.
Cubert’s Cube Summon kit
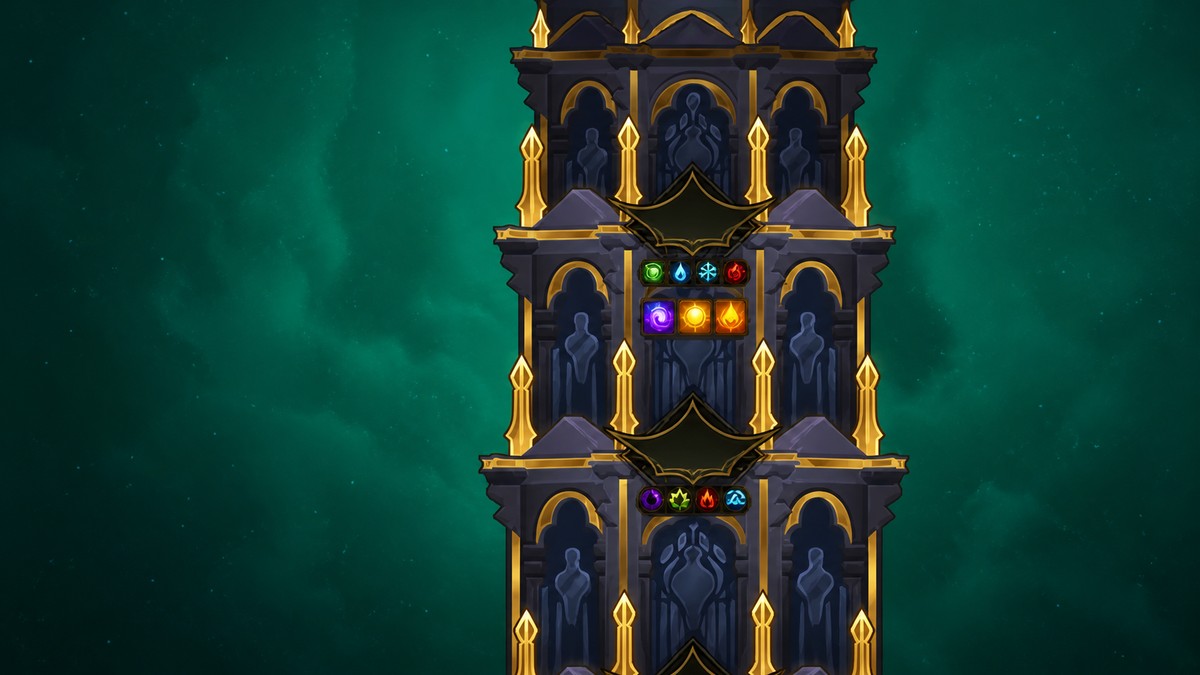
After you get him, Cubert is a playable unit with the Cube Summon passive. Cube Summon lets you select another unit on the map to summon a Cubert Cube, and each use lowers the Cubert Meter by 1.
Only 6 Cubert Cubes can be active globally at the same time. The exact in-game result when trying to go past that cap is not listed, so plan around six active Cubes and choose the allies you want to empower deliberately.
Related Anime Expeditions guides
Frequently Asked Questions
Should I do Traitless Tower or normal Tower first for Cubert?
Do normal Tower first. Traitless Tower has its own milestones, but disabling traits makes it slower for a Cubert-focused climb.
Do I need leaderboard placement to get regular Cubert?
No. Leaderboards are for extra seasonal rewards such as Shiny Cubert and cosmetics; regular Cubert comes from the Floor 50 Tower milestone route.
What should I do if I keep losing to the same Tower floor?
Check that floor’s icons before retrying, then fix the exact problem: swap reduced damage types, add control for speed, bring DOT for DOT checks, spread units against stuns, or retarget shielded enemies.




Leave a Reply