
To toggle your Solarpunk sprinklers on and off, link the sprinklers together with cables, run a cable from one sprinkler to a lever, connect that lever to a charged battery, then flip the lever to power the whole watering system on or off.
In the survival-farming game Solarpunk, a row of sprinklers will happily water your crops, but leaving them running all the time burns through stored power you might want for later. The fix is a simple circuit: chain the sprinklers to each other, branch one cable out to a lever, and tie that lever to a battery so a single switch controls the lot. This is the Solarpunk build — not any Roblox farming game with a similar name, so none of those Sheckle prices or placement timers apply here.
What you need before wiring the system
| Component | What it does in the setup |
|---|---|
| Solar panel | Generates the power that runs the system |
| Battery | Stores the energy until you flip it on |
| Sprinklers | Water your crops once powered |
| Lever | The on/off switch for the whole chain |
| Cables | Connect everything together |
Before any of this works, you need the energy crafting table, which is what gives you access to the blueprints for the automated parts. The blueprints themselves are unlocked at the trader bot out on the floating island — you carry the required materials over and trade for everything the setup uses.
The unlock cost spoken in-game comes out to roughly four-plus-ten watermelons, around 12 cotton, about 20 beeswax, somewhere near 32 copper, and around six silicon. Treat those numbers as approximate — the quantities are inconsistent as stated, so check what the trader actually asks for rather than trusting an exact count. Once unlocked, here is what each piece does in the watering loop:
Assume your greenhouse is already up, the soil and plots are laid down, and your sprinklers are positioned over the crops. With cables in hand, you are ready to wire.
How to wire your sprinklers, lever, and battery in Solarpunk
STEP 1/7
Chain the sprinklers together first
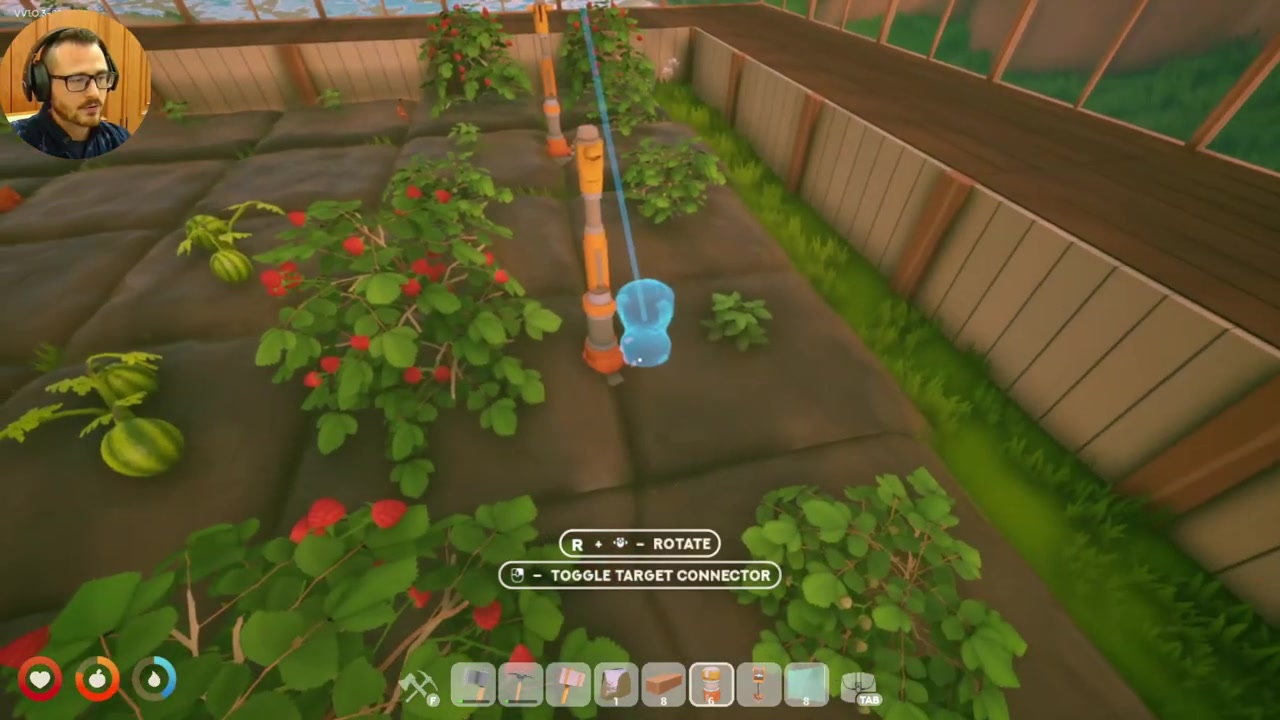
Take a cable and right-click so the cables snap to sprinklers and not to nearby machines.
STEP 2/7
Link every sprinkler in the row
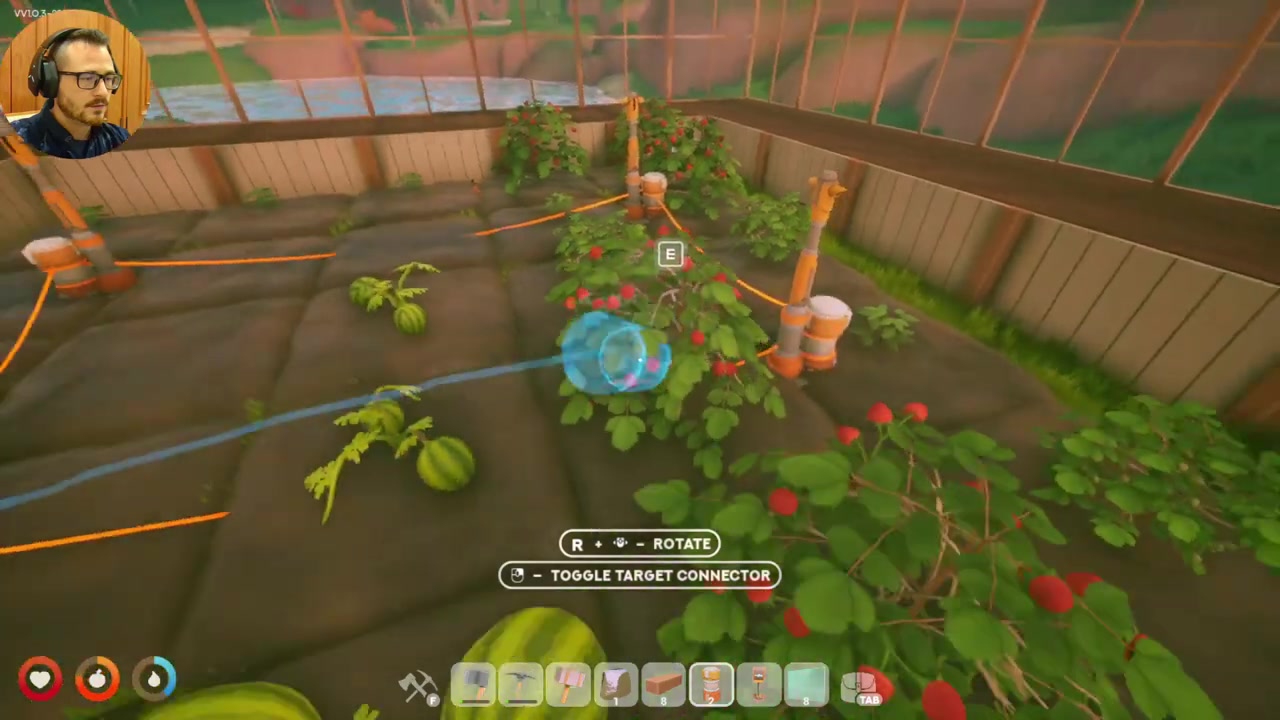
Run cable from sprinkler to sprinkler until the whole set is connected to each other.
STEP 3/7
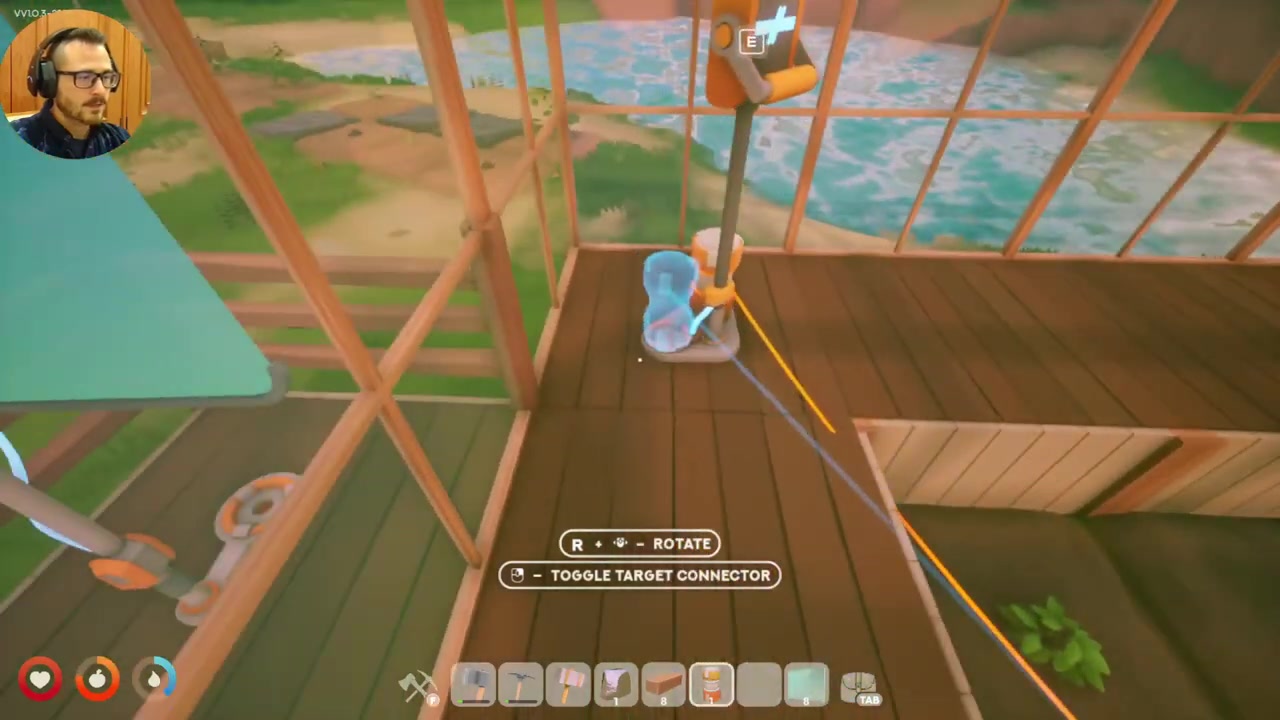
Place the lever next to the row
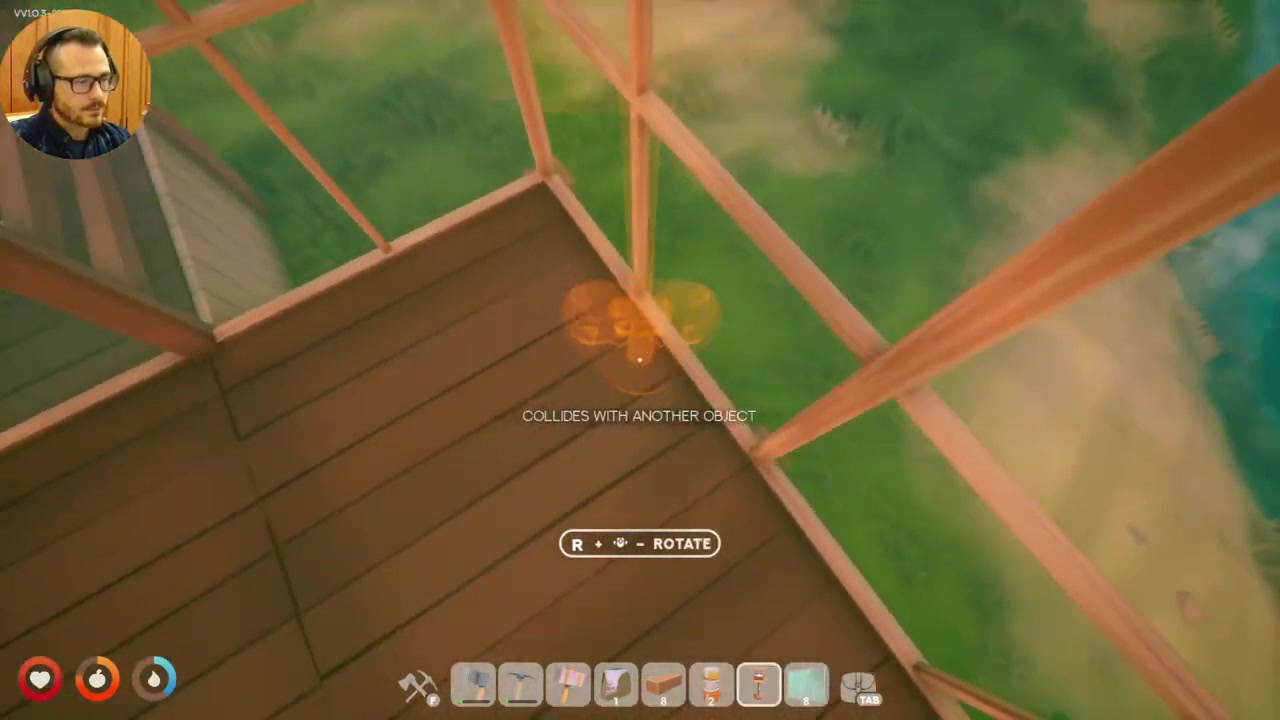
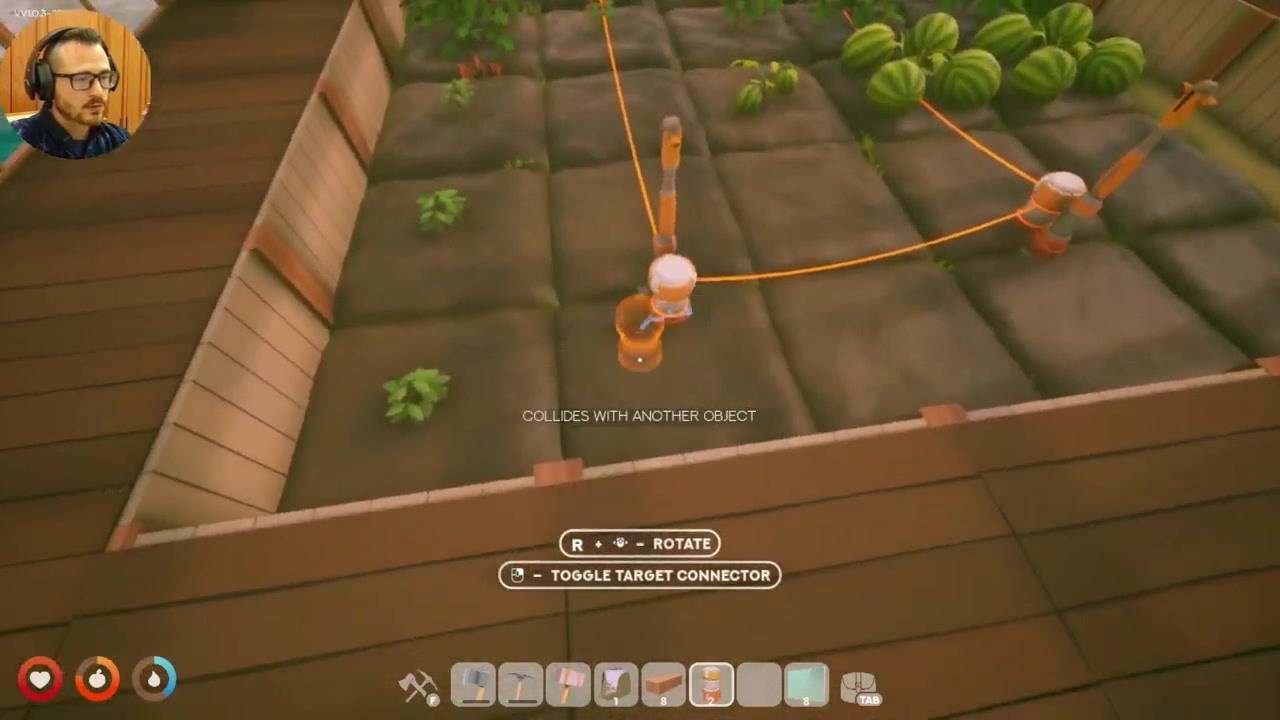
Drop the lever down somewhere you can easily reach beside the sprinklers.
STEP 4/7
Run a cable from a sprinkler to the lever
Put a fresh cable in hand and connect one of the sprinklers to the lever.
STEP 5/7
Bring a cable to the battery
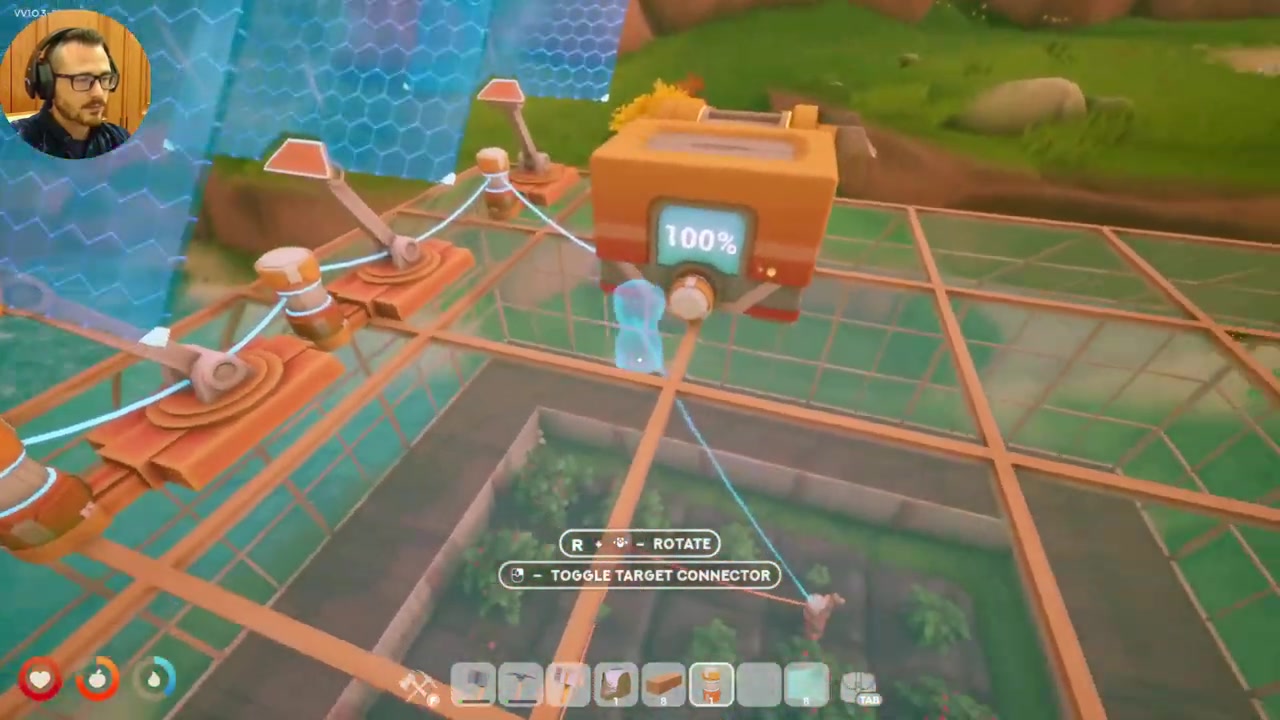
Take another cable and aim it at the battery, the part that stores your power.
STEP 6/7
Right-click until the cable locks onto the battery
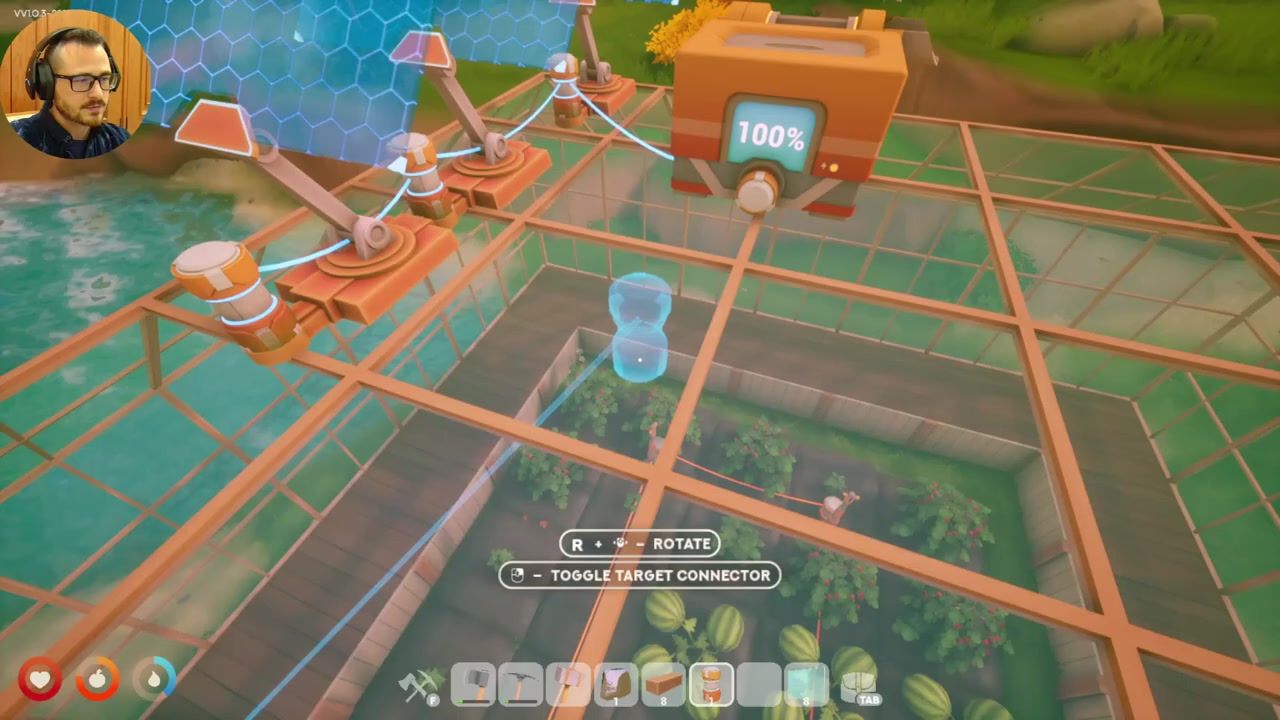
If the cable won’t grab the battery, keep right-clicking to cycle the snap target until it finds it.
STEP 7/7
Tie the battery into the lever
Connect the battery through to the lever so the single switch now drives the whole circuit.
The whole job hinges on one habit: right-click while holding a cable to cycle what it snaps to, so it attaches to the sprinkler or battery you actually want instead of the nearest machine.
Video help
When the cable keeps snapping to the wrong target
Letting the battery charge before you water
Frequently Asked Questions
Why does my cable keep connecting to a sprinkler instead of the battery?
Because the cable snaps to the nearest valid target by default. Right-click while holding the cable to cycle through targets until it locks onto the battery. If it still won’t hold, remove that cable with your axe and re-run it from the sprinkler on the other side of the row.
Do I need the energy crafting table and trader-bot blueprints before this works?
Yes. The energy crafting table is what opens up the parts, and you unlock the actual blueprints by trading materials at the trader bot on the floating island. Without those, you won’t have the battery, lever, and sprinkler setup to wire in the first place.
Does the lever control all the sprinklers at once or just one?
One lever drives the whole chained set — because the sprinklers are cabled to each other and then to the lever, flipping it switches the entire connected row on or off together. Any claim that a lever controls a wider “zone” beyond what you physically wire together isn’t confirmed.
Why use a lever instead of leaving the sprinklers always on?
So your battery can charge to 100% and store energy while the system is idle. Always-on sprinklers would keep drawing power you don’t need yet; with the lever, you save that energy and release it the moment your crops need watering.