
Network discovery is an important Windows setting for those who want to share files and folders on a network. With it enabled, your computer becomes visible to others on a network and simultaneously, they to you.
Knowing how to turn on network discovery is crucial for those working in groups and modern workplaces, as well as those who simply want to share files between computers without an external drive. Read on to know all about network discovery – how to turn it on, when should you do so, and how to get around some issues related to it.
Is it safe to turn on Network Discovery?
Safety, like a great many things, is relative. If you and your peers at work or school are connected to a shared private network, turning on network discovery lets you join the party and share files and folders around freely. But if you’re at a cafe or a terminal with other commuters sharing the same Wi-Fi network, turning on network discovery may not be so wise, especially if you’ve got important files still set to share. Everything boils down to your location and network type. And a little bit of trust.
How to check if Network Discovery is turned on?
Knowing the status of network discovery on your computer can come in handy when troubleshooting issues related to it (more on this later). But it’s also a good way to ensure that your computer and its shared files aren’t visible to others on public networks or networks that you don’t trust. It is another matter if you want to check if someone else’s computer is discoverable on a network, for which you will also have to turn on your own network discovery setting and confirm the same.
Whatever the reason, the quickest way to check if network discovery is turned on is from the File Explorer. Here’s how to do so:
- Open File Explorer (press
Win+E) and click on Network in the left pane.

- If network discovery is turned off, you will get a message telling you the same.
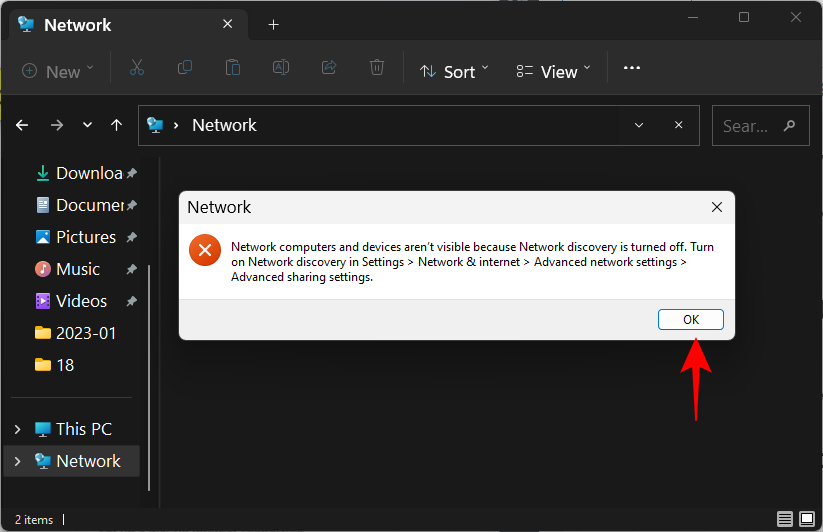
- And get the same as a banner notification.

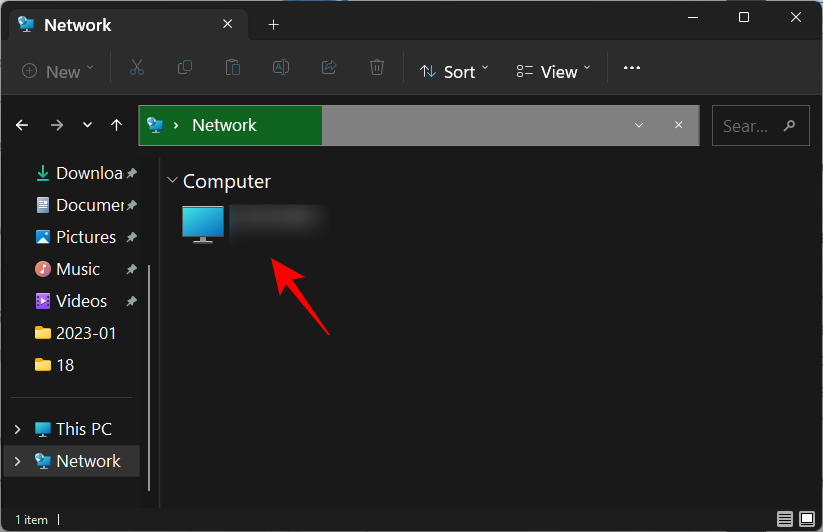
- If it’s turned on, you will see a folder with your computer’s name on it.
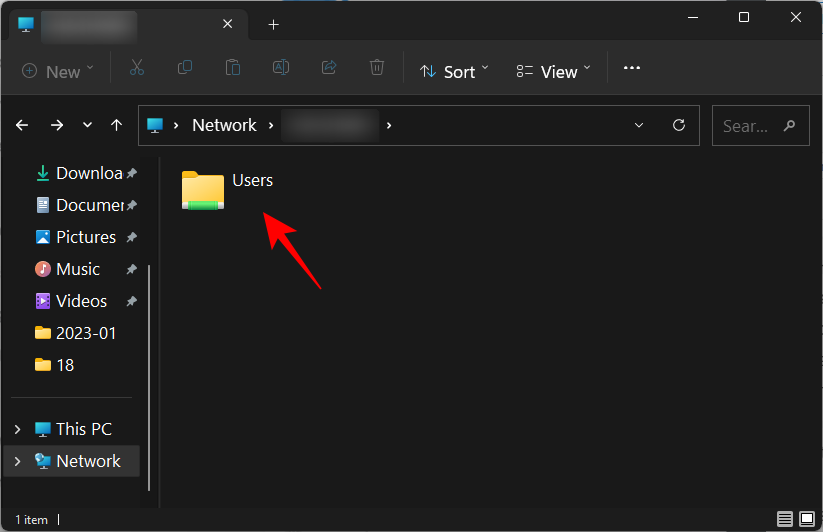
- Inside it, you will find the folders that are set to share on your computer.
How to Turn on Network Discovery on Windows 11
There are a few ways to turn on network discovery on Windows 11. Let’s go through them step-by-step so you can decide which one works best for you.
1. From the File Explorer
- Open the File Explorer and click on Network in the left pane. Then click on the banner at the top.
- Then select Turn on network discovery and file sharing.
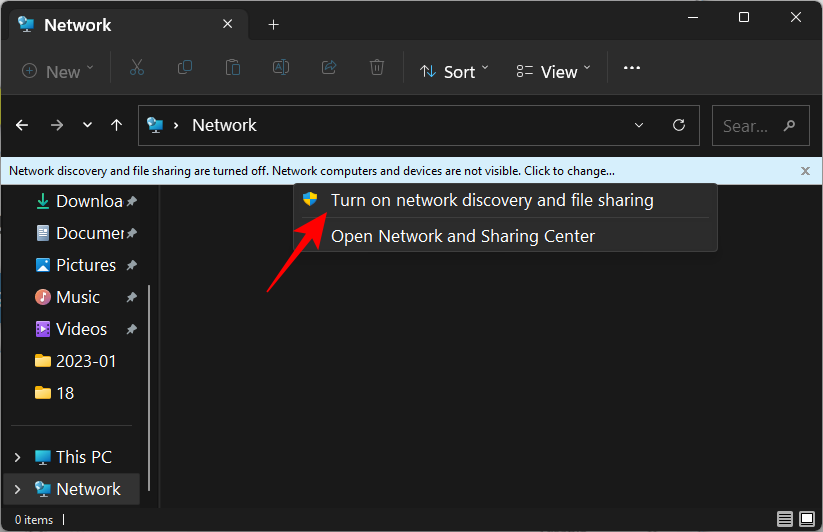
And just like that, you have turned network discovery on.
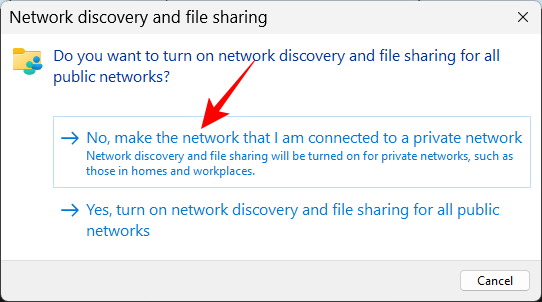
By default, Windows will turn on discoverability only for networks that are marked ‘private’. But if you’re connected to a network that is set as ‘public’, then you will get an additional prompt.
Here, you can either make the network a private network and keep the default settings unchanged. Or let it remain a public network and turn on network discovery for all public networks. Keeping in mind the security reasons mentioned earlier, it’s better to choose the former and make the network you’re connected to a private network rather than turn on discoverability for all public networks. In short, click on No.
You have now turned on network discovery for your private network.
2. From Settings
After subsuming a number of control panel options, the Settings app has become the singular hood for all your Windows settings, including those that help manage networks. Here’s how to use it to turn on Network Discovery with it.
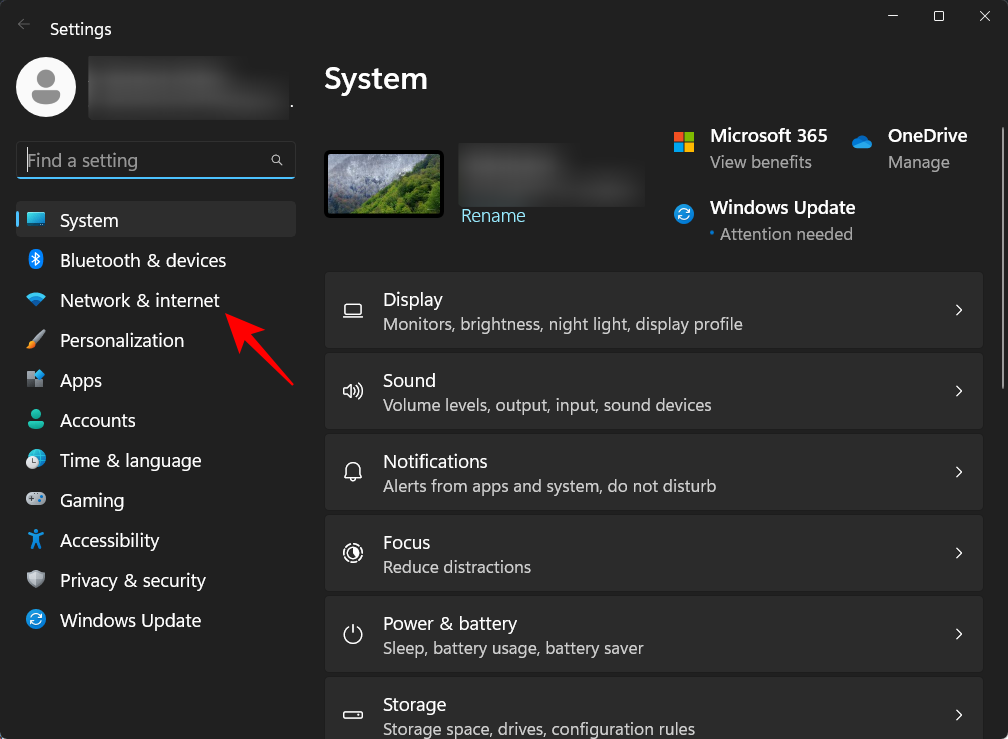
- Press
Win+Ito open the Settings app. Then click on Network & internet in the left pane.
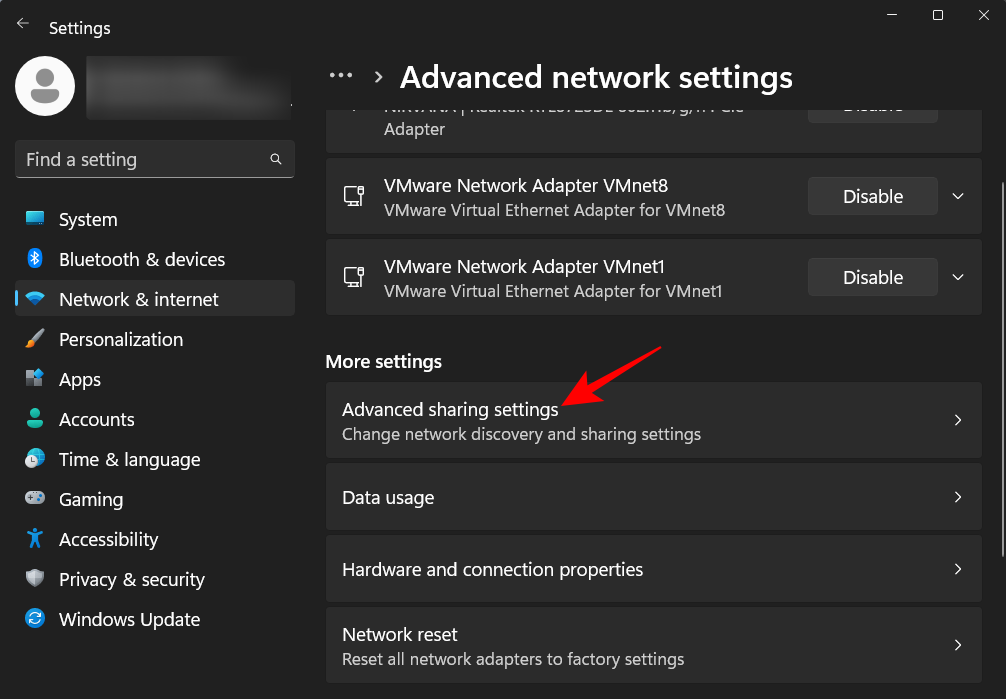
- Click on Advanced network settings at the bottom.

- Click on Advanced sharing settings under “More settings”.
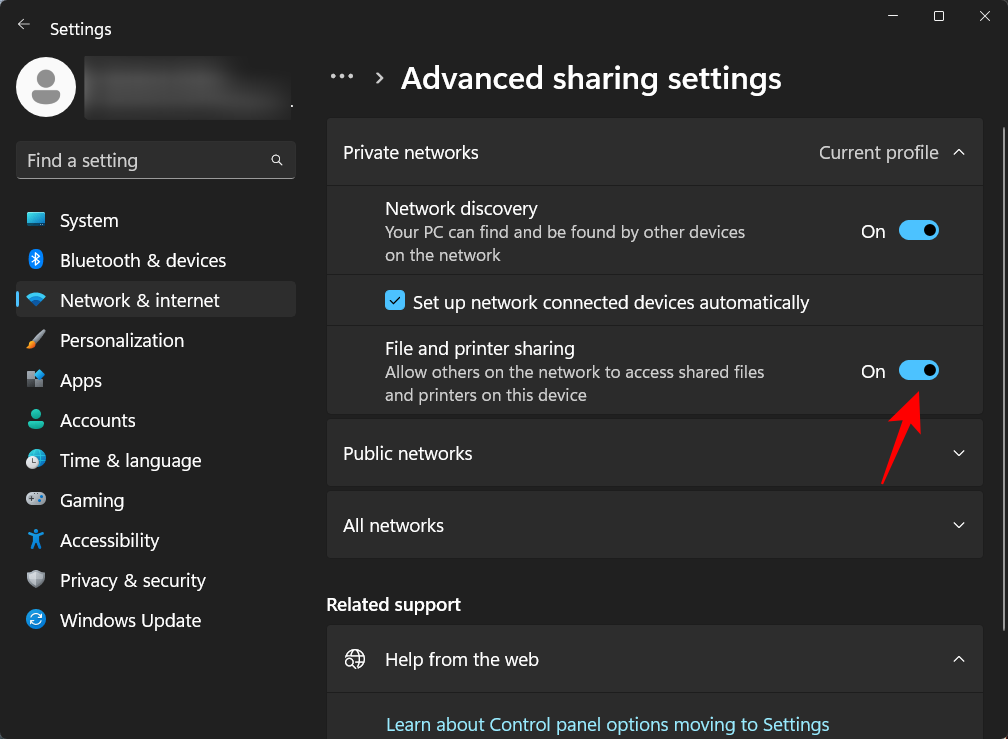
- Now turn on Network discovery under “Private networks”.
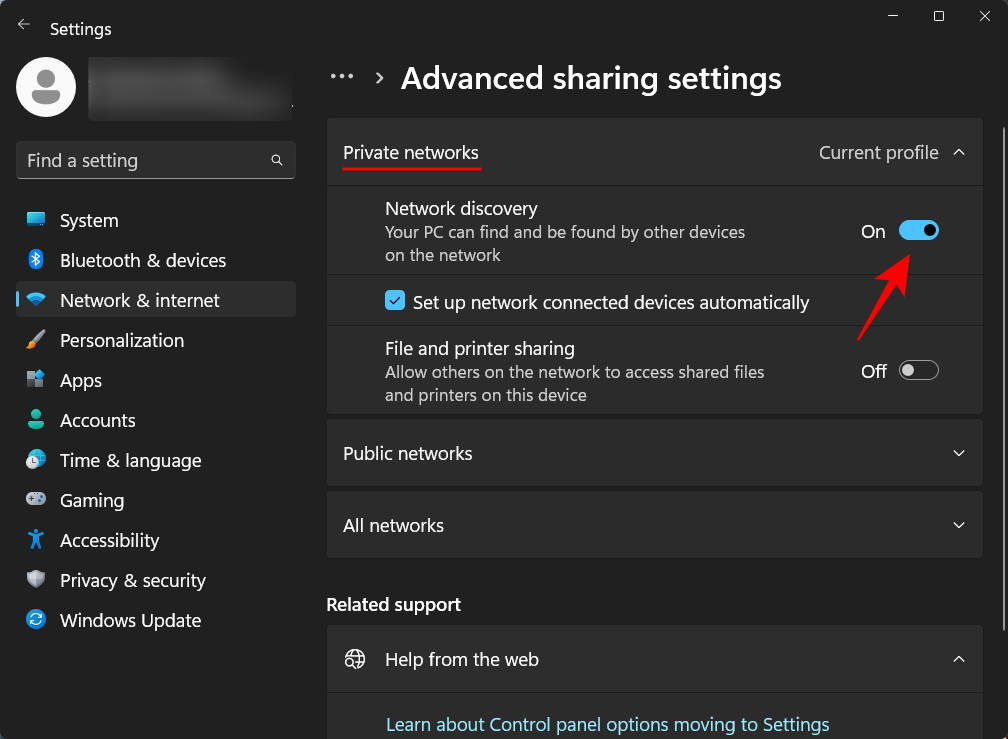
- Also enable File and printer sharing.
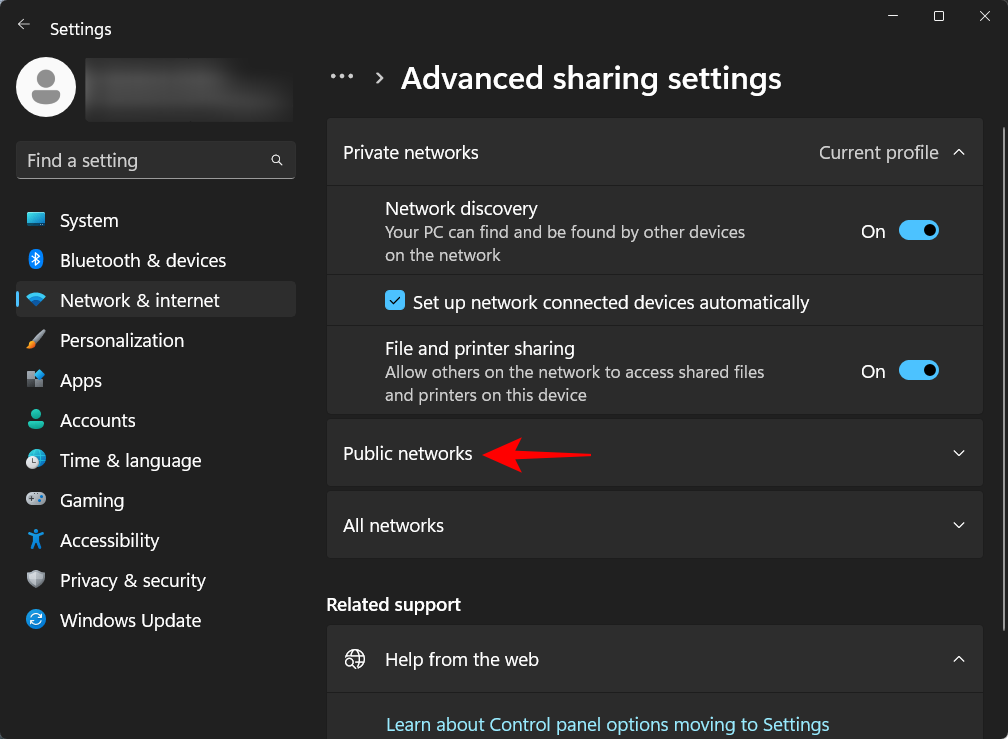
- If you want to enable network discovery for public networks, the same can be done by expanding the Public networks section.
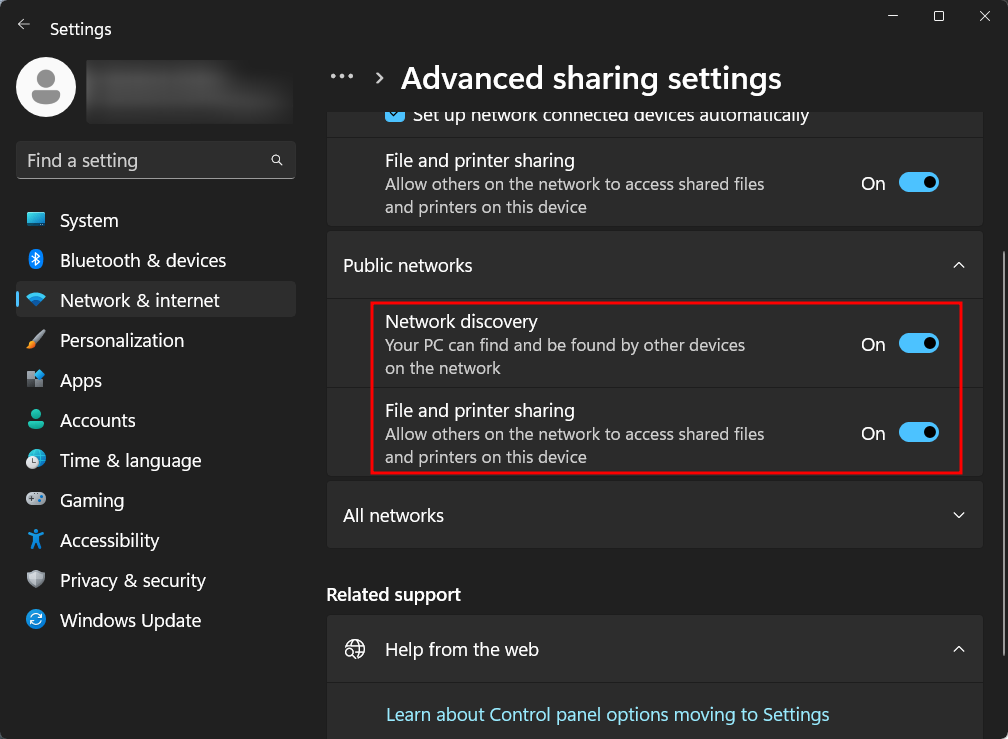
- And then turning on “Network discovery” and “File and printer sharing”.
3. Using the Command Prompt
Here is how you can use the command prompt to enable network discovery:
- Firstly, open the command prompt from the Start menu.
- Now type the following command:
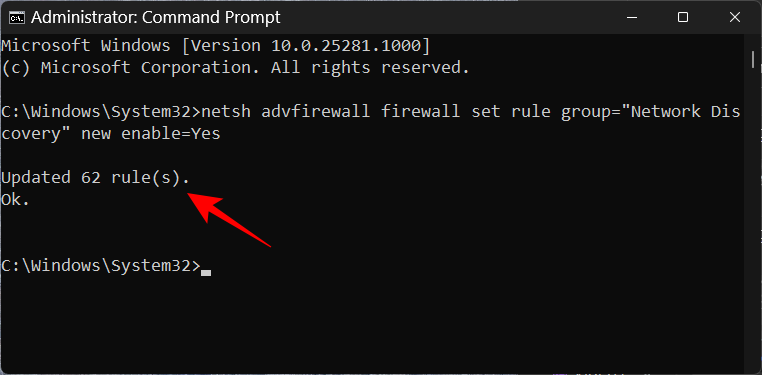
netsh advfirewall firewall set rule group="Network Discovery" new enable=Yes
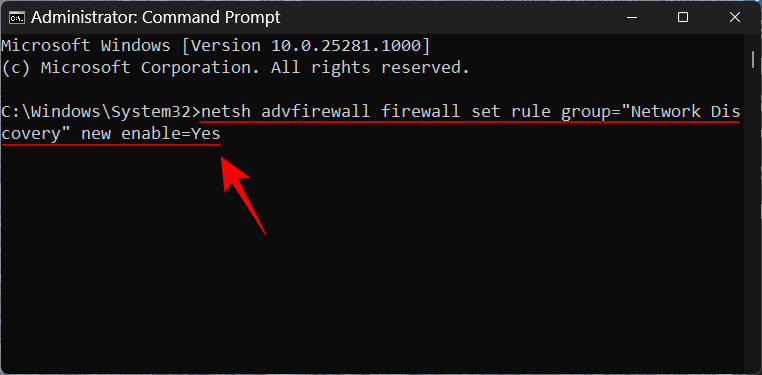
- Then hit Enter. Once you receive the “updated rule” message, network discovery will be turned on.
4. Using PowerShell
For those who prefer PowerShell, here’s how to use it to enable network discovery:
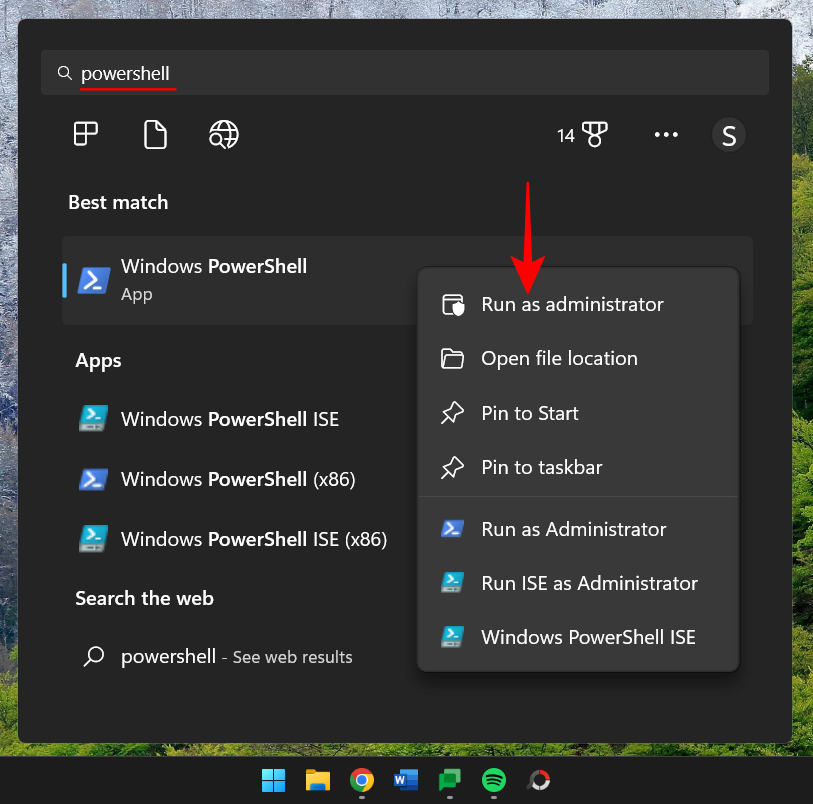
- Press Start, type powershell, right-click on it, and run it as administrator.
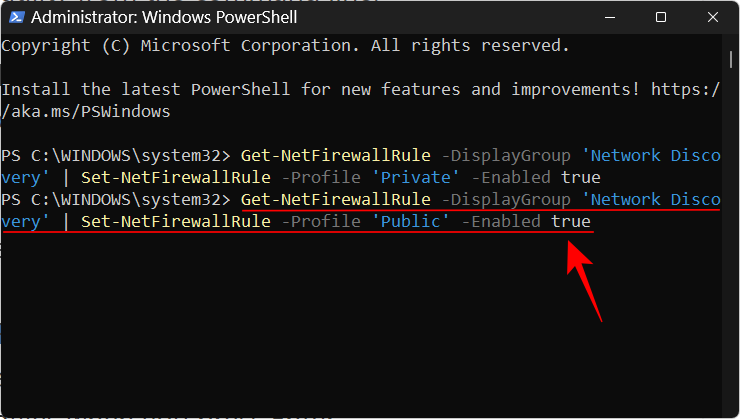
- Now type the following command to enable network discovery for private networks:
Get-NetFirewallRule -DisplayGroup 'Network Discovery' | Set-NetFirewallRule -Profile 'Private' -Enabled true

- Then hit Enter. Wait for the rule to apply.

- Once finished, network discovery will be on for private networks.
- To enable network discovery for public networks, type the following:
Get-NetFirewallRule -DisplayGroup 'Network Discovery' | Set-NetFirewallRule -Profile 'Public' -Enabled true
- Press Enter. As before, wait for the rule to apply.
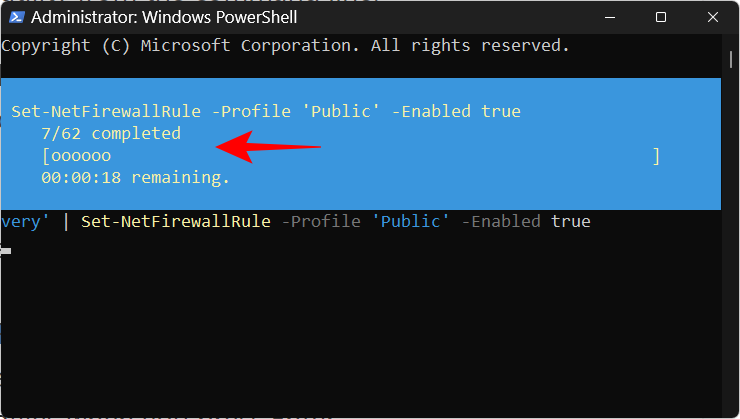
Your computer will now be discoverable on public networks.
FIXED: Network Discovery keeps turning off in Windows 11
Your network discovery settings are dependent on not just the little button that enables or disables it. There are a few services that need to be running (or set to run automatically when needed) and your windows defender firewall also needs to give it the go-ahead. In most cases, these don’t need to be meddled with. But if you’re experiencing issues with network discovery settings, then a few changes are in order.
1. Set Network Discovery services to run ‘Automatically’
There are five services that must be set to run automatically when enabling network discovery. These are as follows:
- SSDP Discovery
- DNS Client
- Function Discovery Resource Publication
- Function Discovery Provider Host
- UPnP Device Host
If they’re not, you may experience issues with network discoverability on a network. Here’s how to ensure that these services are running:
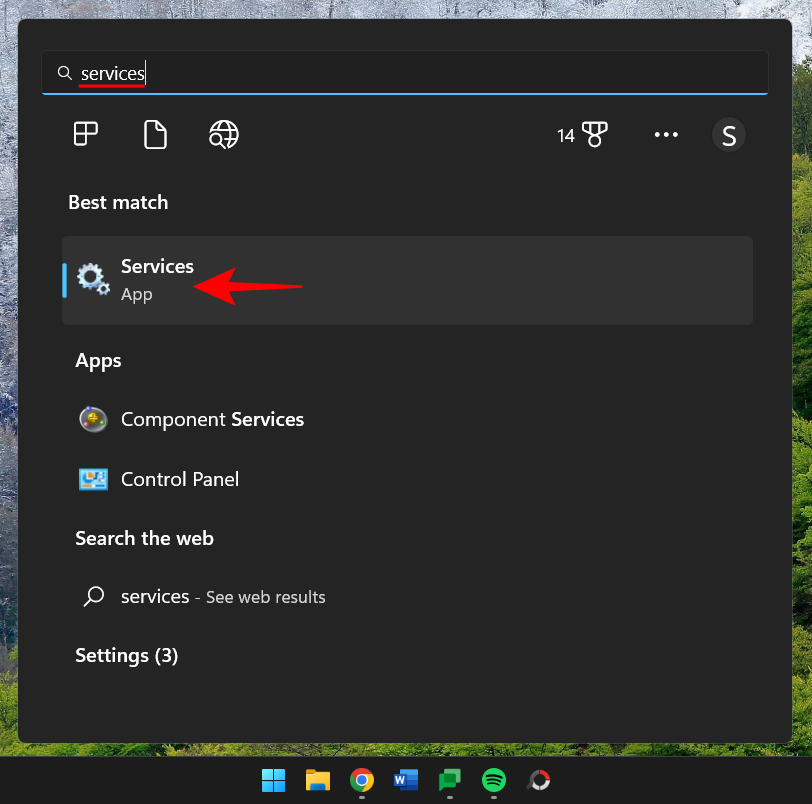
- Press Start, type services, and hit Enter.
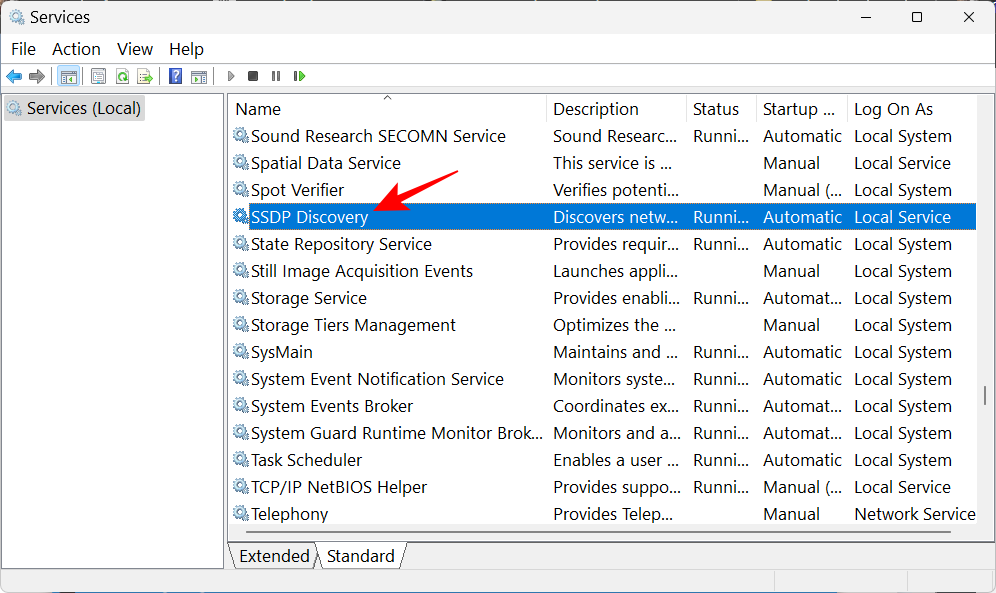
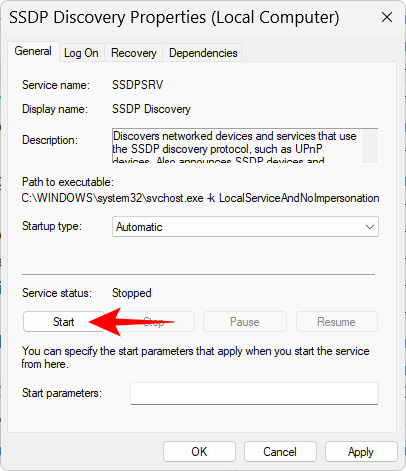
- Find a service, say, SSDP Discovery, and double-click on it.
- Make sure that the “Startup type” is set to Automatic.

- If it isn’t, select “Automatic” from the drop-down menu.
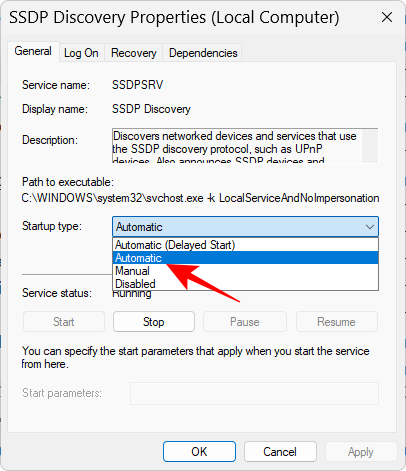
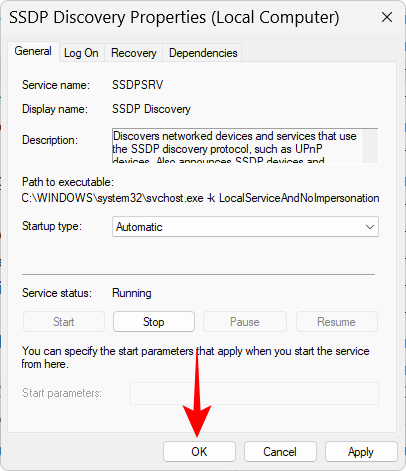
- Also ensure that the service status is “Running”. If it isn’t, click on “Start”.
- You can also restart the service by clicking on “Stop” and then “Start”. Once done, click on OK.
Do so for all services mentioned above and then turn on network discovery as mentioned above.
2. Make sure Network Discovery is allowed on your Firewall
Enabling network discovery won’t lead to much if your firewall isn’t in agreement. If network discovery isn’t turning on, you might need to adjust your firewall settings. Here’s how to go about it:
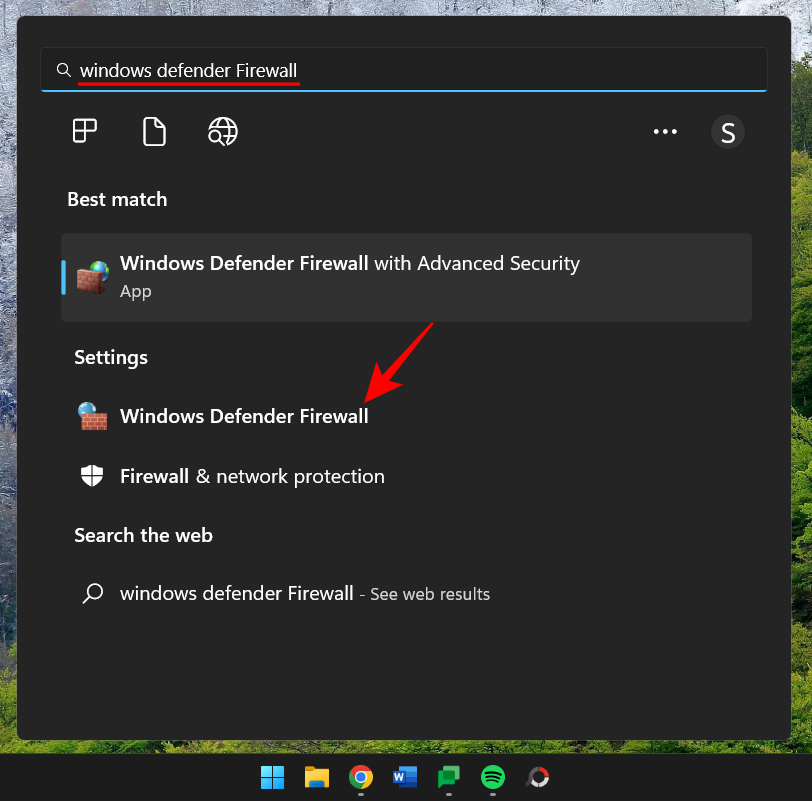
- Enable network discovery as shown above. Then press Start, type windows defender firewall, and select it from the results.
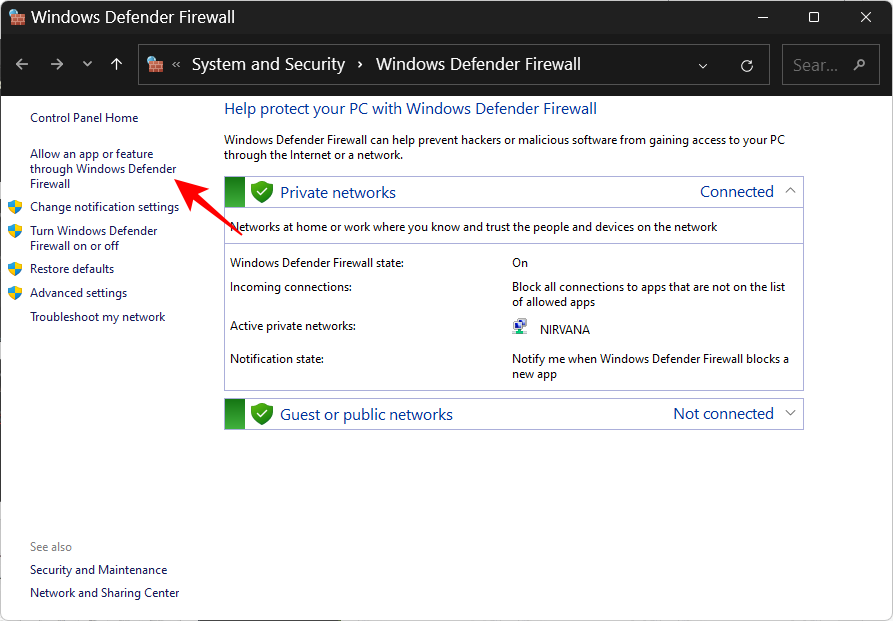
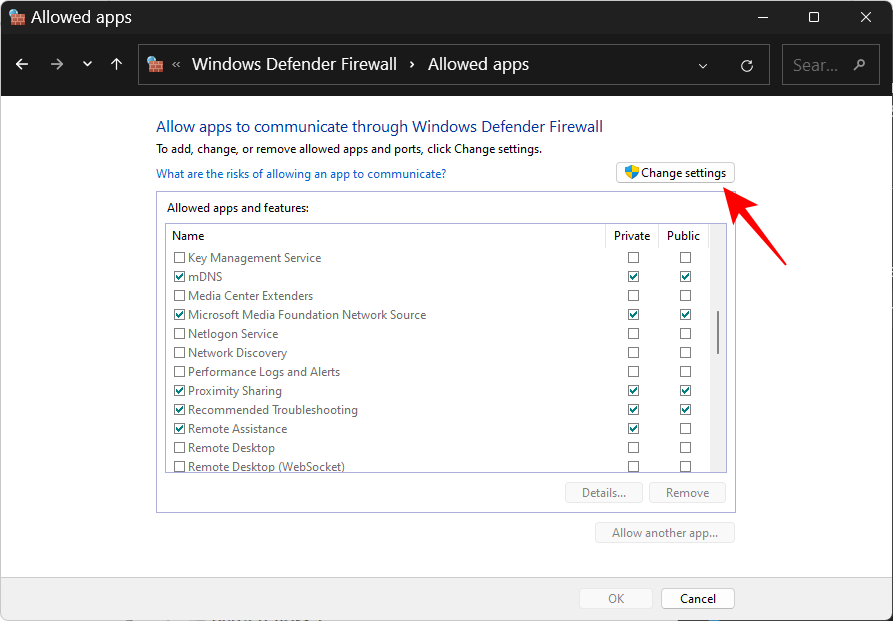
- Once it opens up, click on Allow an app or feature through Windows Defender Firewall on the left.
- Scroll down and find “Network Discovery”. If it’s not enabled, click on Change settings.
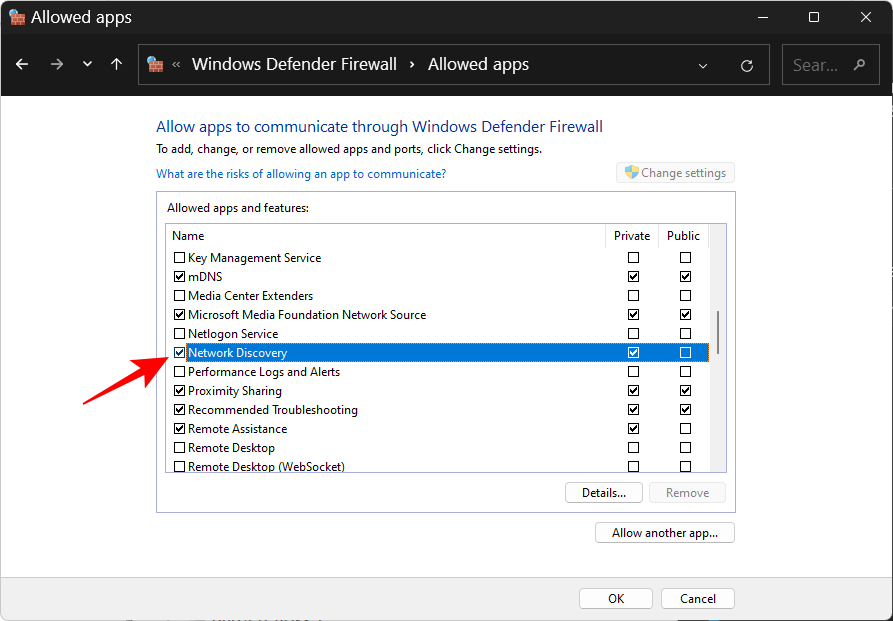
- Then place a tick mark before “Network discover”. This will allow network discovery for private networks.
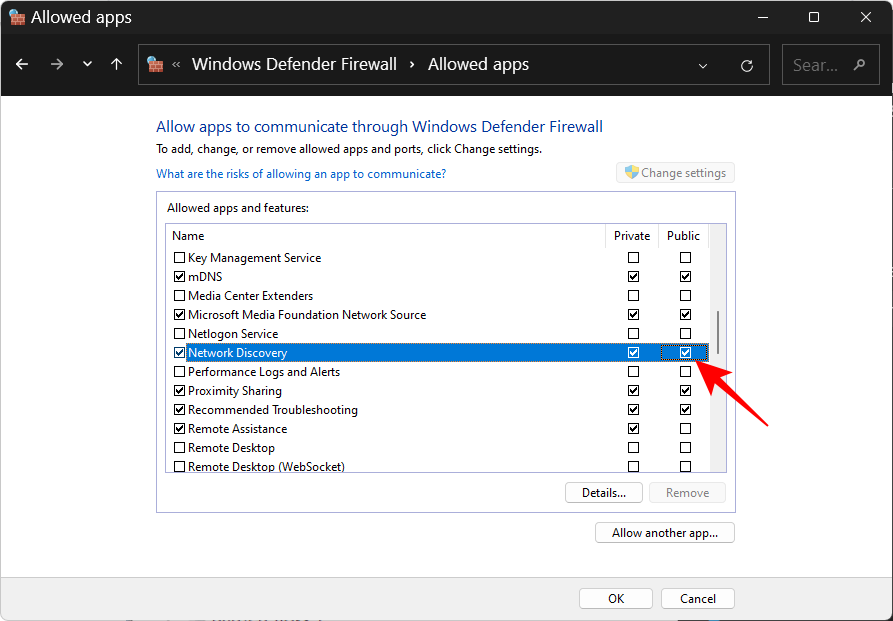
- To allow network discovery for public networks, place a tick under the “Public” column as well.
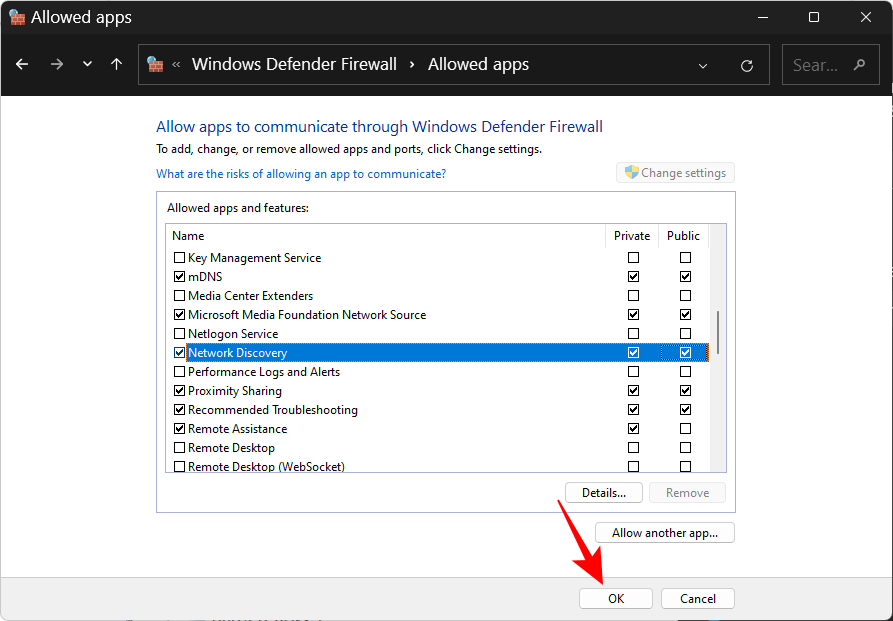
- Then click OK.
3. Reset Network, Renew IP, Flush DNS
If network discovery is still turning off on its own, it might help to reset the network settings, renew IP and flush the DNS. These will allow Windows to reset your network settings to default. Here’s how to go about it:
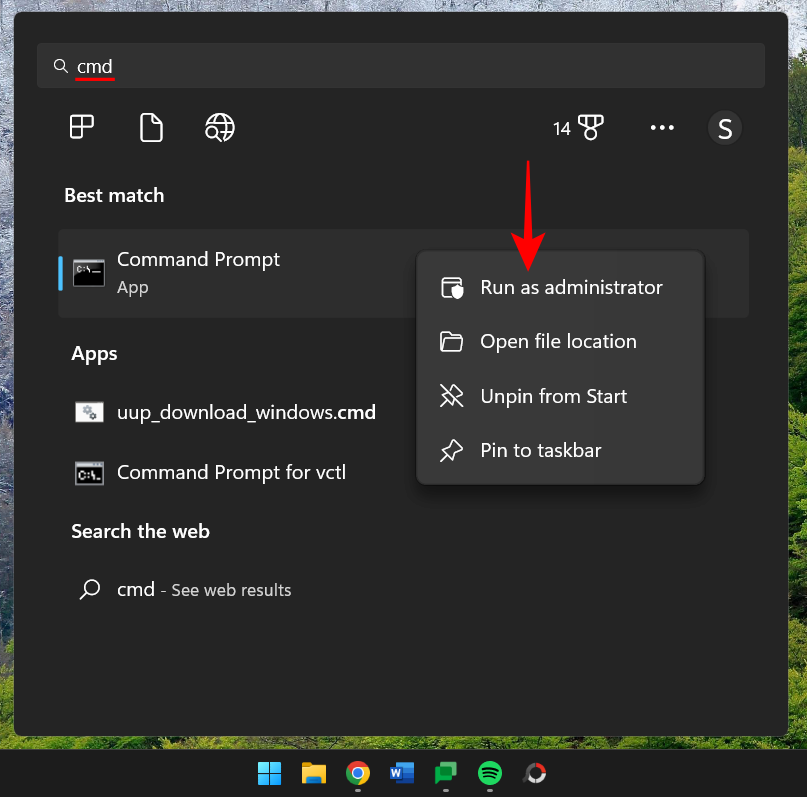
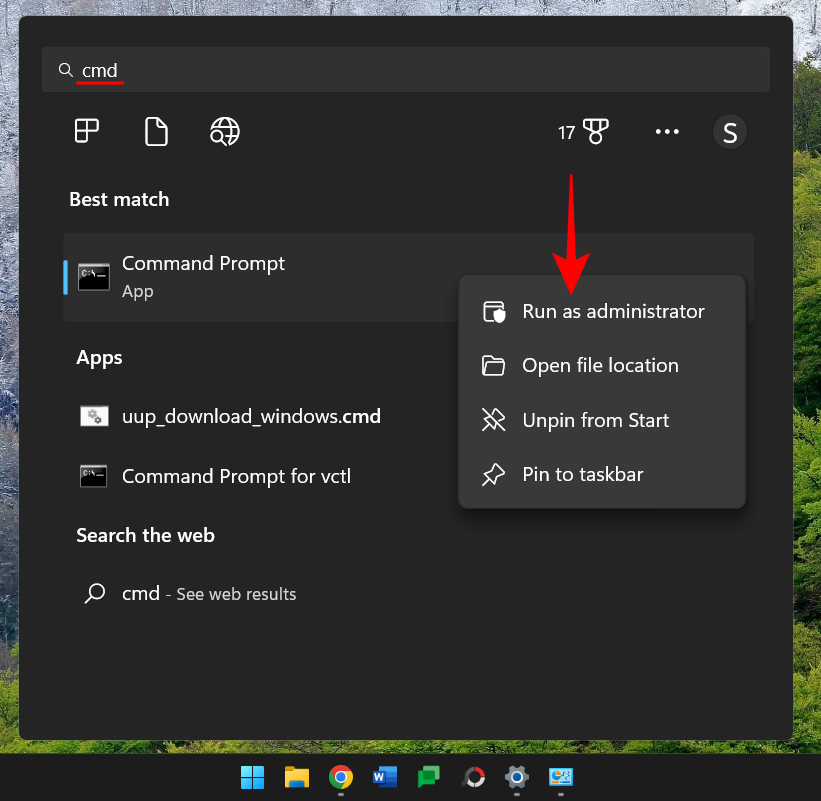
- Press Start, type cmd, right-click on it, and select Run as administrator.
- Now type the following commands to reset your network:
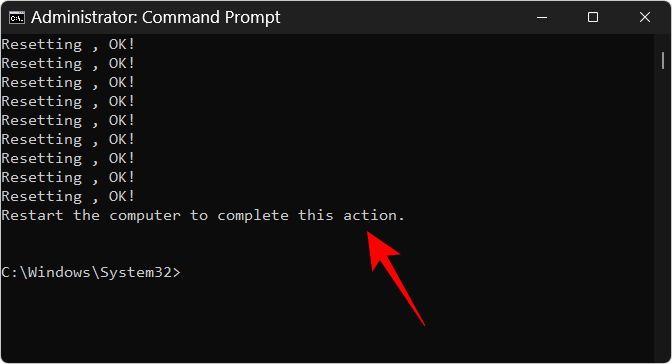
netsh int IP reset reset.txt
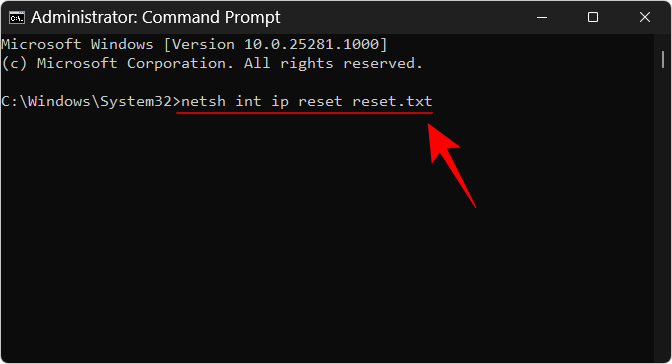
- Hit Enter.
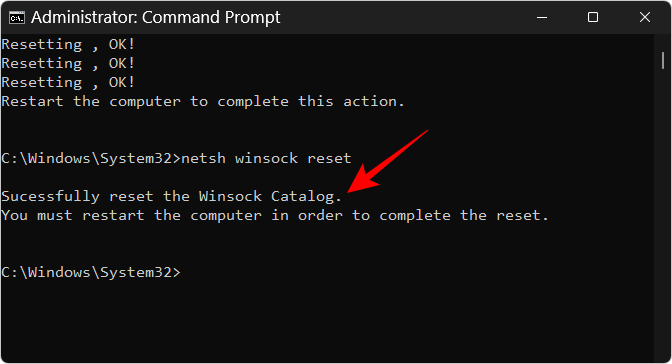
- Now type the following:
netsh winsock reset

- Hit Enter.
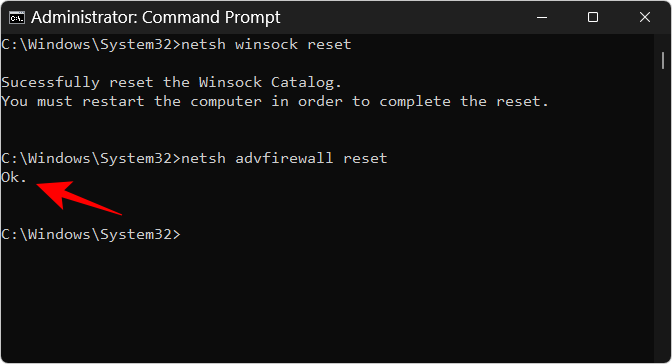
- Thereafter, type the following to reset the firewall rules:
netsh advfirewall reset
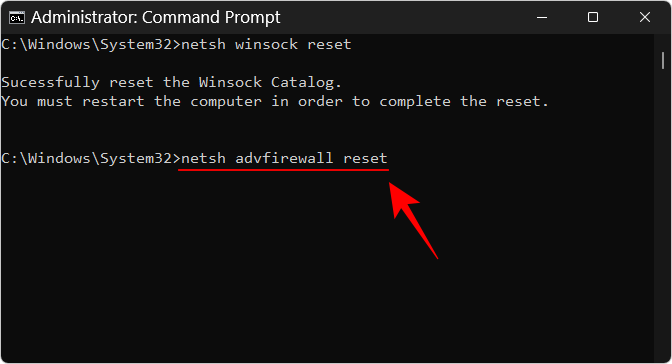
- Hit Enter.
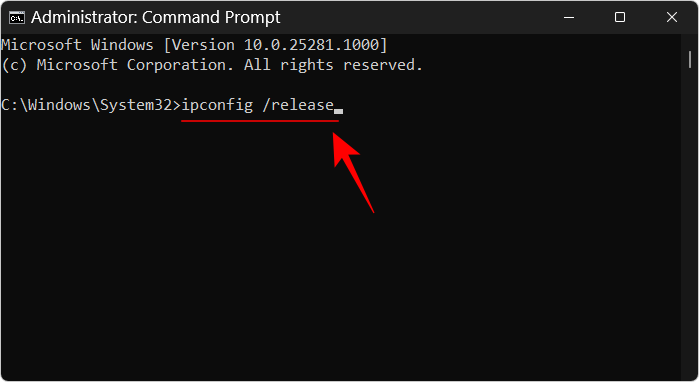
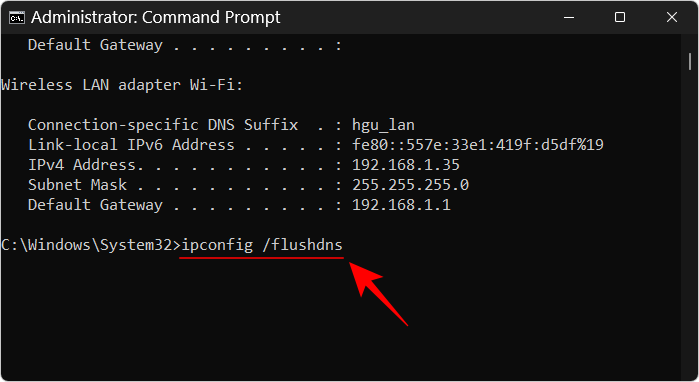
- Then type the following three commands to renew IP and flush DNS and hit Enter after each one:
ipconfig /release
ipconfig /renew
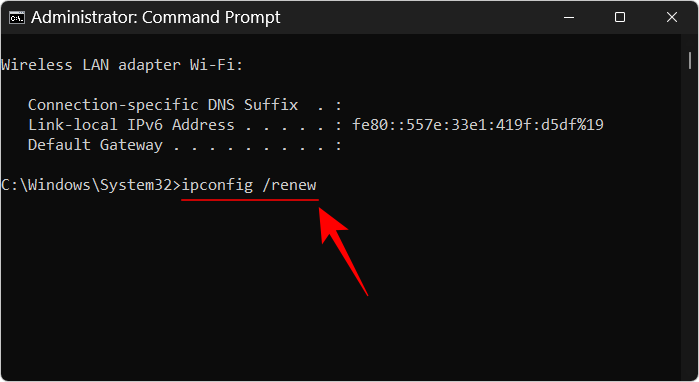
ipconfig /flushdns
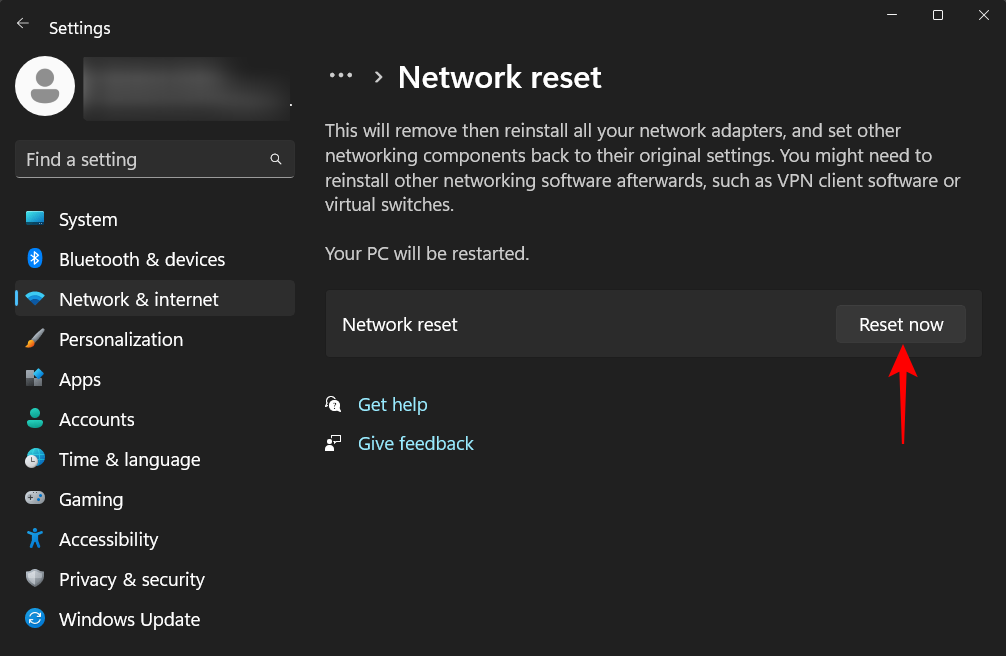
- Once done, restart your computer. You can also reset the network from the Network & internet settings page. Select “Advanced network settings”, then “Network reset”, and click on Reset now.
Once all this is done, turn on network discovery and then allow the same in the firewall. You should have no problem keeping network discovery on.
If the workgroup settings are not set right, you may not be able to see discoverable computers on the network even though your own network discovery is turned on. But you can always redirect your PC towards them by adding them to the workgroup. Here’s how to go about it:
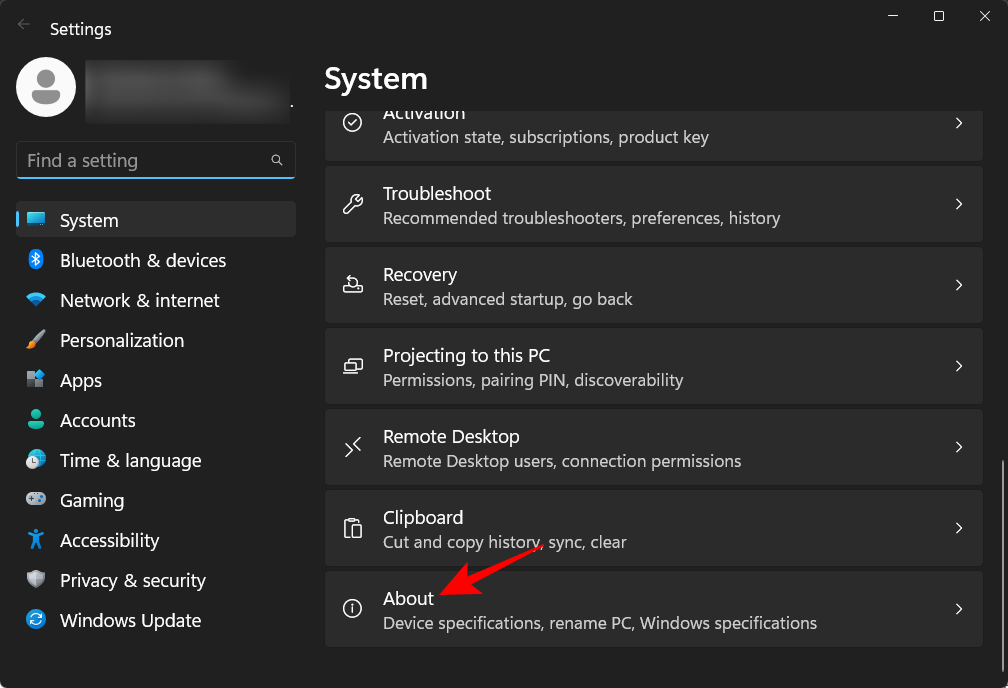
- Press
Win+Iand open the Settings app. Then scroll down on the right and select About.
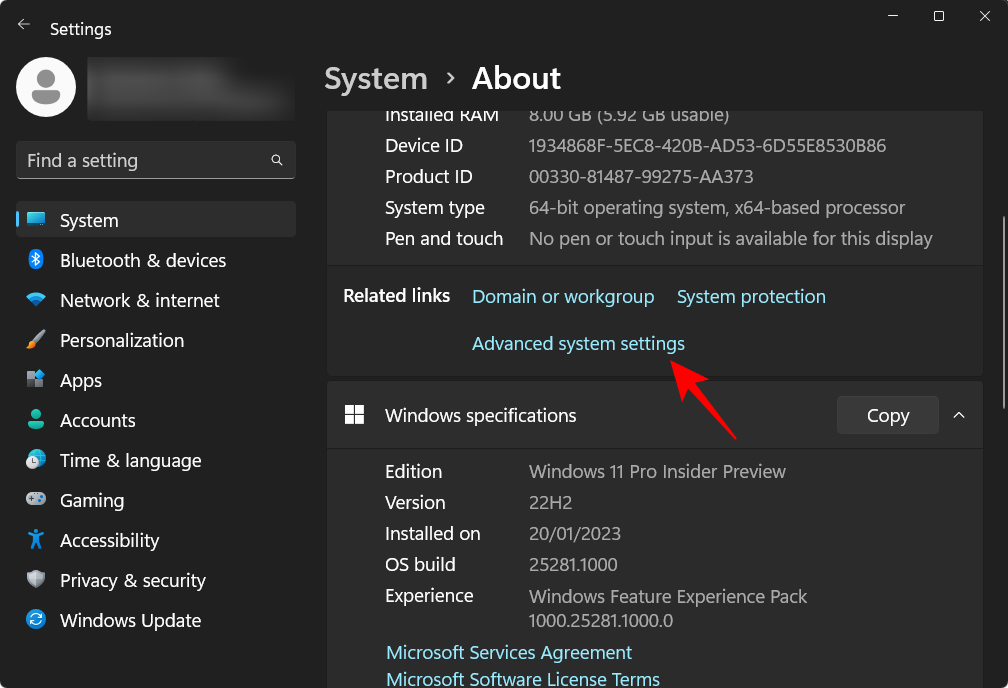
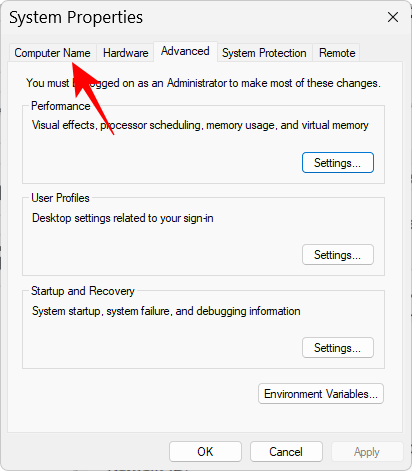
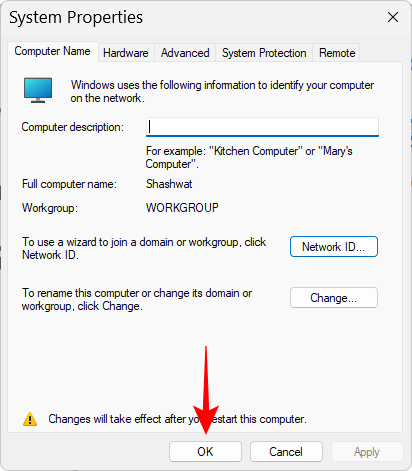
- Click on Advanced system settings.
- Select the Computer Name tab.
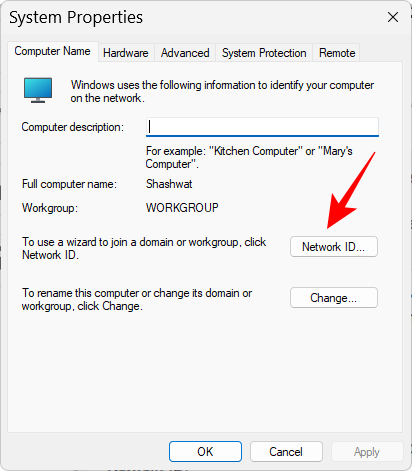
- Click on Network ID…
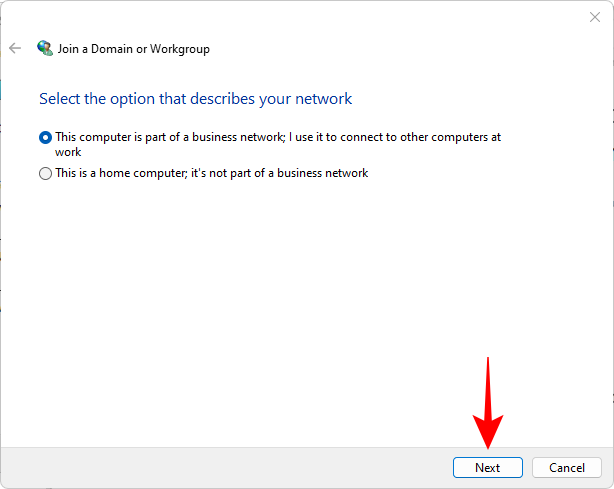
- Select “This computer is part of a business network; I use it to connect to other computers at work”. Then click Next.
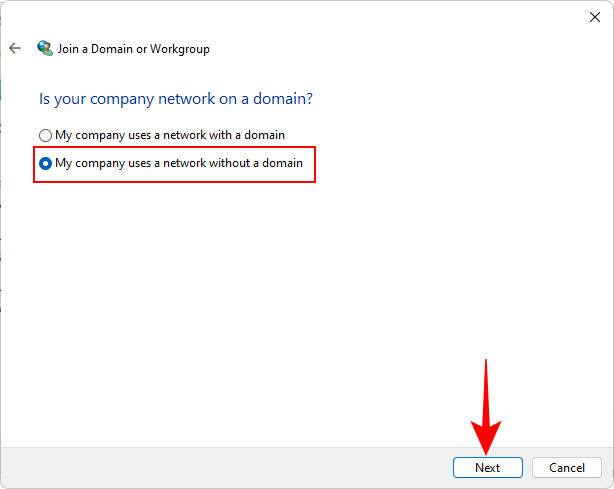
- Select My company uses a network without a domain. Then click Next.
- Type your workgroup name, or just click on Next.

- Finally, click on Finish.
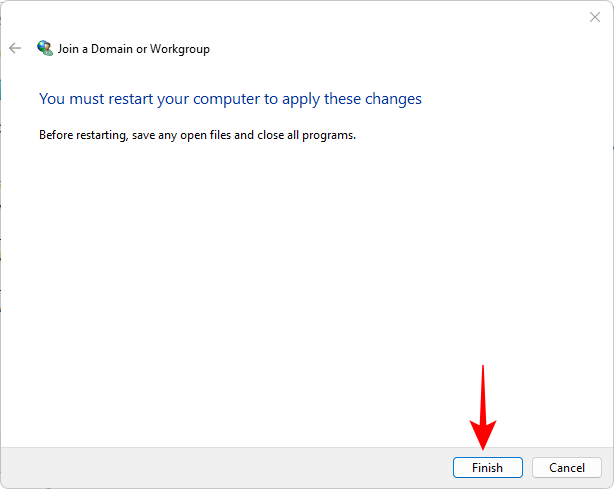
- Click OK.
Restart your computer and check for discoverable PCs in the network environment.
FAQs
In this section, we take a look at a few commonly asked queries concerning network discovery on Windows 11.
How do you turn on network discovery?
You can turn on network discovery in a number of ways – from the “Network” section in the File Explorer, from “Advanced network settings” in Network & internet settings page, or using command-line terminals. Refer to our guide above to check out the step-by-step procedure.
Why can’t I see all computers on my network Windows 11?
If you’re not able to see all computers on a network, it could be because of incorrect workgroup settings. Refer to the last section in the guide above to know how to re-add those to the network.
How do I enable file and printer sharing in Windows 11?
The option to enable file and printer sharing is available just below network discovery in the Settings app. Refer to the guide above to know how to enable file and printer sharing for private as well as public networks.
We hope you were able to turn on network discovery on your Windows PC. In case network discovery turns off automatically as soon as you leave the Settings app, you may need to reset the network settings and/or allow network discovery in Windows Defender Firewall. That’s all folks! Stay safe.


