
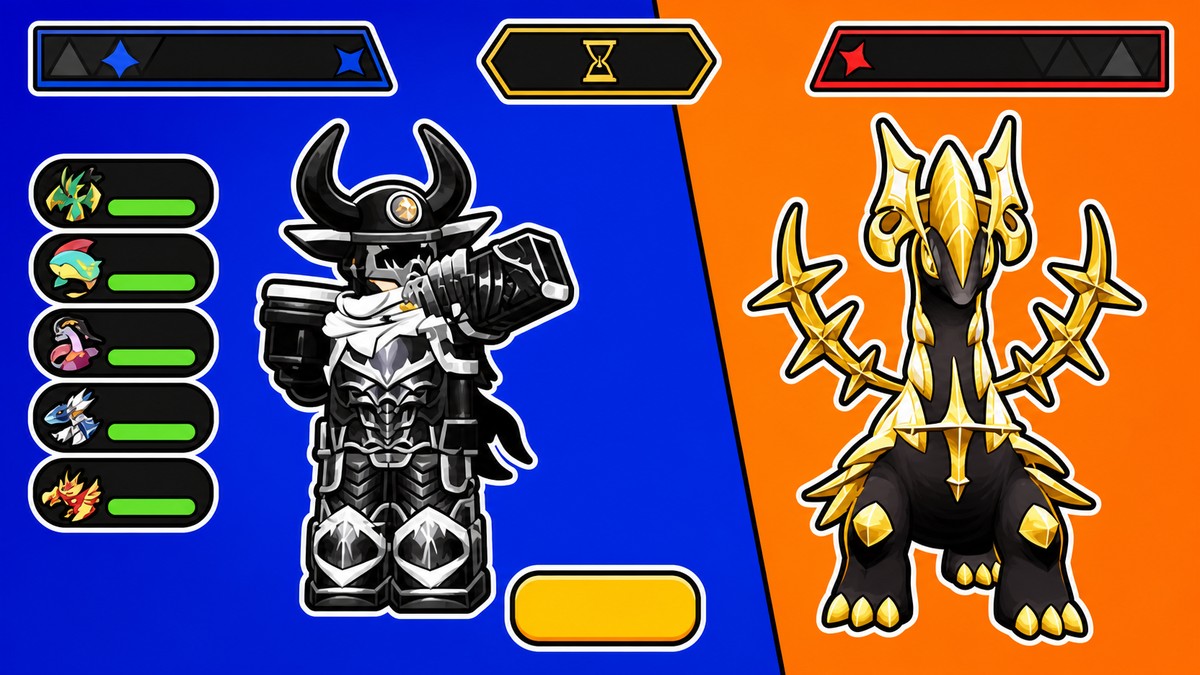
Use evolved Taro/Tarragon and rotate Seed Bomb, Fighting Wheel, and your ultimate to burst through the Floating Realm boss before its lifesteal drags the fight out.
The solo route for the Floating Realm boss is a burst check. You want evolved Taro/Tarragon doing most of the work, with enough damage and sustain to stop the boss from turning every mistake into free healing.
The boss arrived with the Season 1 / Update 1.1.0 wave that added the Floating Realm seasonal map, new boss content, Raid mode, Season Pass, Season Shop, Equipment Dungeons, EXP Dungeons, and global ranked PvP. New Season 1 content is accessed through private servers from the Roblox Servers tab.
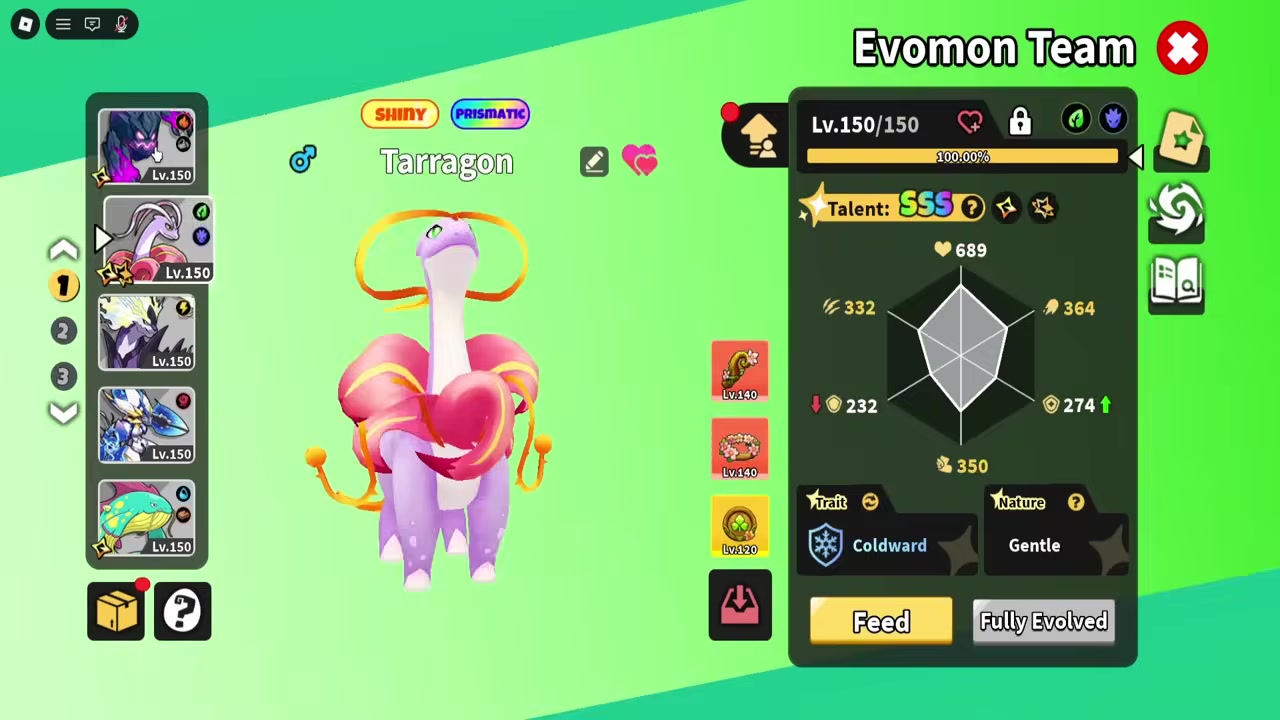
Tarragon solo setup for Floating Realm
| Need | Use |
|---|---|
| Main Evomon | evolved Taro/Tarragon |
| Key skills | Seed Bomb and Fighting Wheel |
| Burst answer | Ultimate or another one-shot skill |
| Sustain/prep | Late-game levels, gear, healing, and enough damage to beat lifesteal |
KEY!Build the attempt around evolved Taro/Tarragon. The damage pattern is simple: open with Seed Bomb, answer the boss’s healing with a hard burst, then lean on Fighting Wheel while your finisher comes back around.
If Tarragon is underleveled or undergeared, the same rotation starts falling apart because the boss survives long enough to heal back. Aim for late-game preparation similar to older high-end boss checks, where Level 70-78+ benchmarks, evolved units, and dungeon farming mattered.
How to run the Floating Realm boss in Evomon
This rotation keeps pressure on the boss from the start, then uses burst damage whenever its lifesteal starts undoing your progress.
STEP 1/10
Send in Tarragon
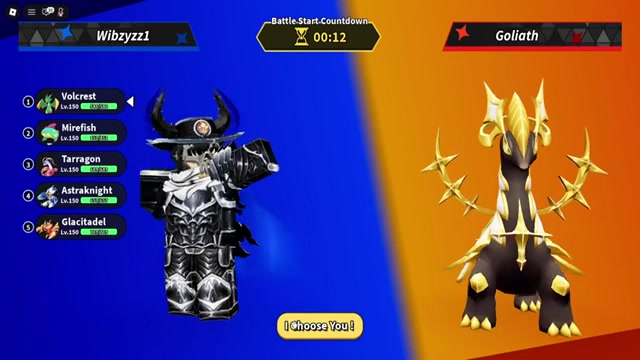
Start the attempt with Tarragon as your main damage dealer.
STEP 2/10
Spam Seed Bomb first

Open with repeated Seed Bomb casts to start melting the boss immediately.
STEP 3/10
Watch the lifesteal
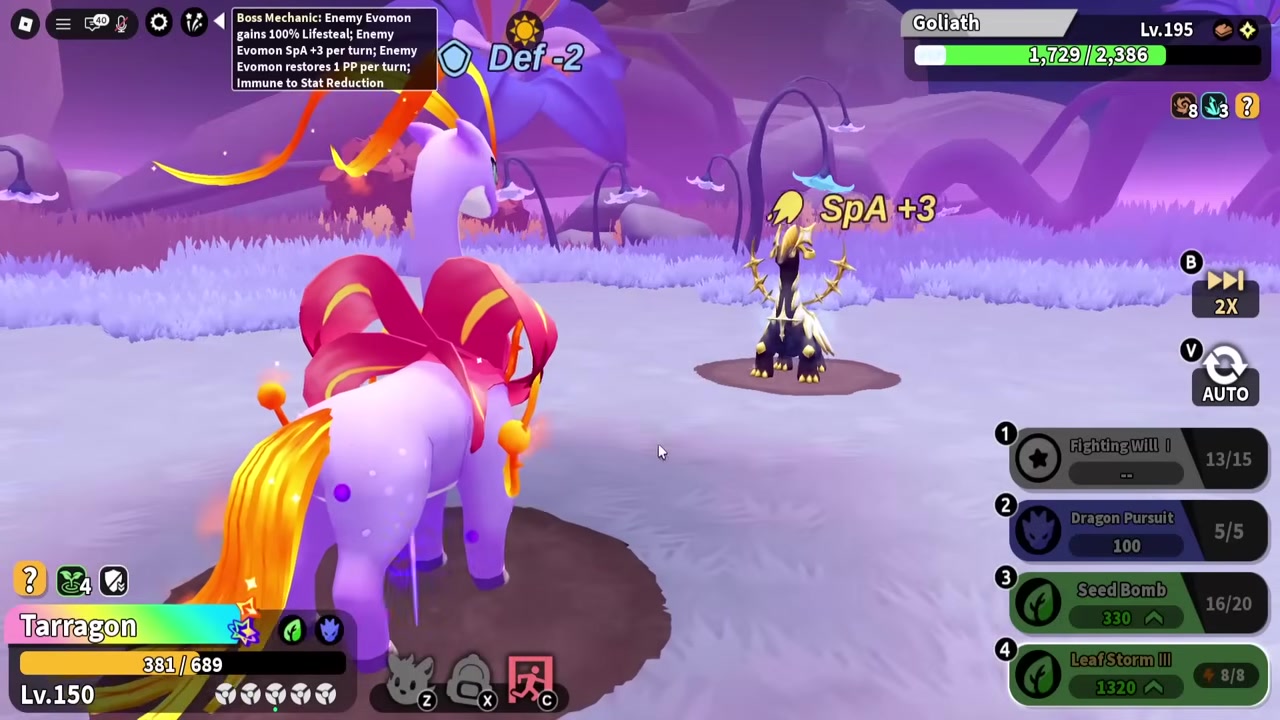
When the boss begins healing, stop treating the fight like a normal damage race.
STEP 4/10
Use your burst skill
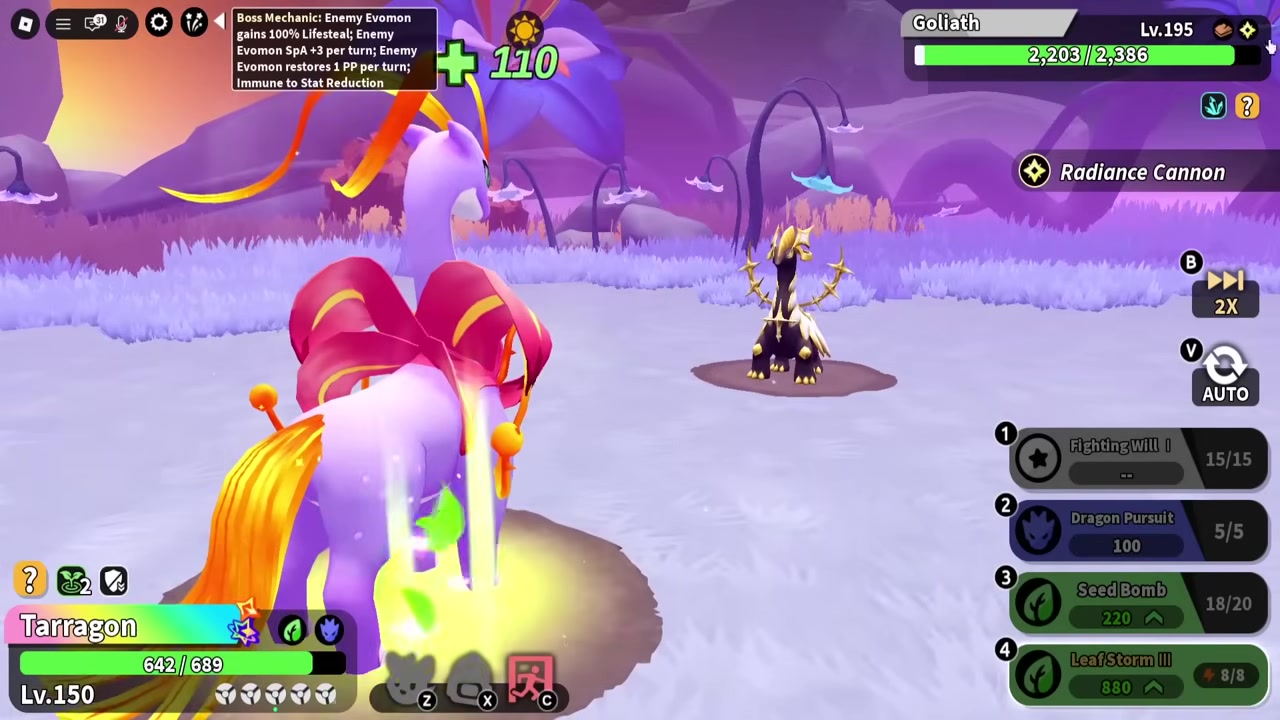
Fire your Ultimate or another one-shot skill when the healing starts to matter.
STEP 5/10
Swap into Fighting Wheel
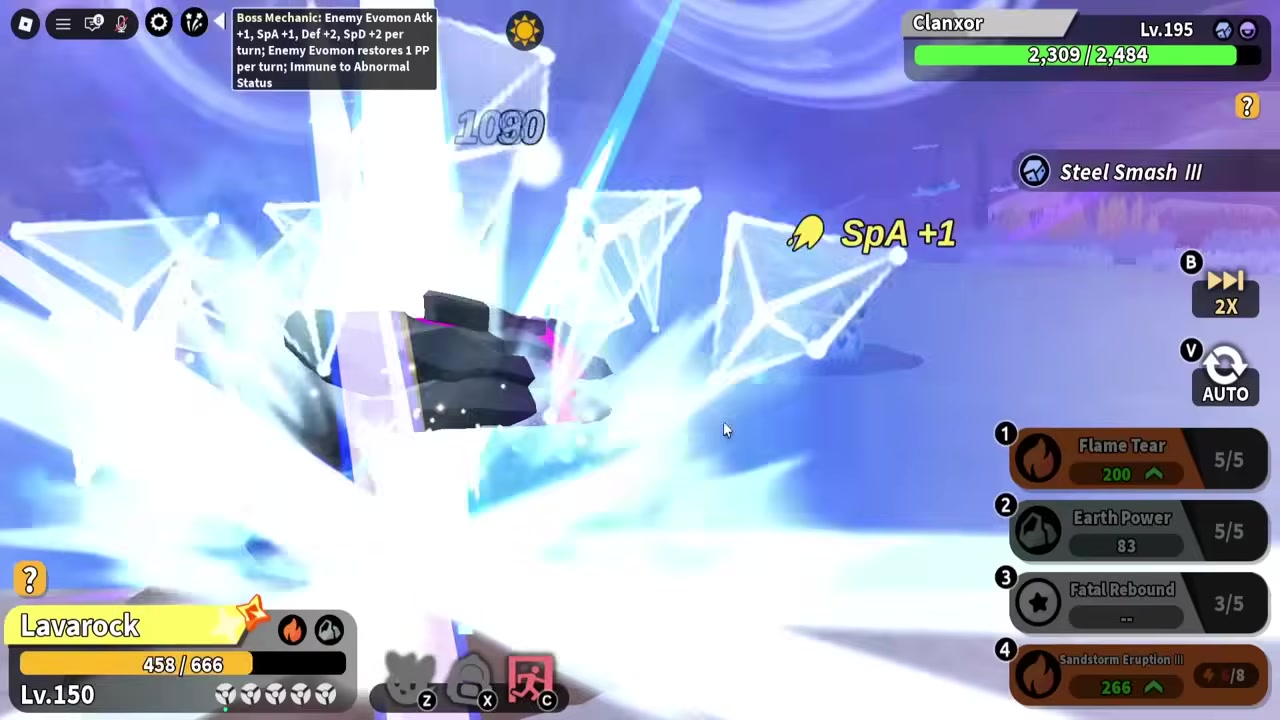
Once your health and damage window are stable, spam Fighting Wheel for sustained burst.
STEP 6/10
Finish with Seed Bomb
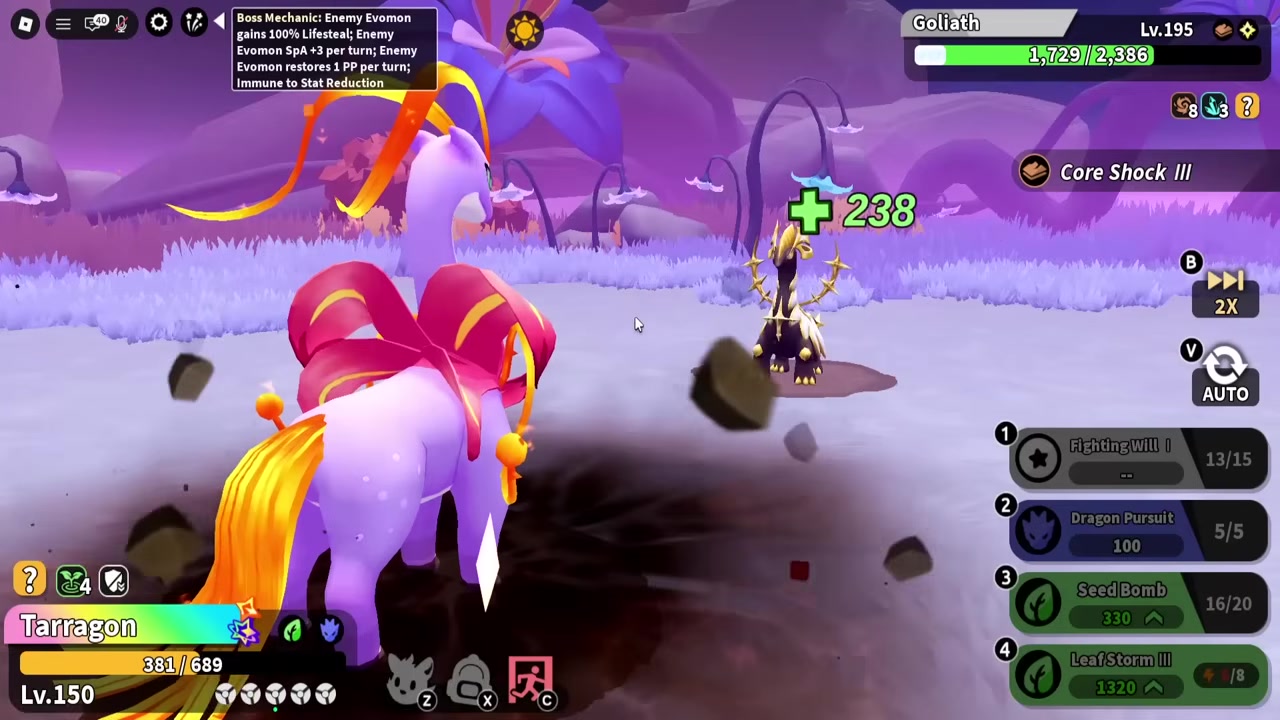
Close the fight with another Seed Bomb as the boss reaches low HP.
STEP 7/10
Bring the backup team

If the clean Tarragon kill is not happening, use the fuller team method instead of forcing normal attacks.
STEP 8/10
Spam Bottle Reborn
Use Bottle Reborn repeatedly because it hits harder than basic attacks.
STEP 9/10
Clear boss buffs
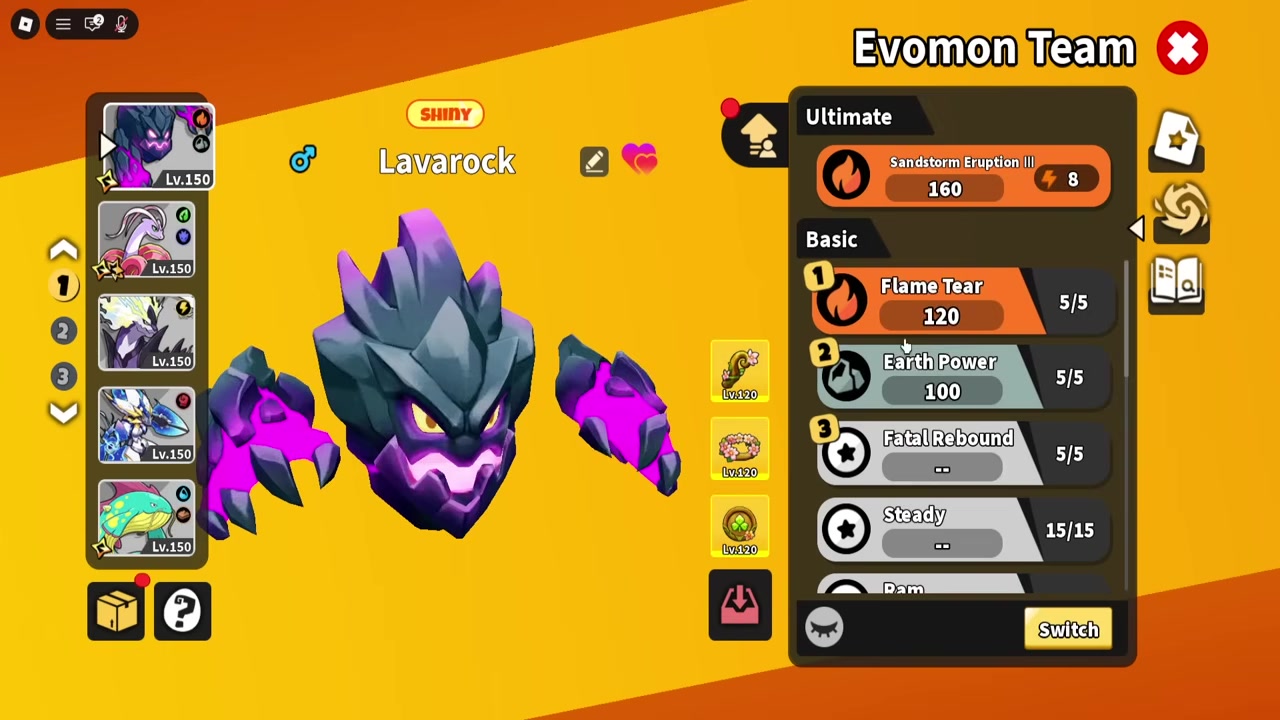
Use your buff reset unit when the boss buffs itself so the fight does not snowball.
STEP 10/10
Heal to extend duration
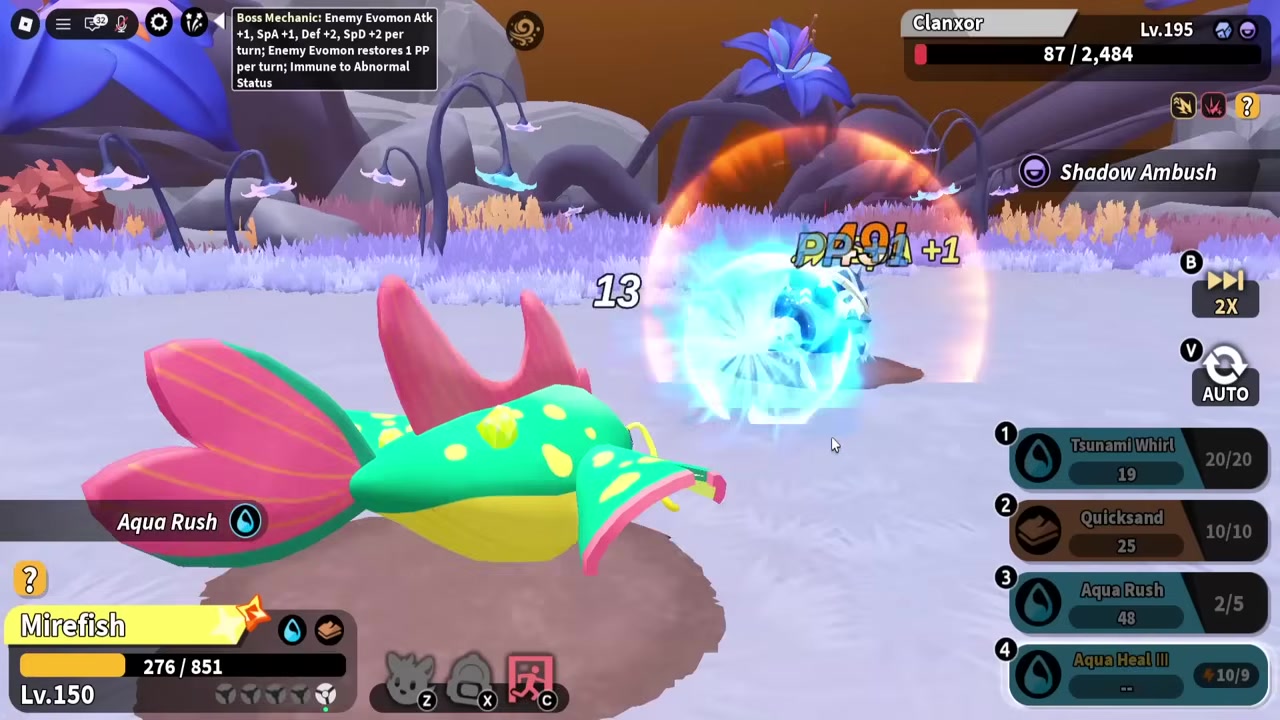
Use healing to keep the run alive long enough for your damage cycle to finish.
Do not basic-attack through the hard phase: use Bottle Reborn and reset boss buffs whenever they appear.
Video help
Floating Realm solo difficulty comes from healing and HP
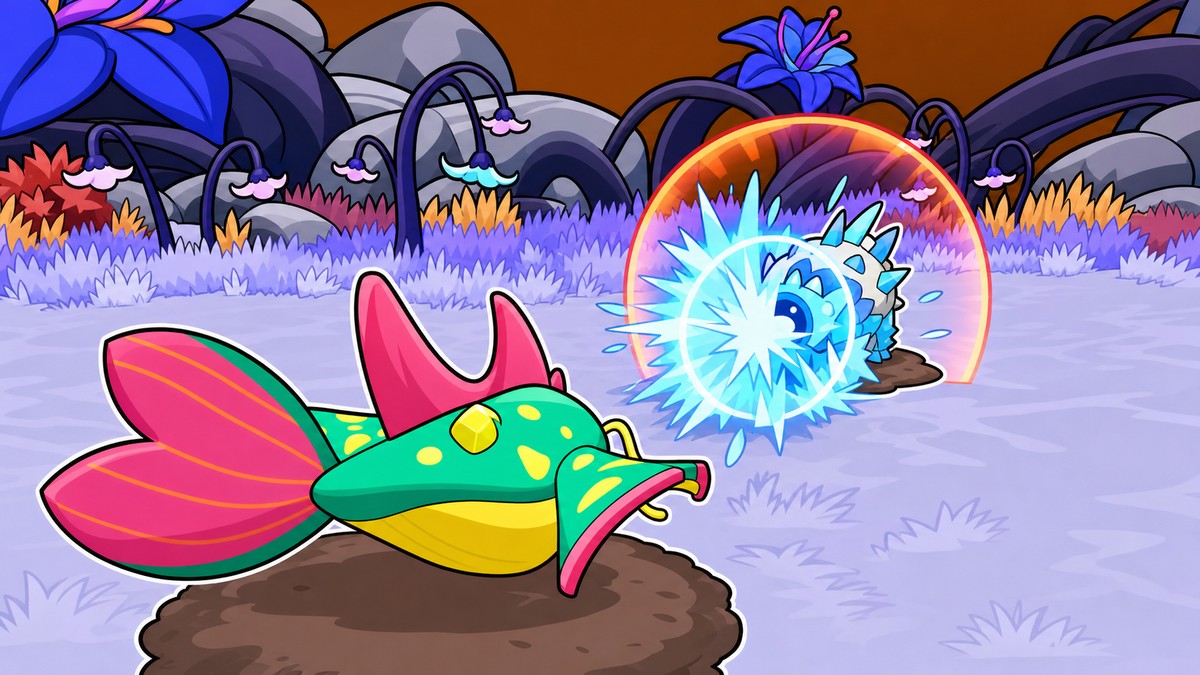
The boss is hard to solo because its lifesteal punishes slow damage. If you spend too long using weak hits, the health bar can move backward even while you are technically attacking.
The other problem is raw health. If your damage cannot beat the healing cycle, bring a party instead of trying to force a slow solo clear.
Backup team method with buff resets
| Team piece | Role |
|---|---|
| Bottle Reborn | Main backup damage option; stronger than normal attacks |
| buff reset unit | Clears boss buffs before they extend the fight |
| Remaining team slots | Extra damage, support, and healing coverage |
| Ascension 6 | Comfort upgrade that makes the kill easier |
When Tarragon alone is not strong enough, switch to the team method: let Bottle Reborn carry the damage instead of normal attacks, then remove the boss’s buffs as soon as they appear. The exact name of the buff-clearing Evomon is unclear, so build around the role: you need one unit that can reset or strip the boss’s buffs.
Do not treat Ascension 6 as a strict entry gate. It is a quality-of-life power bump for smoother attempts, especially if your fight is stretching long enough that healing and buff resets decide the run.
Farm before retrying the boss
If the boss keeps outlasting you, spend time in Equipment Dungeons and EXP Dungeons before going back. Use Raids, seasonal missions, and the daily, weekly, and challenge task loop to build a stronger element-matched team instead of relying on one underbuilt damage route.
The Element Matchups interface is also worth checking before every serious attempt. Bring 2-3 hard counters where possible, then fill the rest of the team with support, healing, debuffs, or buff resets.
Seasonal shop rewards tied to boss prep

The Season Shop gives you another reason to clear missions while preparing for Floating Realm. The store includes items such as Evolution Stone, Lucky Spin, Prismatic Ball, and shiny egg-type rewards.
Coins and tokens come from Battle Pass missions, including daily, weekly, and challenge tasks. One shop sweep is mentioned at 700 tokens, so keep clearing pass objectives while you farm levels and gear.
Frequently Asked Questions
Can you really solo the Floating Realm boss?
Yes, the solo route works when Tarragon has enough damage to push through the healing window. If your damage cannot beat the boss’s lifesteal, bring a party instead.
Which Evomon should I use for the solo method?
Use evolved Taro/Tarragon as the main pick for the solo method. Its supported rotation is built around Seed Bomb, Fighting Wheel, and Ultimate.
Why does the boss keep healing?
The boss has lifesteal. That is why slow basic attacks feel bad here: every delayed burst window gives the boss more time to recover.
What should I do if Tarragon is not strong enough?
Swap to the backup plan with Bottle Reborn, a buff reset unit, and more healing. Then farm dungeons and missions until your damage no longer gets erased by lifesteal.
Do I need a party for the boss?
Bring a party if your solo damage cannot push through the boss’s healing. Soloing becomes much harder unless your team is already far beyond the normal prep level.




Leave a Reply