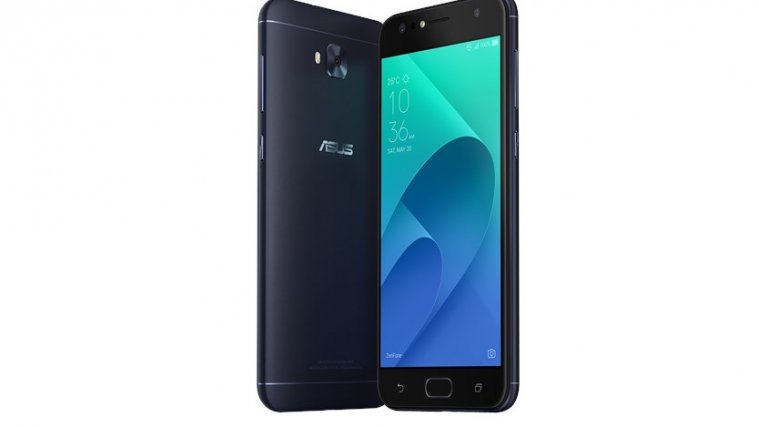
Released last year just around the time Android 8.0 Oreo came out, Asus ZenFone 4 Selfie and the Selfie Lite are contenders for the mid-range mobile market. Released with Android 7.1.1 Nougat and a selling point of being able to take exquisite selfie shots with a 20MP camera, the device received Oreo update just a couple of months ago. It seems that the ZenFone 4 Selfie and Selfie Lite do have a fan-following in the tweaking community, as a result of which you can now root both the devices and install a custom recovery.
Things you will need:
- Bootloader unlocker app for ZenFone 4 Selfie and Selfie Lite (Download link).
- TWRP custom recovery for ZenFone 4 Selfie and Selfie Lite (Download link).
- Asus ZenFone 4 Selfie and Selfie Lite updated to firmware version 0400.1803.192-20180302.
- Minimal ADB and Fastboot tools installed (Download Link).
- Latest version of SuperSU .zip file (Download link).
Step 1: Unlock the bootloader
- Download the Bootloader unlocker app using the link above and save it to your device.
- Go to Settings – Security and enable Unknown Sources to install the APK file.
- Install the APK file and follow the on-screen instructions to unlock the bootloader of your ZenFone 4 Selfie and Selfie Lite.
Step 2: Enable USB Debugging
- From the home screen, head over to the Settings
- Scroll down to find About Phone, open it to find Build number and tap on it 7 times.
- The Developer options will now be available in the Settings app.
- Open the menu and enable USB debugging from the menu.
- Plug your ZenFone 4 Selfie and Selfie Lite into the computer and when prompted on the screen, press the “OK” button on the tab that says “Allow USB debugging”.
Step 3: Enter Fastboot mode
- Shut down your device and wait until the screen turns off completely.
- Press and hold the Power + Volume Down buttons until you feel the device vibrate, and which point you can let go of the Power
- Your device will now be in Fastboot mode, so connect it to the computer using a USB cable.
At this point, make sure that you have the ZenFone 4 Selfie and Selfie Lite TWRP file, Minimal ADB and Fastboot tool are saved in the same folder.
Step 4: Flash the TWRP file
- In the ADB folder, press Left Shift + Right Click and select “Open command window here”
- Using the command prompt terminal, type in “fastboot devices”
- Type in the command “fastboot boot twrp-zb553kl-signed.img” and confirm that the process is working.
- Now go ahead and type in “fastboot flash recovery twrp-zb553kl-signed.img” and hit Enter to begin the flashing process.
- Finish the process by finally typing “fastboot reboot” to reboot your ZenFone 4 Selfie and Selfie Lite.
Step 5: Root the device
- Shut down the device and wait for the screen to turn off completely.
- Press and hold the Power + Volume Up button until the device vibrates, at which point you can let go of the Power
- Press the Install button and look for the SuperSU .zip file in the internal storage that you had earlier downloaded.
- Select it and Swipe to install the SuperSU app on your ZenFone 4 Selfie and Selfie Lite.
That’s it! Your Asus ZenFone 4 Selfie or Selfie Lite device should now be rooted with SuperSU and TWRP custom recovery up and running.


For everyone struggling, this is the TWRP UPDATED link:https://mega.nz/#!Zk4j0SiY!aDzVa43whmy7GNz6Ww8qY-xrbIC1TmRWjGZcliU_l7w
Realmente muito bom mesmo ! sem erros no meu zen fone 4 Selfie
how to do this In the ADB folder, press Left Shift + Right Click and select “Open command window here”can you provide a screenshot
An easier way is: open the folder where you have the file and want the command window in. Now, type cmd in the address bar, and then hit the enter key. A command window will open up, and its location will be that folder. Job done. Same as that of *Left Shift + Right Click and select “Open command window here”*.