What to know
- On the Google Docs website, highlight text from the second line, then drag the indent marker half an inch to the right. Drag the indent marker for your first line back to the left.
- Alternatively, choose Format > Align & indent > Indent Options > Special indet > hanging. Keep the default value of 0.5.
- You can also create a line break at the start of the second line by pressing
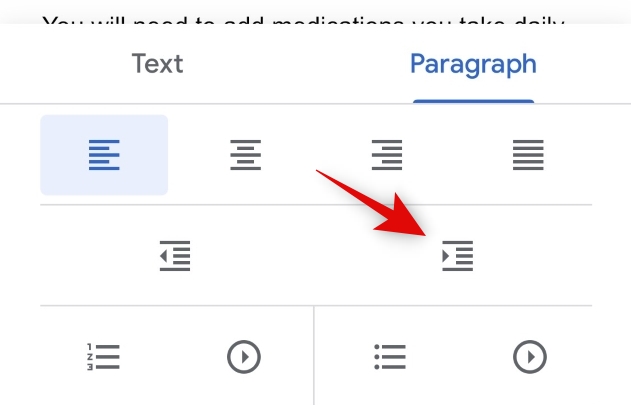
Shift+Enter. Then pressTabto shift the line to the right and create a hanging indent. - On the Docs app for mobile, place the cursor at the start of the second line, tap Format > Right indent.
Formatting can make or break any document. Depending on your audience, you might be required to include citations, sources, references, and a lot more. Indenting is a key method to properly format your document, especially when writing in MLA format. Google Docs is a free-to-use word processor that can be directly accessed from your browser. However, sometimes it can get difficult to find certain formatting options.
So, if you’re looking to indent the second line in Google Docs, then here’s how you can do that on your PC.
What is a hanging indent?
Hanging indent is the term for indenting the second line in a document. Many word processors have a dedicated hanging indent option to help automate the process. Google Docs is no different and offers a dedicated option to add a hanging indent to your document. You can use the ruler to manually create a hanging indent or use a line break if preferred.
How to indent the second line in Google Docs
Here’s how you can indent the second line in your document when using Google Docs.
On computer
When using the Google Docs web version on your computer, you can use the following methods to add a hanging indent to your document. Let’s get started.
Method 1: Using the Ruler tool
Here’s how you can use the Ruler tool to indent your document from the second line.
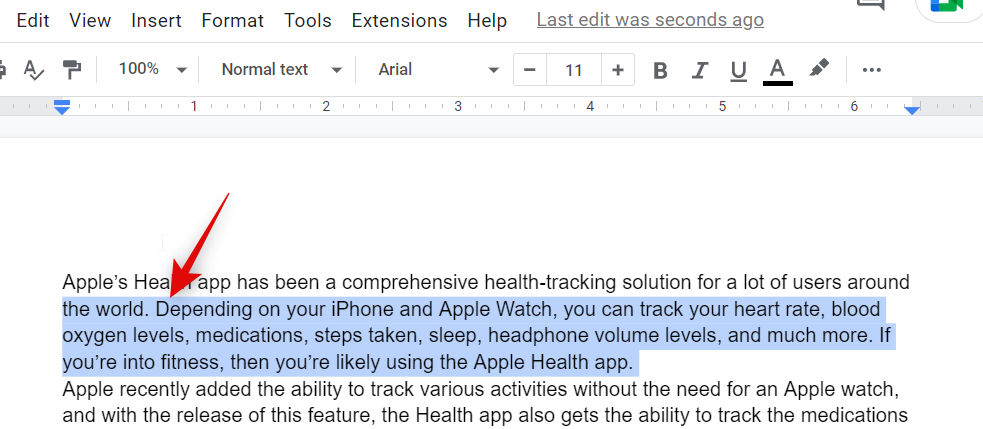
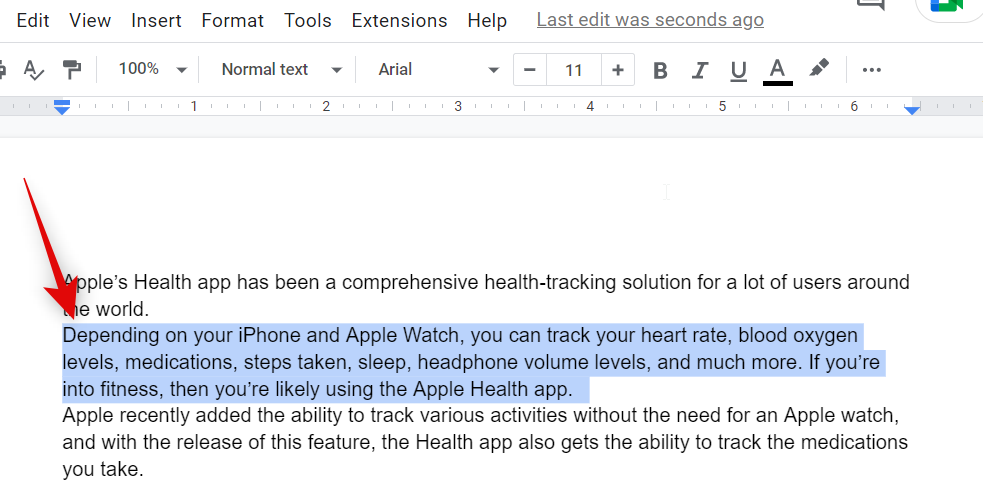
- Open Google Docs in your browser and navigate to the concerned document. Now highlight the text from the second line that you wish to indent.
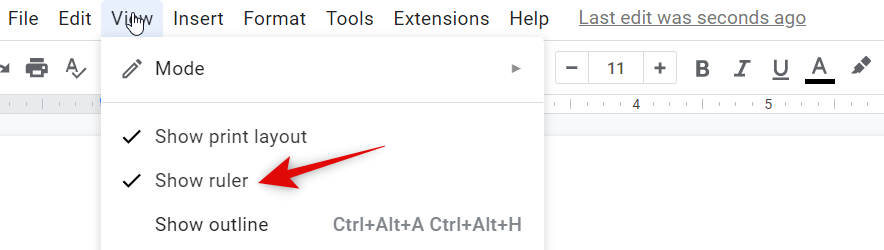
- The ruler should already be available in your document at the top. If it isn’t available, click View and select Show ruler.
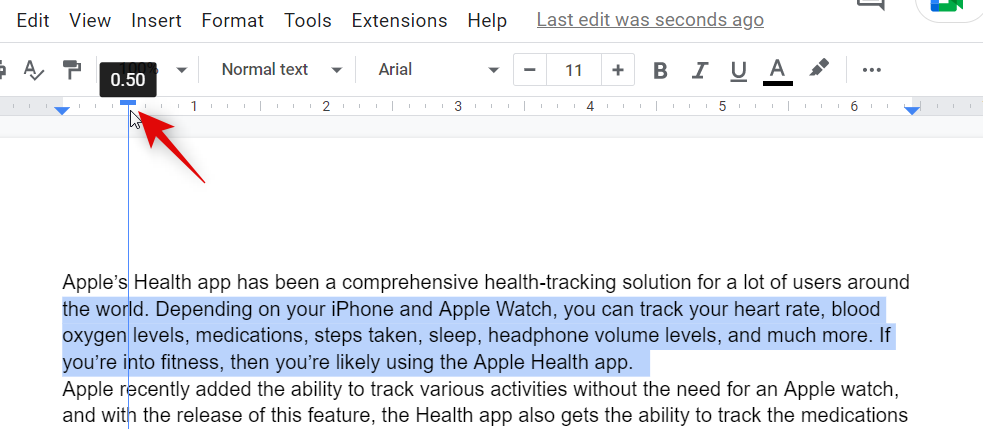
- Now click and drag the left indent marker to the position shown below. Each 1 represents one inch, so the idea is to move the indent marker half an inch to the right.

- You will notice all the text moving to the right. But you will now have an additional indent marker for your first line in the ruler. Drag it to the left to create a hanging indent for the selected text.
And that’s how you can create an indent from your second line using the ruler in Google Docs.
Method 2: Using the native option
Google Docs also has a native feature to create hanging indents in your document. Here’s how you can use it on your PC.
- Visit Google Docs in your browser and open the document where you wish to create a hanging indent.
- Select the text you wish to indent.
- Now click Format at the top in the menu bar and select Align & Indent.
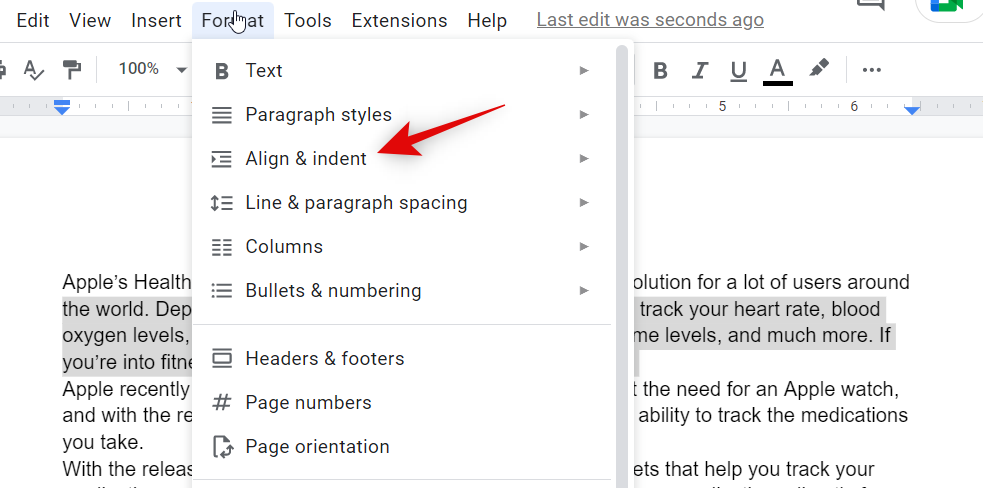
- Click Indent Options.

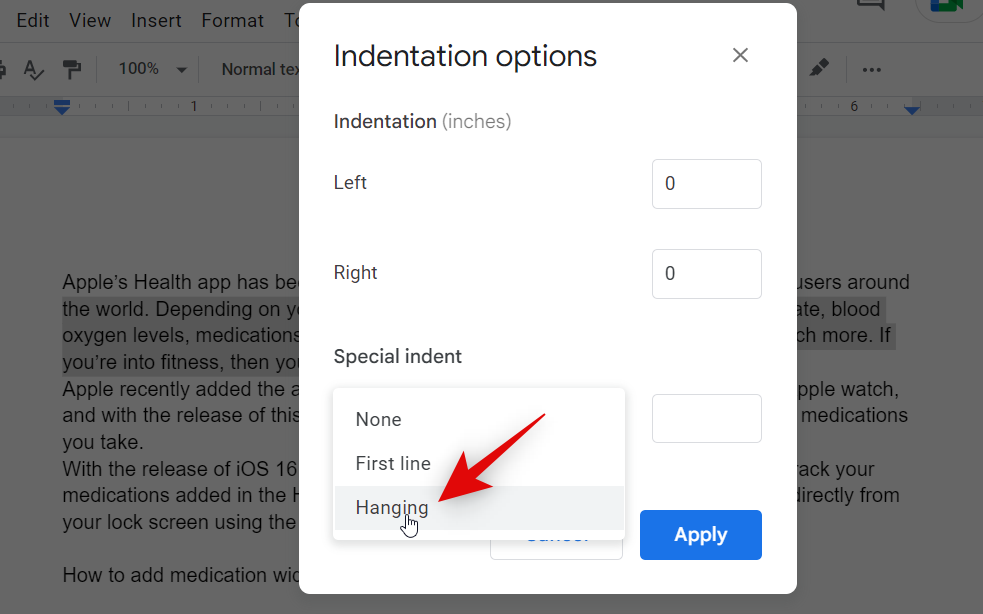
- Click the drop down menu for Special indent and select Hanging.
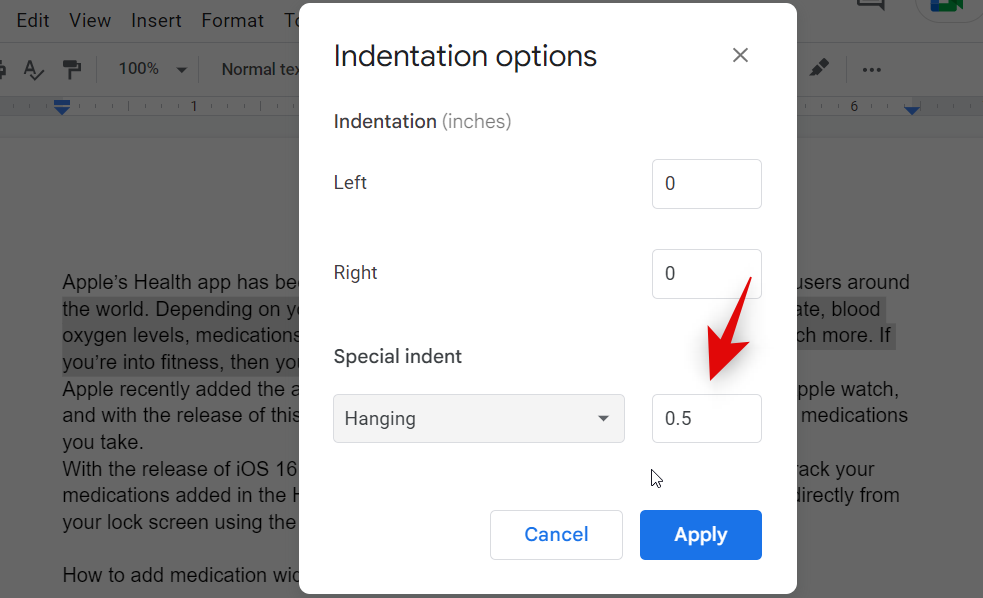
- Now select how far you want your text to be indented by adding a value manually. The default value 0.5 represents half an inch.
- Click Apply.
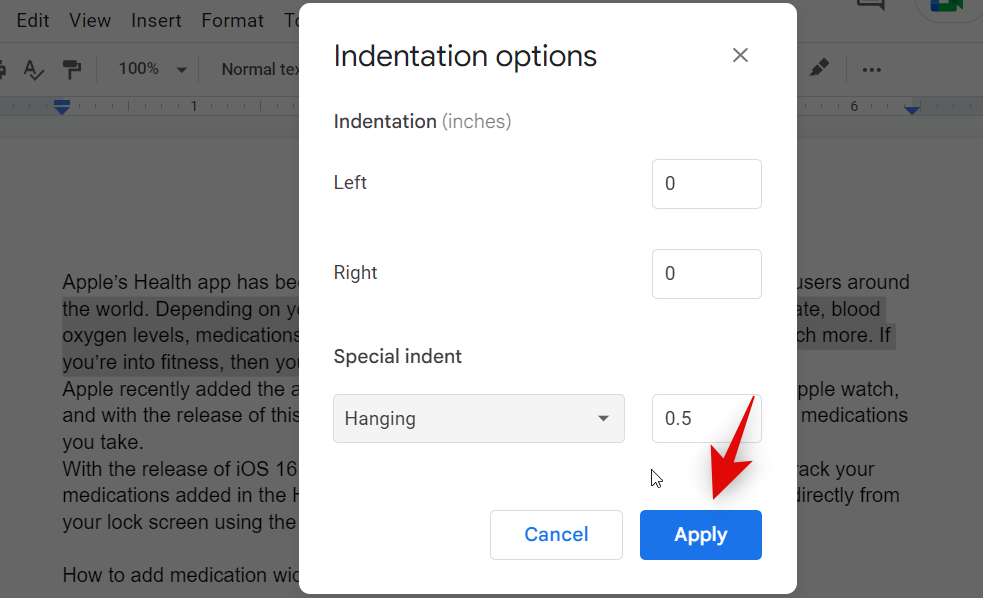
You will now have indented the selected text using the native option in Google Docs.
Method 3: Using a line break
The line break method to create a hanging indent is a workaround rather than an actual method to create a hanging indent. We recommend using this method only if the above methods fail to produce the desired results. This is because the line break method will only indent the first line, which isn’t ideal if your second line is a paragraph.
Place your cursor at the desired location to create a line break and press Shift + Enter on your keyboard. This will create a line break. Now press Tab on your keyboard to indent your second line.

And that’s how you can use the line break method to create a hanging indent in your document.
On mobile
Whether you’re using an iPhone or Android device, when it comes to creating hanging indents, your options are pretty limited. Here’s how you can create a hanging indent on the Google Docs mobile app.
- Open the app and navigate to the concerned document where you wish to create a hanging indent.
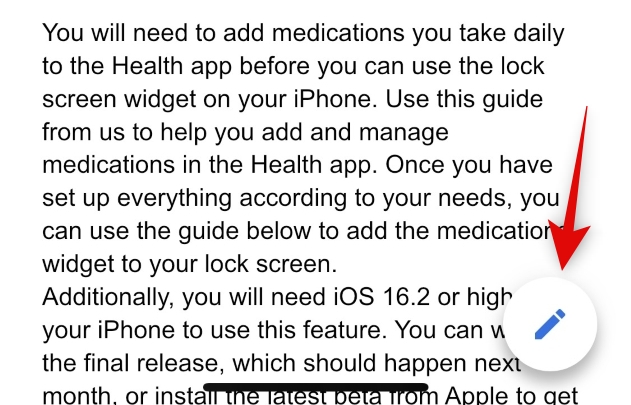
- Tap the Edit icon in the bottom right corner.
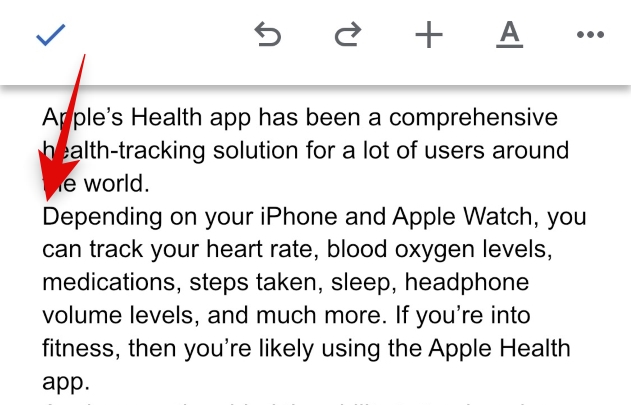
- Now place the cursor at the beginning of the second line.
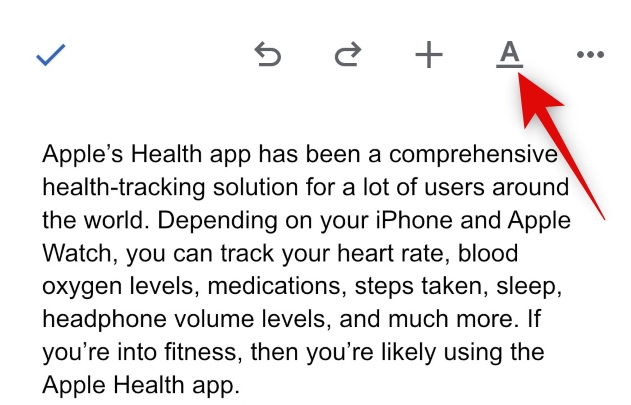
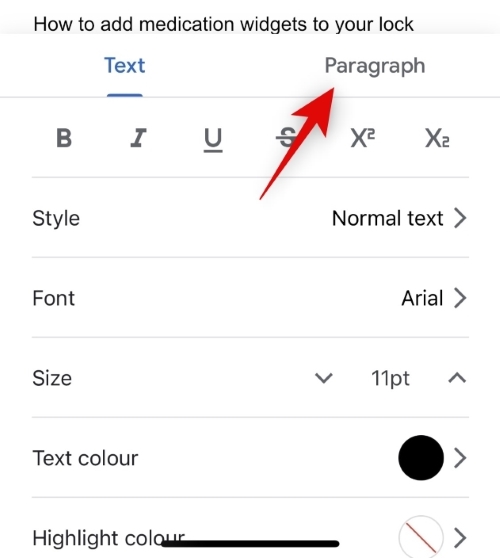
- Tap the Format icon in the top right corner.
- Tap and switch to Paragraph.
- Tap the Right indent icon.
And that’s how you can create a hanging indent in the Google Docs mobile app.
We hope this post helped you easily create a hanging indent on Google Docs. If you face any issues or have any more questions, feel free to reach out to us using the comments below.