
Highlighting a portion of an image is definitely one of the best methods to let the subject therein get the attention. Sure, you can also blur the rest of the image, but when what you need to highlight is a small part of the image, using the spotlight feature makes much sense.
But do you know which app to use for getting this done effortlessly when there are thousands of applications available in the Play Store? In this article, we will learn how to add a highlight to a the main subject of the image.
RELATED:
How to highlight a portion of an image on Android using spotlight feature
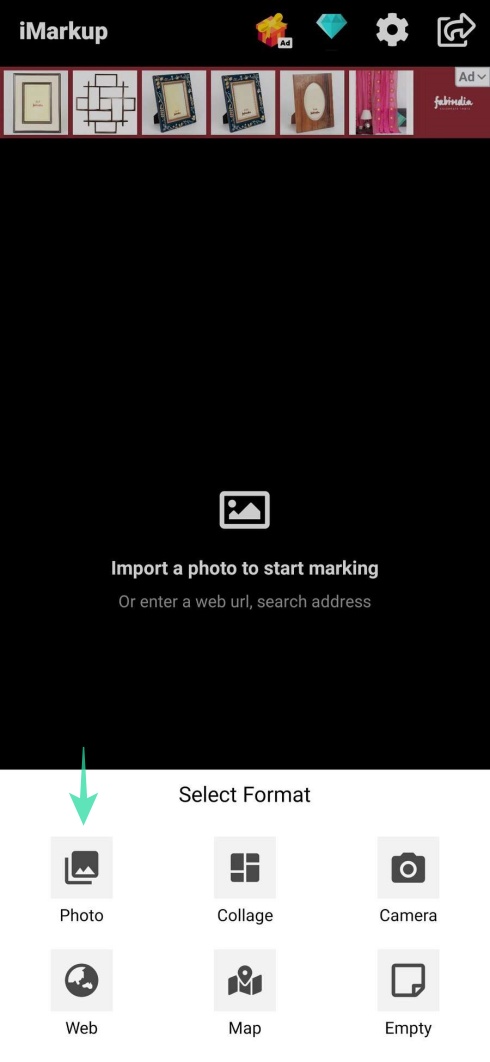
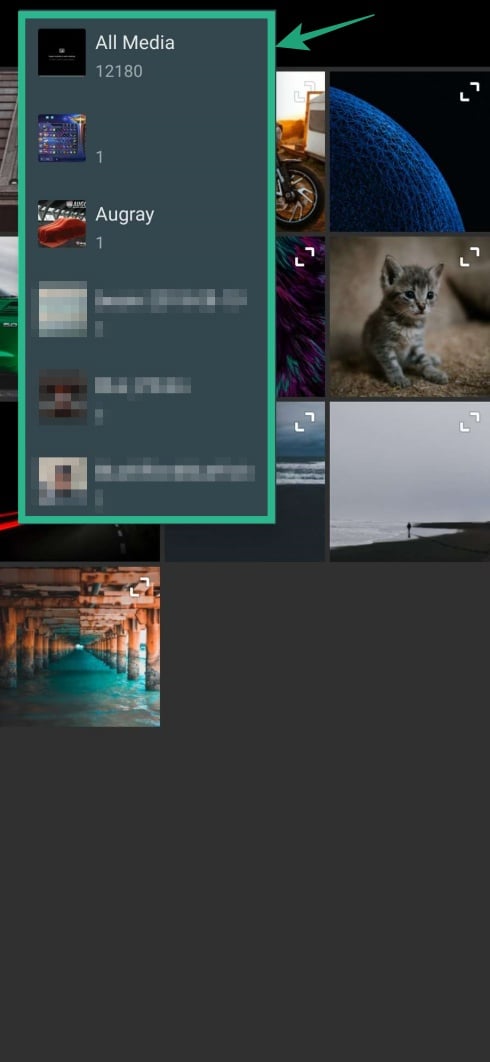
Download and install the iMarkup app from the Play Store and then open the app.



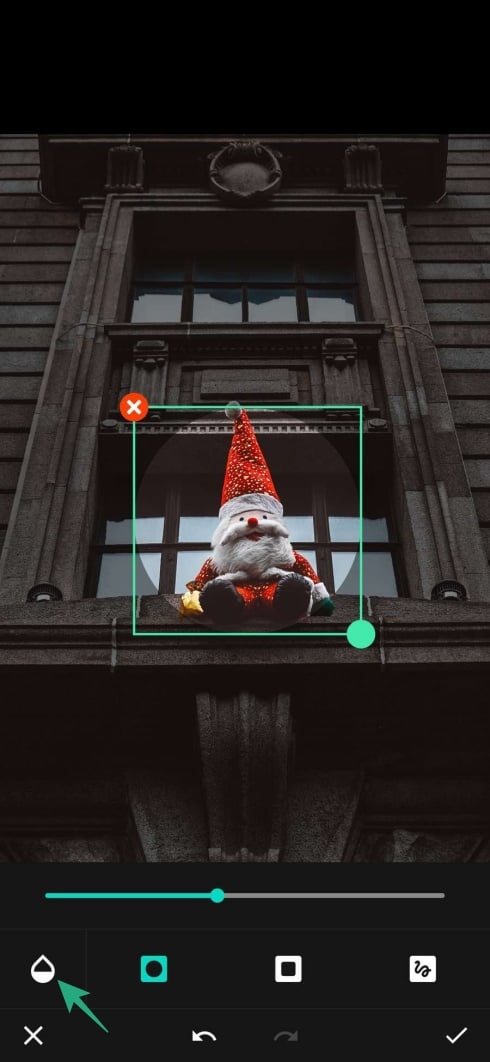
Change the resolution of the selected area, if needed, by dragging the circle ([icon name=”circle” class=”” unprefixed_class=””]) on the bottom right of the selection marker.
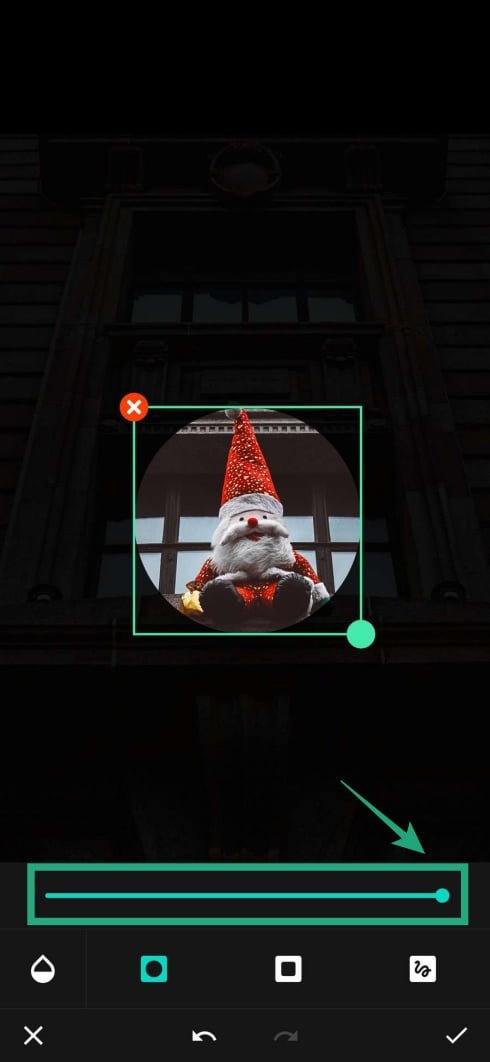
Tap on the Tint ([icon name=”tint” class=”” unprefixed_class=””]) icon and change the strength of the area displayed around the added spotlight.


RELATED: