

Quick Answer: Use Nurture Bloom to trigger Wild Surges, then build the surge meter to reach Prismana Flow while watching for Umbral encounters. Upgrade Nurture Nodes, use free daily nurture charges, and save your best Aniipods for rare spawns.
Aniimo’s Nurture Bloom system gives you a repeatable way to hunt some of the game’s rarest variants without relying entirely on random open-world encounters. By unlocking the required area badge, upgrading Nurture Nodes, triggering Wild Surges, and managing capture items carefully, you can work toward Umbral and Prismana Aniimo while spending fewer resources.
| Feature | Key detail |
|---|---|
| Required unlock | Fast Bronze Badge |
| Capture requirement | 40% of local Aniimo |
| Main activity | Nurture Bloom |
| Rare encounter | Umbral Aniimo |
| Prismana method | Fill the surge meter |
| Free resource | Daily nurture charge |
| Main upgrade material | Lumin Amber |
| Rare capture item | Aniipod Ultra |
| Perfect/Sparkling capture | Sparkling Cube |
| Important warning | Umbral appearance disappears after evolution |
Requirements for Nurture Bloom
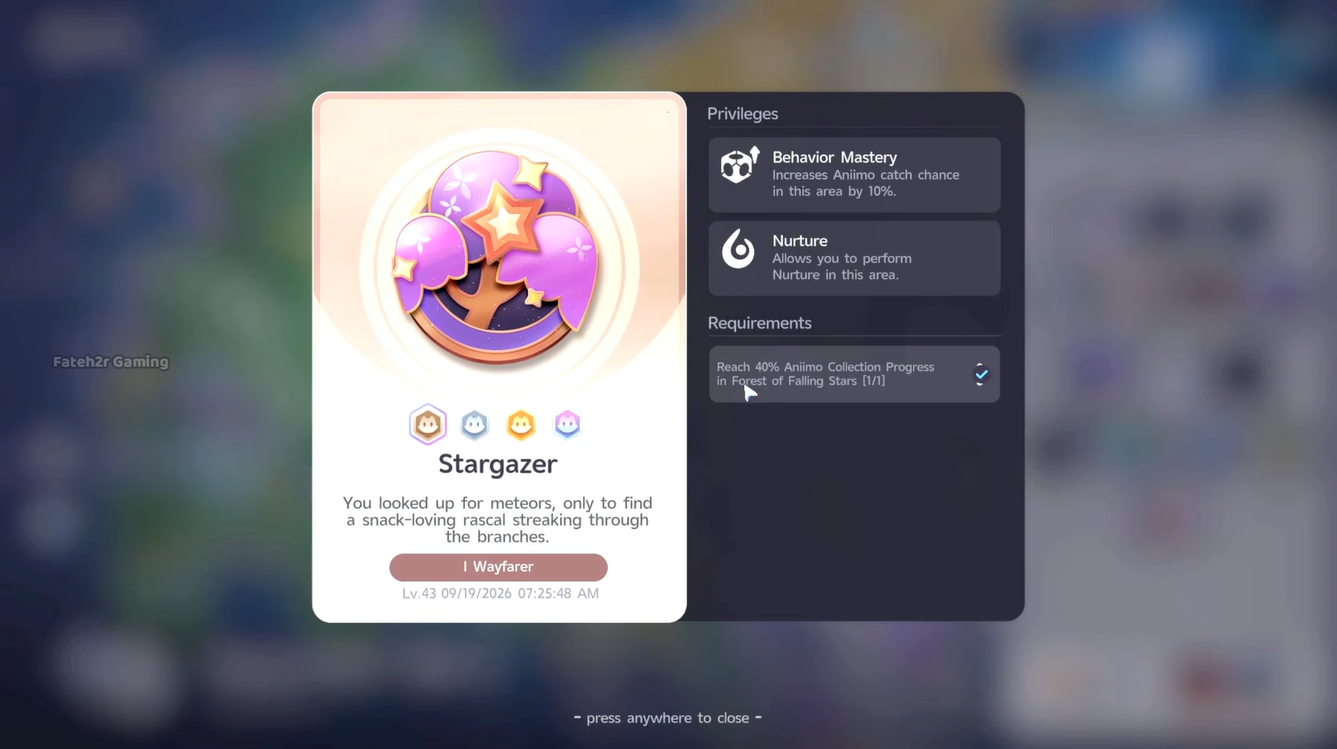
The first requirement is unlocking the Fast Bronze Badge for the region where Nurture Bloom will be used. This requires capturing at least 40% of the Aniimo found in that area. Once the badge is available, Nurture Nodes can be upgraded with Lumin Amber, improving stamina and other bonuses while increasing the daily nurture capacity, with upgrades eventually allowing up to 25 nurtures per day.
How to Get Umbral and Prismana Aniimo quickly
Step 1: Unlock the Fast Bronze Badge
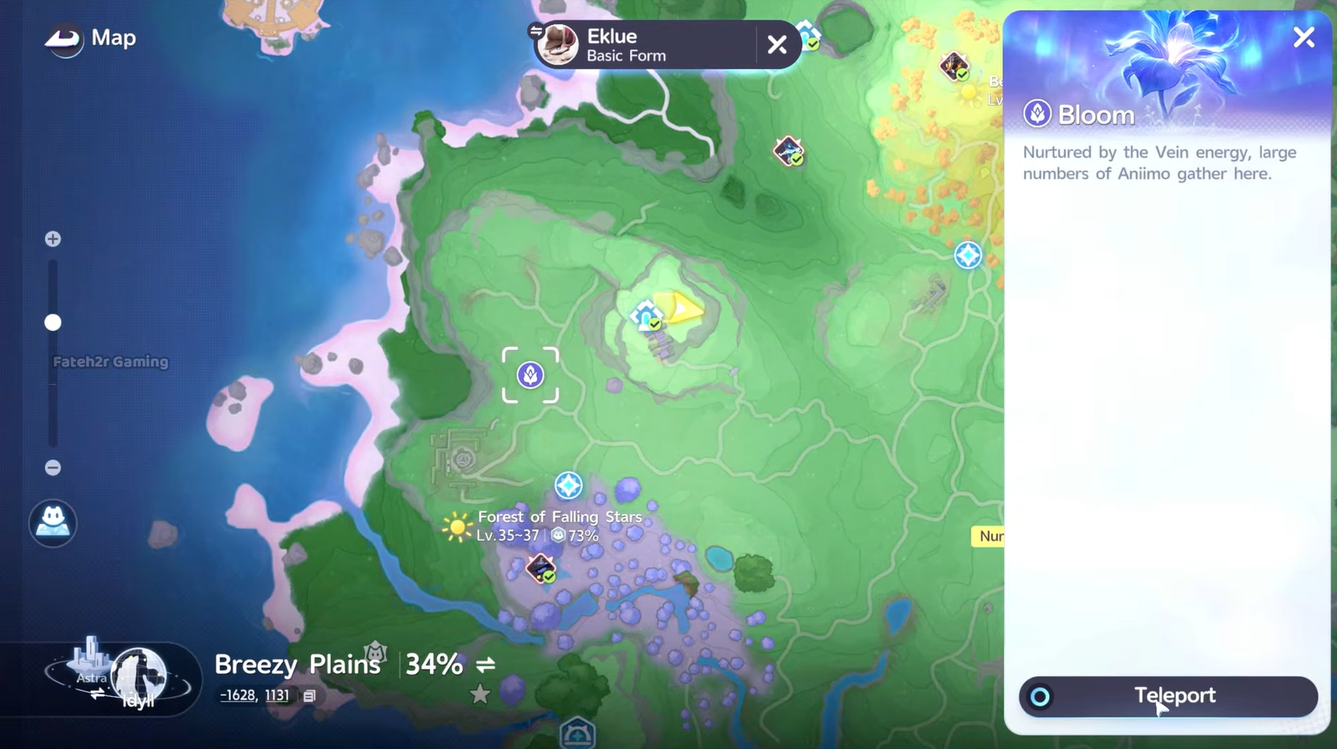
Head to an area such as the Forest of Fallen Stars and begin filling its Aniimo collection progress.
The important threshold is 40% of the local Aniimo captured. Reaching this percentage unlocks the Fast Bronze Badge needed to access the Nurture Bloom system.
Focus on catching common Aniimo first rather than hunting rare variants immediately. The badge requirement is based on collection progress, so completing the area’s regular roster is the fastest way to reach the threshold.
Step 2: Upgrade the Nurture Nodes
Once Nurture Bloom is available, spend Lumin Amber on its Nurture Nodes.
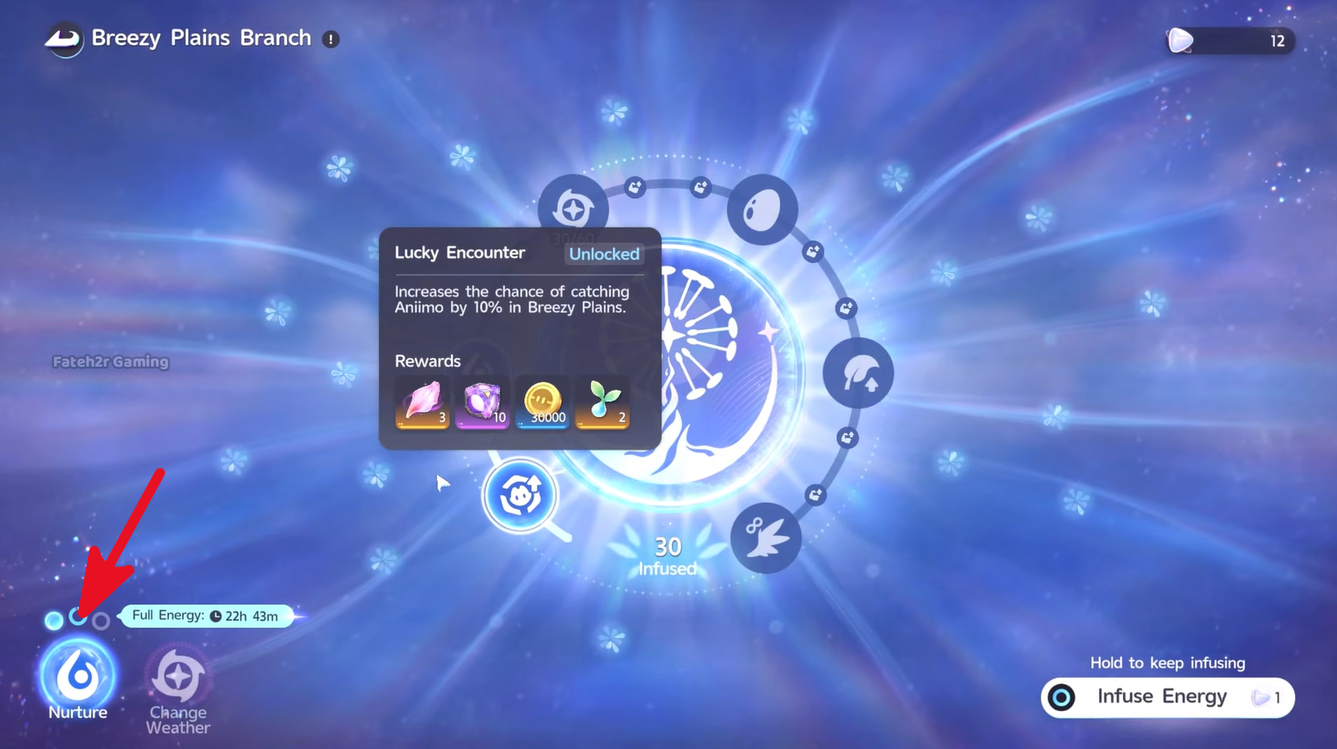
These upgrades improve several aspects of the system, including stamina and weather-related benefits. They also increase the number of nurturing attempts that can be performed each day.
The higher nurture capacity matters because every additional attempt gives another opportunity to trigger the events associated with rare Aniimo.
Step 3: Use the free daily nurture charge
Nurture Bloom provides a free daily nurture charge, which regenerates over time.
Use this charge before spending additional resources. The goal is to get as much value as possible from the free attempts and only use additional materials when continuing the hunt.
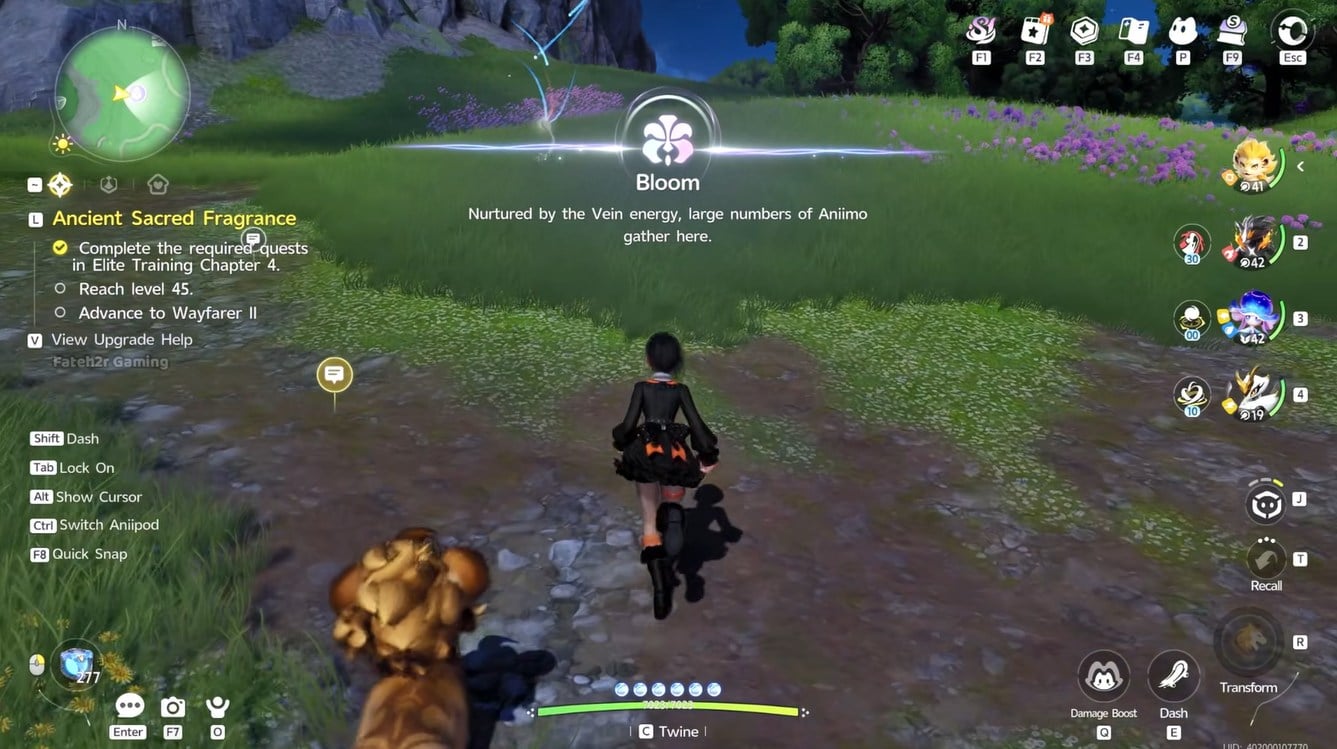
After the free charge has been used, Vein Essence Crystals and the appropriate specialized crystals can be used to trigger additional Aniimo surges.
Step 4: Trigger an Aniimo Surge
Use your available nurture resources to start an Aniimo Surge.
The surge creates opportunities to encounter Aniimo associated with the current area. This is particularly important for Umbral hunting because Wild Surges triggered through ecosystem nurturing can provide chances to encounter Umbral Aniimo.
An Umbral is not automatically guaranteed simply because a Wild Surge has been triggered. It remains a rare encounter, so the objective is to maximize the number of surge opportunities rather than assuming every surge will contain one.
Umbral Aniimo also have Perfect Potential, making them especially valuable when one appears.
Step 5: Save better Aniipods for rare encounters
Do not waste your strongest capture tools on ordinary surge spawns.
Use lower-tier Aniipods for common Aniimo and keep stronger options available for unusual encounters. If an Umbral appears, switch to an Aniipod Pro or another suitable high-quality capture option rather than risking the encounter with a weak pod.
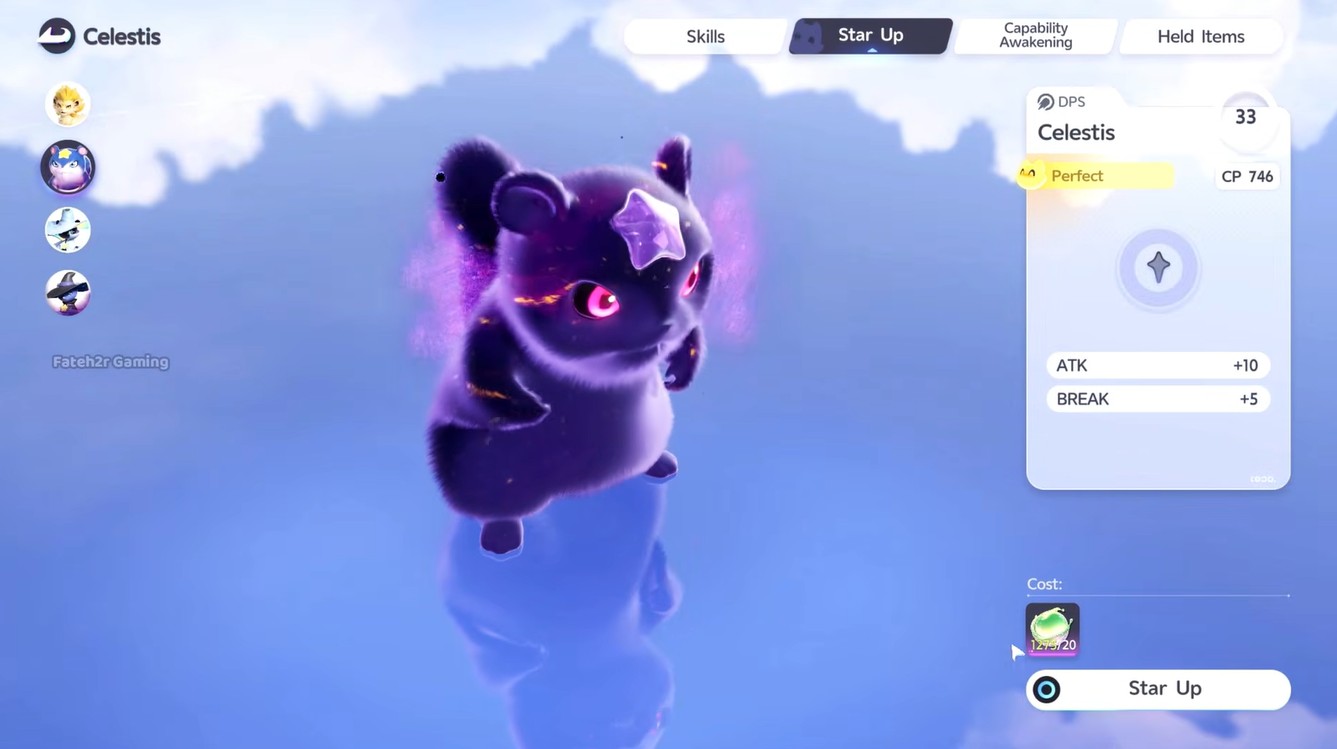
This resource management becomes increasingly important during longer Nurture Bloom sessions because rare encounters can appear after considerable setup.
Step 6: Catch an Umbral when one appears
When an Umbral Aniimo appears during a Wild Surge, prioritize capturing it immediately.
Umbral is separate from Prismana and Sparkling. An Umbral encounter comes with Perfect Potential, so it does not need to be treated like an ordinary Aniimo that might require repeated catches to obtain a better potential roll.
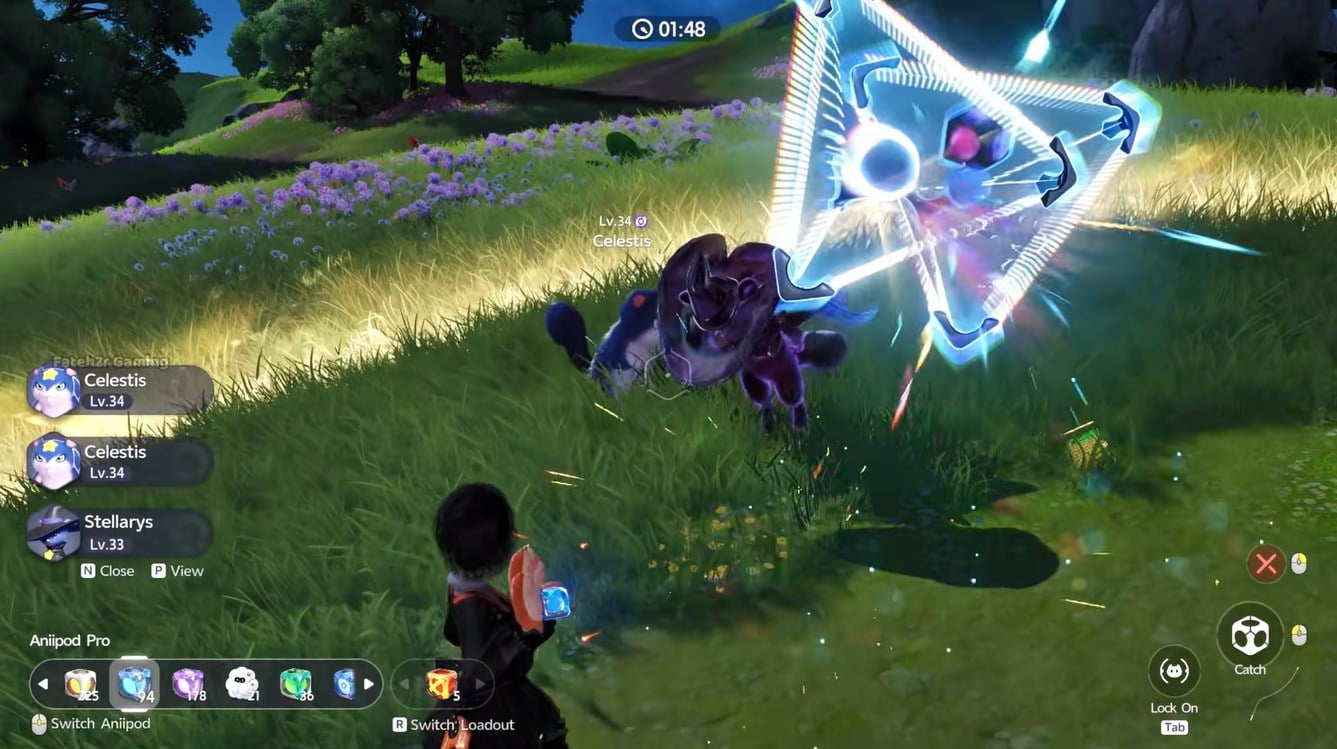
There is one major catch: the Umbral appearance does not survive evolution. Evolving the Aniimo removes its Umbral coloration, although its Perfect Potential remains.
For collectors, this means it can be worth keeping the original Umbral specimen unevolved if preserving its appearance is important.
Step 7: Keep filling the surge meter
Continue nurturing and participating in surges to build the area’s surge meter.
The objective is to push the meter toward its Prismana state. Unlike an Umbral encounter, this is a progression-based route rather than simply waiting for a random rare spawn.
Keep using the available nurture opportunities and avoid wasting resources between surge cycles.
Step 8: Reach the Prismana state
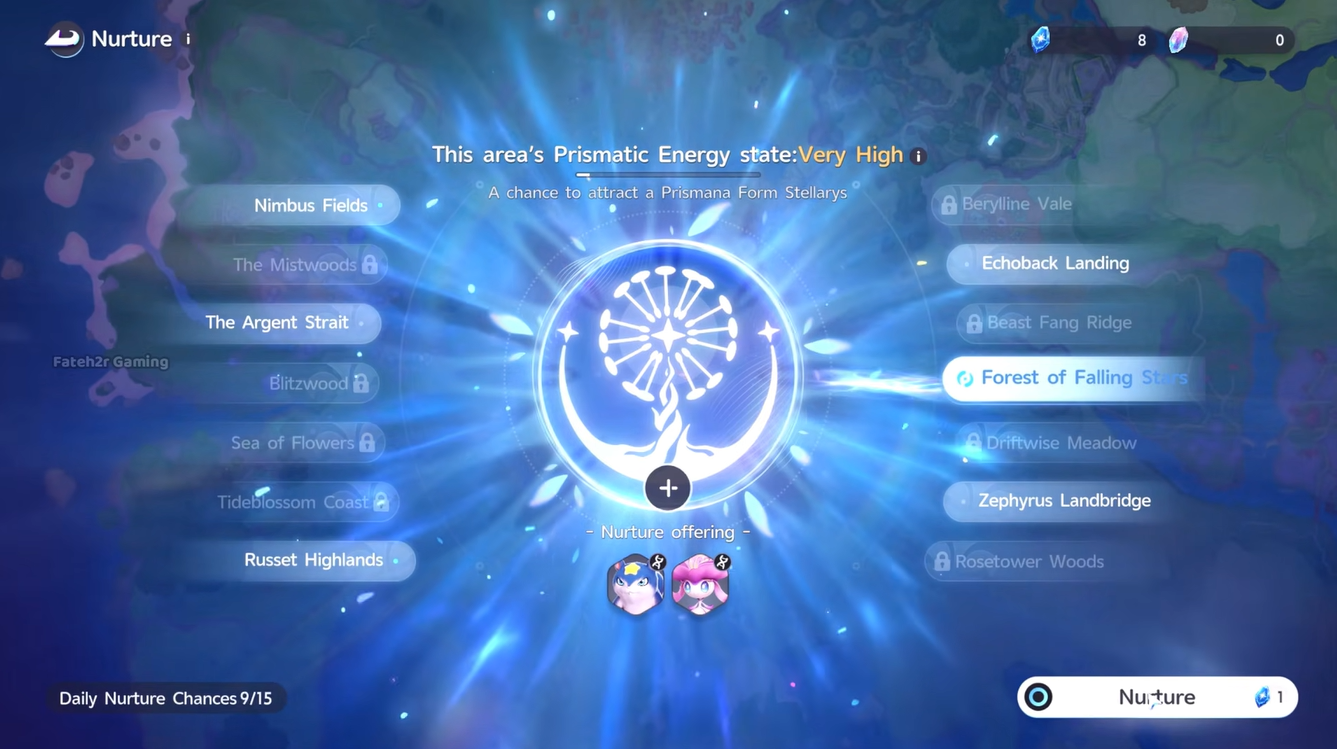
When the surge bar is filled completely and reaches the Prismana state, the area’s assigned Prismana Aniimo is triggered.
This gives the Nurture Bloom system a second major purpose: it allows the activity to work toward a Prismana encounter instead of relying exclusively on ordinary exploration.
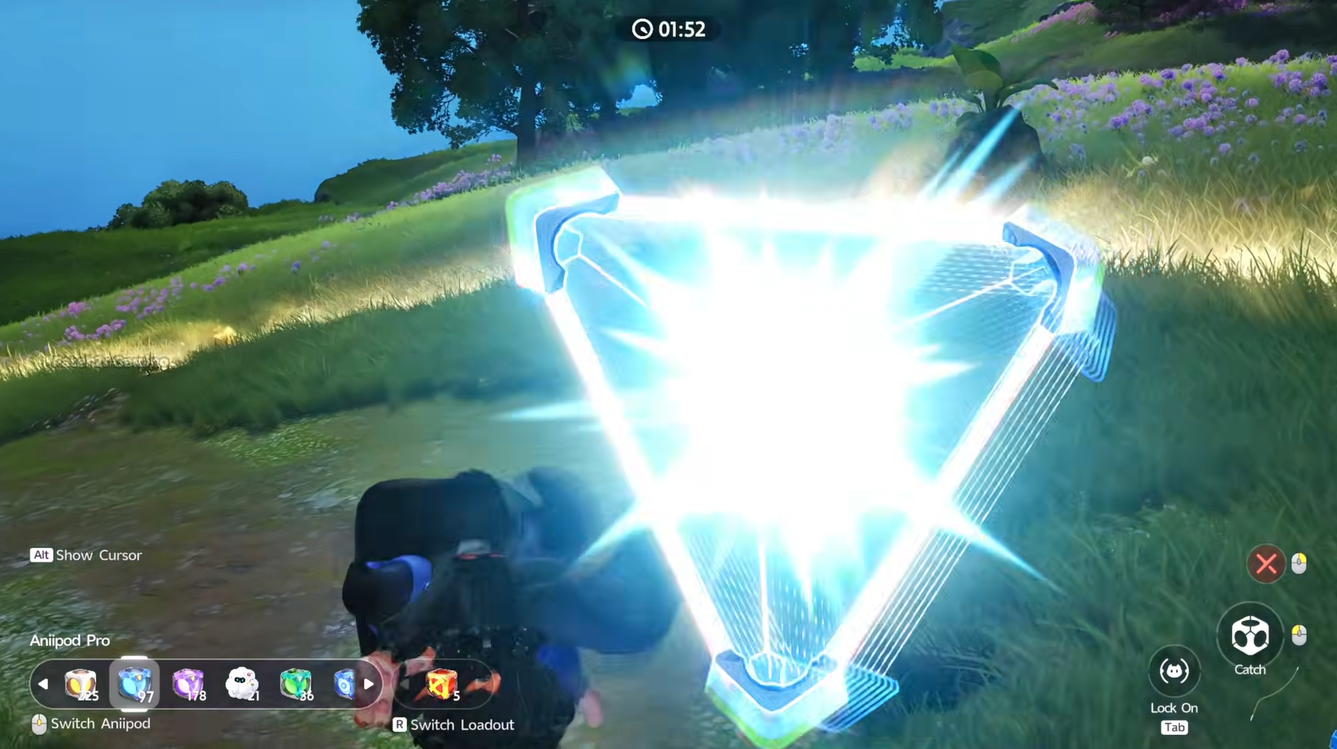
When the Prismana appears, immediately switch to an appropriate high-tier capture item.
Step 9: Capture the Prismana Aniimo
Use an Aniipod Ultra when the Prismana encounter appears.
A Prismana should not be confused with an Umbral. The two are separate systems, and simply finding a Prismana does not mean the Aniimo is automatically Umbral.
Prismana also does not inherently mean Perfect Potential, so the capture tool and the individual encounter still matter when building a high-quality collection.
Step 10: Use Sparkling Cubes strategically
A Sparkling Cube is the premium option when the goal is to guarantee an exceptional capture.
At launch, a successful catch with a Sparkling Cube guarantees the catch, Perfect Potential, and the Sparkling variant. This makes the item particularly valuable when used on an encounter that is already rare rather than on an ordinary Aniimo.
The key distinction is that a Sparkling Cube does not automatically turn an Aniimo into Prismana or Umbral. It guarantees what happens to the Aniimo being caught; Prismana and Umbral are separate systems.
What to remember about Umbral and Prismana
The most important distinction is that Umbral and Prismana are not the same thing. Umbral is associated with the rare dark variant and Perfect Potential, while Prismana is its own special form. Sparkling is another separate layer that can be applied through the appropriate capture mechanic.
Also remember that Umbral’s appearance disappears when the Aniimo evolves, even though the Perfect Potential remains. Keep an Umbral unevolved if the visual variant itself is part of the collection goal.




Leave a Reply