
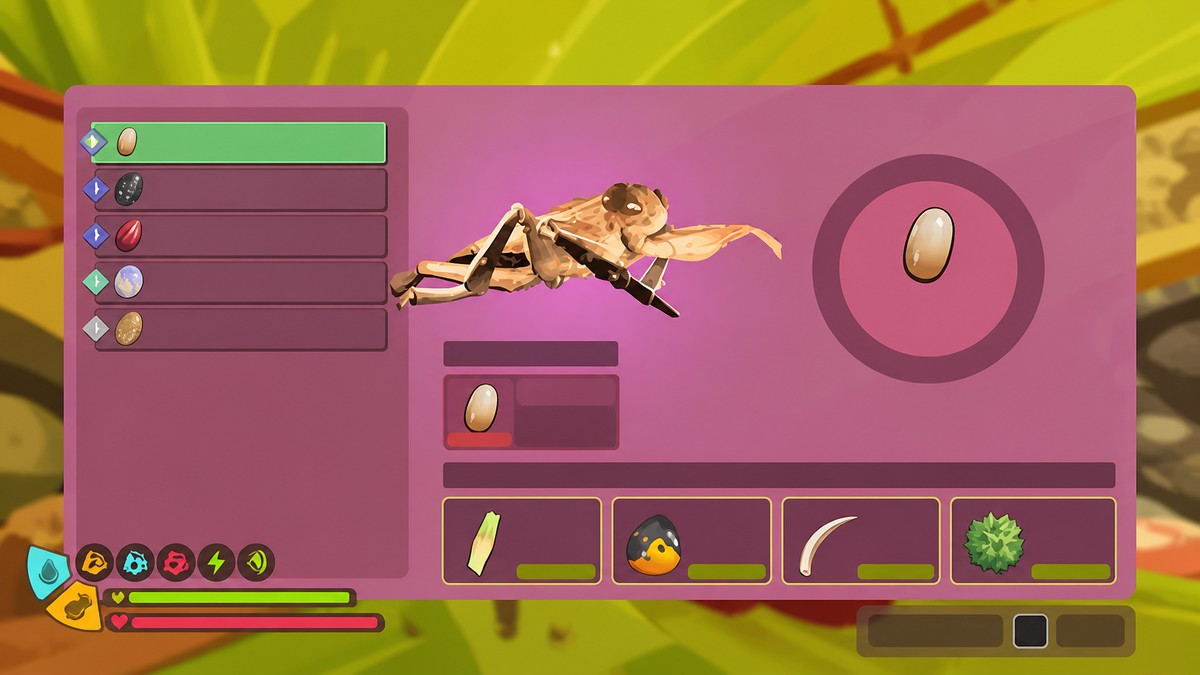
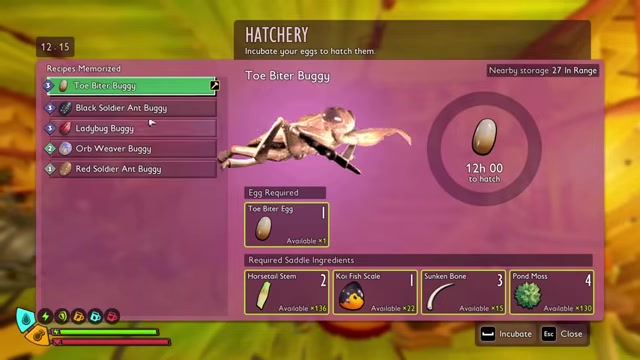
To get the Toe Biter Buggy in Grounded 2, unlock its recipe from the Gnarly Bark Chip, collect a Toe Biter Egg from the Papa Toe Biter cave at the Memorial near Gnarly Bark, then incubate it in the Hatchery for 12 in-game hours.
The Toe Biter Buggy is tied to the Gnarly Bark Tree path rather than a random pond-floor pickup. You need the recipe first, then a dangerous egg run through the Memorial cave, and finally a proper Hatchery setup back at base.
The route below follows the Memorial cave encounter with Papa Toe Biter. Early player routes mention deeper pond areas too, but for this method, use the Memorial near Gnarly Bark as your target.
Toe Biter Buggy requirements before the Memorial run
| Requirement | Amount or source |
|---|---|
| Toe Biter Buggy recipe | Buy from the Science Shop after finding the Gnarly Bark Chip |
| Hatchery | Needed to incubate the Toe Biter Egg |
| Toe Biter Egg | Loot from the Papa Toe Biter cave at the Memorial |
| Horsetail Stem | 2 |
| Koi Fish Scale | 1 |
| Sunken Bone | 3 |
| Pond Moss | 4; requires Tier 3 Omni Shovel and Tier 3 Omni Clippers |
Before going for the egg, unlock the Toe Biter Buggy recipe by finding the Gnarly Bark Chip inside the Gnarly Bark Tree, then buying the recipe from the Science Shop. You also need access to the Hatchery, because the egg has to be incubated once you get it home.
Bring the materials back to base before committing to the egg run if you can. The hardest part is not seeing the egg; it is surviving the boss room and transporting the egg after the cave becomes hostile.
How to get and hatch the Toe Biter Egg in Grounded 2
This route takes you from the recipe unlock to the Memorial cave, then back to base for incubation.
STEP 1/13
Unlock the recipe
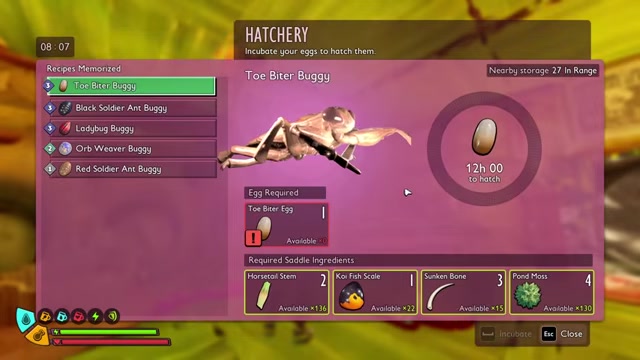
Get the Gnarly Bark Chip from the Gnarly Bark Tree, then buy the Toe Biter Buggy recipe from the Science Shop.
STEP 2/13
Check the Hatchery materials
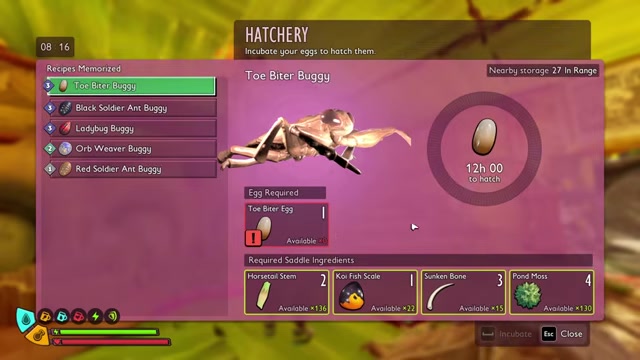
Make sure you have the Toe Biter Egg slot ready along with 2 Horsetail Stems, 1 Koi Fish Scale, 3 Sunken Bones, and 4 Pond Moss.
STEP 3/13
Go to the Memorial
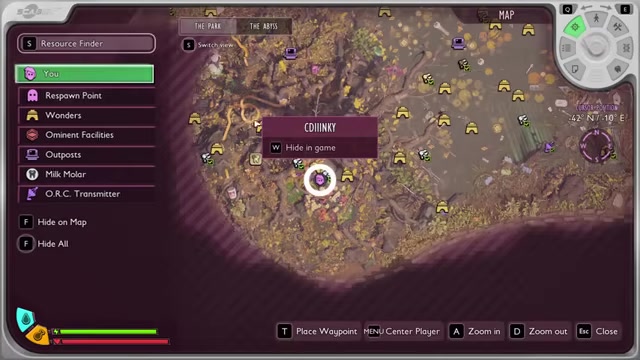
Head to the Memorial landmark near Gnarly Bark, where candles mark the cave area.
STEP 4/13
Enter the cave
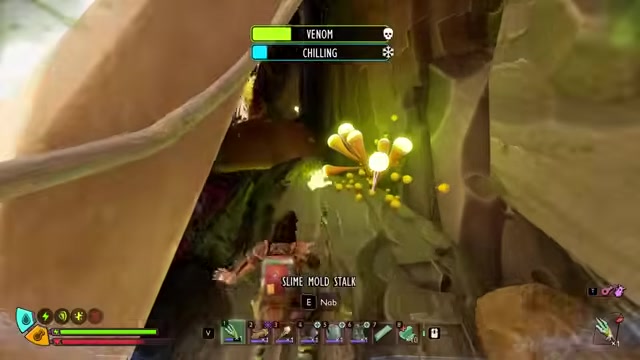
Drop into the cave beneath the Memorial, knowing the jump commits you to the encounter route.
STEP 5/13
Trigger Papa Toe Biter
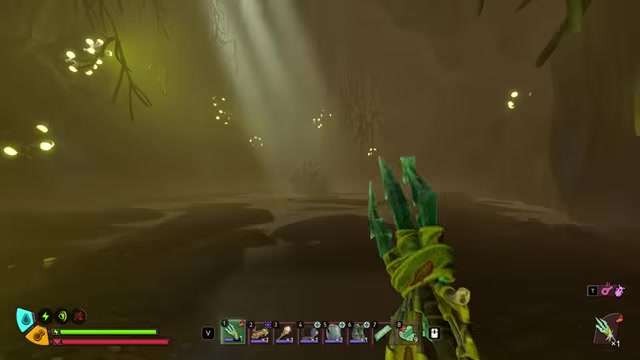
Approach the egg area to make Papa Toe Biter emerge from the water.
STEP 6/13
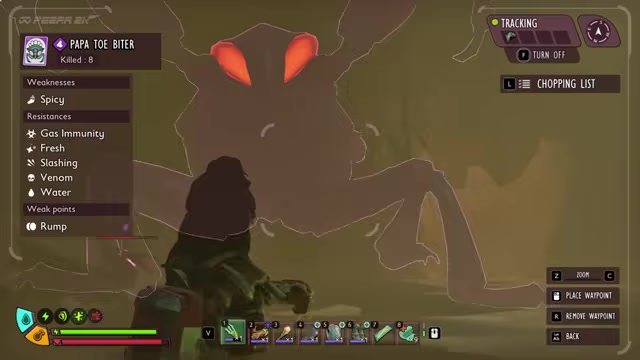
Scan the boss
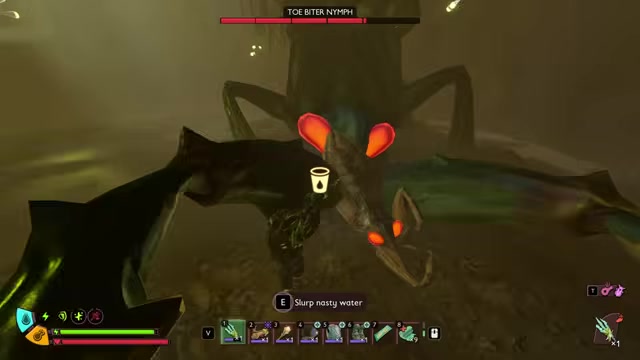
Use the Peep.R details to plan around Spicy weakness, Fresh and Slashing resistance, and the Rump weak point.
STEP 7/13
Fight with Spicy damage
Use a spicy stabbing or spicy smashing weapon while blocking Papa Toe Biter and clearing spawned Toe Biter Nymphs.
STEP 8/13
Loot the boss
After Papa Toe Biter goes down, loot the body and pick up a Toe Biter Egg from the cave.
STEP 9/13
Prepare for aggression
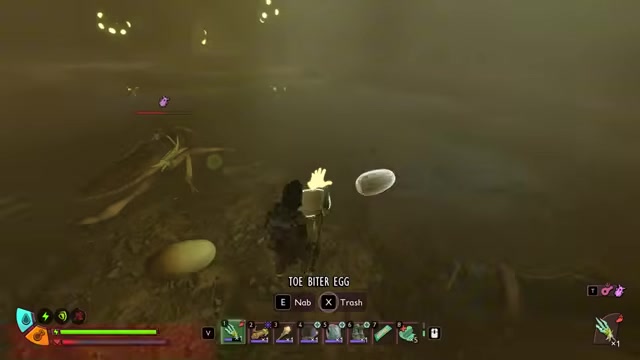
Expect nearby Toe Biters to become hostile once the egg is picked up.
STEP 10/13
Take the lower exit
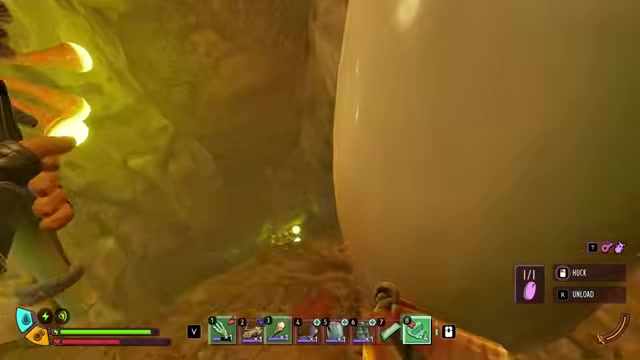
Leave by dropping down through the only exit into the middle of the Gnarly Bark Tree.
STEP 11/13
Carry the egg home
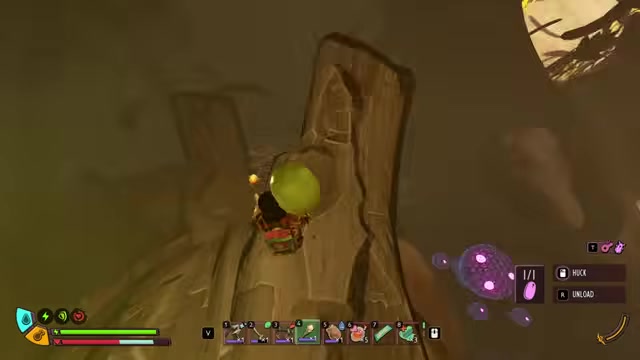
Use an existing Buggy, such as an Ant Buggy, to carry the heavy egg out and return to base.
STEP 12/13
Start incubation
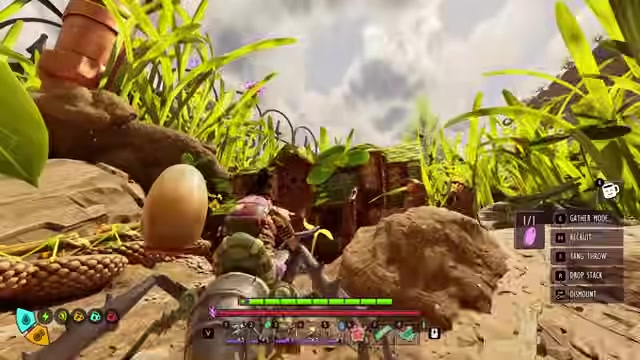
Place the Toe Biter Egg in the Hatchery and begin the hatch timer.
STEP 13/13
Wait 12 in-game hours
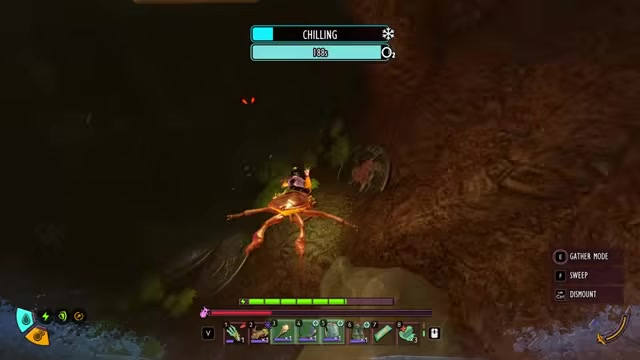
Let the egg incubate for 12 in-game hours to hatch the Toe Biter Buggy.
Bring a Buggy before picking up the egg so you can load the Toe Biter Egg immediately and sprint out instead of carrying it through the escape route on foot.
Video help
Papa Toe Biter fight setup
| Trait | Detail |
|---|---|
| Weakness | Spicy |
| Resistances | Gas Immunity, Fresh, Slashing, Venom, Water |
| Weak point | Rump |
| Recommended weapon type | Spicy stabbing or spicy smashing |
| Extra threat | Spawned Toe Biter Nymphs during the fight |
Papa Toe Biter hits hard, and the cave fight can get messy once Toe Biter Nymphs join in. Bring healing, keep your blocks clean, and use the boss’s stun windows to land your heavier hits.
Avoid Fresh and Slashing weapons here, because they work against the fight’s resistance profile. If your Spicy weapon is ready, the encounter is mostly about controlling the smaller enemies and not getting greedy after Papa Toe Biter blocks or counterattacks.
Hatching the Toe Biter Buggy at base
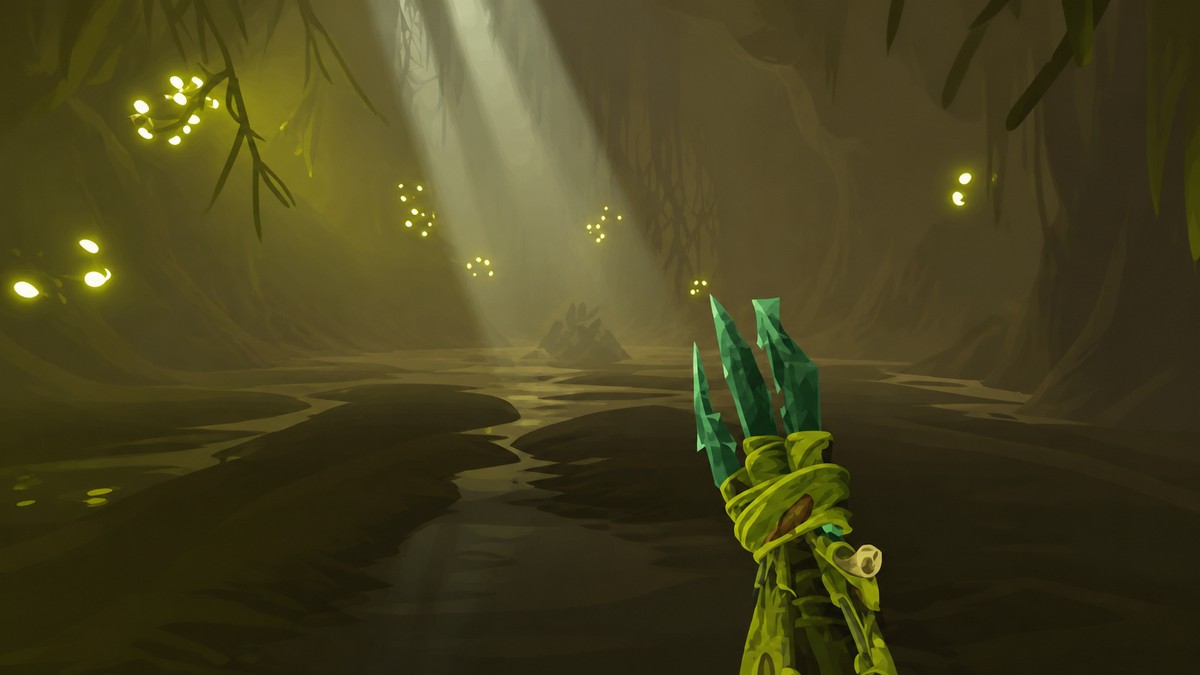
Once the egg is back at your base, dismount before interacting with the Hatchery if the station will not accept the egg while you are riding. Place the Toe Biter Egg inside and let the 12 in-game hour incubation timer finish.
Key The Toe Biter Nest is separate from incubation. The Hatchery handles the egg, while the nest gives the hatched Buggy a proper home afterward.
Toe Biter Nest recipe
| Material | Amount |
|---|---|
| Horsetail Stem | 8 |
| Sunken Bone | 4 |
| Cattail Fluff | 6 |
| Lint Rope | 3 |
| Algae | 5 |
Craft the Toe Biter Nest after hatching so the new mount has its own place at your base. Its recipe is lighter than the Buggy hatch requirements, but it still pulls from pond and utility materials.
Toe Biter Buggy abilities after hatching
| Use | Detail |
|---|---|
| Land movement | Rideable, but slow-ish with low jump height |
| Water traversal | Very fast in Skunk Pond |
| Oxygen | Does not add extra oxygen while riding |
| Harvesting | Can clip Eelgrass Strands, Purple Jelly Fungus, and Pond Moss |
| Combat combo | Three-hit combo applies venom and chill on the final hit |
| Sweep attack | Performs a 360-style knockback attack, especially useful around creatures in water |
| Diving boots | Make the Buggy sink to the pond floor |
| Abyss prep | Worth getting before heading into the Abyss area |
The Toe Biter Buggy works on both land and water, but its real value shows up in Skunk Pond. On land, it feels closer to a slower utility mount with modest jump height; underwater, it becomes the fastest traversal option shown for moving through the pond.
Use it as a pond mount first and a combat helper second. The harvesting utility alone makes it worth bringing into underwater routes, as long as you carry your own oxygen solution.
Related Grounded 2 guides
Frequently Asked Questions
Can the Toe Biter Buggy give you extra oxygen underwater?
No. Riding the Toe Biter Buggy underwater does not increase your oxygen, so bring extra oxygen support before long Skunk Pond trips.
Should you get the Toe Biter Buggy before exploring the Abyss?
Yes. Its water speed, underwater clipping, and chill-inflicting combo make it a strong mount to have before going deeper into the Abyss area.
What happens if you wear diving boots while riding the Toe Biter Buggy?
Diving boots pull the Toe Biter Buggy down to the pond floor, so remove them when you want normal underwater movement and buoyancy.




Leave a Reply