

The fastest route is to grab early lobby and hand upgrades, clear the small cash-boost areas first, rush the Leaf Blower, push big leaf piles into vents, then finish the ventless Basement by grouping leaves and burning them with Molotovs.
The whole run comes down to four ideas: cut down your walking, bank early cash multipliers, rush the Leaf Blower, and let vents do the collecting instead of your hands. Get those working together and a full-map clear stops being a grind and turns into a tight loop. Everything here is normal gameplay — good upgrade timing and a clean route, not scripts or exploits.
What makes a fast leaf-clear run

Most of the time you lose in this game isn’t spent cleaning — it’s spent walking back and forth to sell, or wandering over ground you already cleared. The fast route fixes both. You open the nearby vents early so the Leaf Blower can dump whole piles at once, and you finish the small areas first because each one you complete hands you a cash multiplier that makes every later leaf worth more.
Key That’s the real trick: the Leaf Blower plus a vent turns a big yard into a few sweeps, and the early multipliers pay for the upgrades that get you there. Chase those two things and the rest of the map falls in order.
Upgrade priorities that speed up the run
| Upgrade or item | Use |
|---|---|
| Walk Speed | Moves you between areas faster; the run takes it twice early (around 50 gems). |
| Bag Size (lobby) | Raises how many leaves you carry before selling (40 gems). |
| Cash boost | Increases leaf income; leaves sell for $0.01 each. |
| Classes | Bonus specializations — Bag Specialist, Rake Specialist, Blower Specialist, Handy Man — pulled from the Spin Class menu (40 gems). |
| Grasp | Speeds up how fast your hands collect leaves. |
| Dexterity | Further boosts manual leaf pickup speed. |
| Hold | Lets you handle more leaves before dumping. |
| Bag Capacity (in-run) | Big trip-saver — jumps 50 → 100, then 100 → 525, so you sell far less often. |
| Leaf Blower ($29.99) | Pushes whole piles into vents instead of hand pickup — the run’s biggest speed spike. |
| Molotov ($100) | Burns grouped leaves in the ventless Basement. |
Two families of upgrades matter: the lobby buys you make before a run (spent with gems) and the in-run tools you buy with leaf cash. Early on you want faster movement, a bigger bag, and stronger hands so manual pickup isn’t painful; from the mid-game on, everything is about affording the Leaf Blower and then improving it. The exact early order is flexible — some runs push bag capacity first, others lean on Grasp — so treat the list below as the priorities, not a rigid sequence. Costs shown reflect the current build and can shift with later updates.
How to clean all the leaves fast in Clean All the Leaves
This follows the exact order from the lobby to the moment the Leaf Blower is in your hands.
STEP 1/8
Grab the key lobby upgrades

Level Walk Speed twice, bump Bag Size, and buy the Cash boost when you can — these gem buys make every early trip shorter.
STEP 2/8
Unlock the nearby vents first

Open the vents in the starting area right away, since your Leaf Blower will later push whole piles straight into them.
STEP 3/8
Buy Grasp, then fully clean the porch

Collect nearby leaves until you can afford Grasp, then completely clear the small porch to trigger its cash multiplier.
STEP 4/8
Sell, then stack Grasp and Dexterity
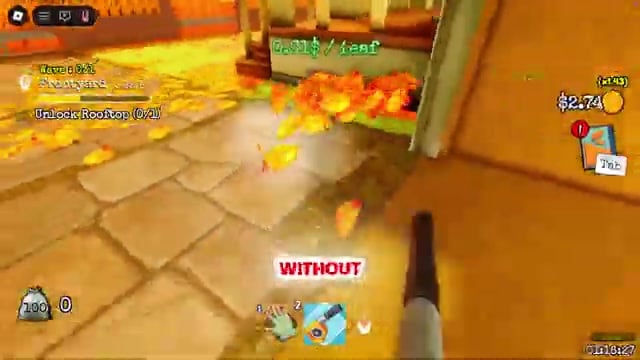
Sell your haul, buy a second Grasp, and work toward your first Dexterity so hand pickup gets quicker.
STEP 5/8
Clear the shed for another boost

Fully clean the shed to bank another bonus — completing it pushes your cash boost to +20%.
STEP 6/8
Save for the Bag Capacity upgrade
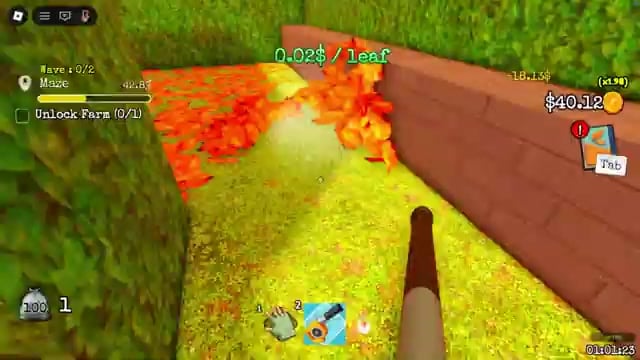
Add Hold and another Dexterity, then farm nearby leaves and buy Bag Capacity (50 → 100, then 100 → 525) so you stay out longer between sells.
STEP 7/8
Unlock and clear the garage
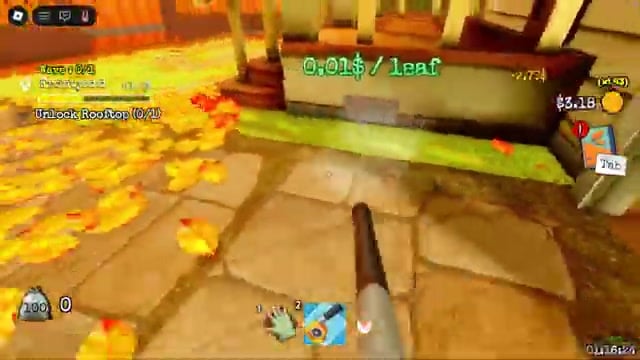
Open the garage, clean it out, sell, and keep farming the courtyard and front leaves.
STEP 8/8
Farm until you can afford the Leaf Blower
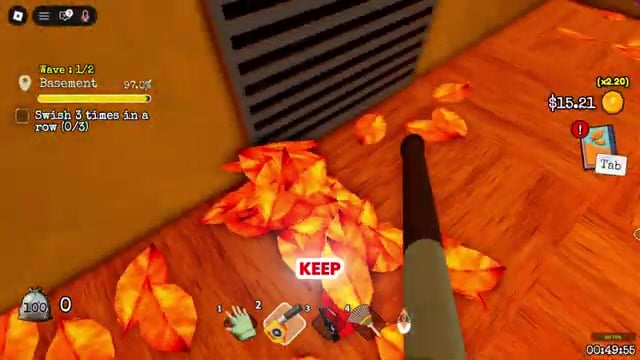
Keep collecting and selling until you can buy the Leaf Blower ($29.99), and grab it the moment you can — it’s the run’s biggest jump in speed.
Clear the small Porch and Shed before the big areas — each completion hands you a cash multiplier (the Shed alone bumps you to +20%) that raises the value of every leaf you sell for the rest of the run.
Video help
Using vents and the Leaf Blower well
Once the Leaf Blower is equipped, stop picking up leaves one at a time. Sweep a section into a single large pile and drive that pile toward the nearest vent in one motion — the leaves vanish the moment they reach it. The habit that saves the most time is finishing an area completely before you leave it, so you’re never doubling back across ground you already cleared.
Start with the front yard, then check the smaller side courtyard, which is easy to overlook. Don’t forget to climb up and clear the rooftop — leaves collect up there too, and the counter won’t hit 100% while any remain. Work the edges and corners of every section deliberately; a few strays tucked against a fence or wall are what keep an area from completing.
Finishing the ventless Basement with Molotovs
The Basement is the one area with no vent, so the plan switches from blowing leaves away to piling and burning them.
- Head down with cash ready — Before entering, make sure you have enough saved for a Molotov, since there’s no vent to lean on here.
- Buy a Molotov — Purchase the Molotov ($100) so you can burn leaves instead of venting them.
- Group the leaves into one corner — Use the Leaf Blower to sweep as many leaves as possible into a single tight pile.
- Throw the Molotov onto the pile — With the leaves concentrated, throw the Molotov onto them and let the fire clear the whole pile at once.
- Sweep the corners and repeat — Search for leaves left after the fire, gather them with the blower, and use another Molotov when it’s ready — repeat until the Basement is done (it pays out a +110% cash boost).
Common slowdowns that cost you time

The biggest time sink is wandering — moving without a plan means you keep crossing ground that’s already clean. Right behind it is leaving tiny edge clusters behind, which forces a return trip just to finish an area you thought was done. Slow down enough to actually complete each section the first time.
Selling too often before you’ve upgraded your bag burns minutes on back-and-forth trips, so prioritize Bag Capacity before you start grinding the larger yards. Unlocking new areas before your tools are ready is the same mistake in reverse — it just stretches your walking distance. And when you reach the pool, clear it, then check it again: a second wave of leaves spawns there, and it’s an easy one to miss.
Related Clean All The Leaves guides
Frequently Asked Questions
Some leaves are still missing after an area looks clean — where are they?
If the counter won’t complete, a few strays are hiding somewhere you didn’t sweep. Do one slow lap of the perimeter in a single direction, checking corners, props like fences and pumpkin patches, and any higher ground such as the rooftop. Elevated and prop-adjacent leaves are the usual culprits when a yard reads clean but isn’t.
Do you need scripts or cheats to clean all the leaves fast?
No. The full route above is ordinary gameplay with in-game upgrades and the Leaf Blower — nothing external is required to reach 100%. Auto-collect and auto-win scripts do exist for the game, but they put your Roblox account at risk and add nothing over a clean, well-upgraded run.
Why is the Basement slower than the other areas?
It’s the only area without a vent, so you can’t blow leaves away to clear them. Instead you have to buy Molotovs and burn leaves in batches, then re-group whatever survives — and you often have to wait for the next Molotov before the last stragglers can go, which is what stretches the Basement out compared with the vented yards.






Leave a Reply