
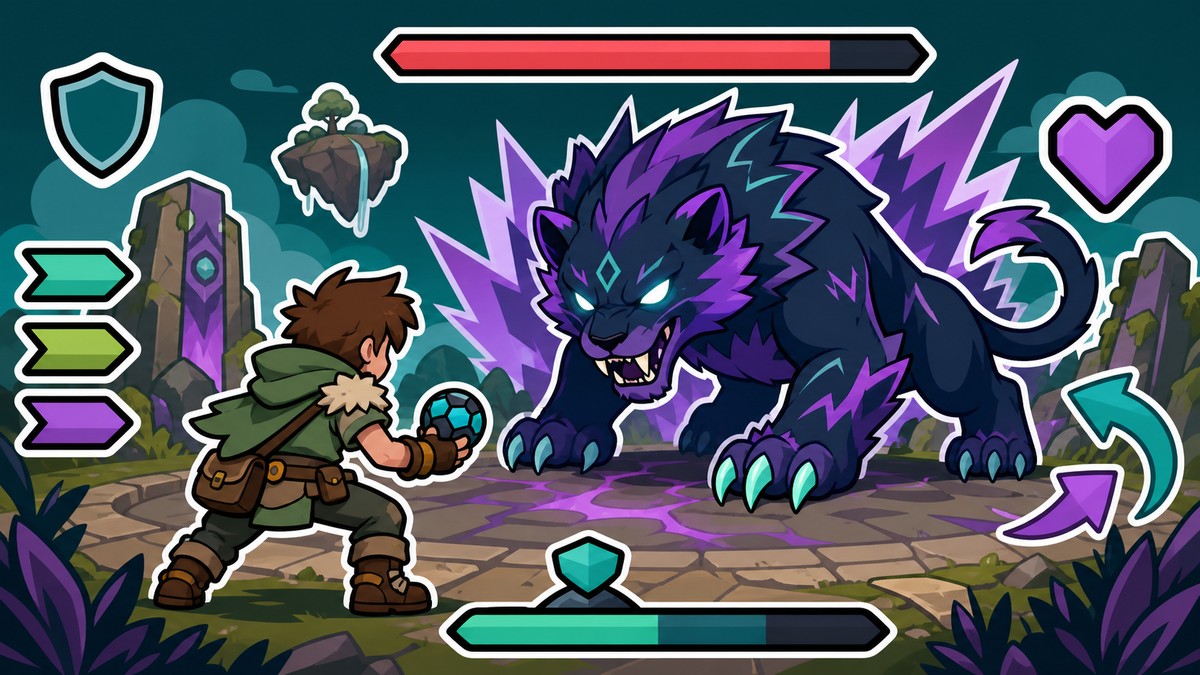
To defeat Panthalus in Palworld 1.0, bring late-game Electric damage with a mobile flying Pal, stay on the central island, use your strongest ranged weapons, and save double or triple jumps for the wave, bubble, and massive-wave attacks.
Panthalus, the Legendary Ocean King, is the kind of fight that punishes preparation gaps more than it punishes bad aim. It is an end-game encounter with a hard 10-minute timer, a mountain of health, and a set of water attacks that can delete an underleveled player in one hit. Get the loadout right and the fight becomes a rhythm of shooting from the island, jumping the big attacks, and letting your Pals grind the health bar down.
Panthalus at a glance in Palworld
| Detail | Recommendation |
|---|---|
| Boss type | Water-type legendary, Level 70, around 353,000 HP |
| Time limit | 10 minutes, so damage output is the real check |
| Arena approach | Stay on the central island and dodge in the middle |
| Best damage type | Electric, from multiple high-level Pals |
| Mobility | A flying Pal plus double or triple jump boots |
| Capture accessory | Ring of Mercy, if you plan to add it to your roster |
KEY!
This is a Water-type legendary boss (Paldeck #203) sitting at Level 70 with roughly 353,000 HP, so damage type matters more here than raw weapon tier. Electric is what breaks it, and everything else in your kit exists to keep you alive long enough to apply that Electric pressure. Aim for the blue gem on its forehead when it swims in close — that is the spot that rewards precision, though plenty of runs simply pour damage into the body and still beat the clock.
How to defeat Panthalus in Palworld
The whole fight comes down to holding the island, letting your flying Pal do the chasing, and punishing every window where Panthalus swims into range.
- Hold the central island — Stay on the island and keep dodging around the middle instead of chasing Panthalus out into open water.
- Fire from safety with the mechanical bow — The mechanical bow lets you land the most shots per window while you focus on movement.
- Target the blue gem on its forehead — The gem is hard to hit at range, but connecting with it at close range does serious damage.
- Send a flying Pal out to engage — Shadowbeak works best here — let it fly out and attack on its own rather than riding it.
- Layer in your highest-damage weapons — A rocket launcher alongside the bow makes a real dent, so use everything you have.
- Sidestep or jump the wave attack — Move to the side of the wave or double jump over it — double or triple jump boots make this trivial.
- Deploy Azurmane on the ground slam — When Panthalus comes into the middle and slams the ground, swap to Azurmane or any Lightning-type Pal you own.
- Punish the fly-in windows — Every time it moves in close, unload with the bow and aim for the blue core.
- Stagger it with the multi guided missile launcher — The multi guided missile launcher staggers Panthalus, which buys you free damage time.
- Break close-range pressure with the rocket launcher — Up close its attacks land fast and chew through your shield, but a rocket launcher shot staggers it and resets the pressure.
- Jump the leaping one-hit attack — Panthalus jumps around the arena with an attack that can kill outright, so get airborne — triple jump boots give the extra distance you need.
- Ride the wind turbulence over the massive wave — When the red warning for the massive wave appears, jump into the wind turbulence and clear it exactly as the prompt says; it arrives around the 5-minute mark.
- Jump between the dispersed streams — The follow-up wave looks unavoidable, but jumping in the gaps between the streams gets you through clean.
- Strafe the water beams — The beams are a simple sidestep — keep moving laterally and keep shooting.
- Double jump and glide through the bubbles — Double jump as the bubble attack goes off, then glide to float over most of the damage.
Best build for the Panthalus fight
| Slot | Recommendation |
|---|---|
| Flying Pal | Shadowbeak, left to attack on its own |
| Electric Pal | Azurmane, deployed when Panthalus enters the arena |
| Alternate Pal | Jetragon, for mobility and damage |
| Primary weapon | Mechanical bow |
| Stagger weapons | Rocket launcher and multi guided missile launcher |
| Boots | Double or triple jump boots (dash boots as a fallback) |
| Defensive prep | Max health and shields, fully upgraded Pals |
| Optional | Ring of Mercy, only if you are capturing |
Your Pal bench does most of the heavy lifting. Shadowbeak is the flying pick — it stays airborne, chases Panthalus out over the water, and keeps damage flowing while you stay planted on the island. Azurmane is the Electric answer, and it earns its slot the moment Panthalus slams into the middle of the arena. Jetragon is the other strong call if you already have one leveled, since it brings both speed and damage. Beef all of them up as far as you can before you ring the bell; one clear happened at level 76, and higher is simply better.
On the player side, health and shields matter more than a perfect weapon roll. The mechanical bow is the workhorse because you can fire it constantly while repositioning, and the rocket launcher and multi guided missile launcher exist to stagger Panthalus and steal free seconds. Melee is a trap — the special Terraria swords look great glowing on your back and do almost nothing to this thing. Boots are the one piece of gear you should not compromise on: double or triple jump boots beat dash boots here, because vertical distance is what saves you from the leaping attack and the massive wave.
Equip the Ring of Mercy before you summon Panthalus — it leaves the boss at 1 HP instead of killing it, and capture is what unlocks the World Tree.
Fight timing and the windows that decide the run
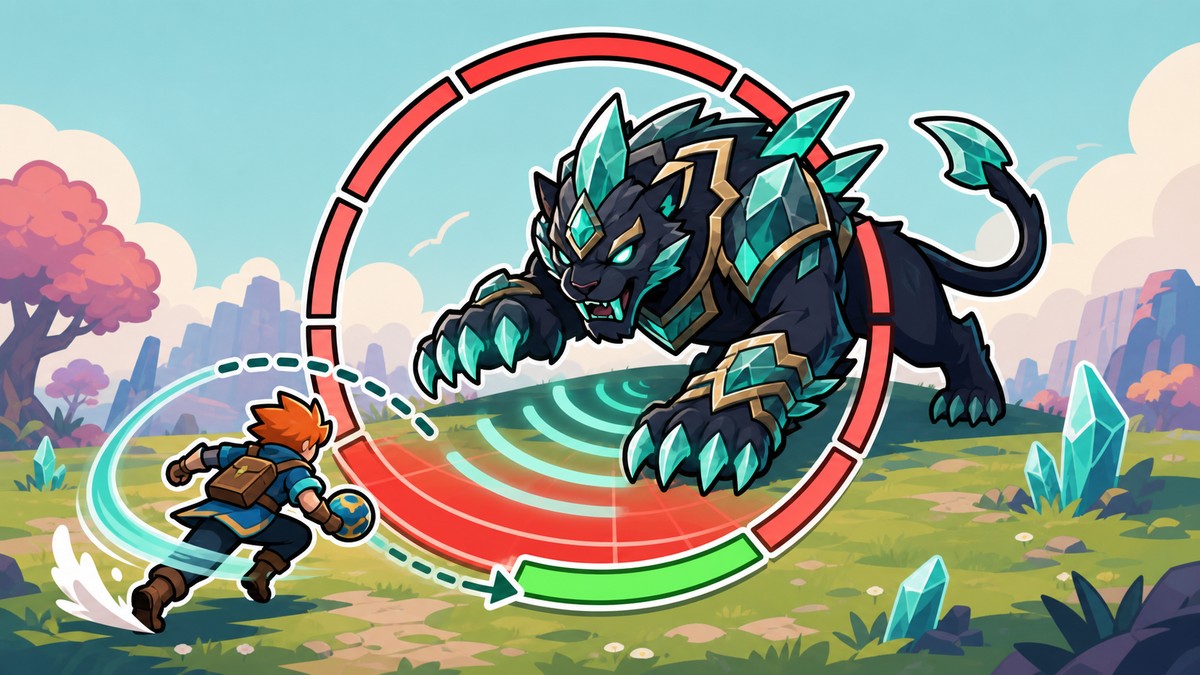
The encounter has a shape to it, and reading that shape is what keeps you under the timer. Panthalus spends long stretches out in the water where your bow chips at it and your flying Pal does the real work. Then it swims in, slams down, and you get a burst window — that is the moment to put Azurmane on the field and dump everything you have into it. Close range is a trade: your damage spikes, but its attacks come out fast enough that a mistimed double jump will eat a chunk of your shield.
Around the 5-minute mark, the fight escalates. A red warning flashes for the massive wave, and the game tells you exactly what to do — jump. The wind turbulence streams are your lift, so ride them up and over. If the warning does not show, the wave will still come, so treat that mid-fight moment as a hard cue to get high regardless. Push the health bar low enough and it tries the same attack a second time, which means the same answer: find the large wave, find the dispersed streams, jump your way up.
Late in the fight the water beams and bubble attacks start mixing in, and both are more forgiving than they look. The beams are a lateral dodge. The bubbles want you airborne — double jump as they go out, then glide, and most of the damage passes underneath. Keep firing at the gem through all of it, because a full ten minutes of chip damage is genuinely what this fight costs.
Attack counters and movement rules
| Attack | Counter |
|---|---|
| Normal wave | Move to the side of it or double jump over |
| Ground slam in the middle | Reposition, then deploy your Electric Pal and burst |
| Jumping attack | Get airborne — triple jump boots give the distance to clear it |
| Water beams | Strafe sideways and keep shooting |
| Bubble attacks | Double jump as it fires, then glide over the spread |
| Massive wave (red warning) | Jump into the wind turbulence and ride it over the wave |
Nothing here needs a frame-perfect input, but everything needs height. That is the single thread running through every counter — Panthalus attacks along the surface of the water, and your escape is almost always upward. Save your jumps rather than burning them on repositioning, and glide whenever you have air time to spare.
Capturing Panthalus once the health bar bottoms out
Beating the fight and finishing the quest are two different things. Panthalus needs to be captured, not killed, because it is the key to reaching the World Tree and opening up the late-game content behind it. That is why the Ring of Mercy is worth a slot: it stops you from accidentally landing the killing blow and leaves the boss sitting at 1 HP instead.
Once it is down to that last point of health, throw any Pal Sphere. The capture is guaranteed at 1 HP, so there is no reason to burn a Legendary Sphere on it — a basic sphere does exactly the same job. After the catch, head back to the Ancient Civilization Researcher to close out the quest and move on to the World Tree.
Mistakes that lose this fight
The most common way people fail is walking in too early. This is an end-game challenge, so do it as late as you reasonably can, with your health pool as high as it goes and your Pals fully leveled. Showing up without Electric damage is the other big one — you can technically hurt Panthalus with anything, but you will not out-damage a 10-minute timer against 353,000 HP without it. Melee has the same problem: swords feel active and productive, and they barely register.
Everything else is a movement error. Ignoring the red massive-wave warning is a run-ender. Activating the shrine before you are actually kitted out starts the battle instantly, with no confirmation prompt, so sort your loadout first. And if you are capturing, do not stock up on expensive spheres — the 1 HP capture is guaranteed, and those spheres are better spent elsewhere.
Frequently Asked Questions
What level is Panthalus and when should I fight it?
Panthalus is a Level 70 Water-type legendary and a genuine end-game encounter. One clear was done at level 76, and that is a reasonable floor rather than a target — the higher your level, health, and Pal quality, the more comfortable the 10-minute timer feels.
Which Pals are best against Panthalus?
Shadowbeak and Azurmane are the pairing that works — Shadowbeak flies out and pressures Panthalus while you shoot from the island, and Azurmane brings the Electric damage that a Water-type boss hates. Jetragon is a strong third option. Beyond those, any high-level Electric Pal you can field is worth the slot.
How do I dodge the massive wave?
Watch for the red warning, then jump into the wind turbulence streams to lift yourself over the wave. If Panthalus repeats the attack later at low health, look for the large wave forming and use the dispersed streams to jump your way up through it. Double or triple jump boots make this far easier.
Can Panthalus be captured, and which Sphere should I use?
Yes, and you should — capture is what unlocks the World Tree. Equip a Ring of Mercy so the boss drops to 1 HP instead of dying, then throw any Pal Sphere. The catch is guaranteed at that point, so a basic sphere is all you need.
Where do I start the Panthalus quest and summon the boss?
Head to the Deserted Islet, west of the No Man’s Trail fast travel point, and speak to the Ancient Civilization Researcher. They hand you a schematic and send you after four bones — you will see them called Echobones or Giant Remains depending on where you look, and they sit on giant skeletons around Grassy Behemoth Hills, Mossanda Forest, and east of the Eternal Pyre Tower Entrance at Mount Obsidian. Craft the Echoing Flute at a workbench, bring it back to the researcher, then examine the glowing blue shrine to summon Panthalus. The fight starts immediately, with no confirmation.
More questions⤵
Do I need to beat Auri first?
Some players only see the quest appear after clearing the tower boss Auri, while others trigger it straight away by talking to the researcher. If the quest is not showing up for you, Auri is the first thing to clear.
Where is Panthalus’s weak point?
The blue gem on its forehead is the high-value target and does big damage when you land it at close range, though it is awkward to hit while it is out over the water. Hitting the body is the reliable fallback, and it is what most of your Pals will be striking anyway. Aim for the gem in the close windows, keep hammering the body the rest of the time, and steer clear of the tail.
Video help






Leave a Reply