
To complete The Mound contract, sign the final contract, carry three glowing orbs from Cthulhu statues to the central frog-statue temple, throw each orb into the pit, and survive the Cthulhu vision/health pressure until all three are destroyed.
The Mound contract is the final main-story objective in The Mound: Omen of Cthulhu, and it plays differently from a normal treasure run. The route is built around landmarks under pressure: the frog statues mark your return point, and the glowing seated Cthulhu statues mark the orbs you need to take.
Once the first orb is picked up, the run can scramble your position and force you to recover the route by sight. Keep the temple in mind, avoid unnecessary fights, and focus on getting each orb into the central pit.
The Mound contract objective
Normal contracts are built around a broader expedition loop: accept the objective, secure the stated minimum treasure value in Father Escalona’s Ox Wagon, and extract through the Boatman. This final main-story contract is centered on its special objective instead: destroying three glowing orbs at the frog-statue temple.
KEY!That is why this walkthrough follows the orb route rather than a general loot-quota path. Your job is to move from statue to temple, survive the pressure from enemies and Cthulhu, and make sure all three orbs are destroyed.
Route through the frog-statue temple area
| Phase | What |
|---|---|
| Start | Sign the final contract, leave the cave, and locate the frog-statue temple. |
| First orb | Take the opening orb, recover after the teleport, and carry it back to the pit. |
| Second orb | Search the ruined interior for a glowing statue and throw that orb into the goo below. |
| Third orb | Check outside routes and high ground, then wait out Cthulhu if your vision distorts. |
| Finish | Return to the temple and destroy the final orb. |
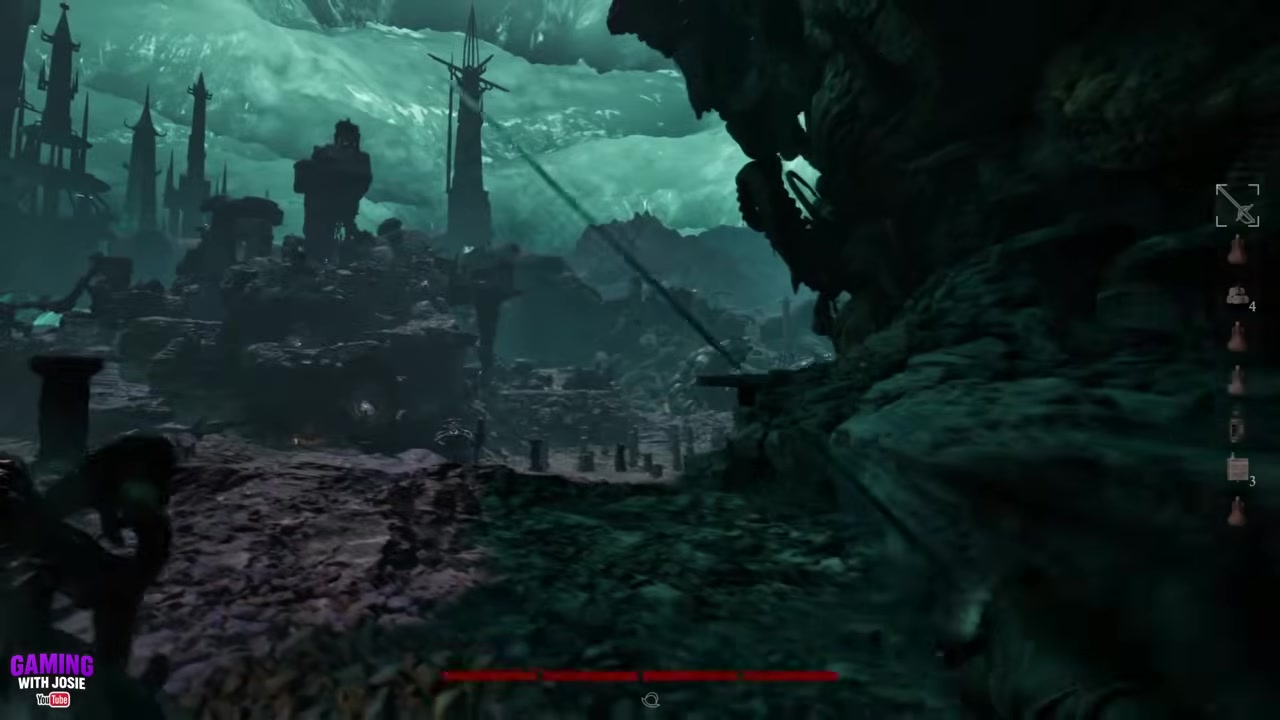
After loading in, leave the cave and look toward the right-side temple area with the frog statues. Cthulhu’s first teleport and the later orb spawns can change between runs, so this route is landmark-based rather than coordinate-based.
How to finish The Mound contract in The Mound: Omen of Cthulhu
Follow the frog-statue temple as your anchor, then repeat the orb run until all three glowing orbs are gone.
STEP 1/25
Sign the final contract
Start by signing The Mound contract and loading into the final main-story area.
STEP 2/25
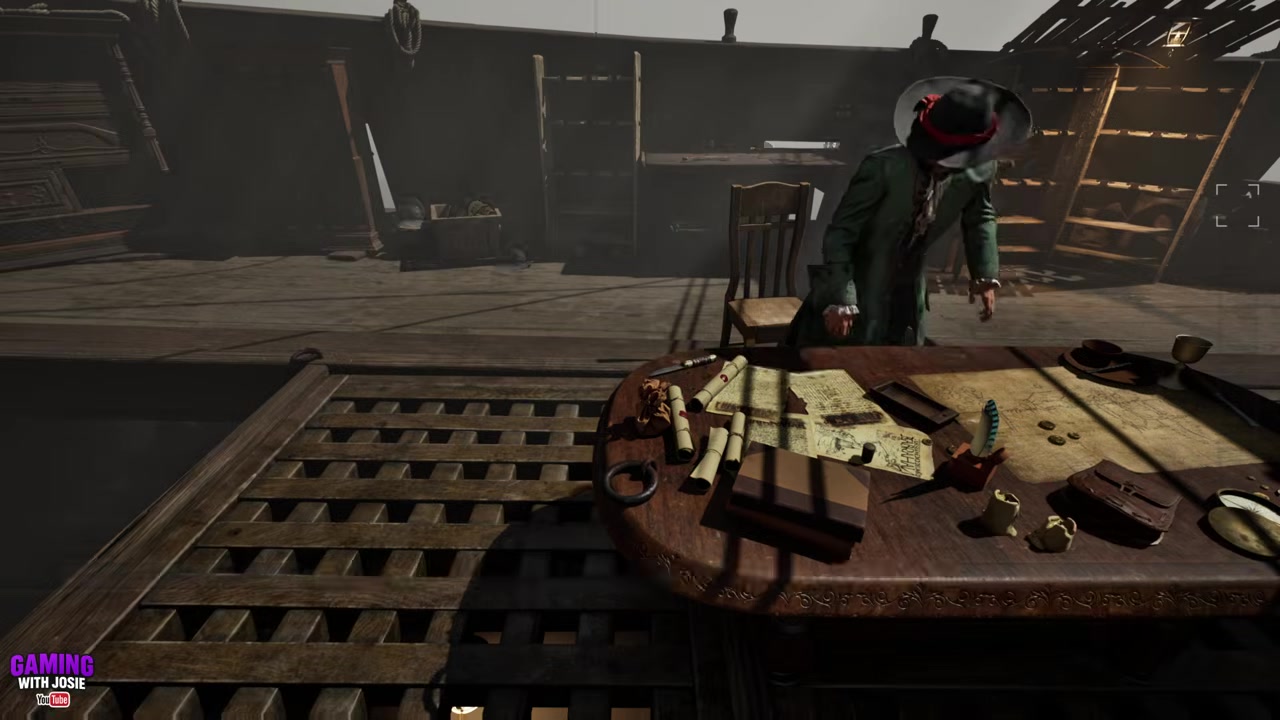
Leave the starting cave
Move out of the cave immediately and begin looking toward the right-side temple zone.
STEP 3/25
Pick out the frog statues
Use the distant frog statues as your main landmark because that is where every orb has to end up.
STEP 4/25
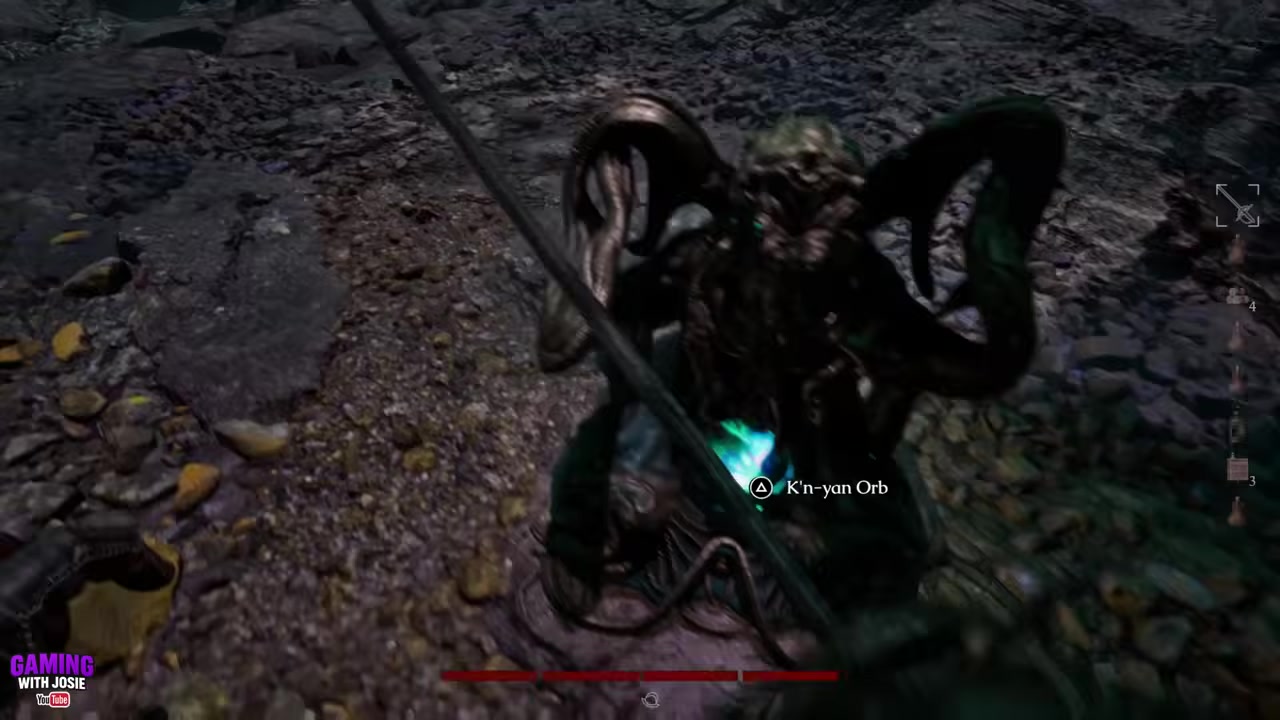
Take the first orb
Grab the glowing orb from the first Cthulhu statue and expect Cthulhu to teleport you to a random spot.
STEP 5/25
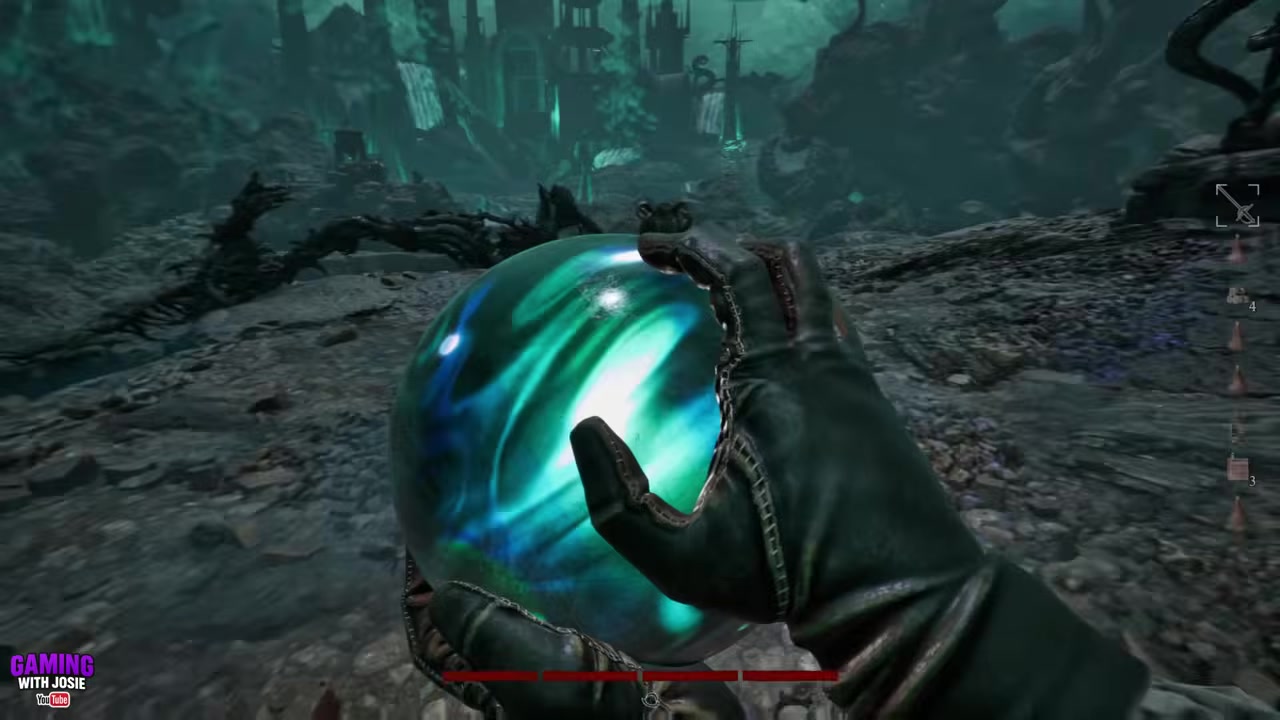
Reorient after the teleport
Stop long enough to work out where you landed, then find the frog statues again before pushing forward.
STEP 6/25
Head for the main temple
Move toward the temple once the frog statues are visible, using bridges and open rock paths to close the distance.
STEP 7/25
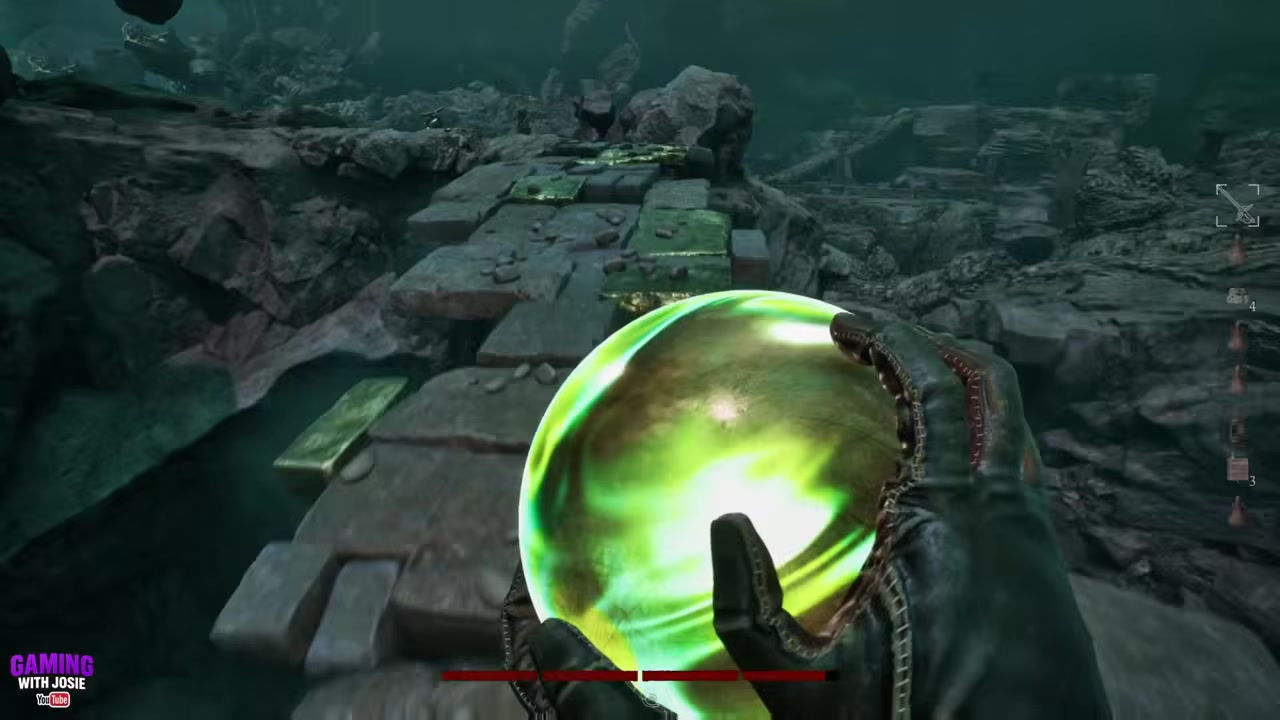
Carry along the edge
Hug the outer edge of the dangerous area so you avoid the worst enemies while the orb chips away at your health.
STEP 8/25
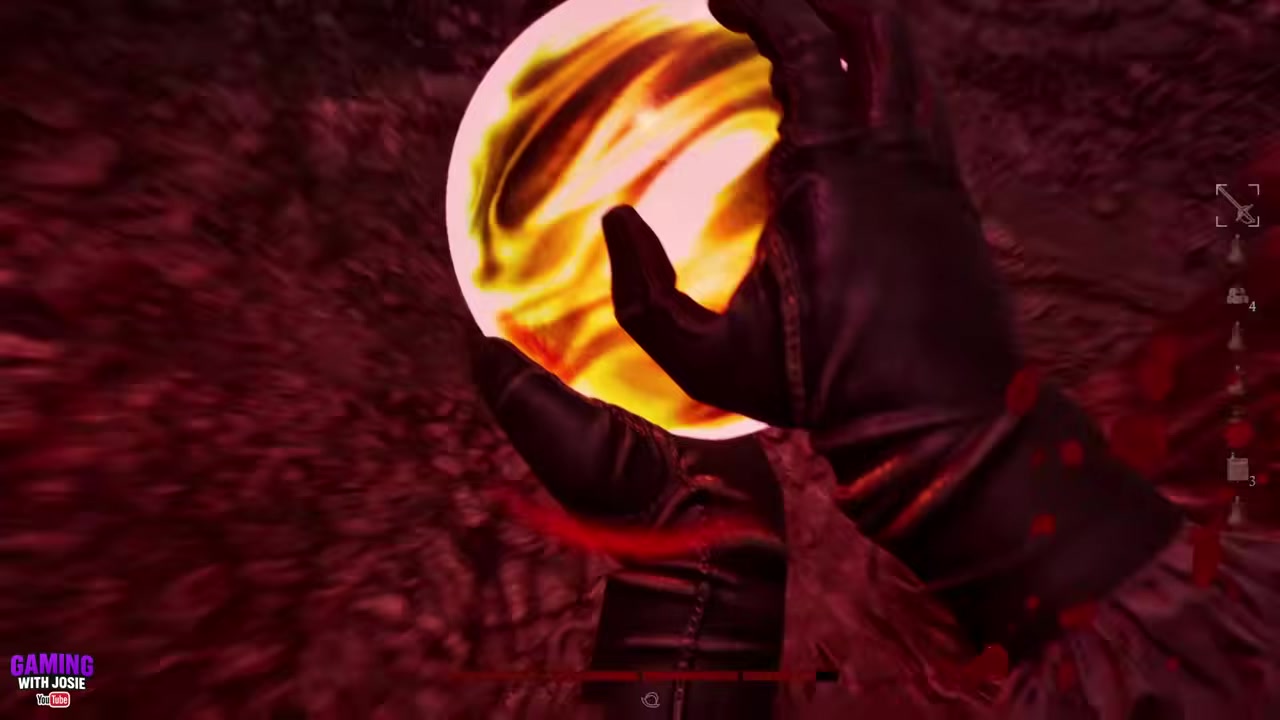
Drop the orb in a safe spot
Put the orb down for one or two seconds when there is no enemy nearby so its color starts shifting back.
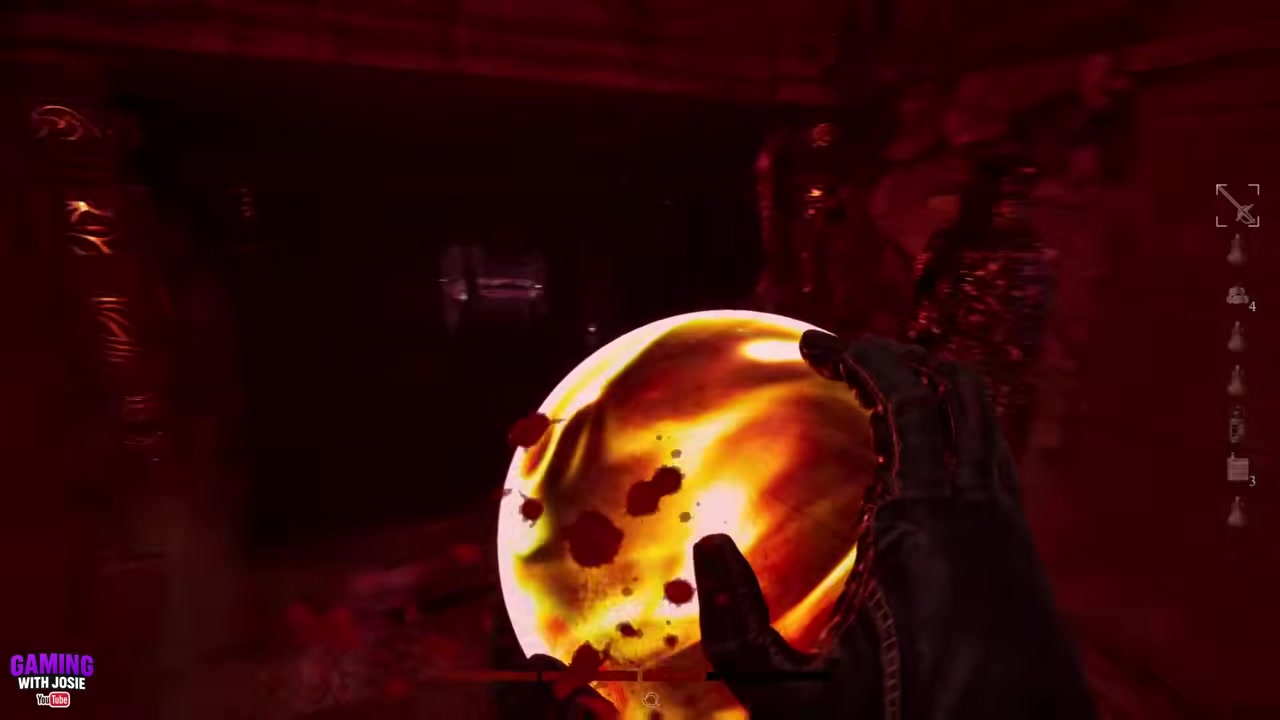
STEP 9/25
Pick it back up
Grab the orb again once it has cooled a little, then continue toward the central ring.
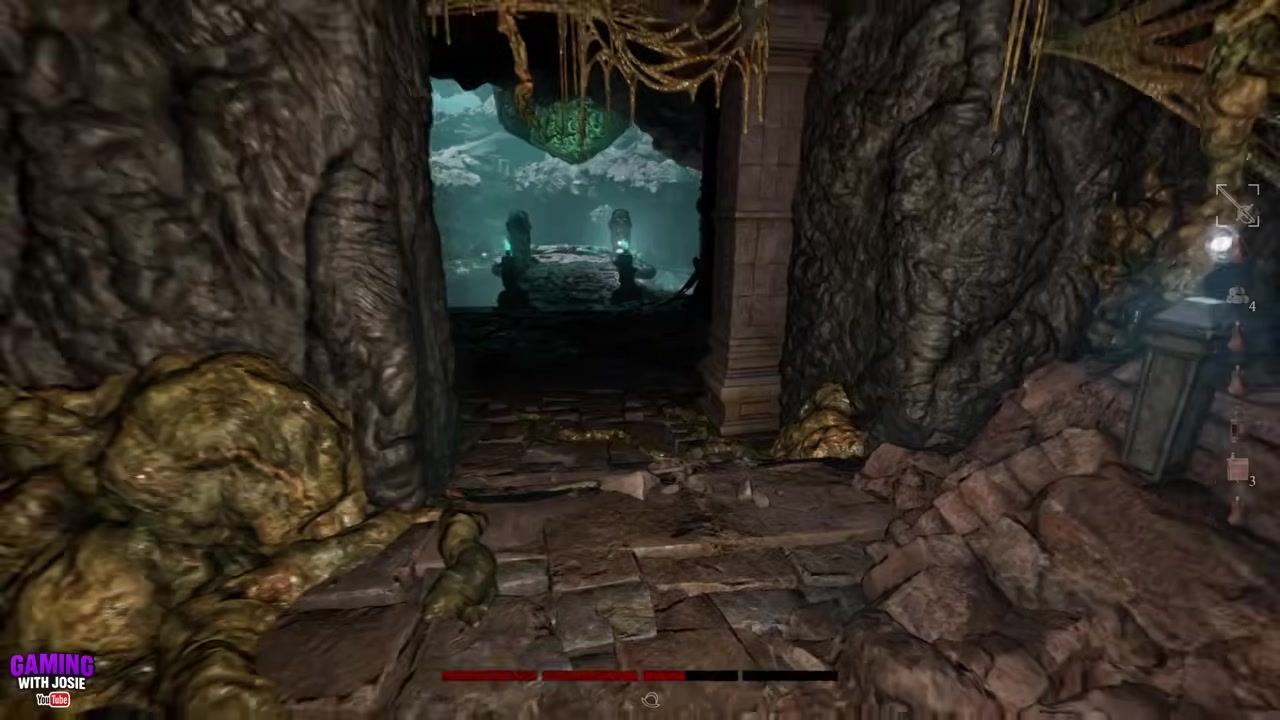
STEP 10/25
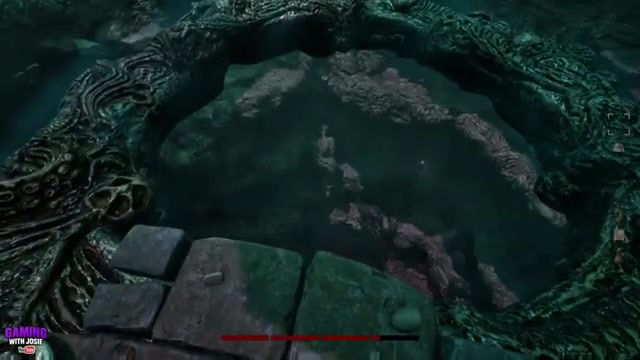
Throw the orb into the pit
Toss it over the side or drop it straight through the ring into the temple pit.
STEP 11/25
Wait for the first orb to break
Stay alert for enemies until the first orb is destroyed, which leaves two still to find.
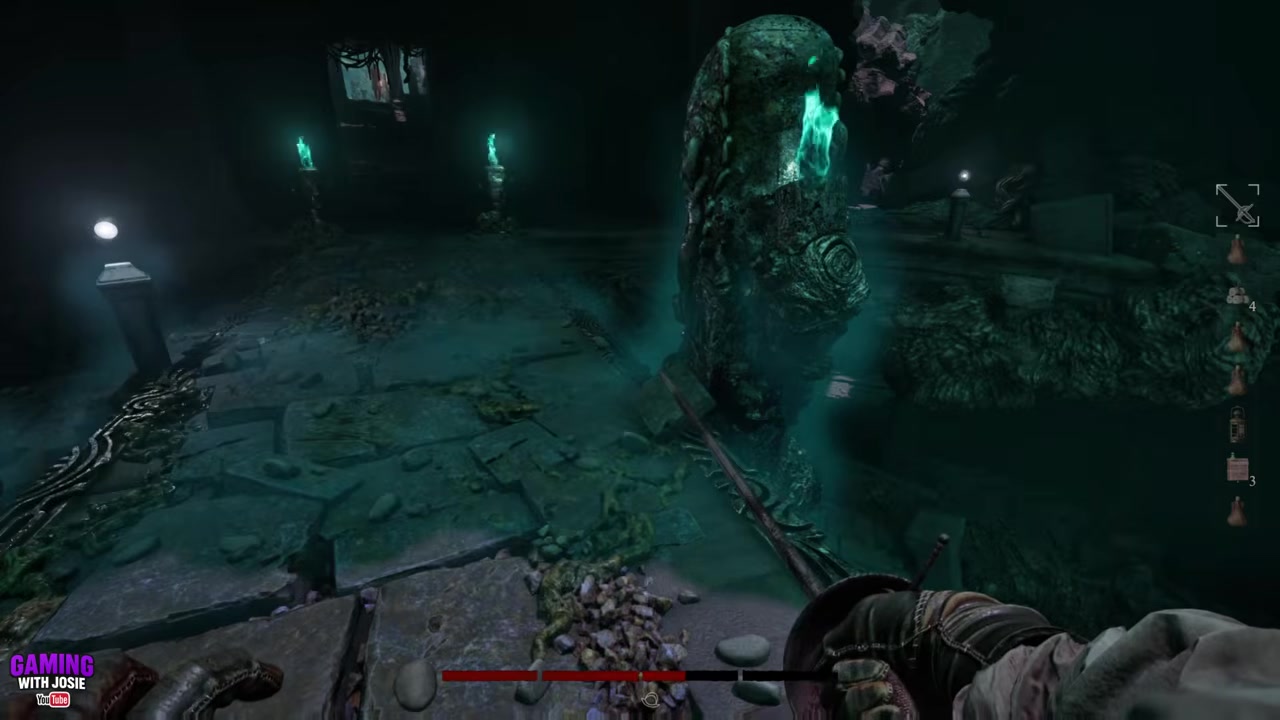
STEP 12/25
Search the ruined interior
Descend into the ruined cave and temple area, checking the inside paths for another glowing statue.
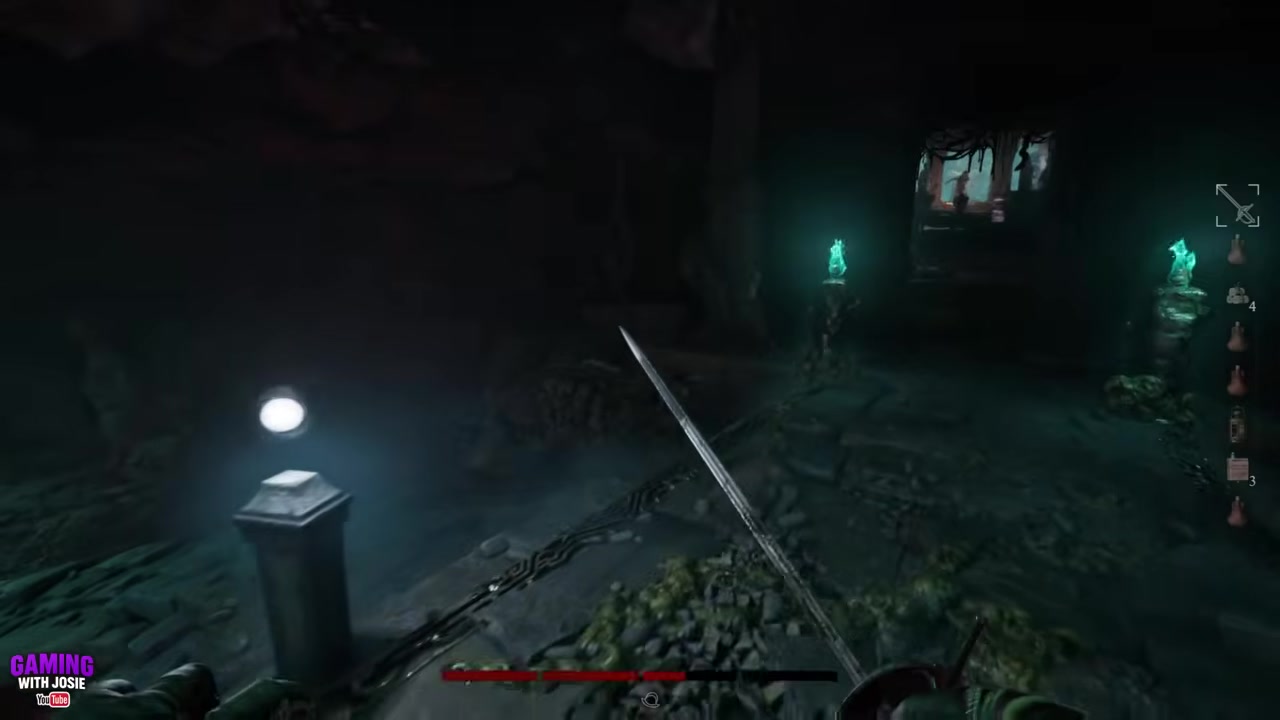
STEP 13/25
Spot the second glow
Look for a bright orb glow in the distance, then approach carefully instead of pulling nearby enemies.
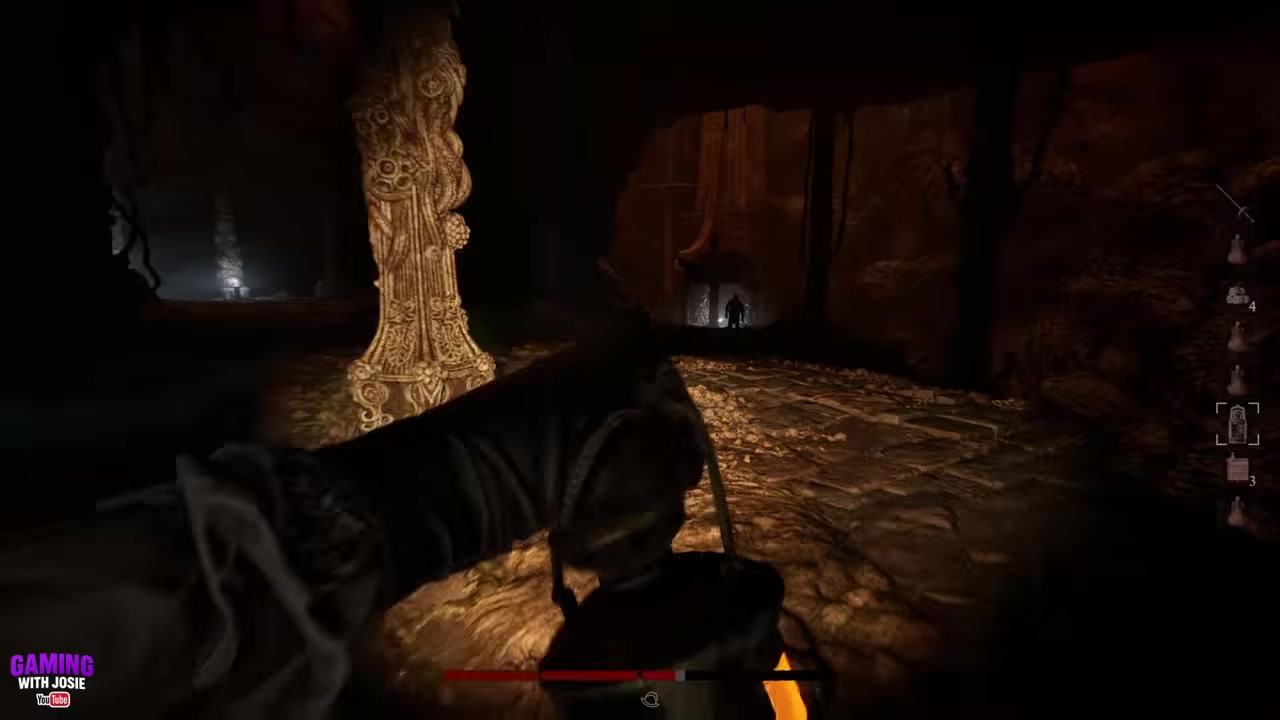
STEP 14/25
Grab the second orb
Pick up the second orb and move toward a safe ledge inside the ruins.
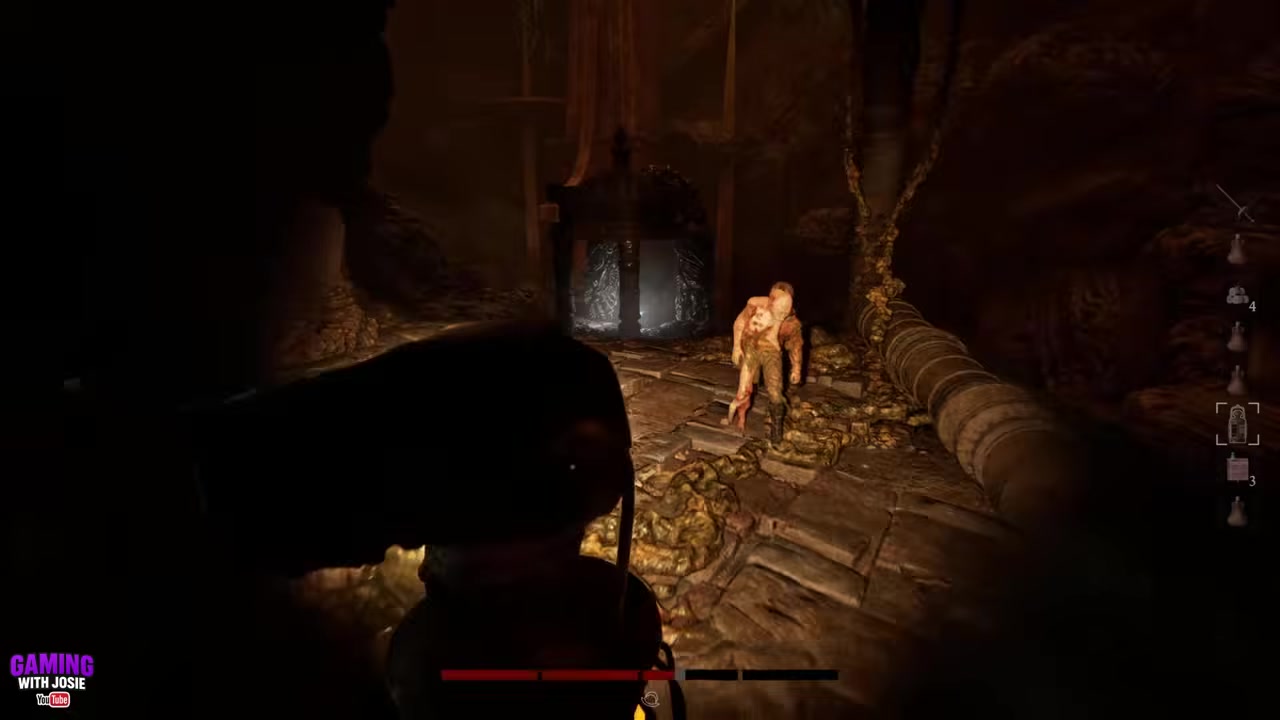
STEP 15/25
Throw it into the goo
You do not need to return to the top ring if you are already inside; throw the orb down into the goo below.

STEP 16/25
Let the second orb finish
Wait for the reaction that shows the second orb is done, leaving the final orb somewhere in the area.
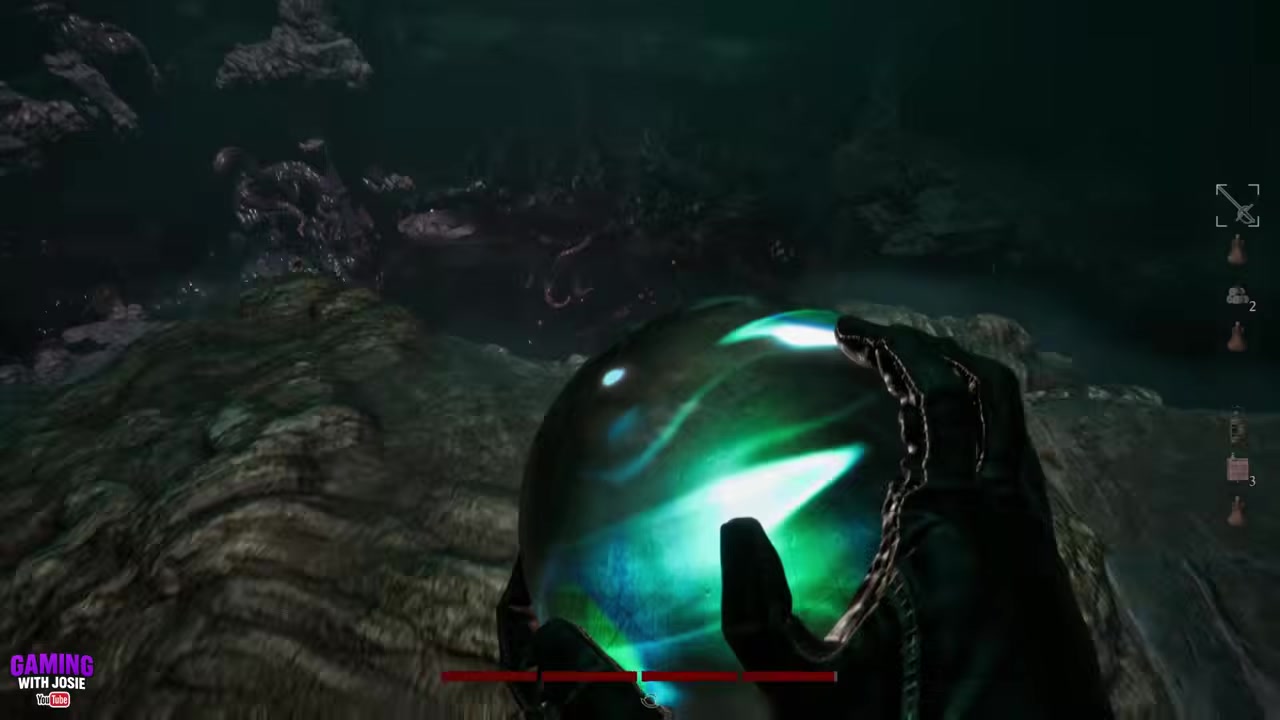
STEP 17/25
Move the search outside
After clearing the interior, check outside routes and high ground for the last glowing statue.
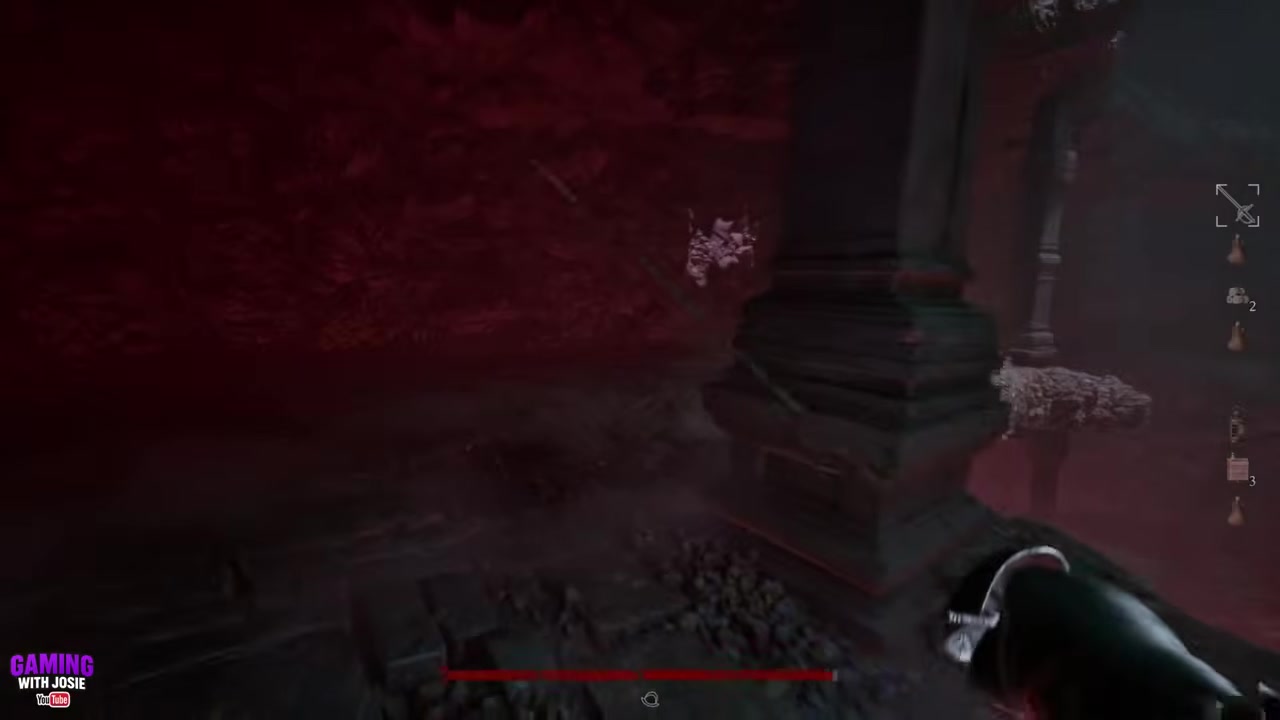
STEP 18/25
Wait out Cthulhu’s distortion
If Cthulhu appears and your vision warps, stop looking at him, get under cover, and wait for sight to recover.
STEP 19/25
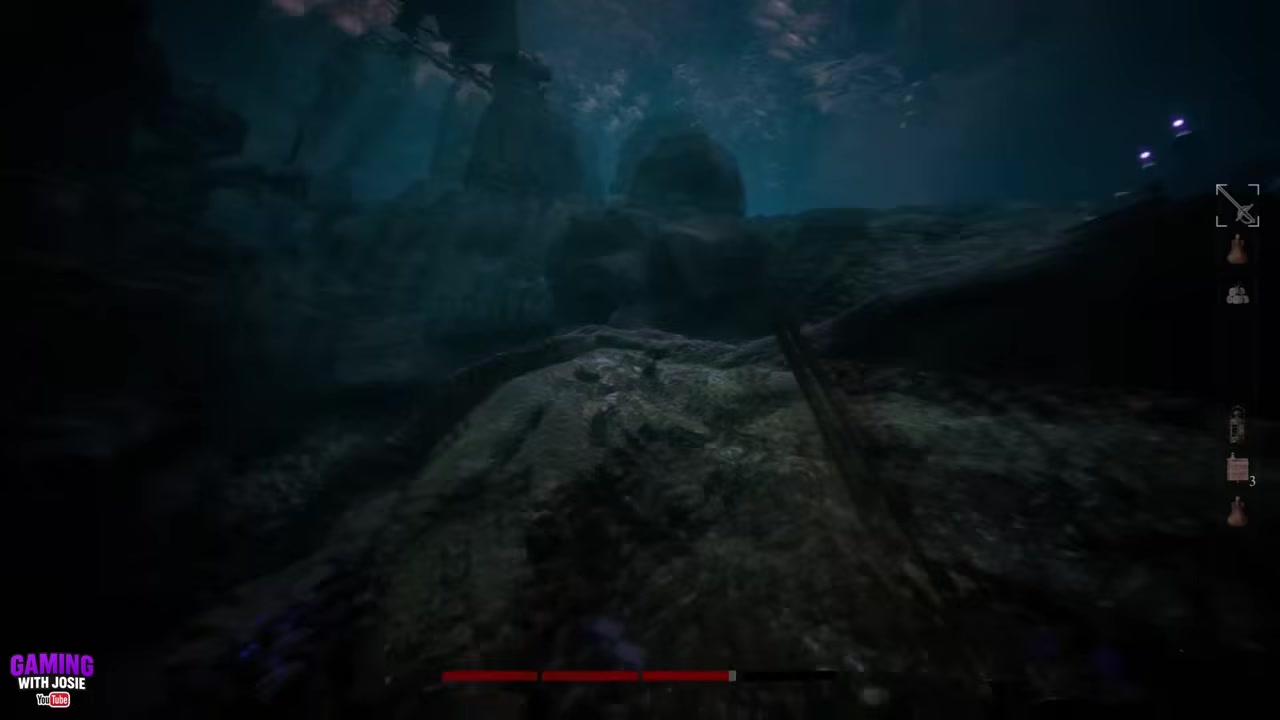
Scan from high ground
Keep enough elevation to see across the outer area, then move toward the next visible glow.
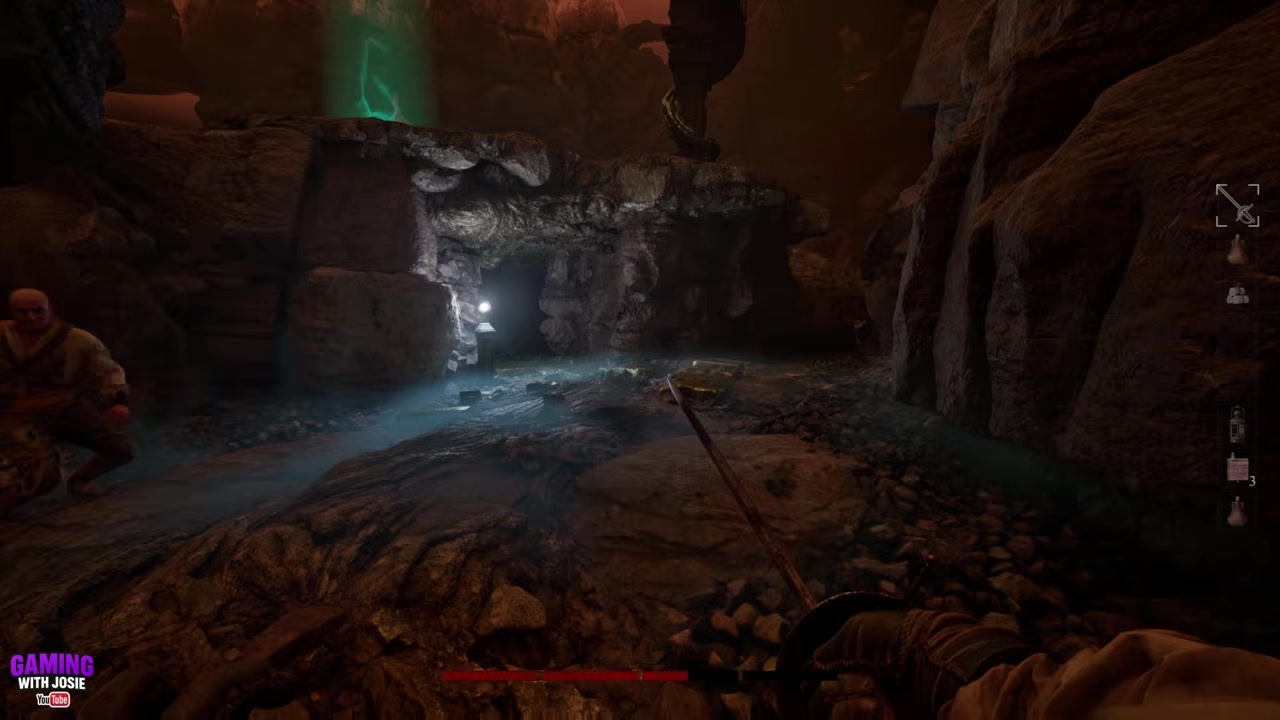
STEP 20/25
Take the final orb
Pick up the last orb and start heading back toward the frog-statue ruins.
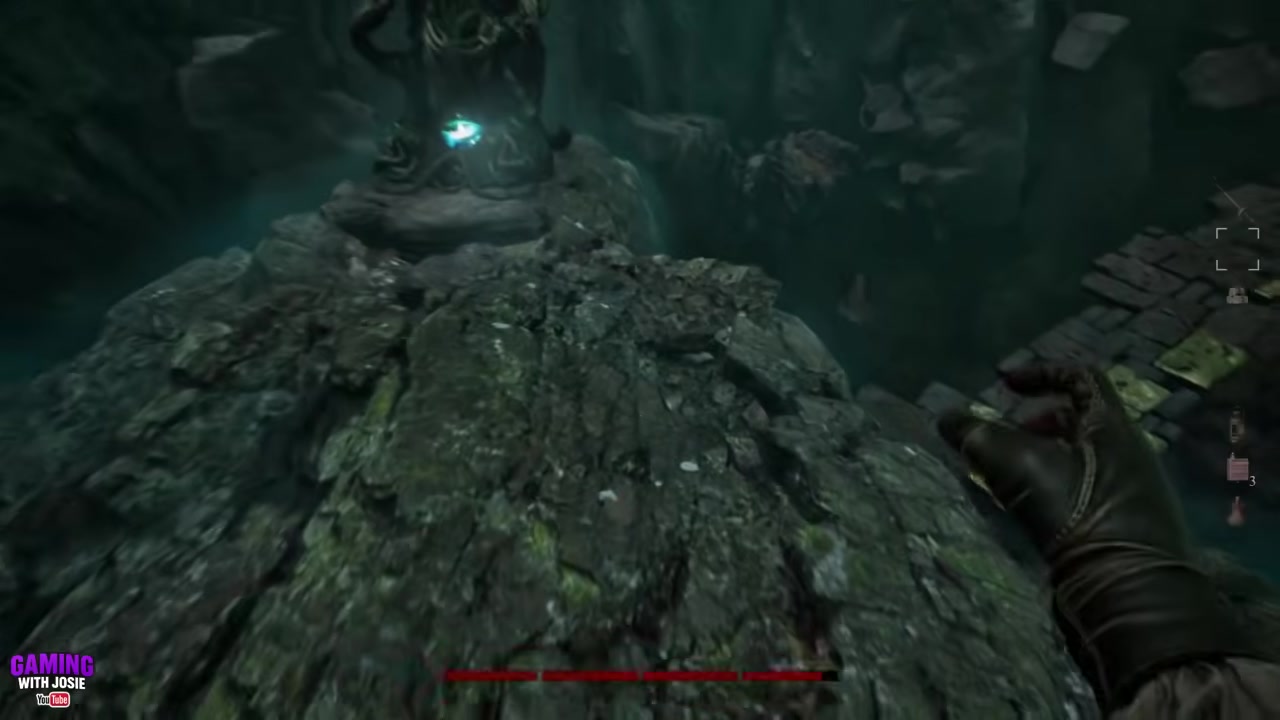
STEP 21/25
Shelter with the orb
If Cthulhu returns, duck into a cave or covered spot and drop the orb briefly while you breathe.
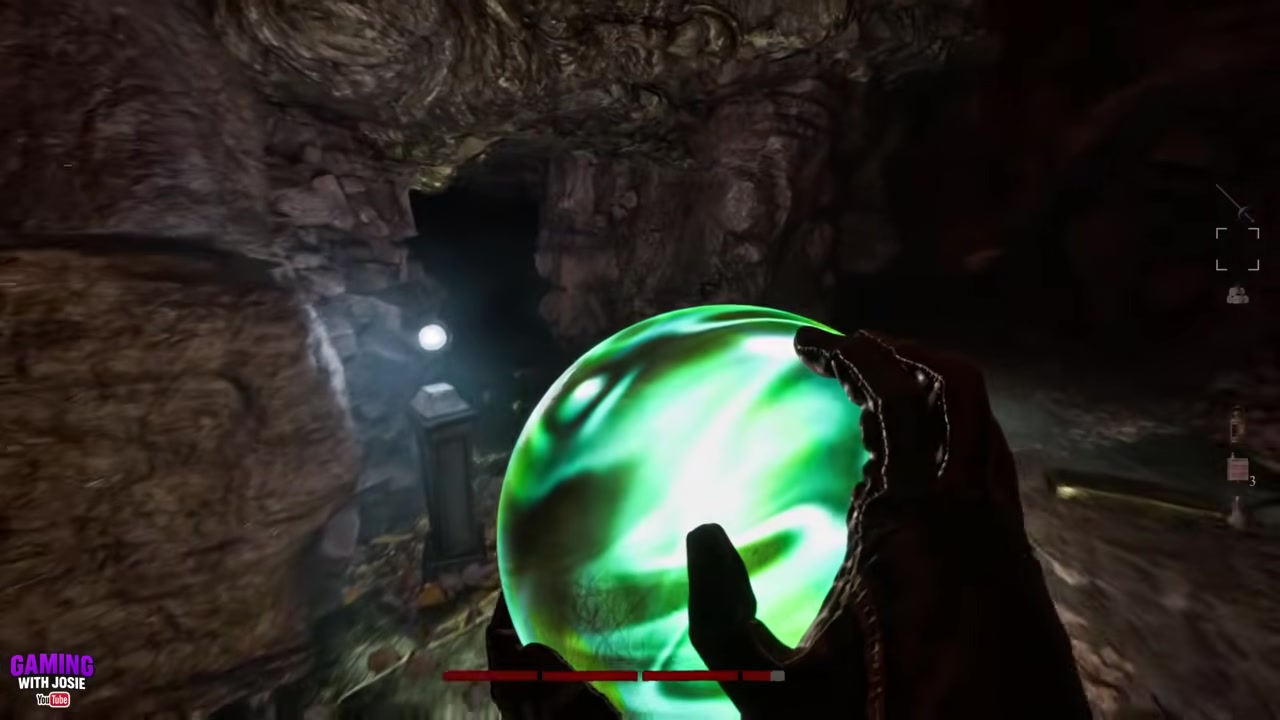
STEP 22/25
Stop the orb from returning
Watch the orb when it is on the ground, then pick it up as soon as it starts moving back toward its statue.
STEP 23/25
Return to the frog ruins
Push back toward the central temple once the orb is more blue than yellow.
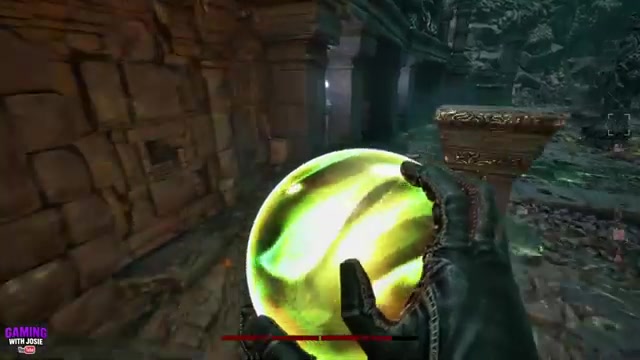
STEP 24/25
Throw the last orb
Chuck the final orb into the temple pit even if the last stretch costs health.
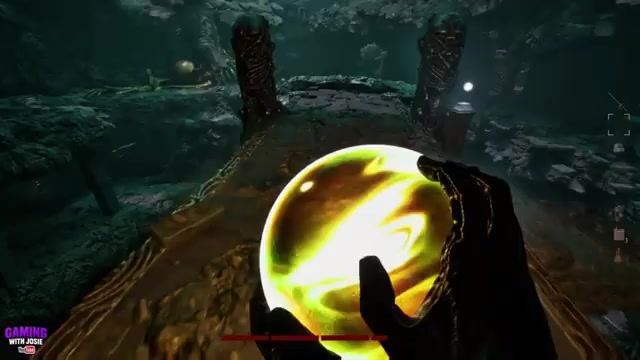
STEP 25/25
Confirm the final break
Check that the last orb is fully destroyed before relaxing.
Video help
How to identify the three orb statues
| Orb clue | Where to look |
|---|---|
| First glowing orb | The first seated Cthulhu statue near the start. |
| Non-glowing Cthulhu statue | Skip it and keep moving; the orb only appears on glowing statues. |
| Bright glow inside ruins | Descending ruined cave and temple paths, including covered interior areas. |
| Bright glow outside | Outer paths, bridges, perimeter rocks, and high ground after the interior search. |
Each orb sits in the lap of a small seated Cthulhu statue with crossed legs, and the active ones give off a clear visible glow. A statue with no glow is just a landmark, so do not waste time circling it.
The first orb starts at the opening statue. For the other two, clear the ruined interior first, then widen the search outside and onto high ground if the last glow is not inside.
Stay alive while carrying orbs
Do not try to fight through the central area unless you have backup. The enemies in the final zone hit hard, so keep your movement wide, hug edges where possible, and use caves or covered routes whenever Cthulhu starts pressuring you.
Drop the orb for one or two seconds in a safe covered spot when it turns golden, then pick it up before it starts sliding back to its statue.
If Cthulhu appears outside, break line of sight instead of pushing blind. The vision distortion clears after a short wait, and moving through it can send you into enemies, bad terrain, or fall damage.
In co-op, split the work: one player can search or carry while others keep enemies busy. Solo is still doable, but it rewards patience, clean routing, and refusing fights that do not help the orb delivery.
After the last orb is destroyed
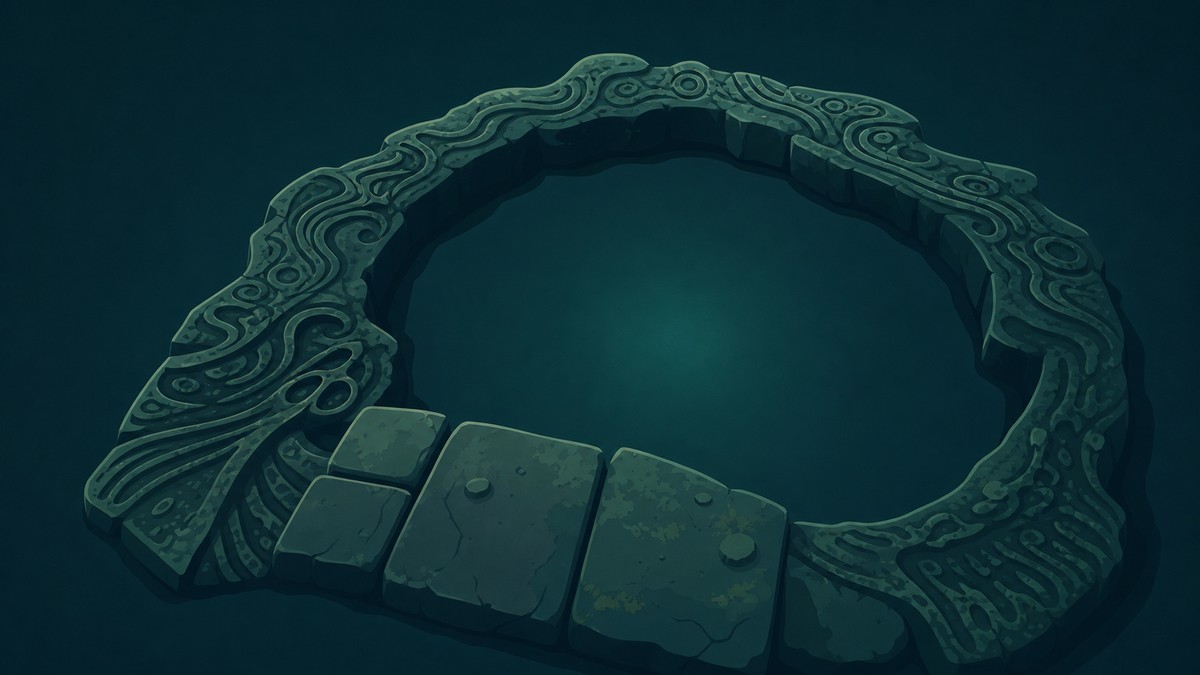
When the third orb breaks, The Mound contract completes and the ending sequence begins. Keep moving only long enough to stay clear of nearby enemies while the game transitions.
The ending is worth seeing without a full spoiler, so stop reading once the final orb is gone and let the sequence play out.
Frequently Asked Questions
Do the orb locations stay the same every run?
No. Cthulhu’s early teleport and the later orb placements can change, so one clear can take around 10 minutes while another can run closer to 30 minutes.
How many orbs do you need to destroy?
You need to destroy three orbs. After the first pit drop there are two left, and after the second there is one final orb to hunt down.
What should you do when Cthulhu appears and the screen distorts?
Stop staring into the open sky, get into a cave or covered spot, and wait. The distortion fades after a short pause, and forcing movement while blinded makes falls and enemy contact much more likely.
Why does carrying an orb damage you?
The orb becomes more dangerous as it shifts toward a golden color, while Cthulhu can also drain health during his appearance. Those two pressures can stack during the final carry.
Can you complete The Mound contract solo?
Yes. Solo clears are possible, but the cleaner solo approach is to avoid fights, use the edges, cool the orb whenever safe, and stay patient during the search.






Leave a Reply