
What to know
- You can easily change the Windows default system font, even though Windows doesn’t provide an in-built option to do so.
- Find an installed font from Settings > Personalization > Fonts (or download and install one of your liking) and note down its full name.
- Create a .reg file using the code given in the guide and replace the default system font with the name of your preferred font. Then run the .reg file and restart.
Segoe UI, which is the default system font on Windows, is not something that most users think of changing. It’s fine and dandy for all intents and purposes. But if you’re tired of how Windows looks, changing the font is the easiest way to shake things up and customize your PC the way you like it.
Apart from sprucing up your Windows, changing the default system font on Windows also allows for text styles that are easier on the eye. So, without further ado, let’s begin changing Windows default font so that it is applied system wide.
RELATED: How to Set Two Different Backgrounds on Dual Monitors on Windows 11
How to change Windows Default System Font to any font you want
Although it’s unfortunate that Windows doesn’t have a single setting that lets you change the system fonts easily, we can create a registry file and make the change without much tinkering besides.
Step 1: Download and Install your preferred font
Windows already has scores of fonts installed on the system by default. Even though these are mainly used for MS Office and other apps, you can use these as your system default as well. Here’s how:
- Find installed fonts from the Settings app > Personalization > Fonts.
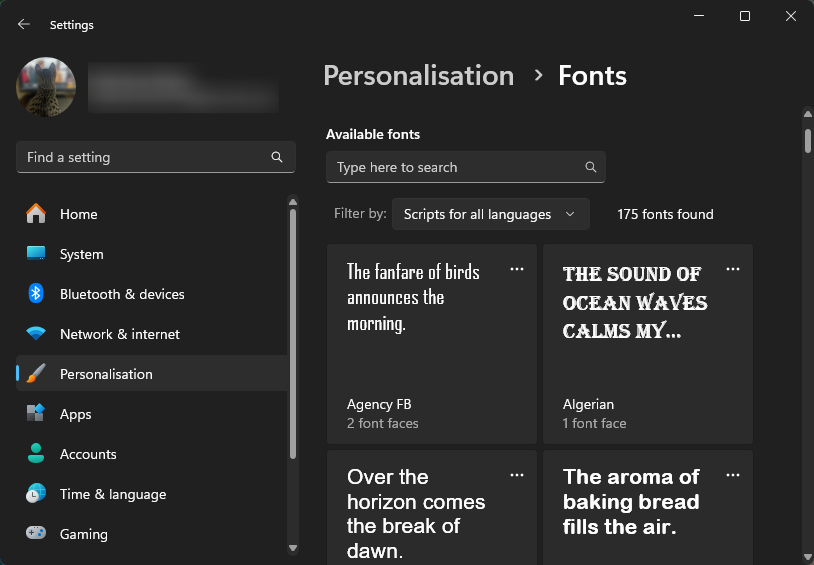
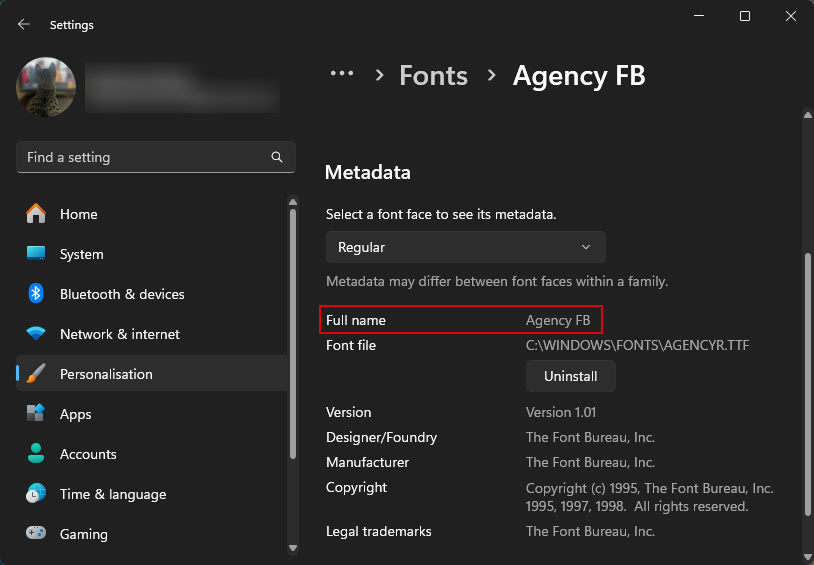
- Click on a font of your liking and take note of its ‘Full name’.
- You can also find fonts by searching for ‘Fonts’ in the Start menu.
- If these don’t tickle your imagination, you can find tons of fonts from websites such as 1001 fonts and Da Fonts, etc.
- Once downloaded, open the file and make sure to ‘Install’ it.
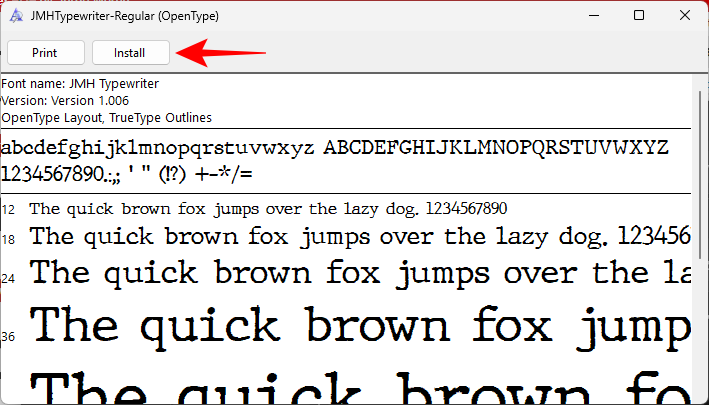
- Now, whether you’re using an existing font or a downloaded one, do take note of its full font name as this will be required in the next step.
Step 2: Create a Registry file with the new font name
Next, we’ll need to create a registry file that tells Windows to use our chosen font as the default system font. Here’s how to do so:
- Open a Notepad file. Then copy the following:
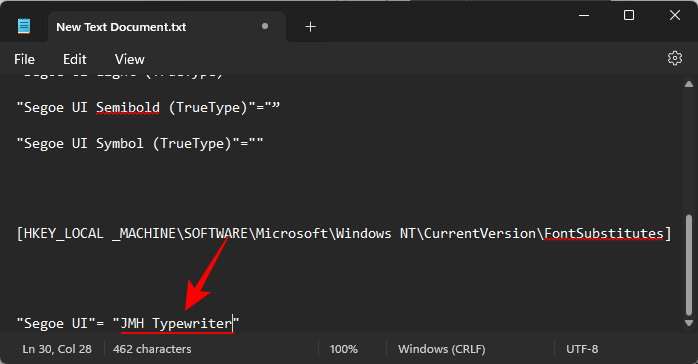
Windows Registry Editor Version 5.00[HKEY_LOCAL _MACHINE\SOFTWARE \Microsoft\Windows NT\CurrentVersion\Fonts]"Segoe UI (TrueType)"="""Segoe UI Bold (TrueType)"="""Segoe UI Bold Italic (TrueType)"="""Segoe UI Italic (TrueType)"="”"Segoe UI Light (TrueType)"="""Segoe UI Semibold (TrueType)"="”"Segoe UI Symbol (TrueType)"=""[HKEY_LOCAL _MACHINE\SOFTWARE\Microsoft\Windows NT\CurrentVersion\FontSubstitutes]"Segoe UI"= "NEW-FONT" - And paste it into the Notepad file.
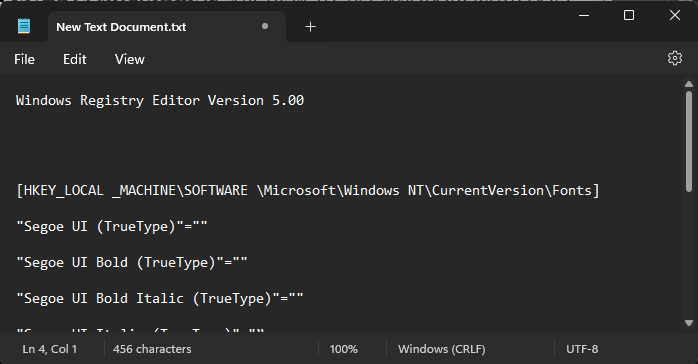
- Make sure to change NEW-FONT to the exact name of your font as noted earlier. In our example, our font is called ‘JMH Typewriter’, and thus the content of the notepad files looks as such:
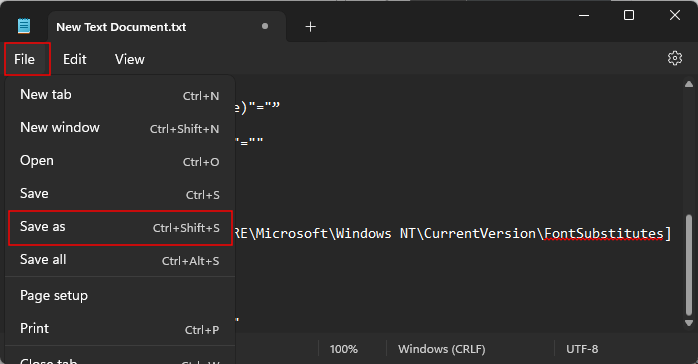
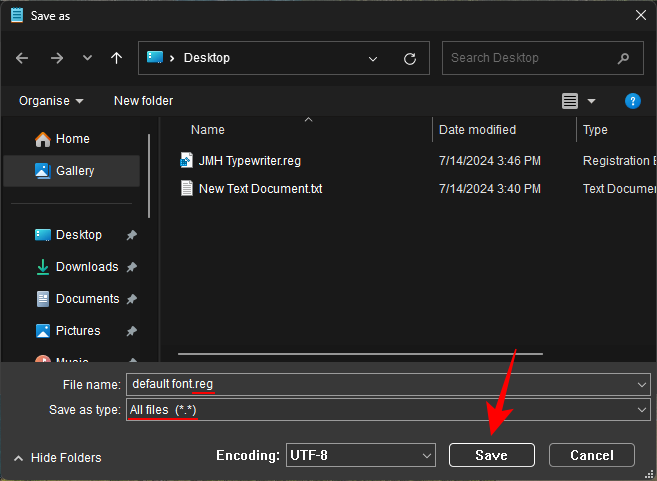
- Then click on File > Save as.
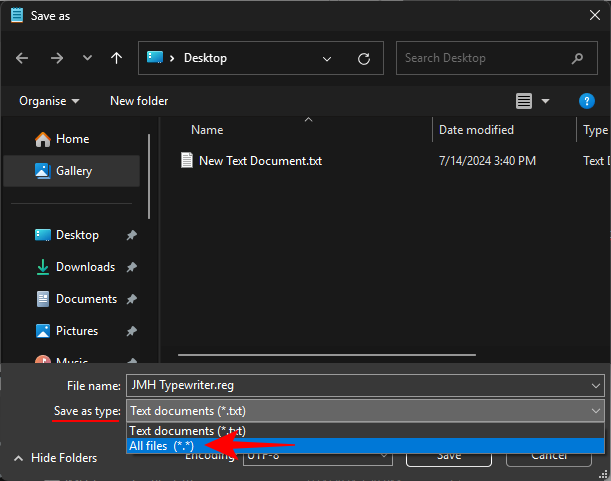
- Give this file whatever name you prefer. But make sure to append it with .reg.

- Change ‘Save as type’ to All files.
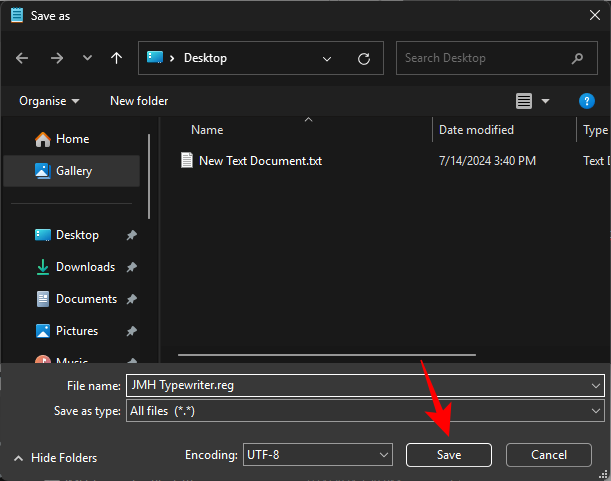
- Finally, click Save.
Step 3: Add the registry file to the Registry Editor
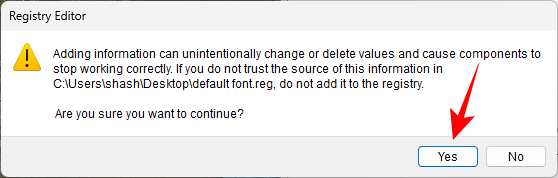
- Once the registry file is created, all you need to do is to double-click on it and add it to the registry.

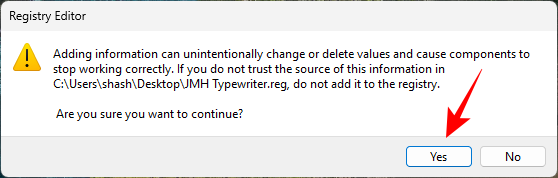
- When prompted, click Yes.
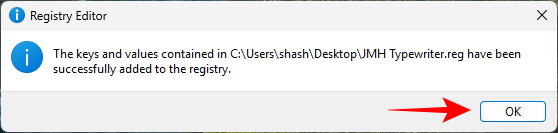
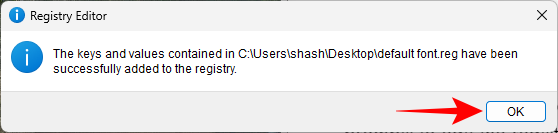
- Then click OK on the final message.
- To see the changes take effect, restart your computer.
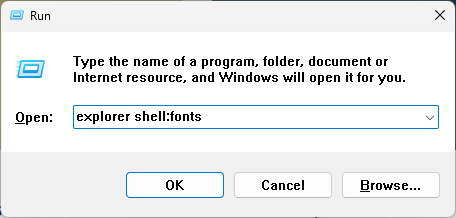
Once your PC boots up, you’ll see the changes reflect in most areas of the operating system, such as file and folder names, Control Panel, the RUN box, etc.
Do note, however, that the change won’t be made to every single text element on Windows. Some areas such as the Start menu, the Settings app, the calendar, Quick settings, etc. will have the same font as before.
How to change back to old default font
In case you need to revert to the old default font, refer to the steps given below.
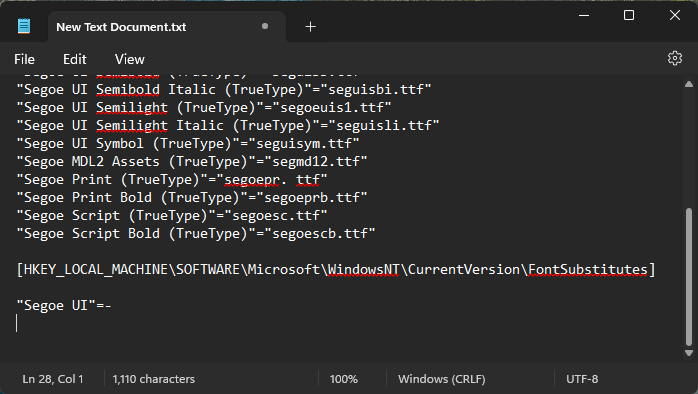
- Open a new Notepad file and copy-paste the text given below:
Windows Registry Editor Version 5.00[HKEY_LOCAL_MACHINE\SOFTWARE\Microsoft\WindowsNT\CurrentVersion\Fonts]"Segoe UI (TrueType)"="segoeui.ttf""Segoe UI Black (TrueType)"="seguib1.ttf""Segoe UI Black Italic (TrueType)"="seguibli.ttf""Segoe UI Bold (TrueType)"="segoeuib.ttf""Segoe UI Bold Italic (TrueType)"="segoeuiz.ttf""Segoe UI Emoji (TrueType)"="seguiemj.ttf"'"Segoe UI Historic (TrueType)"="seguihis.ttf""Segoe UI Italic (TrueType)"="segoeuii.ttf""Segoe UI Light (TrueType)"="segoeuil.ttf""Segoe UI Light Italic (TrueType)"="seguili.ttf""Segoe UI Semibold (TrueType)"="seguisb.ttf""Segoe UI Semibold Italic (TrueType)"="seguisbi.ttf""Segoe UI Semilight (TrueType)"="segoeuis1.ttf""Segoe UI Semilight Italic (TrueType)"="seguisli.ttf""Segoe UI Symbol (TrueType)"="seguisym.ttf""Segoe MDL2 Assets (TrueType)"="segmd12.ttf""Segoe Print (TrueType)"="segoepr. ttf""Segoe Print Bold (TrueType)"="segoeprb.ttf""Segoe Script (TrueType)"="segoesc.ttf""Segoe Script Bold (TrueType)"="segoescb.ttf"[HKEY_LOCAL_MACHINE\SOFTWARE\Microsoft\WindowsNT\CurrentVersion\FontSubstitutes]"Segoe UI"=-
- There’s no need to change any text. Simply save it as a .reg file as before.
- Double-click on this file.

- Click Yes.
- Click OK.
- Restart your PC for the changes to take effect.
So this is how you can change the default system font, which goes a long way in changing how Windows appears. Reverting back to the default font is just as easy in case you want to get consistency of font across Windows.
We hope this guide helped you spruce up Windows with new fonts. Until next time!
RELATED: How to Download Windows Spotlight Wallpaper Images on Your PC
RELATED: Customize Windows 11 in 20 ways: Step-by-step guide


