
To complete World 1 in +1 Speed Keyboard Escape, clear Stages 1-15 in order, use the stage-specific timing and shortcut cues, and press the yellow Win/Trophy button in every safe zone, grinding more speed before Stage 10 and Stage 14 if needed.
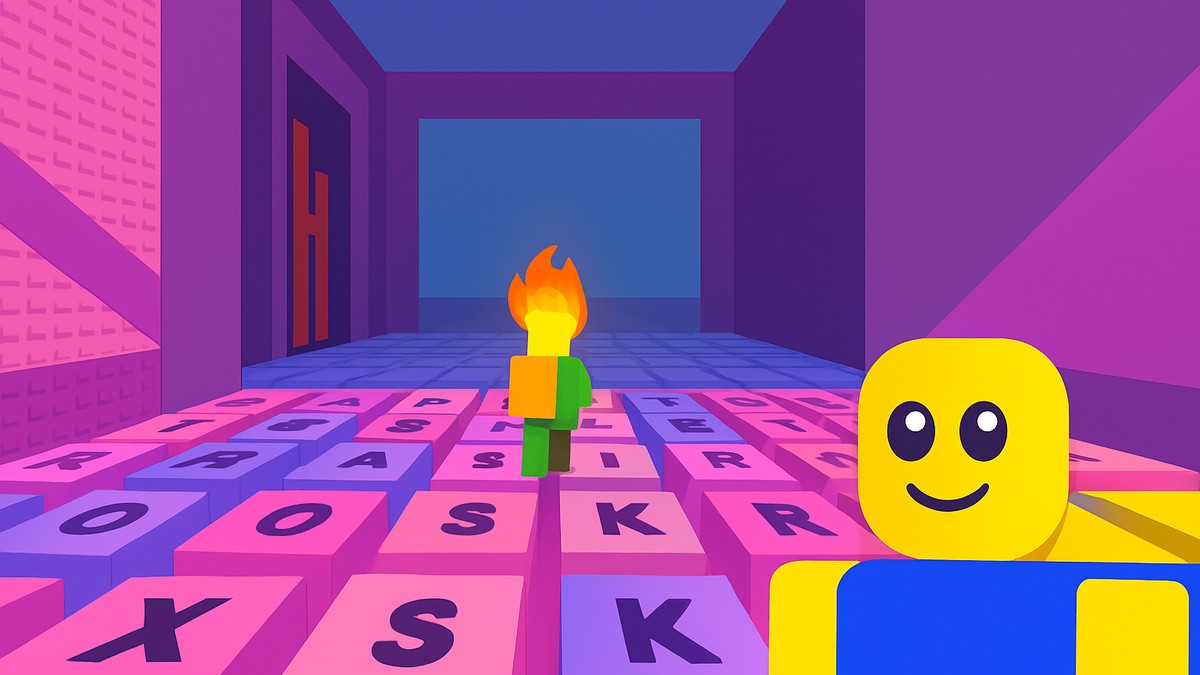
+1 Speed Keyboard Escape is a Roblox speed-runner from SecretVerse Studio where every step adds +1 Speed, and World 1 is its opening 15-stage obby. The stages are a straight ladder—clear one, drop into the safe zone, and you move to the next. What trips most players up isn’t the platforming, it’s forgetting that speed and level requirements sneak up around the mid and late stages.
What clearing World 1 actually takes
World 1 is a linear 15-stage run: you tackle Stage 1 through Stage 15 in order, and each one is built to push your Speed a little higher as you go. Finishing the platforming isn’t the whole job—every stage ends in a safe zone with a giant yellow Win button, and you only bank the reward once you jump on it. The game uses Wins and Trophies interchangeably, so don’t treat them as two separate currencies; they’re the same payout under two names.
The two real difficulty spikes are level gates, not skill gates. Stage 10 expects you to be around Level 70, and if you’re under it you simply won’t have the speed to clear the boss. Stage 14 is the bigger wall—players report needing roughly Level 110 to make its wave section. If you hit either stage and feel like you’re moving in slow motion, that’s your cue to farm speed before pushing further, not to keep throwing yourself at the platform.
How to beat all 15 World 1 stages in +1 Speed Keyboard Escape
Run the stages in order using the cue for each one, and hit the Win button in every safe zone before moving on.
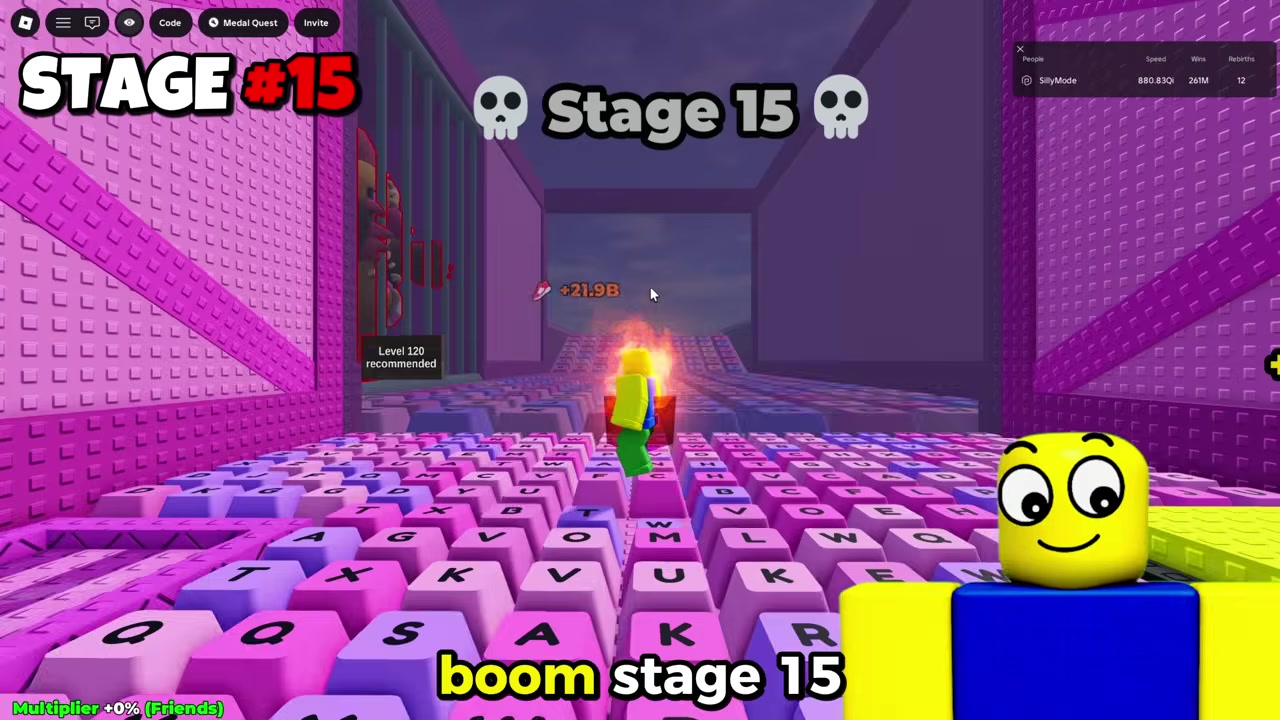
STEP 1/15
Stage 1: hug the left side

Stay left and run straight across the keys to the safe zone.
STEP 2/15
Stage 2: hide by the skip sign

Line up where it says skip and move forward so the boss never touches you.
STEP 3/15
Stage 3: stand behind the skip sign

Tuck behind the skip sign and push forward to slip past the rolling ball.
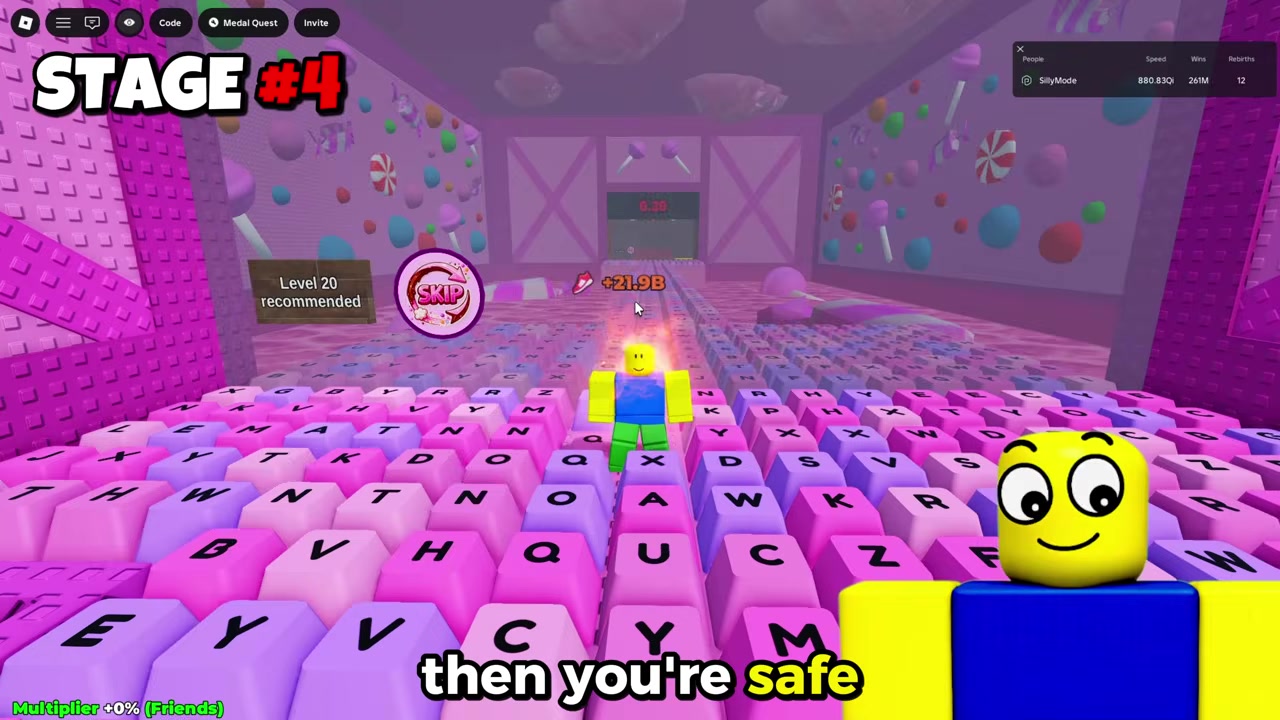
STEP 4/15
Stage 4: jump straight across

Once your speed is high enough, jump directly to the far side instead of looping the long way around.
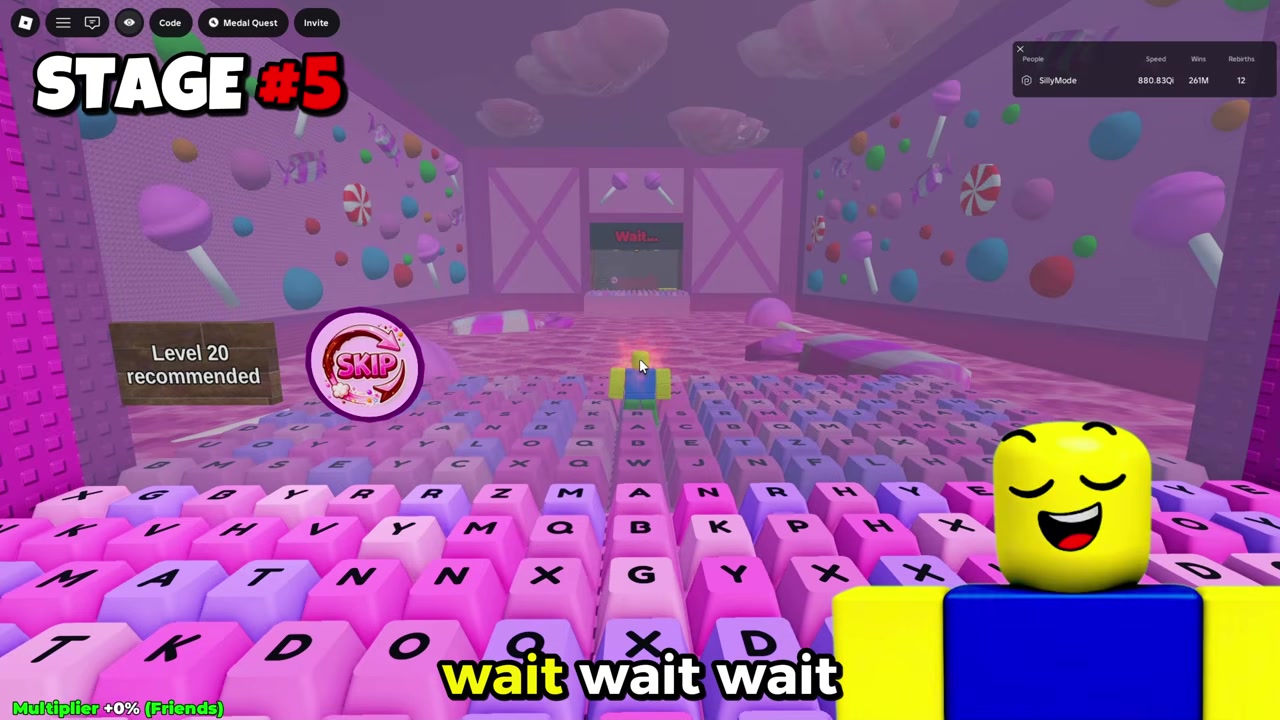
STEP 5/15
Stage 5: time the gap
Wait out the cycle, then go the moment it clears.
STEP 6/15
Stage 6: chase the wave
Jump and run right after the wave passes.
STEP 7/15
Stage 7: wait for the walls

Hold until the walls open, then run straight through.
STEP 8/15
Stage 8: run up as it drops
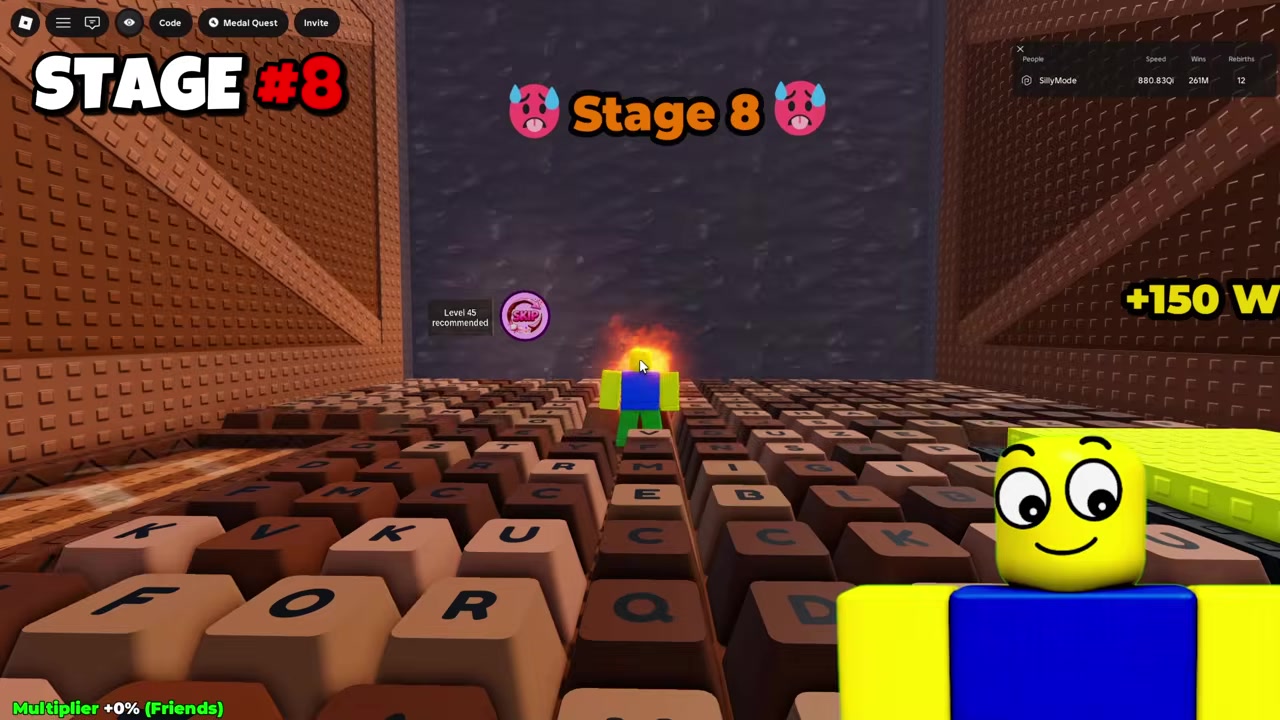
Wait for the obstacle to go down, then run straight up at it.
STEP 9/15
Stage 9: mix jumps and runs

Jump the sections that need it and run the flat parts—this one catches people who do only one or the other.
STEP 10/15
Stage 10: juke the boss left and right

You need around Level 70 here; at the boss, strafe left and right so it can’t catch you.
STEP 11/15
Stage 11: take the wall shortcut

When you’re fast enough, land on the ledge and run against the wall to skip straight up instead of spiraling around.
STEP 12/15
Stage 12: run the boss chase

You get a 5-second head start before the boss gives chase, so move immediately and follow the route to the safe zone.
STEP 13/15
Stage 13: nudge forward then jump

Move slightly forward and tap Jump for tighter control across the gaps.
STEP 14/15
Stage 14: wait out the full wave

This one needs around Level 110; let the wave travel to the very end, then go.
STEP 15/15
Stage 15: stay left to the door
Stay left, stop and wait for the door to open, then run through the middle to finish World 1.
Video help
Claiming your Wins at every safe zone
| Stage | Reward |
|---|---|
| Stage 1 | +1 |
| Stage 2 | +3 |
| Stage 3 | +10 |
| Stage 4 | +20 |
| Stage 5 | +60 |
| Stage 6 | +100 |
| Stage 7 | +150 |
| Stage 8 | +300 |
| Stage 9 | +500 |
| Stage 10 | +1K |
| Stage 11 | +2.5K |
| Stage 12 | +10K |
| Stage 13 | +25K |
| Stage 14 | +50K |
| Stage 15 | +150K |
Reaching the platform doesn’t pay you—jumping on the yellow Win button does. It sits in every stage’s safe zone, and skipping it means you cleared the obstacle for nothing. The payouts climb steeply, so the later stages are where the real currency lives: Stage 15 alone hands over 150K Wins/Trophies, which dwarfs everything before it.
If you own the optional x2 Wins multiplier, every one of these numbers doubles—Stage 10’s 1K becomes 2K, and so on down the ladder. It’s a nice-to-have rather than a requirement for finishing World 1, but it changes the math a lot once you start farming the high-value stages.
After every stage, jump on the yellow Win/Trophy button in the safe zone—clearing the platform banks nothing until you press it.
Grinding speed when a stage outruns you
| Method | Use |
|---|---|
| Treadmills / AFK trophies | Bank raw speed and levels while idle |
| Stage 10 farming (~Level 70) | Best early repeatable Win farm, reached via Stage 4 for 20 Wins |
| Stage 13/14 farming | High-value grind once progression is stronger, reached via Stage 12 for 5K Wins |
| Golden keycaps | Bonus Wins picked up along routes and safe zones |
| x2 Wins multiplier (35 Robux) | Optional boost that doubles every payout |
If a stage feels physically impossible, it’s usually a speed problem, not a technique one. The cleanest fix is to keep running over keys to build Speed, then park on the treadmills or use the AFK trophy methods to bank levels while you’re away. Once you’re around Level 70 and Stage 10 becomes consistent, that stage turns into your best repeatable farm—you can teleport straight to it from Stage 4 for 20 Wins a trip.
When your progression is stronger, shift up to farming Stage 13 or Stage 14, which you reach by traveling from Stage 12 at a cost of 5K Wins per trip. Golden keycaps scattered along the routes and in safe zones stack extra Wins on top, and the paid x2 Wins multiplier stays entirely optional—useful, never mandatory.
Mistakes that stall World 1 runs
The most common one is finishing a stage and walking off without pressing the Win button—no button, no reward. Right behind it is treating Wins and Trophies as different currencies and second-guessing your totals; they’re one and the same. Pushing Stage 10 under Level 70 or Stage 14 under Level 110 wastes attempts you could spend farming, and mis-timing the wave and platform cycles—running as they vanish instead of right after they reset—will drop you every time.
One more trap: some route write-ups describe Stage 12 as a maze of repeated turns. In the current run it’s a boss chase with a 5-second head start, so follow the chase route above and ignore the maze pattern—importing it will send you the wrong way.
Where to go after Stage 15

Once World 1 is done, the game becomes a farming loop: grind Wins/Trophies on your best stage, keep leveling, and start stocking the speed items you’ll need for World 2. Progression into the next world is gated well above World 1’s requirements, so there’s no rush—build the buffer first.
It’s also worth checking current codes separately, since they rotate; a code like BYP4SS1 for extra speed was floating around in mid-2026, but confirm it’s still live in-game before counting on it. Keep the codes hunt and the World 2 route as their own separate tasks rather than something to chase mid-run.
Frequently Asked Questions
Do you have to complete all 15 World 1 stages in order?
Yes. World 1 is a linear obby—each stage feeds into the next, so you clear Stage 1 through Stage 15 in sequence rather than jumping around.
What level should you be for Stage 10 and Stage 14?
Aim for roughly Level 70 before Stage 10 and around Level 110 before Stage 14. Below those, you won’t have the speed to clear the boss and wave sections.
Are Wins and Trophies the same thing in this challenge?
They are. The game uses the two words interchangeably for the same reward, so a payout listed in Wins is the same currency as one listed in Trophies.
Where do you claim rewards after each stage?
At the giant yellow Win button in the safe zone at the end of every stage. Jump on it to bank the reward—clearing the platform alone pays nothing.
What should you do if the boss stages keep catching you?
Build more Speed first, then use each boss’s cue: strafe left and right on Stage 10, use the 5-second head start and set route on Stage 12, and stay left through Stage 15. If you’re still getting caught, your level is likely too low for that stage.
More questions⤵
Does the x2 Wins multiplier help with World 1?
It doubles every stage payout, so it speeds up farming a lot—but it’s optional at 35 Robux and isn’t needed to actually finish the 15 stages.