
Honkai: Star Rail 4.4 Apocalyptic Shadow feels hard because it punishes slow Weakness Breaks, poor target priority, and weak Skill Point planning more than a normal raw DPS check.
The 4.4 Apocalyptic Shadow cycle asks for clean tempo more than brute force. If your team spends too much action value before the first real damage window, even high-investment rosters can limp into the next fight behind the score curve.
The solution is to treat each boss as a mechanics check first: break the right thing, cash in during the buffed window, and avoid spending premium turns into targets that are not ready to take damage.
- The 4.4 pressure points
- Fight plans for the 4.4 bosses
- Break first, then spend burst
- Argenti punishes damage without break value
- Lance of Fury rewards correct target choice
- Blaznana Monkey Trick needs the board broken first
- Team roles that solve the cycle
- Score and rewards target
- Frequently Asked Questions
The 4.4 pressure points
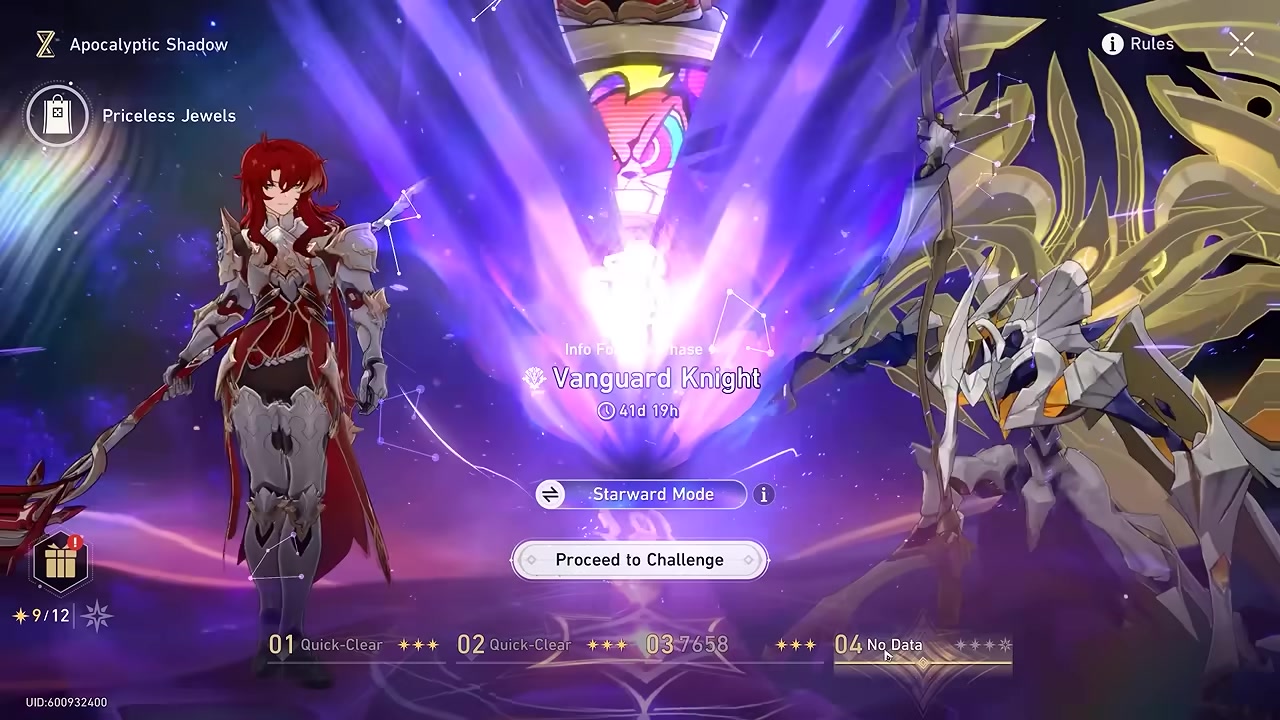
This cycle feels harsher than usual because the bosses do not fold just because your damage numbers are high. Argenti can soak a huge amount of damage, Lance of Fury can waste turns if you mishandle its armor or pylons, and Blaznana Monkey Trick can make the field look almost damage-proof until its break condition is handled.
Losing too much AV before a boss is properly exposed is not just a small delay; it directly cuts into the points you need across all three fights.
The 4.4 buffs also push you toward Weakness Break, Skill damage, Ultimate damage, Elation/follow-up damage, and frequent actions. Playing it like a normal Memory of Chaos boss race leaves too much value unused, especially when damage is hidden behind Toughness, Solid Defense, armor stacks, or a shared boss gauge.
Fight plans for the 4.4 bosses
| Fight | Plan |
|---|---|
| Argenti | Bring weakness-matching damage and break value; do not rely on raw damage alone if the team cannot trigger the stage’s break payoff quickly. |
| Lance of Fury | Tunnel the boss when your carry strips its armor or Toughness efficiently; hit pylons only when the boss has no useful break target or the mechanic forces it. |
| Blaznana Monkey Trick | Use AoE and frequent attacks to break the whole board, then spend Ultimates and heavy damage while the main Toughness bar can be reduced. |
The fight names above use the current 4.4 naming for the cycle. The important pattern is simple: Argenti tests break access, Lance of Fury tests target priority, and Blaznana Monkey Trick tests board control.
Break first, then spend burst
The defining rule of this 4.4 Apocalyptic Shadow is that the burst window matters more than the opener. Weakness Break does more than interrupt the enemy; it advances your tempo, turns on damage bonuses, and can make Skill Point and Ultimate-heavy rotations feel dramatically stronger.
That is why old habits underperform here. Dumping Ultimates at the first available moment can look strong, but if the enemy is still protected by Toughness, armor, or a hidden board condition, that damage lands before the mode is ready to reward it.
Save your biggest spend for the actual window: break the boss or the board, then use Ultimates, Skill damage, follow-up attacks, and Break damage while the enemy is vulnerable. Teams that act often also gain more chances to refresh the state before the fight resets the board against you.
Hold your biggest Ultimates until after Weakness Break; using them before the boss or board is exposed is the fastest way to lose score without realizing it.
Argenti punishes damage without break value
Argenti is the clearest trap in this cycle because a strong team can still lose too much score if it cannot convert its damage into the stage’s break-related value. A heavily invested DoT setup can produce constant Ultimates and still spend far too much AV if Argenti simply tanks through the rotation.
The problem is not that DoT suddenly became unusable. DoT still works when it lines up with the node buff, has enough investment, and can keep pressure through Argenti’s summons and shielding. The issue is that this side is not a plain HP sponge test; if your setup cannot break him at a useful pace, the fight stretches long enough to poison the rest of the run.
If Argenti is taking hits but the score is collapsing, pivot from “more damage” to faster Toughness progress. Favor characters who match his listed weaknesses, contribute meaningful break pressure, or can burst hard after the break window opens. If your DoT team clears but leaves the account needing a near-perfect second and third fight, it is doing the job too slowly for this cycle.
Also watch the timing on adds and shields. Killing side targets is useful when they block the fight’s flow, but every turn that does not move Argenti toward a meaningful break or kill window must justify itself in score.
Lance of Fury rewards correct target choice
Lance of Fury is where target priority decides the run. The fight can tempt you into spreading attacks across side objects, but that is only correct when those objects are actually preventing boss damage or restoring the mechanic you need to remove.
The stronger line is often to let your main carry strip the boss directly. In an Archer-style setup, repeated Skill usage and action advance can chew through the boss’s armor or Toughness quickly enough that spreading damage into pylons wastes the exact turns you needed for the break window.
There are still moments where pylons matter. If the boss has no weakness access, carries a stack state you cannot meaningfully reduce by hitting it, or refreshes side objects that gate progress, target one pylon cleanly instead of scattering damage across all of them. Half-breaking several objects is usually worse than removing one problem and returning to the boss.
KEY!Skill Point planning is the other half of the fight. Archer-style teams can look amazing while they have SP and action advance, then stall the moment the carry is pulled forward with nothing left to spend. Build the rotation so the carry’s extra turns arrive with enough SP banked to actually attack.
Blaznana Monkey Trick needs the board broken first
Blaznana Monkey Trick can make enemies appear to take little or no damage until you handle the board. Treat the field as a board-control check first instead of trying to brute-force the main target immediately.
Once the board is under control, attacks can start reducing the main Toughness bar. If enemies recover before the gauge is pushed far enough, that progress can stall, so single-target tunnel vision is risky here unless the field is already handled.
AoE, follow-up attacks, ally actions, and frequent hits are the most reliable tools. The TVs can grant useful bonuses such as Energy, Skill Points, or action advance when broken, which helps keep the board locked down while your team prepares the real damage turn.
Phase 2 can reset the break state with an AoE attack, so do not panic when the enemies stand back up. Rebuild the board break, push the main gauge again, and only then spend the heavy burst. This fight rewards patience for one turn, then aggression the moment the window opens.
Team roles that solve the cycle
| Need | Bring |
|---|---|
| Fast Toughness damage | Weakness-matching attackers for Argenti and Lance of Fury, plus Break-focused units that can trigger the stage value early. |
| Skill Point stability | SP-positive supports, action advance used with a stocked SP bar, and rotations that do not strand the carry on basic attacks. |
| Burst payoff | Characters who can spend big Ultimates, Skills, or follow-up attacks after the break window opens. |
| Sustain | A healer or shielder who keeps the team stable without consuming the SP your carry needs to finish the window. |
| AoE and frequent hits | Board-wide attackers, follow-up cores, and ally-action teams for Blaznana Monkey Trick. |
| Boss-compatible coverage | Separate teams that match the mechanics of each node instead of one premium roster copied across every fight. |
Build from the role first, then choose characters. Archer can work well on the armor-stack fight when supported with SP and action advance. Kafka and Black Swan can still handle Argenti if the account has the investment and the break timing does not fall behind. Blade-style follow-up or frequent-action teams are strong fits for the final board fight when they can keep enemies broken and spend damage during the open window.
The important adjustment is to stop treating showcase rosters as the only answer. If your substitute unit does the same job faster for your account, use it.
Score and rewards target
Your Apocalyptic Shadow score is tied to remaining action value and remaining boss HP. In one full 4.4 clear, a weak Argenti side forced the later fights to recover the run, and the final total landed at about 10,500 points, barely enough to collect the run’s remaining rewards.
The 4.4 reset window is framed around the July 20, 2026 cycle, while one dated cycle listing also places “Oblivion and Cold Wind” from June 8, 2026 to July 20, 2026. Check the in-game timer for your server before planning last-day runs, because that timer is the one that controls your actual rewards.
Frequently Asked Questions
Is Honkai: Star Rail Apocalyptic Shadow actually harder than usual?
Yes. The spike comes from mechanics that delay real damage until Weakness Break, armor removal, or full-board break conditions are handled, so high stats alone do not carry sloppy rotations.
What score do I need for the main rewards in this cycle?
A showcased full clear collected rewards at about 10,500 points, with the player calculating a need of roughly 10,200 points before the final fight. Use the in-game reward track for the exact threshold on your account.
Should I attack the boss or the pylons in the TV/armor-stack fight?
Attack the boss when your carry can reduce its armor or break state directly. Swap to pylons only when the boss has no useful weakness access or the mechanic is blocking further progress.
Why are enemies taking almost no damage in the final fight?
The board is not ready yet. Use AoE and frequent attacks to break the field first, then hit during the window where the main Toughness bar and real HP damage can move.
Can DoT still clear the Argenti side?
Yes, but it needs enough speed, investment, and break access to avoid draining the run’s AV budget. If Argenti survives too long, switch to a team that matches his weaknesses or breaks him faster.
More questions⤵
What should I use if I do not have Archer?
Use the same roles: one carry that fits the boss mechanic, support that keeps SP flowing, a sustain that does not over-spend, and enough Toughness or AoE pressure to open the damage window.
Video help






Leave a Reply