
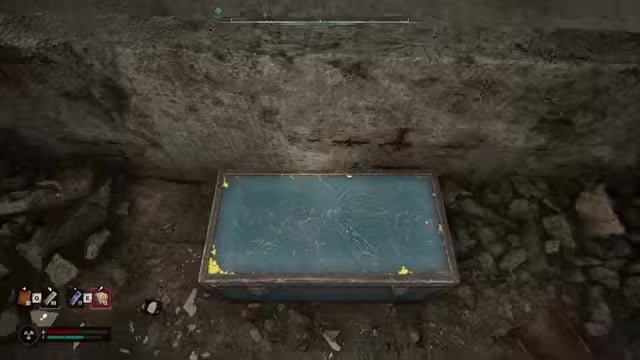
The High-Capacity Fora-230 Magazine is in the blue chest on the roof of the Cage landmark in the Cement Factory area, reached by climbing the unfinished concrete structure and making a careful final jump near the top.
Get the High-Capacity Fora-230 Magazine from the blue chest on the roof of the Cage, the half-finished concrete tower in the Cement Factory. It gives the new Fora-230 SMG much more ammo between reloads. Reaching the chest is the hard part, so follow this route to complete the climb without falling.
Where to find the High-Capacity Fora-230 Magazine
| Detail | Info |
|---|---|
| Item | High-Capacity Fora-230 Magazine |
| Area | Cement Factory (Lesser Zone) |
| Landmark | The Cage (unfinished concrete tower) |
| Container | Blue chest on the roof |
| Nearby pickup | SEVA-D Suit |
| Main hazard | Long climb with jumps over open drops |
The Cage is an unfinished concrete structure southeast of the factory in the Cement Factory area of the Lesser Zone. The magazine is inside a blue chest on the roof. A SEVA-D Suit lies beside the chest, making it easy to identify the correct container and collect both items during the same climb.
How to climb to the Cement Factory roof chest in STALKER 2
Climb the Cage patiently, walking across the narrow beams and saving your sprint for the final plank jump. Here is the complete route from ground level to the rooftop chest.
STEP 1/12
Find the Cage on your map
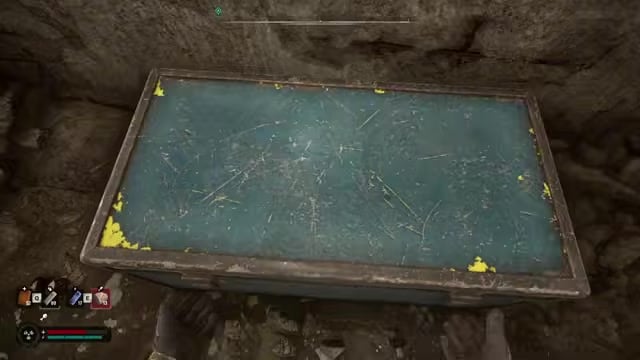
Open your map and travel to the Cage in the Cement Factory area of the Lesser Zone.
STEP 2/12
Climb the first stairs
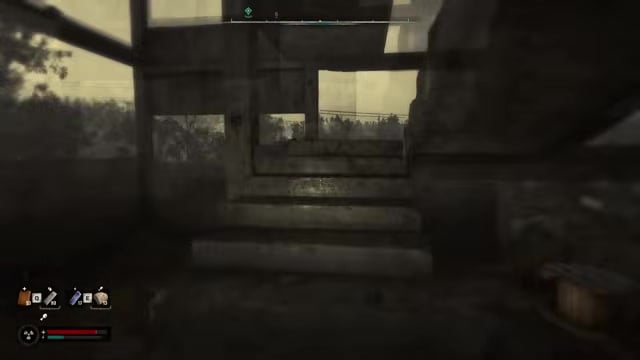
Enter the concrete structure at ground level and climb the first flight of stairs.
STEP 3/12
Take the U-turn
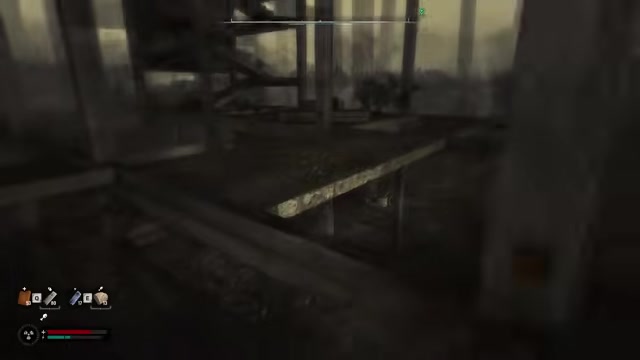
At the top of the stairs, make a U-turn to line yourself up with the next section.
STEP 4/12
Cross the beams without sprinting
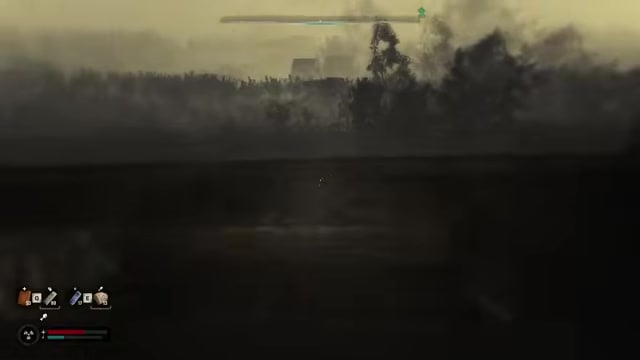
Use short, controlled jumps to cross the narrow beams and keep off Shift. Sprinting here will carry you over the edge.
STEP 5/12
Go up the second stairs
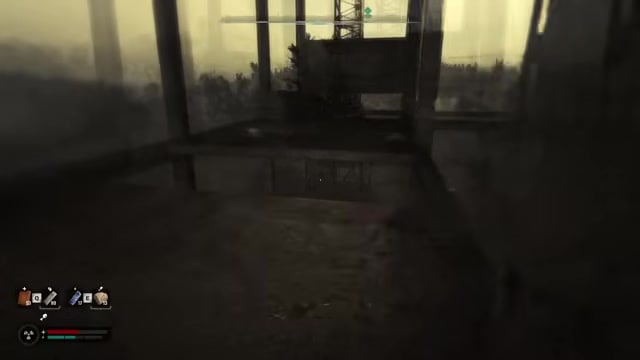
Climb the second flight of stairs, then move carefully along the ledge toward the yellow ladder.
STEP 6/12
Climb the ladder
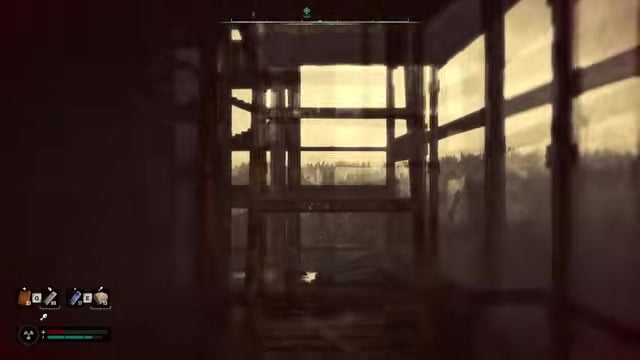
Climb the yellow ladder to reach the upper scaffolding platform.
STEP 7/12
Turn right and clear the first gap
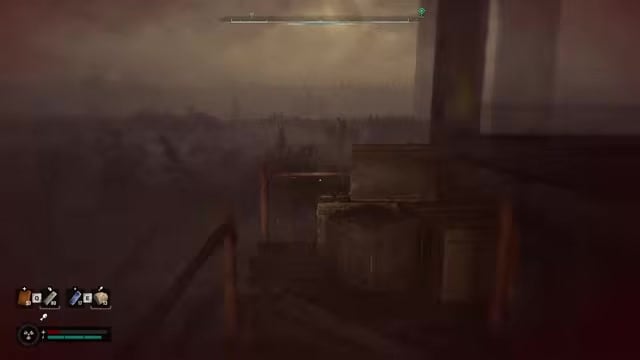
Make a U-turn to the right, line up your jump, and clear the first difficult gap between the platforms.
STEP 8/12
Jump to the third stairs
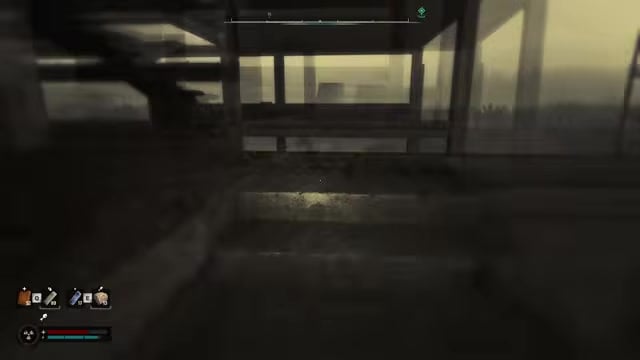
Clear the next gap and land at the base of the third flight of stairs.
STEP 9/12
Save before the plank
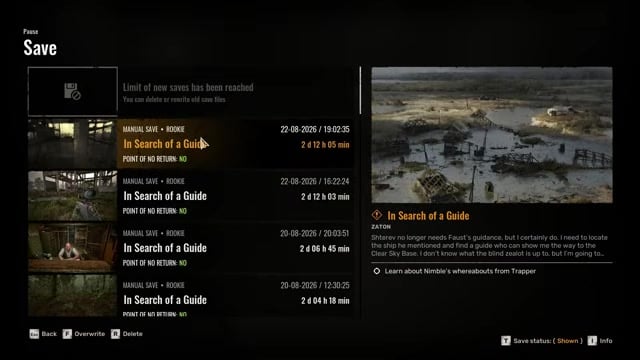
Climb the stairs, then open the menu at the plank crossing and make a manual save. Missing the next jump drops you all the way to the bottom.
STEP 10/12
Sprint-jump the plank, then crouch
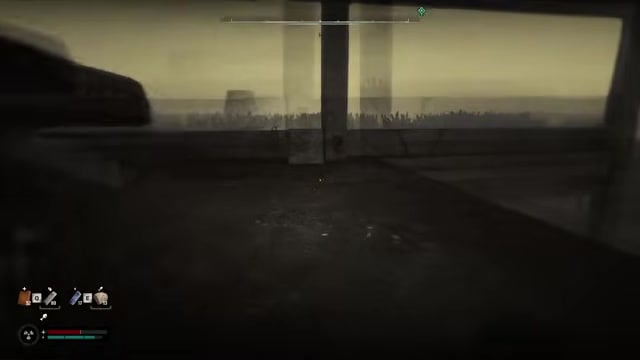
Hold Shift for this jump only, sprint-jump onto the plank, and crouch as soon as you land.
STEP 11/12
Take the fourth stairs to the roof
Climb the final flight of stairs onto the open roof, watching for the hole in the floor as you move forward.
STEP 12/12
Open the blue chest
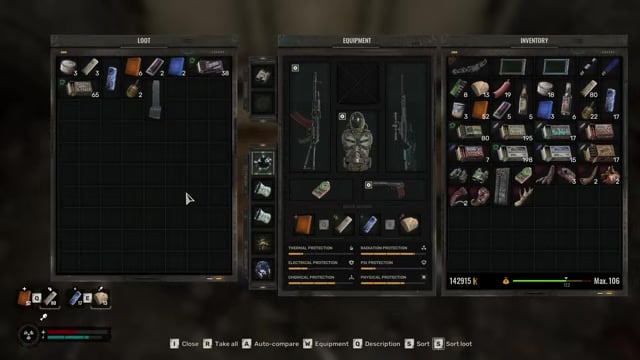
Open the blue chest and take the High-Capacity Fora-230 Magazine.
While you’re on the roof, grab the SEVA-D Suit lying next to the chest — it’s a full armor set for the same trip up.
Video help
What happens if you already looted the Cage chest
If you looted the rooftop chest during an earlier visit, the magazine will not appear in it a second time. Return to the roof and check the chest if you are unsure whether you collected it. If the chest is empty, search your stash for the magazine from your first sweep through the Cage.
Pairing the magazine with the Fora-230 SMG
| Detail | Info |
|---|---|
| Magazine weight | 0.15 kg |
| Magazine value | 4750 |
| Fits | Fora-230 |
| Weapon class | 9x19mm SMG |
| Added in | Update 2.0 (August 20, 2026) |
Equip the magazine on the Fora-230, the 9x19mm SMG introduced in Update 2.0, the free “Back to the Zone” overhaul released on August 20, 2026. The magazine fits the Fora-230 specifically. Buy the SMG from a trader, then collect this chest upgrade to turn it into a high-capacity setup.
Related S.T.A.L.K.E.R. 2: Heart of Chornobyl guides
Frequently Asked Questions
Does the High-Capacity Fora-230 Magazine respawn after you loot the chest?
No. It is a single fixed pickup rather than a farmable drop, so it has no respawn timer. Collect it during your first trip to the Cage roof.
Do you need the Cost of Hope DLC to use the Fora-230 or this magazine?
No. The Fora-230 is one of the free weapons added for everyone in Update 2.0, not a Cost of Hope exclusive. You can buy the gun, collect this magazine, and use them together without owning the expansion.
Where can you get the Fora-230 SMG itself?
Buy the Fora-230 from Sidorovich in Rookie Village in the Cordon, the trader at Rostok, or the vendor at Yaniv Station. These three trader locations let you purchase it without returning to a single spot.






Leave a Reply