

To get the Biter Fedora in Demonology, offer six relics at the altar during The Hollow quest, escape through the portal, and claim your reward in The Hollow hub.
The Biter Fedora is an avatar item awarded through The Hollow, a Halloween quest in Demonology. The mission takes you into a high-contrast, black-and-white town, where each relic has a different collection task.
Escaping earns you The Way Back badge, with the hat available to claim back in the hub. This guide covers entering the event, solving the relic puzzles, and collecting the reward.
How do you survive the demon in Demonology?
A demon hunts you while you gather relics around the town, and a cutscene announces its arrival. Getting caught sends you back to the central altar. You can also be caught during a wardrobe hiding attempt, so entering a closet doesn’t guarantee an escape.
Movement controls and hiding options
| Action | Keybind / Mechanic |
|---|---|
| Sprint | Shift |
| Crouch | Ctrl |
| Drop an item | G or Q, as displayed on your HUD |
| Hide | Interact with a wardrobe closet |
How to get the Biter Fedora in Demonology
Enter the event, complete the six relic objectives, then escape and collect your reward in the hub.
Part 1 – Enter Demonology and launch the quest
Start from The Hollow hub and select the event inside Demonology.
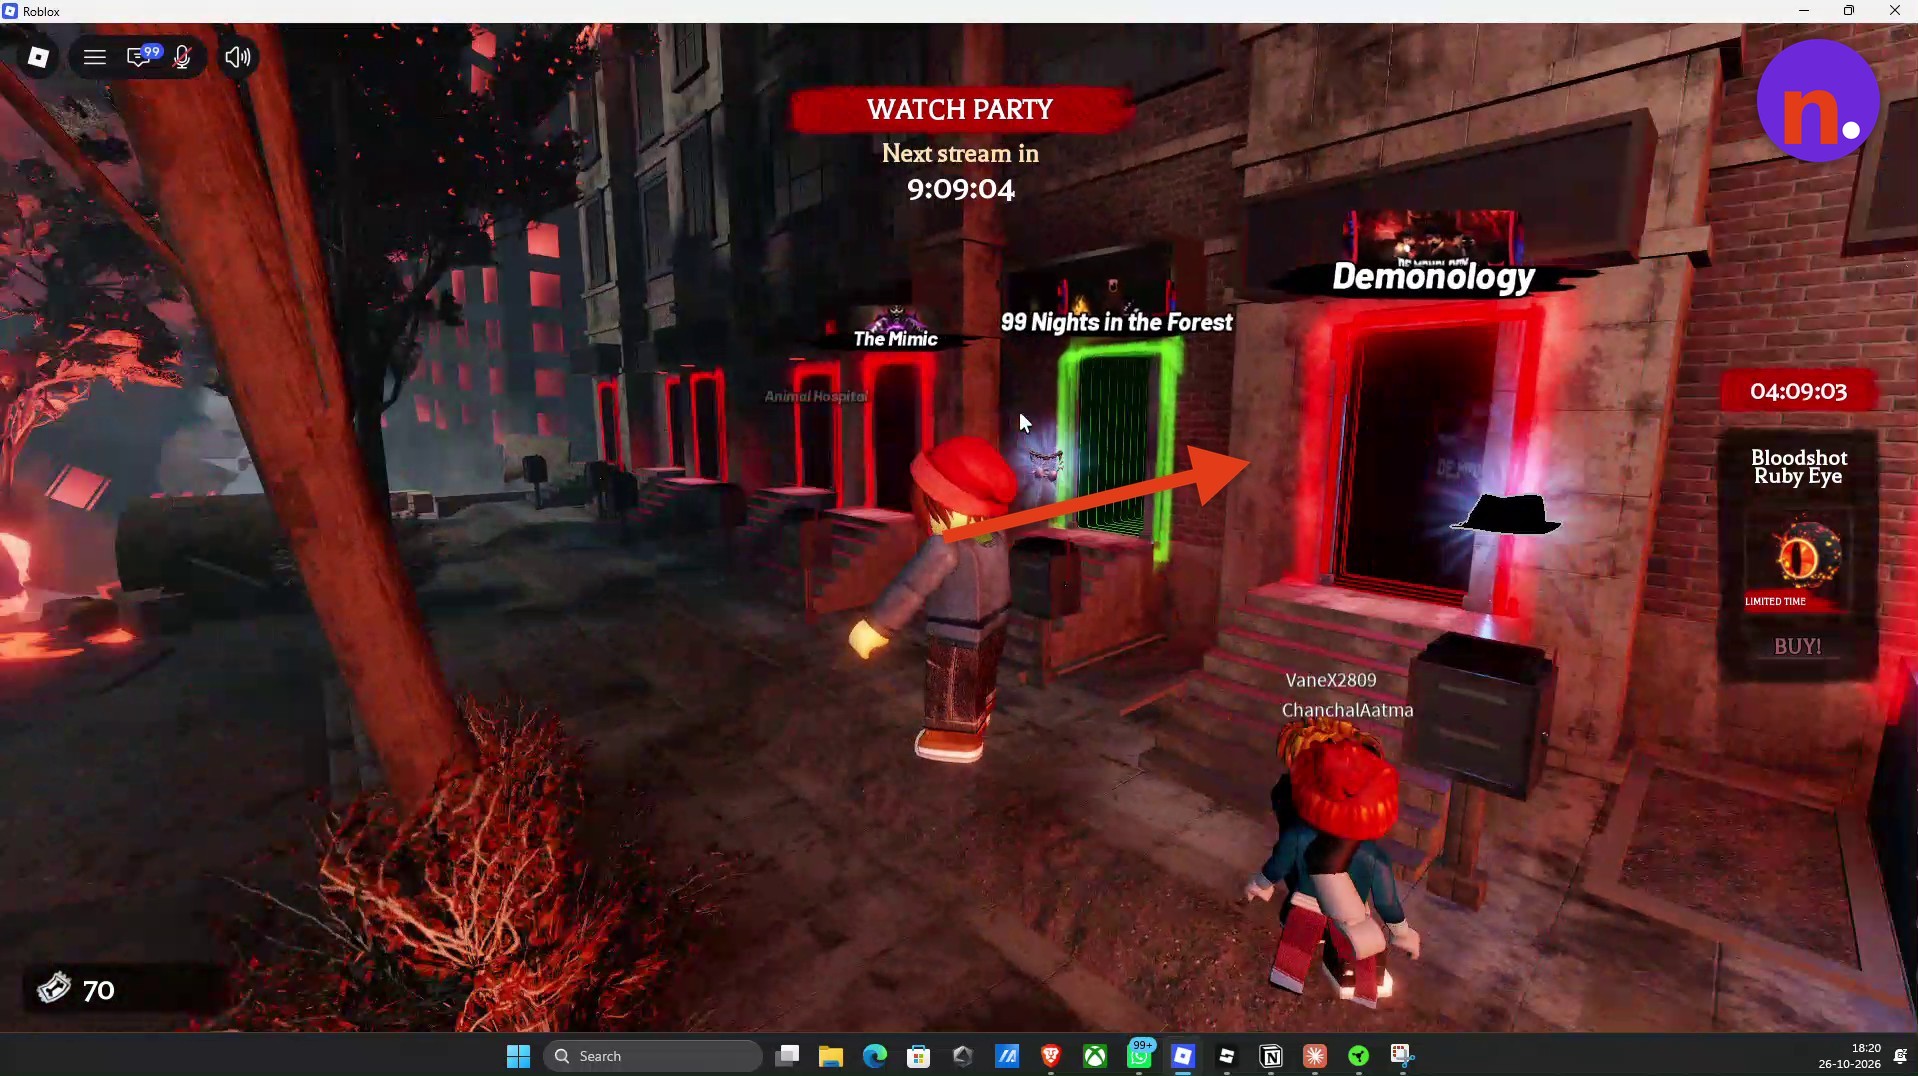
Enter the Demonology portal
Approach the Demonology doorway in The Hollow hub and walk inside to bring up the teleport prompt.
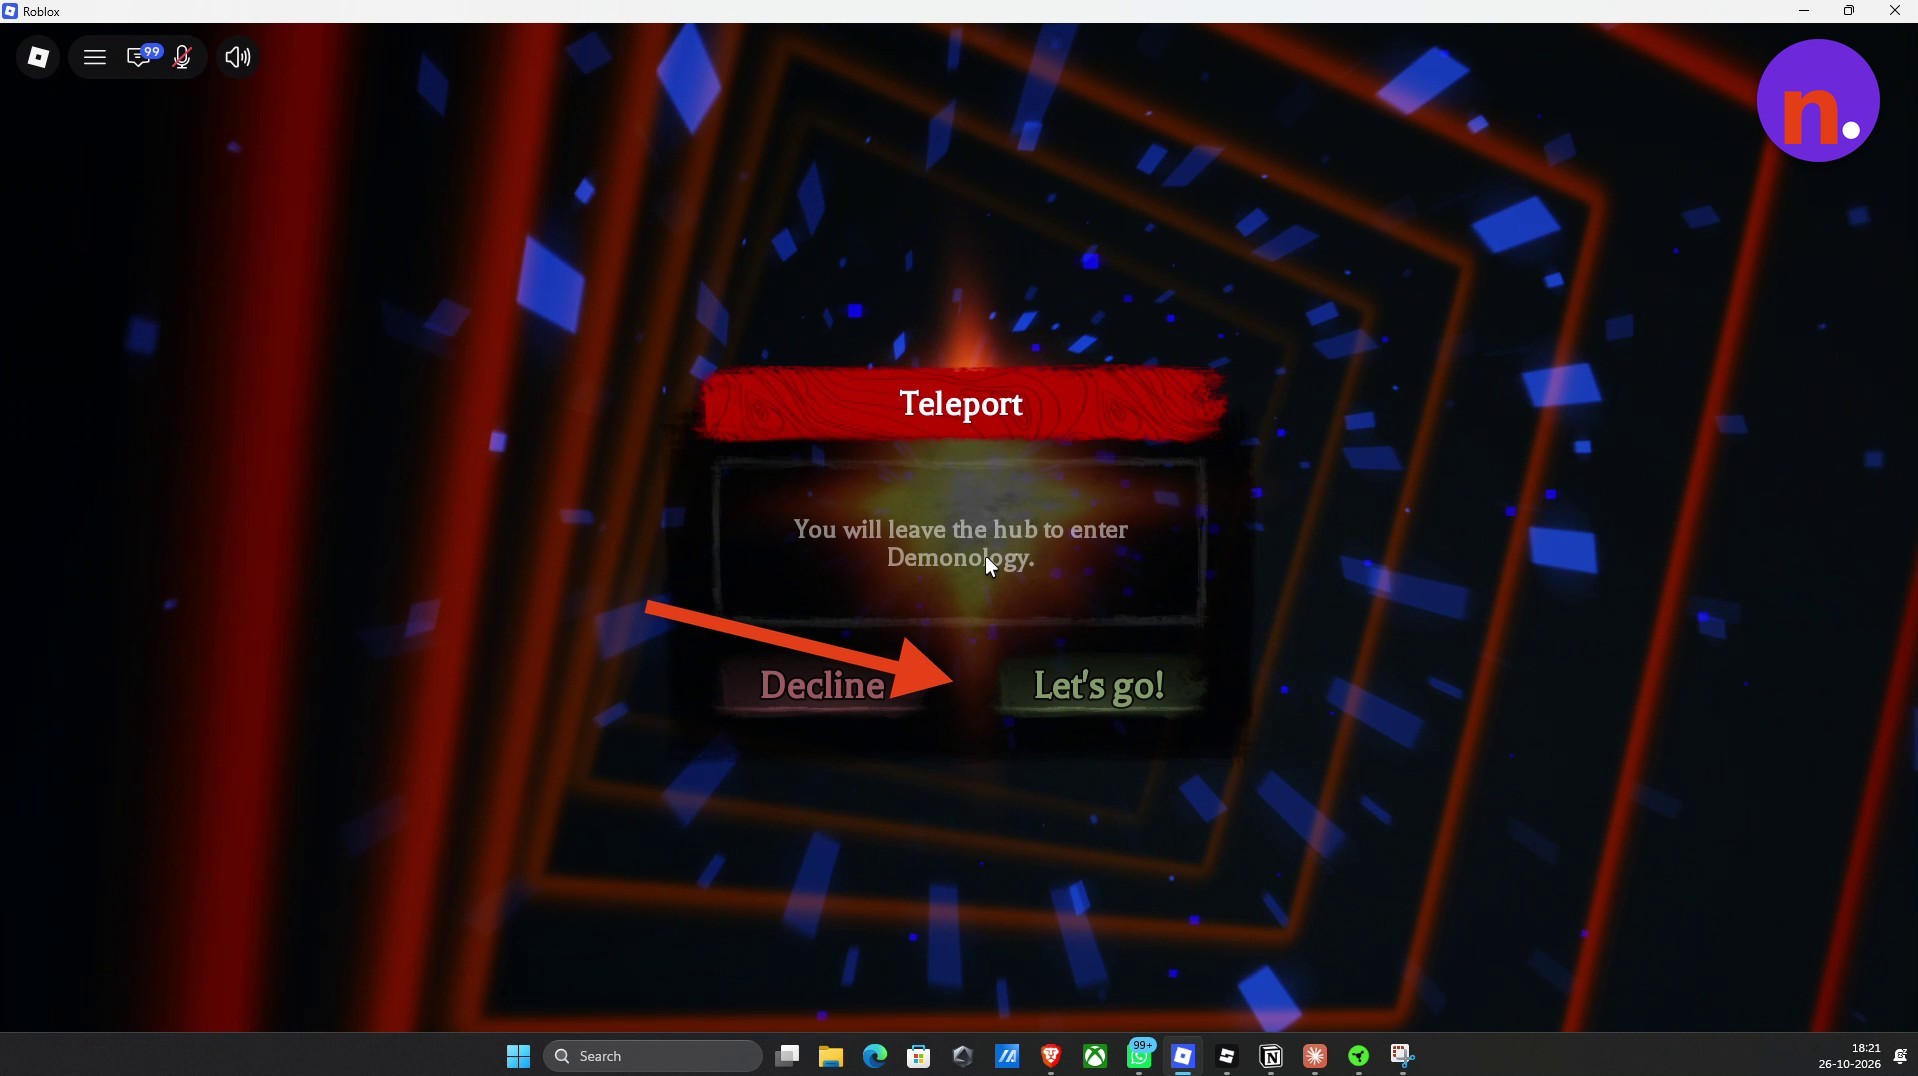
Confirm the teleport
The prompt names Demonology as your destination. Press Let's go! to leave the hub and travel there.
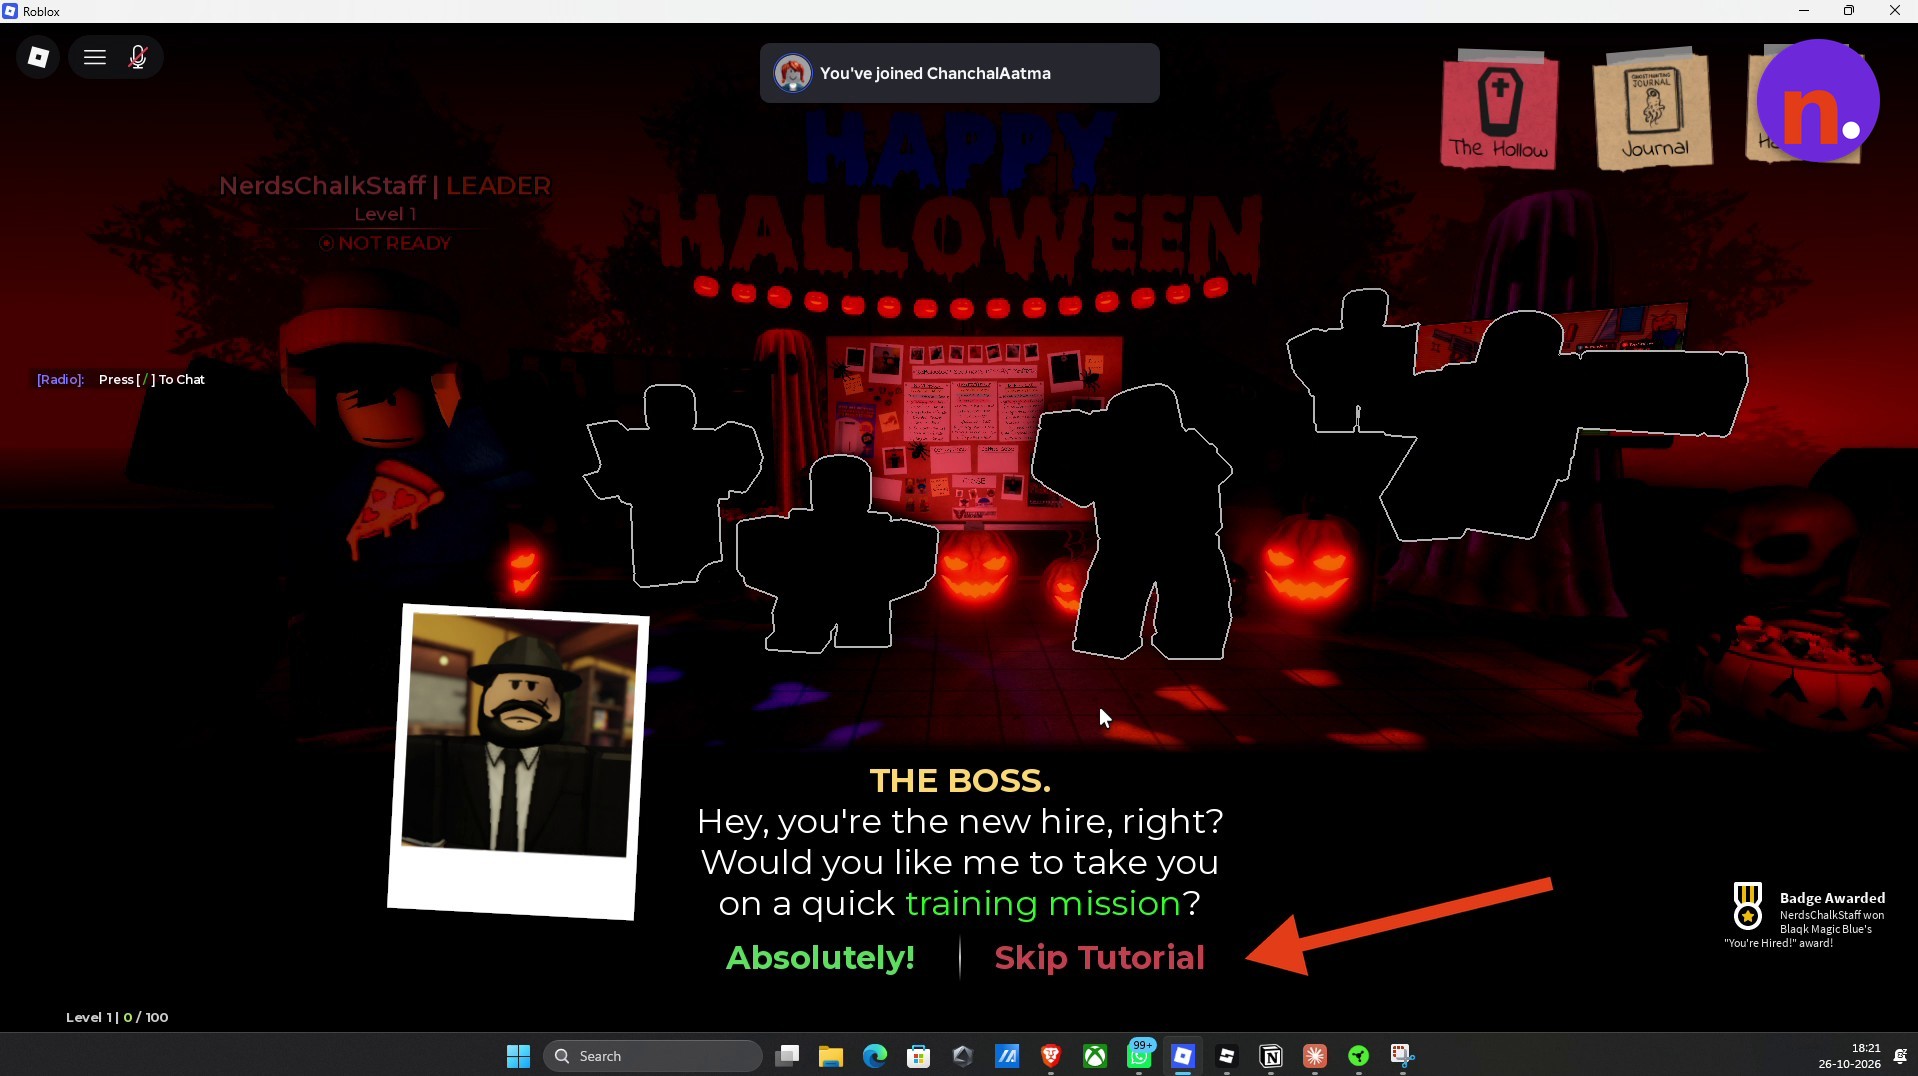
Skip the tutorial dialogue
When The Boss offers a training mission in the lobby, choose Skip Tutorial to continue toward the event.
Select The Hollow event
Open the The Hollow tab in the upper-right corner of the lobby screen to bring up the event quest prompt.
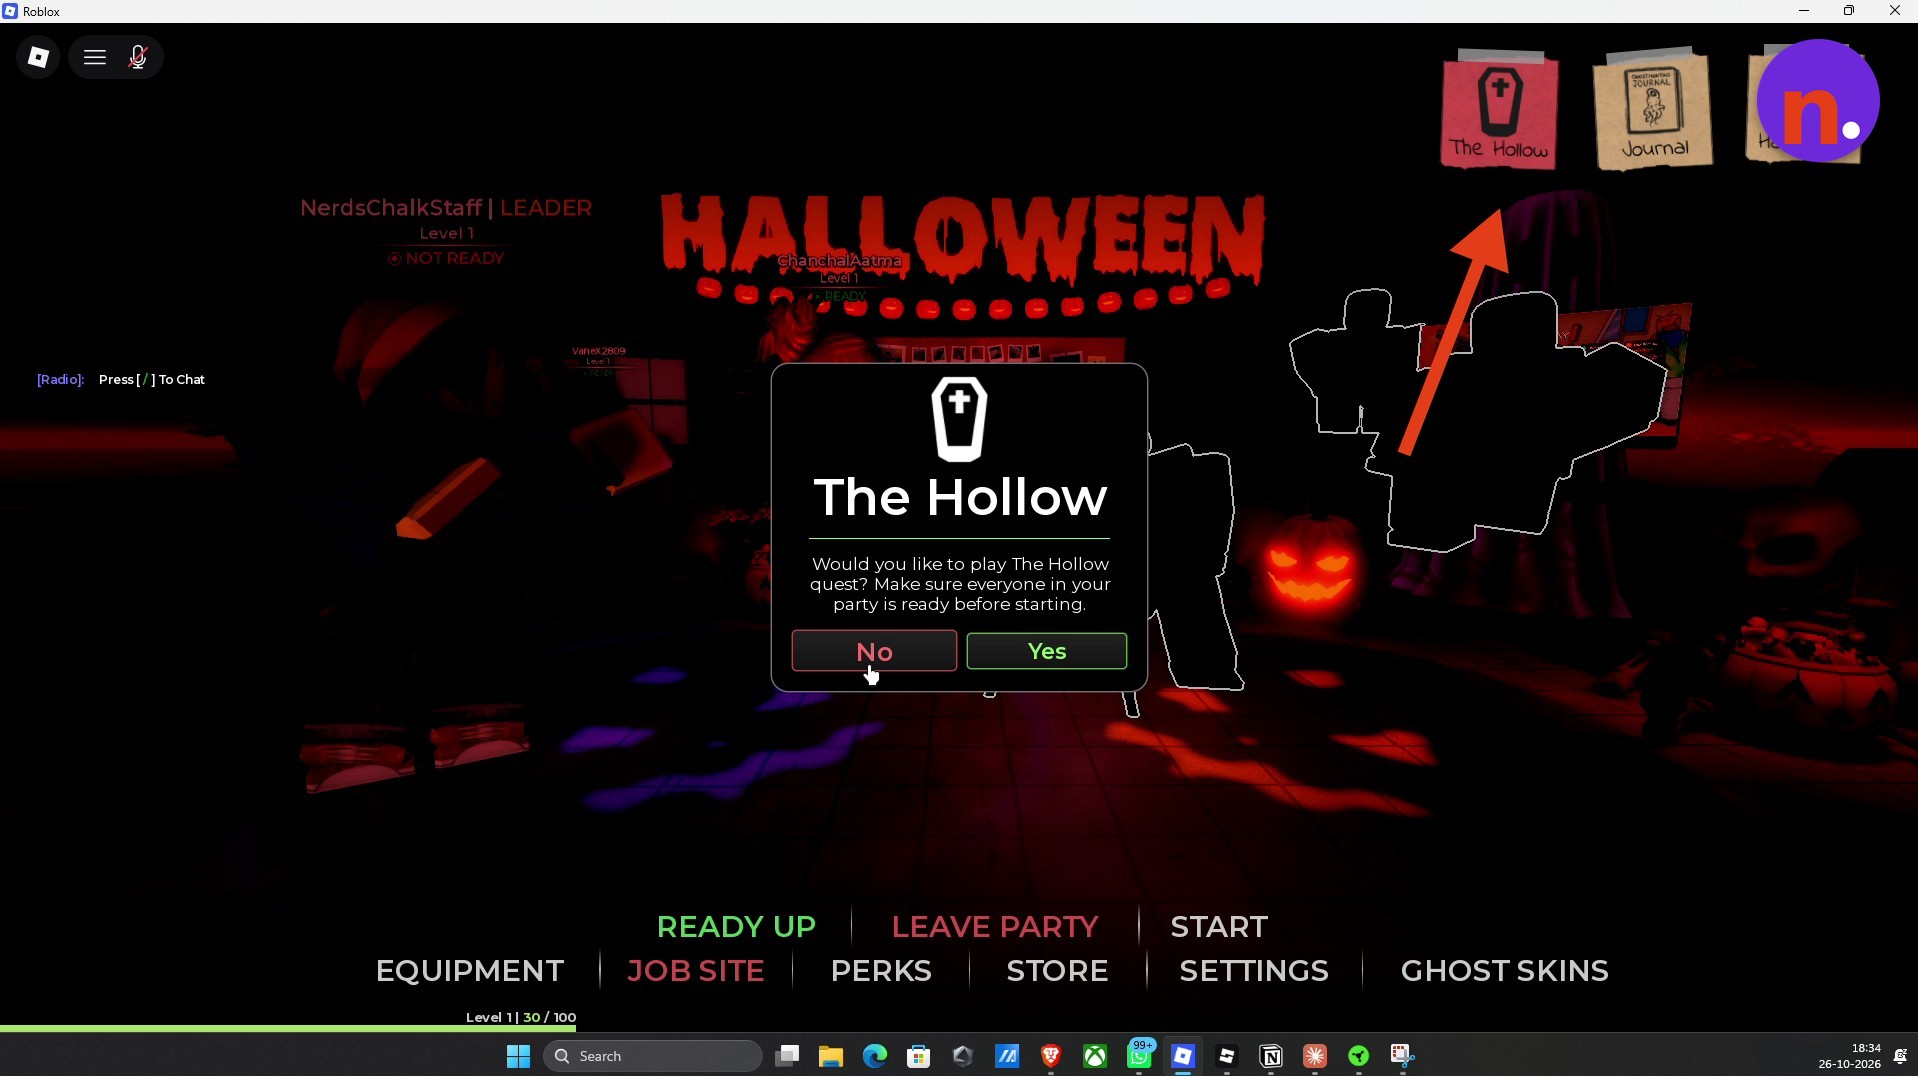
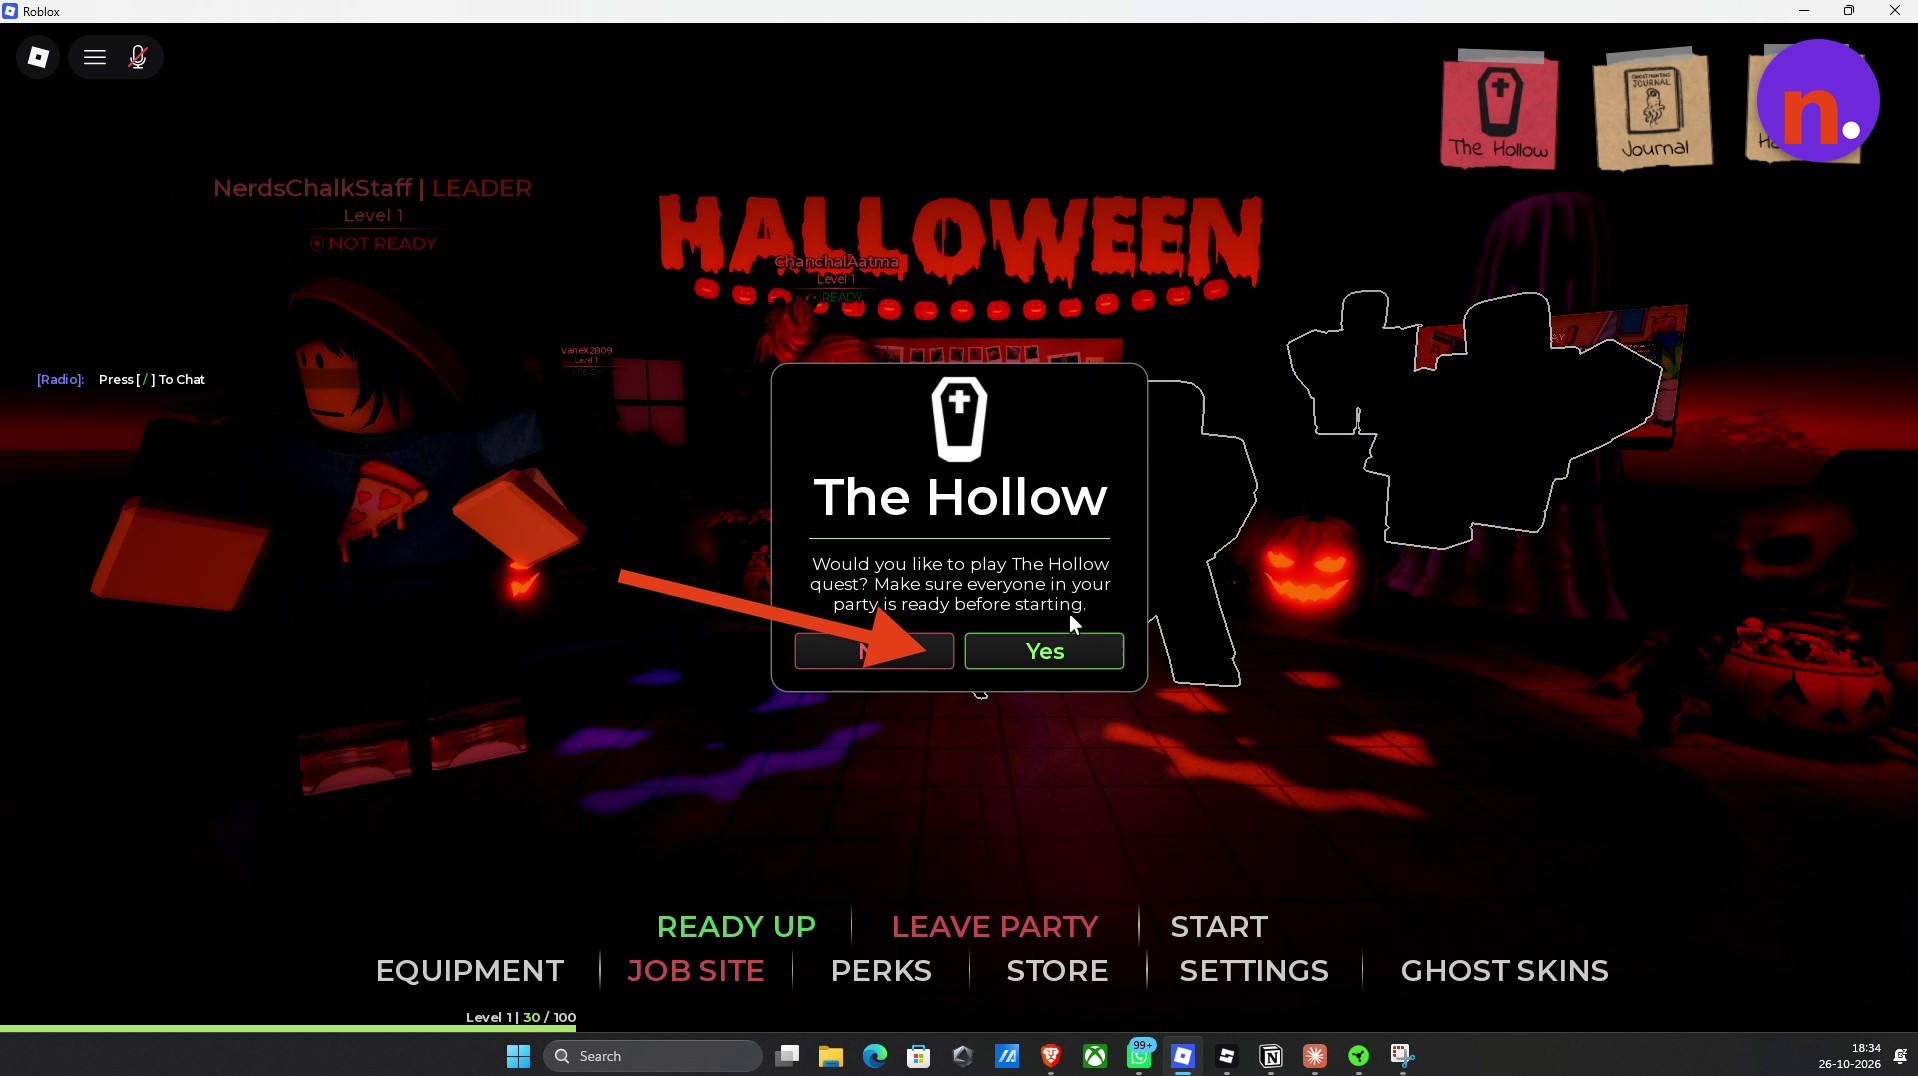
Start The Hollow mission
Make sure every party member is ready before choosing Yes in the quest popup. Accept any streaming prompt that appears as the mission starts.
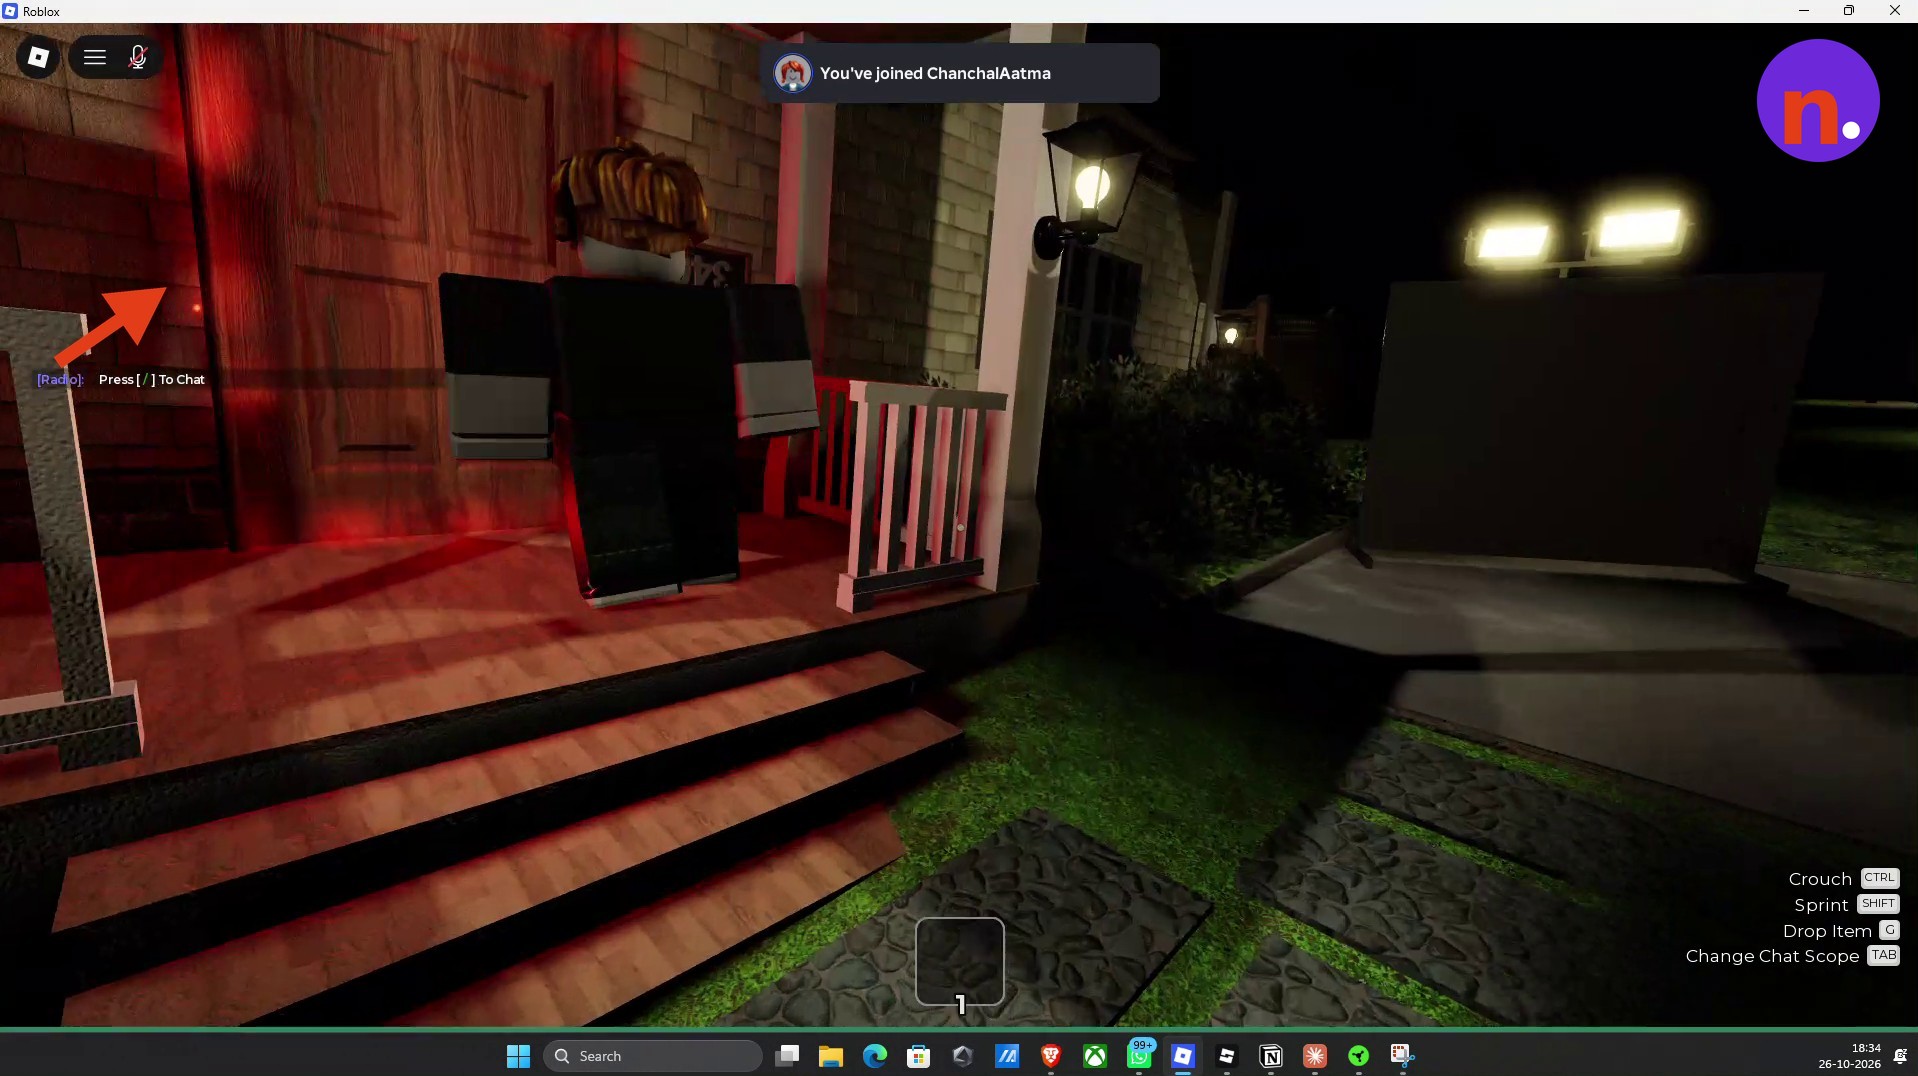
Enter the house
An Objectives whiteboard stands outside the house. Walk through the red-lit front entrance to trigger the transition cutscene.
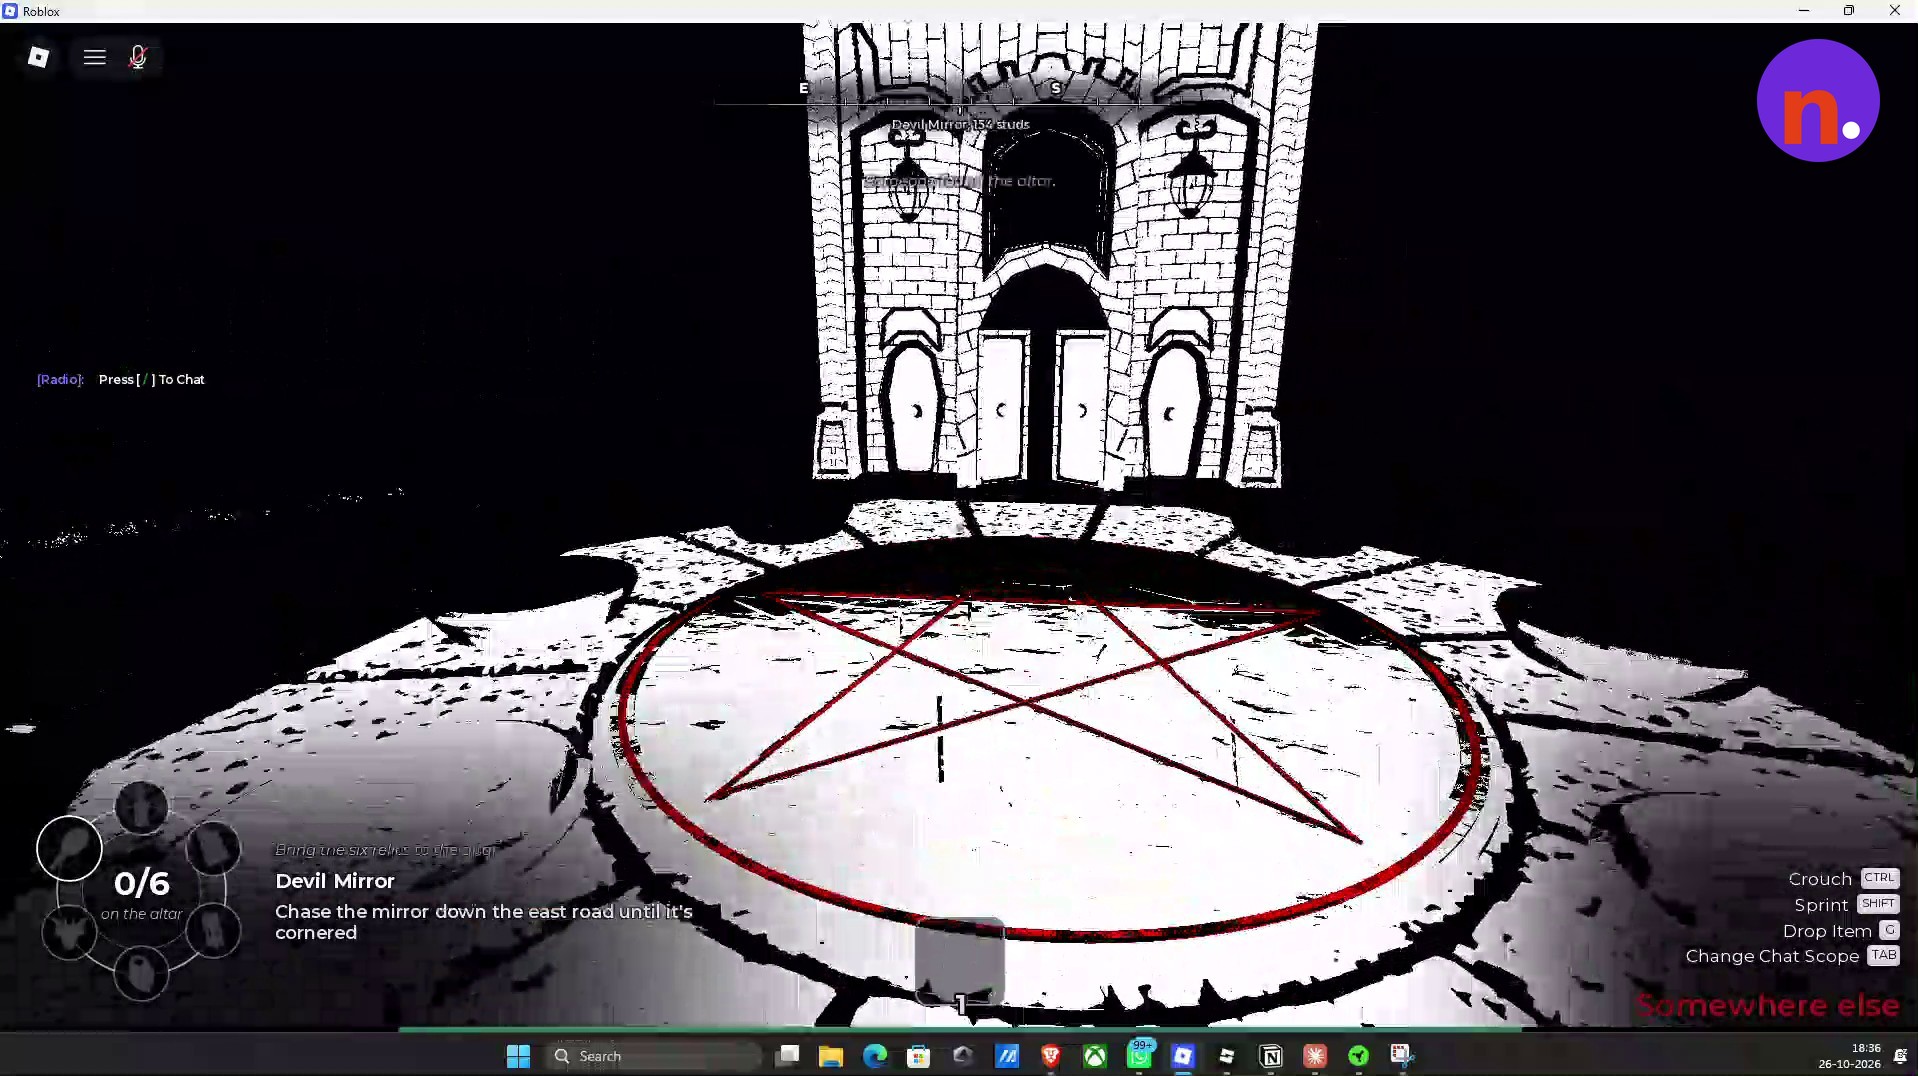
Follow the compass to the altar
Follow the compass’s red indicator south-east toward the central square. Look for the altar structure marked with a pentagram; this is where you’ll submit the relics.
Part 2 – Collect and offer the six relics
Complete each relic’s objective and deliver it to the altar.
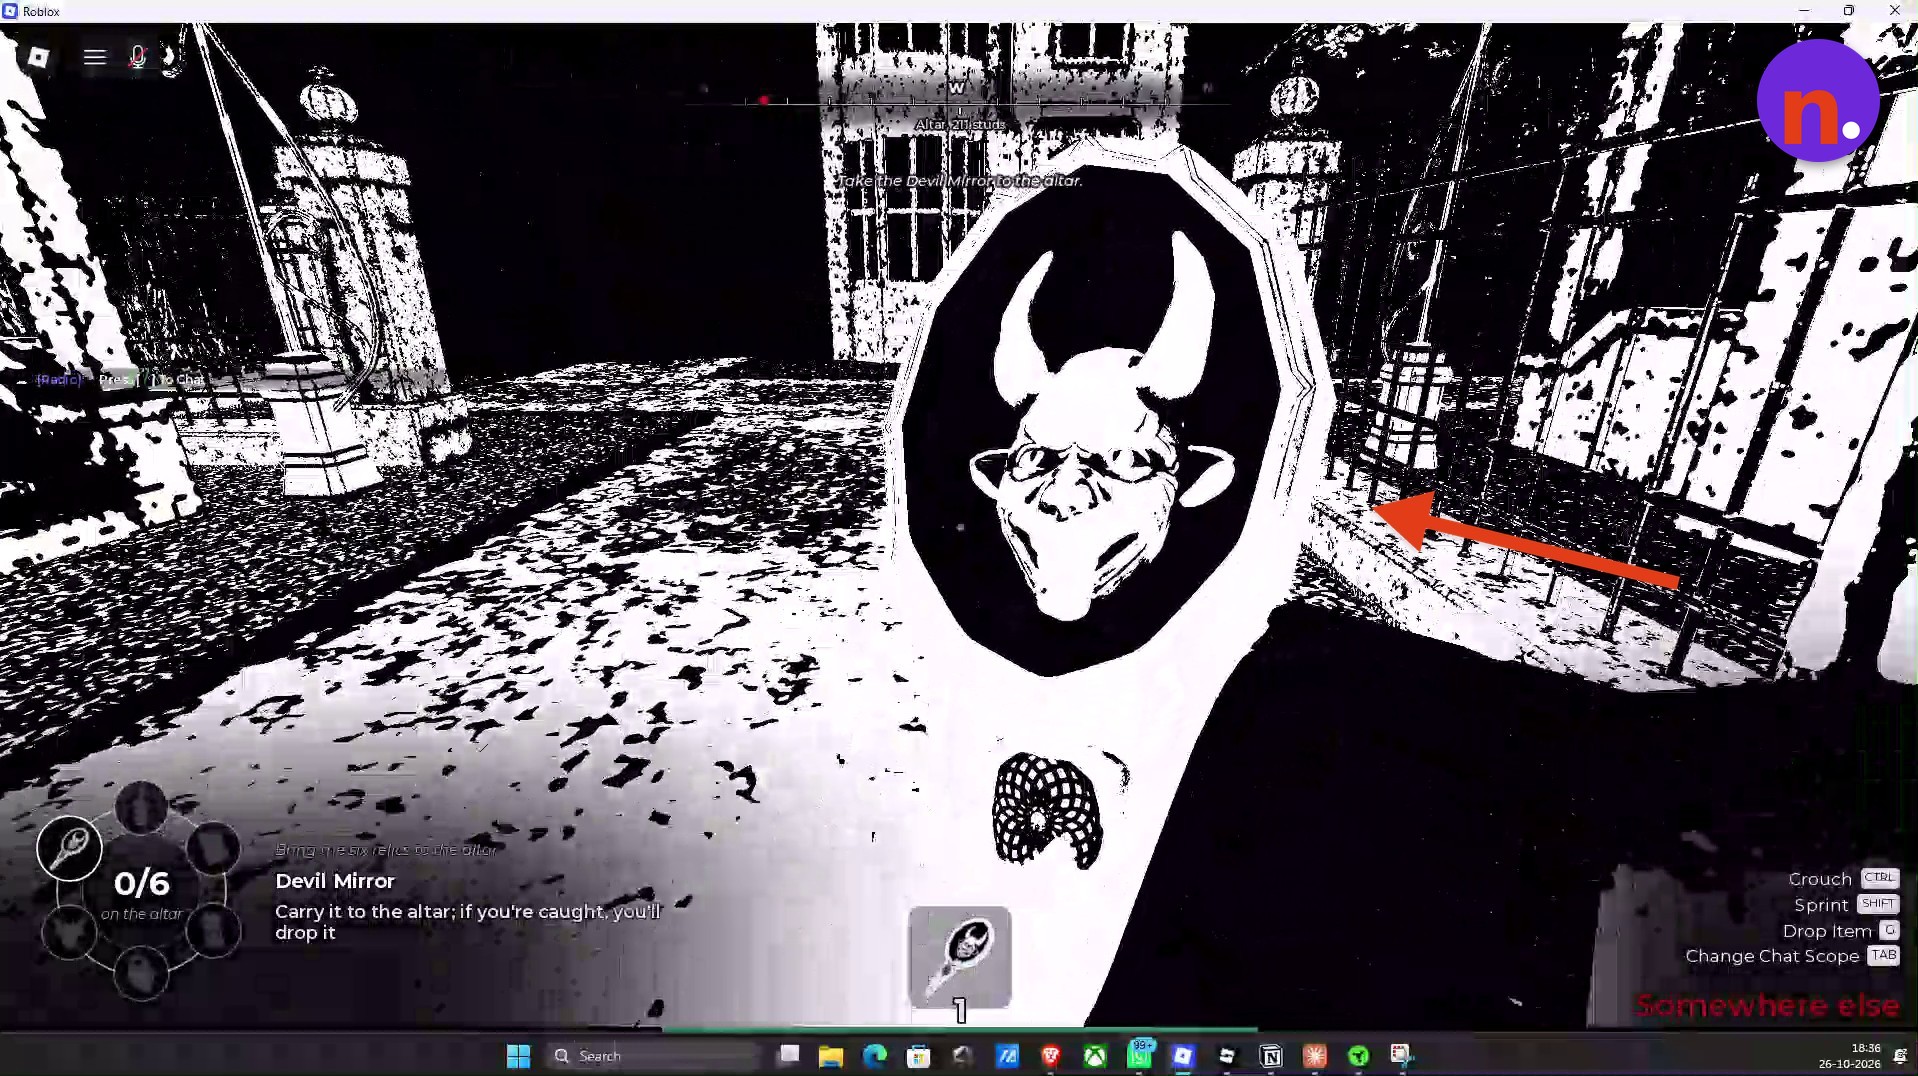
Collect and submit the Devil Mirror
Chase the Devil Mirror down the east road until it’s cornered. Pick it up once it stops escaping, then carry it back and place it on the altar.
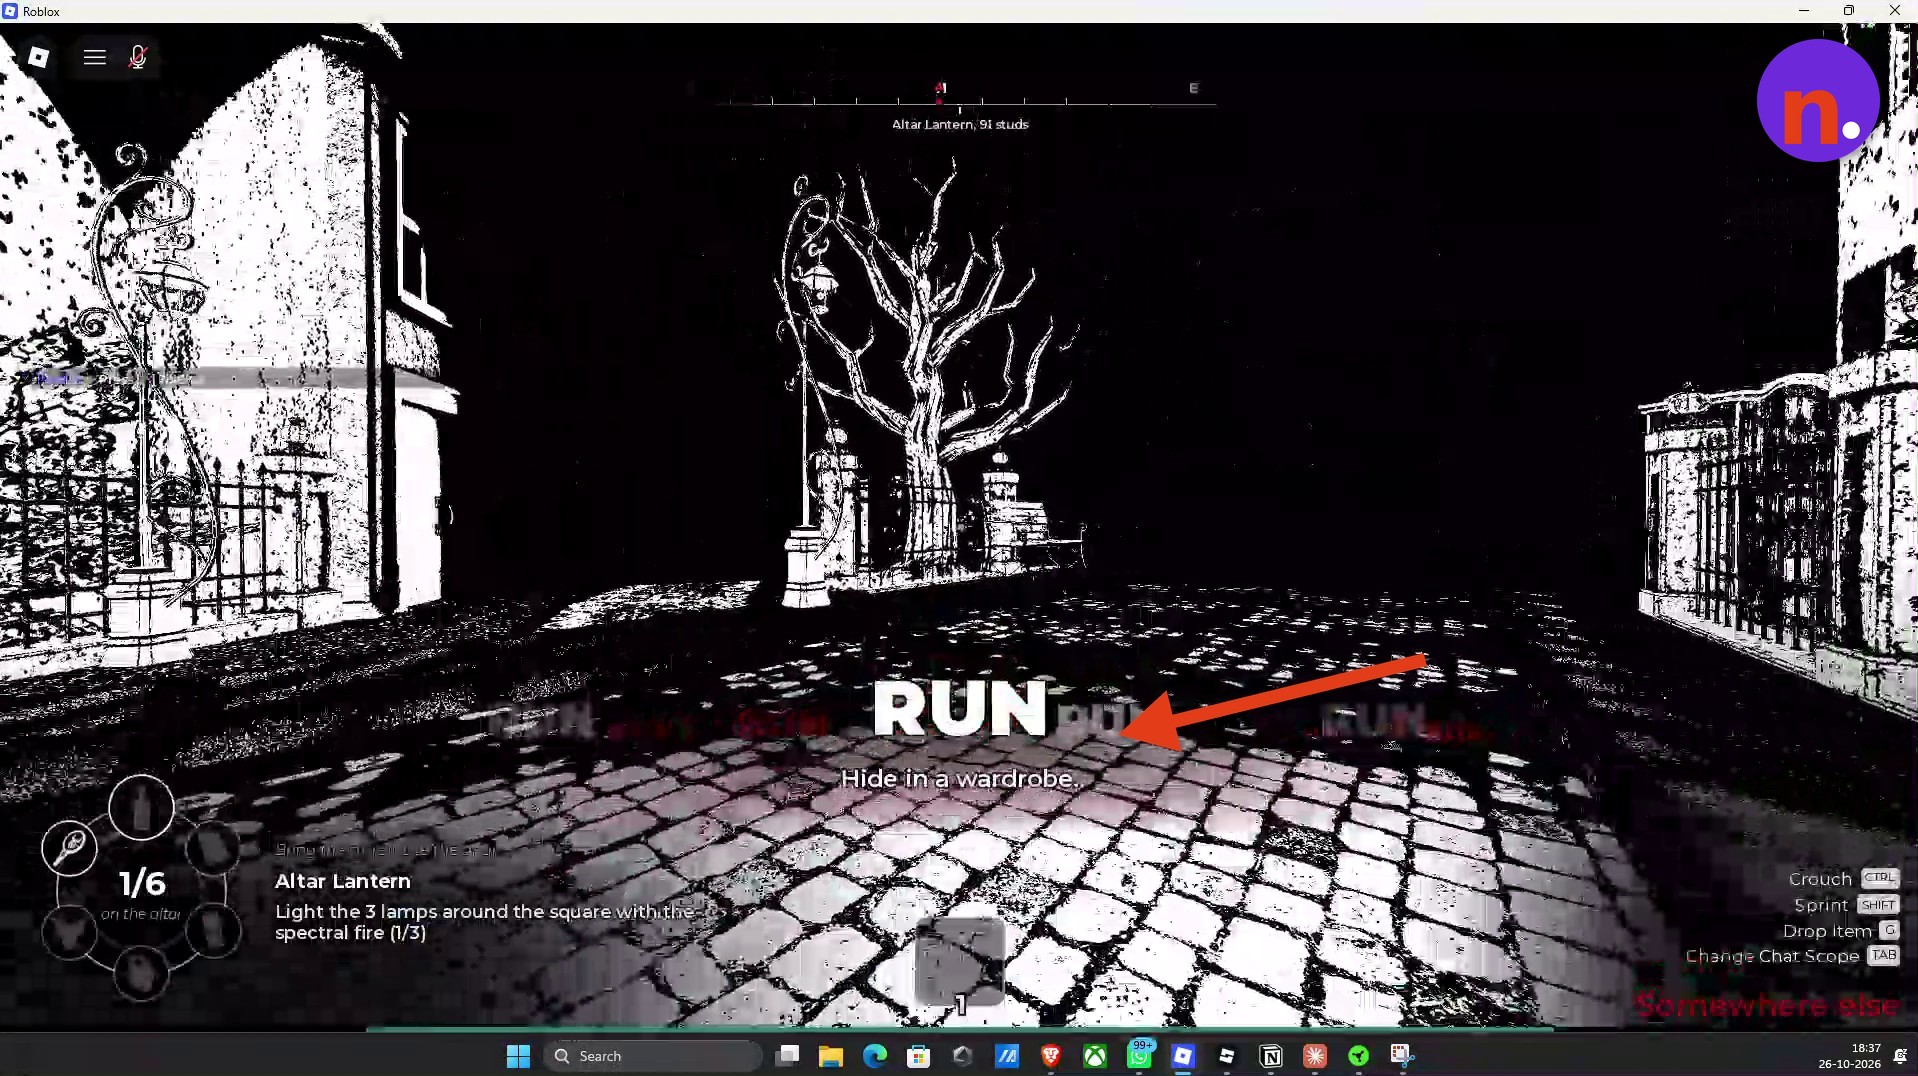
Hide in a wardrobe
When RUN appears with Hide in a wardrobe underneath, get inside a wardrobe. Stay hidden until the monster passes, then come out.
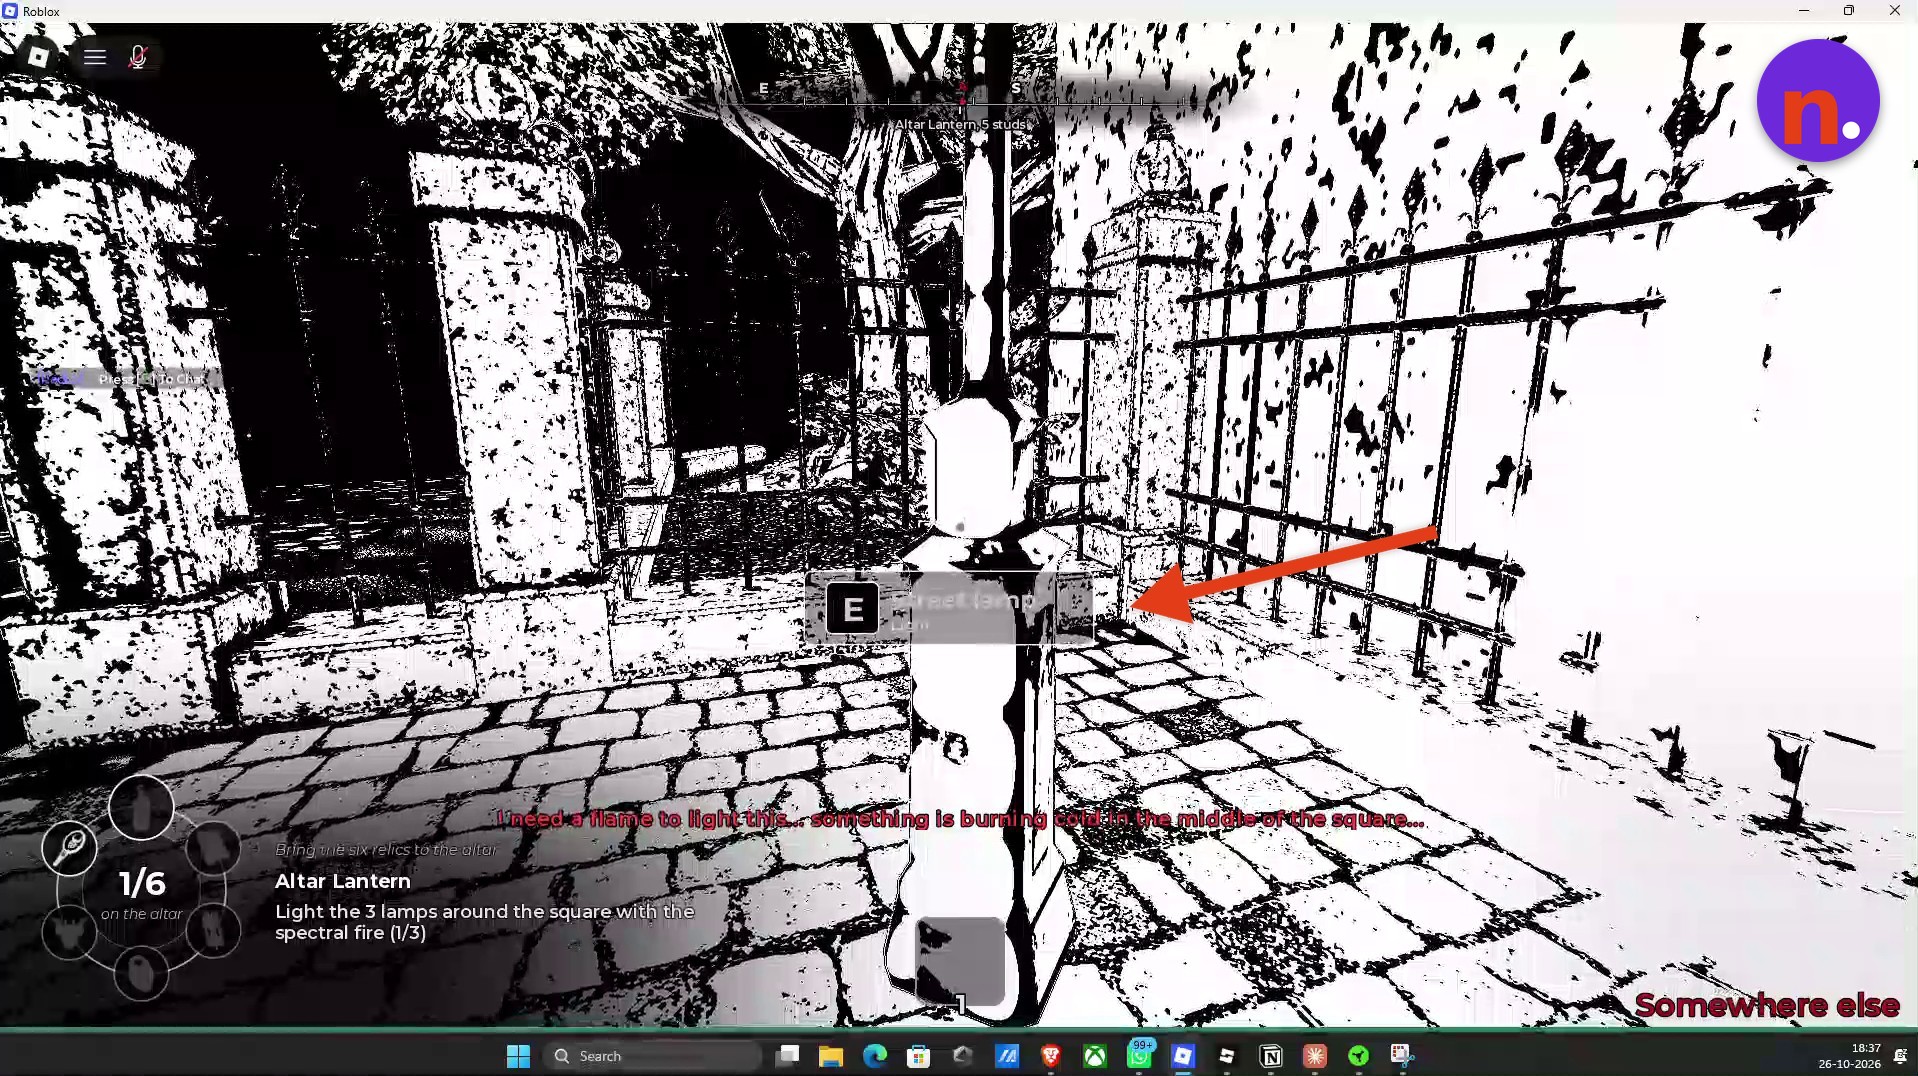
Light the lamps around the square
Complete the objective: Light the 3 lamps around the square with the spectral fire. Go to the street lamps around the square and press E at a lamp; the prompt reads Street lamp. The lamp’s line is: “I need a flame to light this… something is burning cold in the middle of the square…”
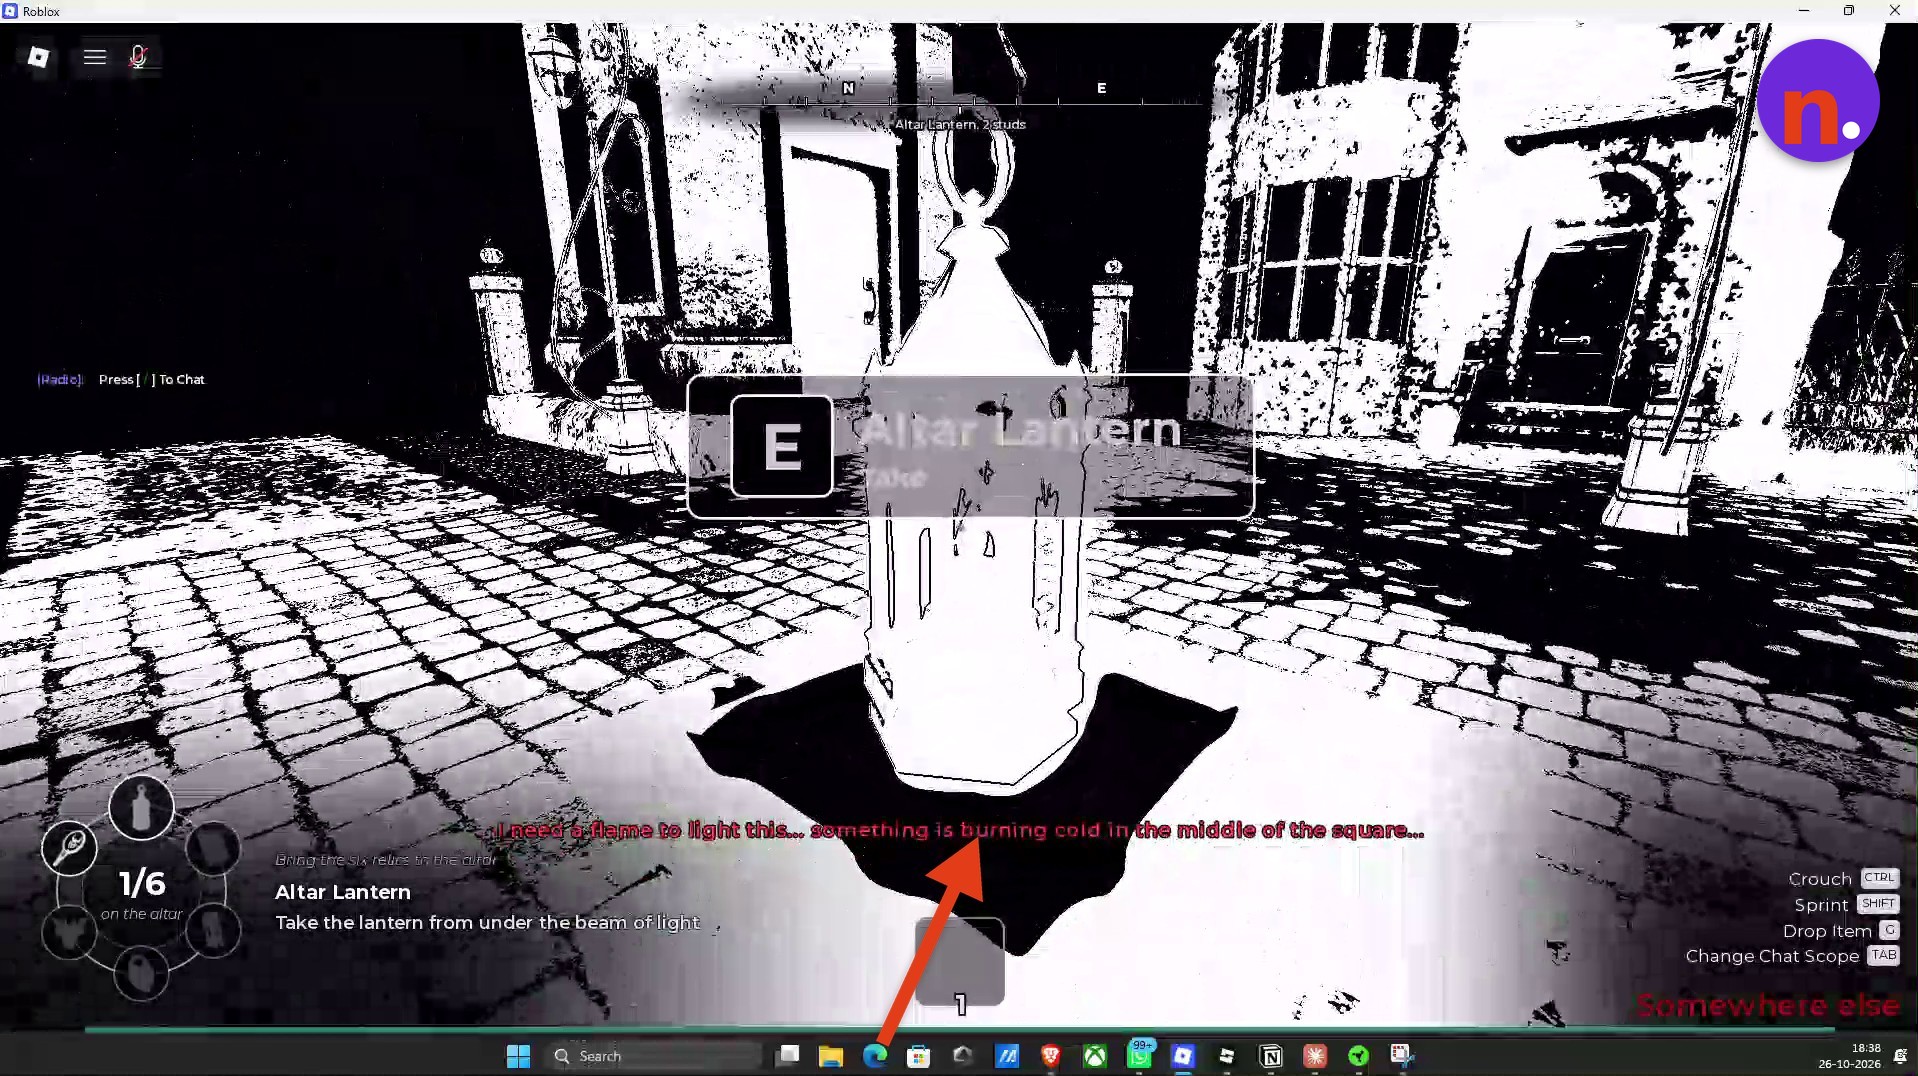
Pick up the Altar Lantern
Take the Altar Lantern from beneath the beam of light in the square using E.
Hide again when the monster returns
When the monster returns, get inside a wardrobe again. Stay hidden until it passes.
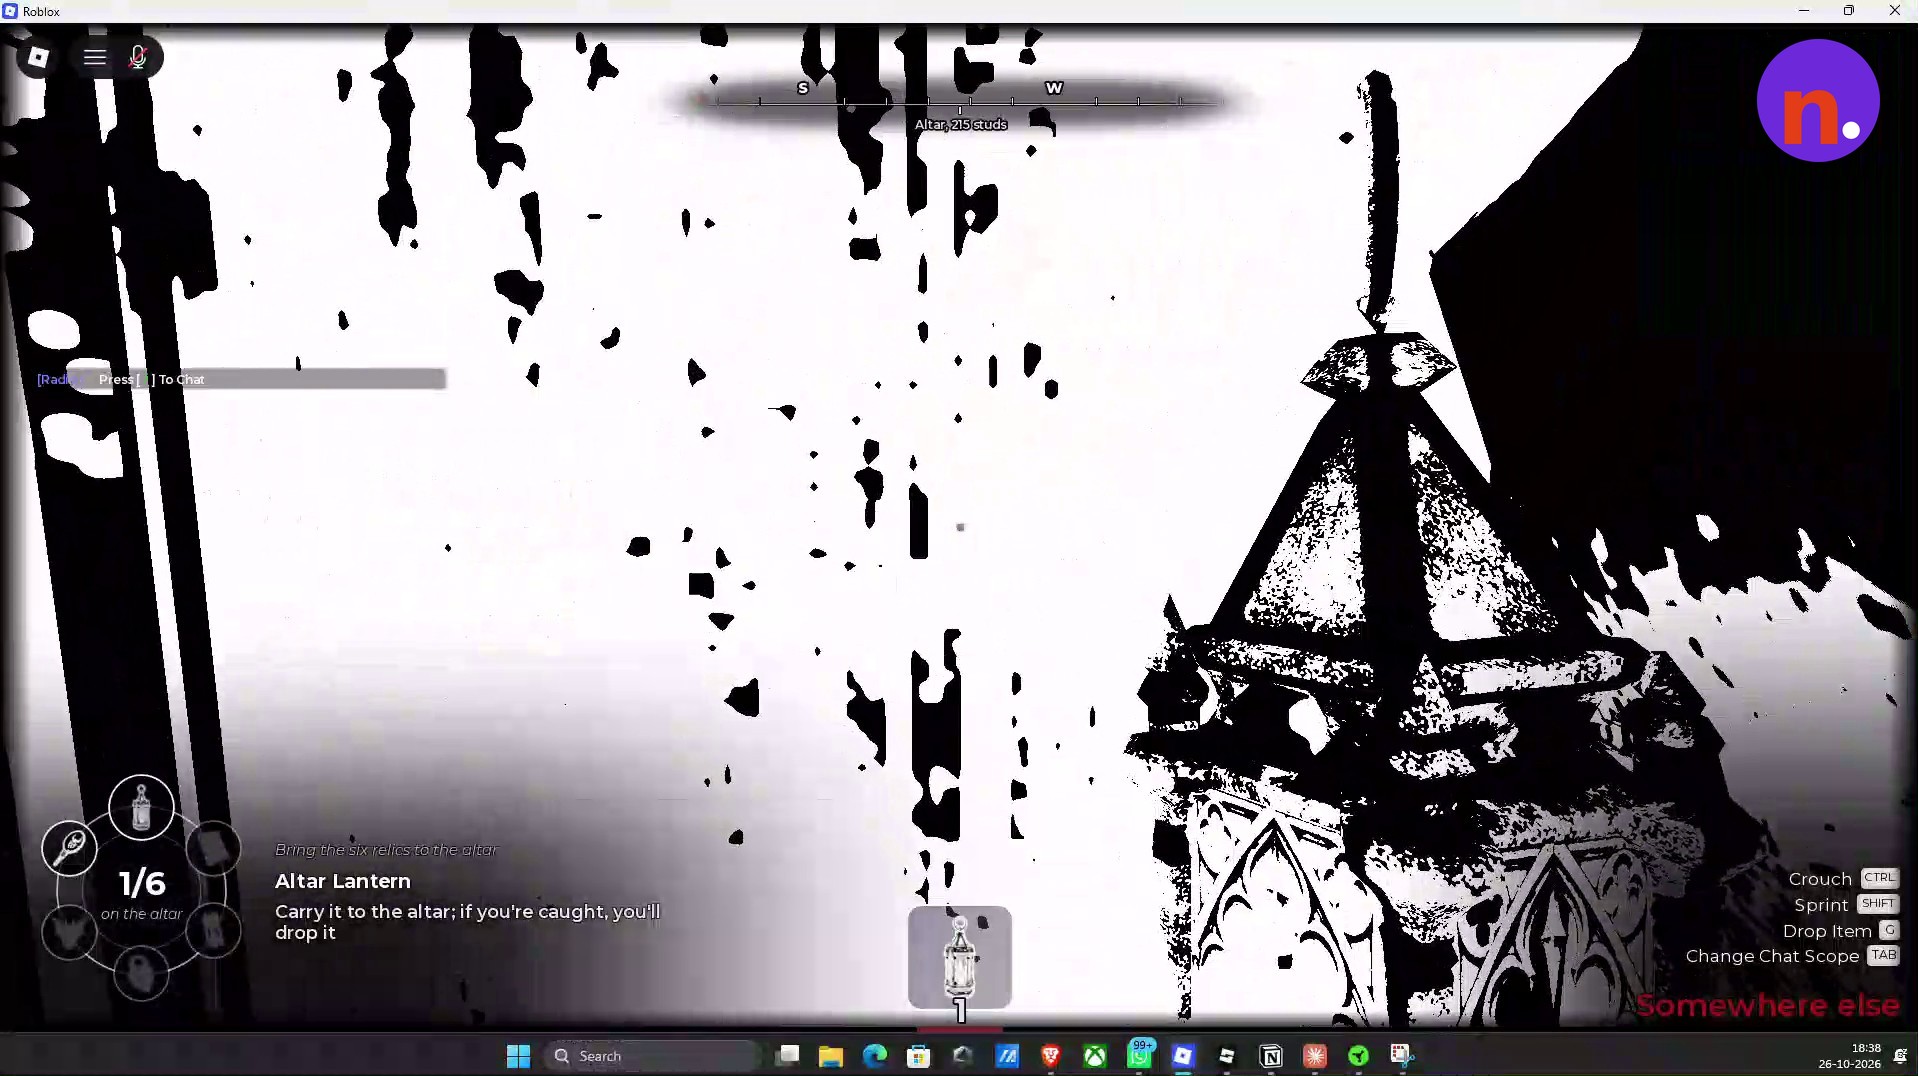
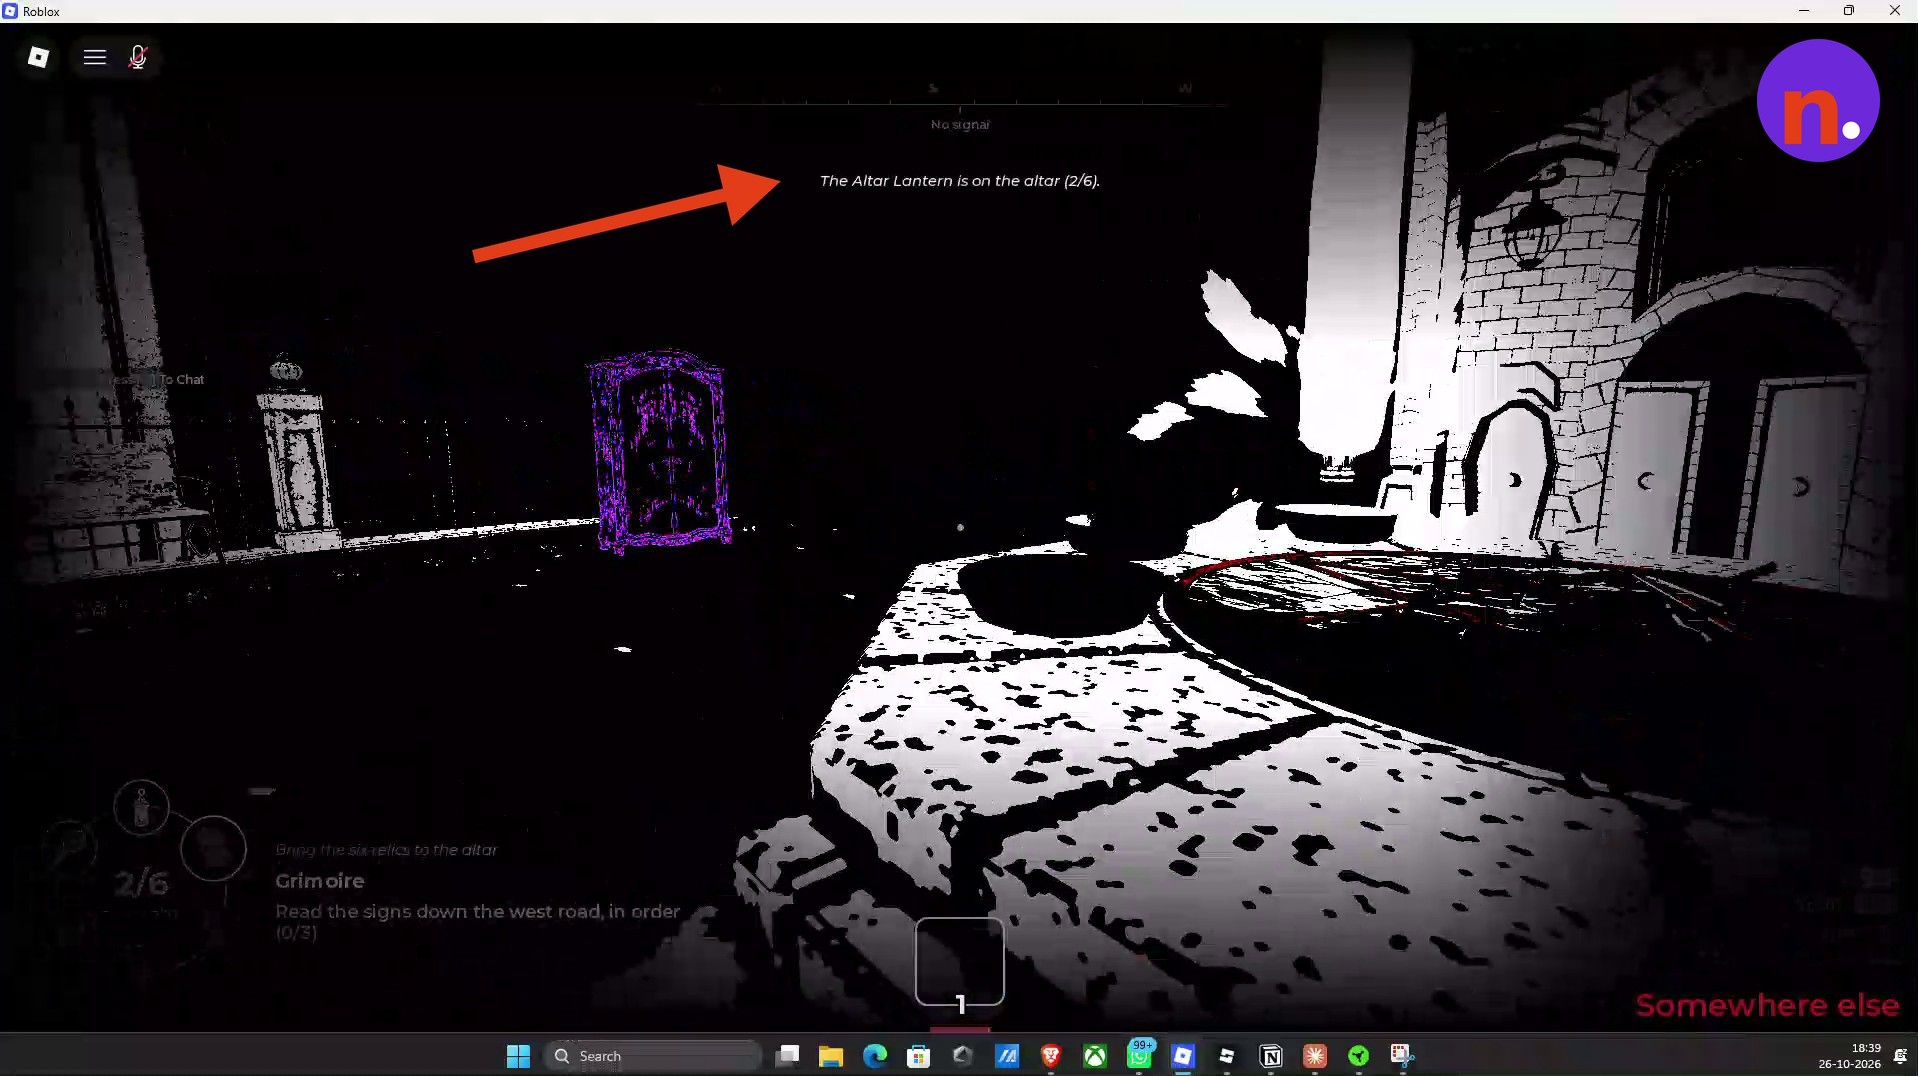
Place the lantern on the altar
Carry the Altar Lantern back to the altar and place it. The screen confirms: The Altar Lantern is on the altar (2/6).
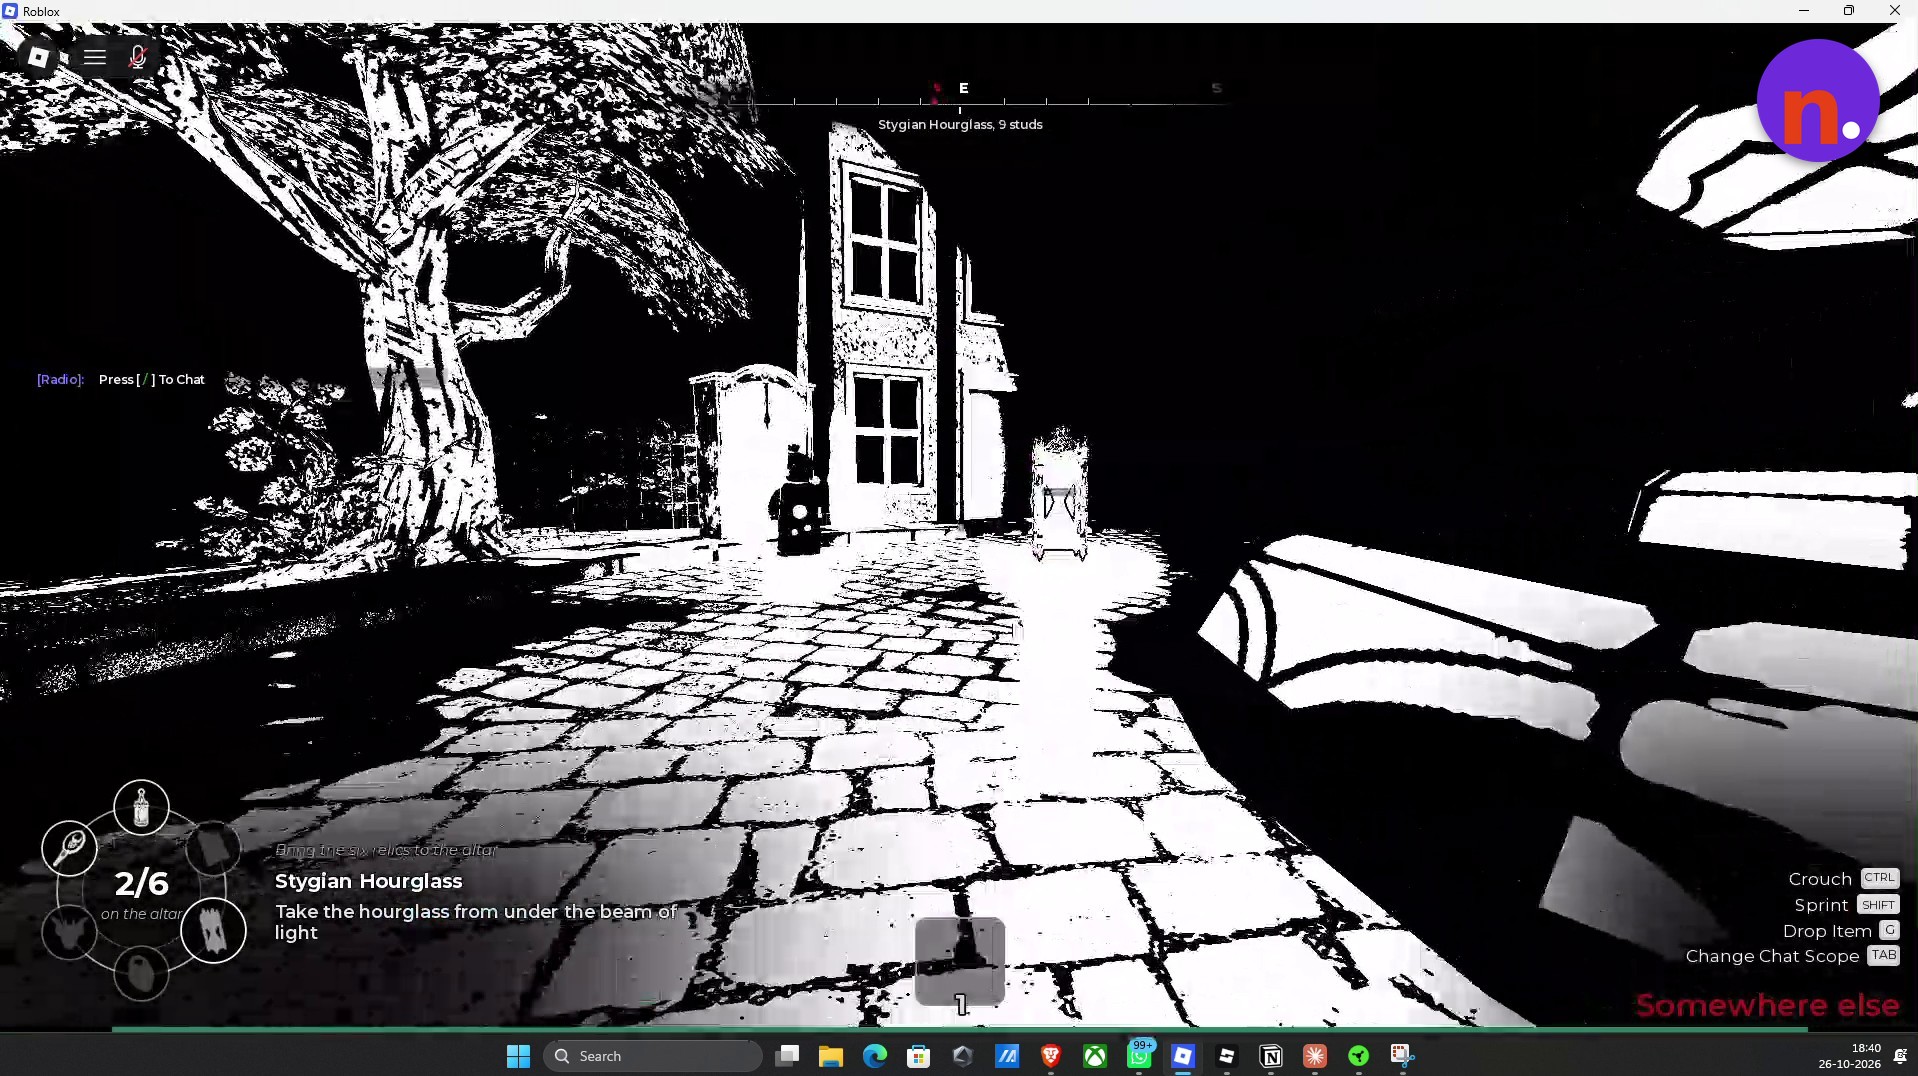
Charge and submit the Stygian Hourglass
Stay inside the moving ring around the fountain until the Stygian Hourglass reaches 100%. Once it’s charged, collect it beneath the beam of light and deliver it to the altar.
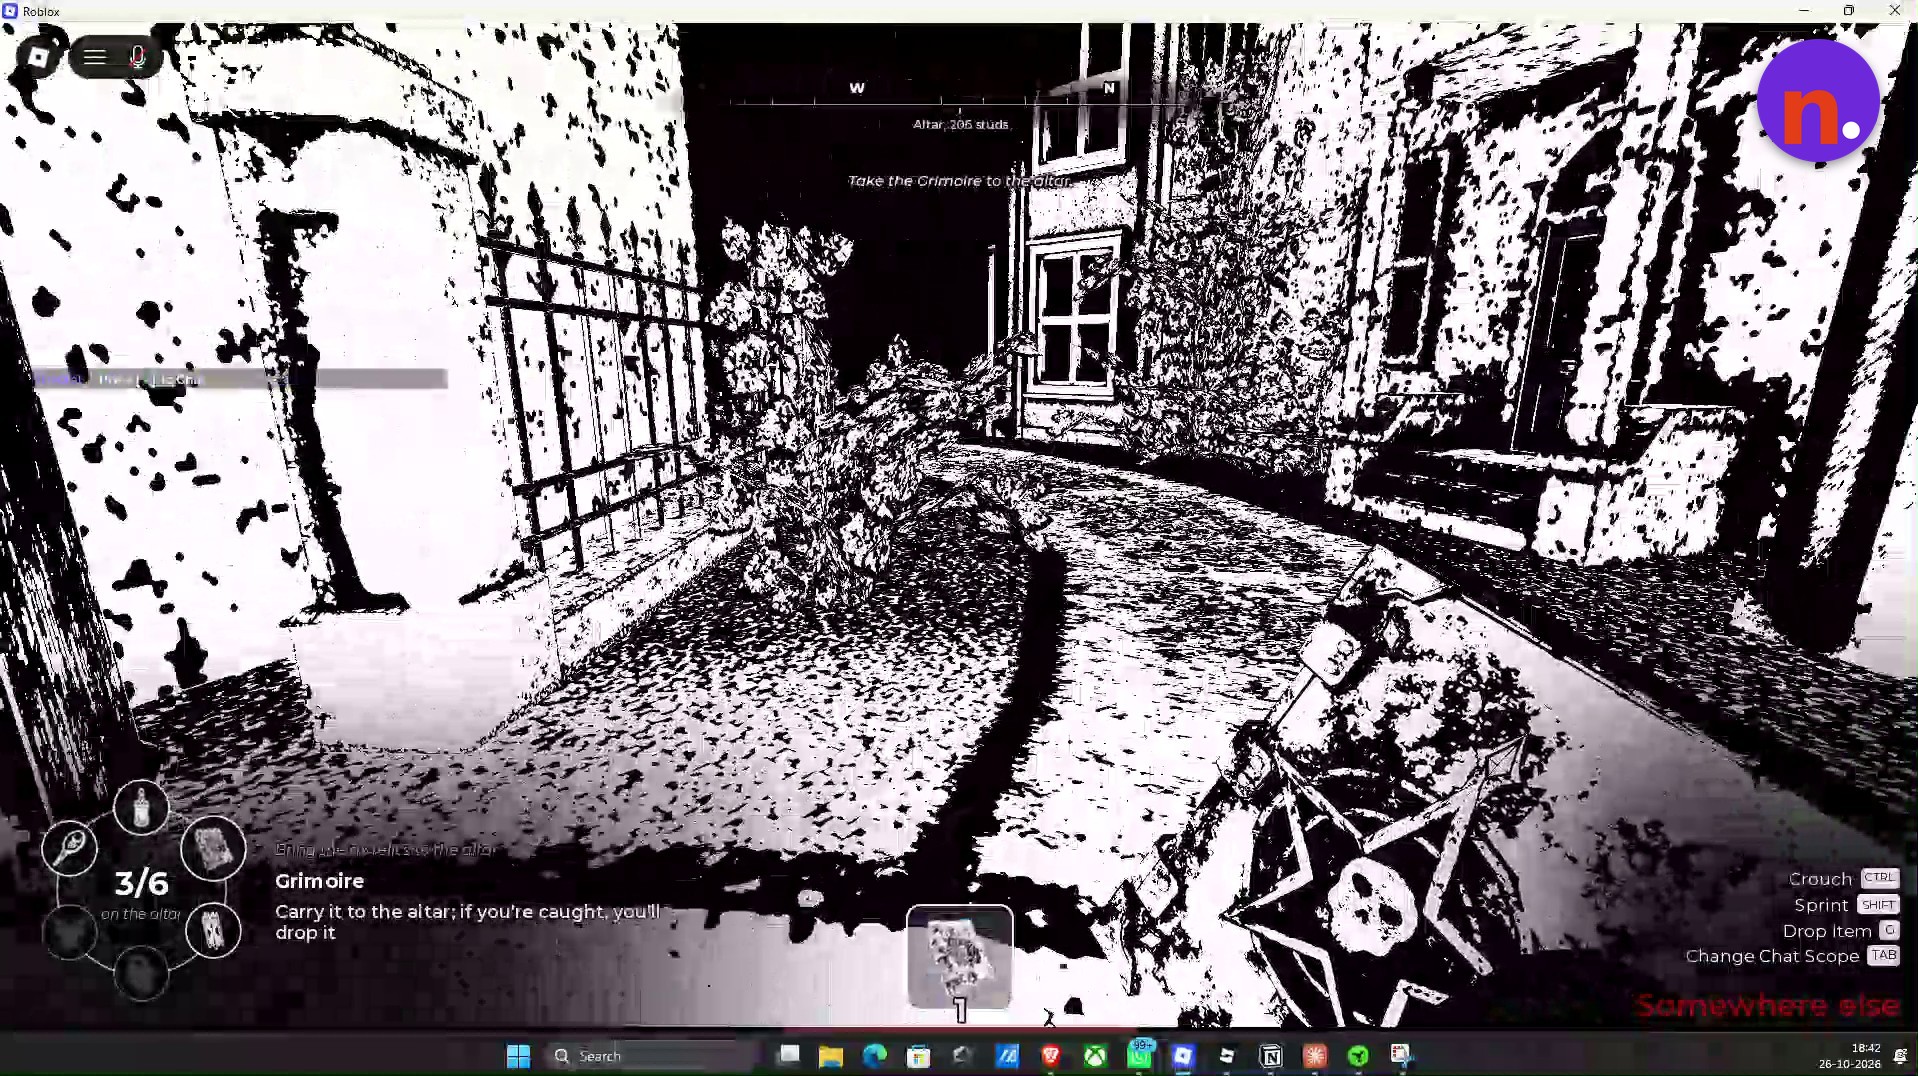
Read the signs and submit the Grimoire
Follow the west road and read its three hanging signs in order. Their clues lead to the Grimoire on the round garden pedestal; retrieve it and bring it back to the altar.
Find the lockpick and submit the Cursed Lock
Search the crates and barrels near the park gate for a lockpick, including the wooden barrels where it can be found. Use it to complete the timing minigame on the gate’s Cursed Lock, then take the lock and place it on the altar.
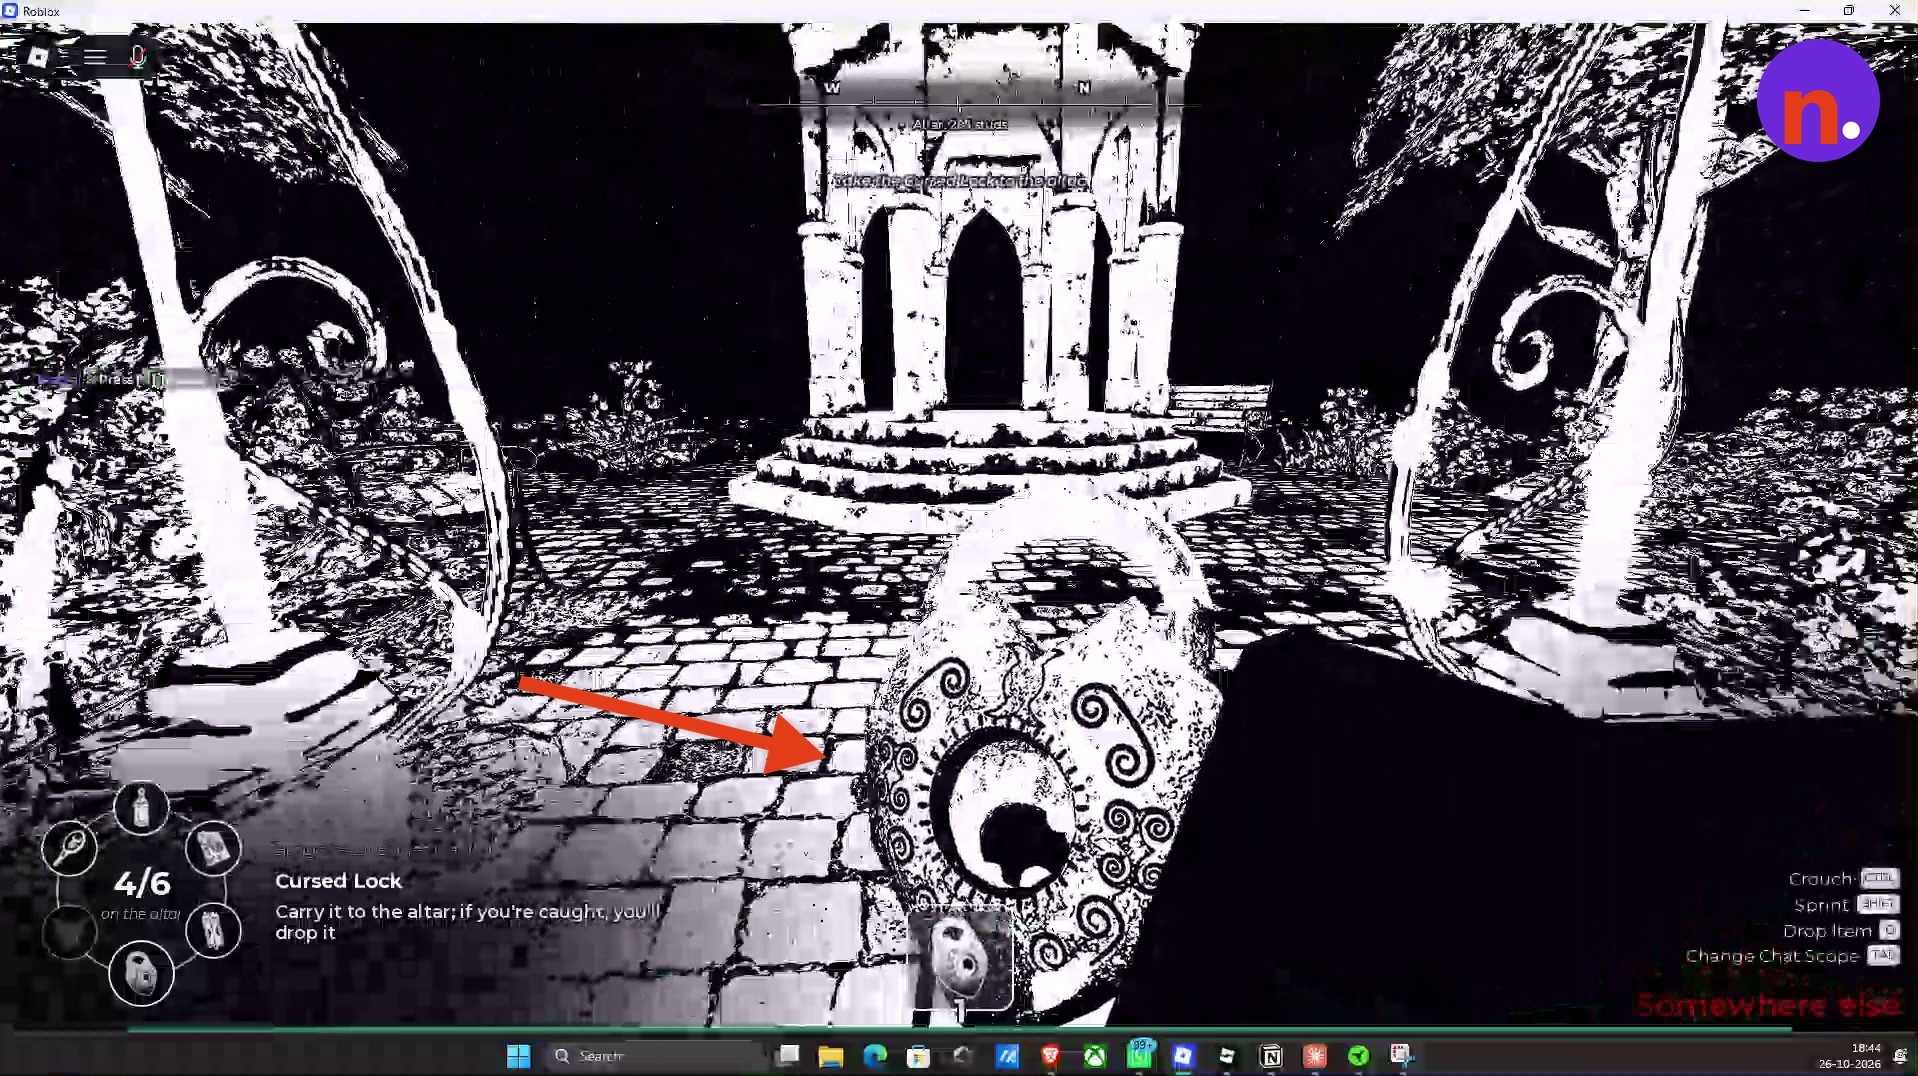
Dig up and submit the Skull of the Allseer
Find the shovel in the graveyard and use it on the freshly dug grave mound. Retrieve the Skull of the Allseer from the grave, then carry it back and place it on the altar.
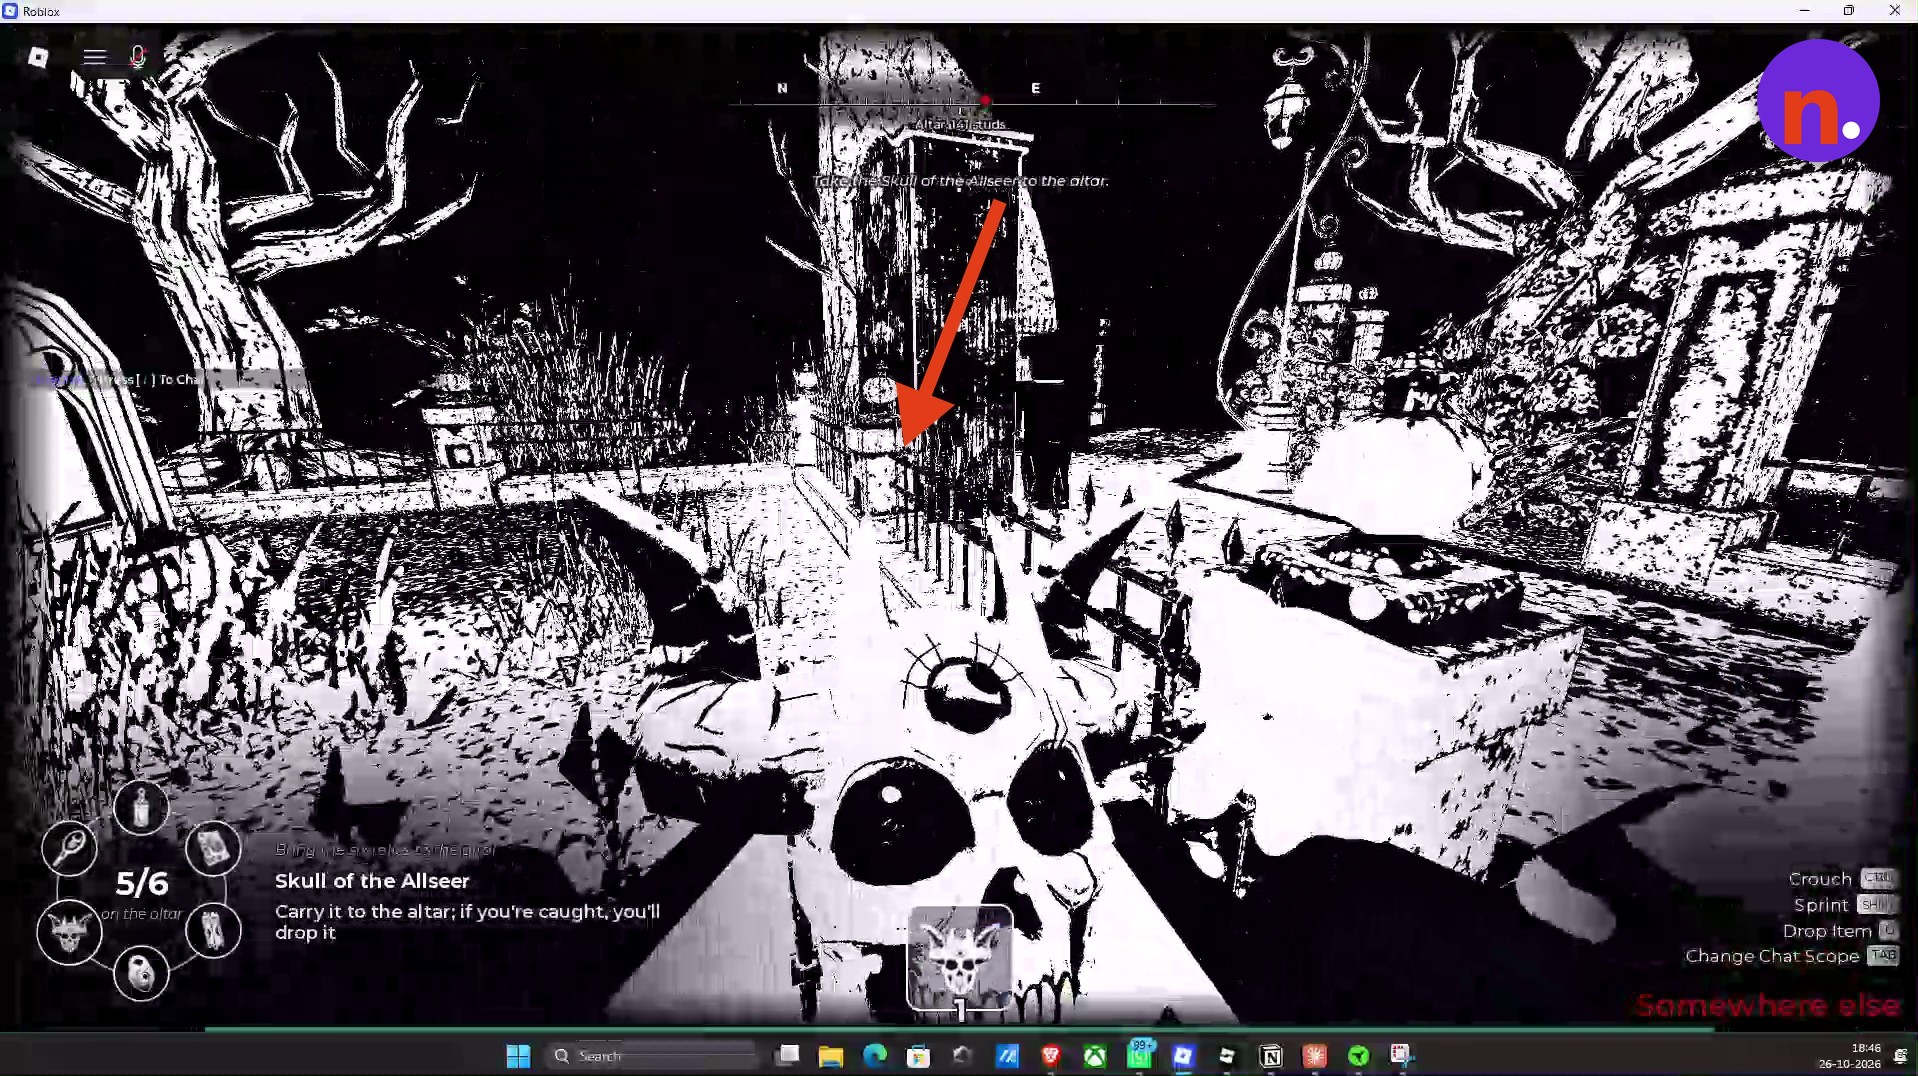
Part 3 – Escape and claim the Biter Fedora
Finish the ritual, return to The Hollow hub, and collect the quest reward.
Begin the ritual
Once all six relics are placed, interact with the mechanism at the bottom of the altar stairs. Choose Begin the ritual and wait beside the altar while the portal structure opens.
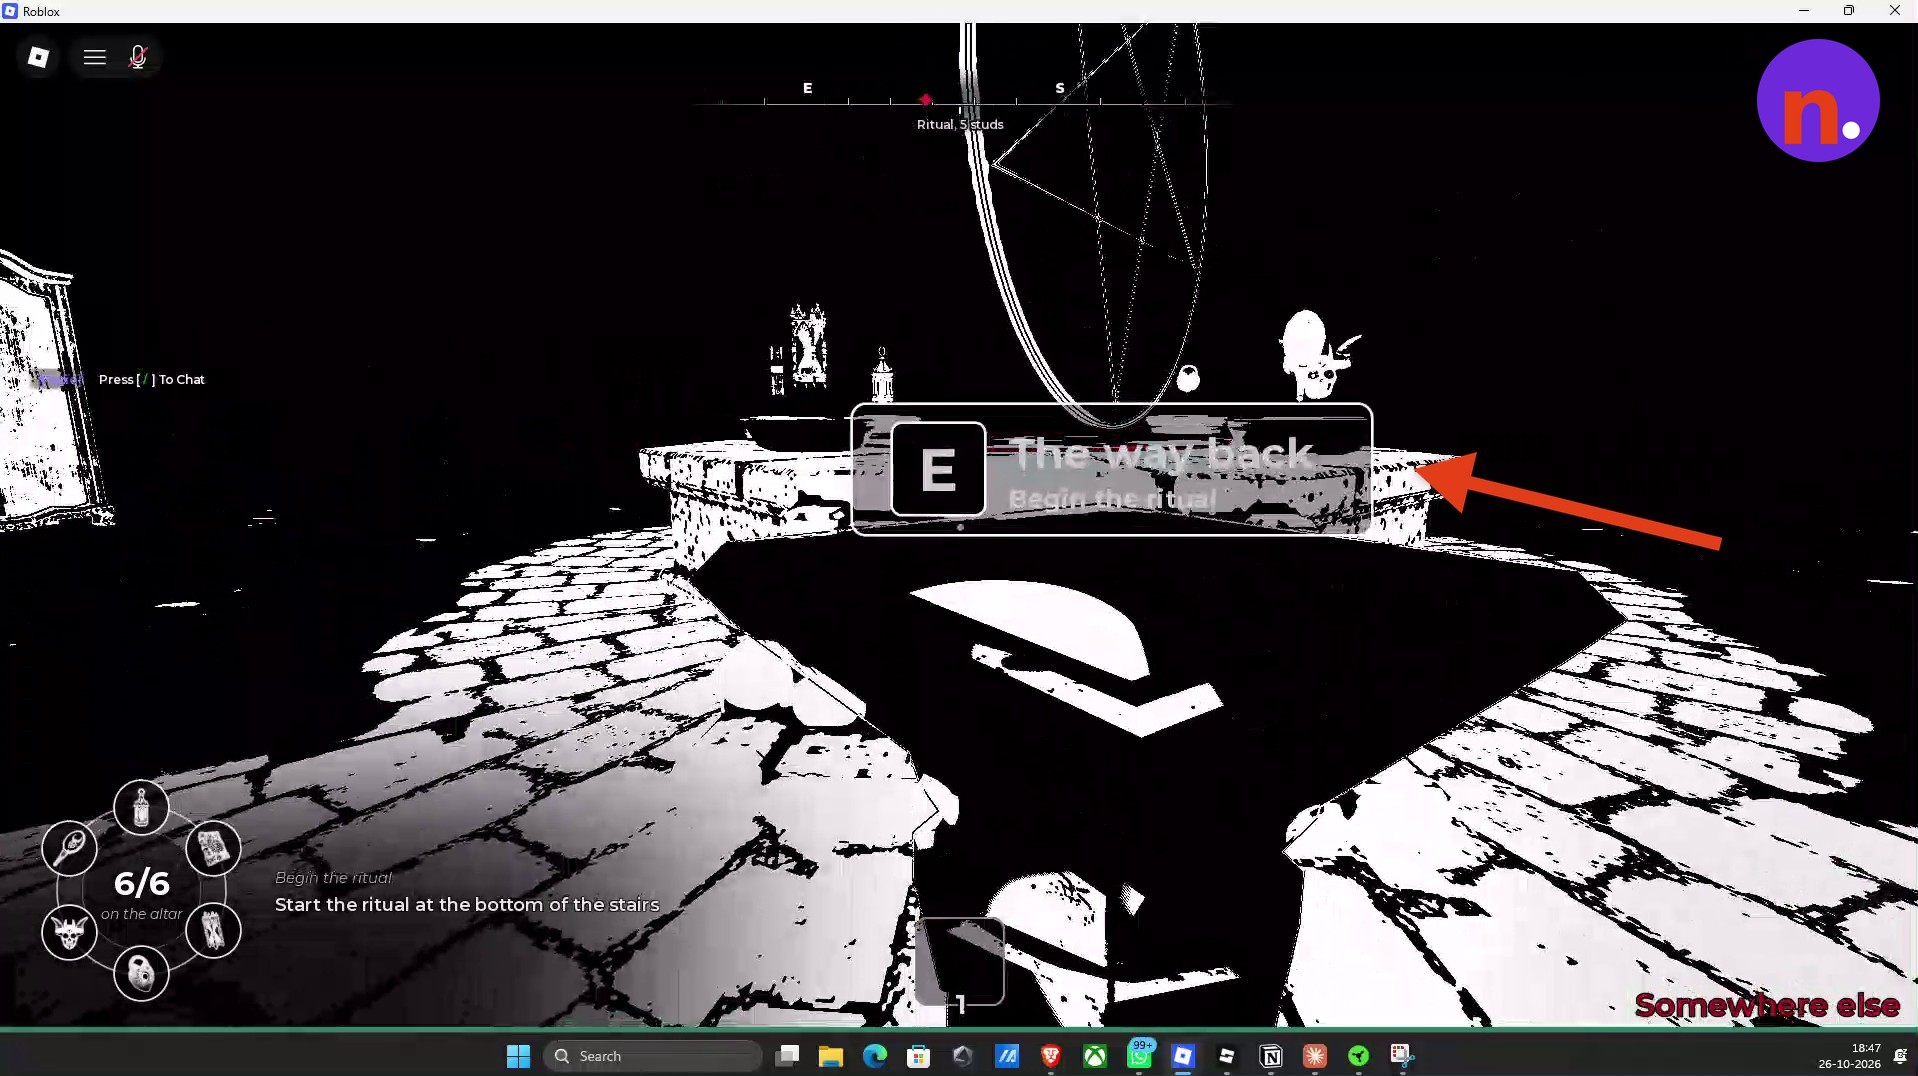
Escape through the portal
Run through the open portal doorway on the altar to finish the mission and earn The Way Back badge.
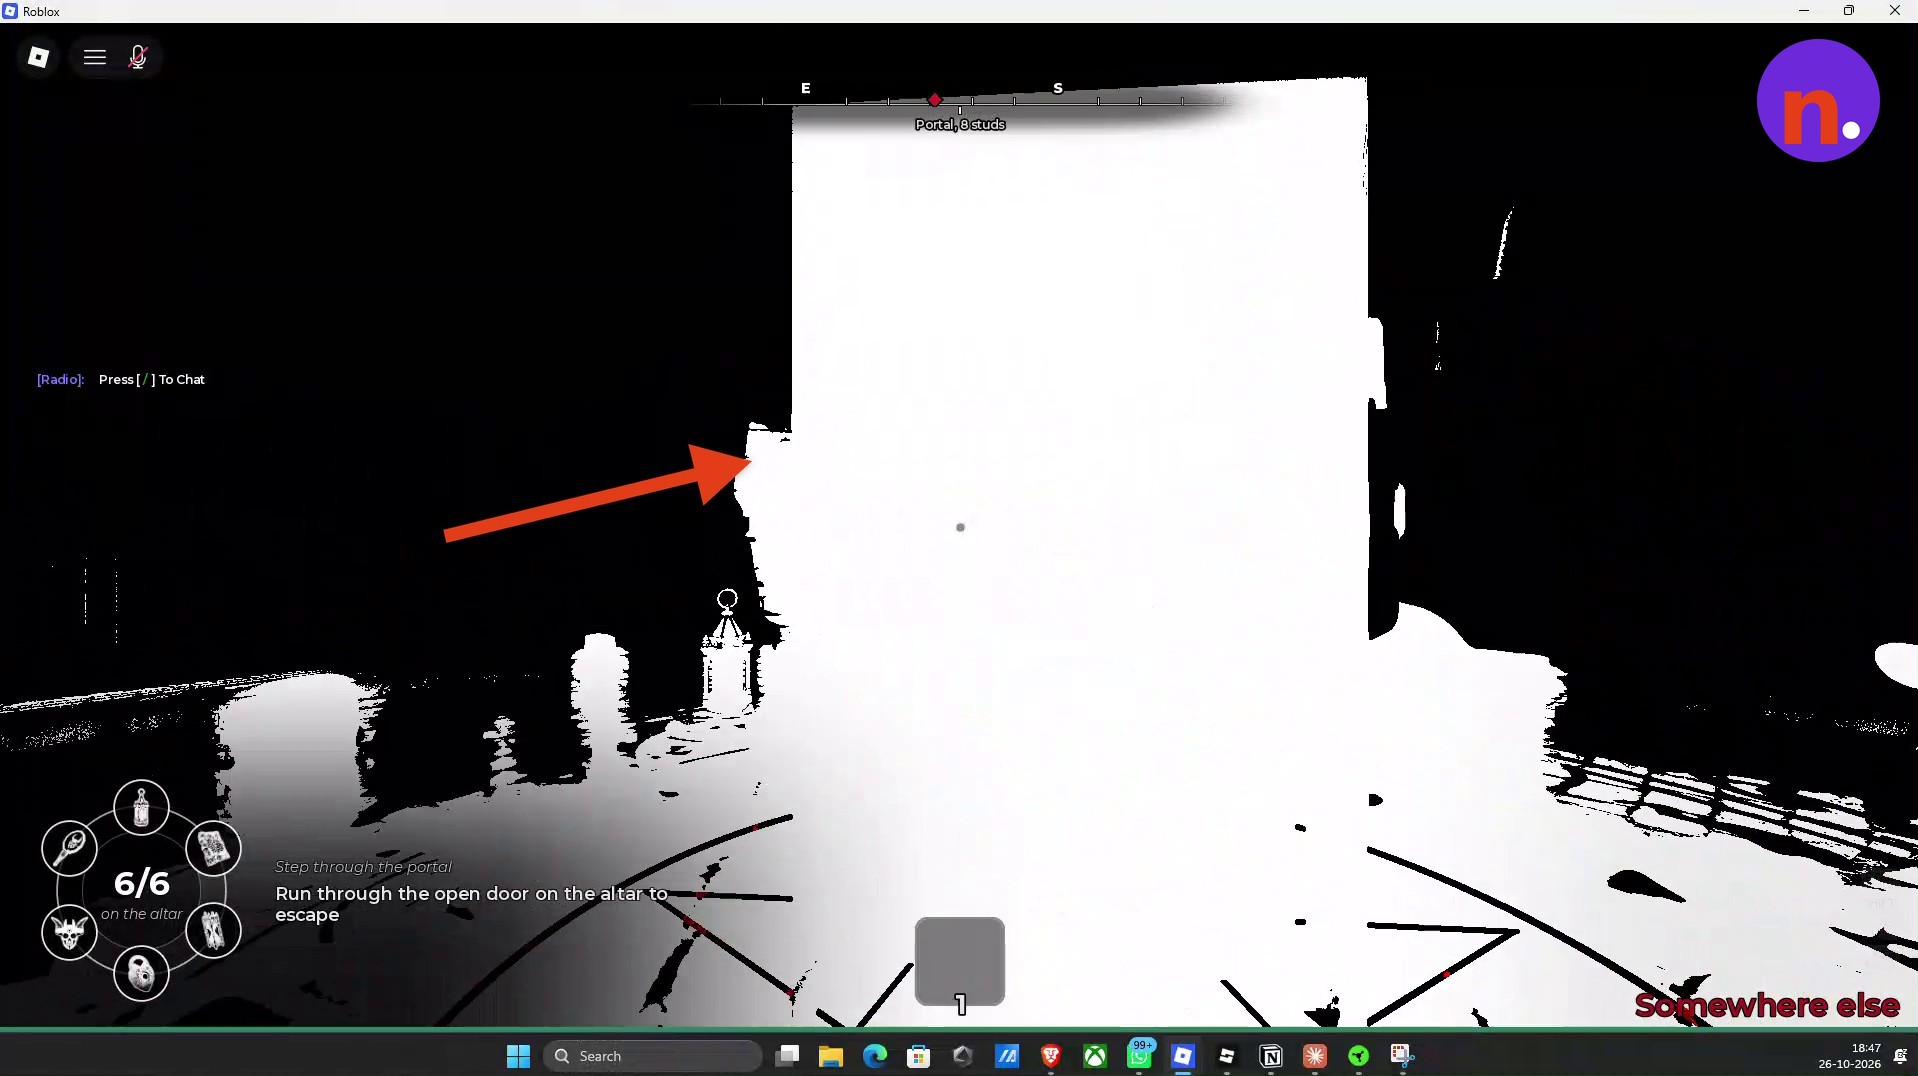
Return to The Hollow hub
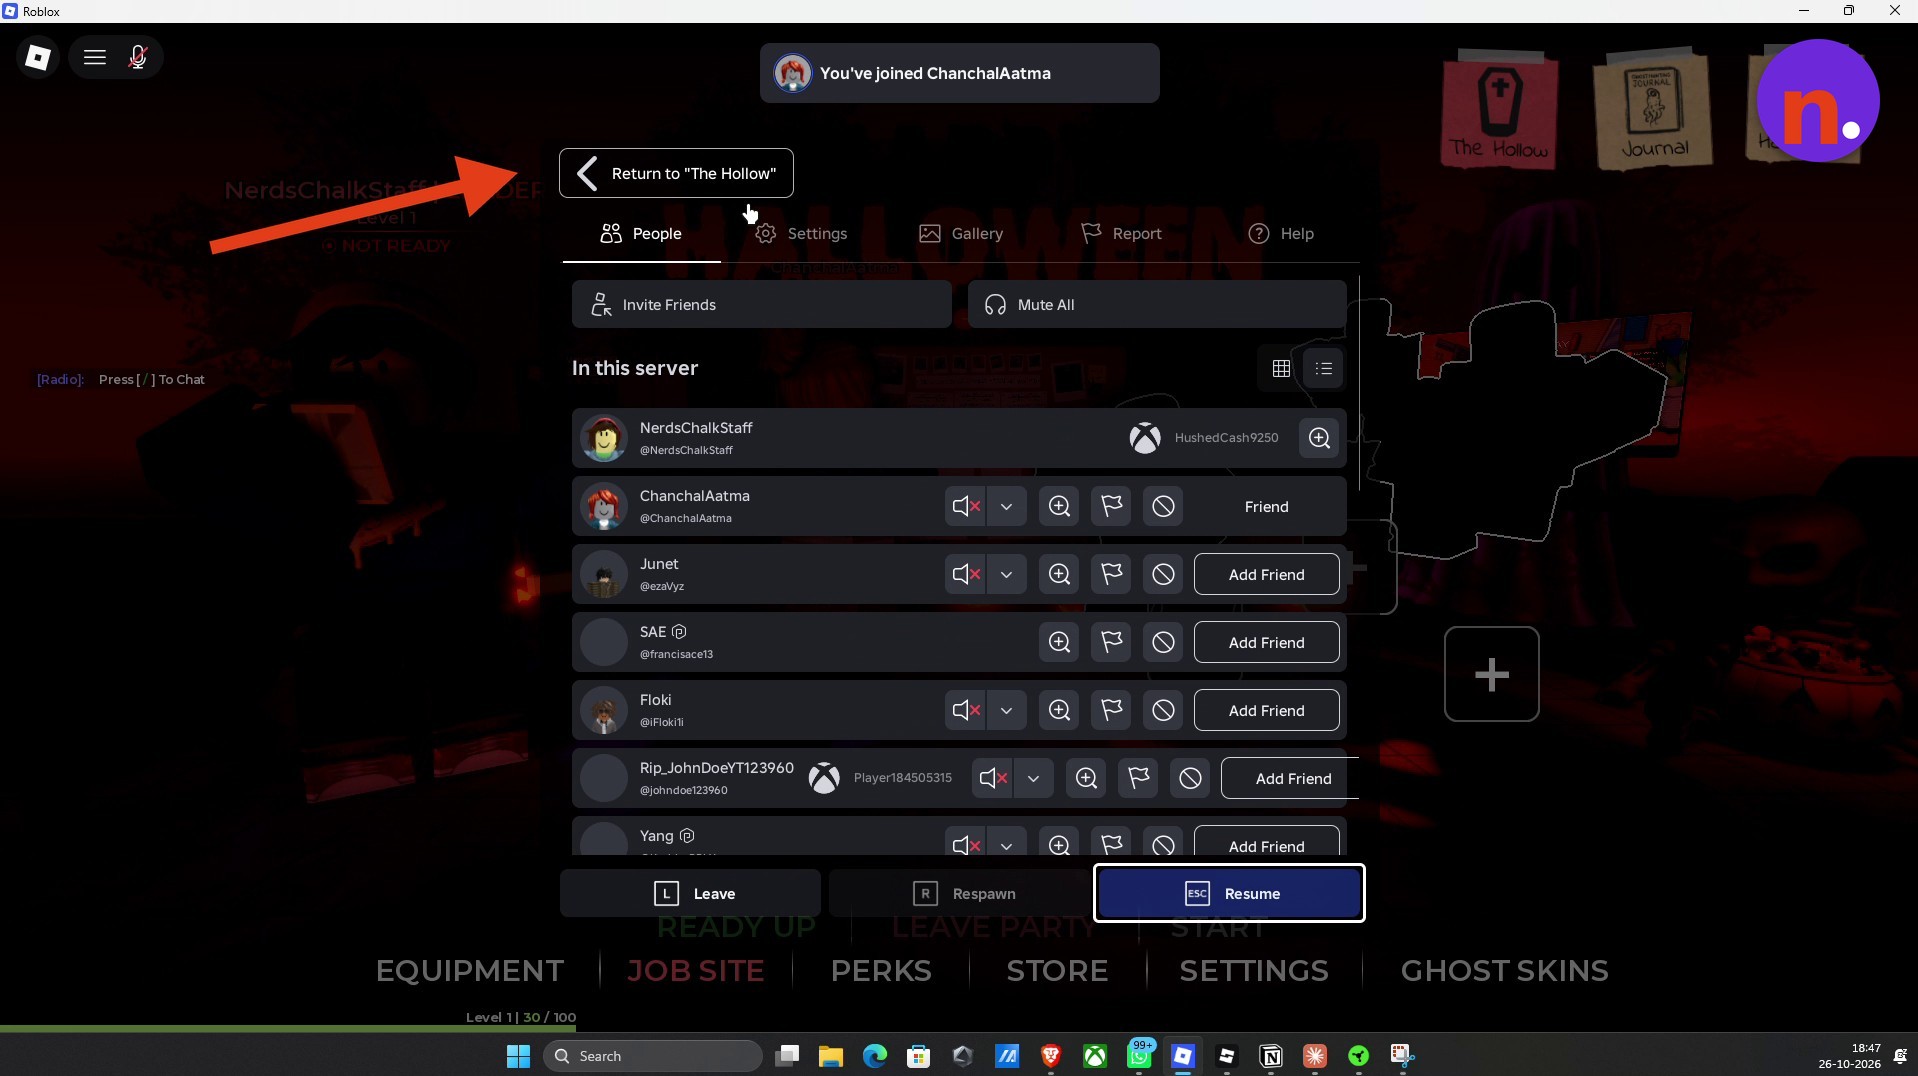
After the mission returns you to the Demonology lobby, open the Roblox menu. Choose Return to "The Hollow" to travel back to the hub.
Redeem the badge tickets
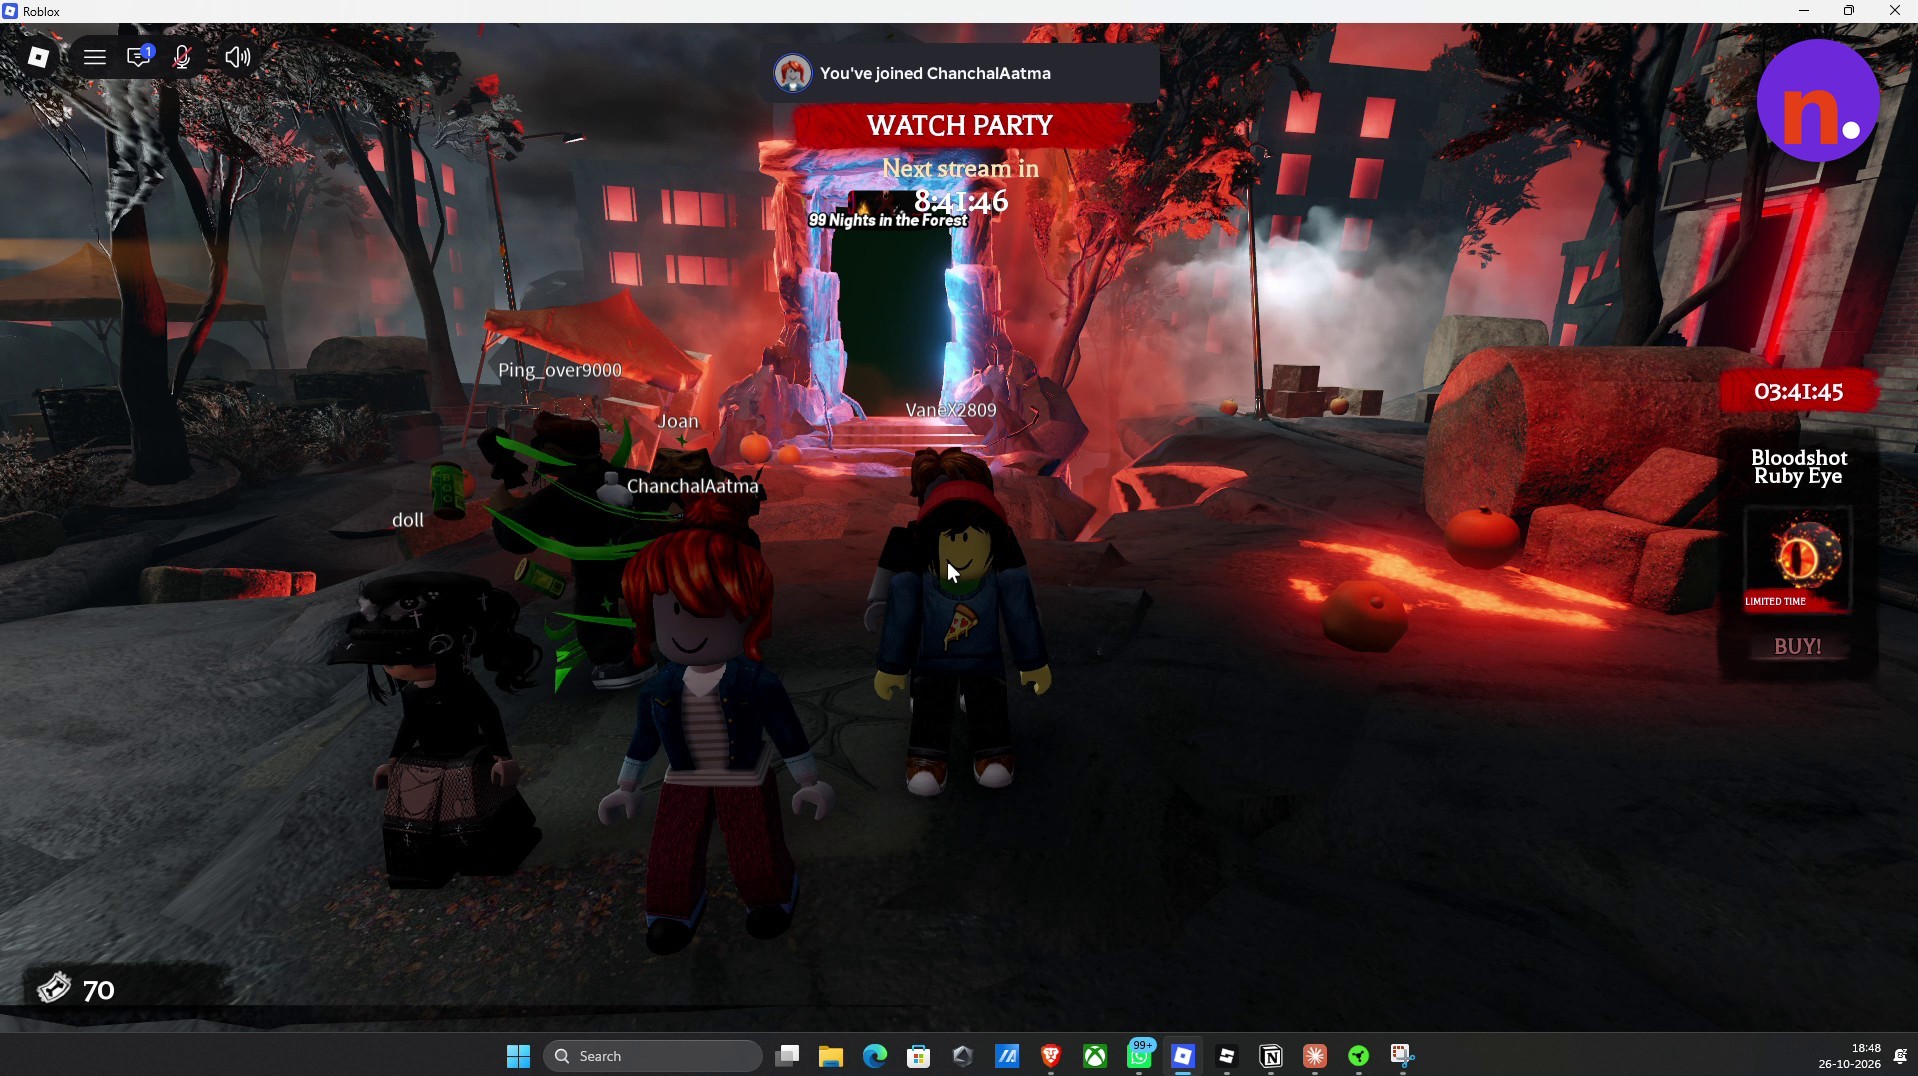
On the Redeem Badges panel, press Confirm to redeem The Way Back for 10 tickets.
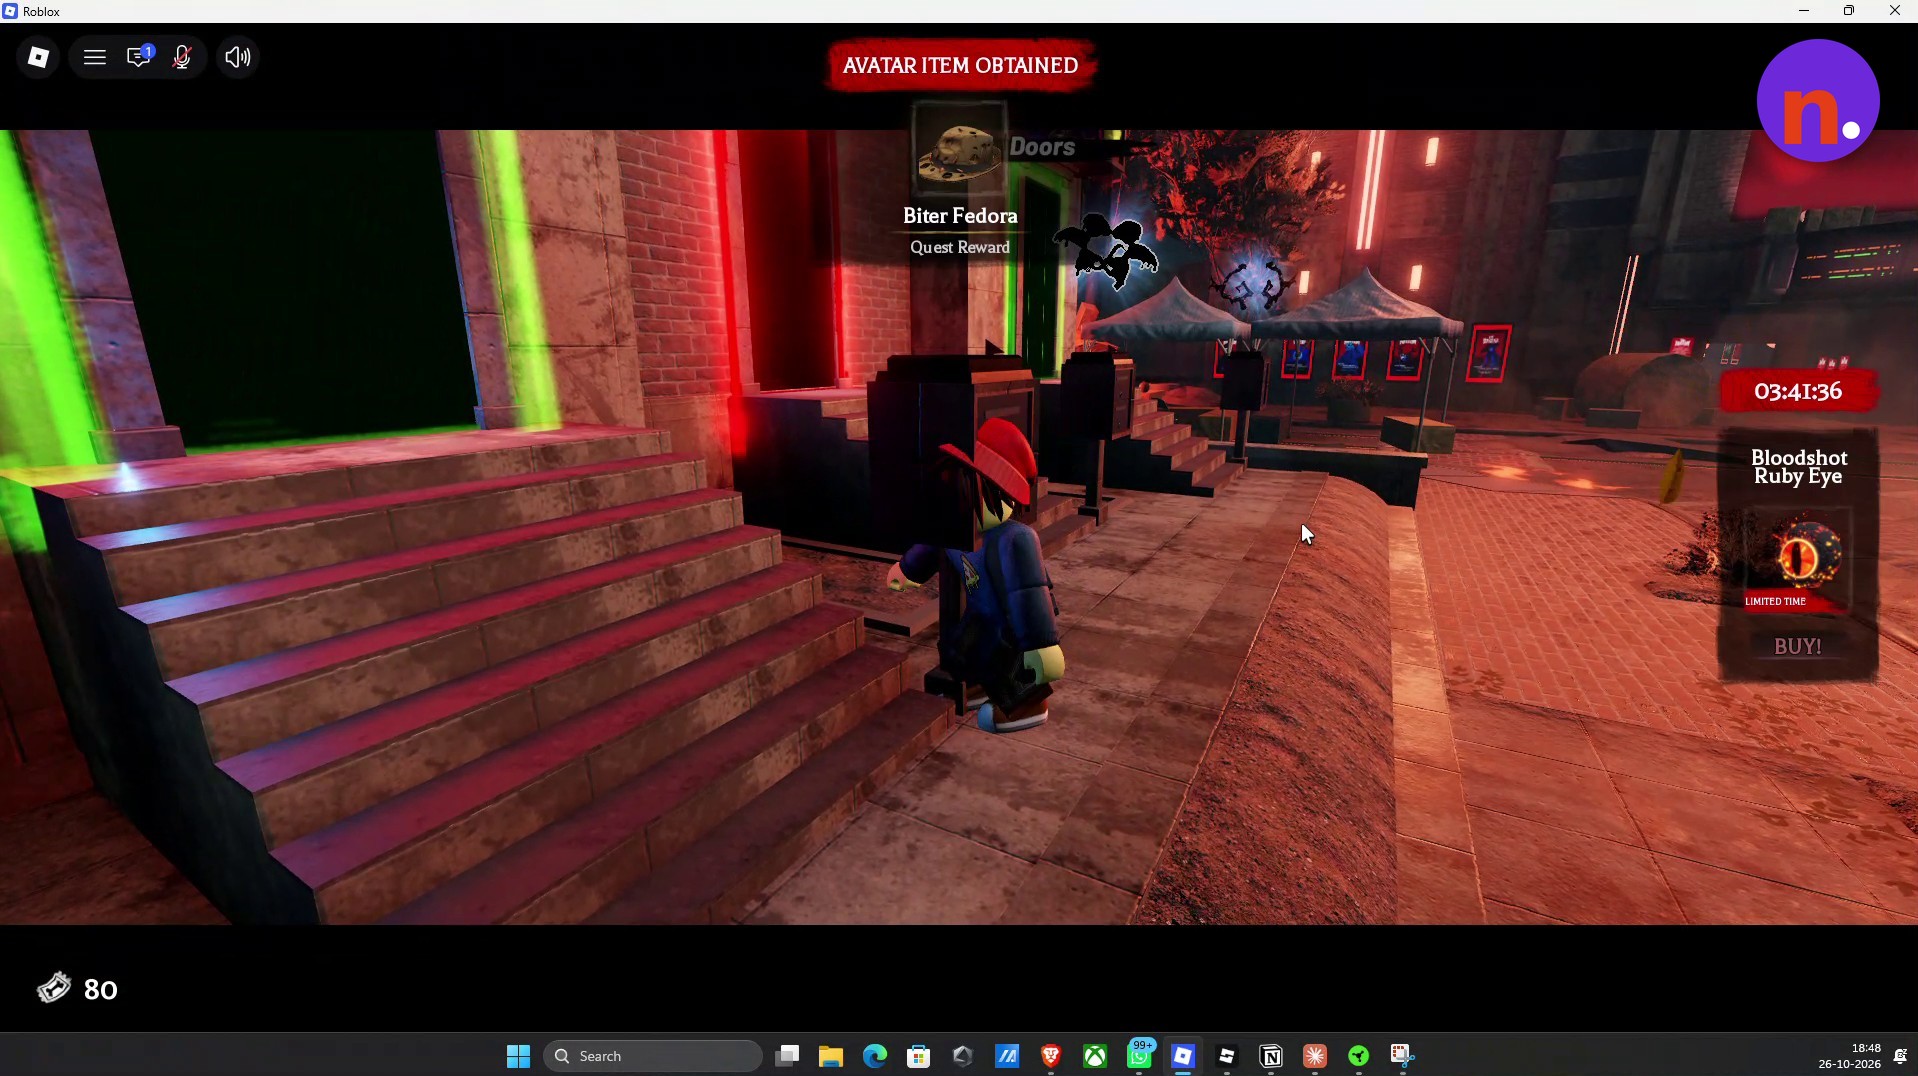
Claim the Biter Fedora
Approach the mailbox stand beside the Demonology portal and press Claim. You’ll receive the Biter Fedora as your quest reward.
Related Demonology guides
Frequently Asked Questions
What happens if you walk away during the park gate lockpicking minigame?
Walking away stops the lockpicking attempt. The minigame displays Walk away to stop, so moving away ends the interaction.
Where does a dropped relic go if you’re caught carrying it?
For the Skull of the Allseer, recover the dropped skull from the pedestal after respawning. It remains available to pick up and finish delivering.

Leave a Reply