

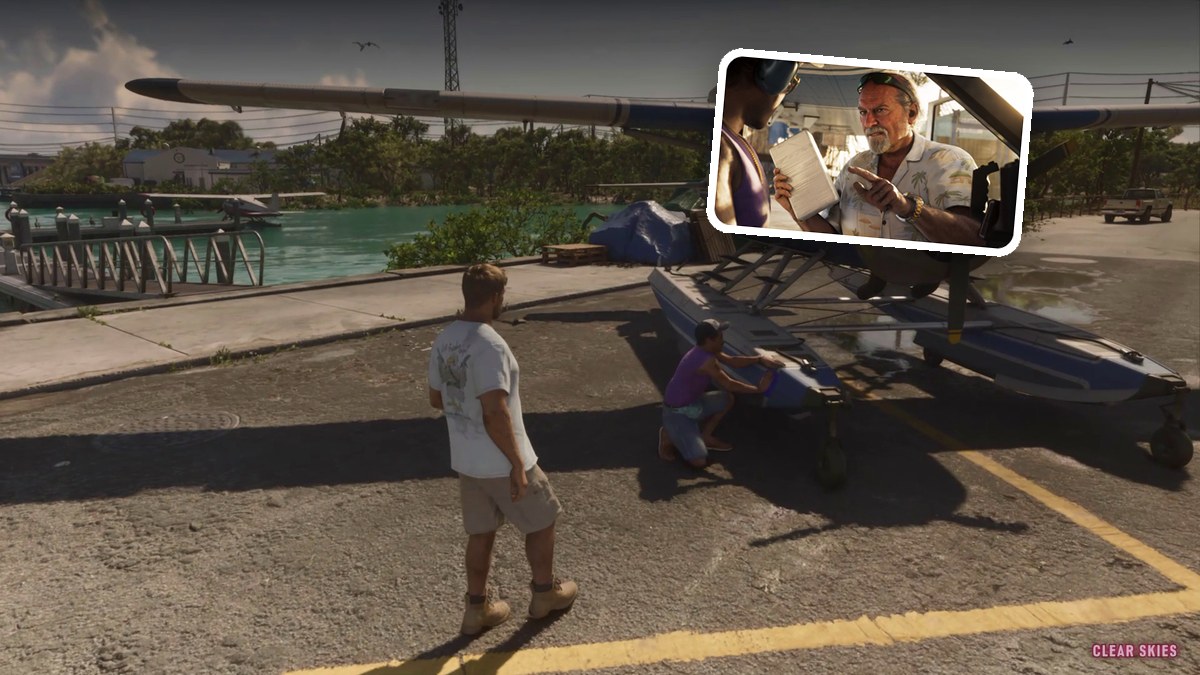
Meet Donnie at Southwind marina, escort Pete’s plane, rescue Donnie at Henry J. Edwards Airport, then follow him to Pelican River and return home.
Clear Skies is a mission in Grand Theft Auto VI that sends you out with Donnie on another job for Brian. The job takes you through a flight escort, an airport firefight, and a motorcycle pursuit before the return home.
The game is listed for PlayStation 5 and Xbox Series X|S. Its Indian PlayStation Store listing carries an 18+ rating.
- How to play through Clear Skies in Grand Theft Auto VI
- Part 1 – Meet Donnie at Southwind and speak to Brian
- Part 2 – Take off and escort Pilot Pete
- Part 3 – Land at Henry J. Edwards Airport and reach the hangar
- Part 4 – Find and free Donnie
- Part 5 – Defend the runway while Donnie prepares the escape
- Part 6 – Follow Donnie by motorcycle, meet at Pelican River, and return home
- Frequently Asked Questions
How to play through Clear Skies in Grand Theft Auto VI
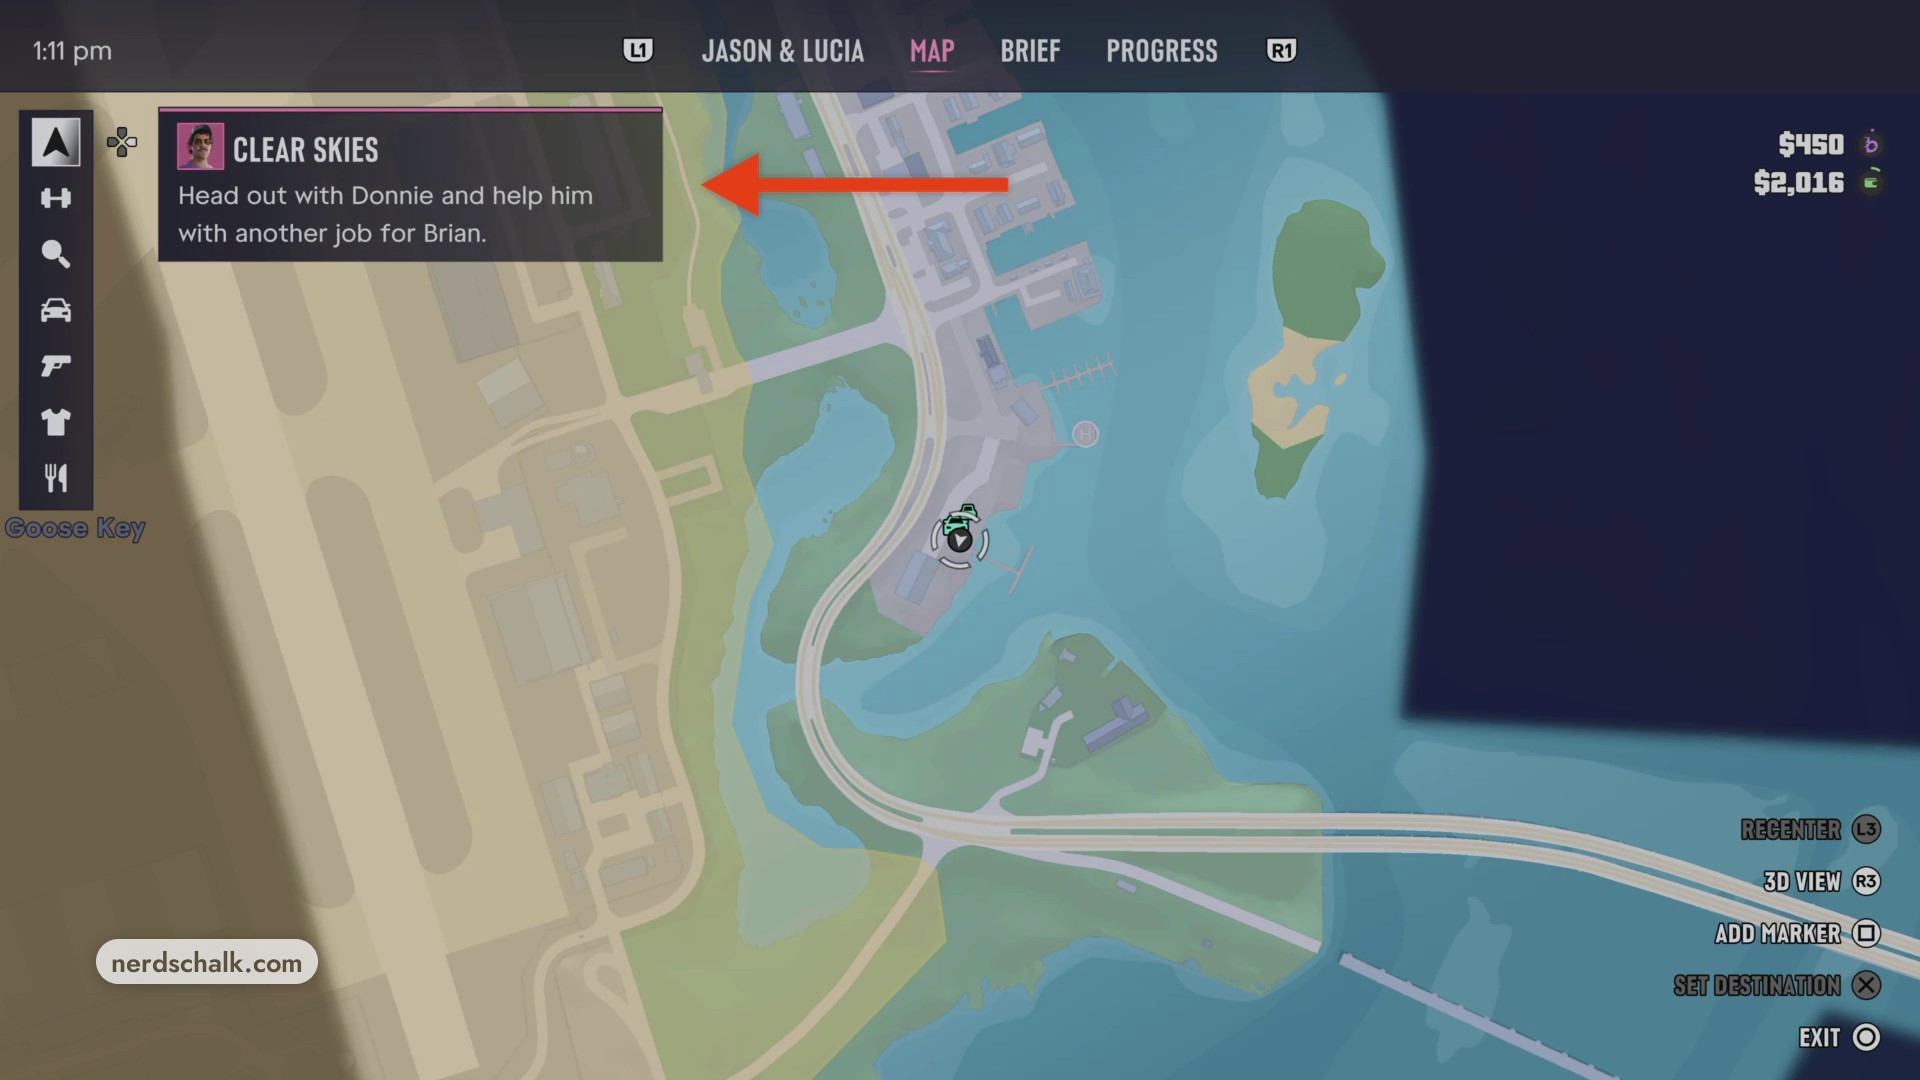
The mission briefing appears in the map menu around Southwind, with Goose Key labeled nearby. The briefing box is titled CLEAR SKIES, and BRIEF appears among the map interface labels.
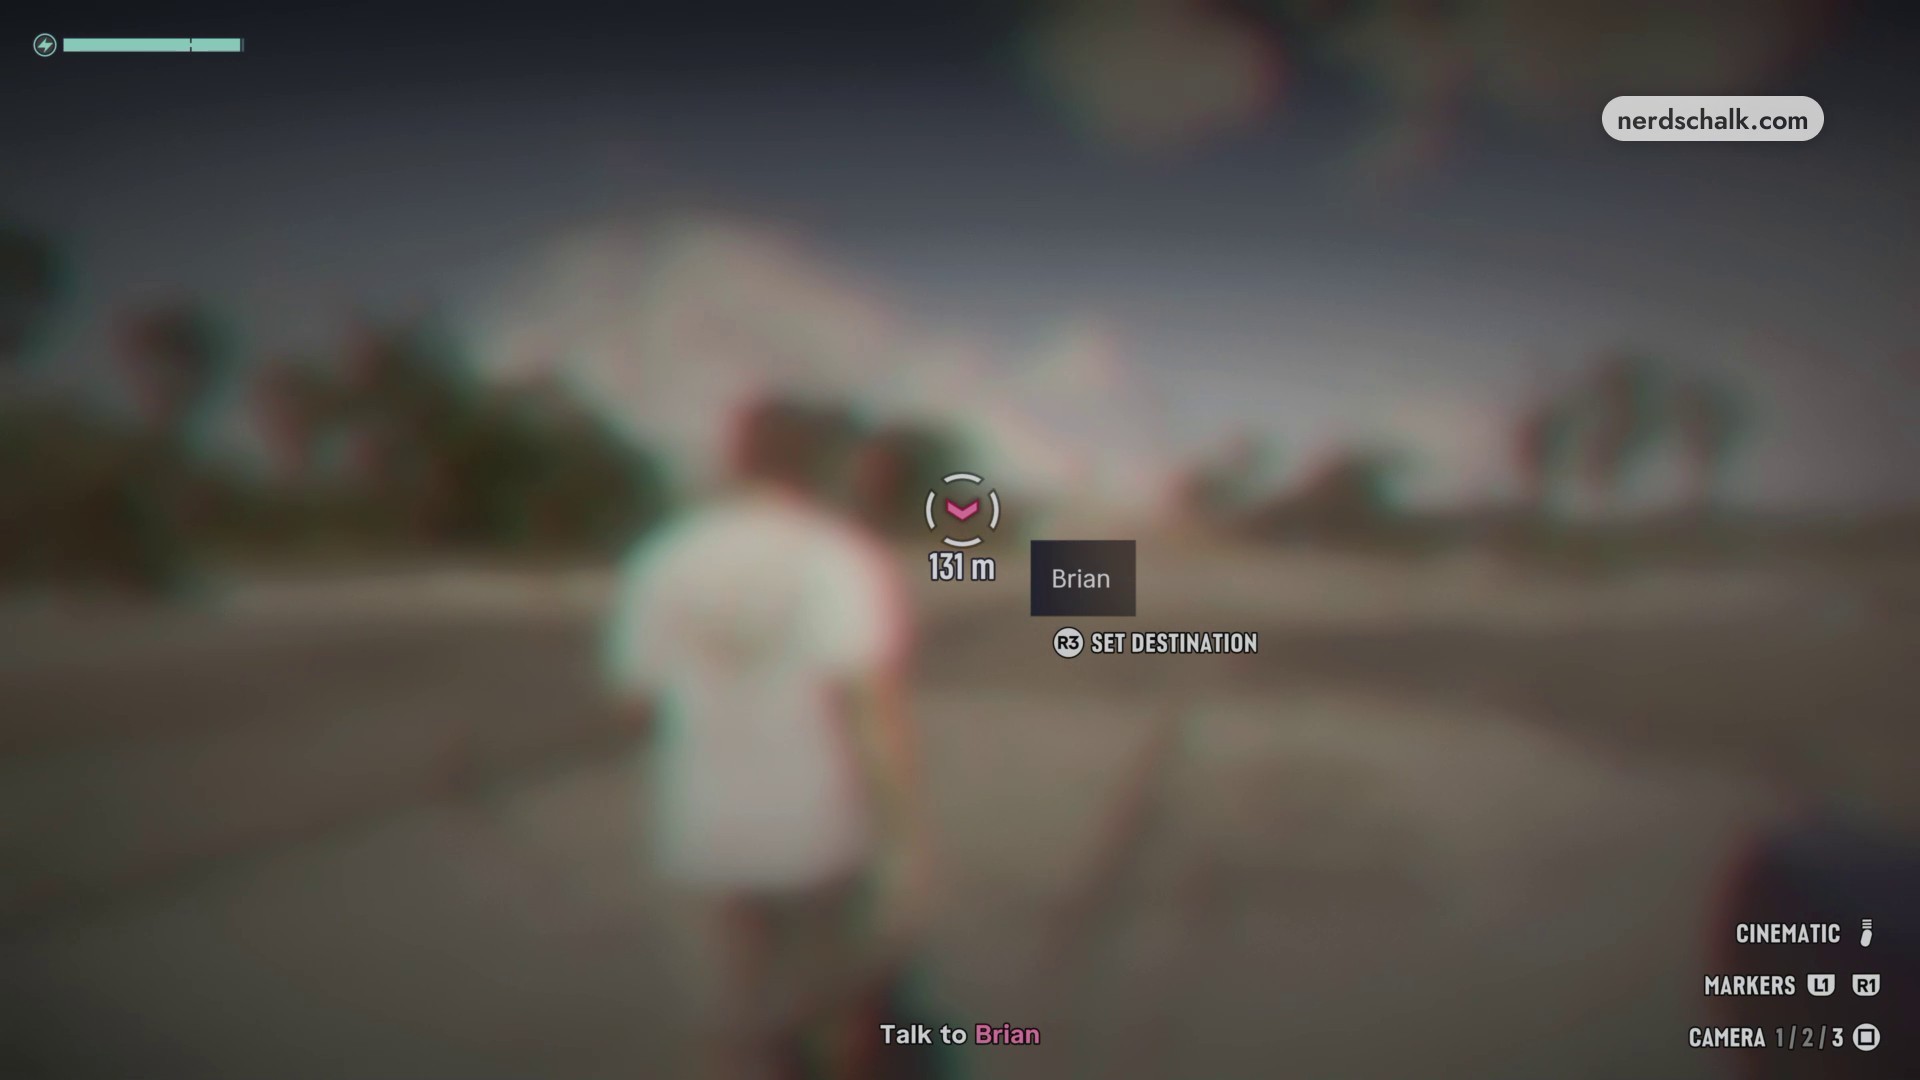
When the objective changes to Talk to Brian, his marker points across the airfield tarmac. The starting view reads 131 m, and SET DESTINATION is available to mark your destination.
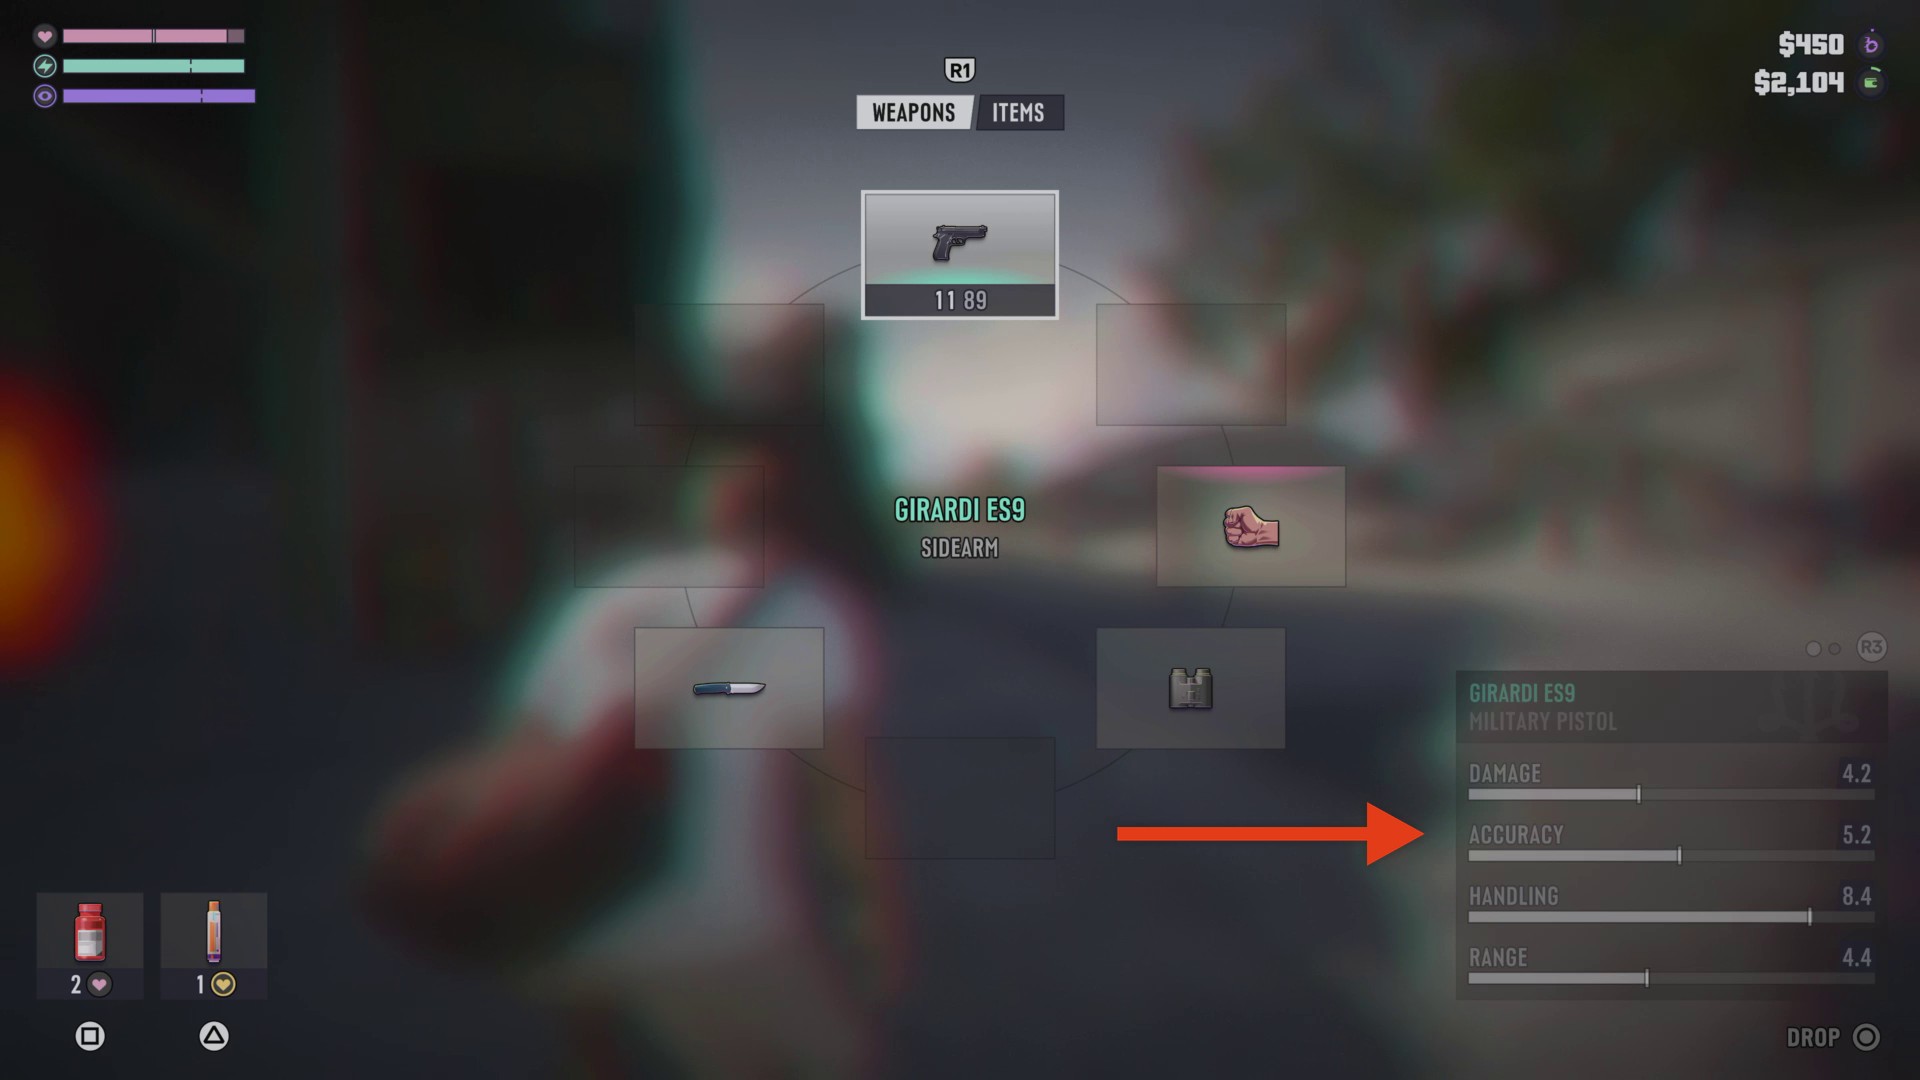
Open the weapon wheel to review your equipment during the airport fighting. Your equipped sidearm appears as GIRARDI ES9, with damage, accuracy, handling, and range displayed beside it.
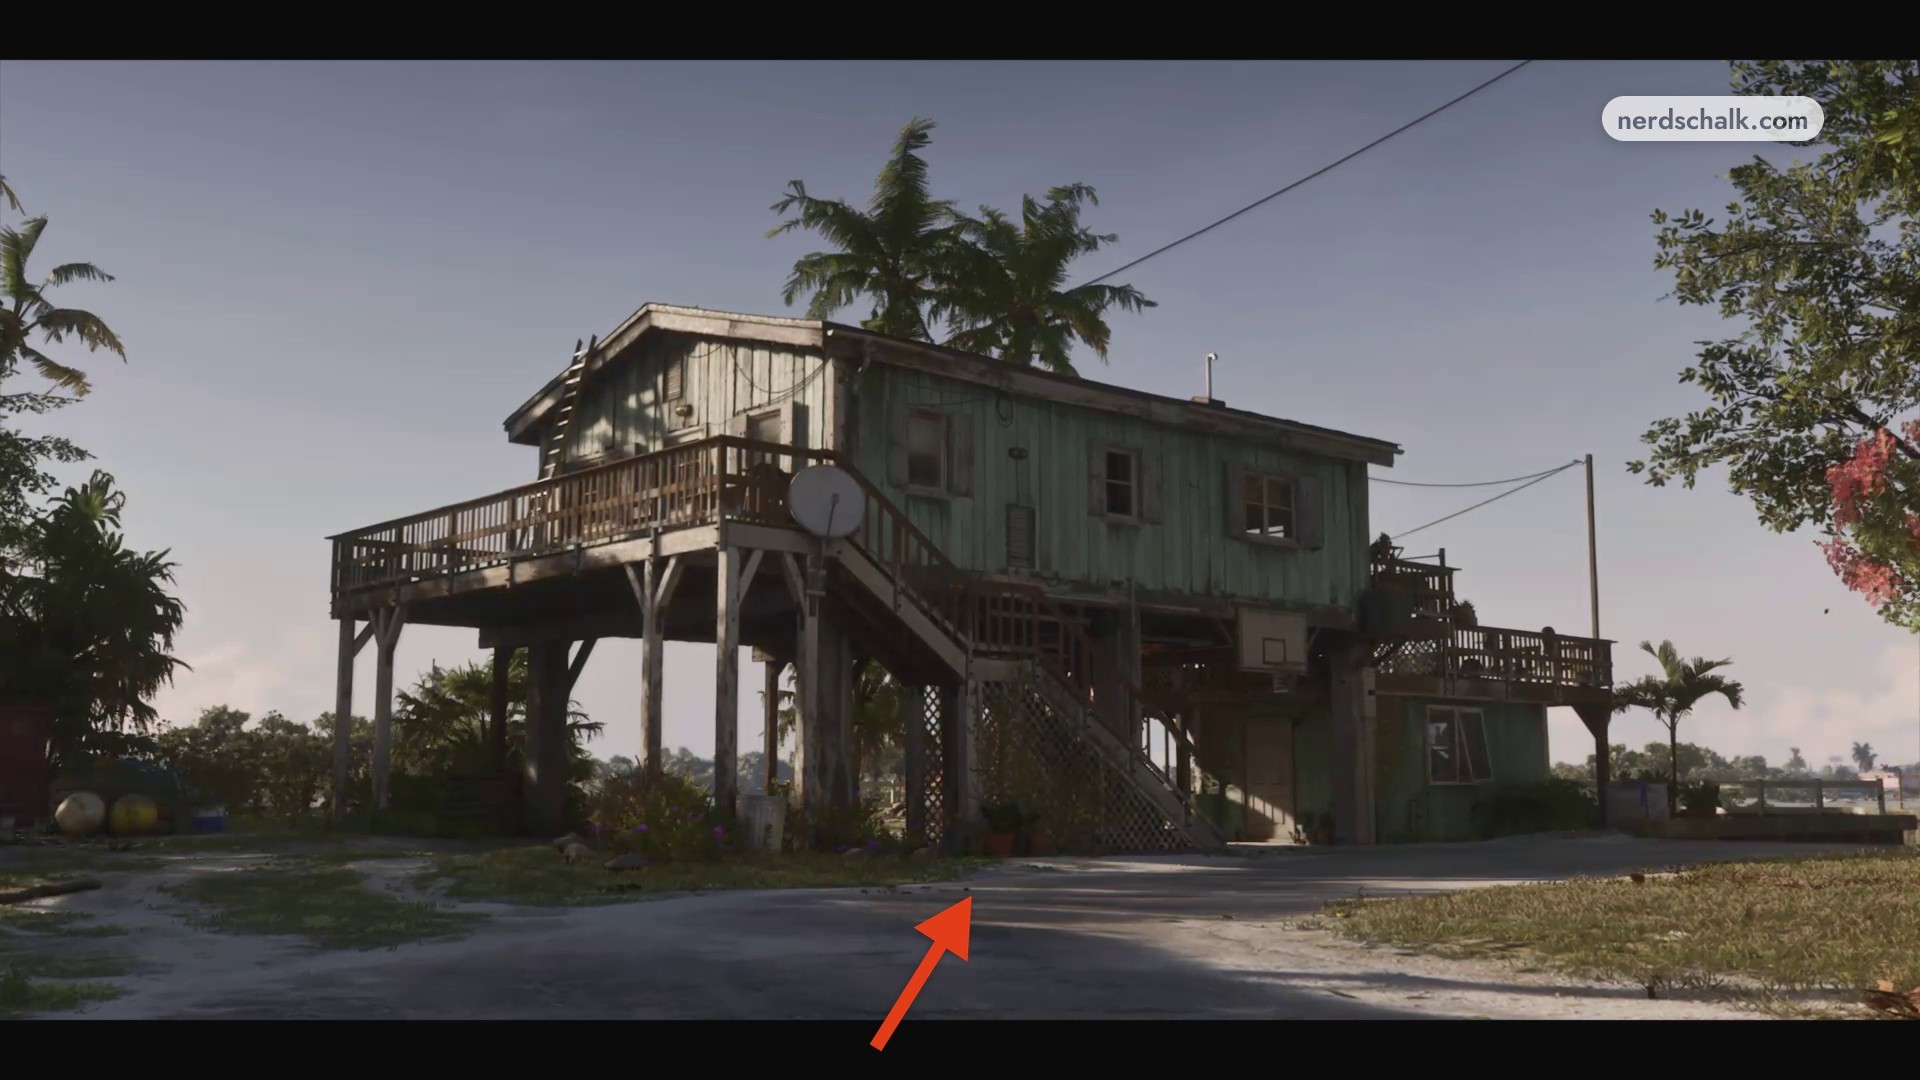
Your destination after the return flight is Jason’s green wooden stilt house beside the road.
Start with the Southwind meetings, complete the escort flight, work through the airport rescue and runway defense, then follow Donnie to the river and return home.
Part 1 – Meet Donnie at Southwind and speak to Brian
Begin with Donnie beside the marina hangar.
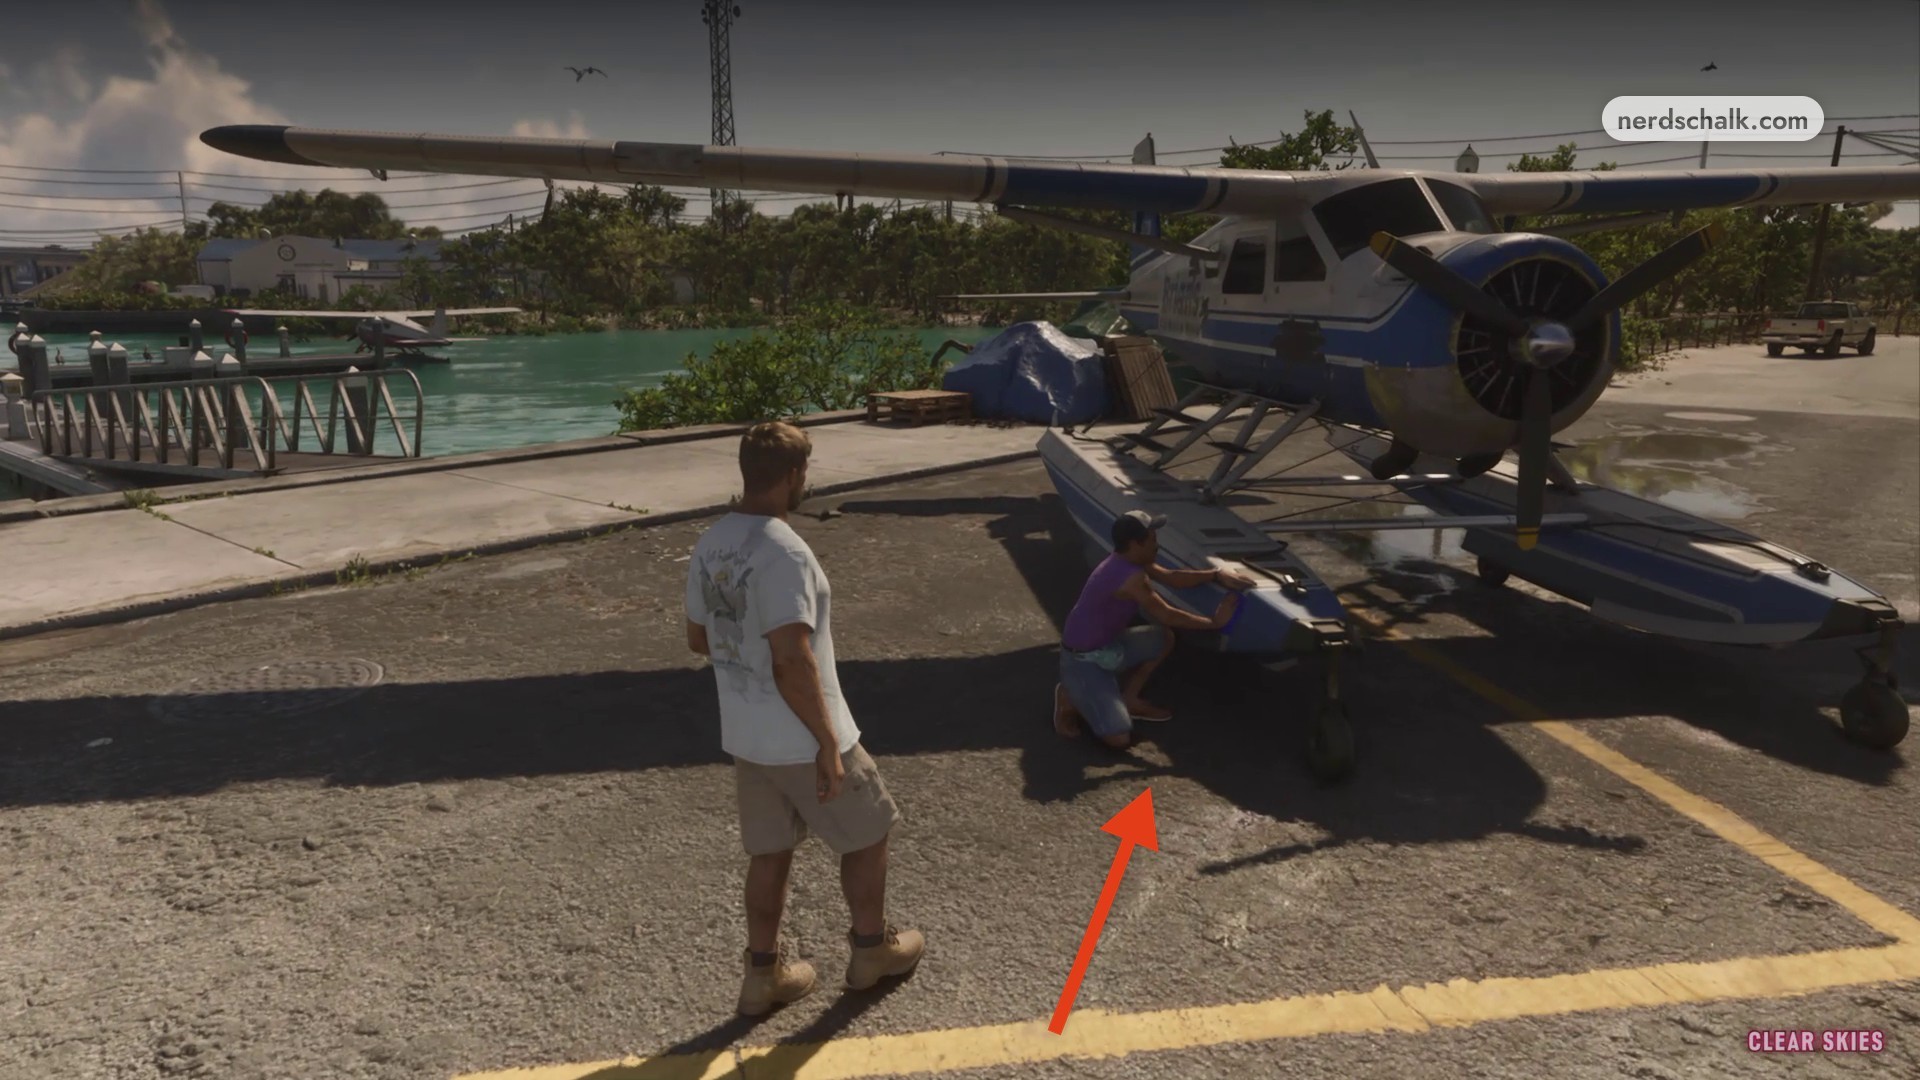
Meet Donnie at Southwind marina
Drive the pickup to Southwind marina and park near the hangar. Get out and approach Donnie, who is working on the seaplane’s float beside the dock, and speak with him.
Speak to Brian at Chicky’s Tiki Bar
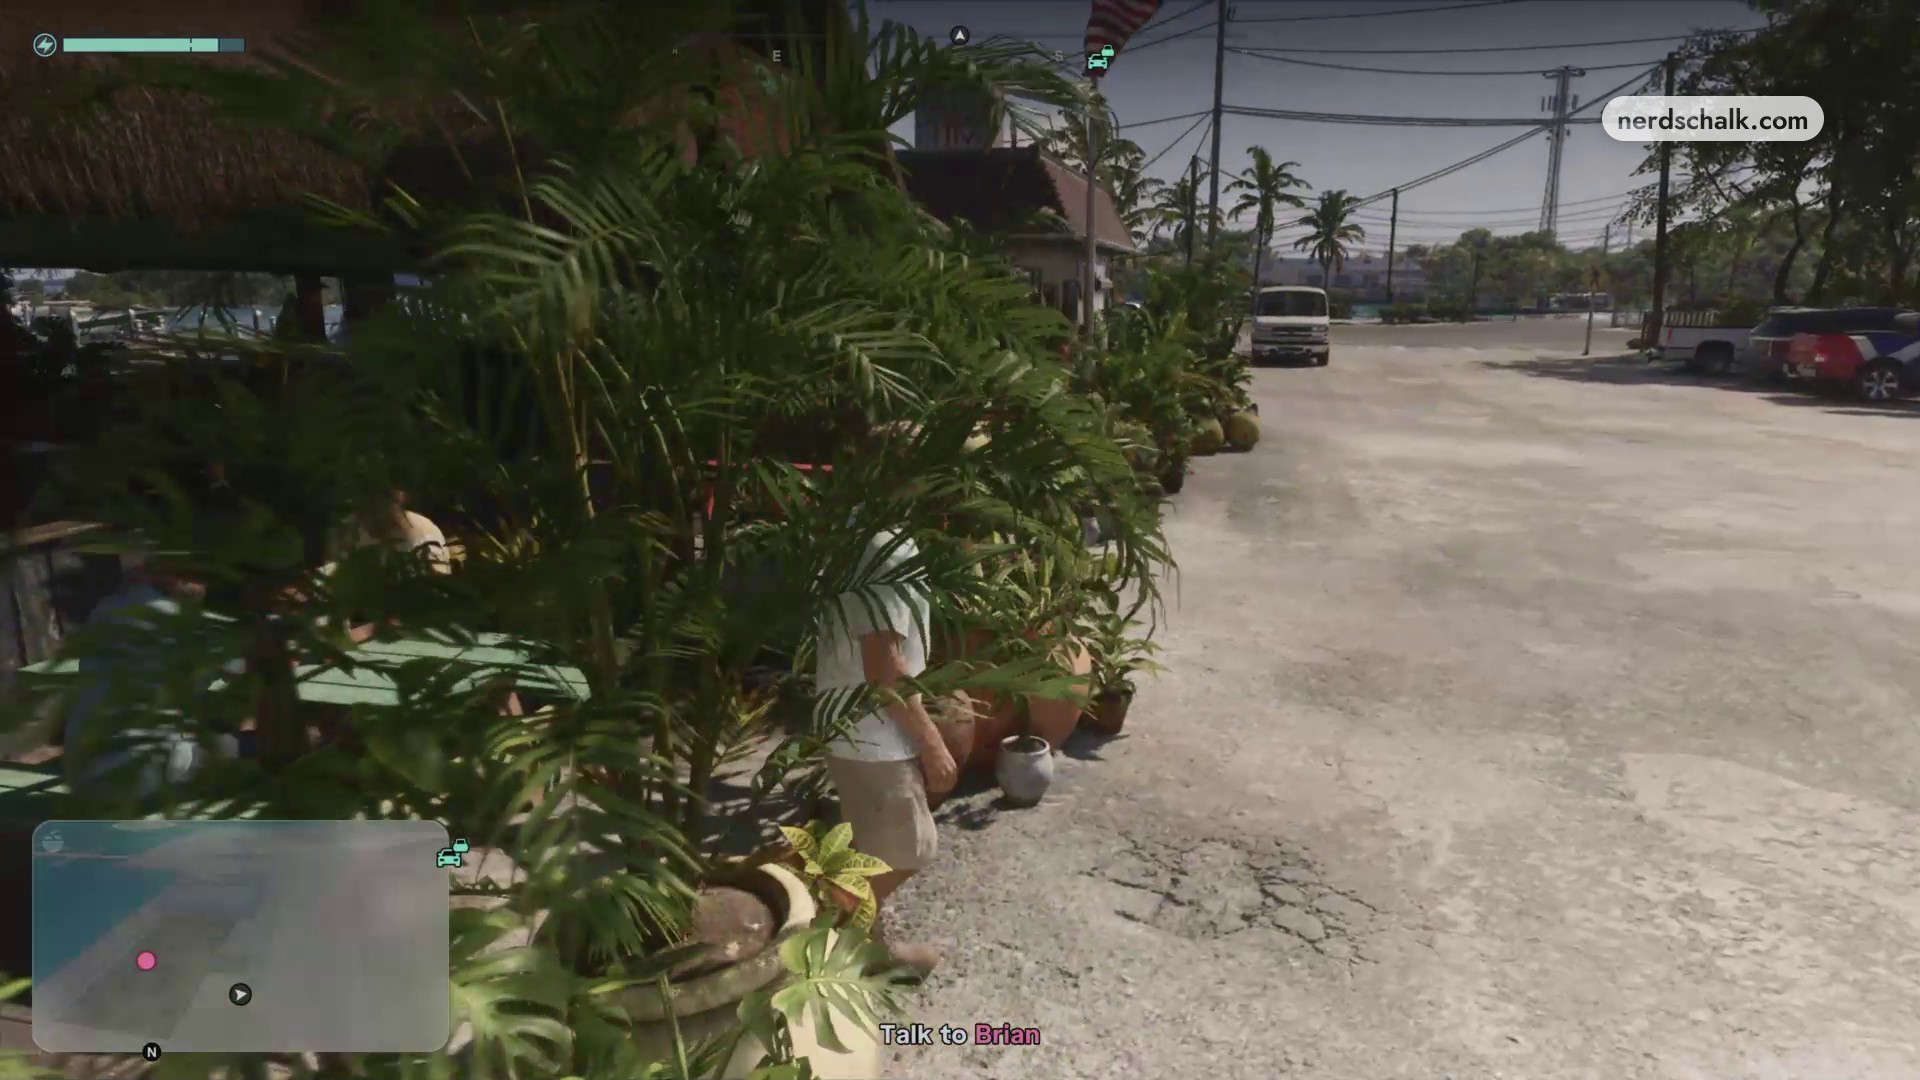
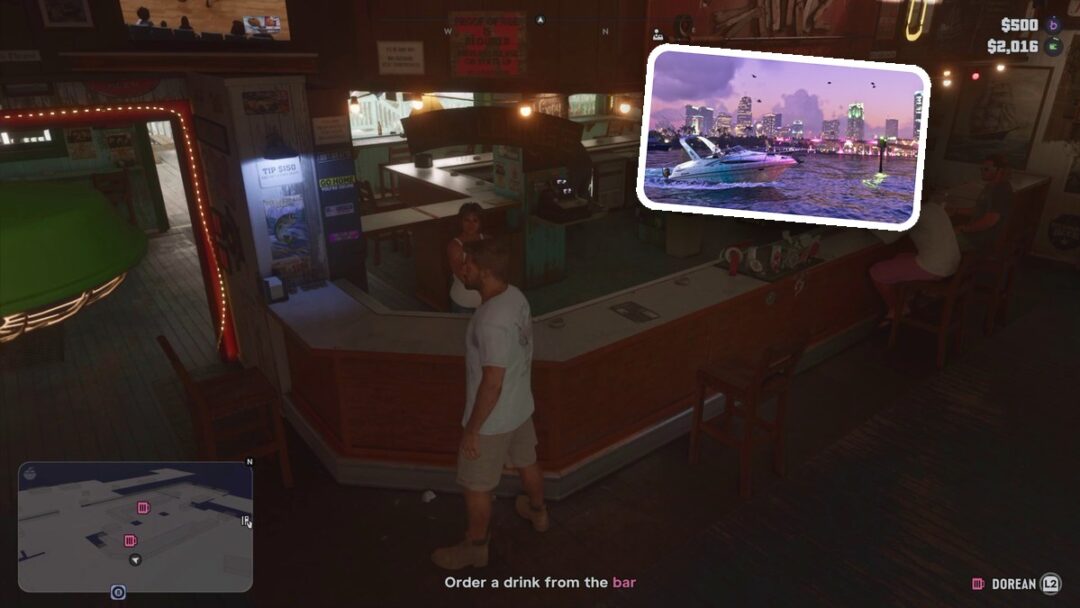
Donnie sends you to Brian. Leave the marina parking lot and head toward the road, looking toward Brian’s marker. Continue north along the street toward CHICKY’S TIKI BAR; enter the bar and approach Brian seated at the counter. Open the map if you need to locate the bar.
Part 2 – Take off and escort Pilot Pete
Follow the flight objectives from the bay to the next airstrip.
Taxi the seaplane into the water
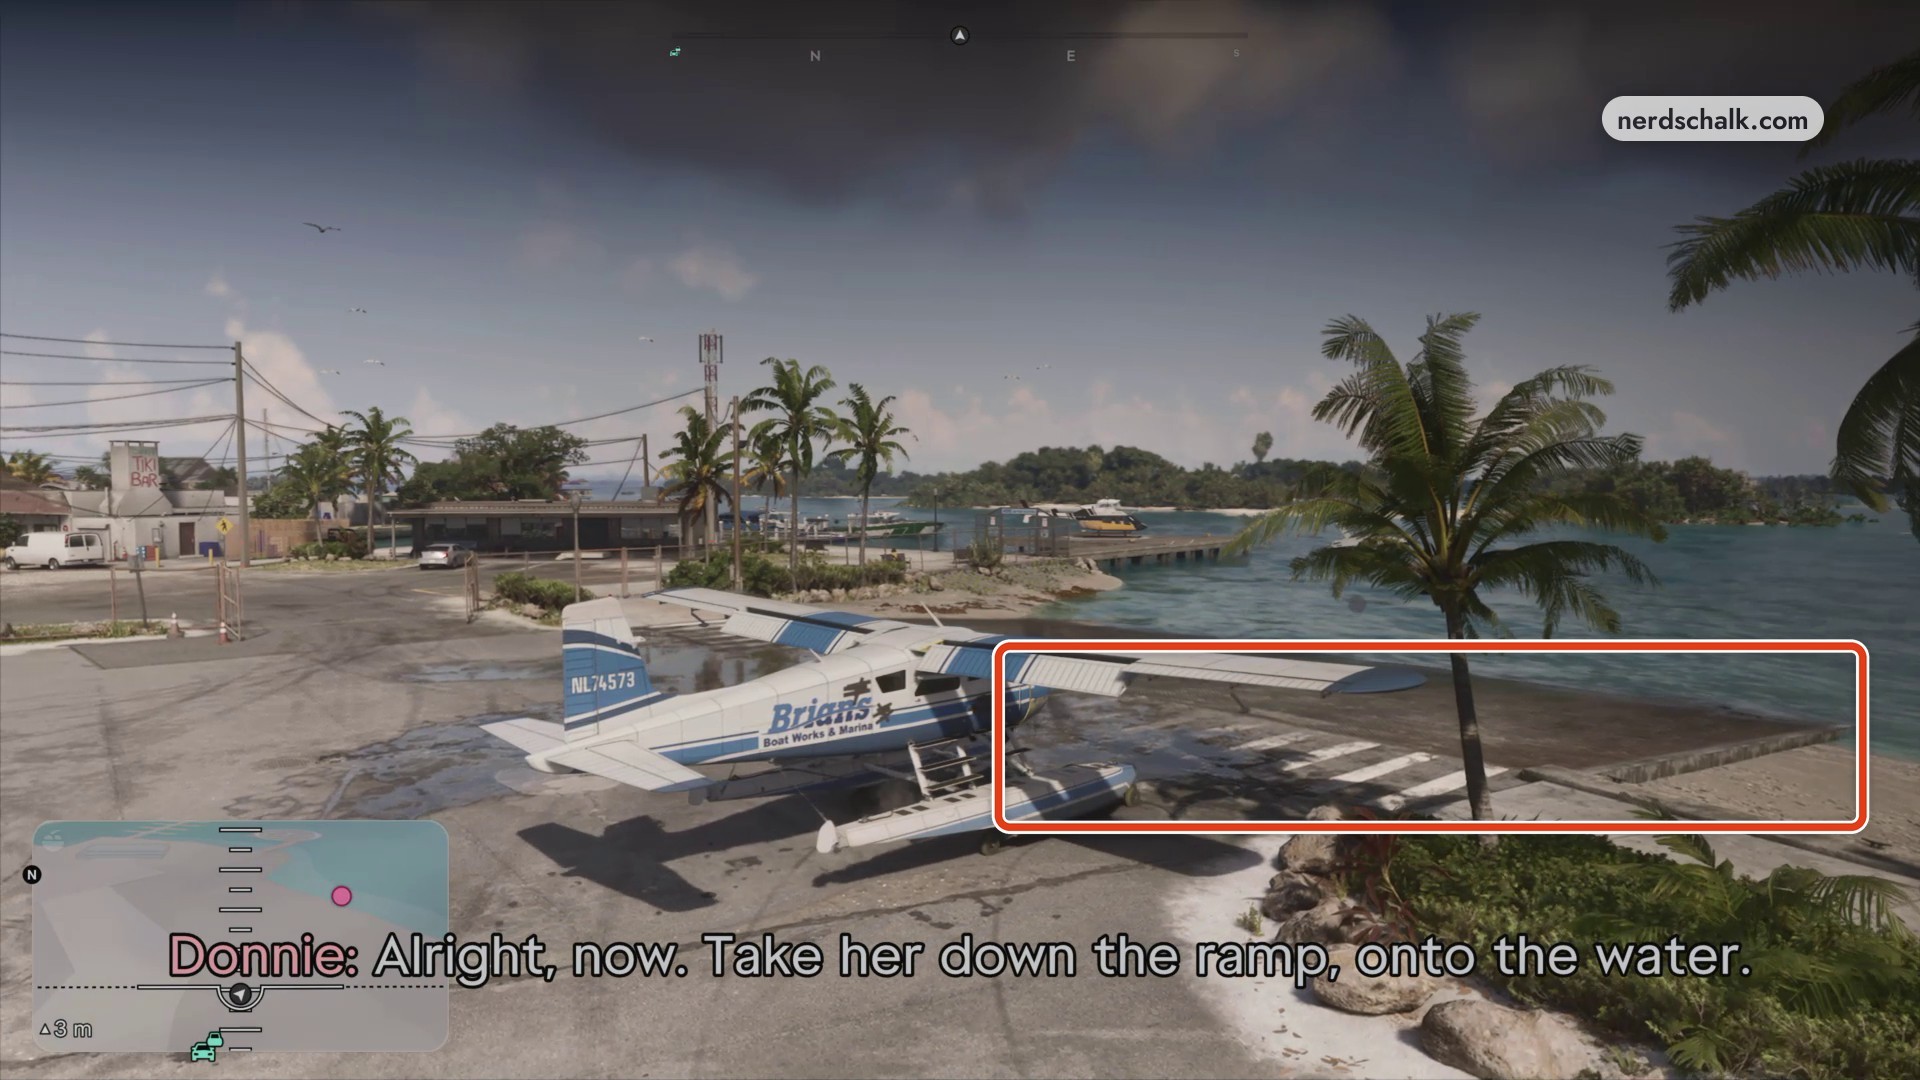
After the briefing, prepare the aircraft with Donnie and get aboard. The concrete ramp sits ahead of the plane; follow Donnie’s instruction to take her down the ramp and taxi into the bay.
Take off from the bay
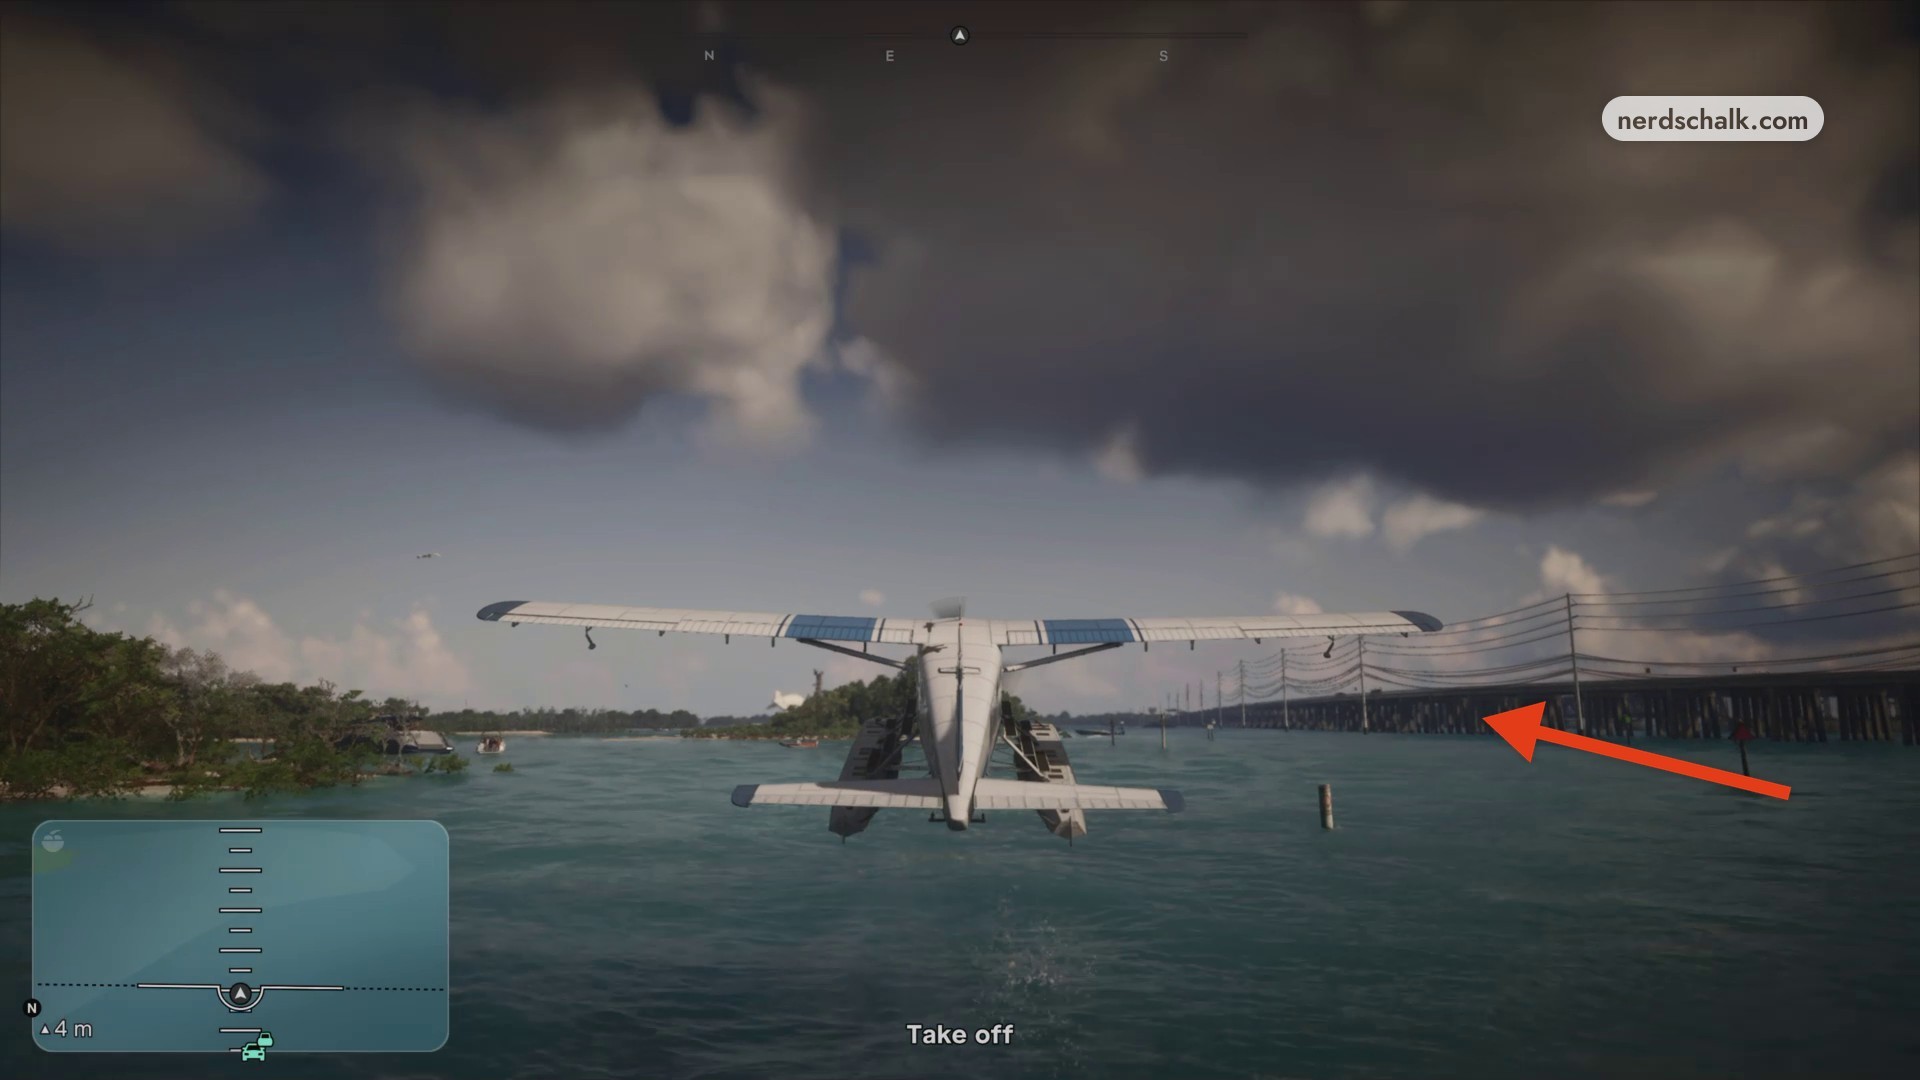
With Take off active, accelerate across the bay’s open water until the seaplane lifts clear of the surface.
Reach the offshore intercept point
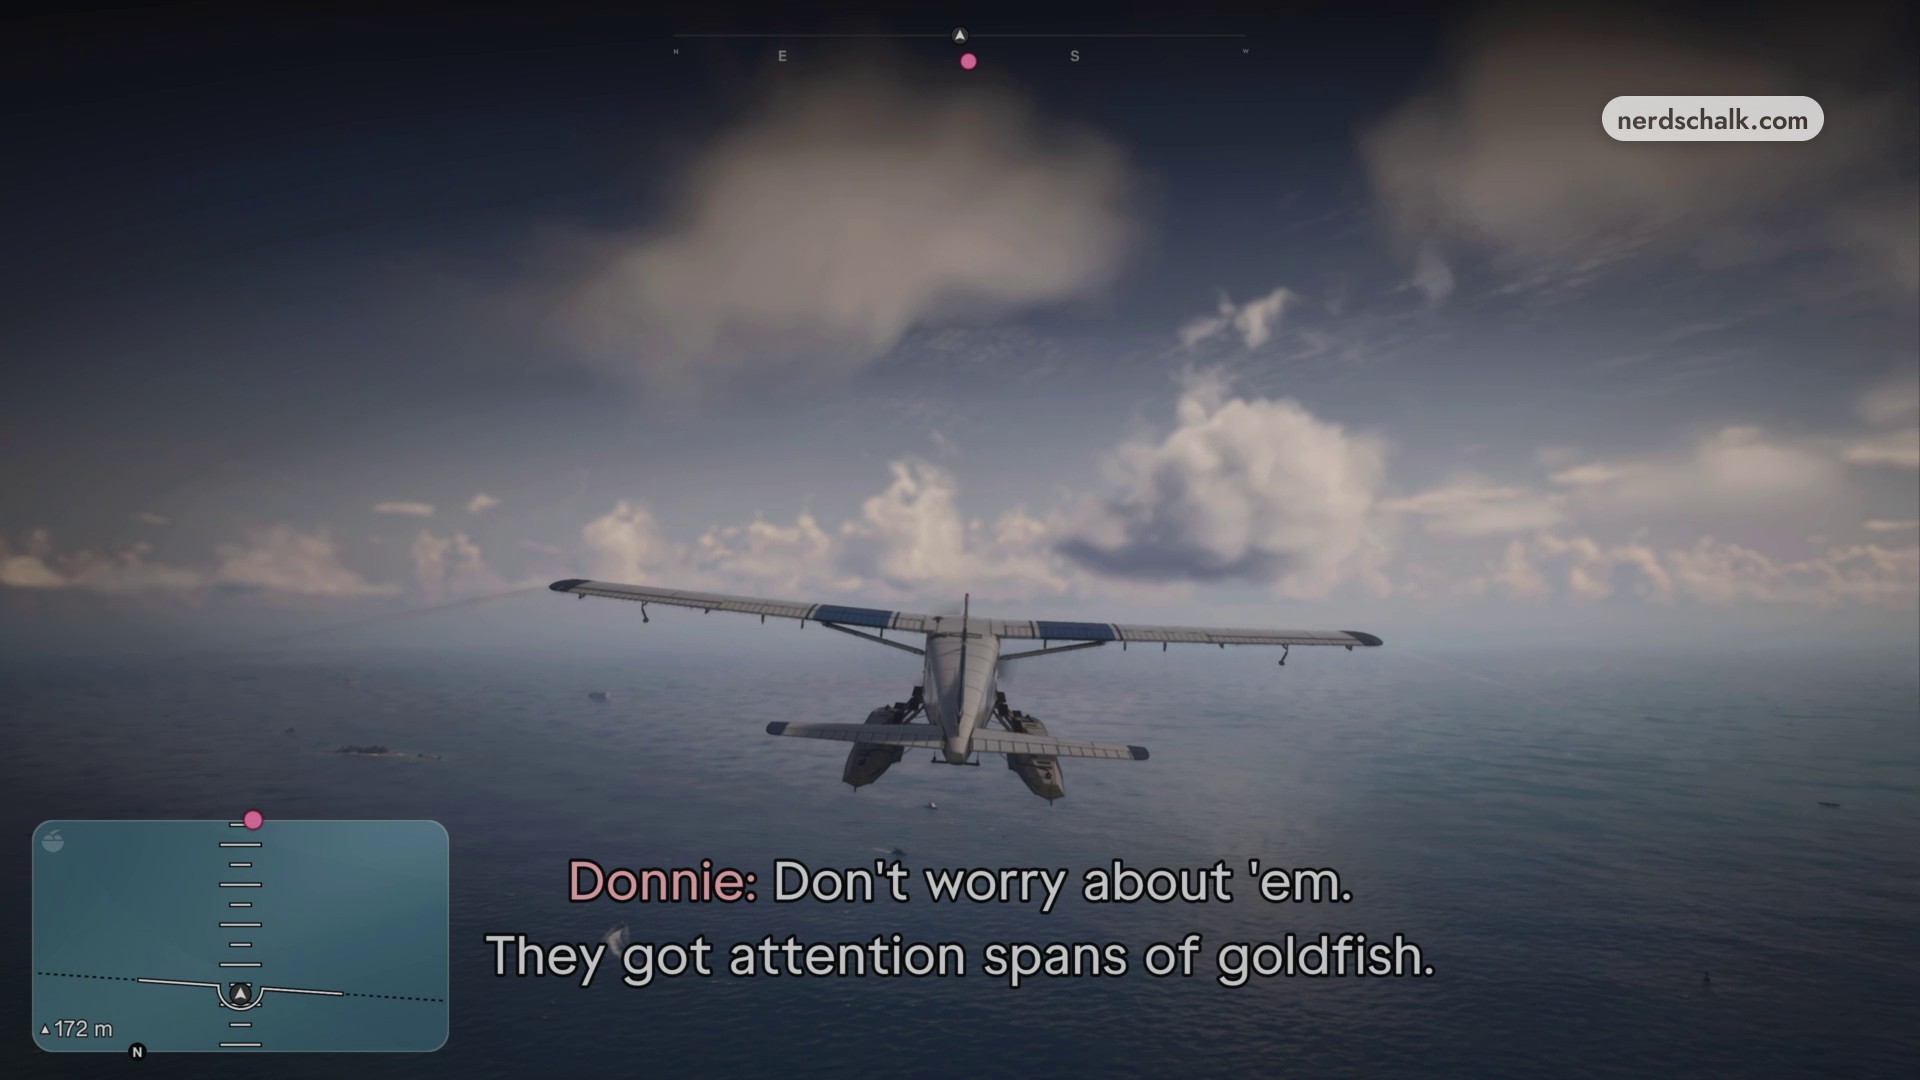
Fly over the open ocean toward the intercept waypoint. Consult the map’s flight path and destination marker to hold your course; the intercept-leg indicator reads 2.50 km in the approach view.
Catch up to Pilot Pete
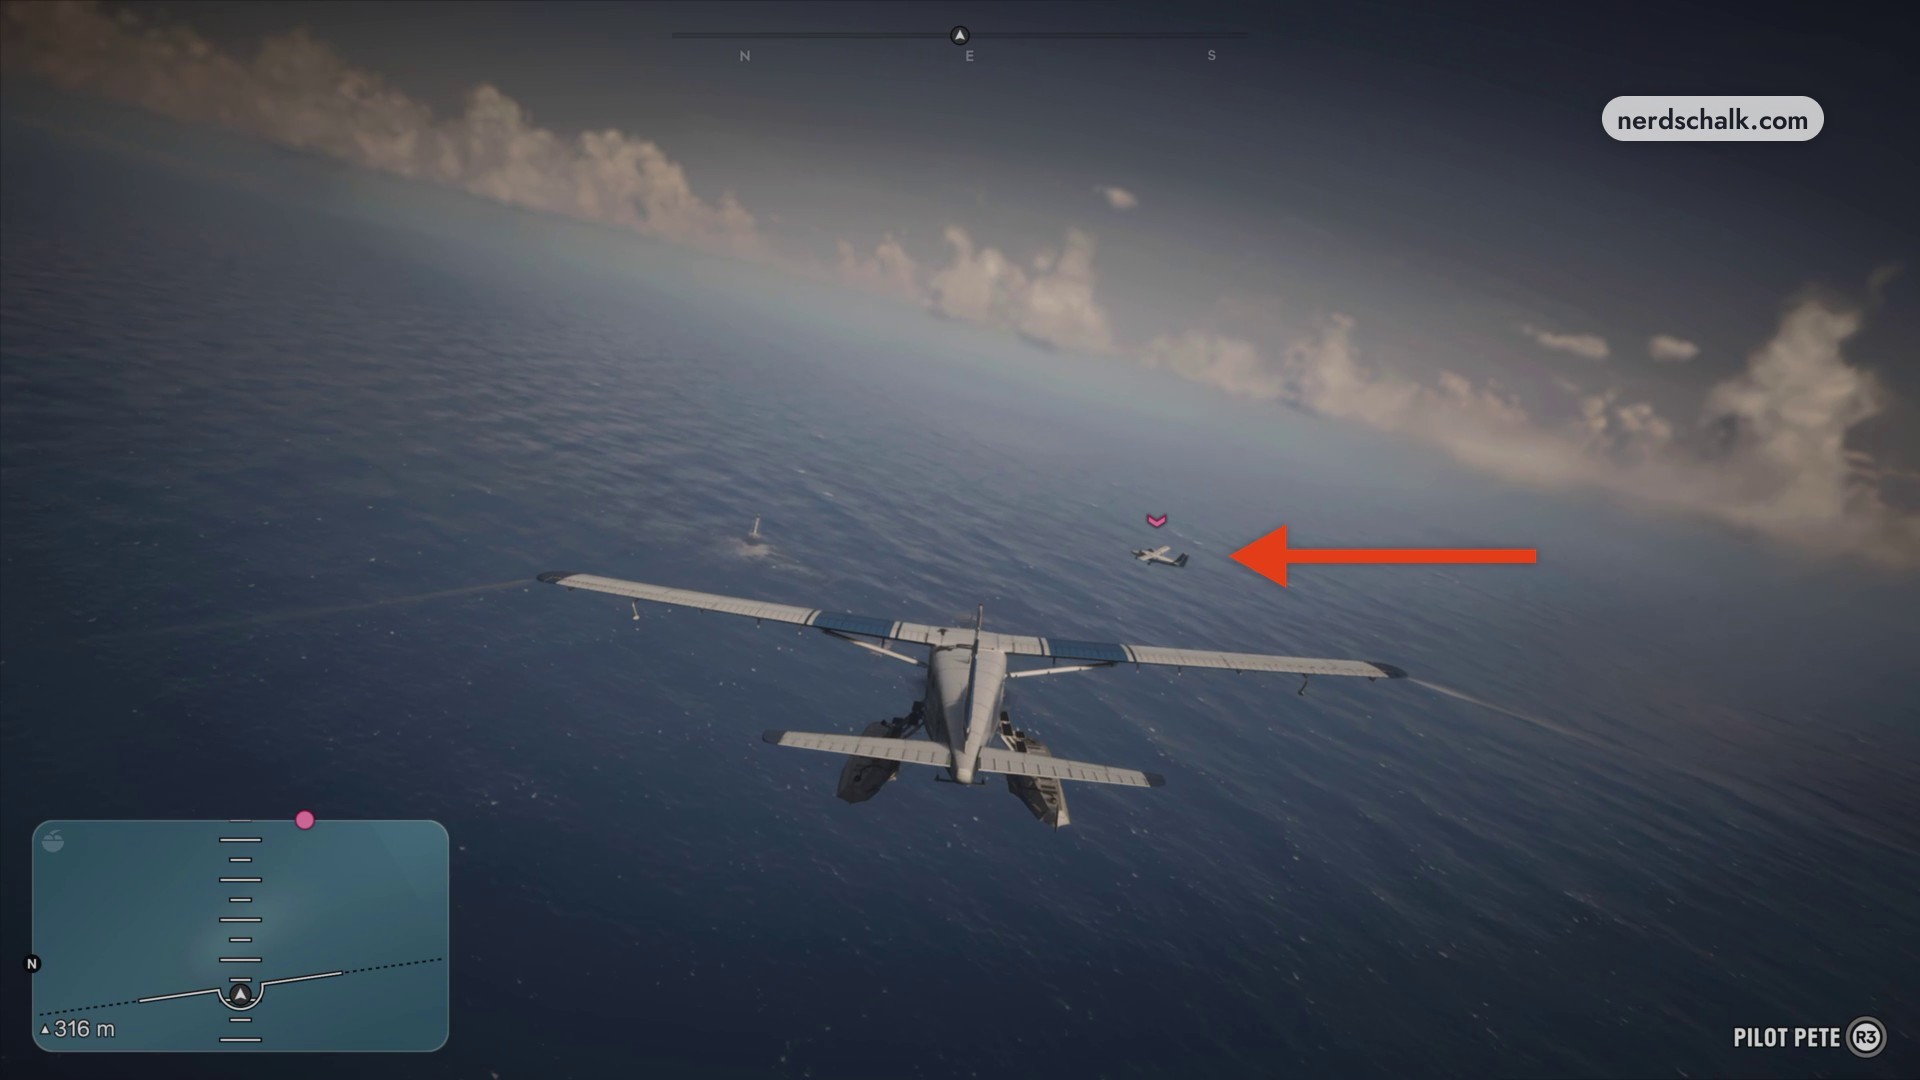
Continue offshore until the incoming aircraft emerges through the clouds with the PILOT PETE label. Close the distance and escort it toward the shoreline and landing strip.
Fly to the next airstrip
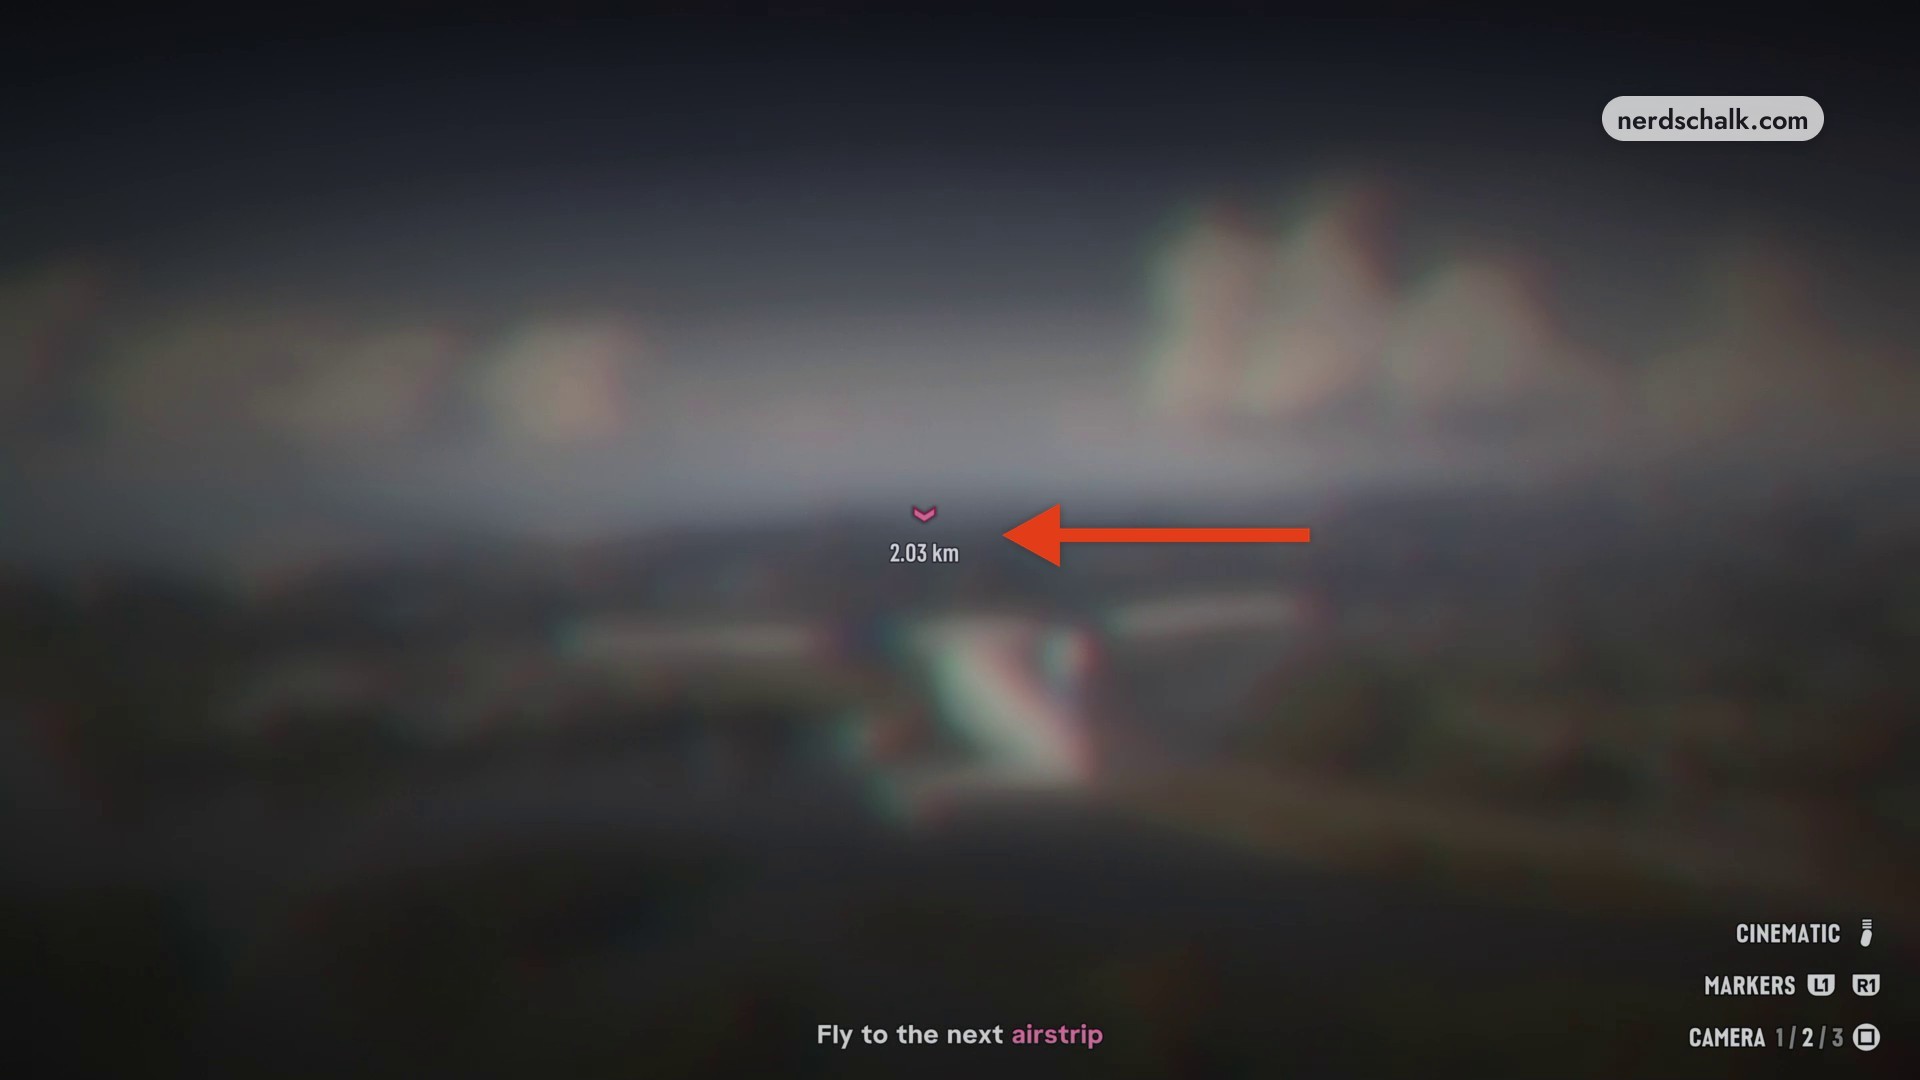
After the escort, follow Donnie’s direction northwest across the mainland toward the secondary meeting airfield. The map shows this new route, and the Fly to the next airstrip indicator reads 2.03 km on this leg.
Part 3 – Land at Henry J. Edwards Airport and reach the hangar
Follow the landing and taxi objectives before approaching on foot.
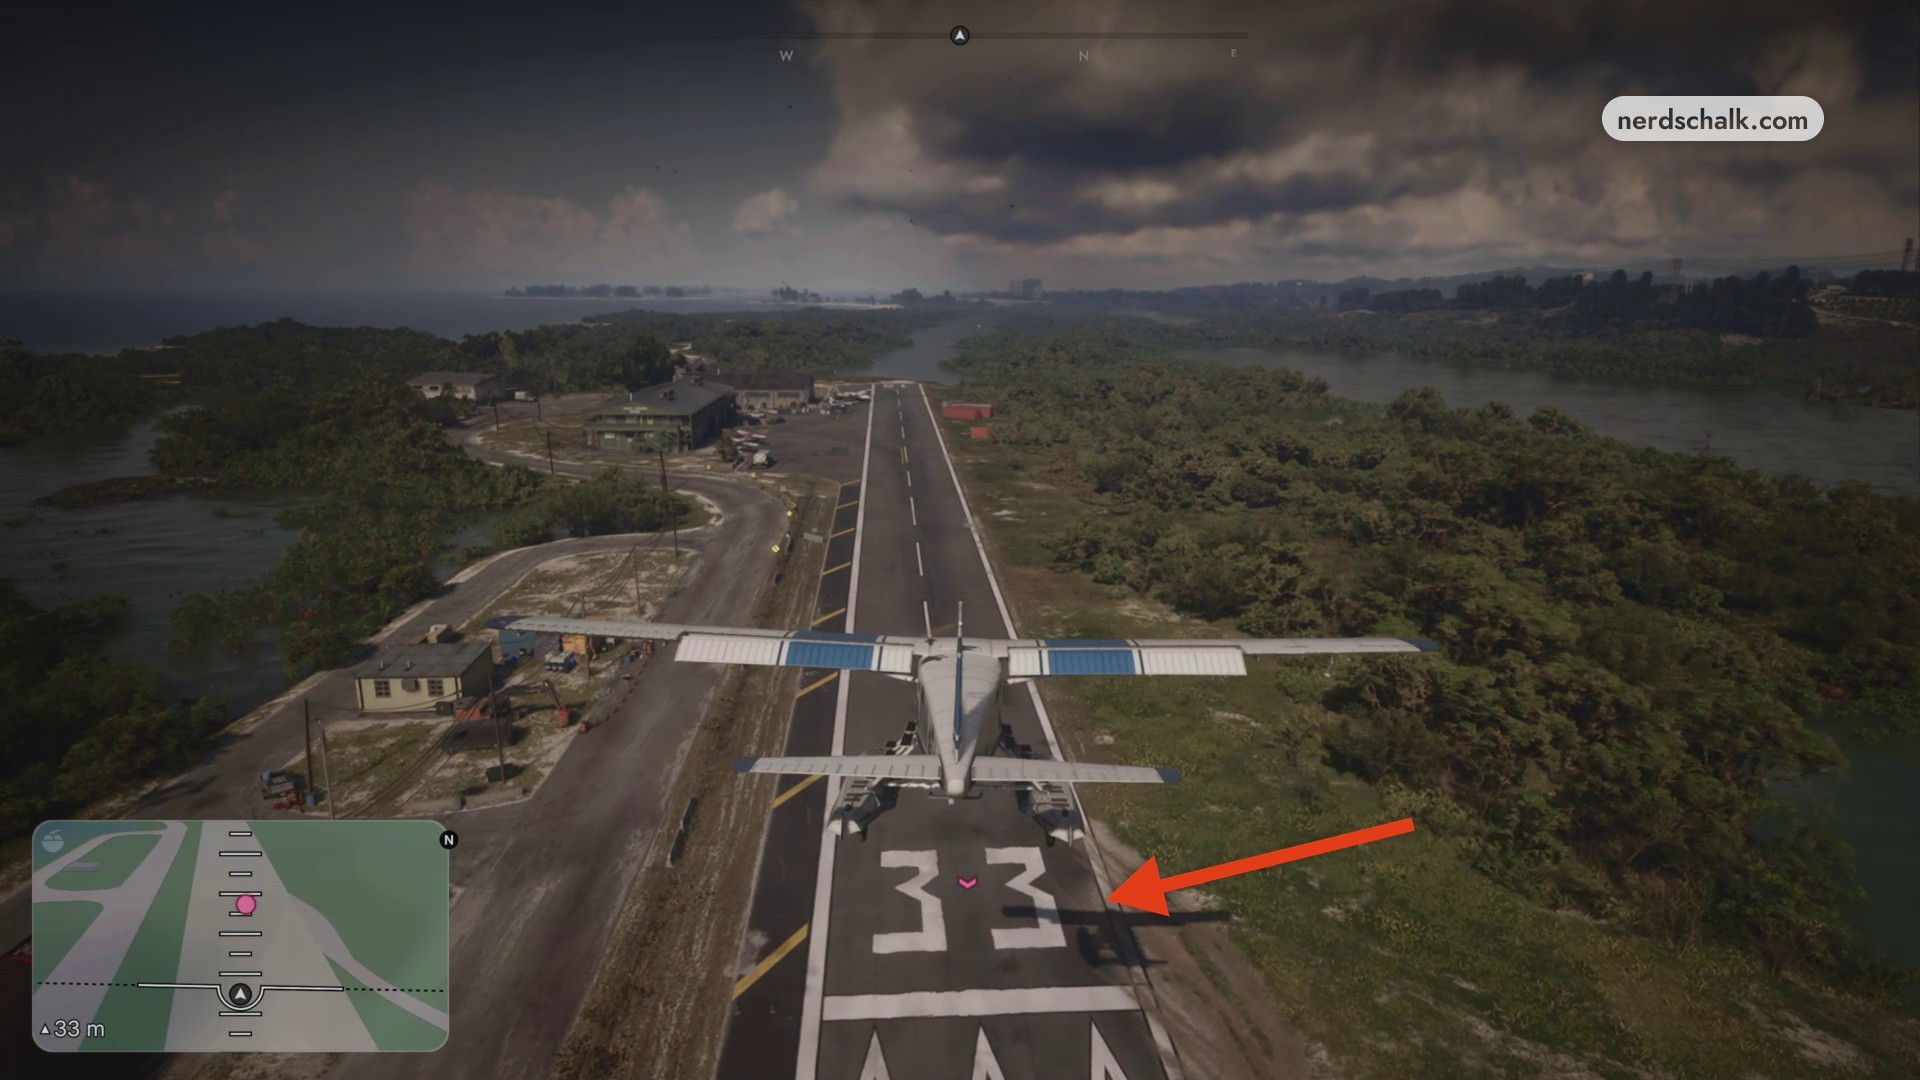
Land on runway 33
Line up with the painted 33 markings at Henry J. Edwards Airport and bring the seaplane down smoothly. If you overshoot, circle back over the bay and make another approach to runway 33.
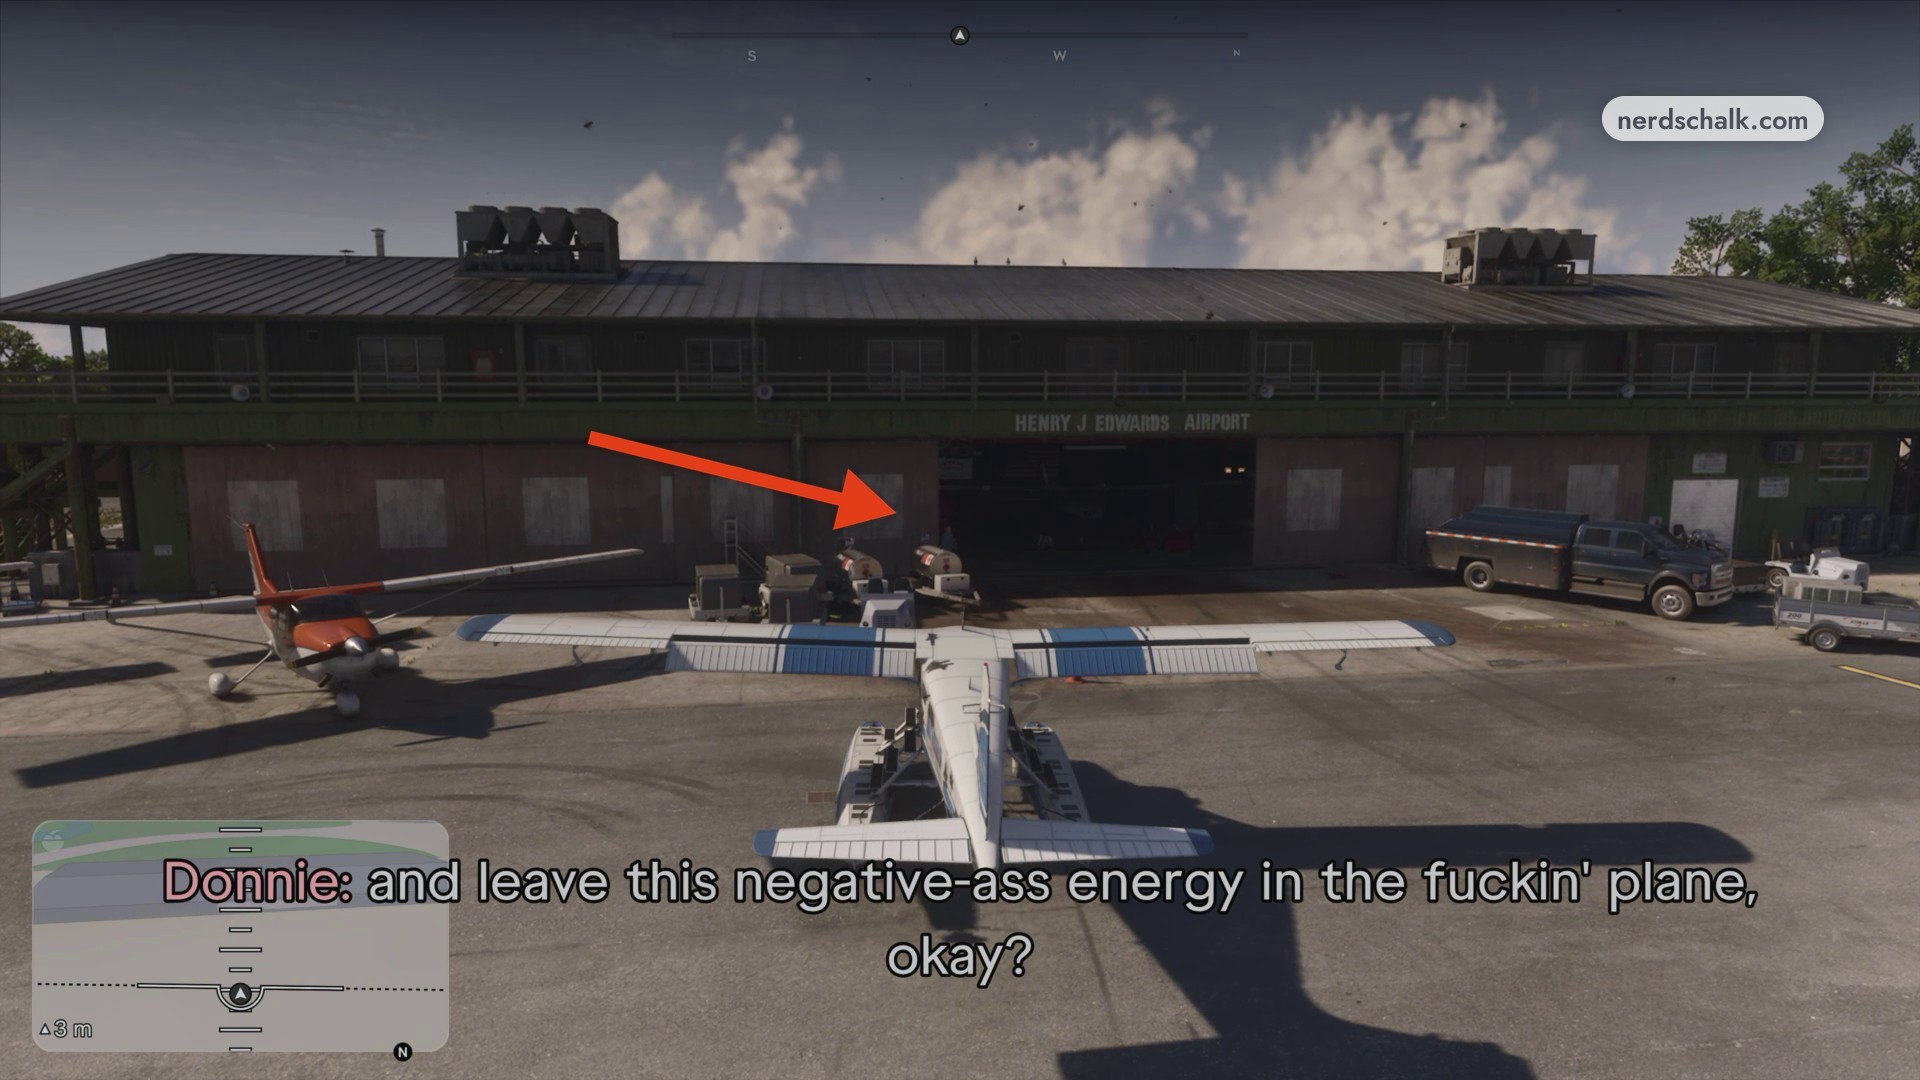
Taxi into position outside the hangar
Turn toward the large green hangar with its bay doors open and stop at the designated position outside. The building’s HENRY J EDWARDS AIRPORT lettering and the map identify the location; get out carrying the duffel bag, follow Donnie, and let the Observe the deal objective play out.
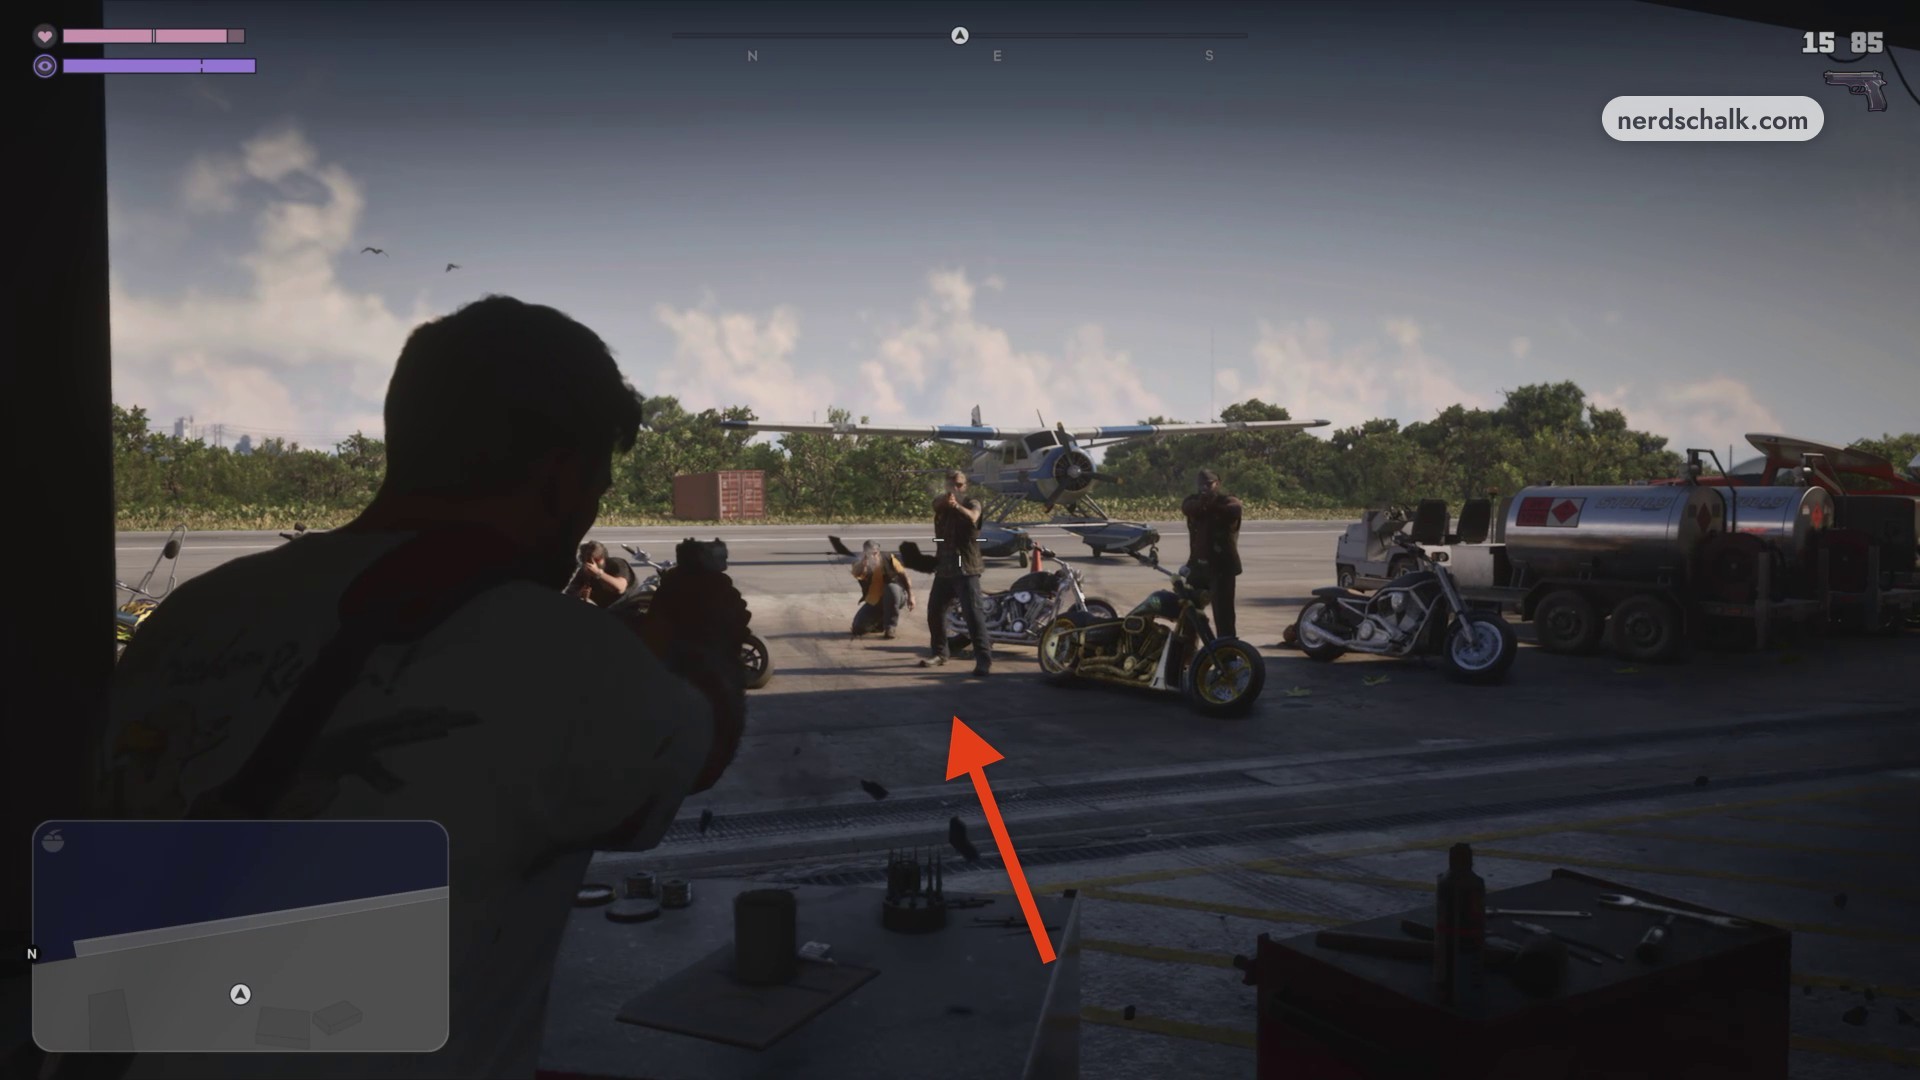
Clear the armed bikers outside
Take cover behind the red tool cabinets inside the hangar and fire at the armed bikers on the apron.
Part 4 – Find and free Donnie
The next objective sends you around the hangar to the rear storage building.
Reach the rear storage building
For Find Donnie, go around the hangar’s north side, past the trucks. Follow the alley beside the storage building toward the back entrance, where Donnie is being held in the building at the rear.
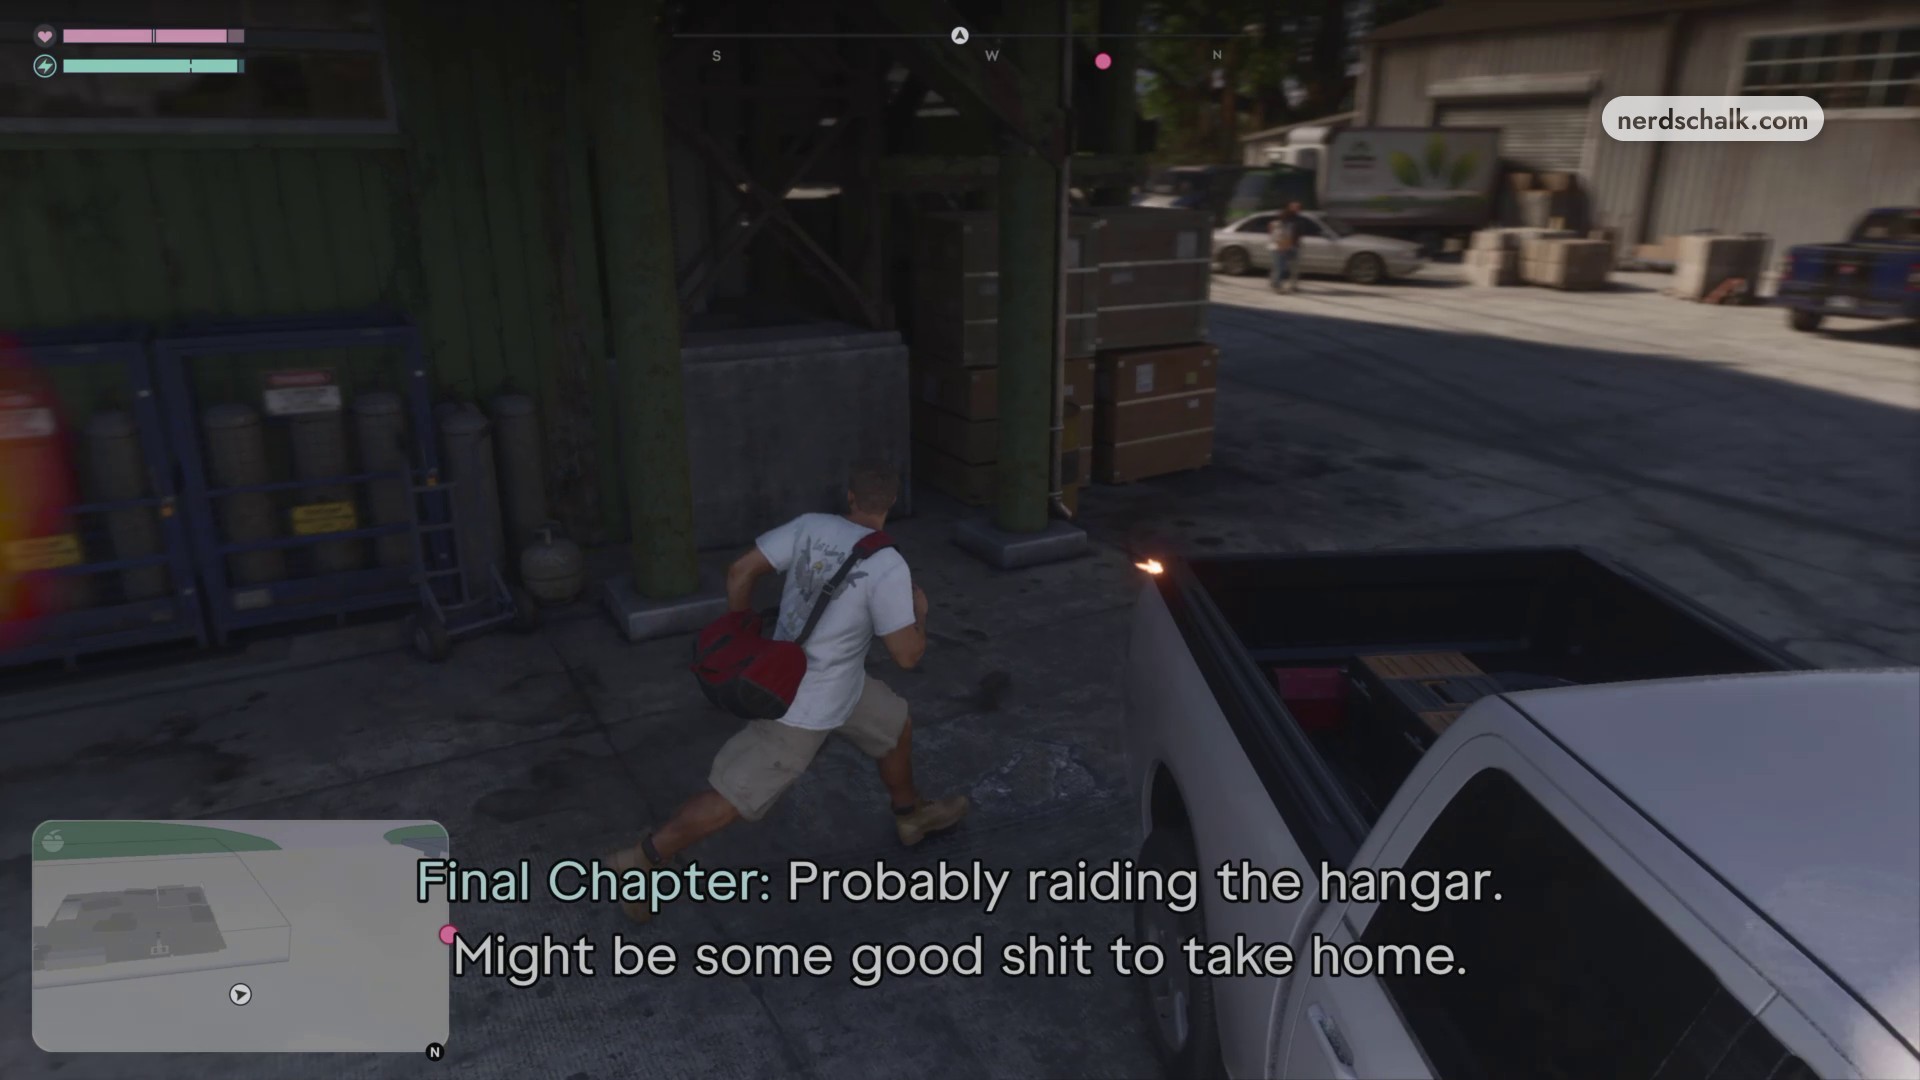
Clear the guards by the delivery trucks
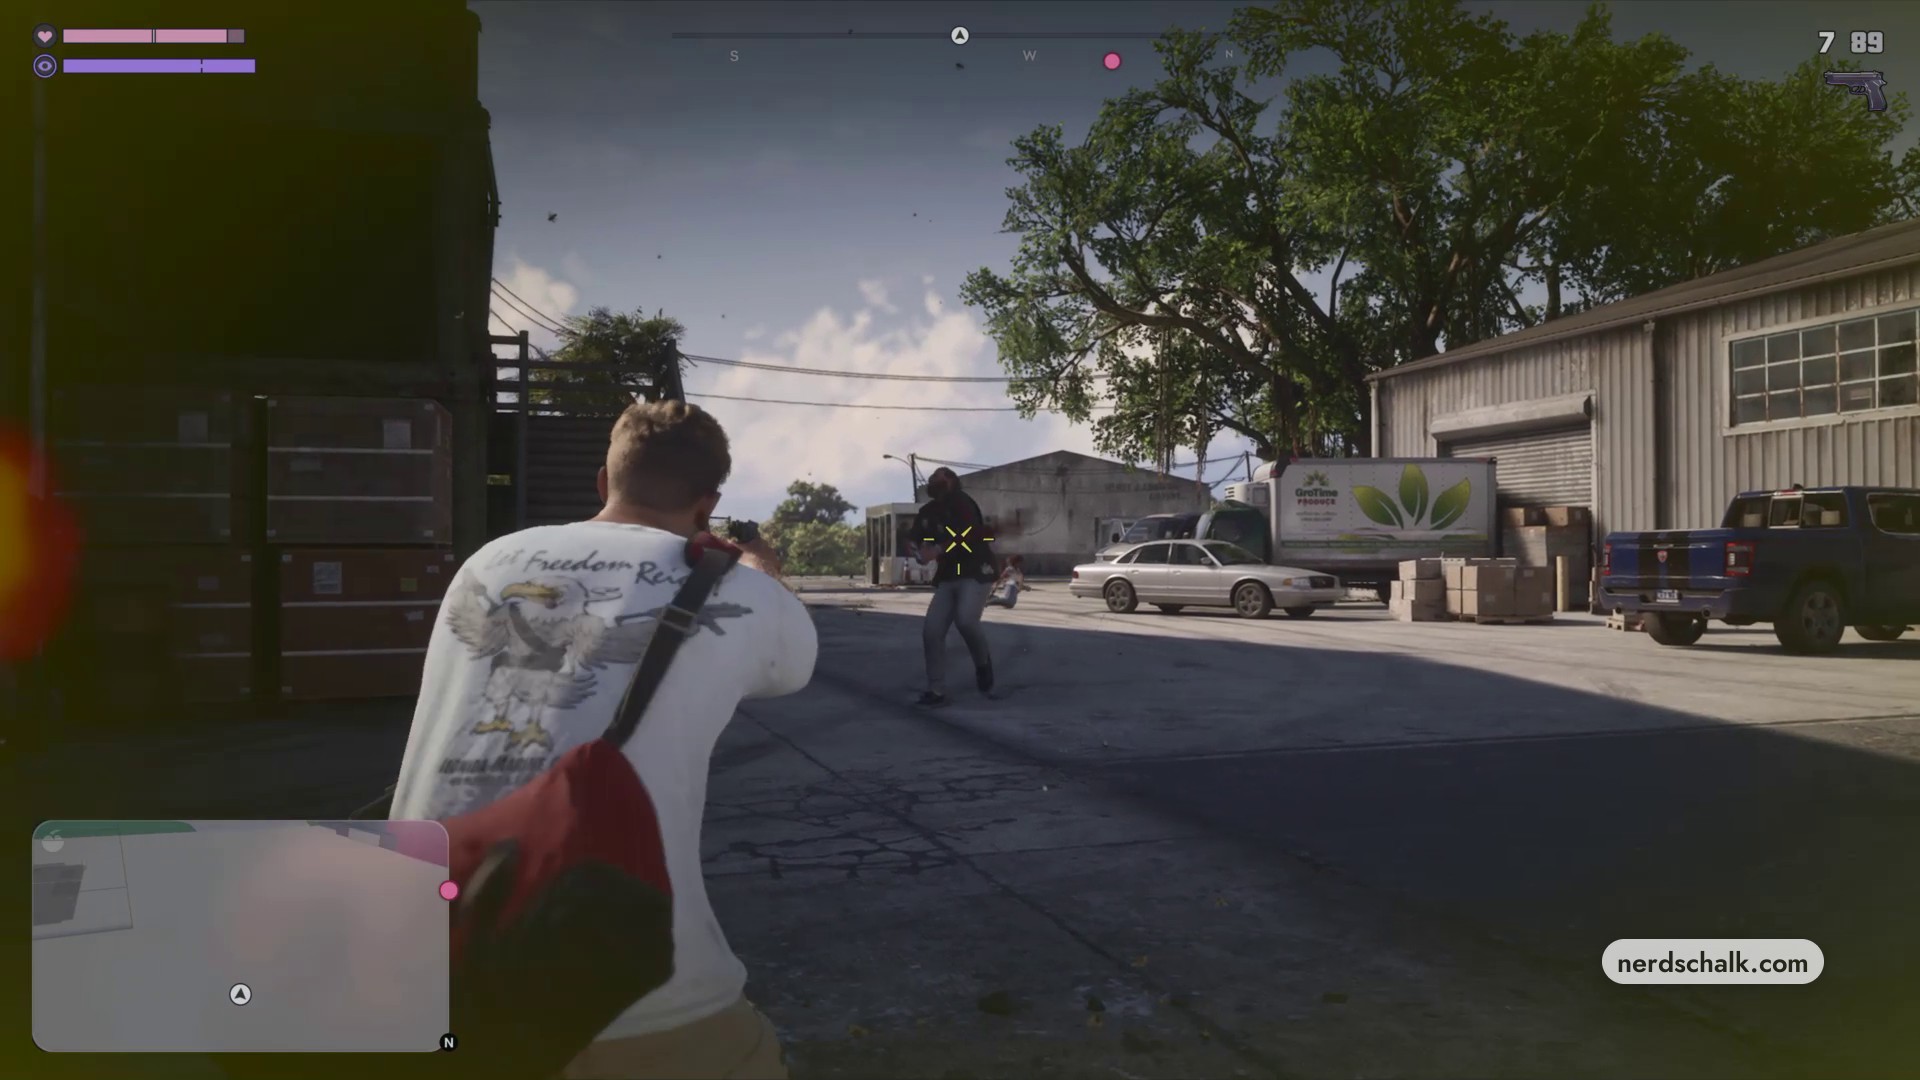
Enemies near the pickup and delivery trucks fire on your approach. Use the vehicles as cover while clearing the Final Chapter guards, including the gunner beside a delivery truck, and collect available loot outside the warehouse before continuing.
Enter the rear storage room
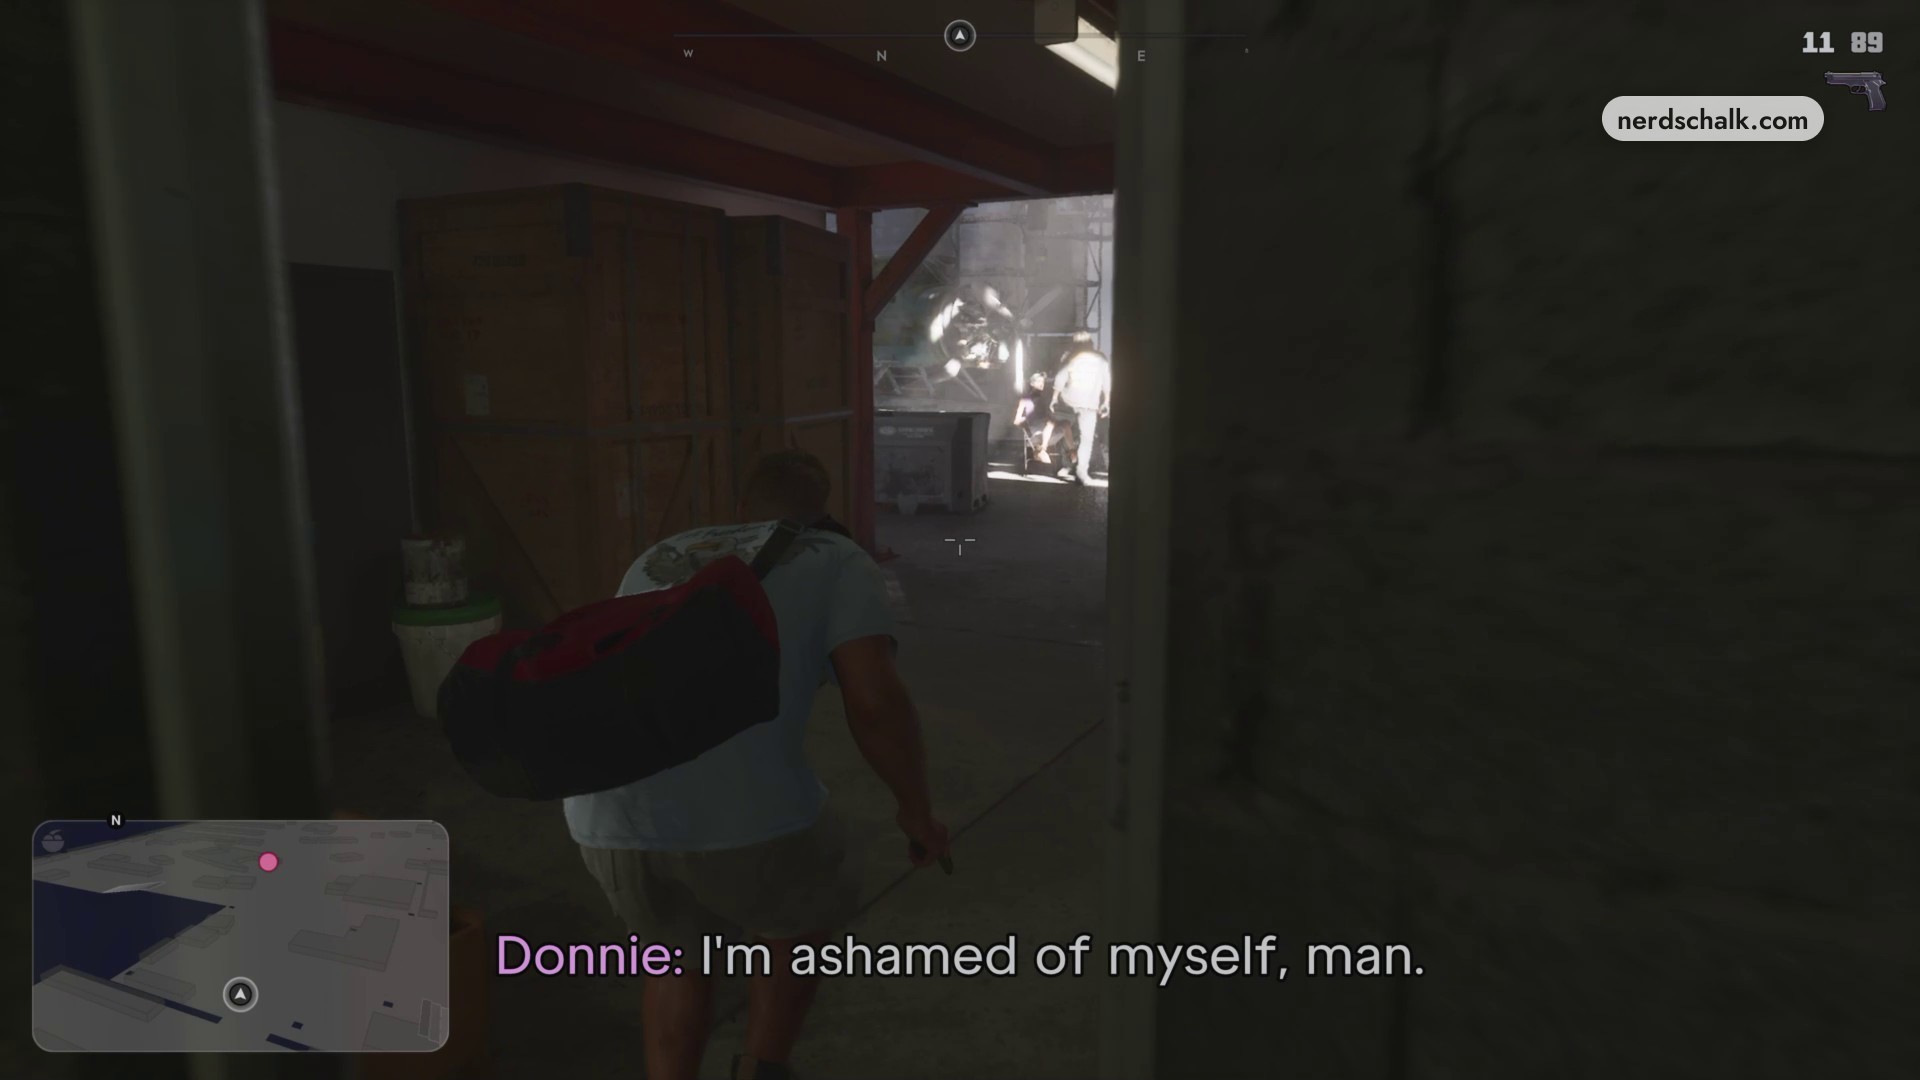
Use the warehouse’s back door to reach the storage room. Beyond it, the open doorway looks into the illuminated hangar where Donnie’s captors are gathered around him.
Clear Donnie’s captors
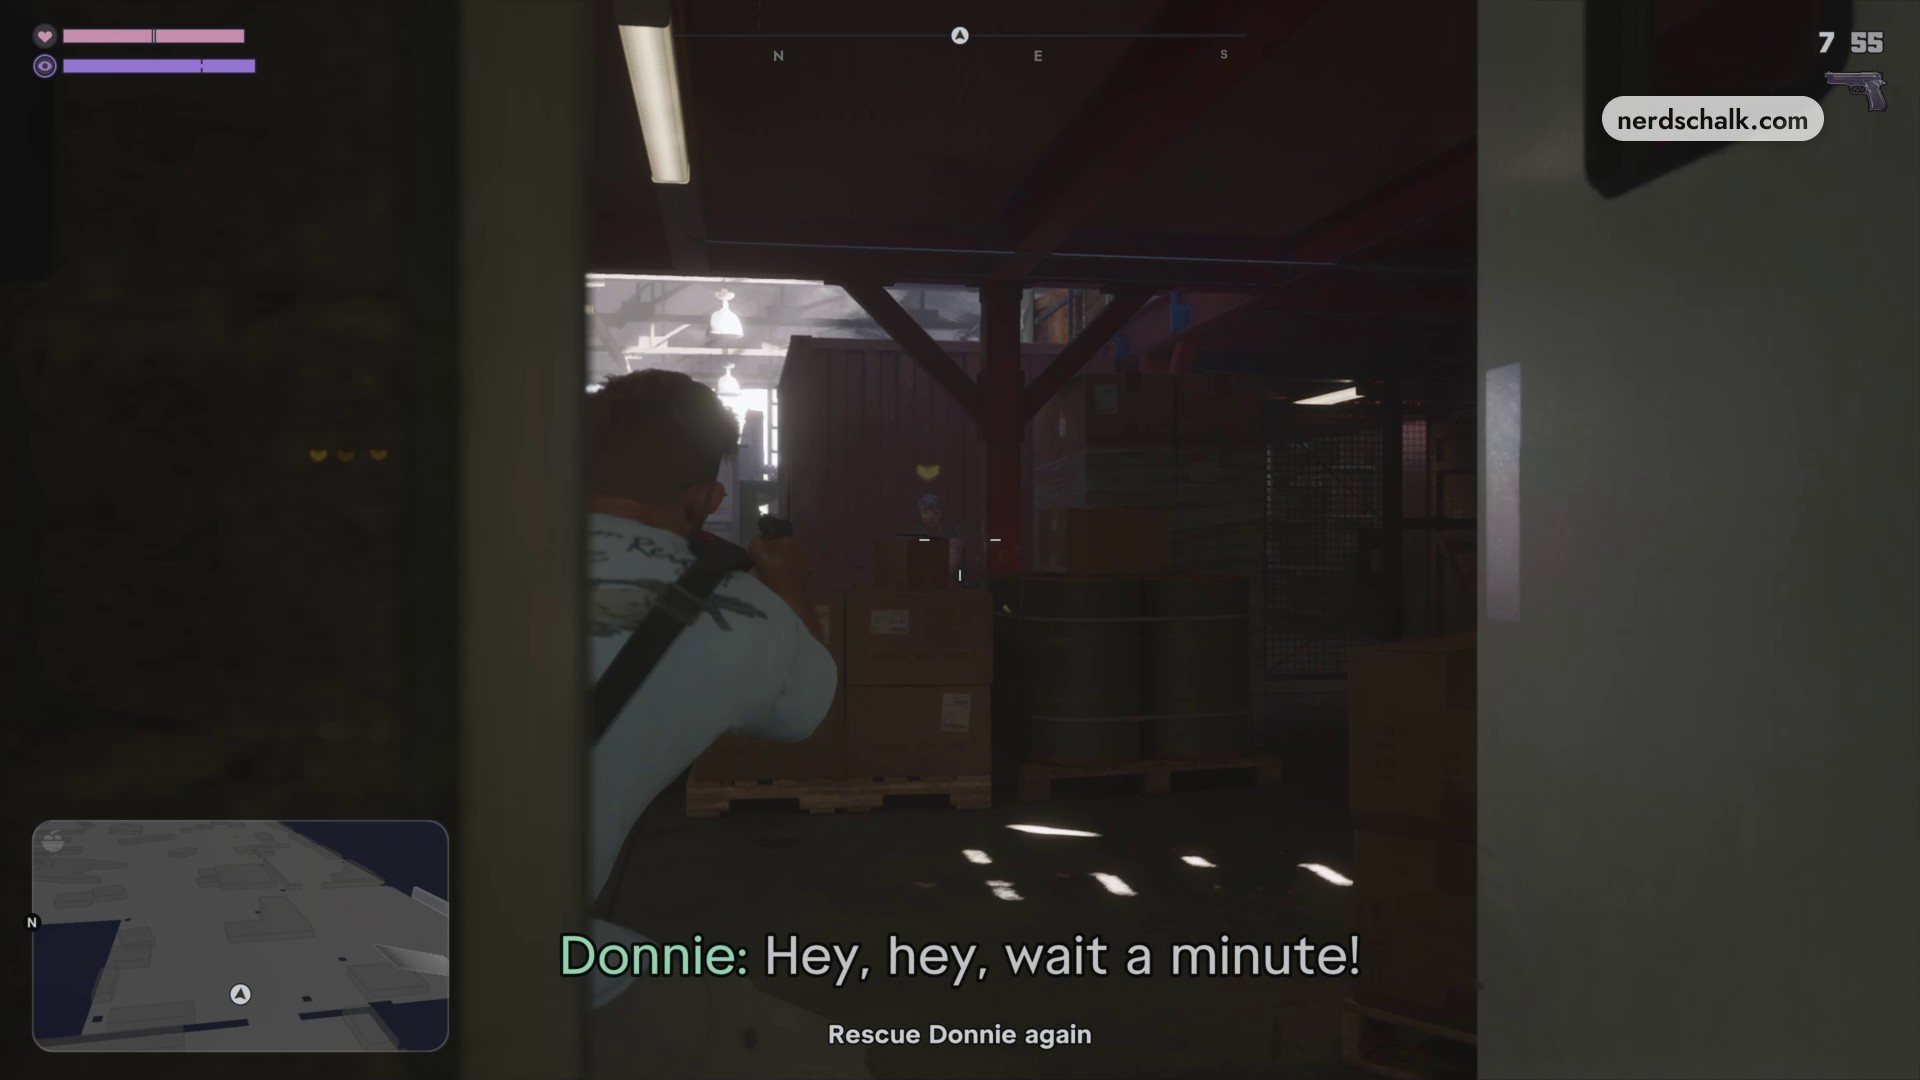
During Rescue Donnie again, withdraw into the storage room when you need to reload and recover health. Peek out to shoot enemies entering the corridor, stop any attacker rushing into the room, then sweep your aim around the room and check your inventory before advancing toward the doorway.
Untie Donnie
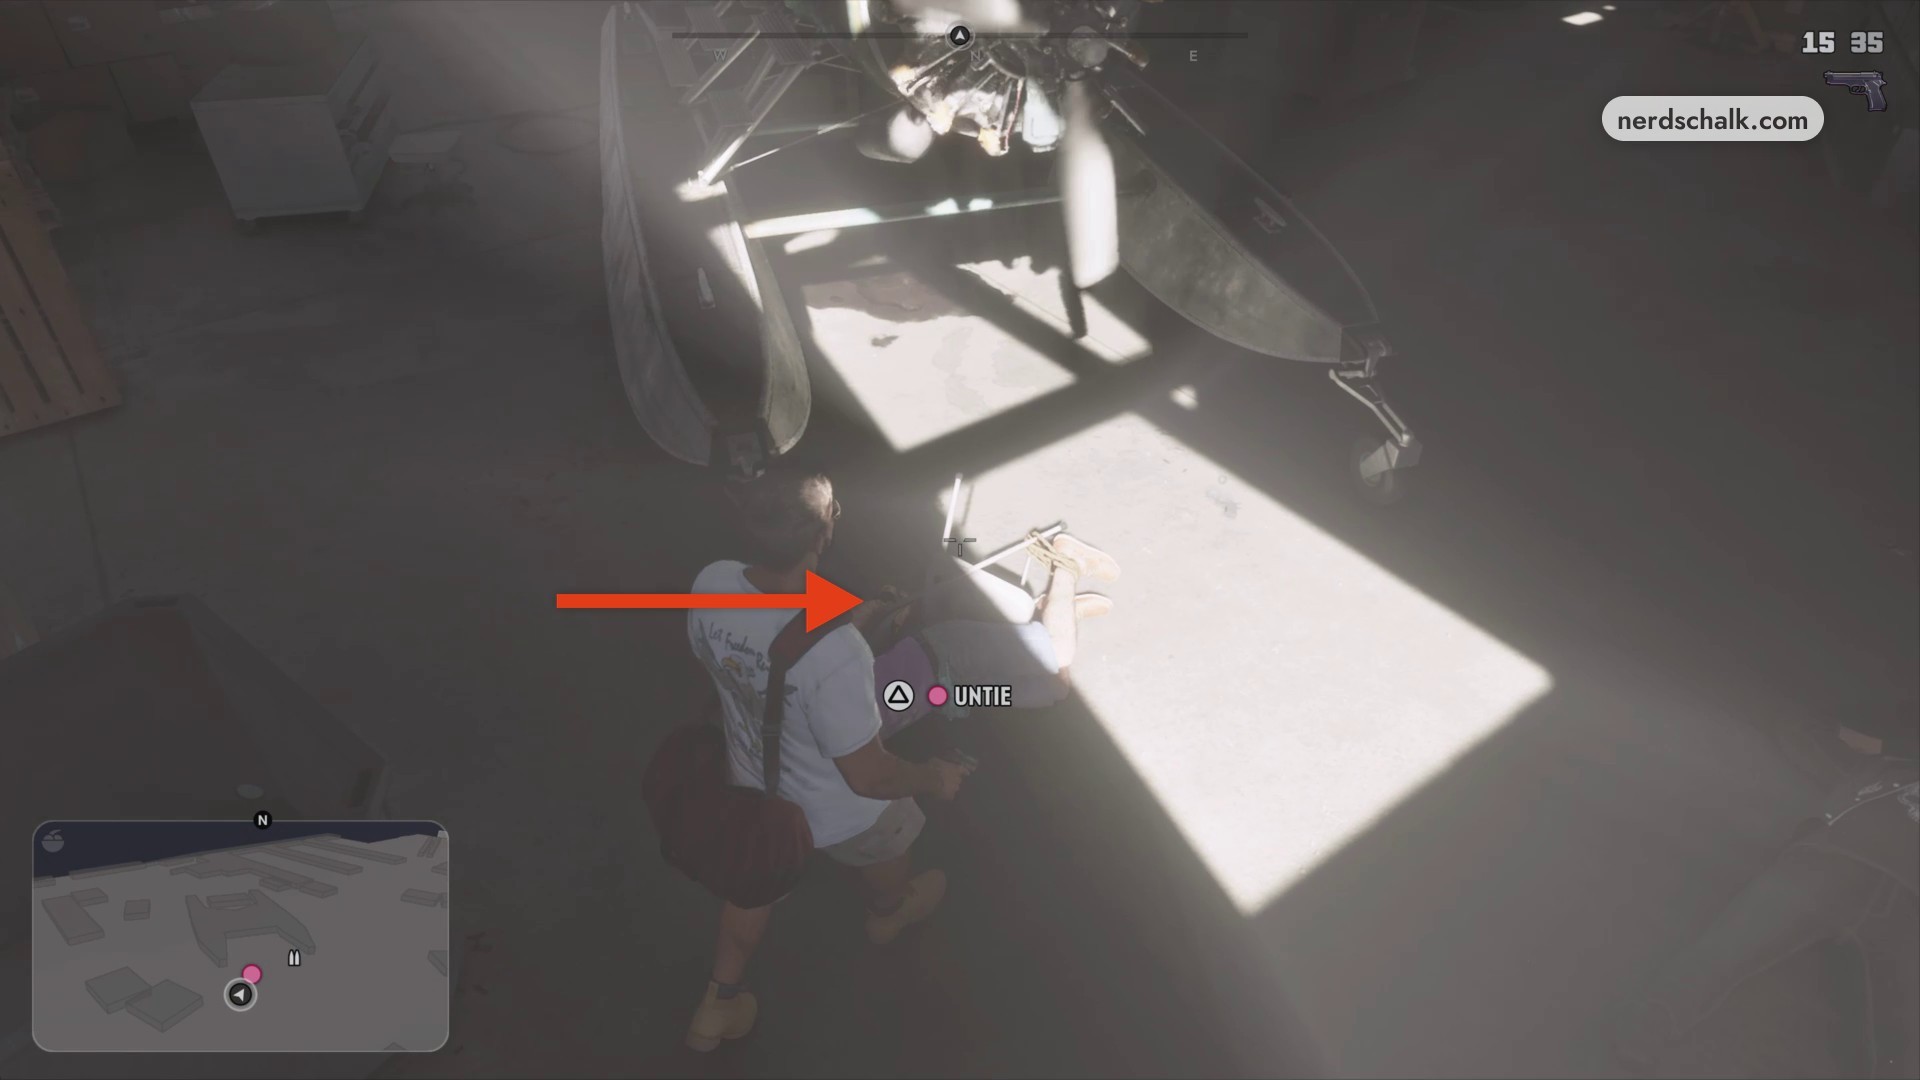
Once the captors are down, enter the main hangar and approach Donnie on the floor beneath the seaplane. He is restrained on a tipped chair; use UNTIE to release him and help him stand.
Part 5 – Defend the runway while Donnie prepares the escape
Escape with Donnie leads into Hold off the Final Chapter.
Hold off the runway reinforcements
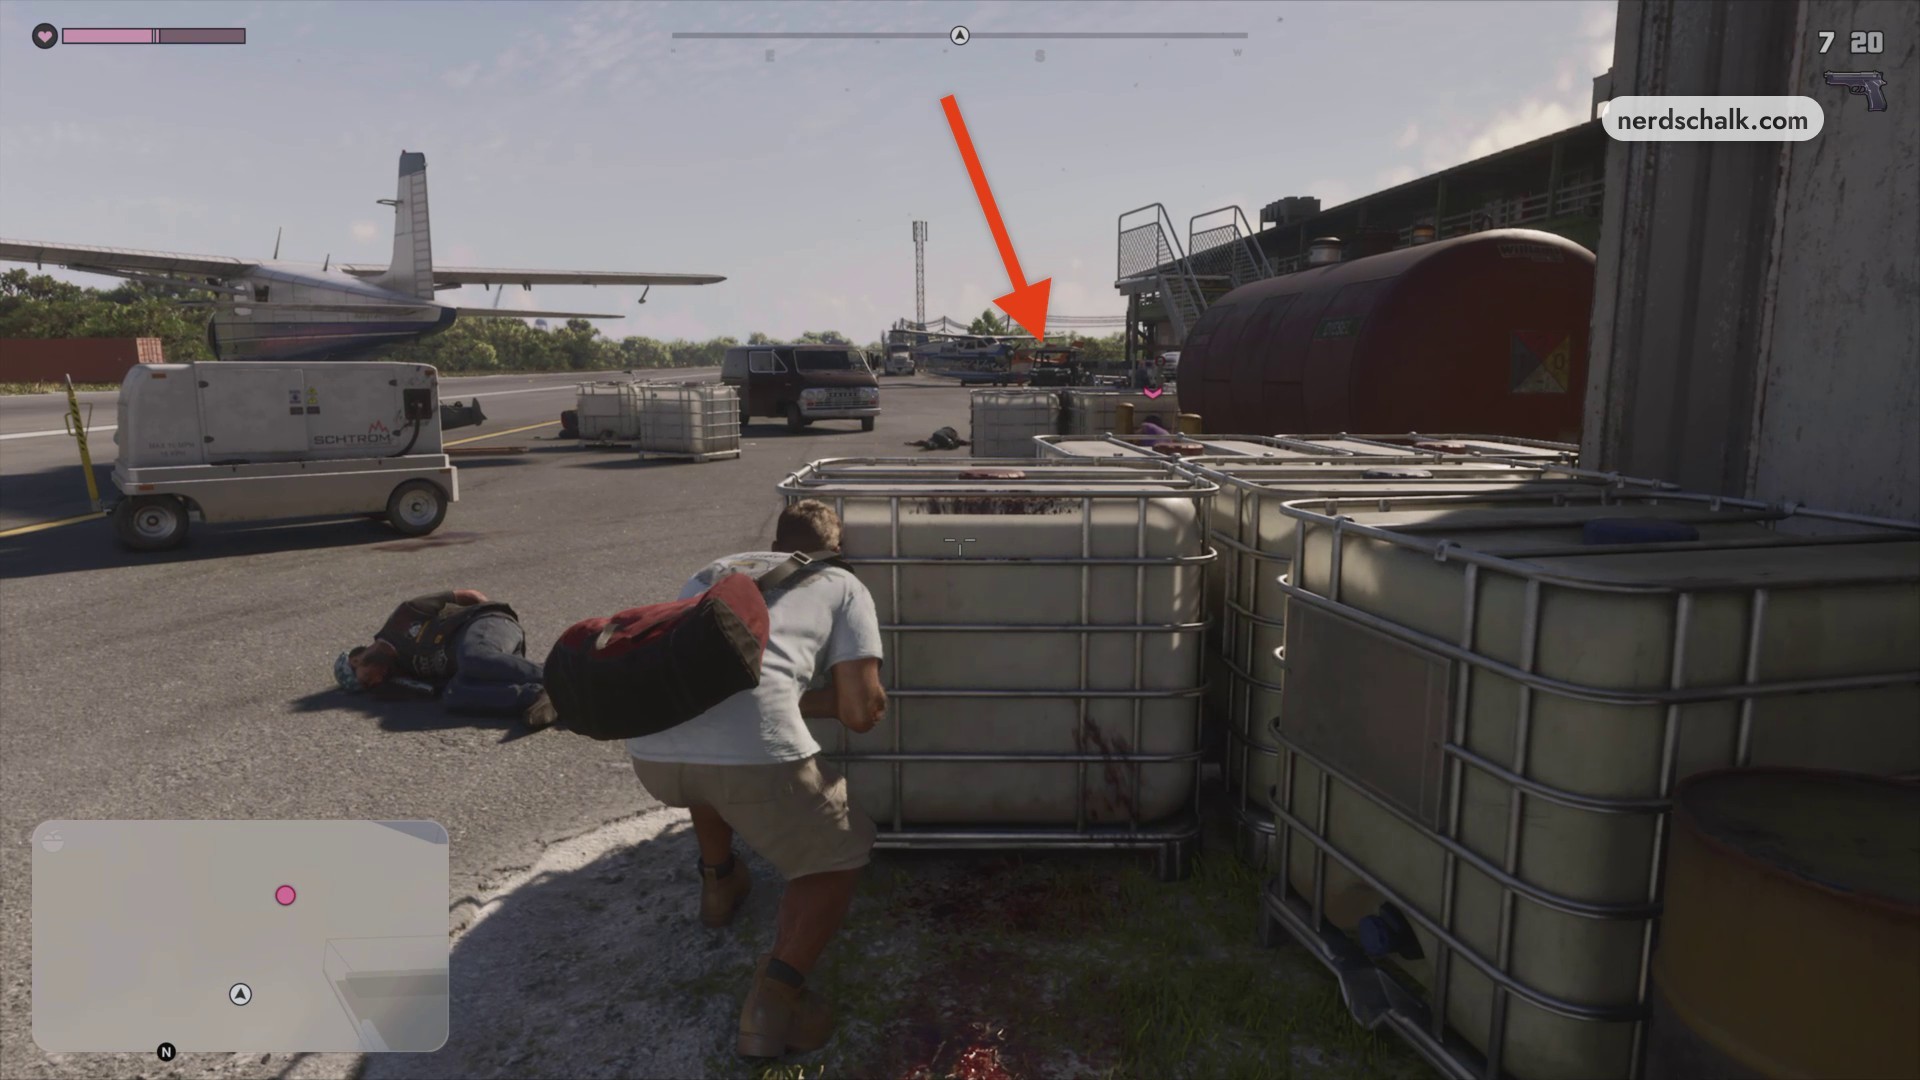
Leave the hangar with Donnie as Escape with Donnie changes to Hold off the Final Chapter. Reinforcements reach the runway as Donnie heads for the plane. He boards the plane and starts its engine while you fight the bikers and reinforcements arriving in vans. Use the white containers, plastic containers, industrial bulk containers, barrels, and fuel tanks as cover, moving between positions while clearing approaching gunners. Keep firing at advancing bikers from behind the containers. Check your pistol’s status through the weapon wheel and use adrenaline while crouched behind cover when you need to heal.
Part 6 – Follow Donnie by motorcycle, meet at Pelican River, and return home
Meet Donnie leads into Get in the plane.
Mount the getaway motorcycle
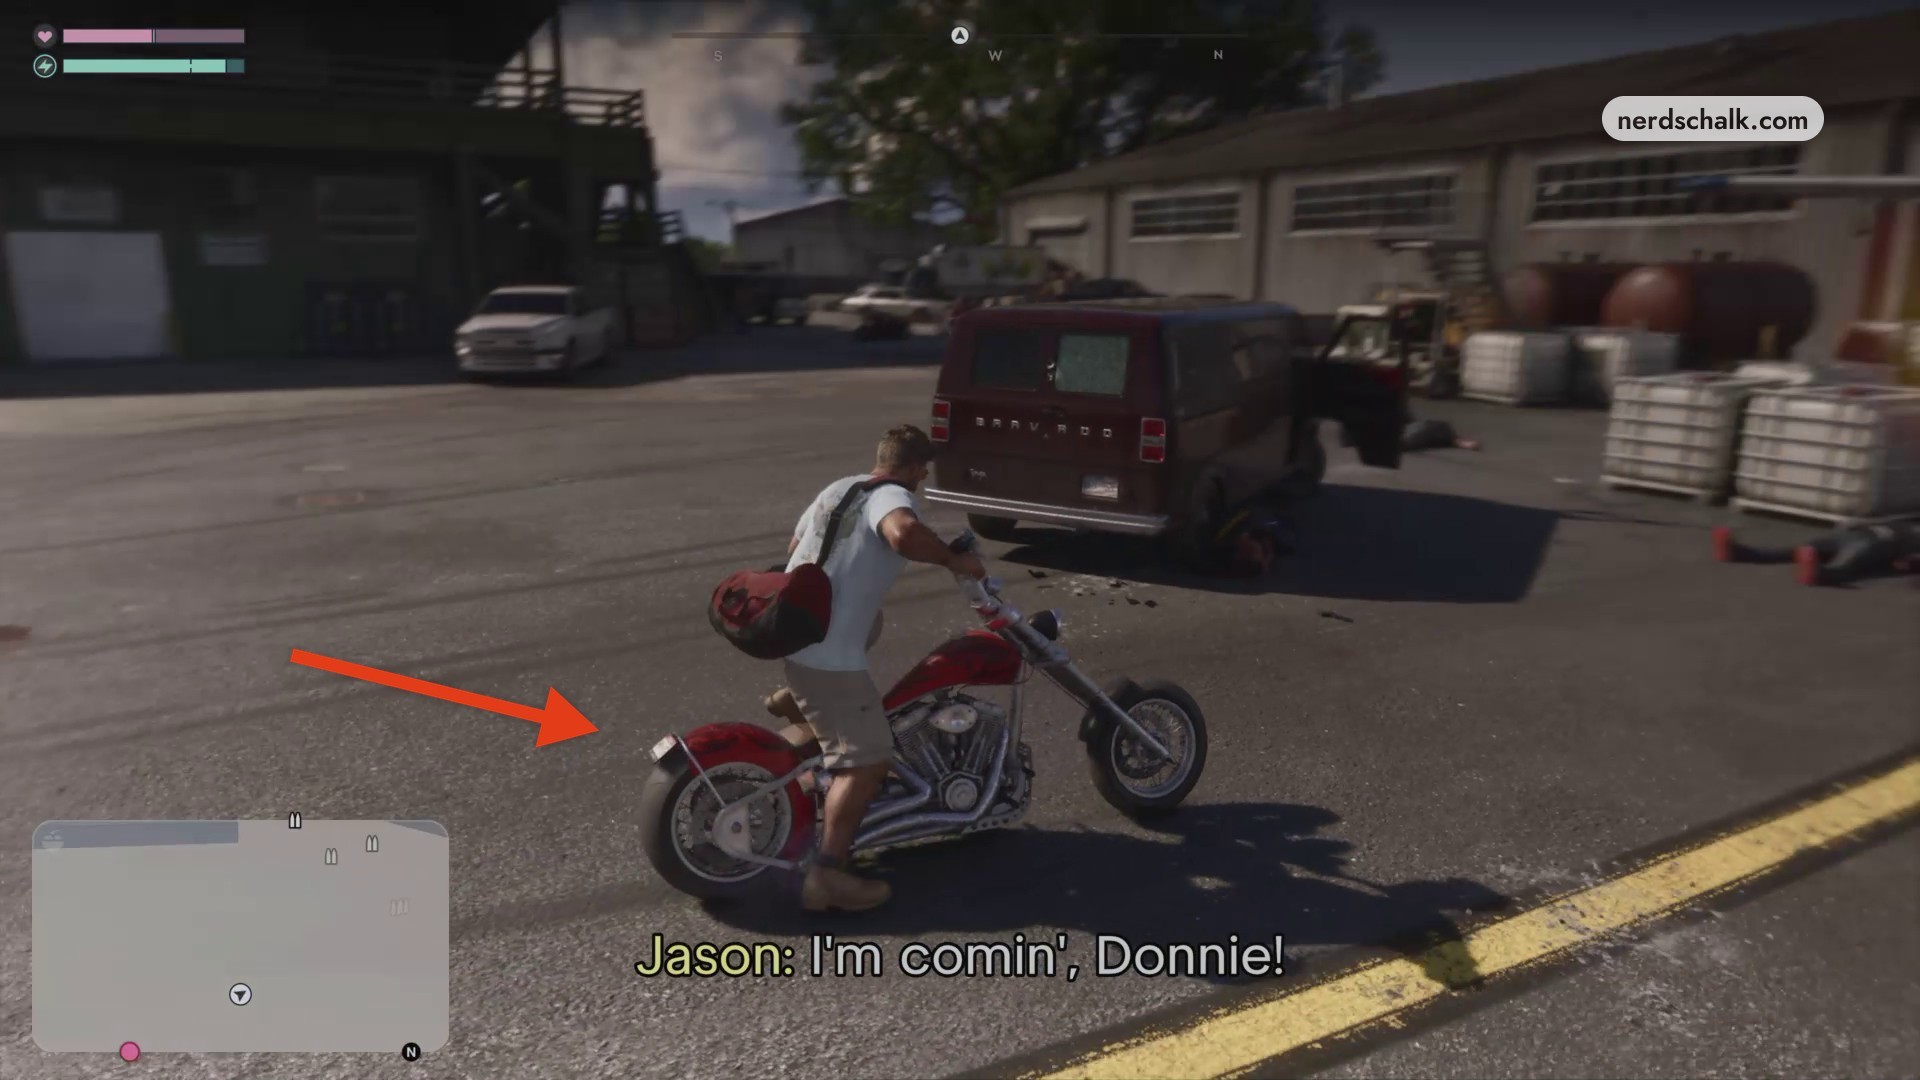
Cross the tarmac and get onto the motorcycle.
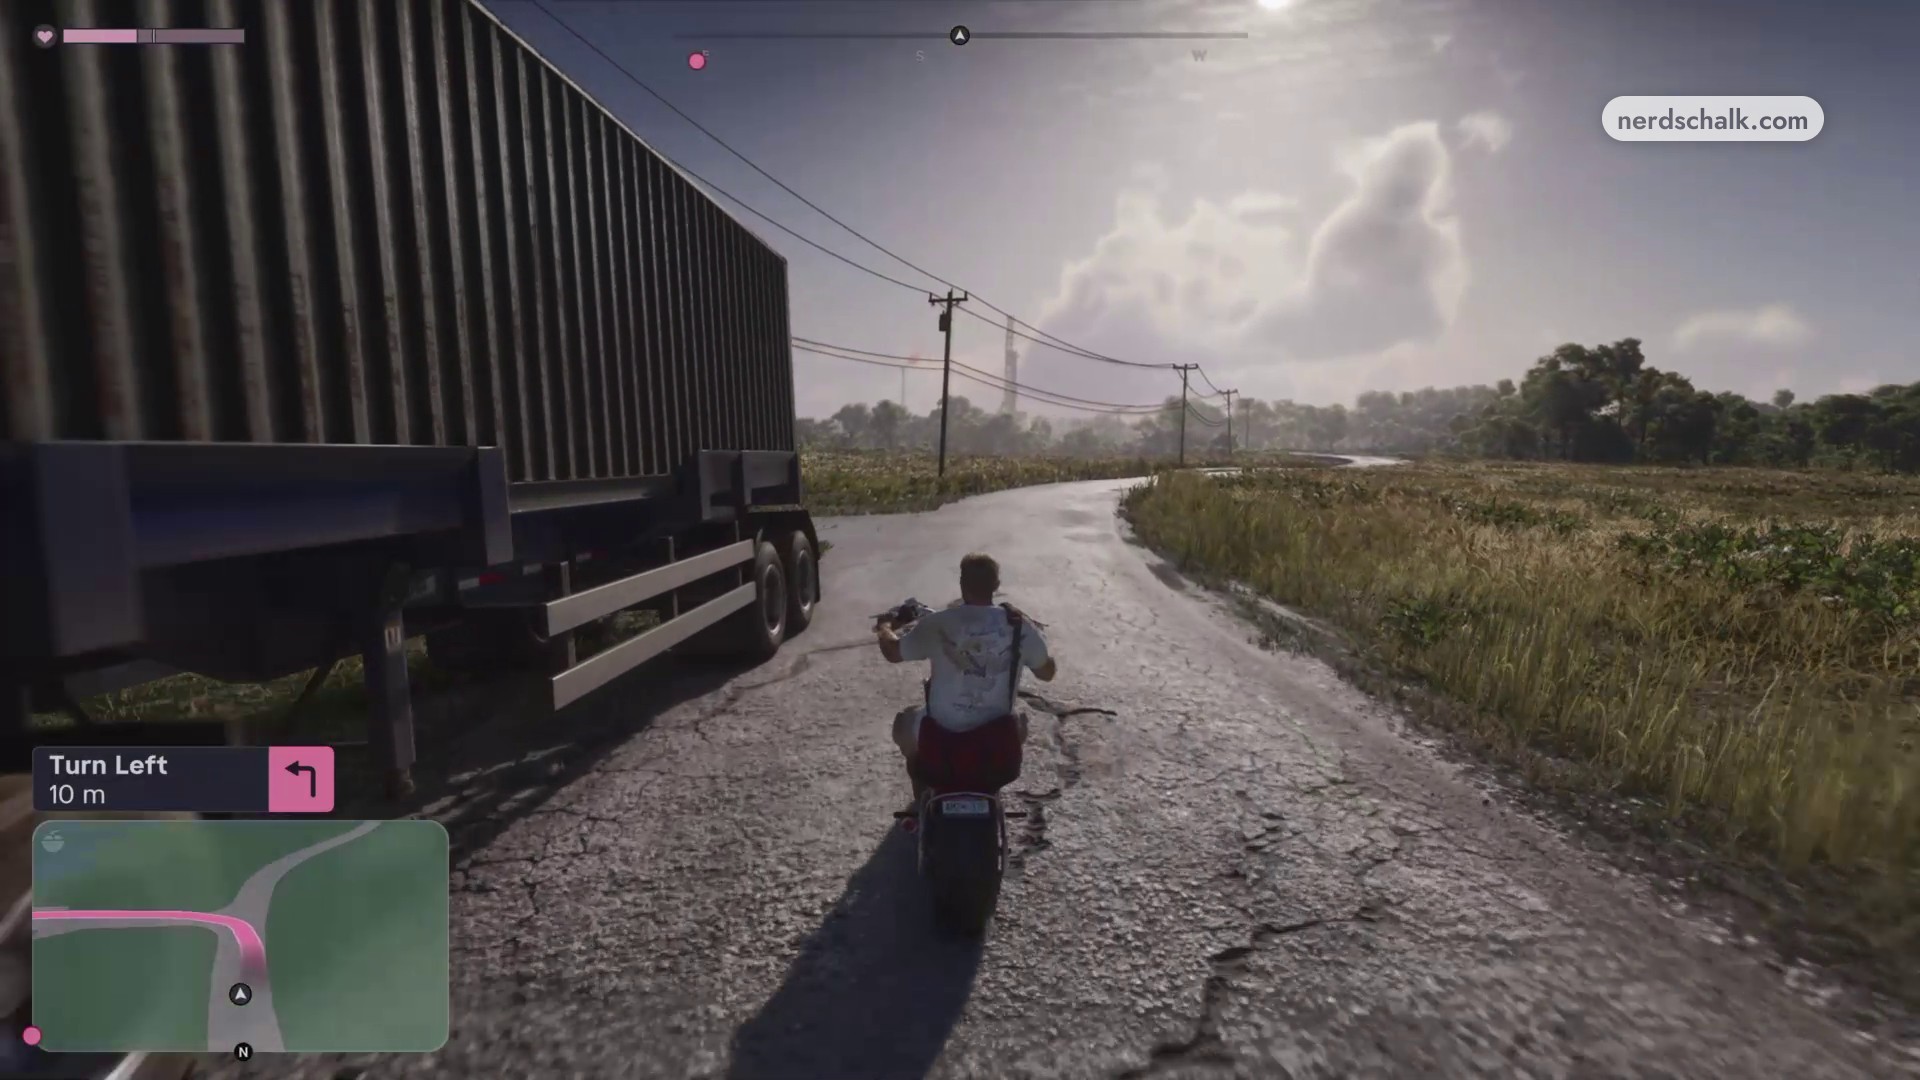
Follow the plane along the rural roads
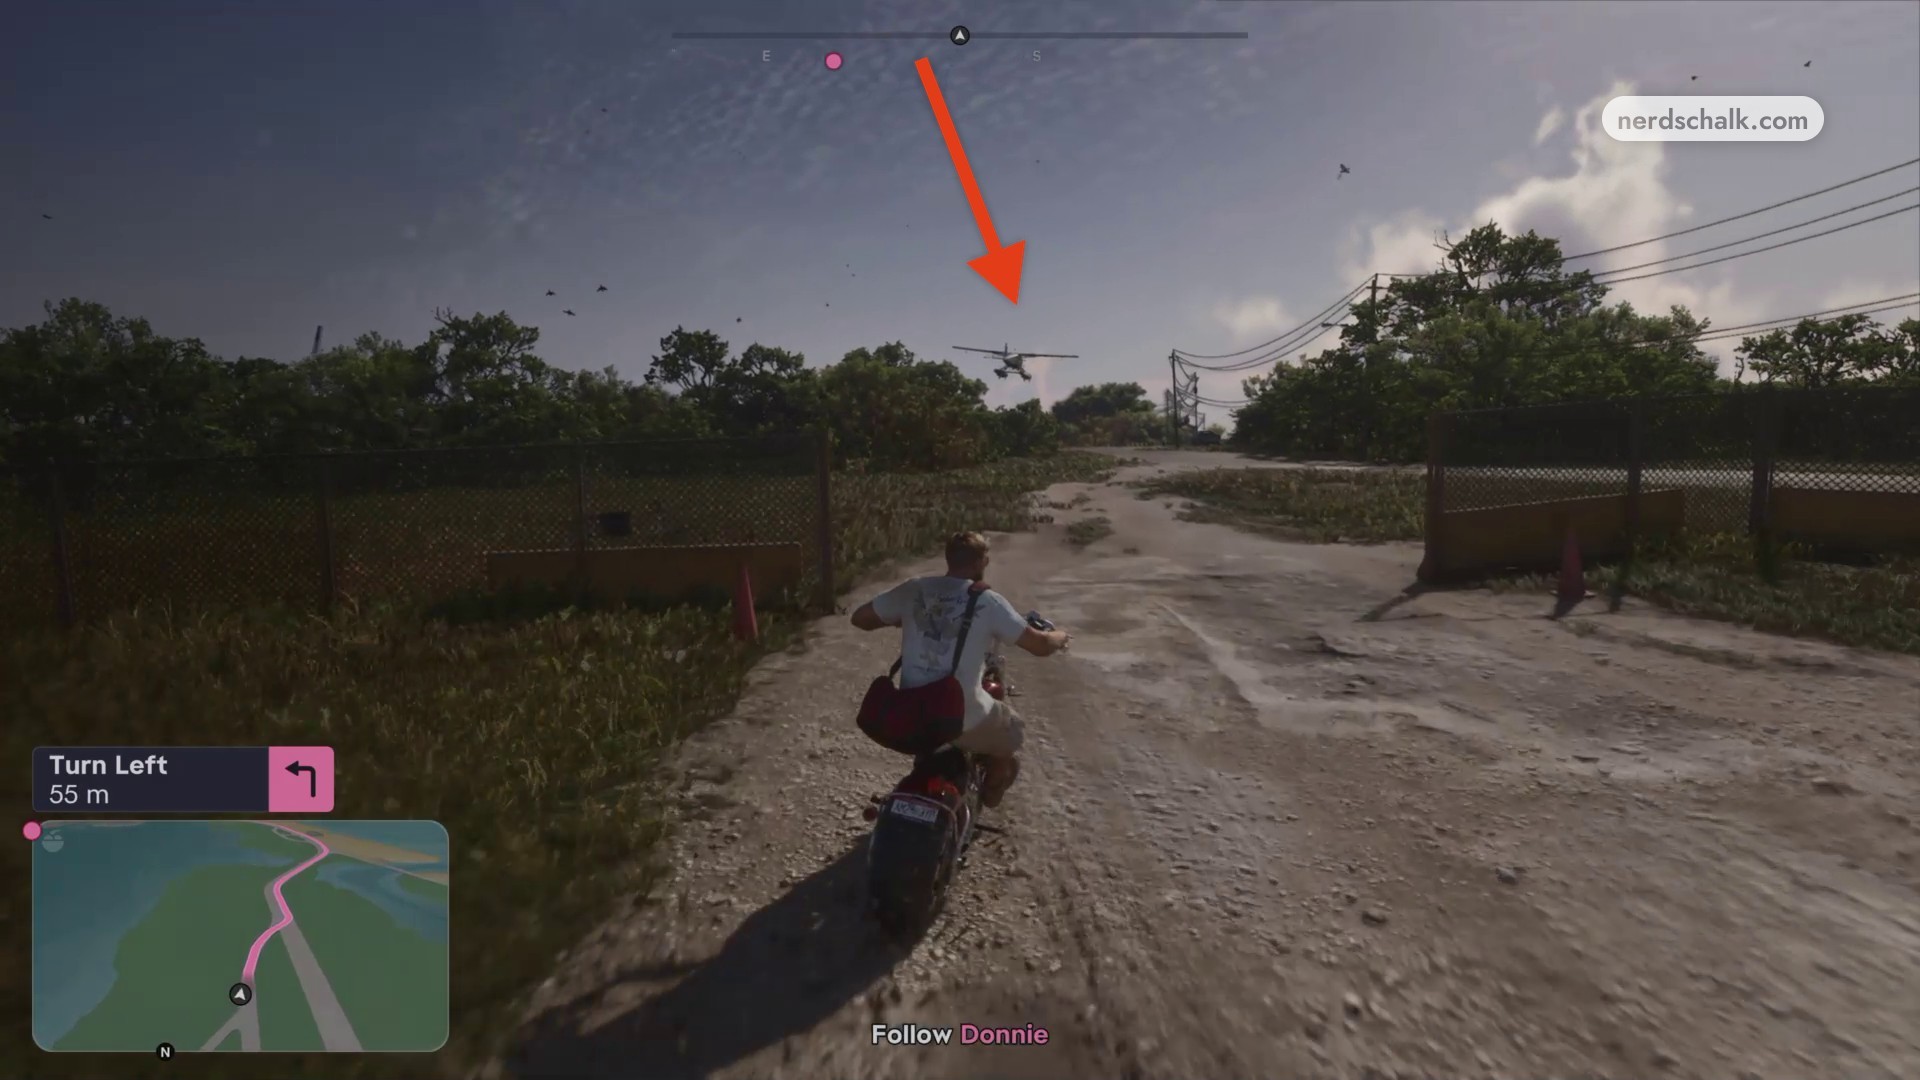
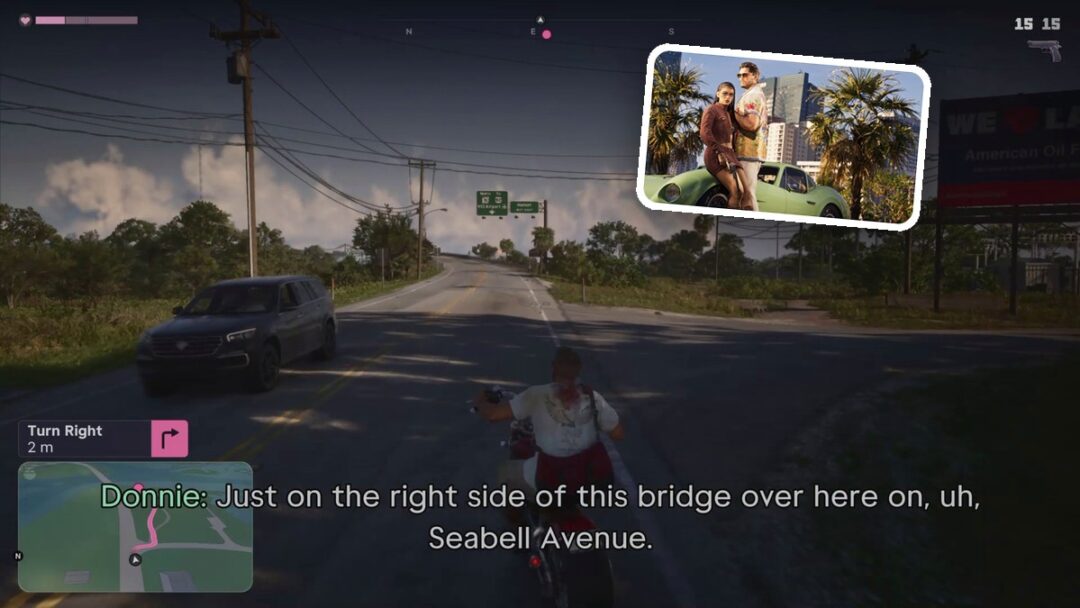
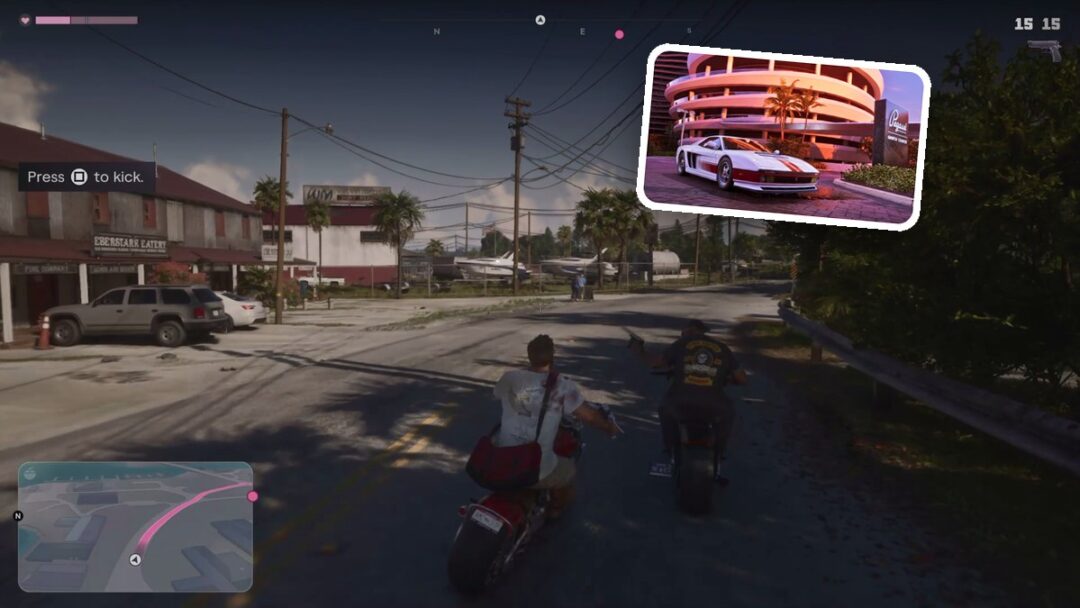
Accelerate down the runway, then follow the low-flying plane and its red arrow onto the dirt trail and rural roads. The objective reads Follow Donnie. Follow the GPS left-turn cue that reads 55 m on this stretch, and watch the roadside trees while pursuing the aircraft. Continue through Watson Bay as Donnie communicates over the radio.
Kick away attacking bikers
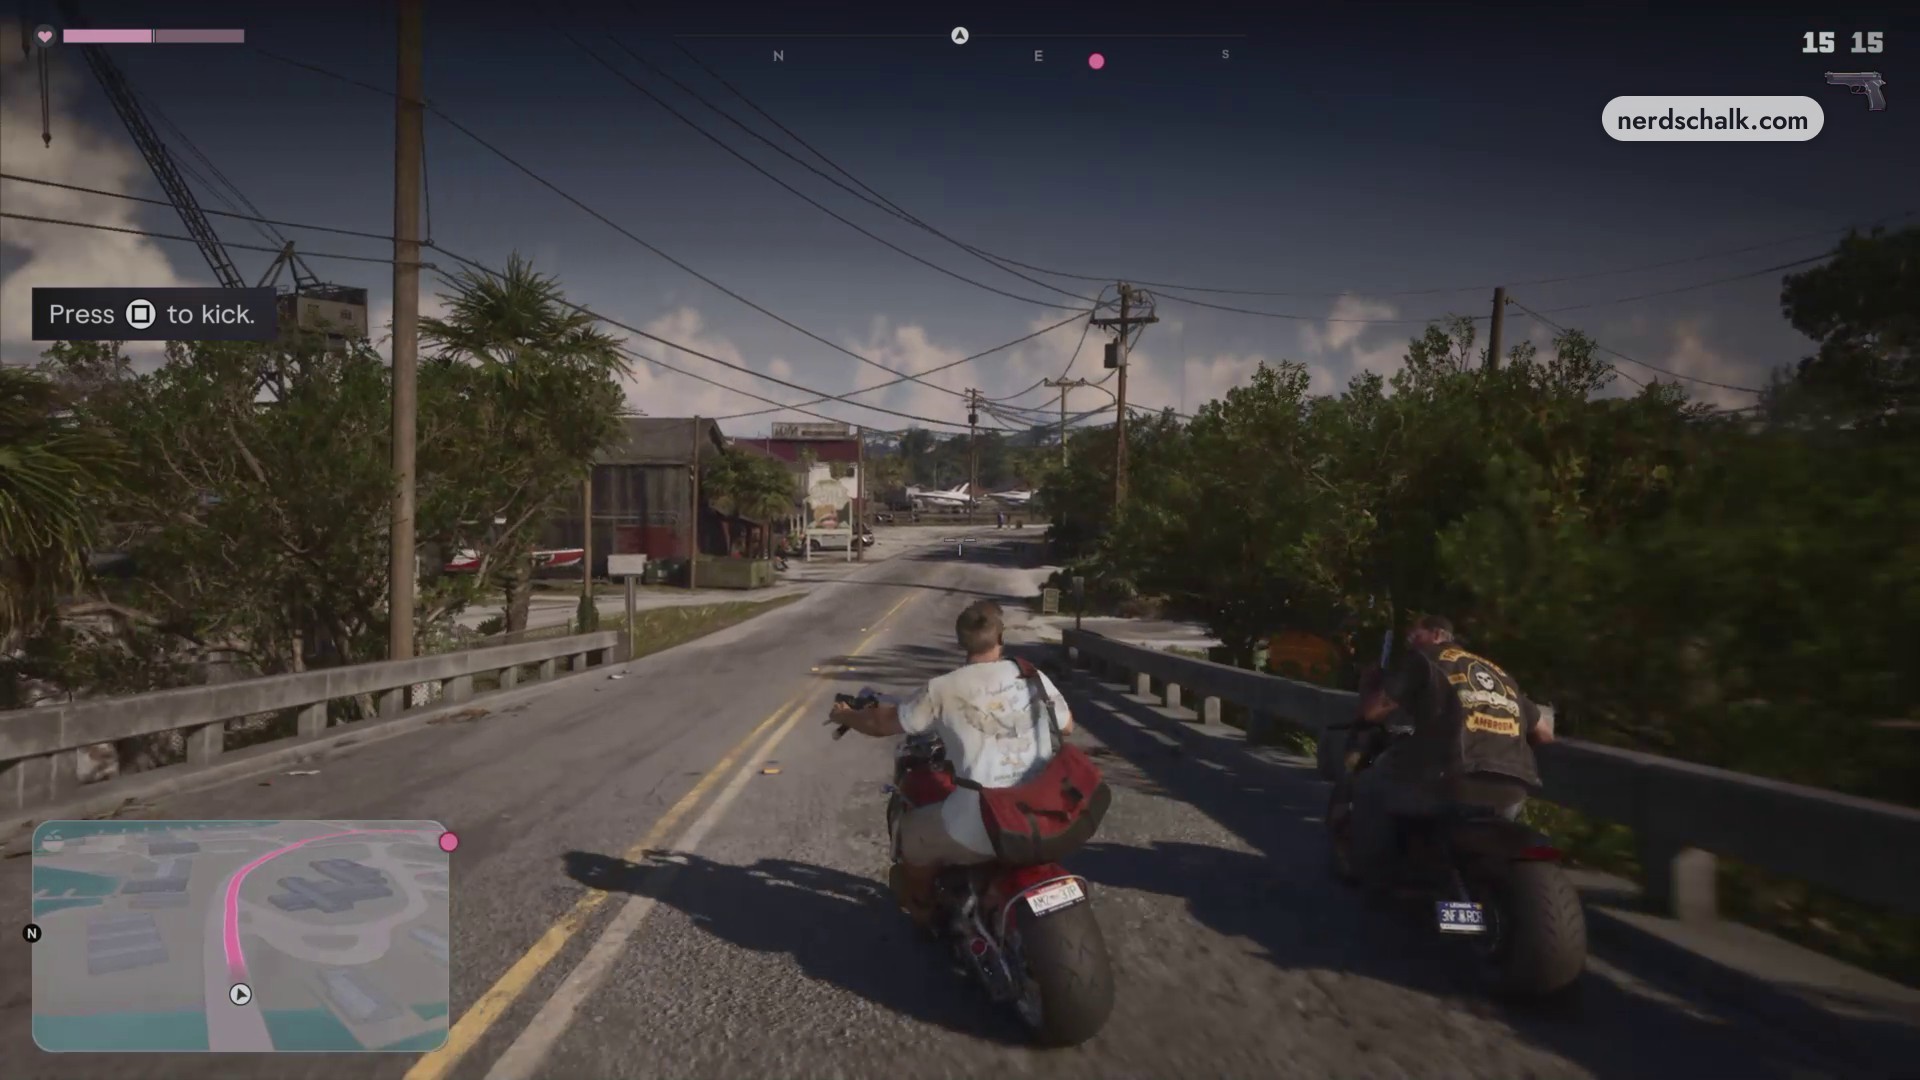
Pursuers pull alongside and shoot at you during the ride, including across the concrete bridge. Use the melee action to kick them off their motorcycles; watch alongside your bike, with an attacker appearing on the left during the bridge encounter. The on-screen prompt tells you to kick.
Ride to Pelican River
Follow GPS along Seabell Avenue toward the rendezvous. At the dirt-road junction, leave the paved road and follow the descending dirt path toward the riverbank beneath the bridge.
Board the waiting seaplane
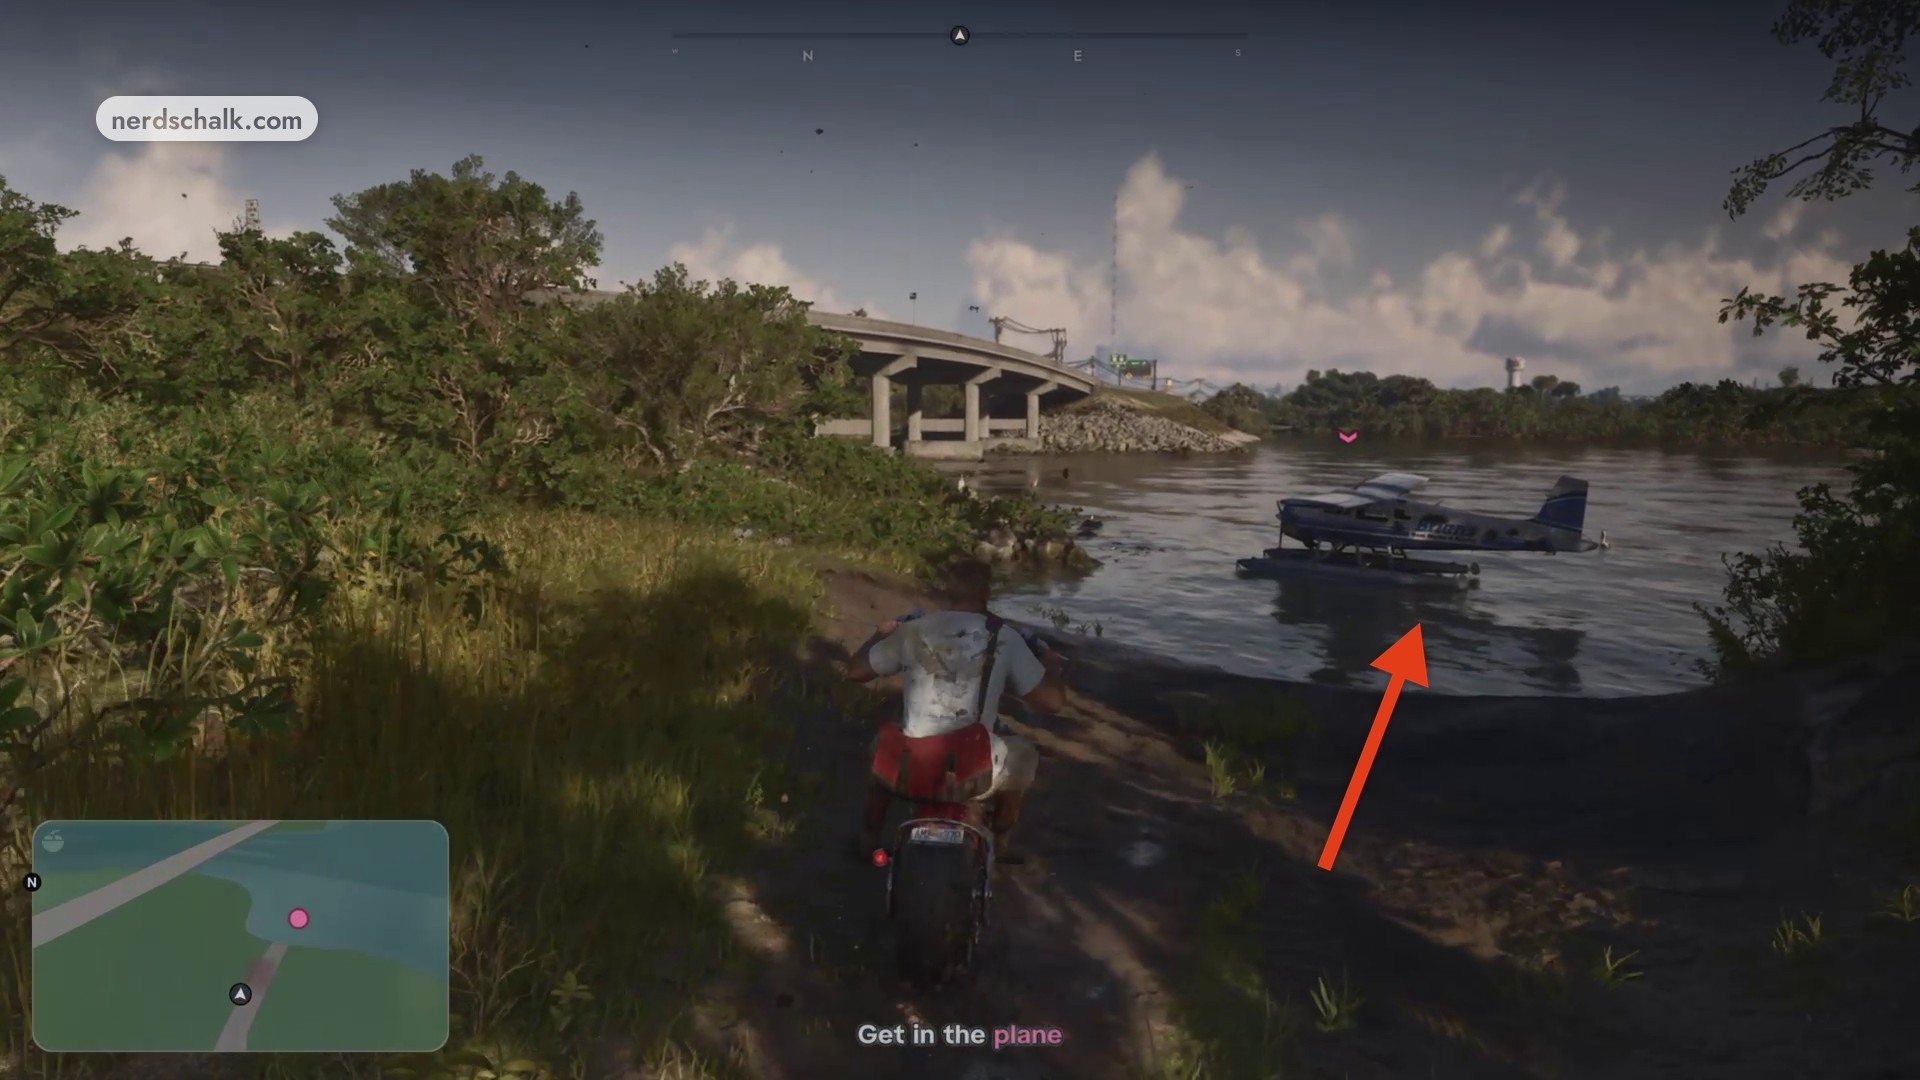
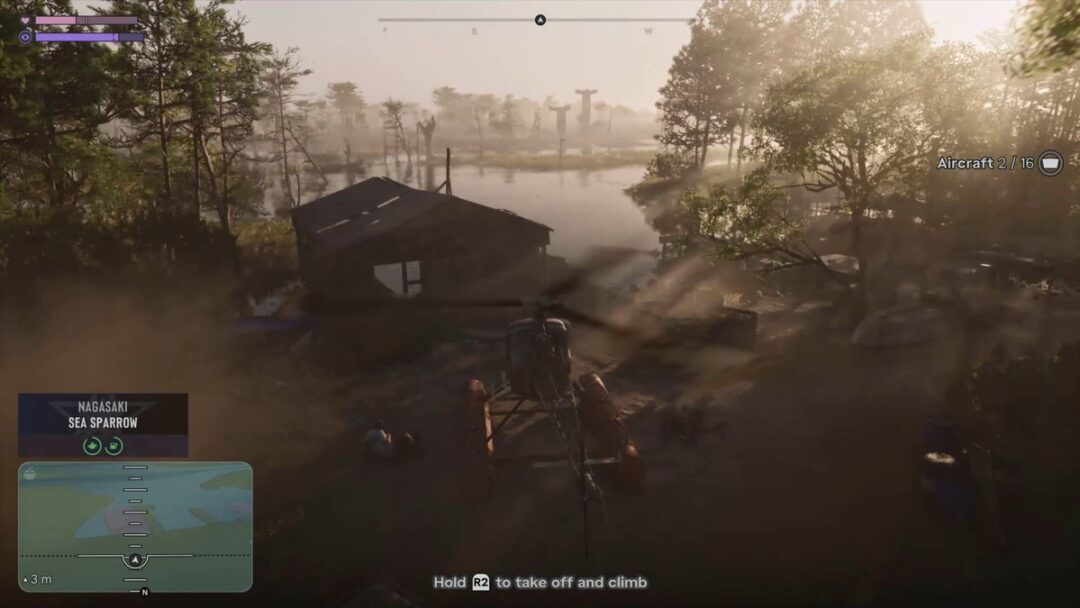
Confirm the meeting point at Pelican River on the map and find the seaplane floating close to shore beneath the bridge. When the objective changes from Meet Donnie to Get in the plane, dismount the motorcycle, wade toward the aircraft, and board. Donnie pilots the return flight over the coast and drops you outside your home.
Enter the house
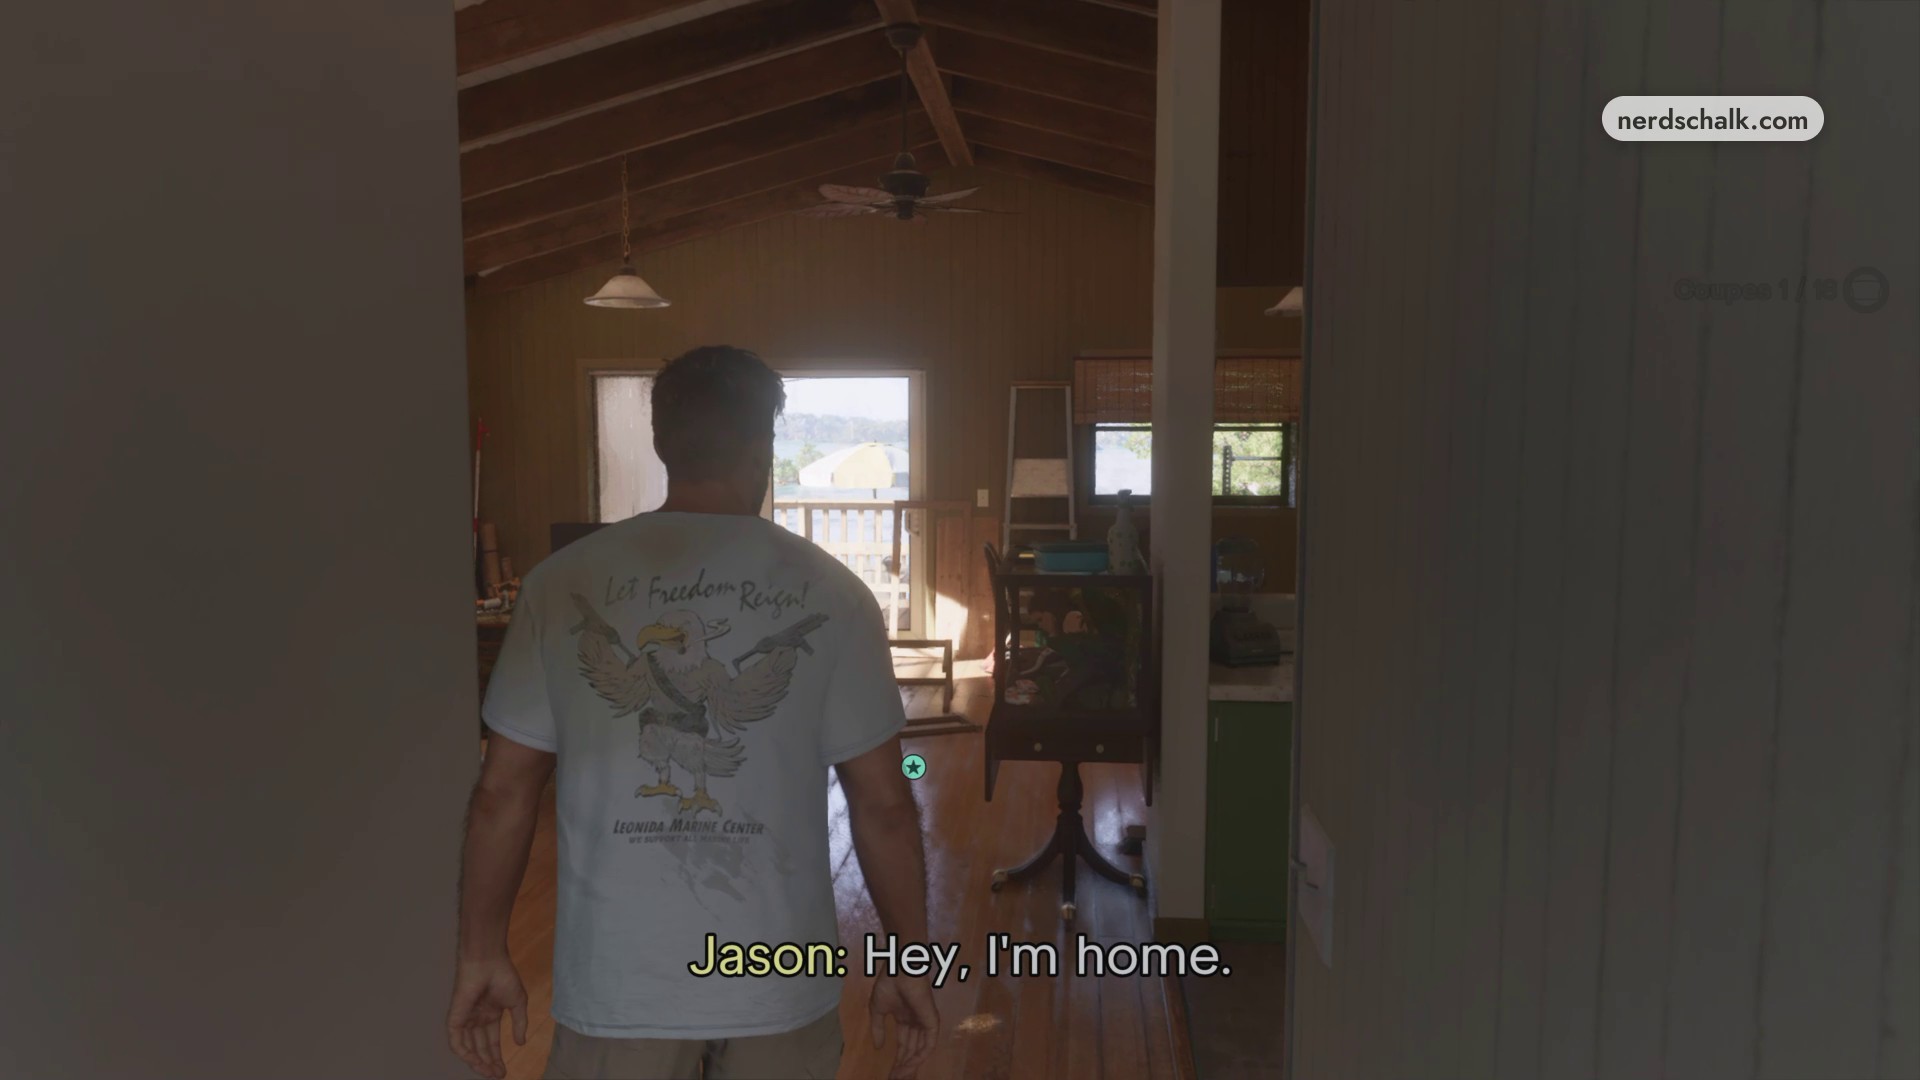
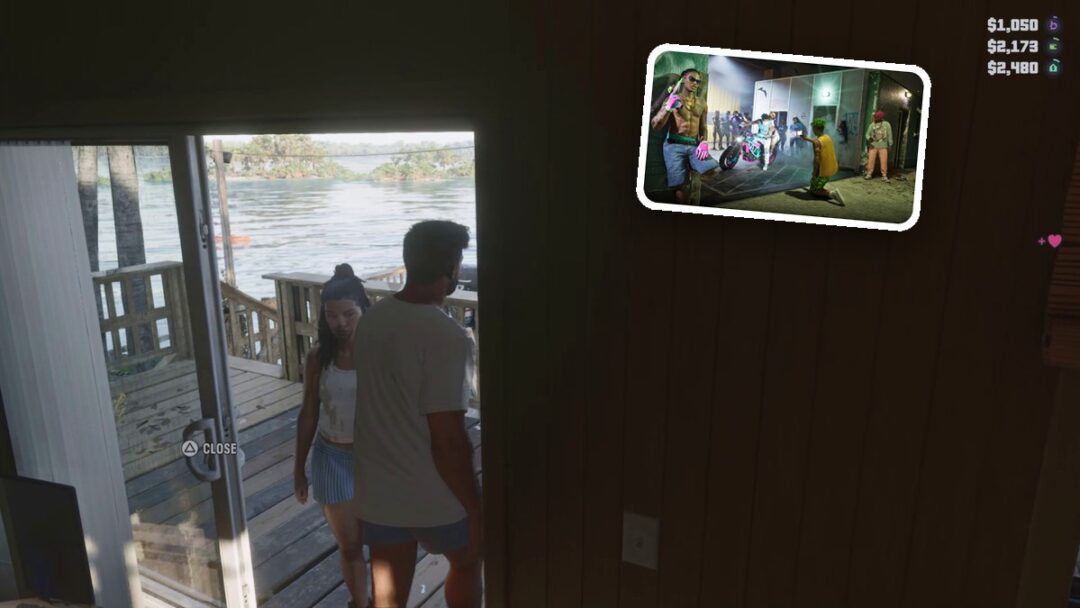
Walk up the stairs and into the stilt house.
› story detailsSpoilers for the story. Open to read.
Clear Skies story details
Brian asks Jason to keep an eye on Donnie during the flying job.
At the airport, bikers kill Donnie’s contact and take Donnie away for questioning.
During the return flight, Donnie realizes the buyers intended to kill him.
Jason greets Lucia after entering the house.
Related Grand Theft Auto VI guides
Frequently Asked Questions
Can you retry the hangar rescue and motorcycle escape from a checkpoint?
The pause menu offers restart and checkpoint choices. The game also reloads you after death: the hangar rescue resumes outside the hangar with the rescue objective active, and the motorcycle pursuit resumes on the bike at the runway.
Leave a Reply