

To get the Stellar Lens in Fisch, start Braden’s quest at the blue-roof cabin in Boreal Pines, collect the six Broken Stars at Moosewood, Snowcap, Ancient Isles, Terrapin Island, Roslit Bay, and Mushgrove Swamp, then return to Braden.
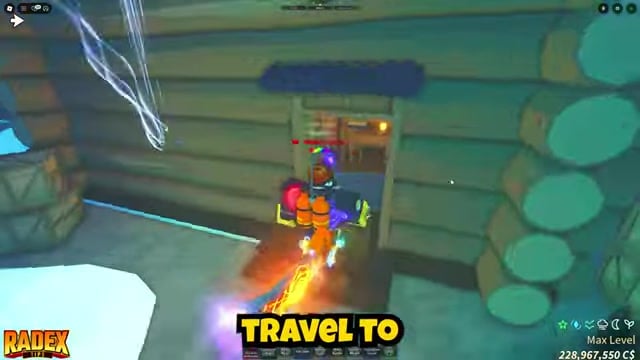
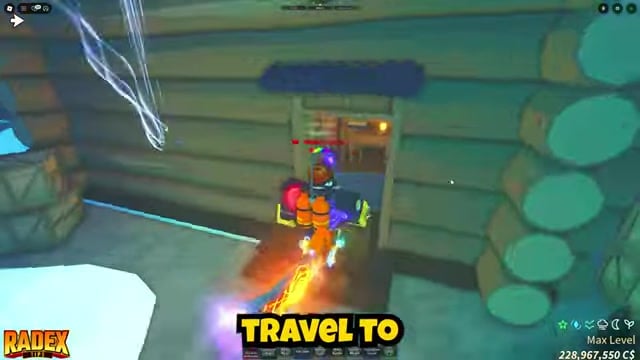
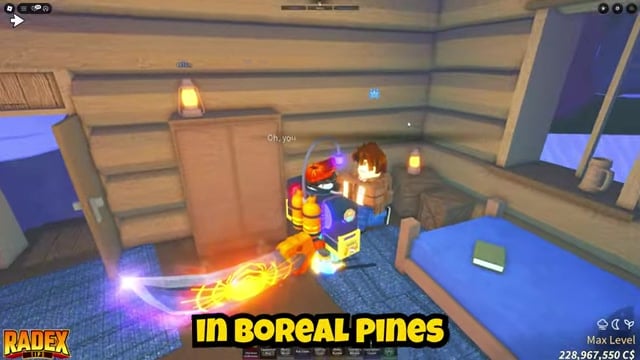
The Stellar Lens is the one telescope lens you can’t craft — it’s locked behind Braden’s Star Projector quest added in the The Deep update. To start, fly along the right edge of Boreal Pines until you reach a small cabin with a blue roof at GPS (21628, 141, 4483), where Braden is waiting inside. Once you’ve talked to him, the six Broken Stars scattered across the map become collectible, and the route below runs them in the fastest order.
- All six Broken Star spots in route order
- Moosewood lighthouse Broken Star
- Snowcap Island ice spike star
- Ancient Isles tent Broken Star
- Terrapin Island sandy corner star
- Roslit Bay volcano star
- Mushgrove Swamp watchtower star
- Turn in the six stars for the Stellar Lens
- Fixed spots versus random Fallen Stars
All six Broken Star spots in route order
| Broken Star | Where to find it |
|---|---|
| Moosewood | Top of the lighthouse, beside the wooden railing |
| Snowcap | The peak by the large central ice spike, next to a bent tree |
| Ancient Isles | Behind the tree by the green tent, up near the waterfall |
| Terrapin Island | Sandy corner at the top, right of the green NPC |
| Roslit Bay | Upper volcano platform, left around the corner |
| Mushgrove Swamp | On the rock behind the watchtower, left side of the island |
Key The stars are spread far across the map, so the order below runs them from your Moosewood spawn outward with minimal backtracking. Each location gets its own walkthrough underneath, with exact GPS coordinates where the game shows them.
Grab a Velocity Coil, Gravity Coil, or glider before the run — the Snowcap, Terrapin Island, and Roslit Bay stars all sit on steep peaks that are slow to climb on foot.
Moosewood lighthouse Broken Star
The easiest of the six sits right where new players spawn.
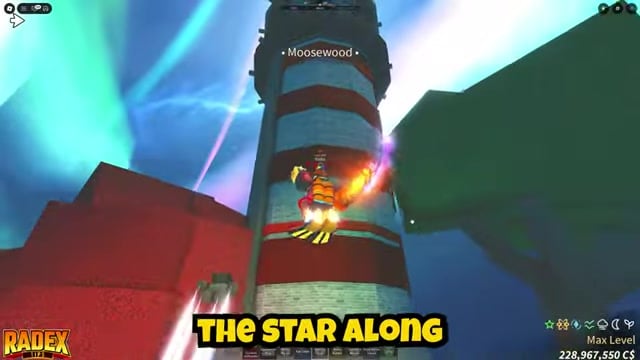
Go to Moosewood
Head to the back of the island until you reach the lighthouse.
Climb to the top
Scale the lighthouse all the way up to the upper platform.
Grab the star
The Broken Star sits on the outer ledge near the top, beside the wooden railing.
Snowcap Island ice spike star
This one hides on the island’s highest point, so a bit of climbing is unavoidable.
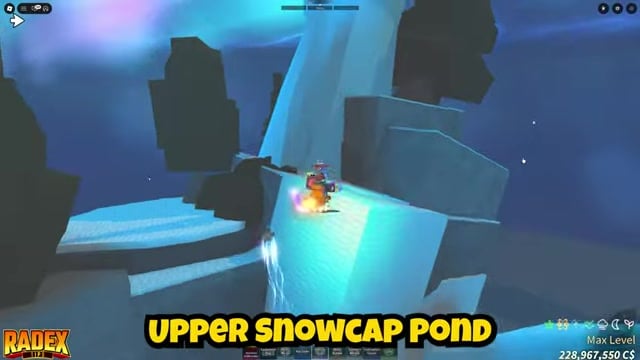
Reach the summit
Travel to Snowcap and climb to the highest area near the large central ice spike.
Check the bent tree
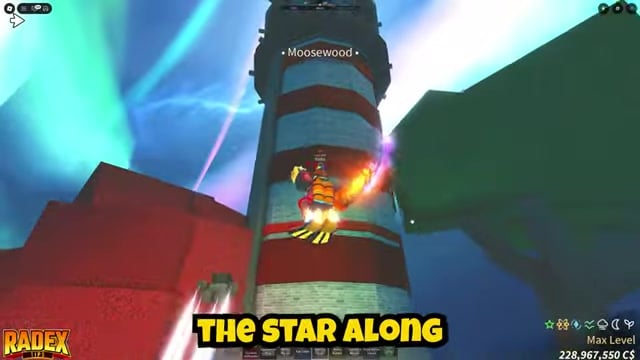
The star rests by the icicle next to a bent or fallen tree at the peak.
Climb without a coil
Without a coil, start around the upper Snowcap pond and use the slanted rocks to work your way up.
Ancient Isles tent Broken Star
Ancient Isles takes a short climb from the water up to a camp near the top.
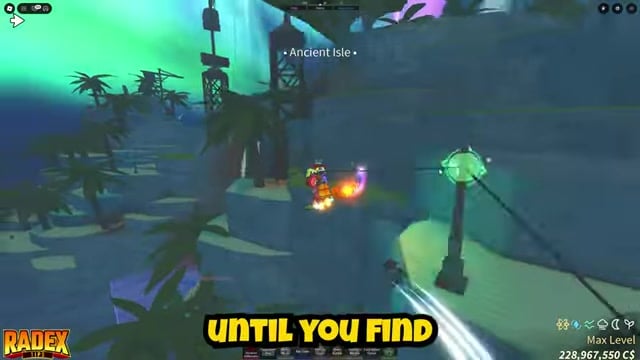
Climb to the waterfall
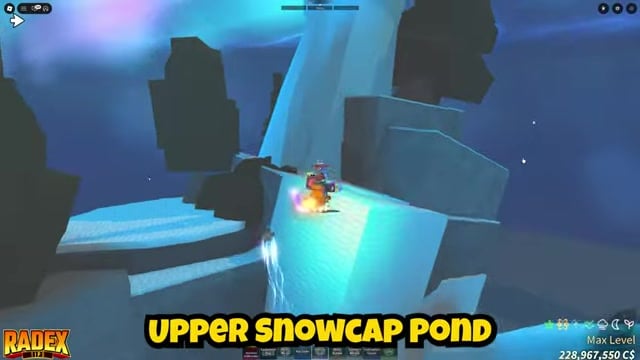
Travel to Ancient Isles and climb into the upper area near the waterfall.
Find the green tent
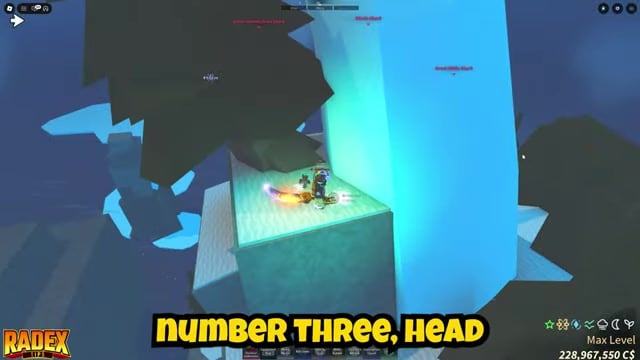
From there, head left until you reach a green tent.
Grab the star
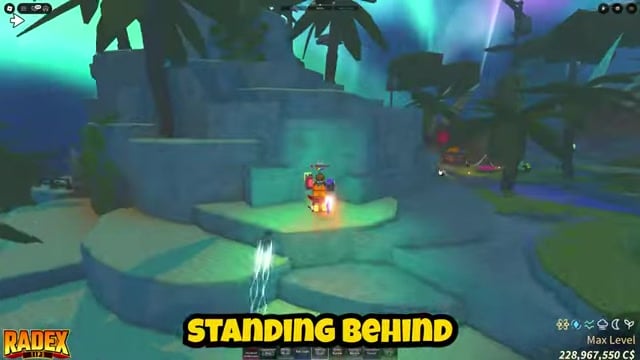
Look behind the tree standing directly behind the tent — it’s tucked into the corner at GPS (6142, 391, 657).
Terrapin Island sandy corner star
Terrapin has two ways up, so pick whichever your gear suits.
Find the green NPC
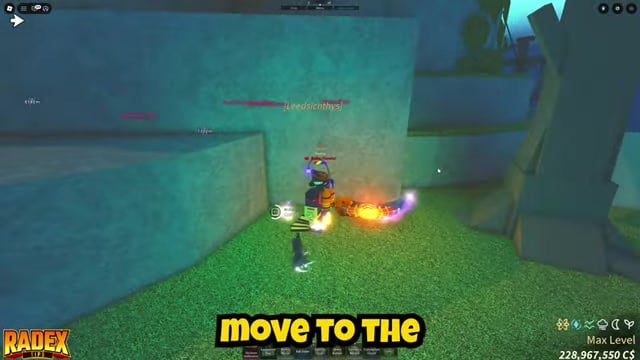
Fly to Terrapin Island and locate the NPC dressed in green near the shore.
Jump to the sand
Move to his right and jump onto the sandy section of terrain; the star sits in the corner at GPS (124, 200, 1978).
Try the turtle-head route
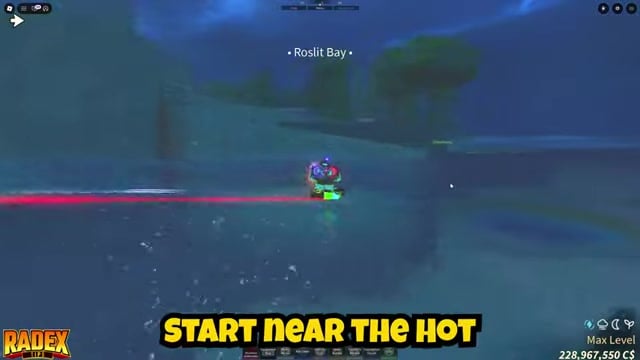
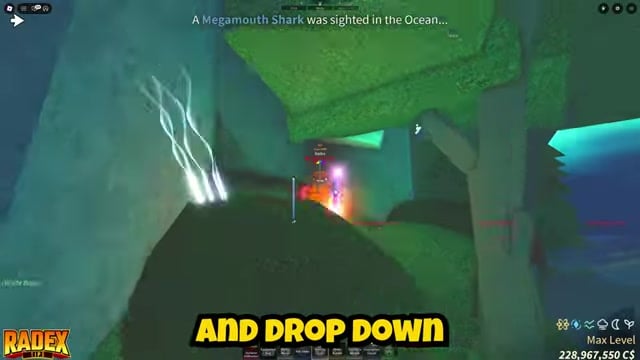
Alternatively, start around the turtle’s head, fly straight behind it, and drop down toward the star.
Roslit Bay volcano star
The volcano climb is the most punishing without mobility gear, but there’s an inside route if you’re on foot.
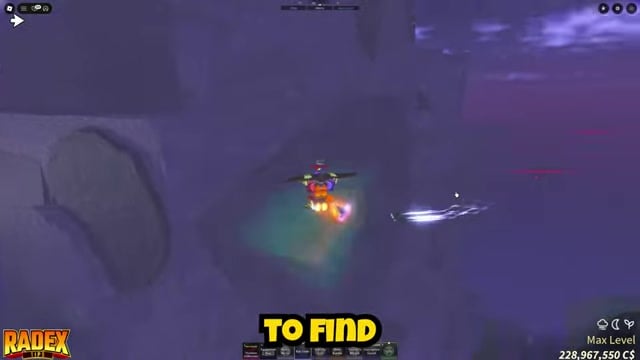
Climb the volcano
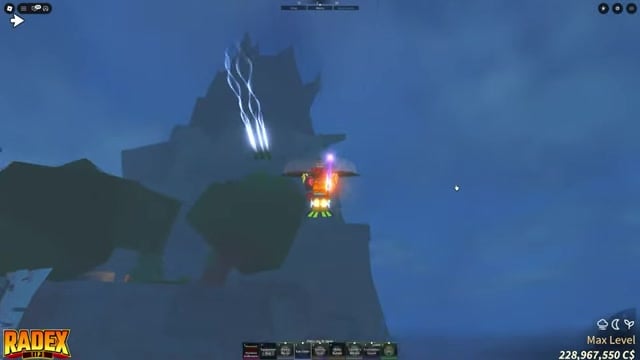
Start near the hot spring pools at Roslit Bay and make your way high up toward the peak that sticks out.
Round the platform corner
On the correct upper platform, go left around the corner to reach the star at GPS (-2001, 190, 389).
Climb without gear
Without a coil or glider, head through the inside of the volcano and climb along its edge instead.
Mushgrove Swamp watchtower star
The final star is the only one at ground level, guarded by a very sleepy NPC.
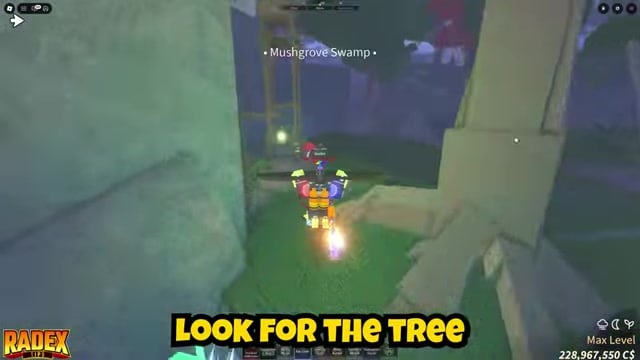
Start at the shipwright

Land at Mushgrove Swamp and follow the left edge of the island from the shipwright.
Turn toward the tower
Turn right and look for the tree with a wooden watchtower behind it, where a guard is asleep in a chair.
Grab the final star
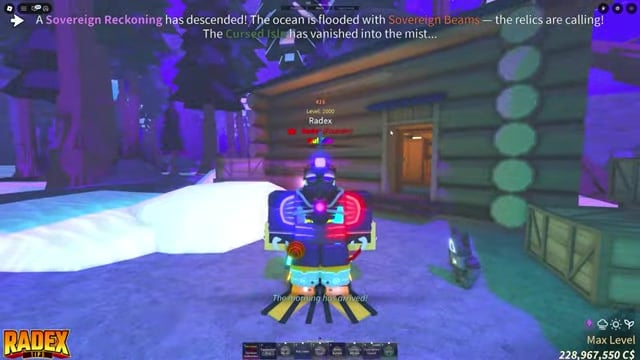
Jump onto the rock behind the tower to grab the sixth star at GPS (2519, 156, -921).
Turn in the six stars for the Stellar Lens
The Stellar Lens is the odd one out among the telescope lenses — the Moonlit, Experimental, Seasonal, and Deep lenses are all crafted at Vega, but this one only comes from finishing Braden’s quest.
Return to Boreal Pines
Fly back to Braden’s blue-roof cabin with all six Broken Stars in hand.
Hand in the stars
Talk to Braden to complete the quest and claim the Stellar Lens.
Fixed spots versus random Fallen Stars
These six Broken Stars sit at fixed locations — they’re not the same as the Fallen Stars that randomly spawn in craters around the map like meteors. Only the six spots above count toward Braden’s quest, so there’s no need to camp crater spawns or comb the rest of each island; searching other points of interest won’t move the investigation forward.
Video help
Related Fisch guides






Leave a Reply