

The safest beginner route in Final Swarm is to kite enemies in wide circles, prioritize Multi-shot, Attack Speed, and Projectile Count early, then spend Keys on core skill tree upgrades before gambling on chests.
Final Swarm is a wave-survival game from Evolution Studio Games, and your first few runs will feel harder than they should until the plan clicks. The wins that stick come from three things working together — smart movement, the right in-run upgrades, and where you spend your Keys on the skill tree — with codes as a bonus on top once you’re past the tutorial.
Setting up your first runs

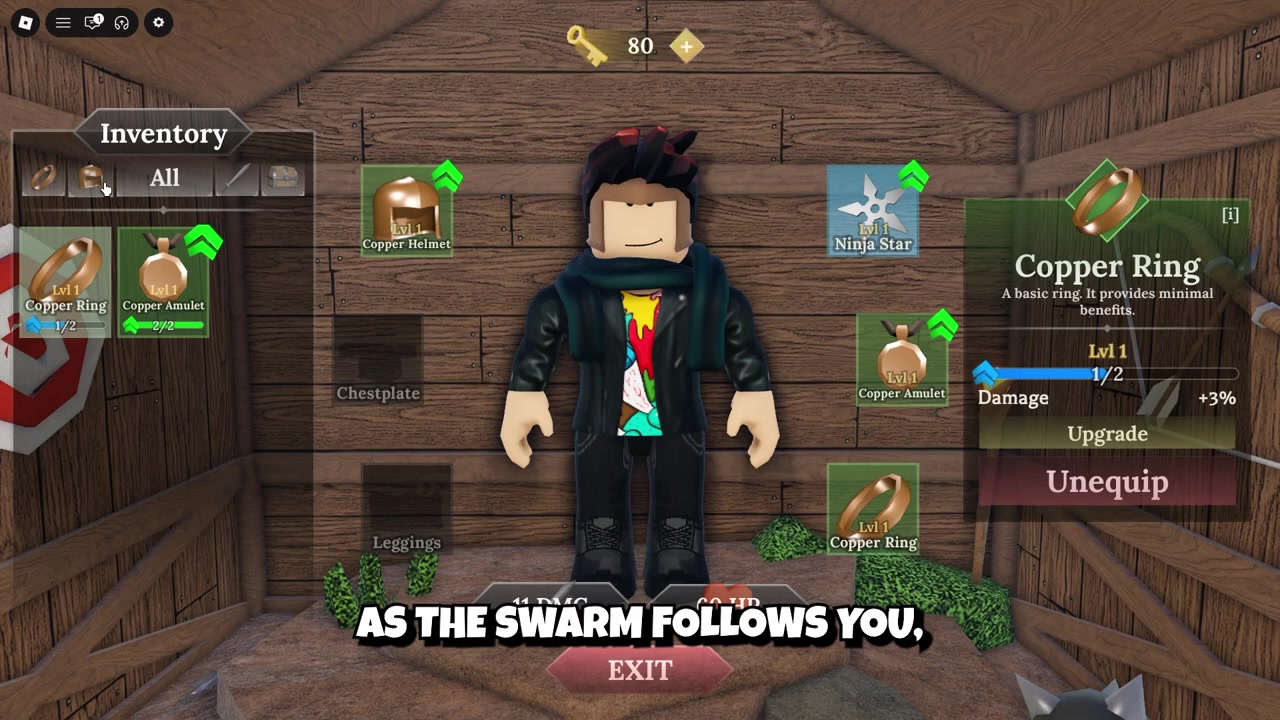
The beginner loop is easy to describe: survive each wave, bank the Keys and Chests you earn, spend them on permanent upgrades, then come back stronger and push a few waves further. Everything you do early feeds that cycle, so treat your opening runs as practice rather than a score to protect.
The one habit that sinks new players is standing in a single spot. It works while the screen is quiet, but once the swarm thickens you get boxed in with nowhere to go. Get comfortable moving before that happens, and let the upgrade and skill-tree choices below carry you rather than hoping for lucky drops.
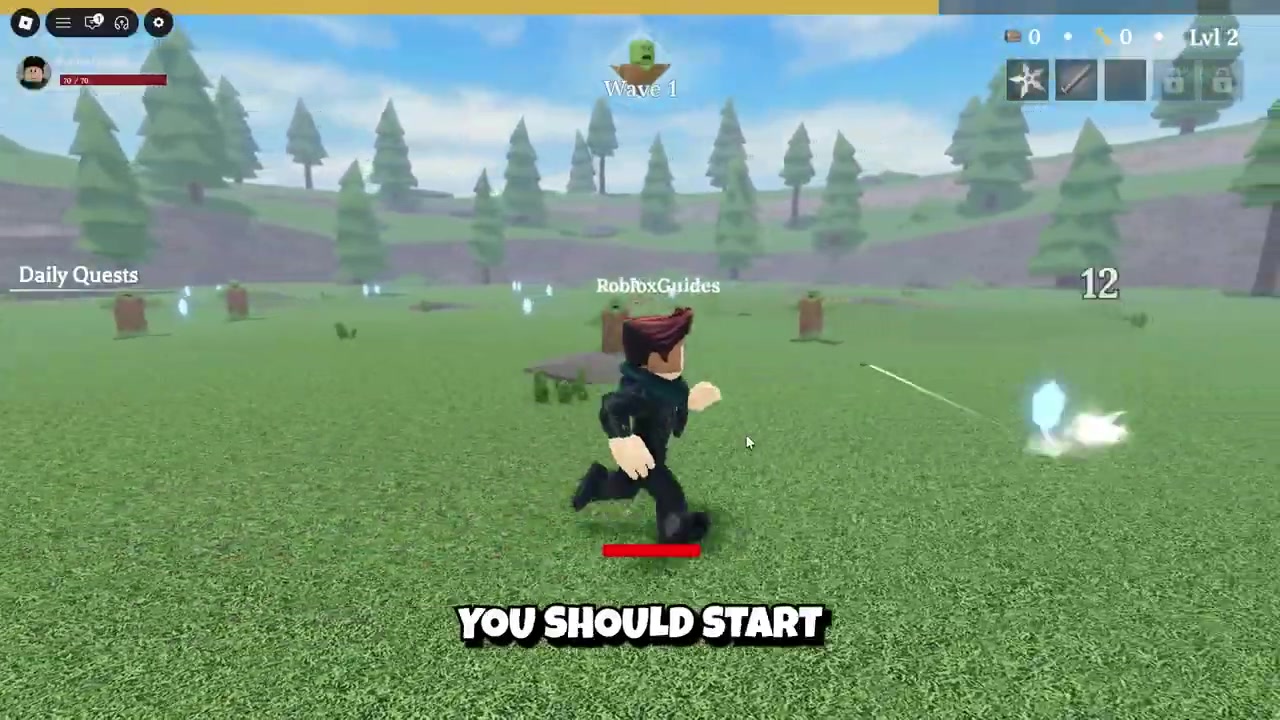
Run in wide circles around the outer edge of the map so the swarm trails behind you in one clump instead of closing in from every side.
Best upgrades to grab during a run
| Upgrade | Best use |
|---|---|
| Multi-shot | Early waves — fires more projectiles to clear groups fast |
| Attack Speed | Stacks with extra projectiles for faster swarm clearing |
| Projectile Count | Pairs with Multi-shot and Attack Speed to scale damage |
| Health | Boss waves around wave eight — survive longer to keep building |
| Defense | Boss waves — cut incoming damage as enemies close in |
| Power Trio | Balanced pick when you need damage and staying power at once |
Some upgrades hand you instant power; others quietly scale your whole run. For the early and middle waves you want raw clearing speed, and three upgrades carry that phase because they multiply each other. Multi-shot is the standout — it raises how many projectiles you fire, so packed groups melt instead of piling up. Stack Attack Speed on top and those projectiles go out far more often, and Projectile Count rounds the trio out. Grab all three whenever they appear and your damage compounds instead of just adding up.
Choosing damage or survival mid-run
Rather than memorizing a tier list, read the board. If enemies are dropping before they ever reach you, keep pouring points into damage — you’re winning the race and want to win it faster. The moment that changes is when bosses are on the way or the swarm starts wrapping around you: that’s your cue to take Health or Defense even if a shinier damage option is sitting right there.
The mistake is chasing maximum damage every single time. A run that survives is worth more than a run that hits harder for ten seconds and then collapses, so aim for a build that stays consistent wave after wave.
Skill tree spending order for beginners
| Priority | Skill |
|---|---|
| 1 | Damage |
| 2 | Max Health |
| 3 | Defense |
| 4 | Player Speed |
| 5 | Pick Up Range |
| 6 | Attack Range |
| 7 | Remaining skills |
| 8 | Luck |
This is where most beginners bleed Keys. Permanent skill-tree upgrades are worth far more early than rolling random chests, because every point you bank makes your next run start stronger. Work top to bottom: Damage first so everything dies faster, then Max Health and Defense for staying power, followed by Player Speed, Pick Up Range, and Attack Range to smooth out collection and coverage. Clear the rest of the tree before you touch Luck, which pays off last.
One honest caveat: the exact node names, effects, and caps aren’t fully pinned down yet, so treat this as a priority order rather than a fixed database — the sequence holds even as the finer numbers shift.
Early Keys, chests, and codes
| Code | Reward |
|---|---|
| H4MM3RT1M3 | Free Keys and a Chest |
| supdoggy | Free Keys and a Chest |
| firstswarm | Free Keys and a Chest |
Codes are the fastest early boost, but the code box stays locked until you’ve earned it. Clear the six tutorial waves, beat the final boss, and step through the portal into the Lobby first. From there, open Shop at the bottom of the screen, scroll down to the Codes section, type a code into the field exactly — they’re case-sensitive and each one works only once per account — then press Claim.
A couple of codes are in dispute right now: update1 and Jungl3 show up as working on some trackers and expired on others, so try them but don’t count on them — if a code returns “invalid” or drops nothing, it’s no longer live. Funnel the Keys and Chests you claim straight into the skill-tree order above rather than hoarding, and open your Chests between runs so you’re always queuing with your best upgrades equipped.
Settings and control tricks worth trying

A few settings punch above their weight. Set your field of view wide enough to keep the whole swarm in your read of the screen, and if your device starts chugging in the later waves, drop your graphics settings or switch on potato mode where it’s available to hold a steady frame rate.
There’s also the spinning technique some players lean on: crank up your mouse sensitivity and rotate quickly while you move, and your attacks sweep enemies from several angles at once. It shines once you’ve stacked a few projectile upgrades — before that, plain circling does the job just as well.
Climbing the Final Swarm leaderboards
Each leaderboard rewards a different approach. The kill leaderboard is friendliest to solo play, since every enemy you defeat counts fully toward your own total instead of being split with teammates. The Keys leaderboard is the opposite of hoarding: pour Keys into your skill tree first and only start banking spare Keys once your important upgrades are done, because permanent power gets you further than a stockpile. And if you’re chasing the playtime leaderboard, long sessions are fine as long as your play stays within Roblox’s rules and the game’s own policies.
Related guides
Frequently Asked Questions
What upgrades should beginners pick first in Final Swarm?
When should you stop standing still and start kiting?
What should you spend Keys on first?
Is the spinning technique required?
What FOV is best for Final Swarm?
Video help






Leave a Reply