
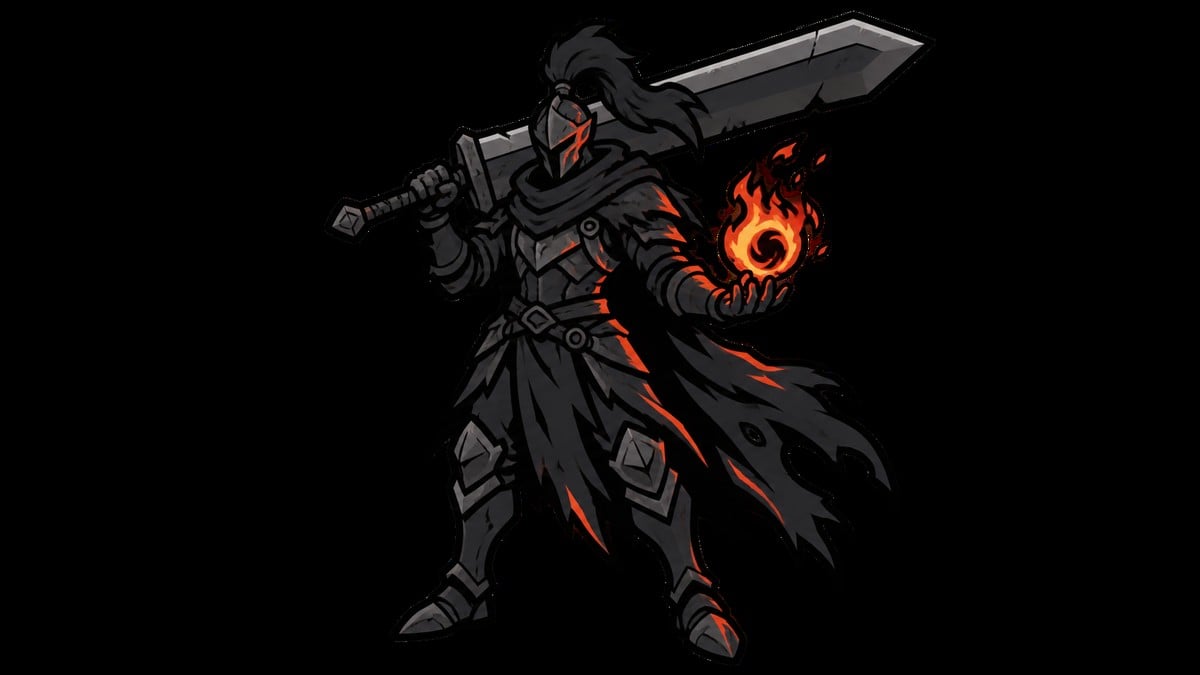
The five featured Patch 1.17 setups are Leontiel’s Greatsword counter-thrust, Heavy Knight curved-greatsword power stance, Idus Sword into Milady Wing Stance, Euporia Faith, and Blasphemous Blade Fire/Faith, each built around a different high-damage combat loop.
These builds cover reactive counters, power-stanced jump attacks, rapid stance combos, Holy burst damage, and an exceptionally dependable Fire/Faith playstyle. Each has a complete level-150 target, but the progression options let you begin shaping the build long before every late-game talisman and Physick tear is available.
Five Patch 1.17 builds compared
| Build | Core setup | Stat focus | Combat loop | When it comes online |
|---|---|---|---|---|
| Leontiel’s Greatsword counter-thrust | Leontiel’s Greatsword and its stance skill | 60 Dexterity, 28 Strength, 25 Faith | I-frame an attack with the stance spin, then answer with a tap or charged thrust | After defeating Radahn and obtaining the Tarnished Pack weapon |
| Heavy Knight power stance | Bloodhound’s Fang main hand and Keen Dismounter offhand | 60 Dexterity, 30 Strength, 25 Faith | Power-stanced jump attacks, bleed, staggers, and Bloodhound’s Finesse | Very early, after visiting Forlorn Hound Evergaol |
| Idus Sword into Milady | Idus Sword early, then Keen Milady with Wing Stance | 79 Dexterity and 25 Faith | Hold Wing Stance while chaining its thrust and rapid multi-hit attack | Starts with Idus Knight; reaches full strength after obtaining Milady and Rellana’s Cameo |
| Euporia Holy-luster Faith | Euporia, Sword of Light, and Erdtree Seal | 80 Faith | Build luster with consecutive hits, then release Euporia Vortex during a safe opening | Late in Shadow of the Erdtree |
| Blasphemous Blade Fire/Faith | Blasphemous Blade with a seal or shield | 80 Faith | Use Taker’s Flames for damage, stagger, healing, and point-blank double hits | Midgame, then scales through the rest of the playthrough |
Leontiel’s Greatsword, the Heavy Knight and its Hefty Scimitar, and the Idus Knight with its Idus Sword come from the Tarnished Pack. Rellana’s Cameo and Euporia received direct Patch 1.17 improvements, while Bloodhound’s Fang, Milady, and Blasphemous Blade are established weapons that remain excellent recommendations for the current patch. Early rankings remain subjective, so these are five standout builds rather than a settled universal order.
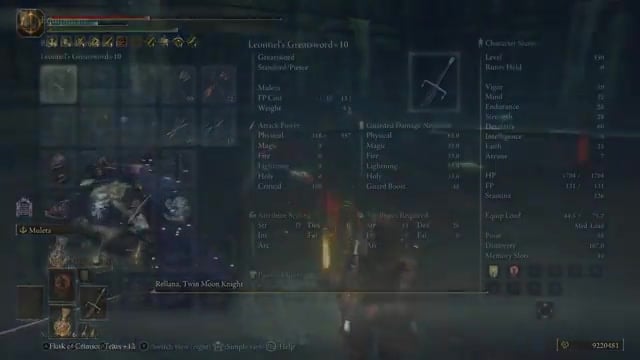
Leontiel’s Greatsword counter-thrust build
| Build element | Choice |
|---|---|
| Weapon | Leontiel’s Greatsword +10 |
| Casting tool | Any seal that supports the required incantations |
| Armor | Full Rakshasa Armor; use any manageable set before obtaining it |
| Talismans | Shard of Alexander, Rellana’s Cameo, Spear Talisman, Godfrey Icon |
| Physick | Bloodsucking Cracked Tear and Greenburst Crystal Tear |
| Physick alternatives | Strength-knot or Dexterity-knot Crystal Tear |
| Incantations | Golden Vow; Flame, Grant Me Strength |
| Level-150 stats | 50 Vigor, 22 Mind, 28 Endurance, 28 Strength, 60 Dexterity, starting Intelligence, 25 Faith, starting Arcane |
Leontiel’s Greatsword +10 is defined by its stance skill, not its ordinary greatsword attacks or scaling. Holding the stance presents the cloth-covered guard: a light input spins left before a poke, while a heavy input spins right and delivers the stronger thrust. Both spins provide i-frames, although neither response produces much stagger by itself.
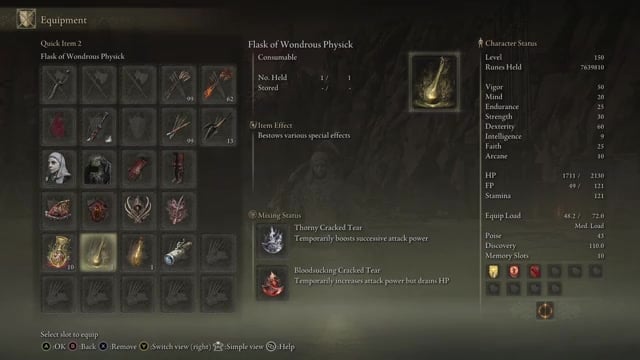
The basic rotation is to wait for an incoming attack, evade it with the spin, and land the thrust as the enemy remains committed. Use a tap-heavy into another heavy when the recovery window is short. If the enemy cannot retaliate quickly, charge the first heavy for the delayed, harder-hitting stab and follow with another heavy. A light-to-heavy sequence also works, but two heavy responses produce the stronger two-hit punish; the showcased setup can push that sequence beyond 10,000 damage when both attacks connect cleanly.
Spear Talisman rewards thrusts that land as counters, while Godfrey Icon makes the long charged response especially punishing. Shard of Alexander strengthens the skill-driven rotation. Cast Golden Vow and Flame, Grant Me Strength before a major encounter, then use the Physick when you are ready to accept Bloodsucking Cracked Tear’s health drain in exchange for more damage.
Rakshasa Armor pushes the same aggressive plan by increasing outgoing damage at the cost of taking more damage. It is optional during progression, especially while adjusting Endurance and equip load. Beyond level 150, add Strength, raise Vigor toward 60, and then distribute further levels around survivability and comfort.
Keep holding the stance input through the initial response and its follow-up. This preserves Rellana’s Cameo through the combo and lets its enhanced damage return immediately instead of rebuilding from scratch.
Heavy Knight and Bloodhound’s Fang power stance
| Build element | Choice |
|---|---|
| Main hand | Bloodhound’s Fang |
| Offhand | Keen Dismounter; Keen Hefty Scimitar as an alternative |
| Offhand skill | Seppuku, or another utility Ash of War |
| Casting tool | Any seal; a weightless Arcane-scaling option fits the 10 Arcane spread |
| Armor | White Mask, Gravebird’s Blackquill Armor, Rakshasa gloves and boots |
| Early armor | Raptor’s Black Feathers in place of the late-game chest piece |
| Talismans | Claw Talisman, Lord of Blood’s Exultation, Rotten Winged Sword Insignia, Shard of Alexander |
| Early talisman replacement | Winged Sword Insignia before Rotten Winged Sword Insignia |
| Physick | Thorny Cracked Tear and Bloodsucking Cracked Tear |
| Physick alternatives | Greenburst, Strength-knot, or Dexterity-knot Crystal Tear |
| Incantations | Golden Vow; Flame, Grant Me Strength; optional Bloodflame Blade |
| Level-150 stats | 50 Vigor, 20 Mind, 25 Endurance, 30 Strength, 60 Dexterity, starting Intelligence, 25 Faith, 10 Arcane |
The Heavy Knight’s starting Hefty Scimitar removes the usual early-game obstacle to power-stancing curved greatswords. From The First Step, travel southeast to Forlorn Hound Evergaol for Bloodhound’s Fang, then shed enough of the Heavy Knight’s protective equipment to carry both weapons without an overloaded roll. The showcased offhand is a Dismounter, although obtaining one depends on an enemy drop; the starting Hefty Scimitar can fill the slot until then.
Keep Bloodhound’s Fang in the main hand so Bloodhound’s Finesse remains immediately available for damage, stagger, and its evasive movement. Set the offhand curved greatsword to Keen so both weapons benefit from the Dexterity-heavy spread. Seppuku can add bleed to the offhand weapon after briefly two-handing it; alternatively, apply Bloodflame Blade to Bloodhound’s Fang and leave the second weapon focused on utility.
The default offense is a stream of power-stanced jump attacks. These hit hard, build substantial stagger, and create critical opportunities while both blades contribute to blood loss. Use Bloodhound’s Finesse when its skill damage or evasive movement is more useful than another jump, then resume pressure while the successive-hit and bleed bonuses are active.
Claw Talisman and a jump-enhancing chest piece support the central attack, Lord of Blood’s Exultation and White Mask reward blood loss, and Shard of Alexander strengthens Bloodhound’s Finesse. Players using heavier armor can divert levels into Endurance. Arcane can also remain below 10 if the chosen seal and Bloodflame Blade are removed from the loadout.
Idus Sword to Keen Milady progression
| Build element | Choice |
|---|---|
| Starting weapon | Idus Sword with Impaling Thrust |
| Final weapon | Keen Milady +25 with Wing Stance |
| Casting tool | Any seal that supports the buff incantations |
| Armor | Rakshasa Armor |
| Talismans | Shard of Alexander, Rellana’s Cameo, Rotten Winged Sword Insignia, Millicent’s Prosthesis |
| Early talisman replacement | Winged Sword Insignia before Rotten Winged Sword Insignia |
| Physick | Thorny Cracked Tear and Bloodsucking Cracked Tear |
| Early Physick options | Dexterity-knot or Strength-knot Crystal Tear |
| Incantations | Golden Vow; Flame, Grant Me Strength |
| Level-150 stats | 60 Vigor, 15 Mind, 25 Endurance, 14 Strength, 79 Dexterity, starting Intelligence, 25 Faith, starting Arcane |
The Idus Sword gives Idus Knight an immediate light-greatsword moveset. Its most useful early sequence is a heavy attack, which performs two quick swipes even when charged, followed by a light attack for the fast third strike. This supplies respectable damage and stagger while Impaling Thrust provides a direct pierce attack for counter opportunities.
The long-term destination is Keen Milady +25 with Wing Stance. Hold the stance until Rellana’s Cameo activates, then choose the rapid light sequence for successive-hit buildup or the stronger thrust when the opening is brief. Continue holding the stance input throughout the attacks and any follow-up so the Cameo bonus does not fall away between actions.
Patch 1.17 reduces the delay before Rellana’s Cameo activates and increases its enhancement, which makes sustained Wing Stance pressure the build’s defining interaction. Shard of Alexander boosts the skill itself, while Rotten Winged Sword Insignia, Millicent’s Prosthesis, and Thorny Cracked Tear capitalize on Milady’s quick multi-hit strings.
During progression, move points between Vigor, Mind, and Endurance according to armor weight and FP use; reaching the final damage spread matters less than remaining comfortable enough to sustain Wing Stance. Buff before boss encounters, use the Idus Sword until Milady becomes available early in Shadow of the Erdtree, and respec toward the final Dexterity focus when the complete setup is ready.
Euporia Holy-luster Faith build
| Build element | Choice |
|---|---|
| Main weapon | Euporia |
| Holy buff weapon | Sword of Light |
| Casting tool | Erdtree Seal |
| Armor | Leather Armor chest with Rakshasa helm, gloves, and boots; full Rakshasa Armor as the damage-focused alternative |
| Talismans | Shard of Alexander, Sacred Scorpion Charm, Rotten Winged Sword Insignia, Two-Handed Sword Talisman |
| Physick | Thorny Cracked Tear and Holy-Shrouding Cracked Tear |
| Level-150 stats | 60 Vigor, 16 Mind, 27 Endurance, 14 Strength, 16 Dexterity, starting Intelligence, 80 Faith, starting Arcane |
Euporia restores its Holy luster through consecutive attacks, with a second stage representing its fully restored state. Patch 1.17 reduces the number of attacks needed to restore that luster, extends its duration, and increases Euporia’s Holy damage while the effect is active.
Running and jumping attacks build the effect quickly, while a charged heavy is the most efficient single input because it lands multiple substantial hits. Once the weapon reaches full luster, wait for a safe opening before committing to Euporia Vortex. The spinning point-blank portion and extended Holy beam need time to connect, so an interrupted cast wastes both the opening and the accumulated luster. A single showcase burst exceeded 38,000 damage, though the target, buffs, defenses, and amount of the vortex that connects will change the result.
Activate the Sword of Light skill before switching back to Euporia to apply its Holy-damage body buff. Two-hand the twinblade afterward so the Two-Handed Sword Talisman supports its regular offense. That commitment prevents the power-stanced twinblade jump attacks that normally make dual twinblades so effective, but it concentrates the loadout around restoring luster and delivering the full vortex.
Leather Armor improves the running attacks used to gather luster, while a complete Rakshasa set offers the more general damage increase with its accompanying defensive tradeoff. Erdtree Seal requires 40 Faith and weighs nothing, leaving the final 80-Faith build free to incorporate a broader selection of incantations.
Before acquiring Euporia late in Shadow of the Erdtree, use another twinblade with more Strength and Dexterity, power-stance two twinblades if your equip load permits it, and retain around 25 Faith for buffs. Once Euporia is available, respec away from the physical spread and into Faith to strengthen its Holy damage, skill, and incantation casting.
Blasphemous Blade Fire and Faith build
| Build element | Choice |
|---|---|
| Weapon | Blasphemous Blade |
| Offhand options | Seal for incantations or shield for blocking and parrying |
| Armor | Rakshasa Armor; Fire Knight helm as an alternative |
| Talismans | Fire Scorpion Charm, Shard of Alexander, Talisman of the Dread, Carian Filigreed Crest |
| Physick | Fire-Shrouding Cracked Tear and Bloodsucking Cracked Tear |
| Physick alternatives | Greenburst, Strength-knot, or Dexterity-knot Crystal Tear |
| Level-150 stats | 60 Vigor, 10 Mind, 26 Endurance, 22 Strength, 15 Dexterity, starting Intelligence, 80 Faith, starting Arcane |
Blasphemous Blade is the most straightforward all-playthrough option in this group. It becomes available in the midgame, restores health as enemies die, and combines a dependable greatsword moveset with Fire damage. That sustain reduces flask pressure during exploration and lets the build move from one enemy group to the next without constantly resetting.
Taker’s Flames supplies the main boss-fight rotation: cast it for heavy Fire damage, strong stagger, and healing, then use the opening to cast again or chain into ordinary attacks. At point-blank range, the sword and the skill’s flame can hit together for additional damage. This aggressive version consumes FP quickly, making resource management as important as finding a safe casting lane.
Fire Scorpion Charm strengthens the weapon’s Fire damage, Shard of Alexander boosts Taker’s Flames, and Carian Filigreed Crest reduces the FP cost of repeated casts. After entering Shadow of the Erdtree, Talisman of the Dread further enhances the magma-based skill. The Fire Knight helm found around Messmer’s keep is another offensive headpiece, while Rakshasa Armor remains the broader damage option.
Key Play the weapon more physically during progression by emphasizing Strength and Dexterity instead of rushing directly to 80 Faith. Bring Vigor to 40 first, add enough Endurance for the selected armor, and invest in Mind if repeated skill use exhausts FP too quickly. Later, respec toward 60 Vigor and high Faith to turn Taker’s Flames into the primary offense while retaining a seal or shield for encounters that reward more flexibility.
Video help






Leave a Reply