Update: Guide has been updated to provide for latest version, TWRP 3.0 for Galaxy Nexus. Enjoy!
We all know that Android 4.2 has already started rolling out earlier this week for the Nexus 7 and Galaxy Nexus. While users are busy checking out all the new stuff in Android 4.2, particularly the nifty Photo Sphere mode in the camera app, the developer community has moved past all of that, and has set its sights on other more objective matters.
While all with 4.2 is cool and dandy, it seems to have created a new challenge for the devs, as far as custom recoveries are concerned. The multi-user account feature for Android 4.2 tablets seems to be the cause for this issue, and every time you do a factory reset while on an Android 4.2 ROM, user data file get moved to a different default ing rather than getting wiped. You can find more details on this issue here.
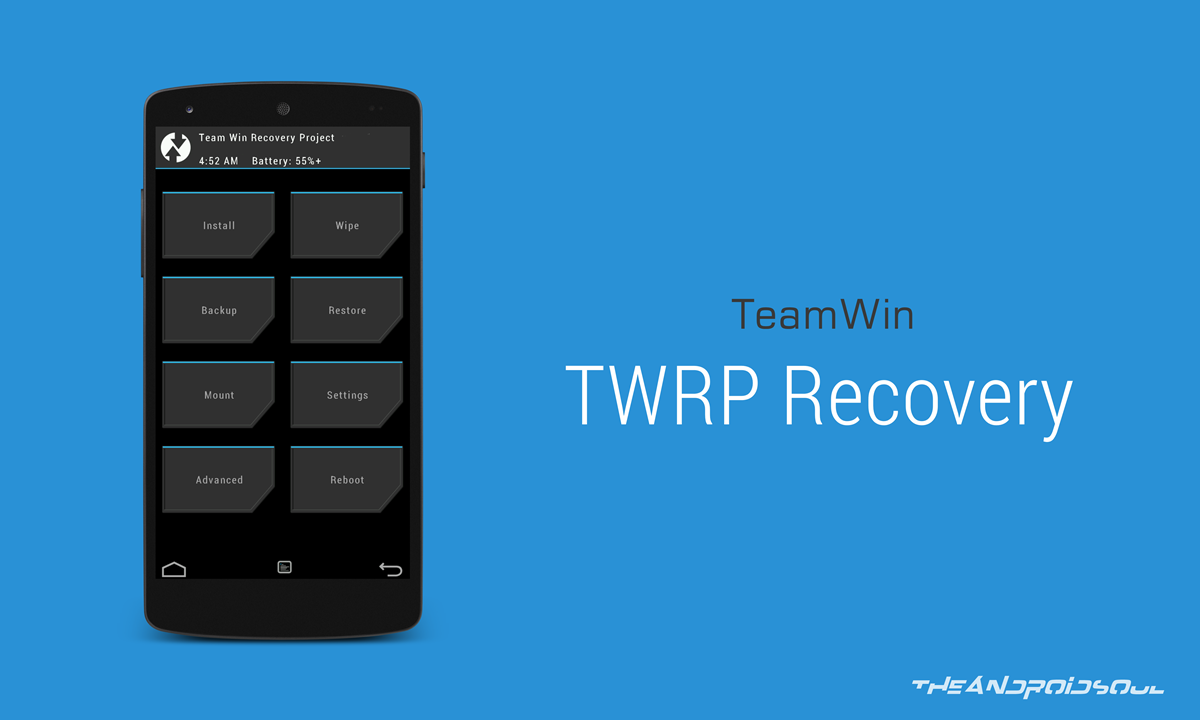
As always, the developer community, in this case Team Win, the team behind the touch-based TWRP recovery have come up with a solution which fixes this irritating issue, and have incorporated the fix in the latest version of TWRP – v2.3.2.1, which is up for download.
And as always, we have put together a handy guide below on how you can install the latest TWRP recovery on your Galaxy Nexus.
Let’s see how to install TWRP recovery on Galaxy Nexus.
Downloads
- Galaxy Nexus TWRP Recovery — Link | File: twrp-3.0.0-0-maguro.img (8.4 MB)
- SuperSU Root package — Link
Supported devices
- Galaxy Nexus, codename maguro (don’t try on toro and toroplus)
- Don’t try this one any other device!
Important: Check your device’s model no. on free Android app called Droid Info. If you see the model no. and codename mentioned above in the app, then use this recovery, otherwise not. BTW, you can check model no. device’s packaging box too.
Warning!
Warranty may be void of your device if you follow the procedures given on this page. You only are responsible for your device. We won’t be liable if any damage occurs to your device and/or its components.
Backup!
Backup important files stored on your device before proceeding with the steps below, so that in case something goes wrong you’ll have backup of all your important files.
Step-by-step Guide
Ignore SuperSU file and the steps below involving it, if you don’t want to root your device, and only wish to install TWRP recovery.
- Go to Settings > About phone, and then tap ‘Build number’ 7 times or until you see the ‘you’re now a developer’ message pop up.
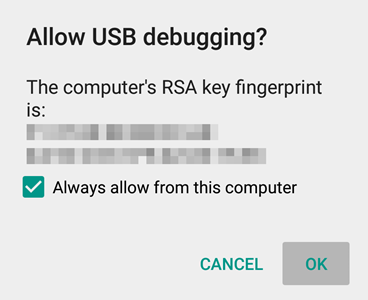
- Go back to Settings, then choose ‘Developer options’. Find the ‘USB debugging’ option and use its toggle button to enable it. Accept warning by tapping on OK button.
- Open that folder and then left click on empty white space in the folder.
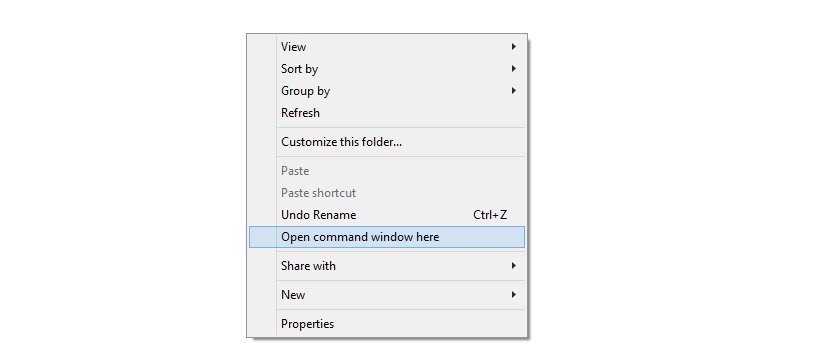
- Now, while holding shift key, right click on empty white space to get a pop-up as shown below.
- Now choose Open command window here option from that.
You will see a command window open up, with location directed to folder where you have the twrp recovery file.
- Power off your device and wait for 3-4 seconds after screen goes off.
- Press and hold Power and Volume down together for 3 seconds and then let go. You’ll enter bootloader mode. And should see FASTBOOT written at top. It’s already in Fastboot mode by default.
fastboot devices
→ Upon running command below, you should get a serial no. with fastboot written after it. If you don’t get fastboot written on cmd window, then it means you need to reinstall adb and fastboot drivers, or change restart PC, or use original USB cable.
fastboot flash recovery gnex-recovery.img
fastboot boot gnex-recovery.img
Happy flashing!
And let us know if you need any help regarding installation of TWRP recovery on your Galaxy Nexus. Use the comments section below.
How to boot into recovery mode to use TWRP recovery
Well, now that you are rooted, Simply use an app called Quick Boot from the play store. Install the app, and then open it and tap on Recovery to reboot into recovery mode, where you will have TWRP ready for use.
Or you can use the ADB command below, but first make sure that USB debugging is enabled, and device is connected to PC in powered on state.
adb reboot recovery
That’s it.